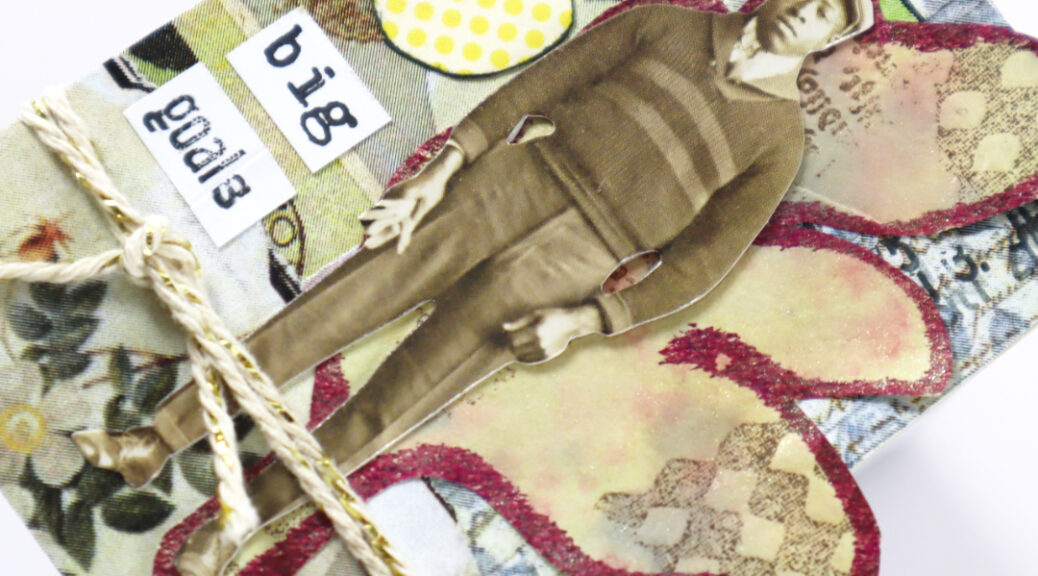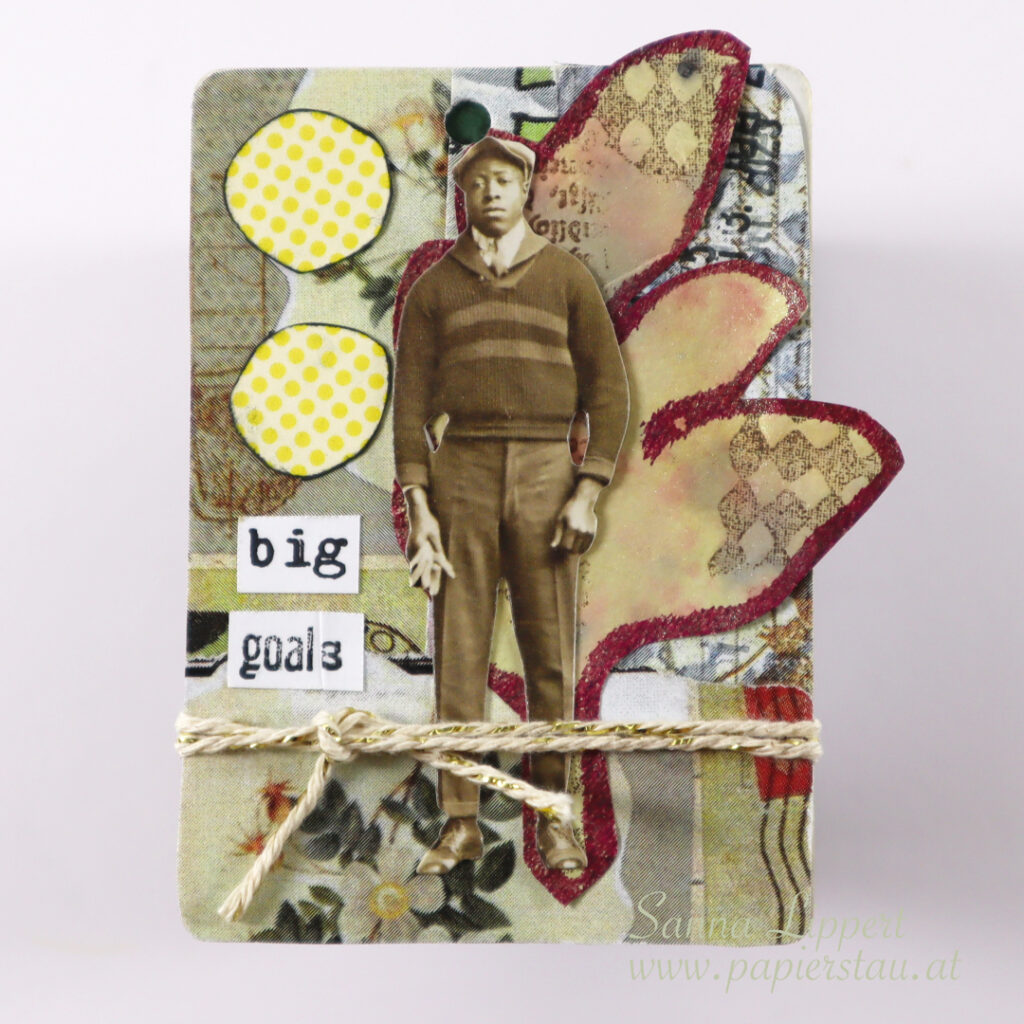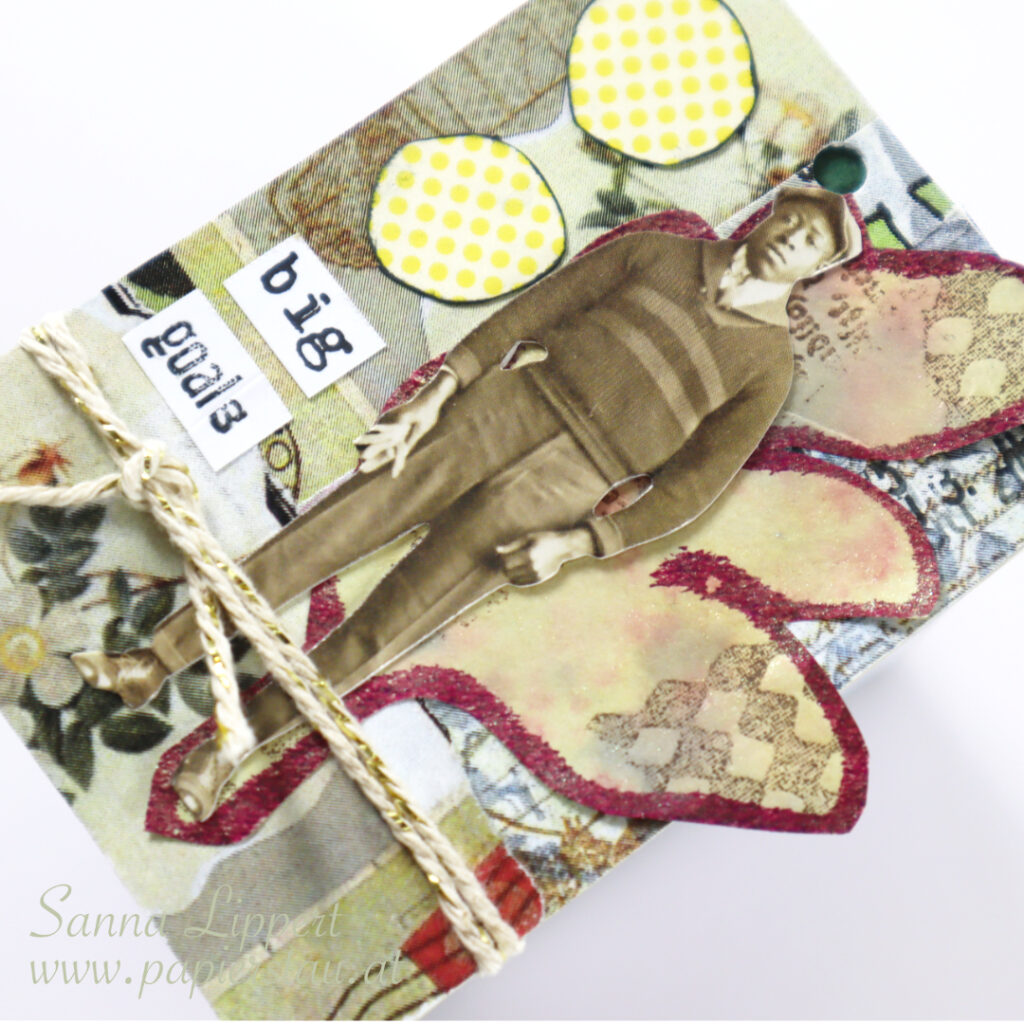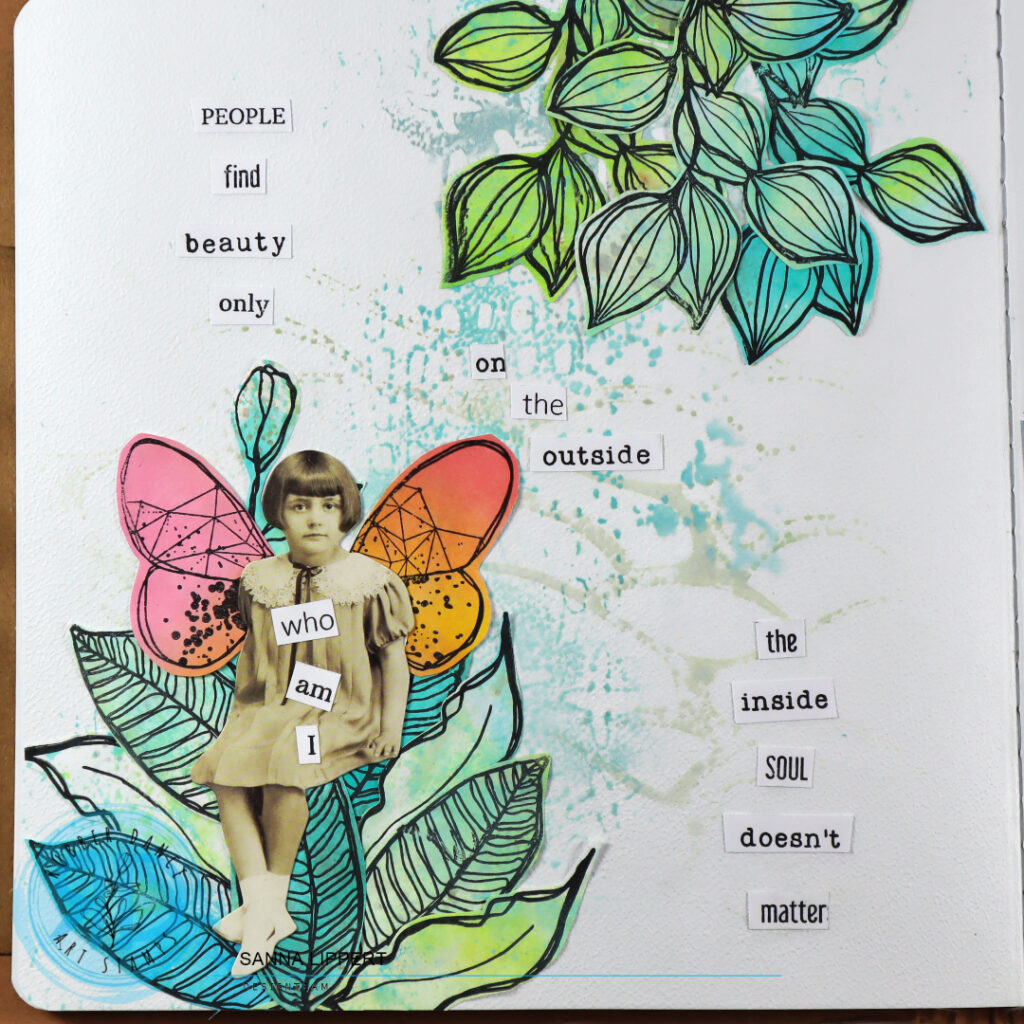
Hello! Here is my take on the ShanoukiArt Full Deck Challenge number 46: fairy.
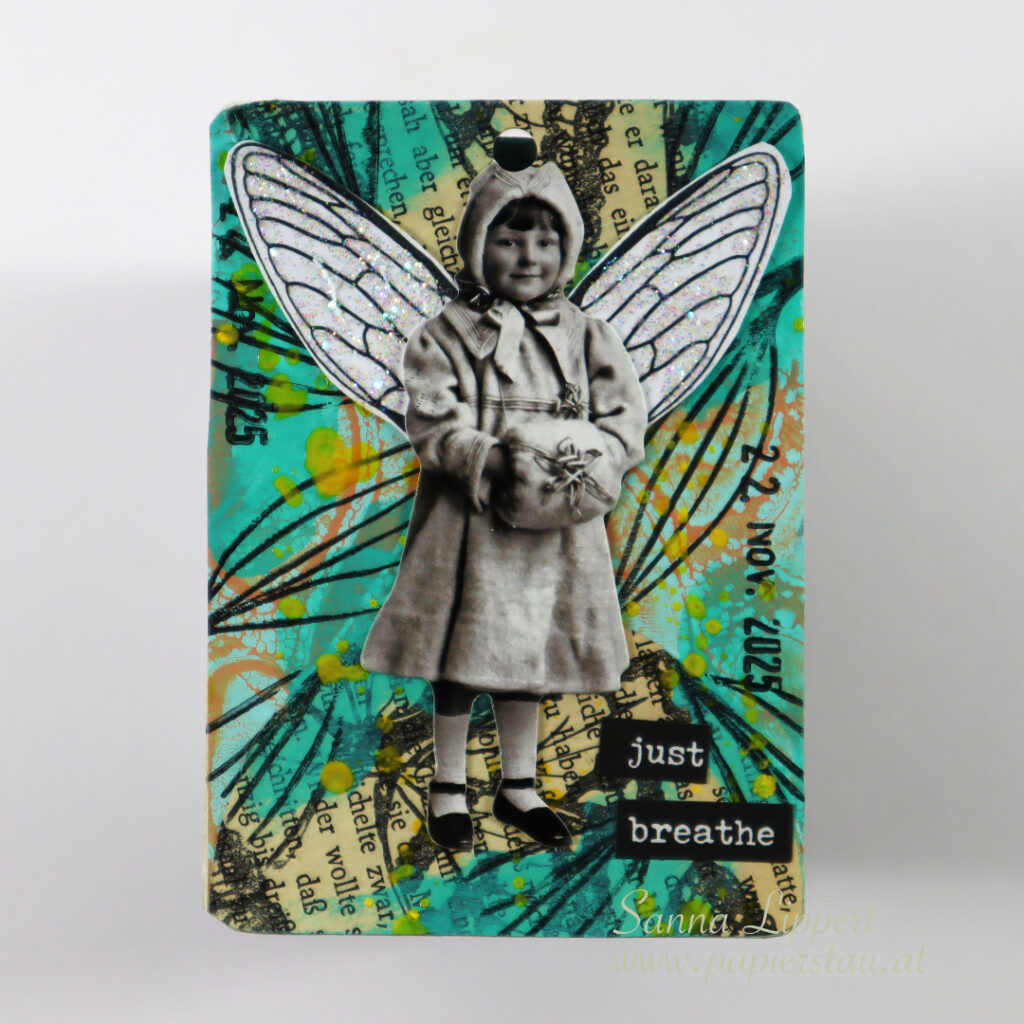
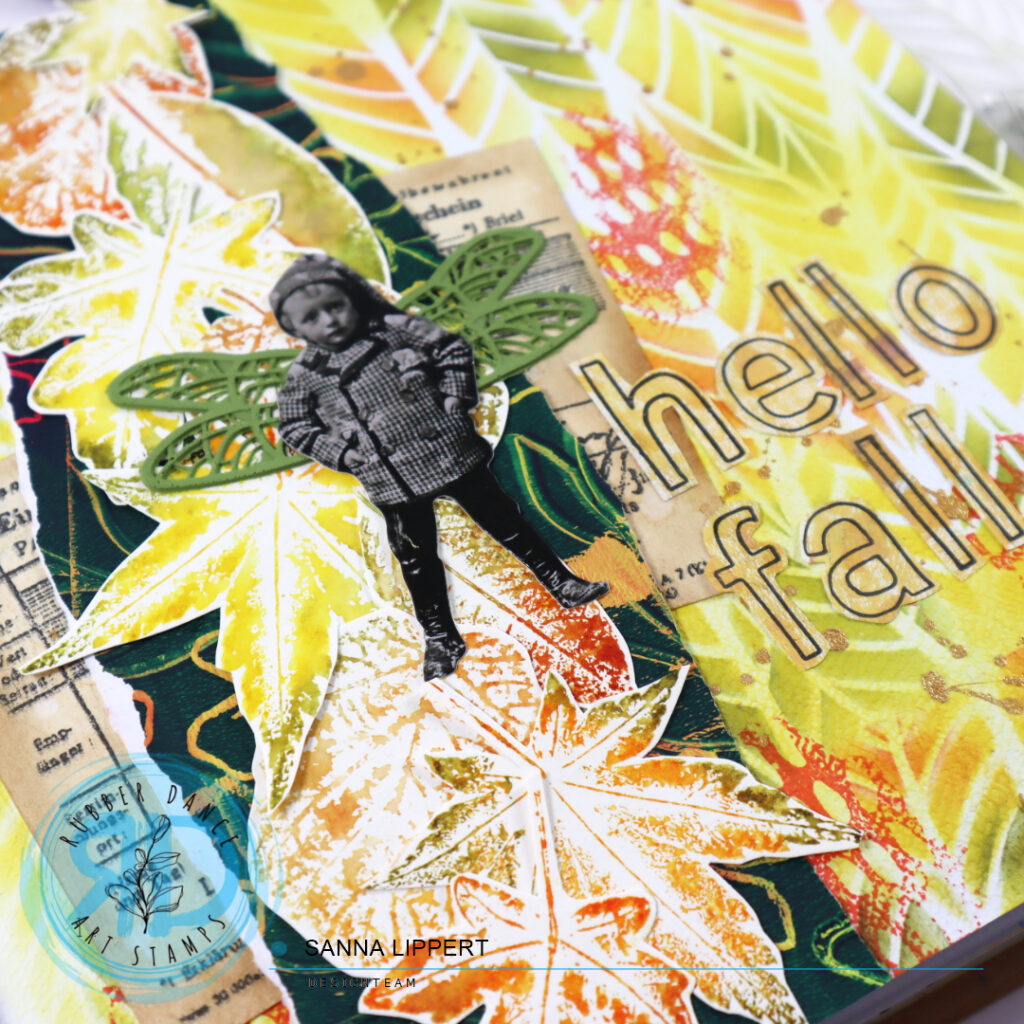
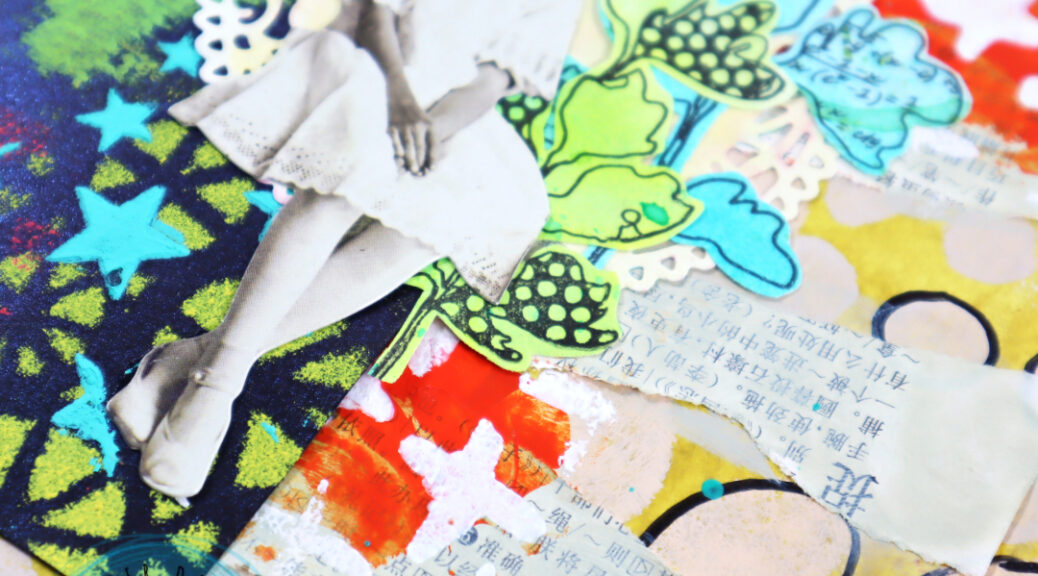
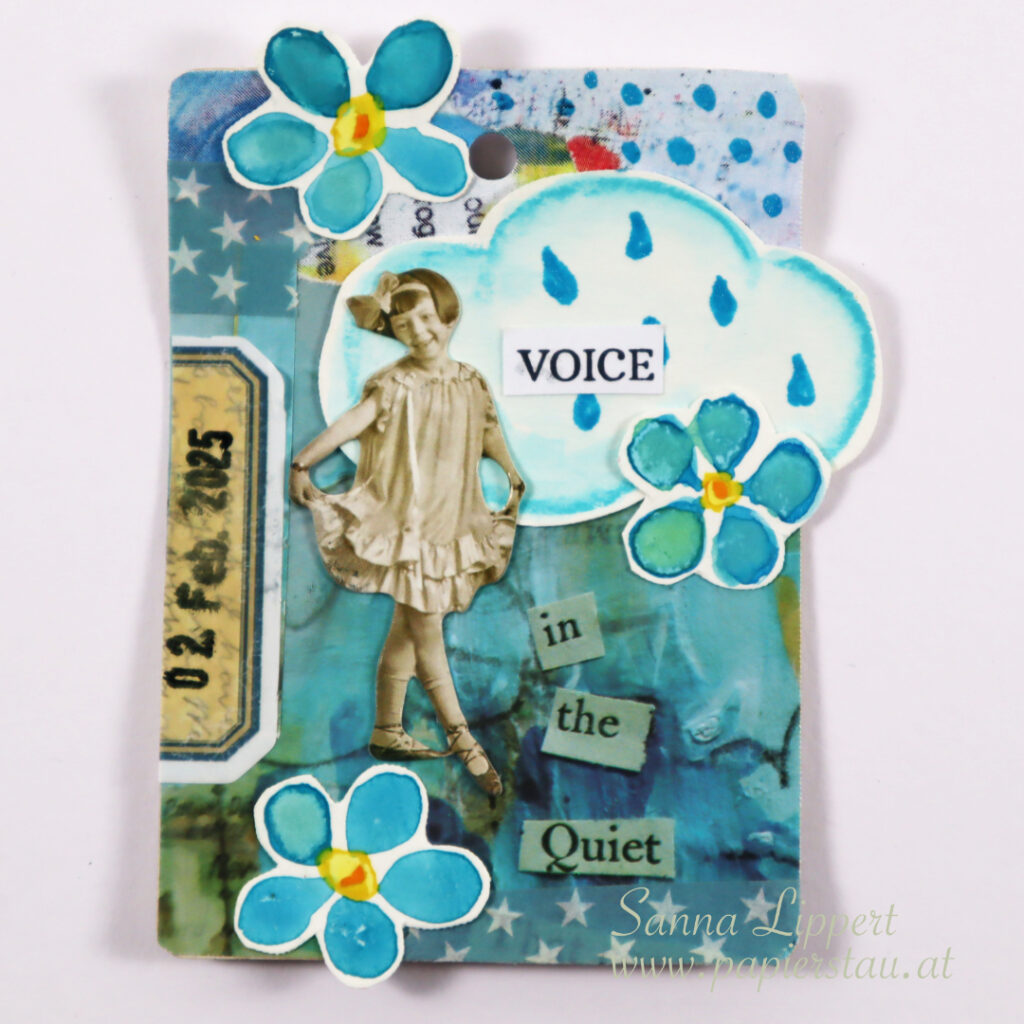
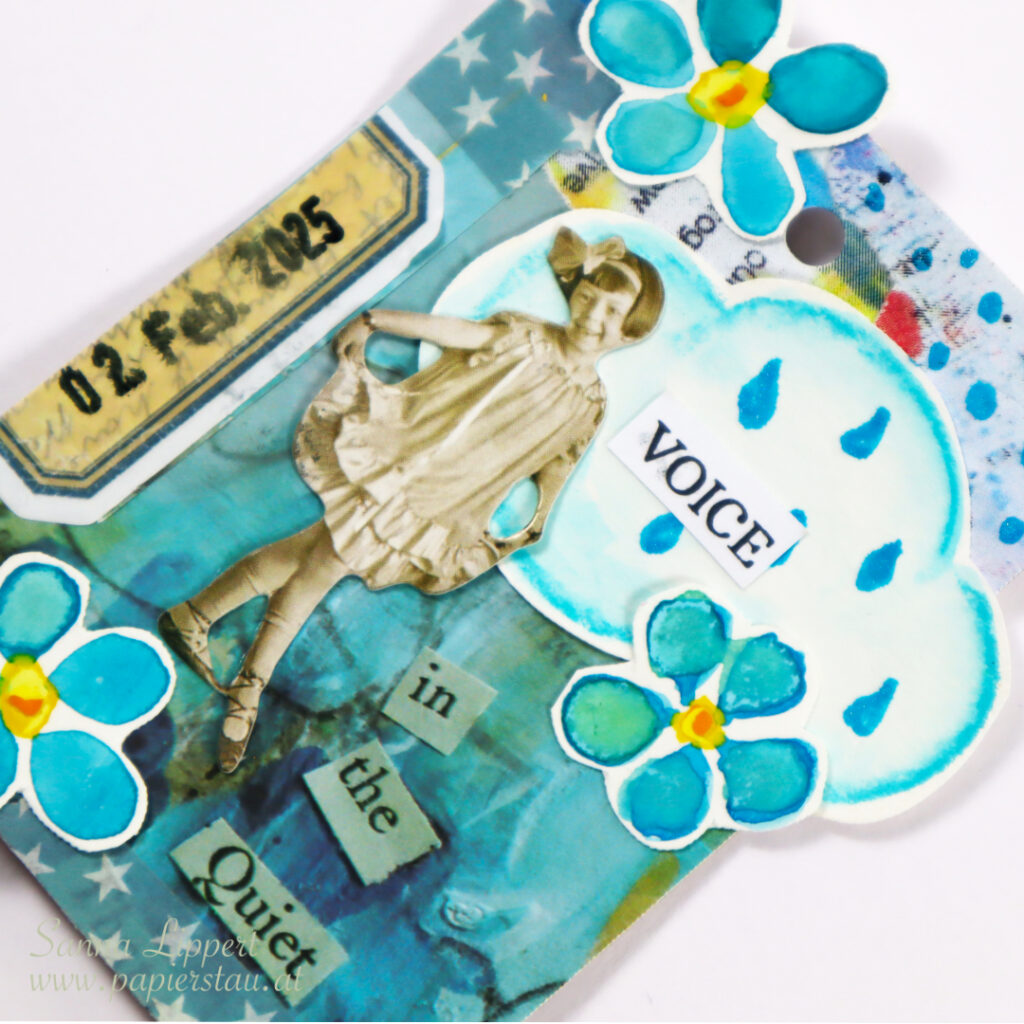
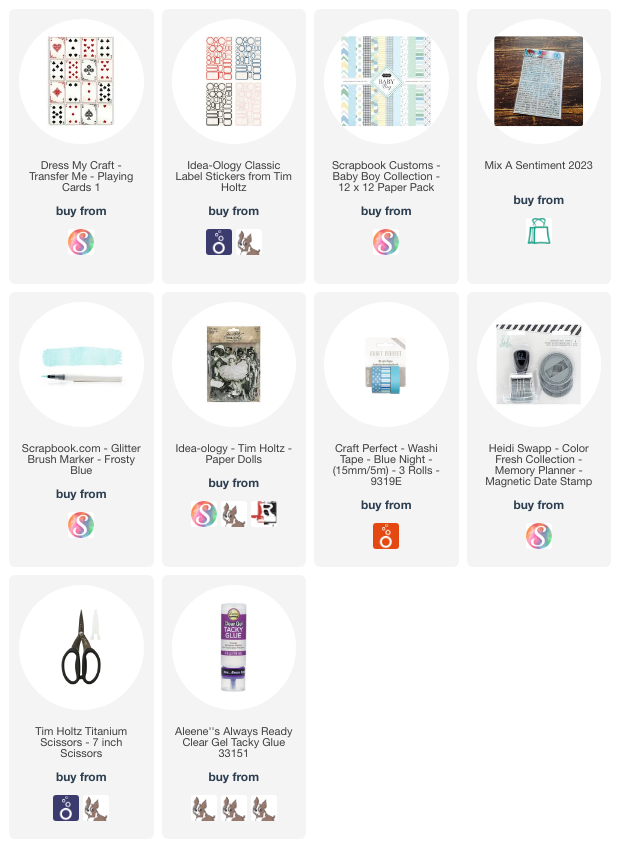
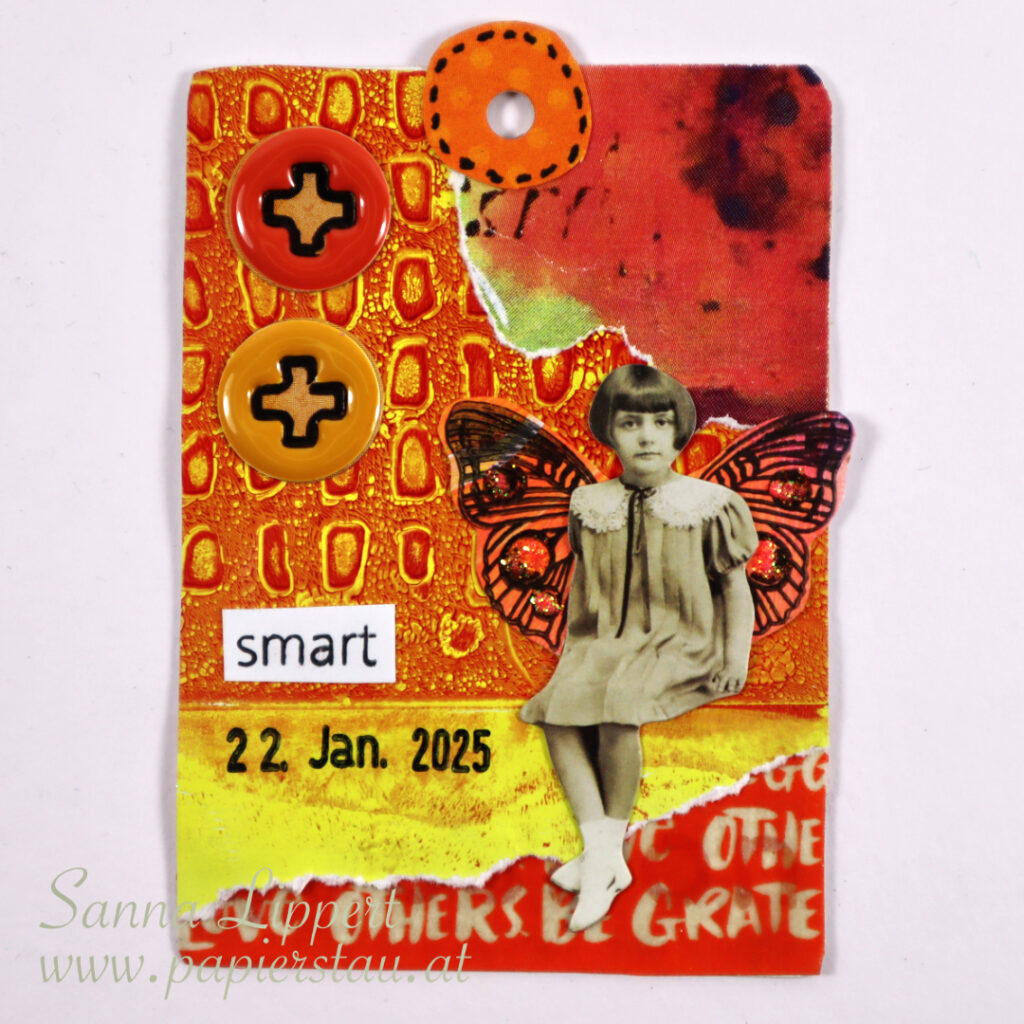
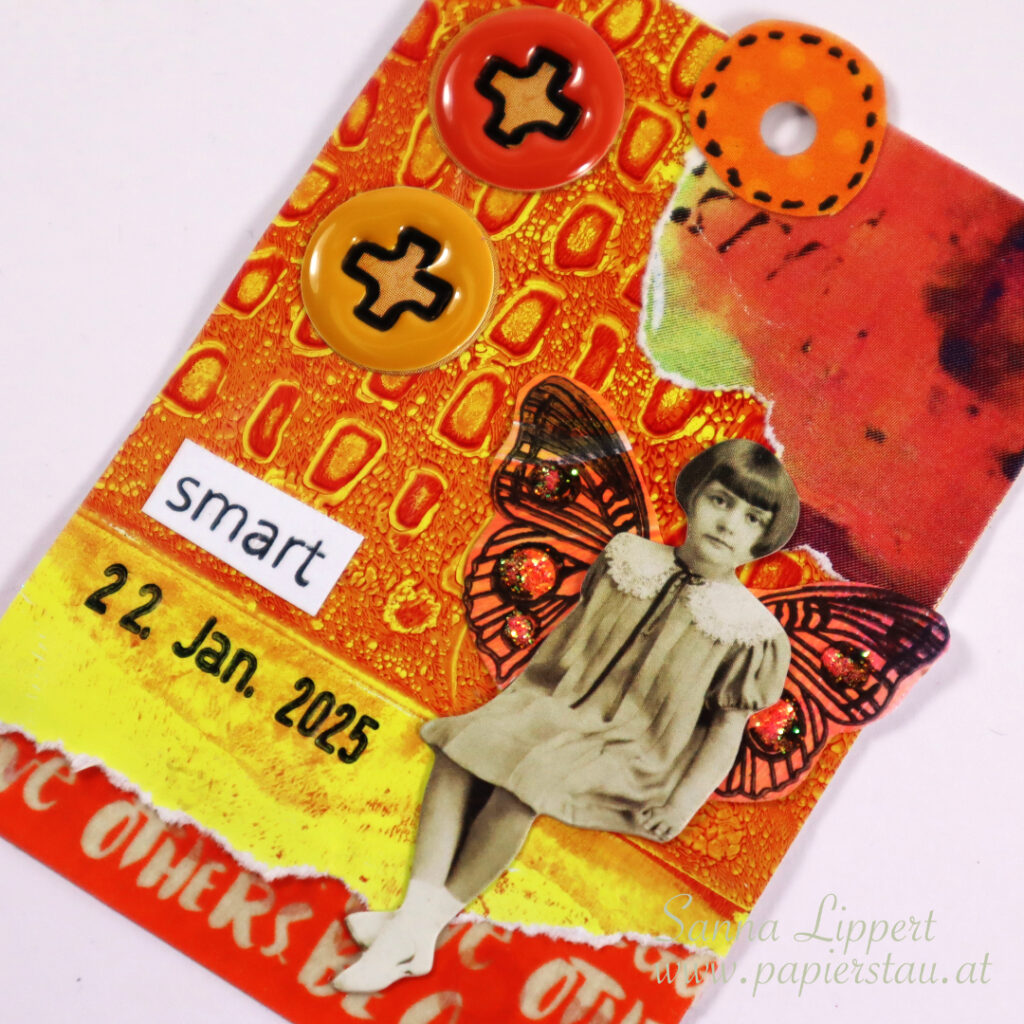
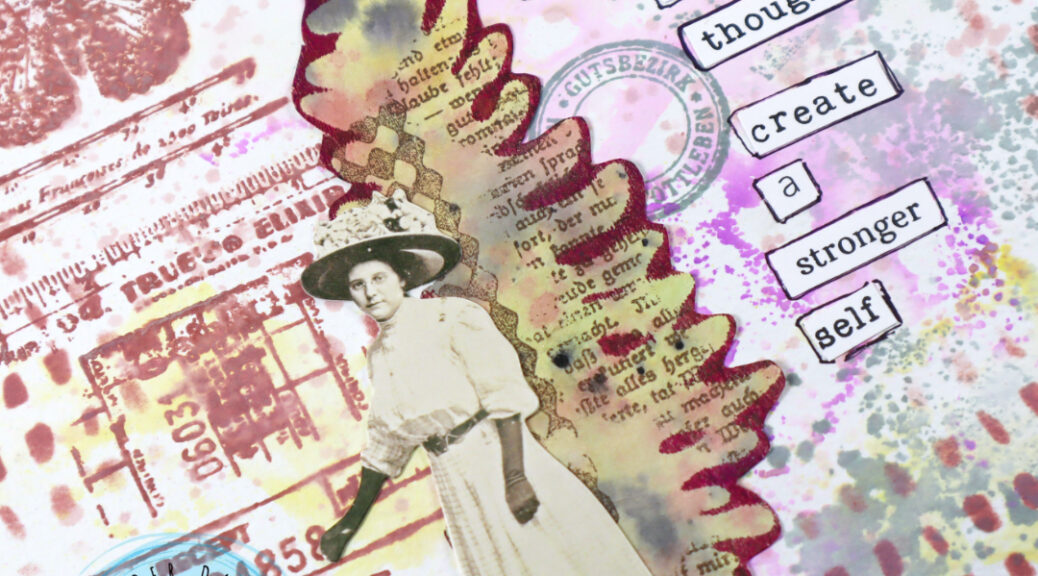
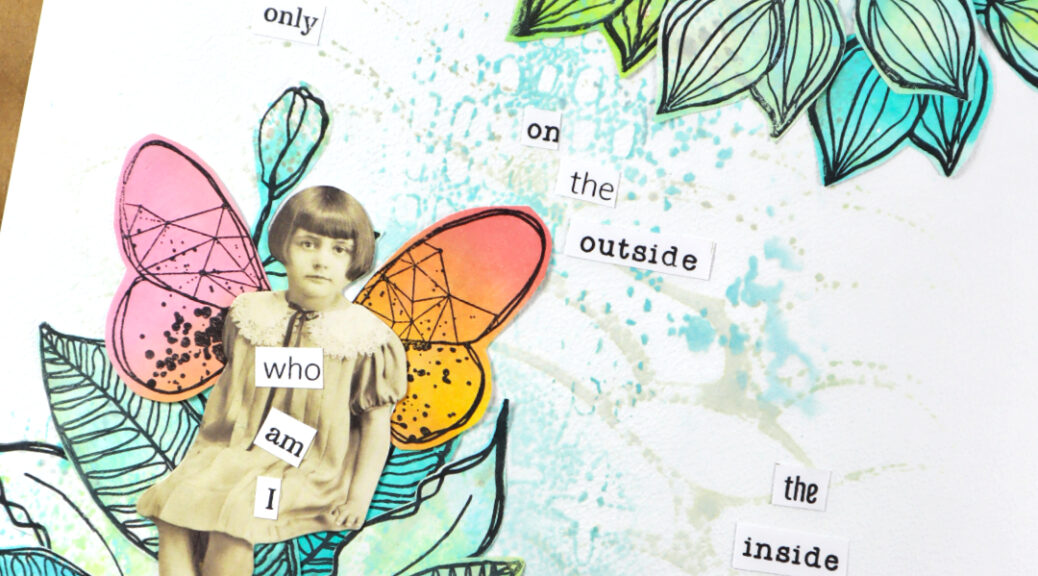
For this one I used the butterfly stamped old book paper bits as a carry-over-item. To those I added some gelli printed collage papers in turquoise and some Dina Wakley heavy body paint in turquoise. After that I added my constant – the date stamp.
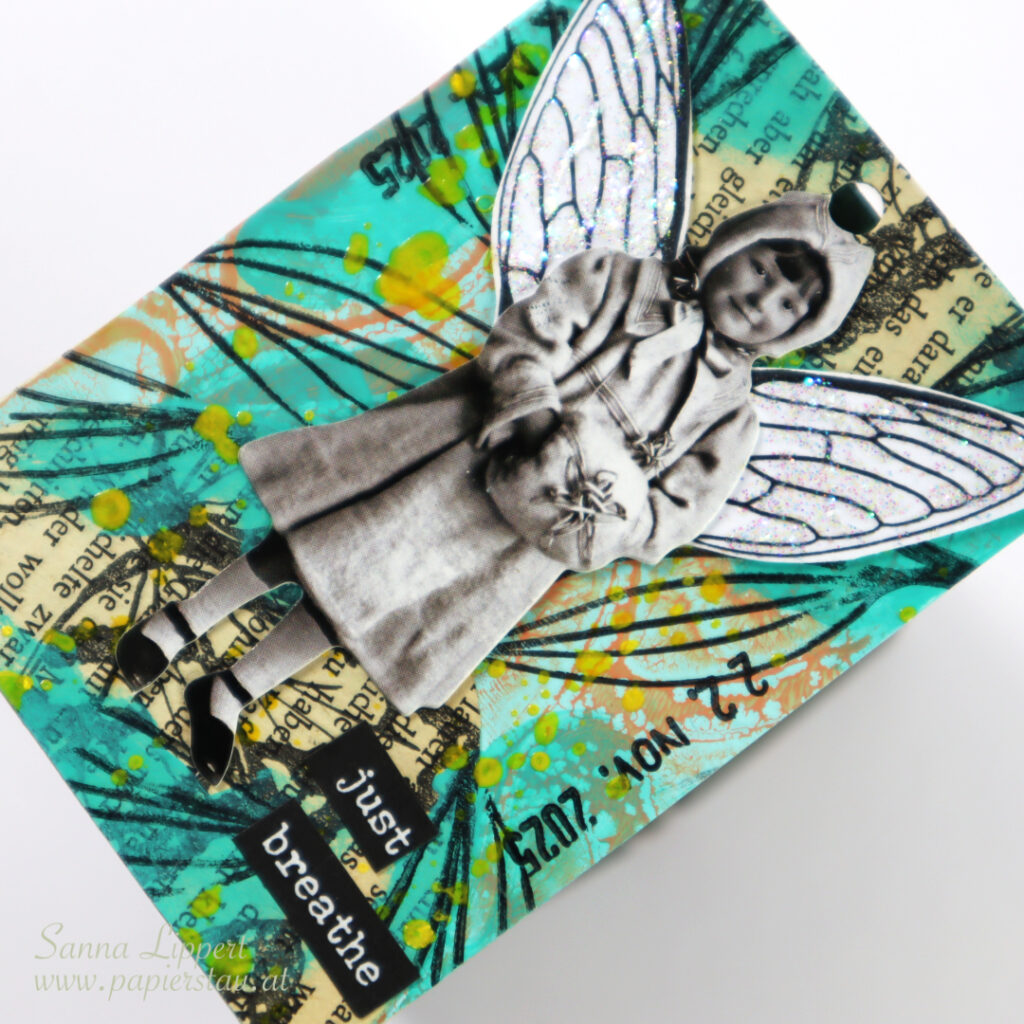
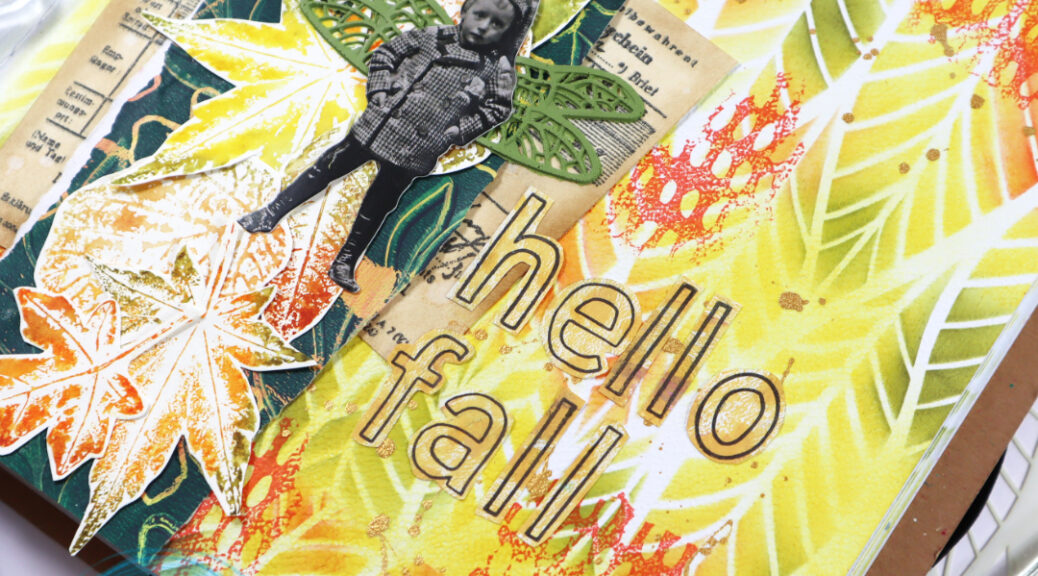
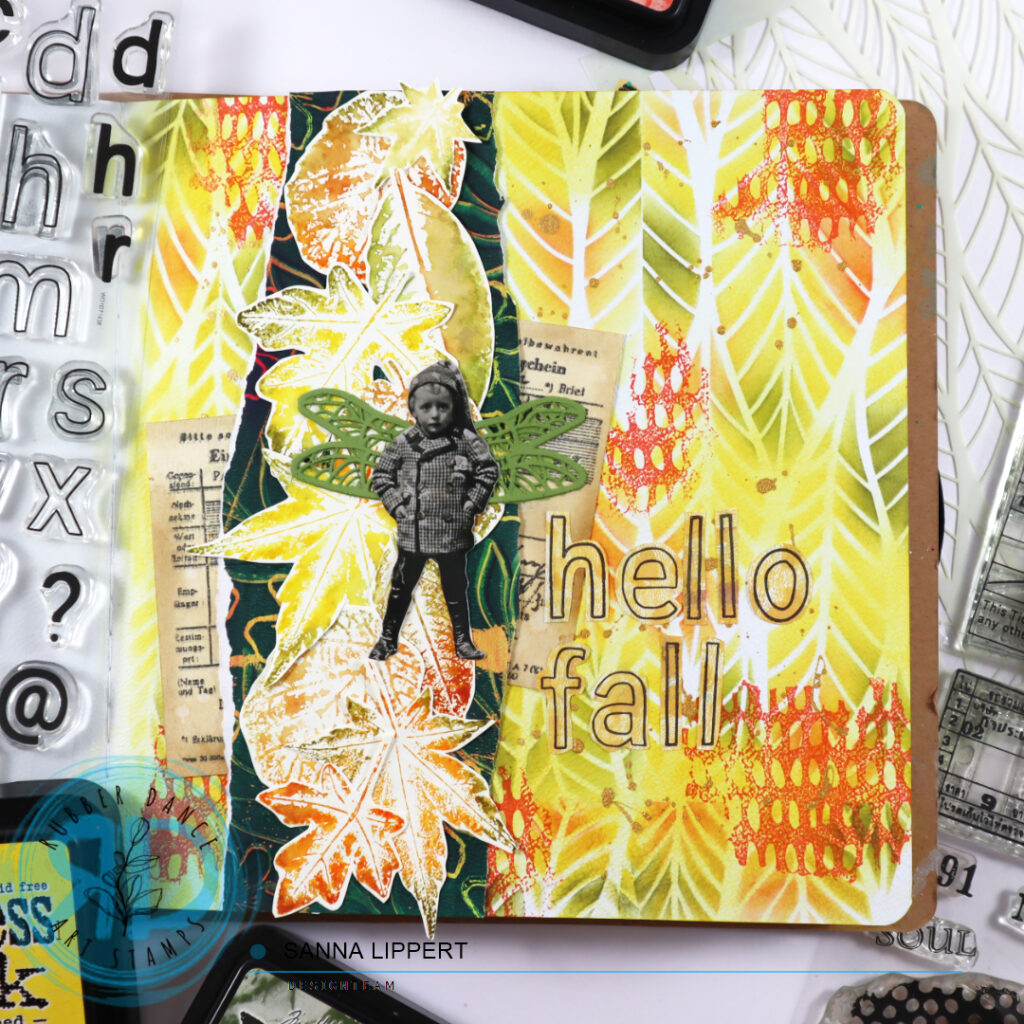
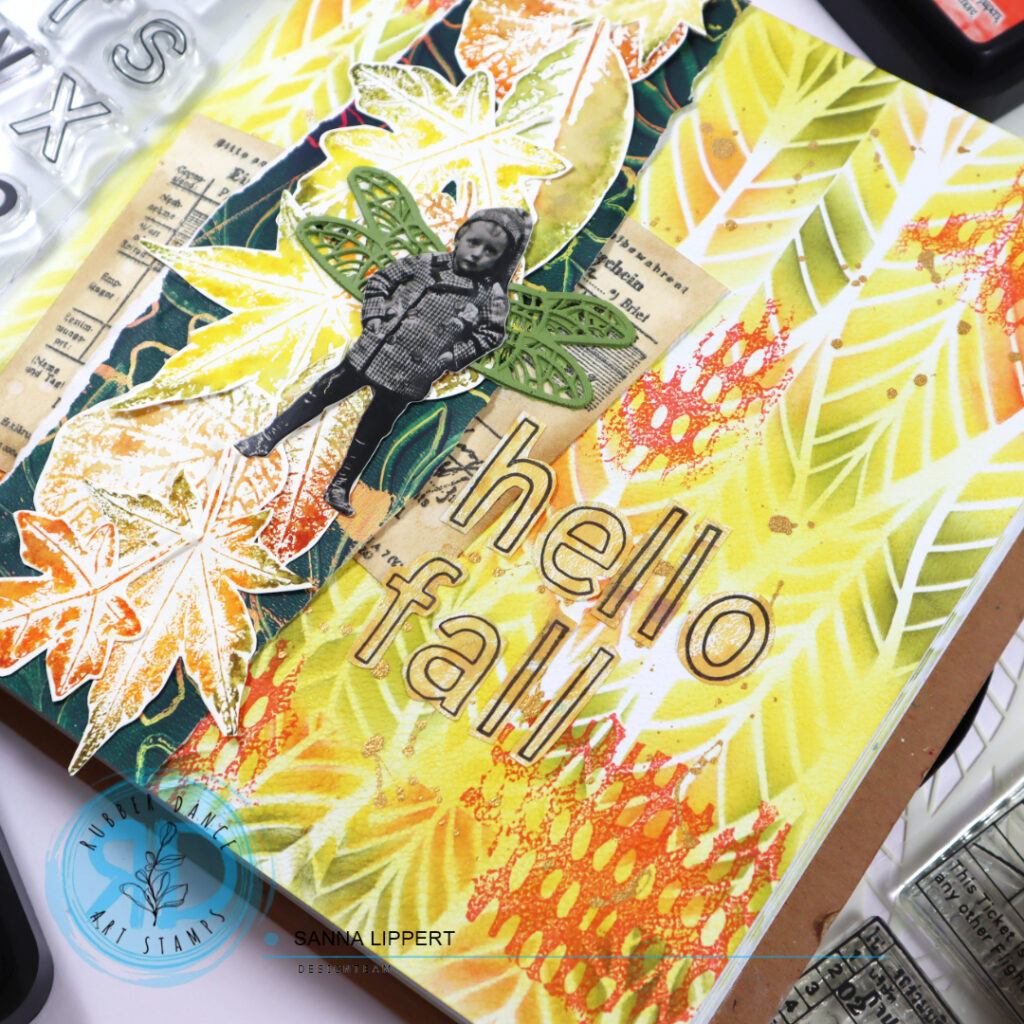
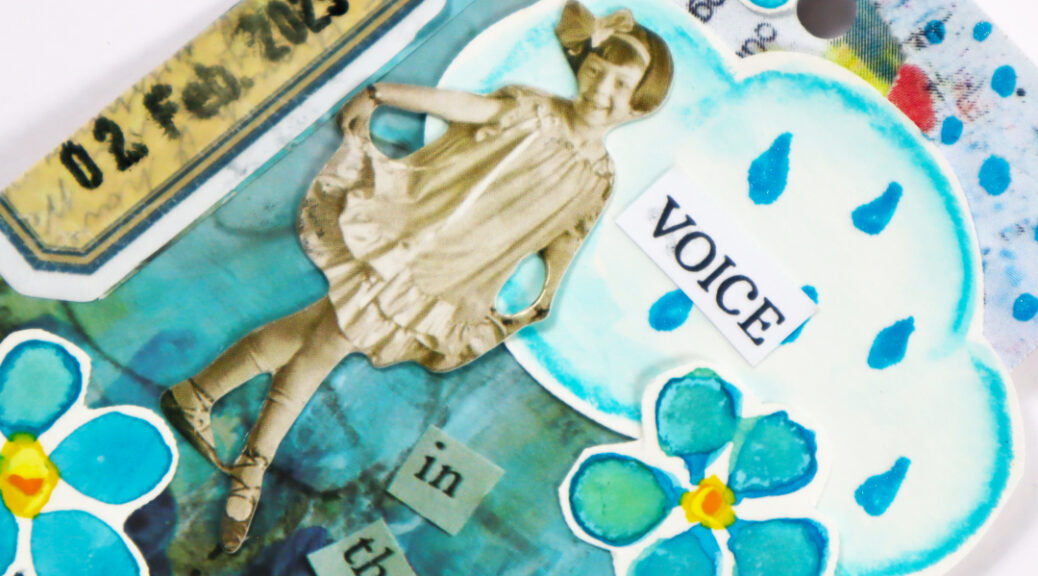
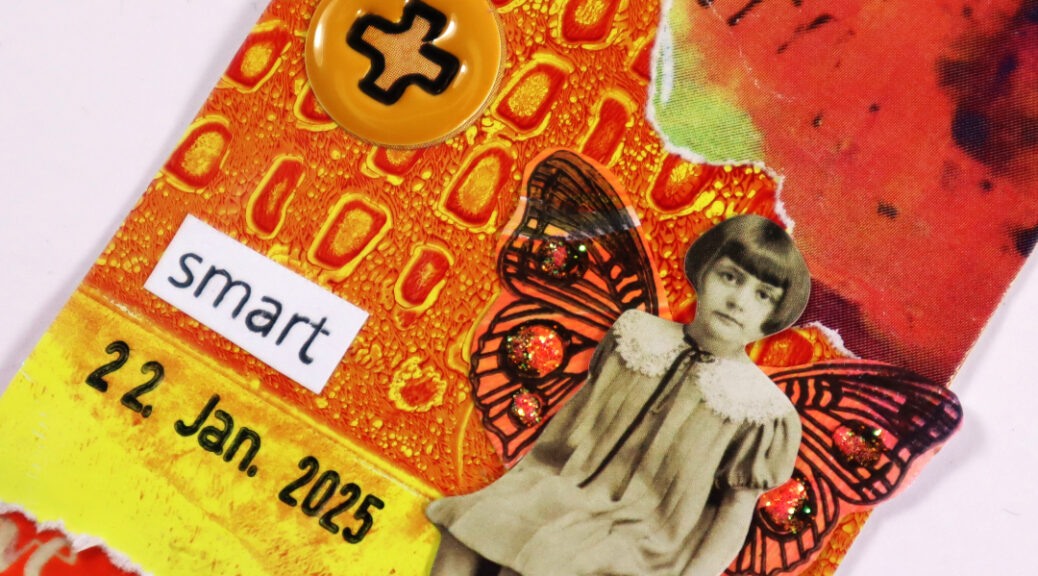
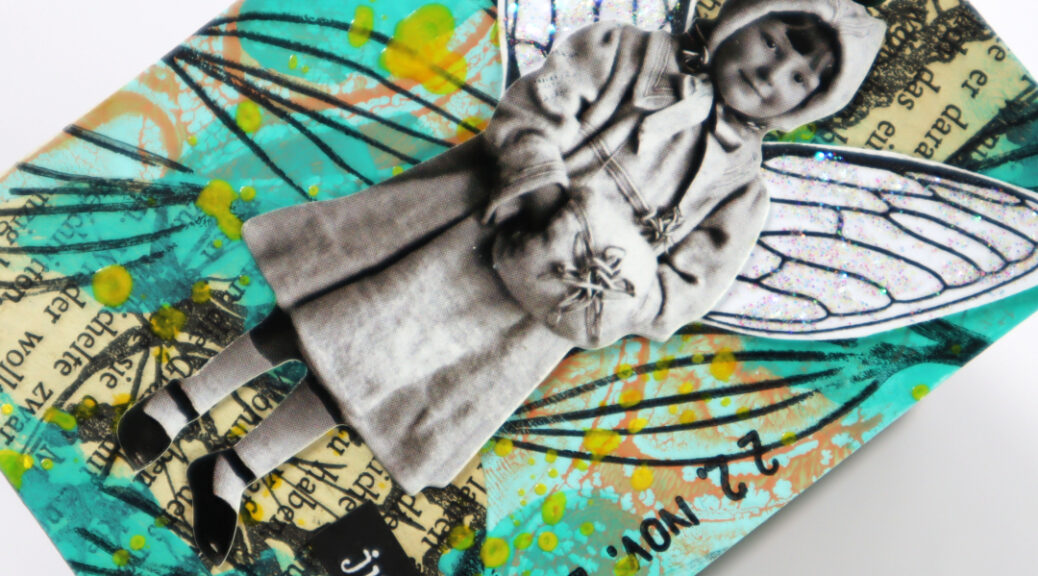
After that I added some yellow Dina Wakley Gloss Spray and stamped leaves with this Rubber Dance stamp to the background. As a focal point I added a Tim Holtz paper doll and fairy wings from a Rubber Dance stamp set. I added some Stickles for shine to them, too. The sticker words are by Tim Holtz.
Here is the step-by-step video:
See you again next week with another take!
xx, Sanna