Tag Archives: Gelli printing

Rubber Dance – gelli printed collage paper tags

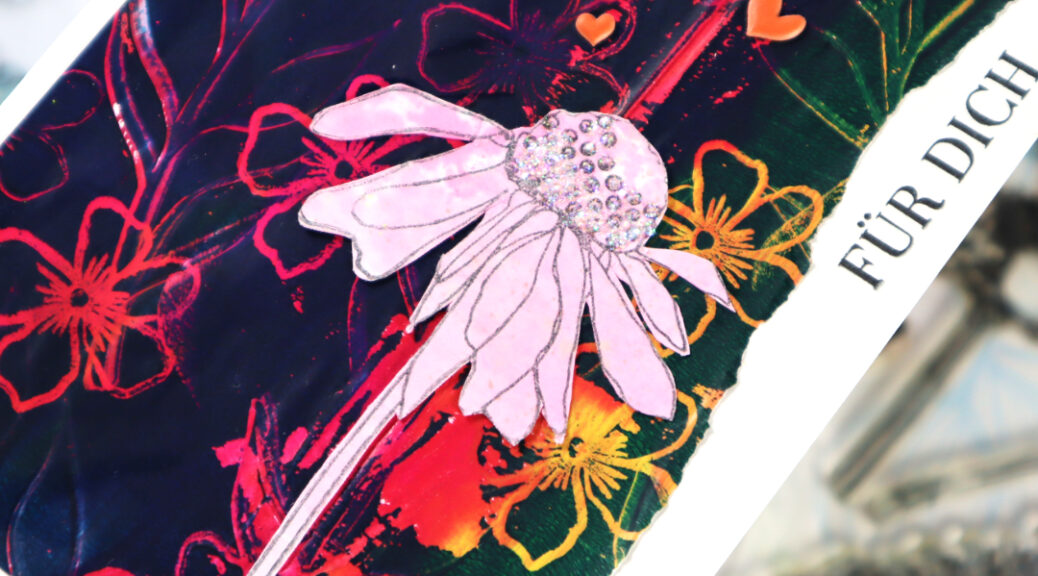
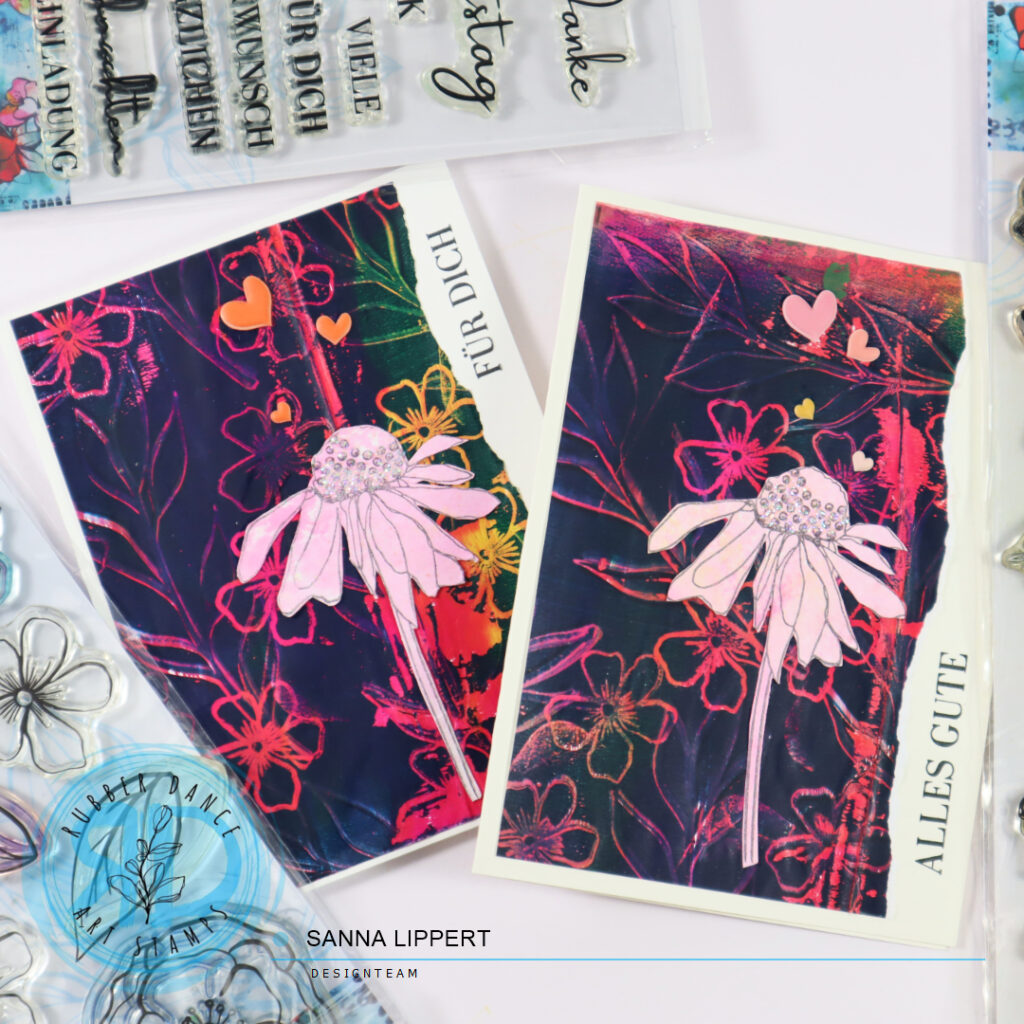
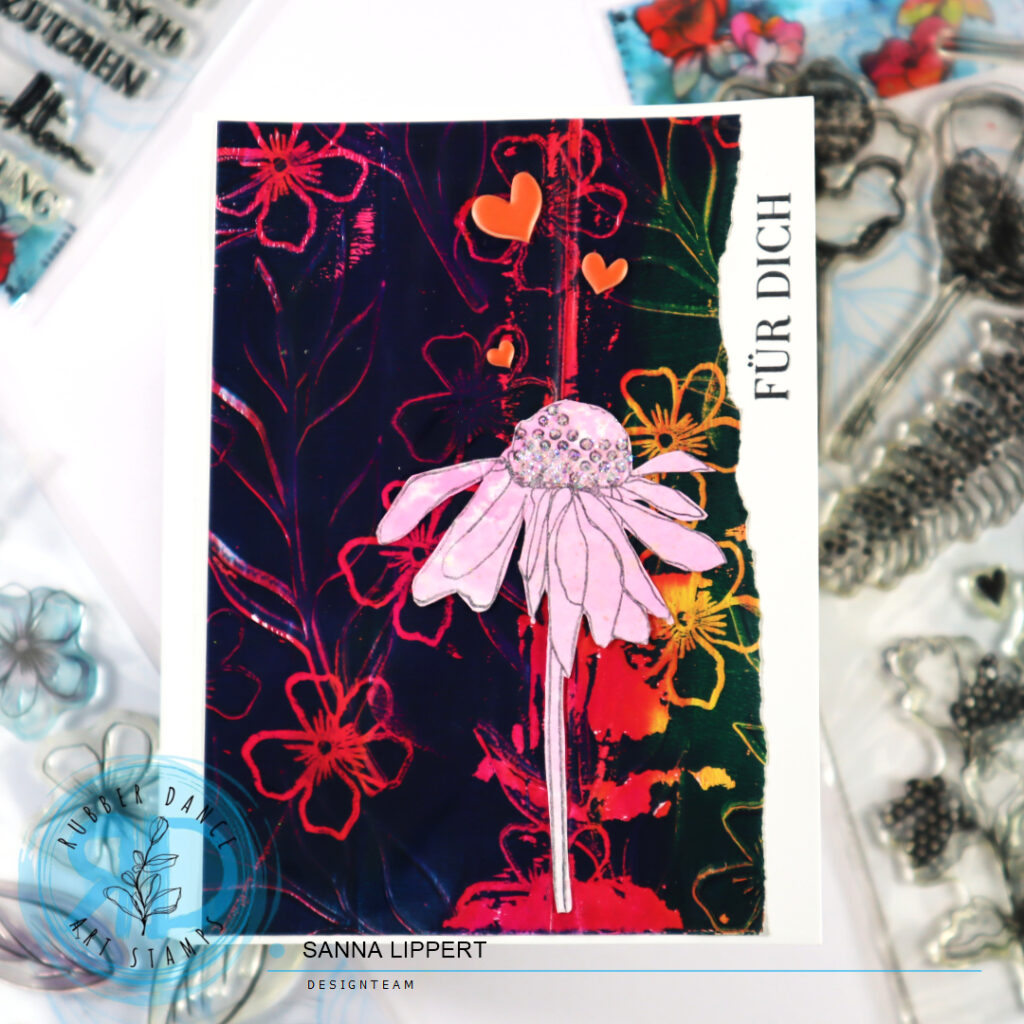
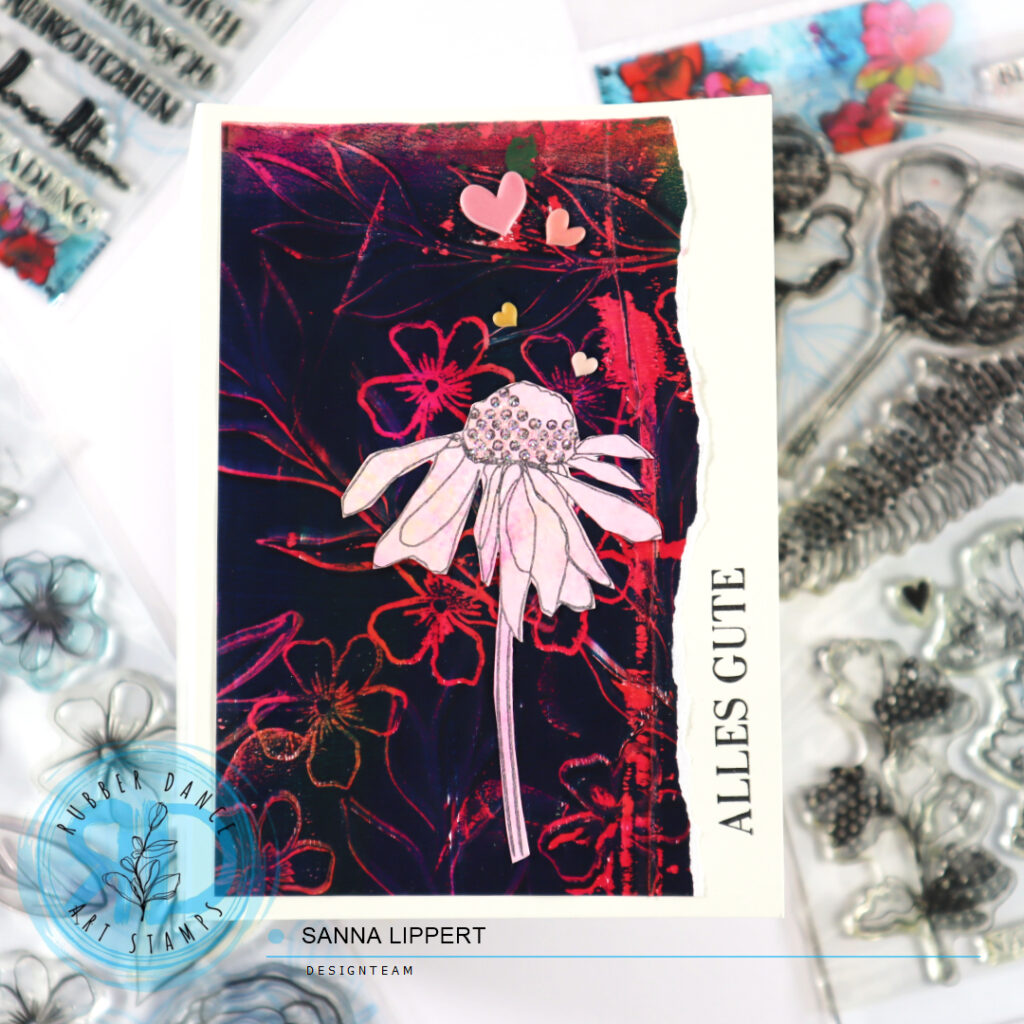
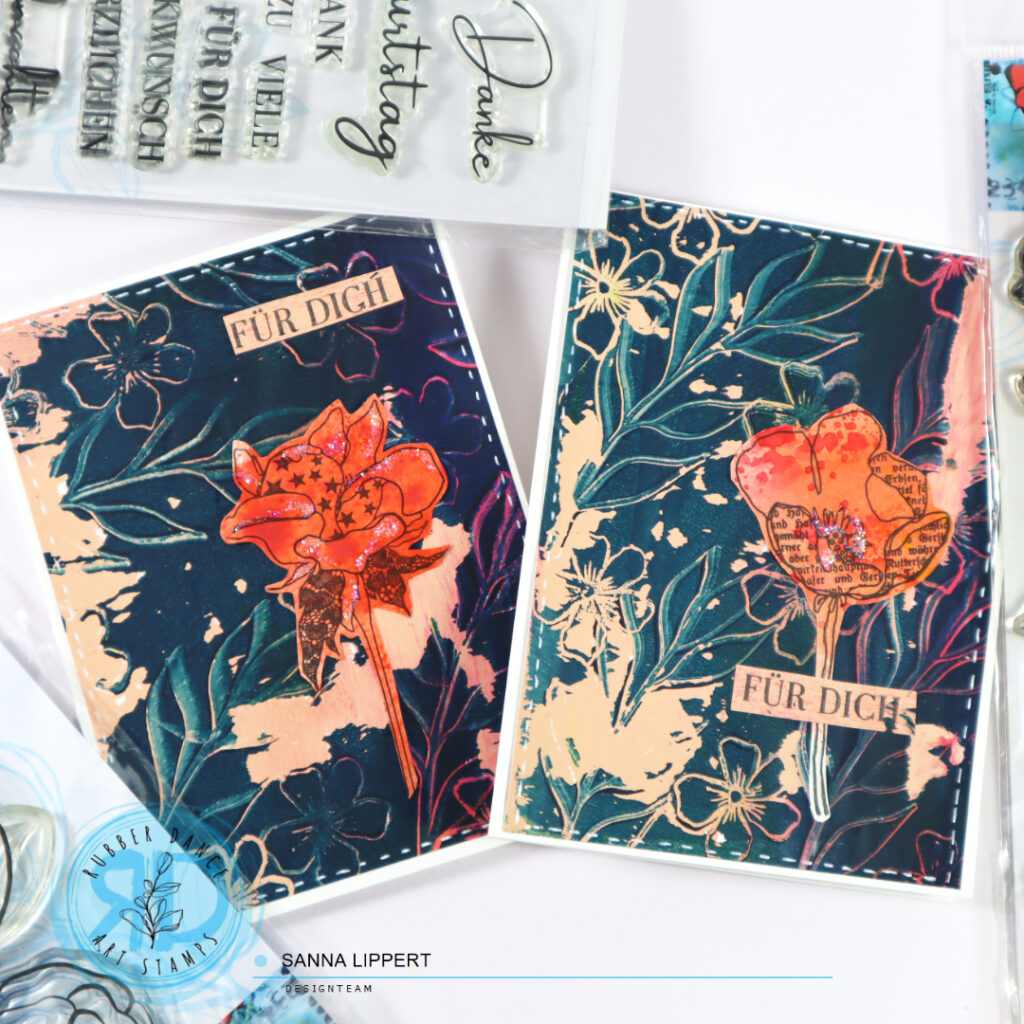
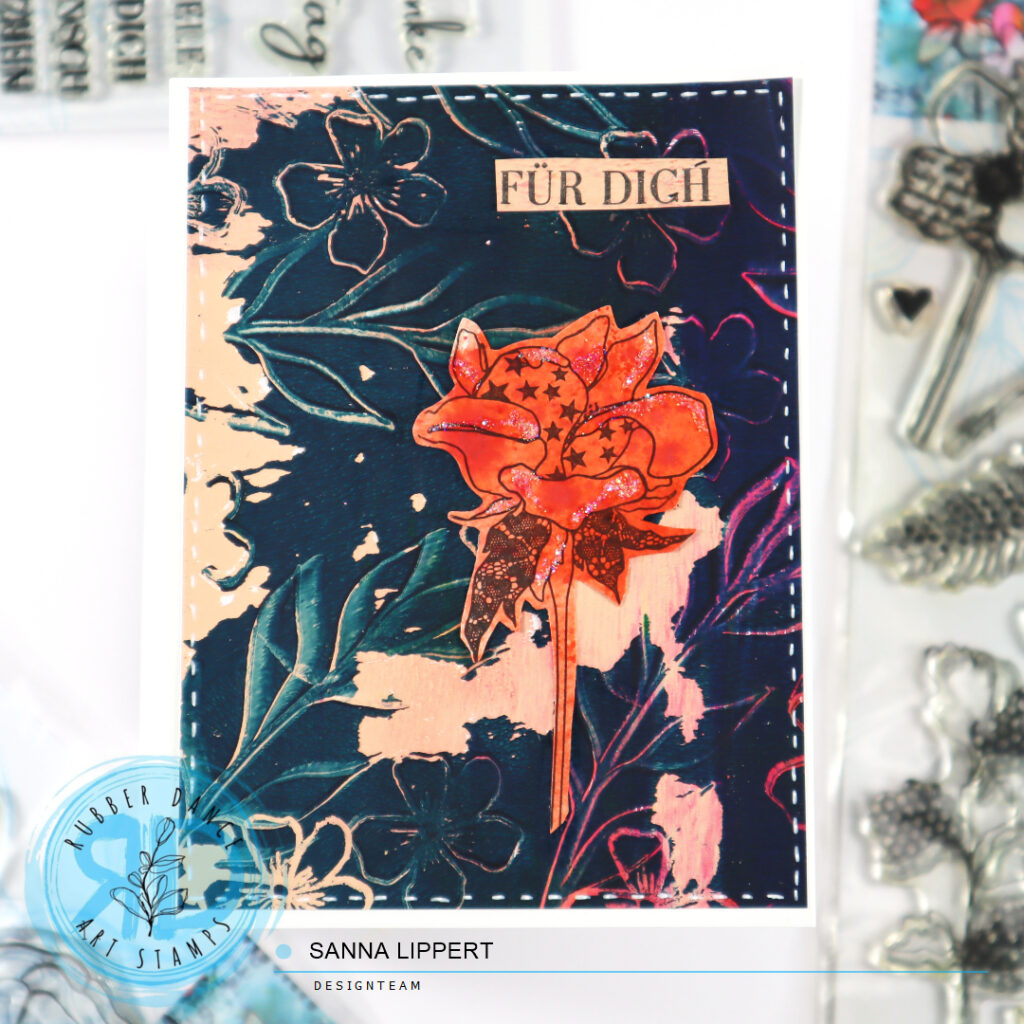
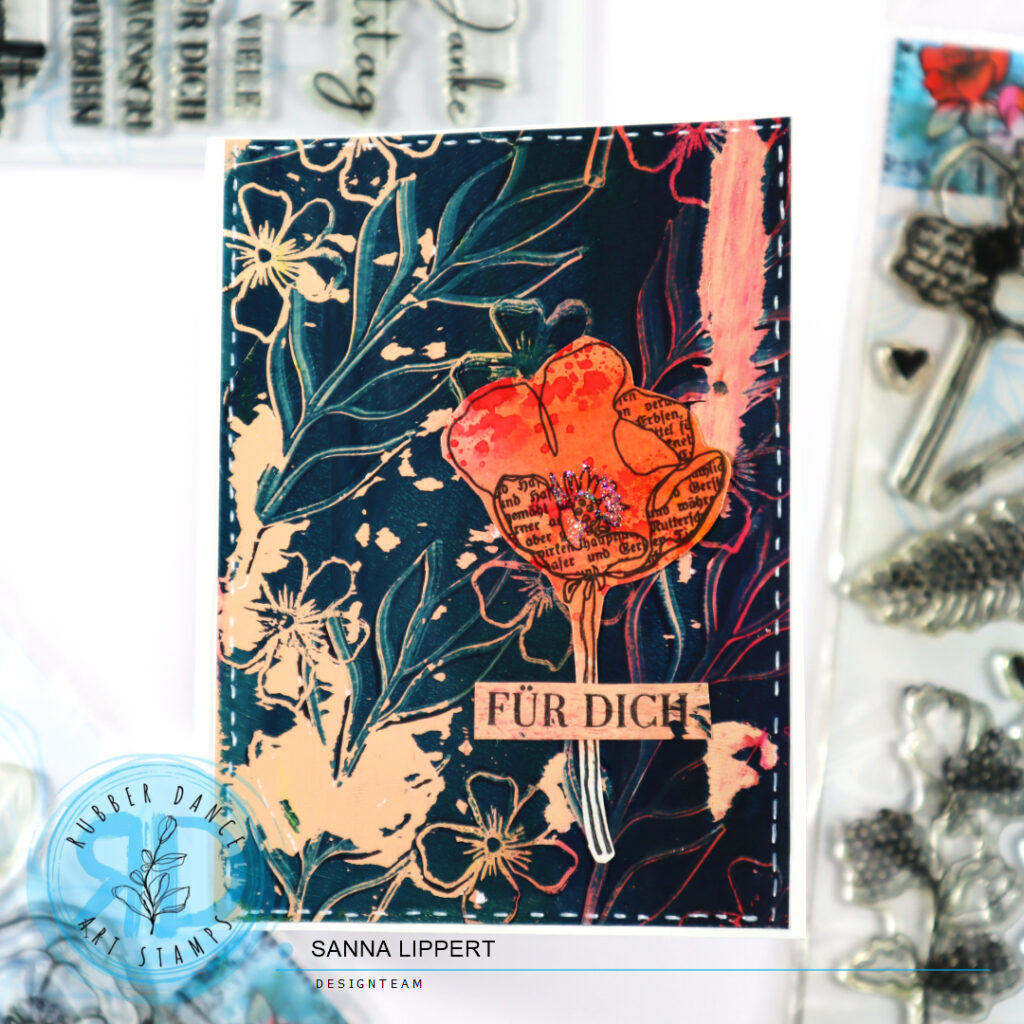
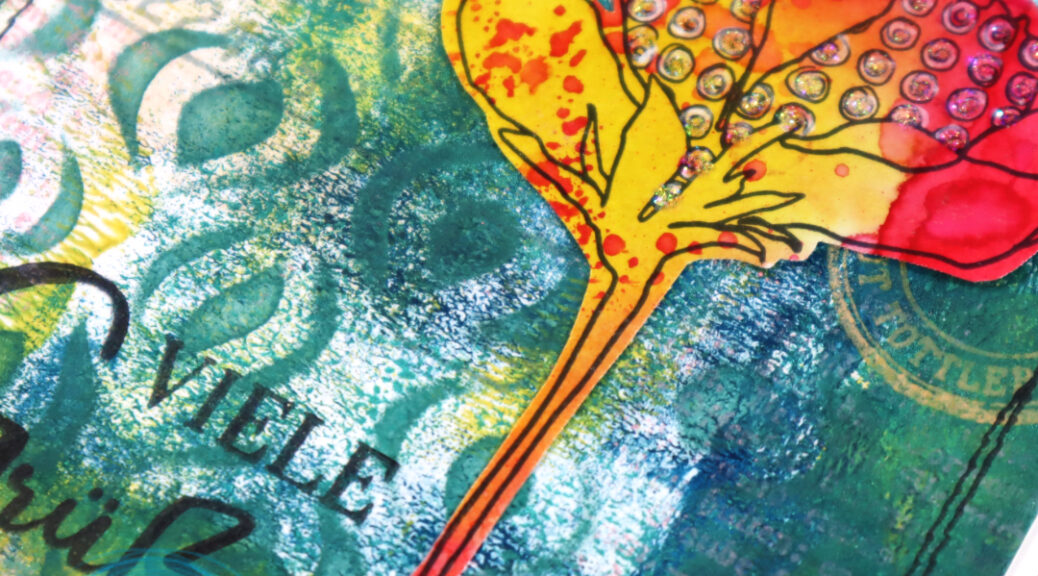
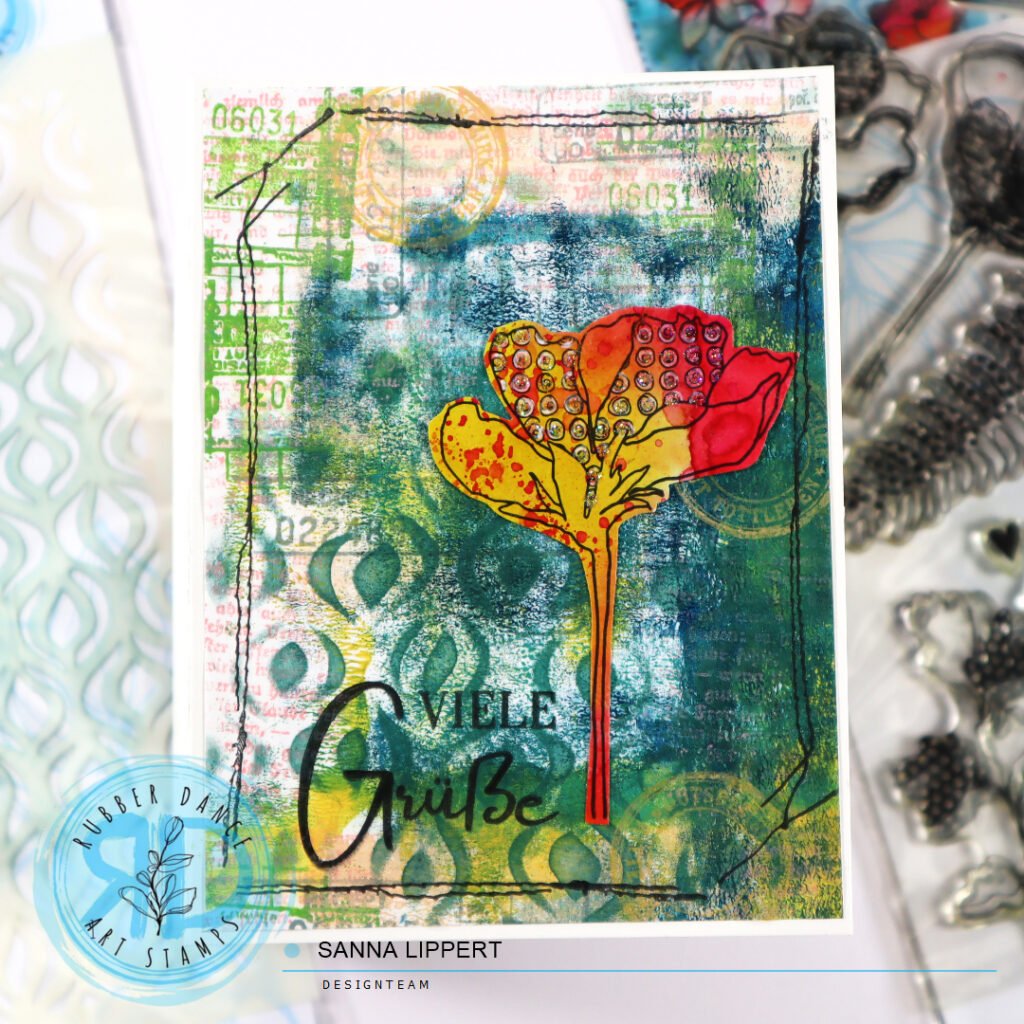
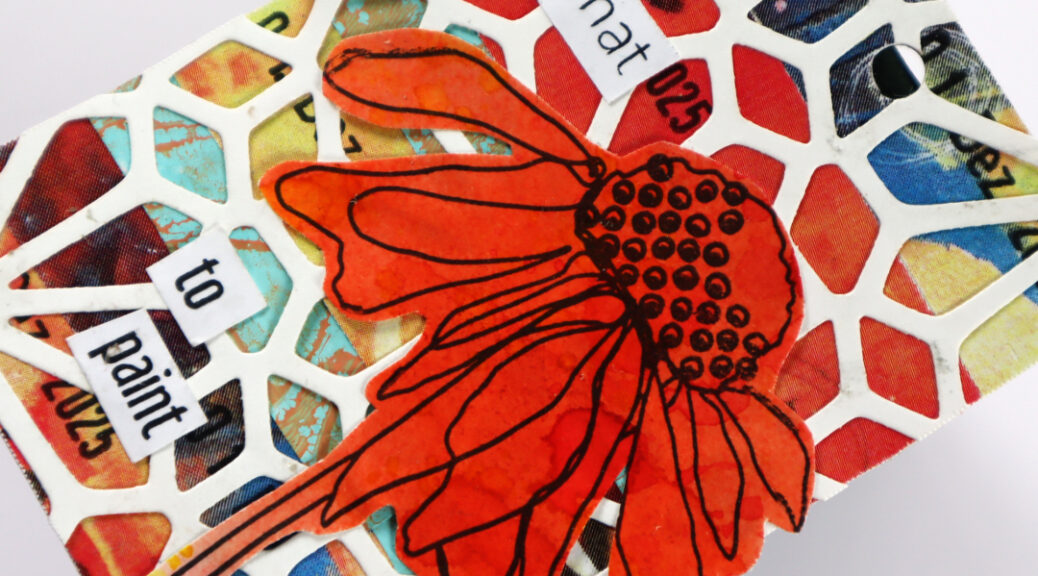
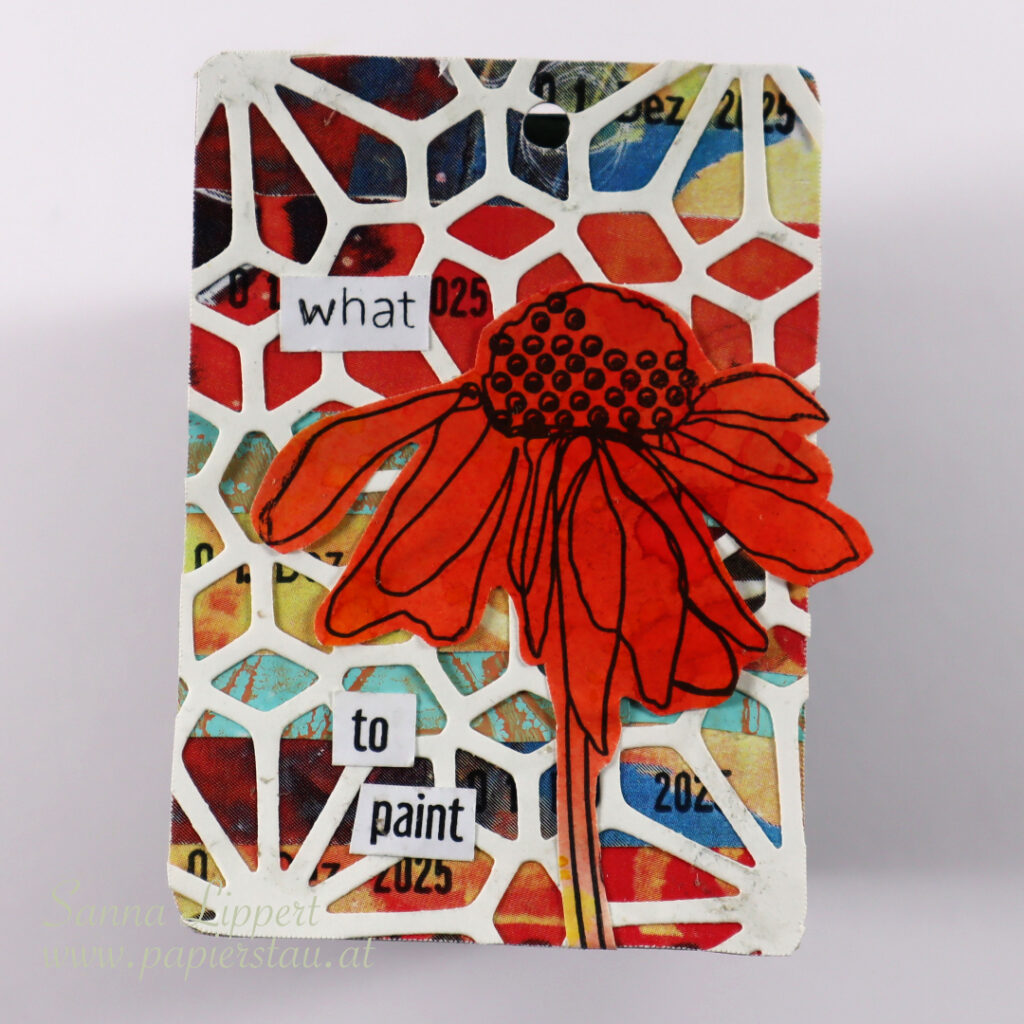
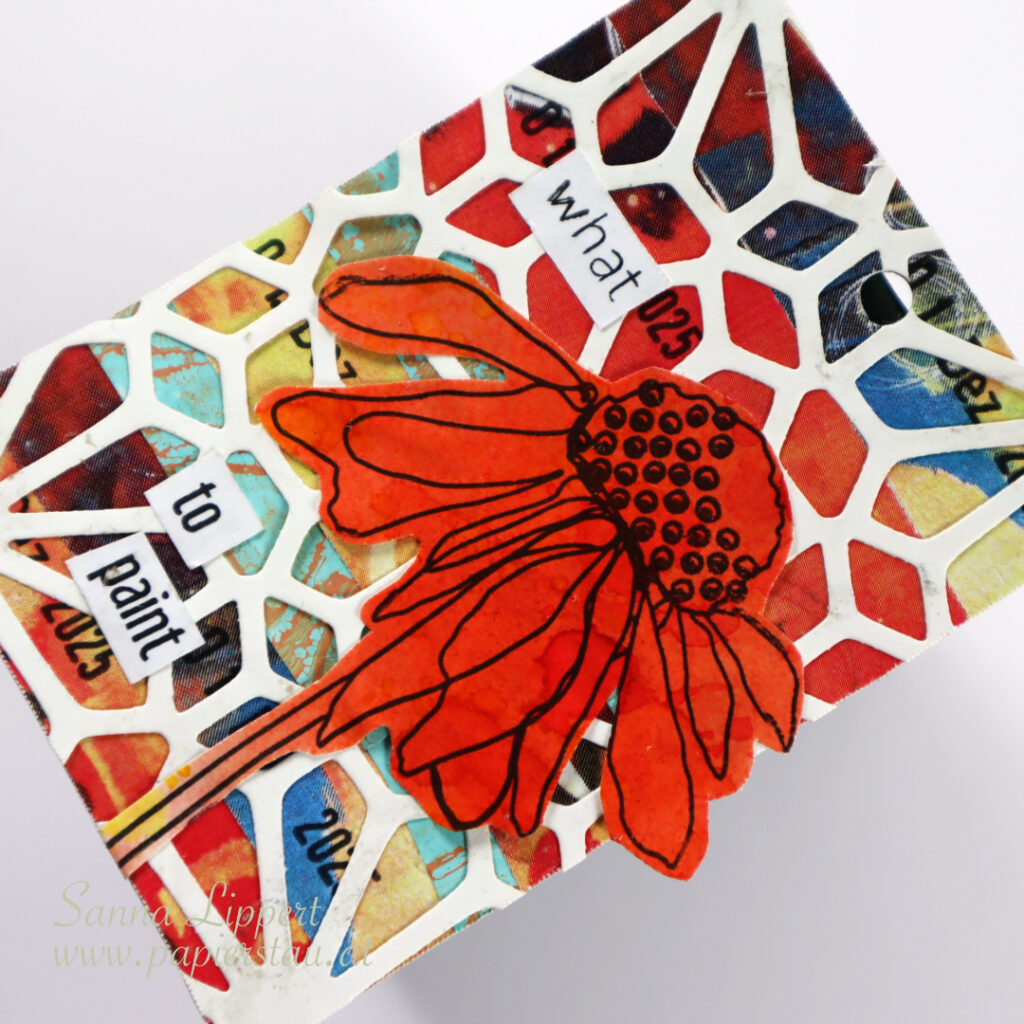
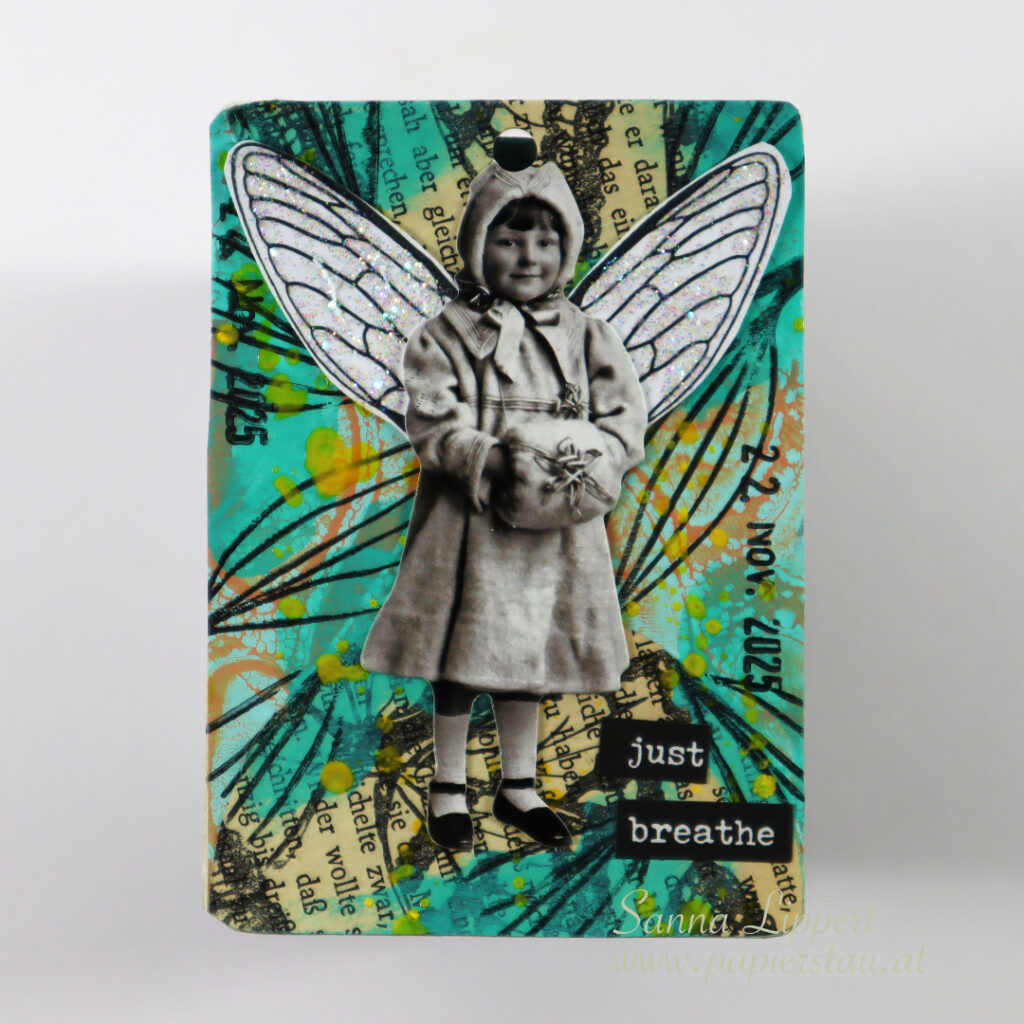
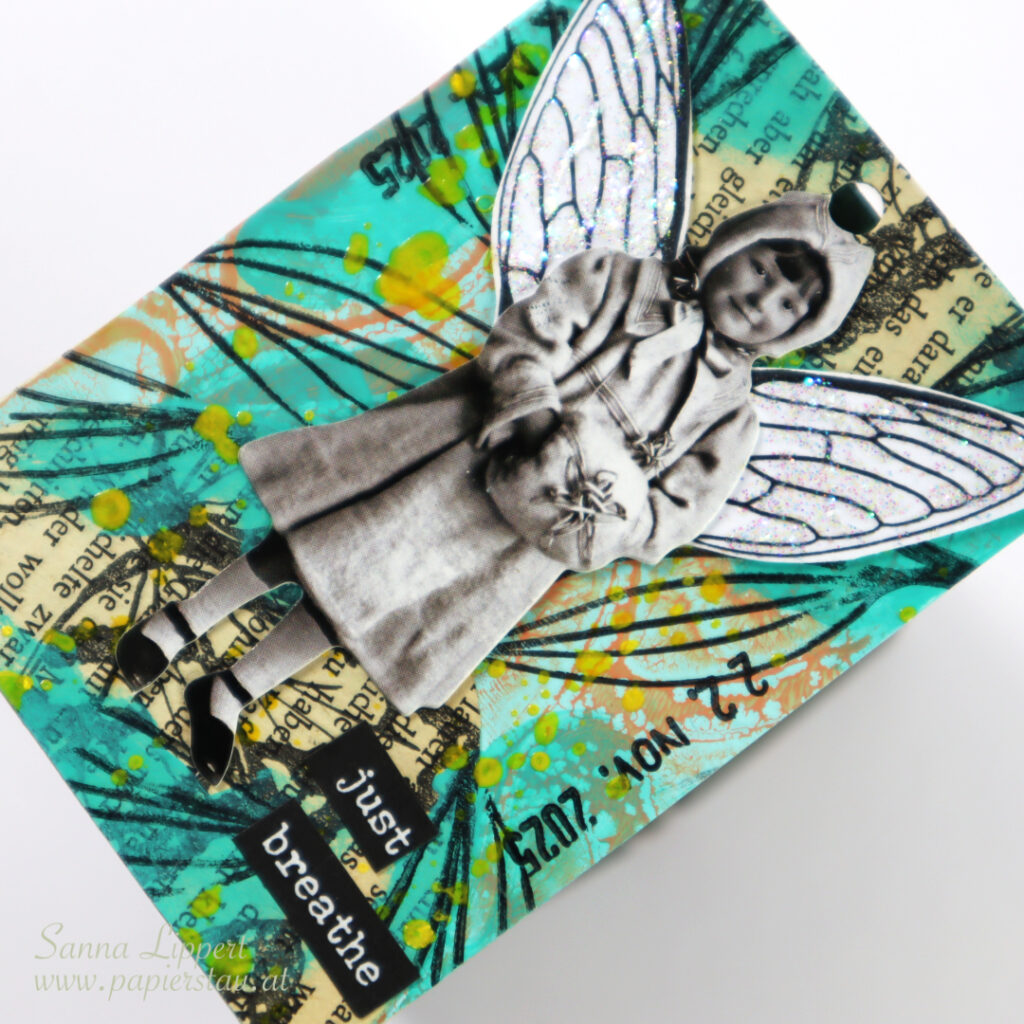
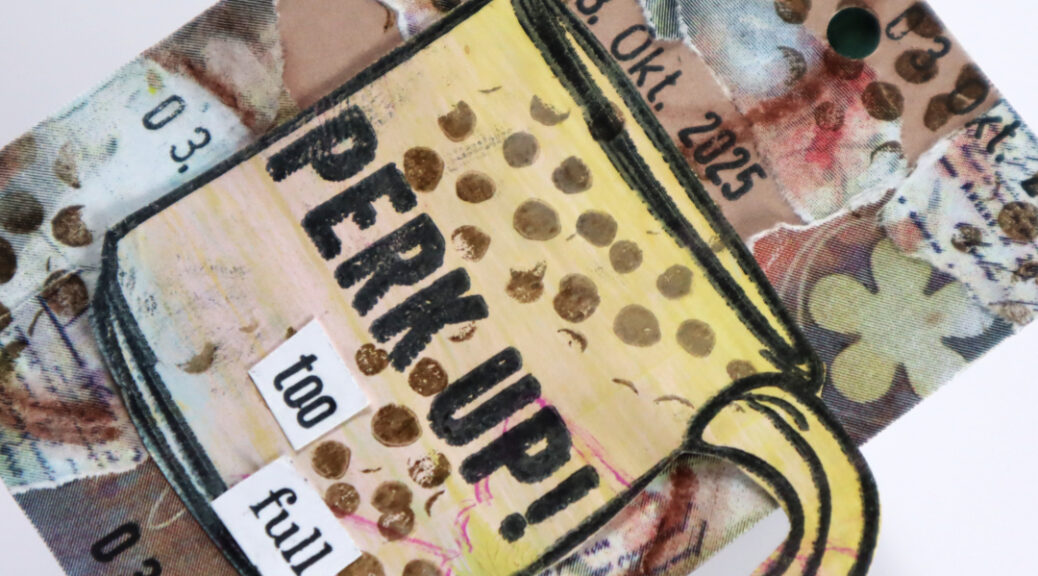
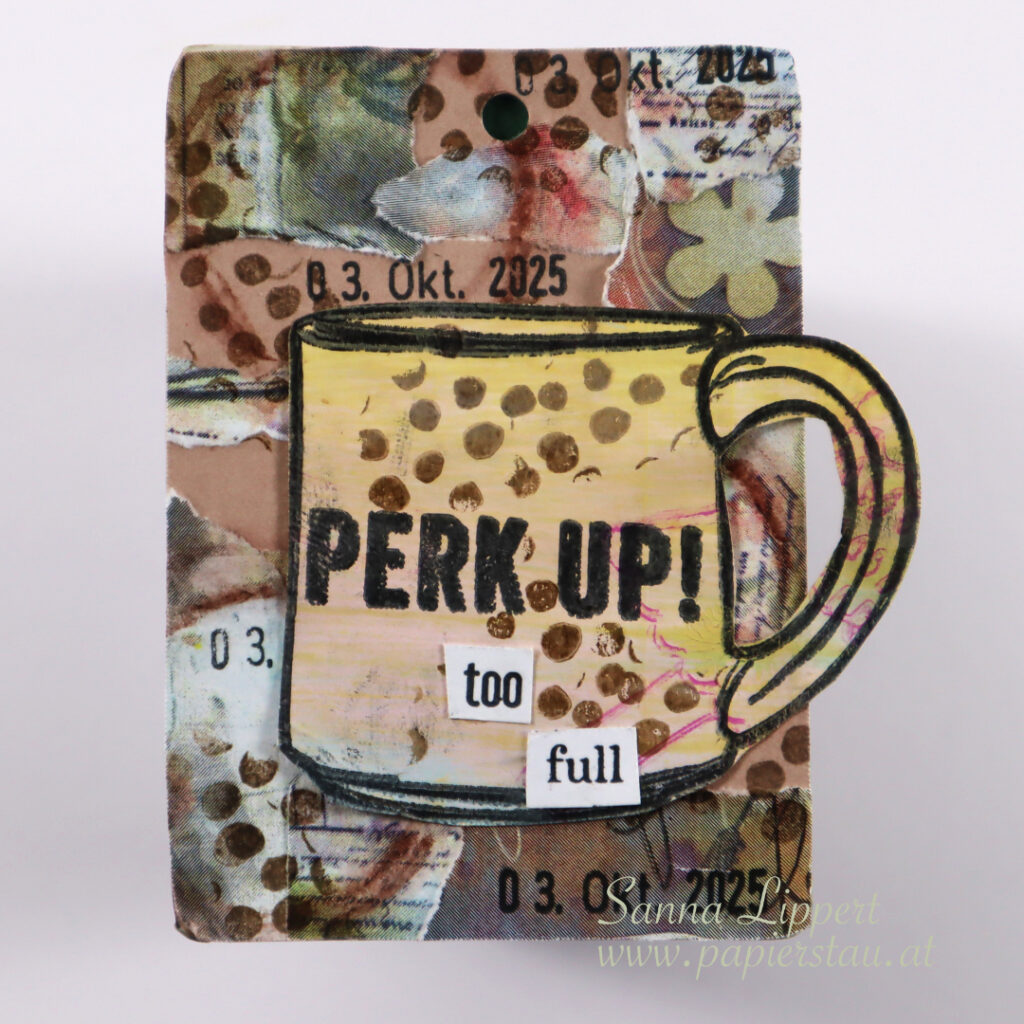
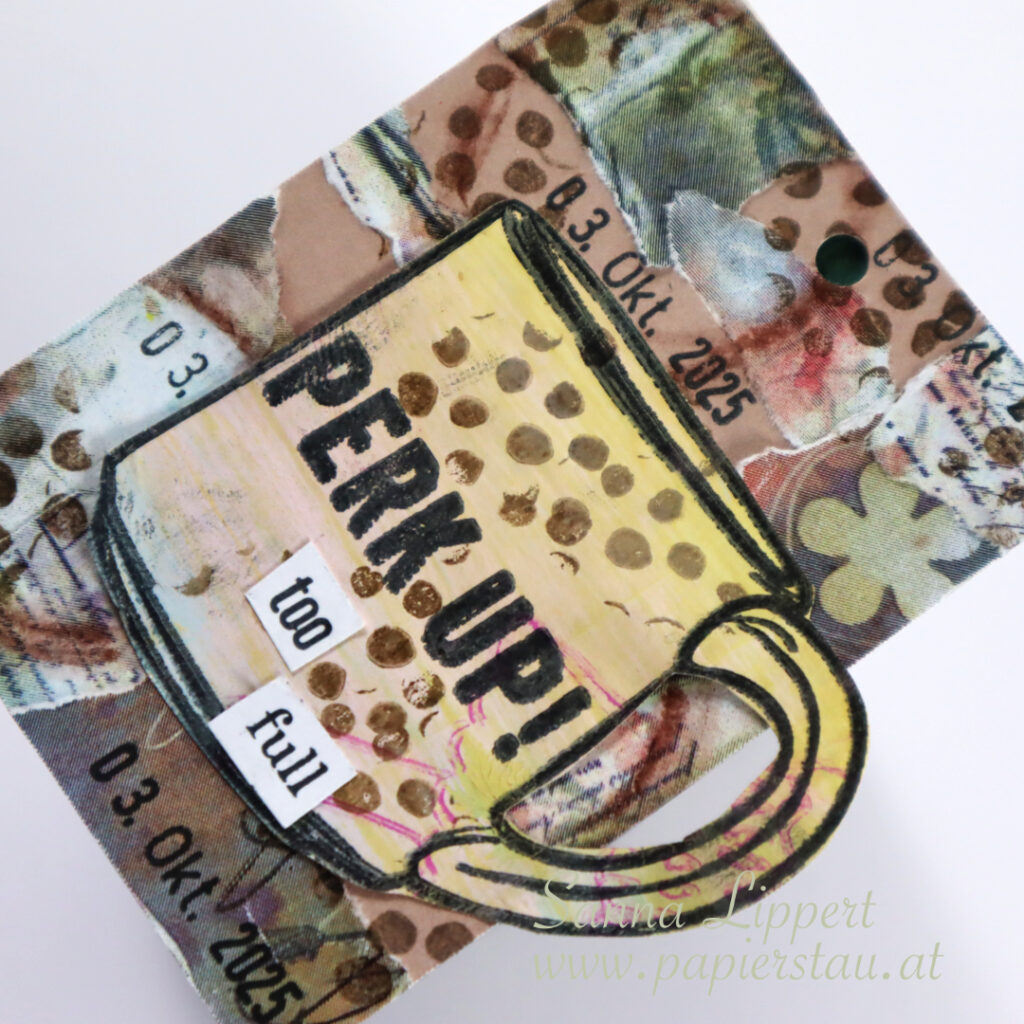
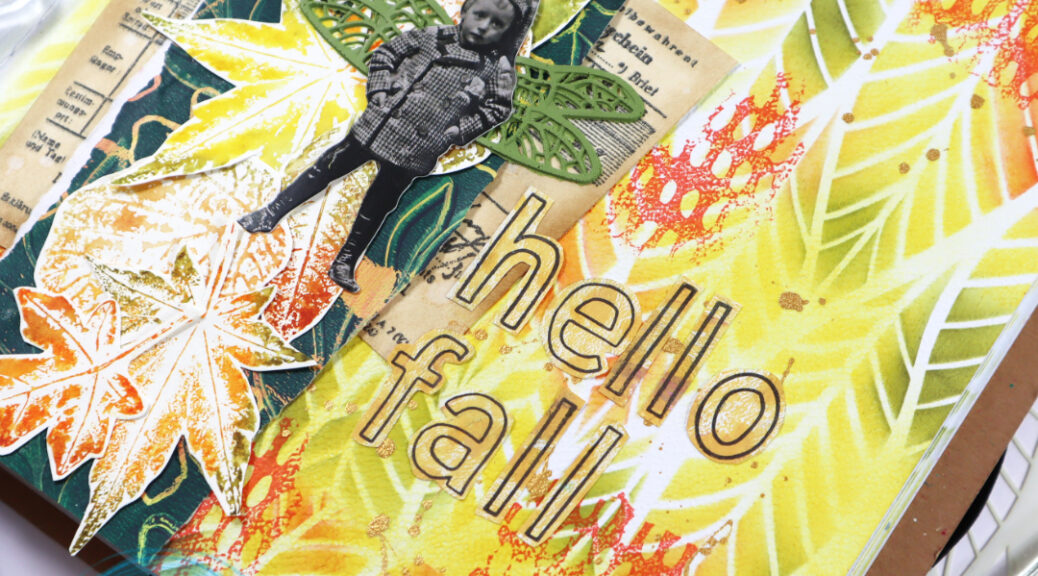
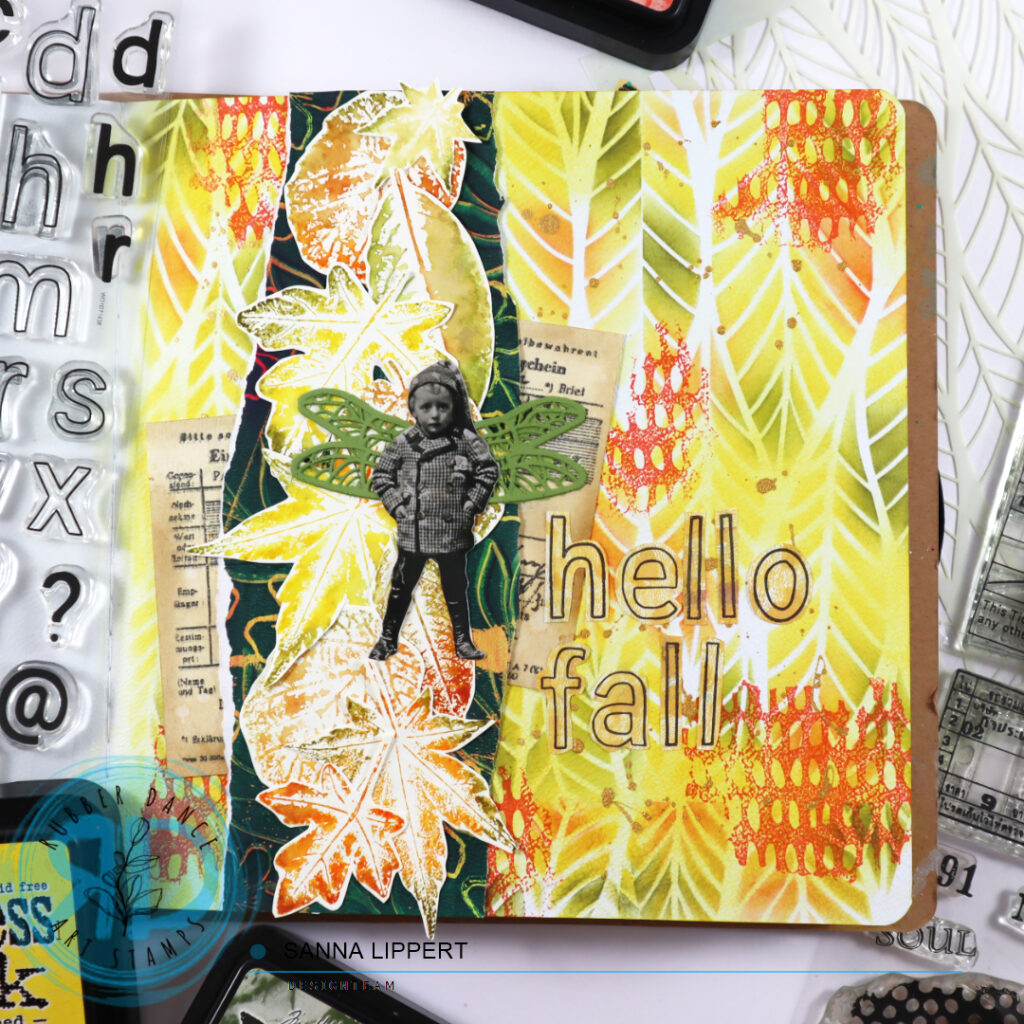
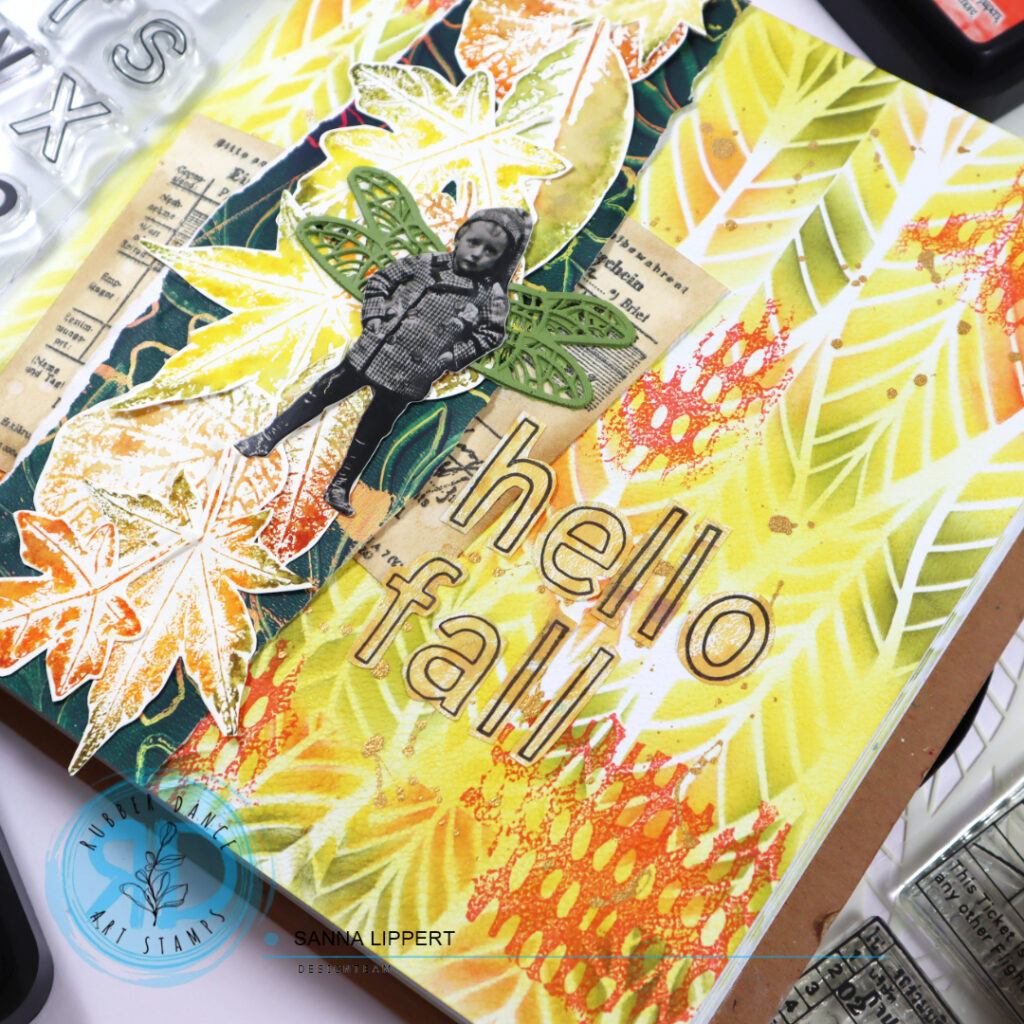
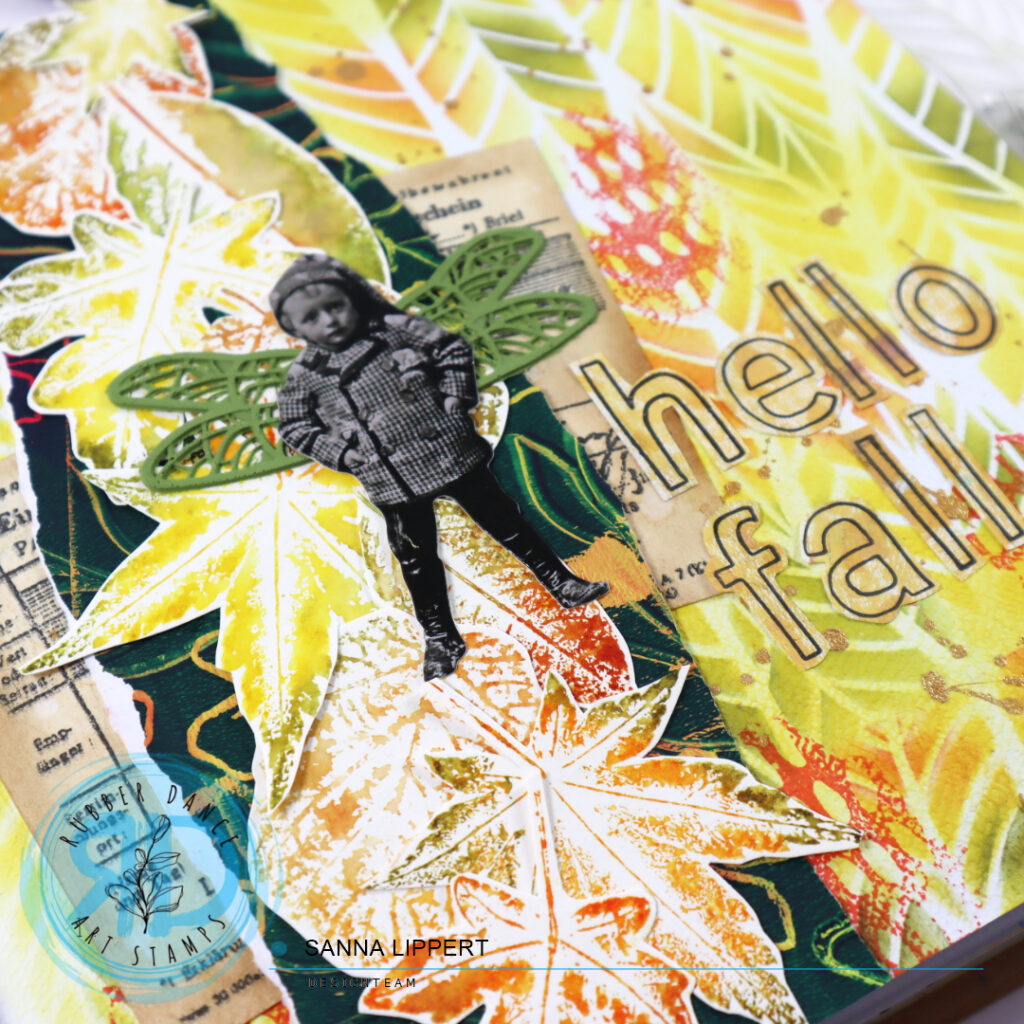
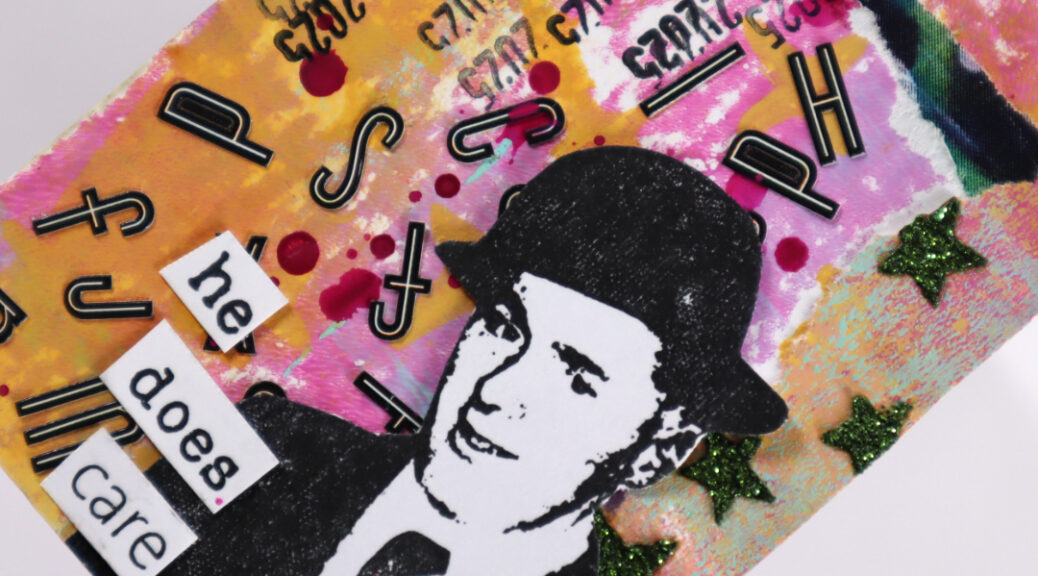
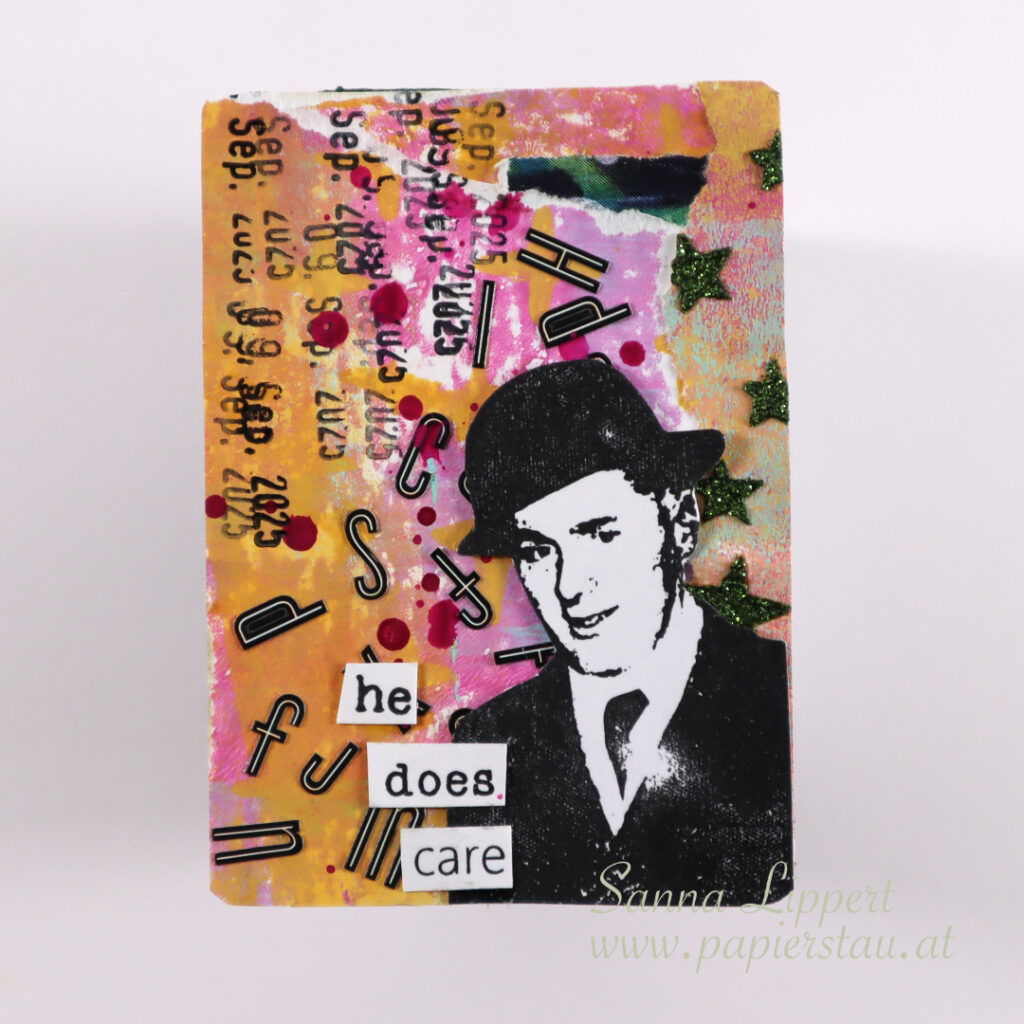
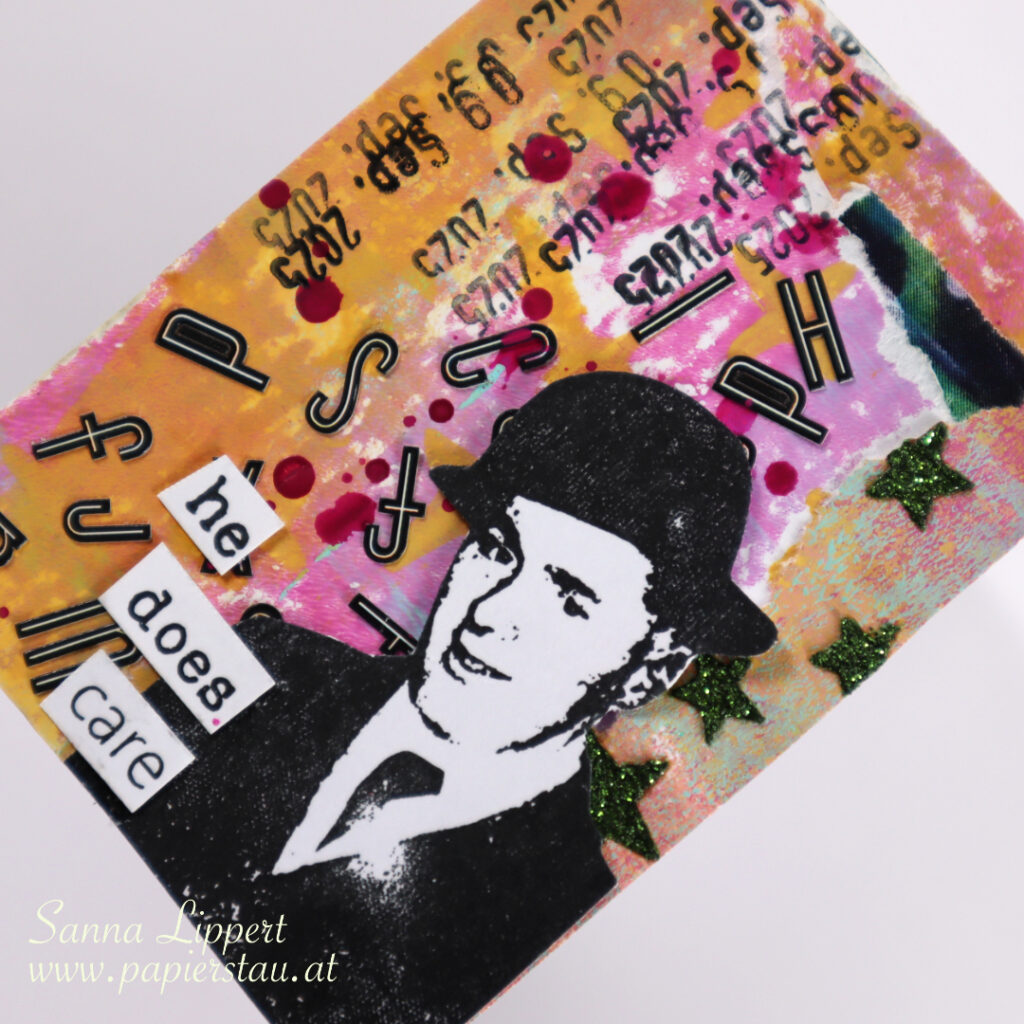
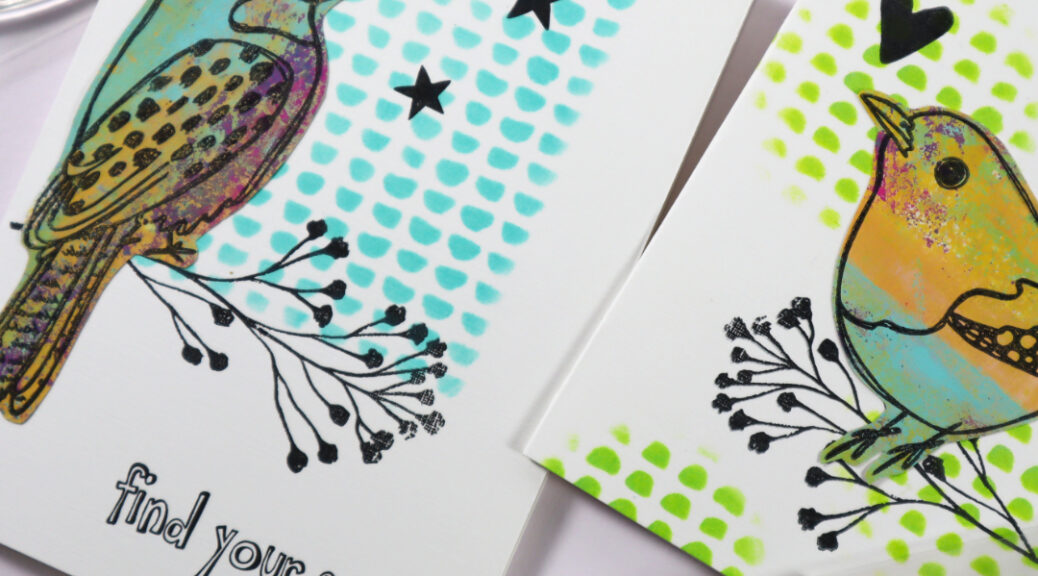
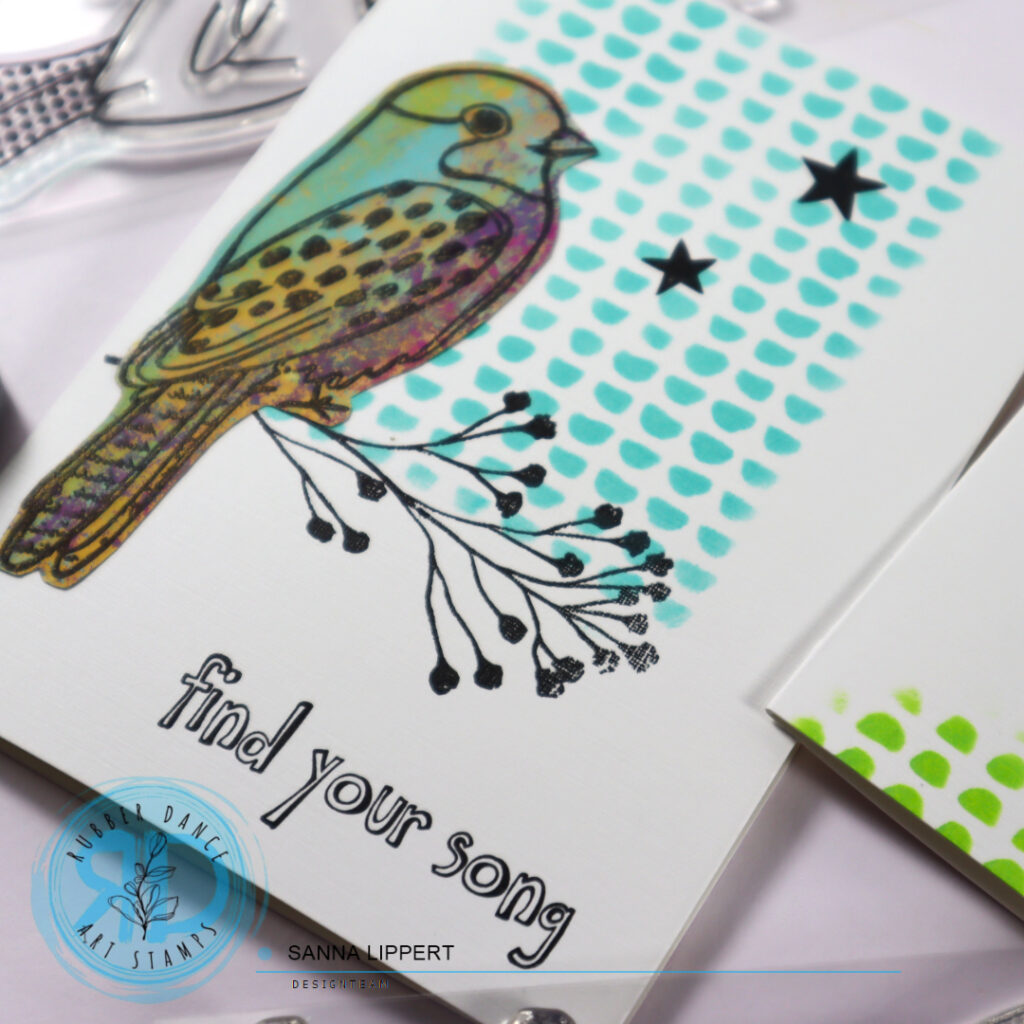
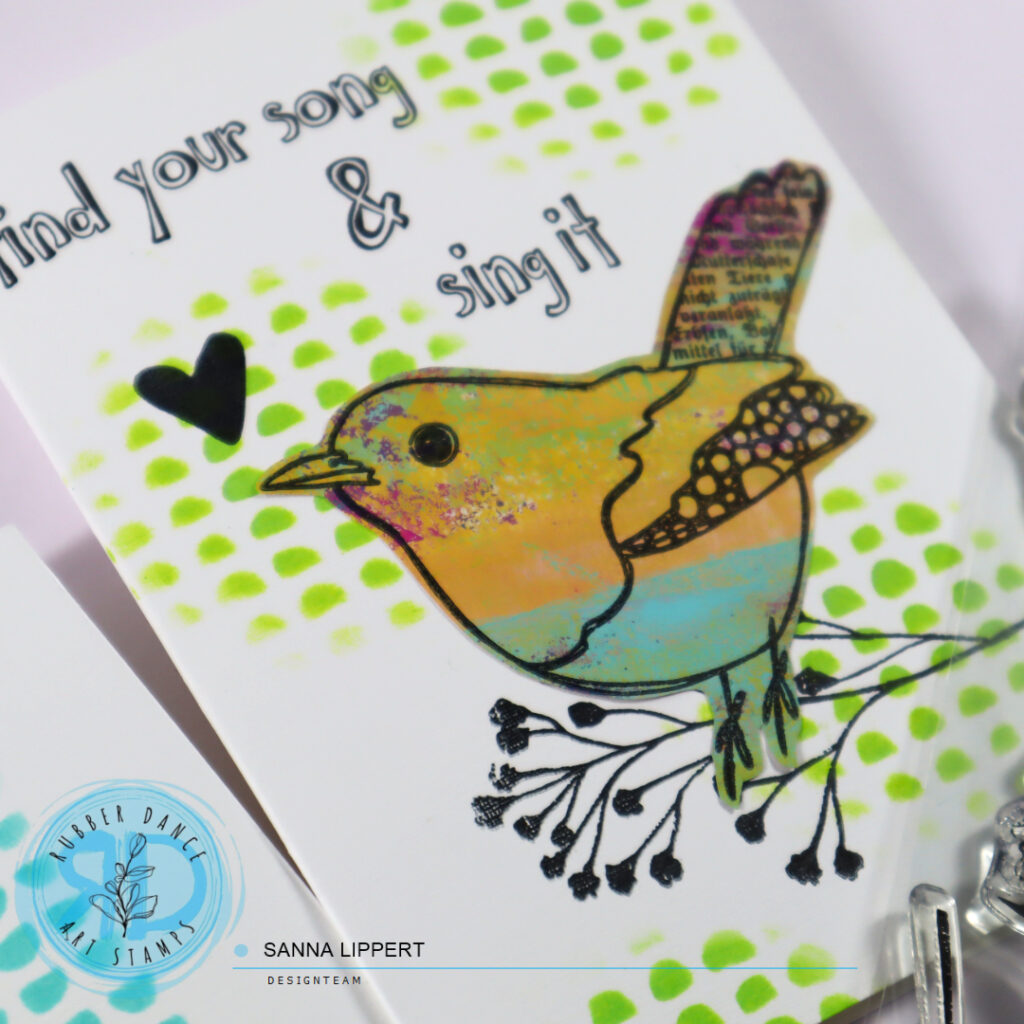
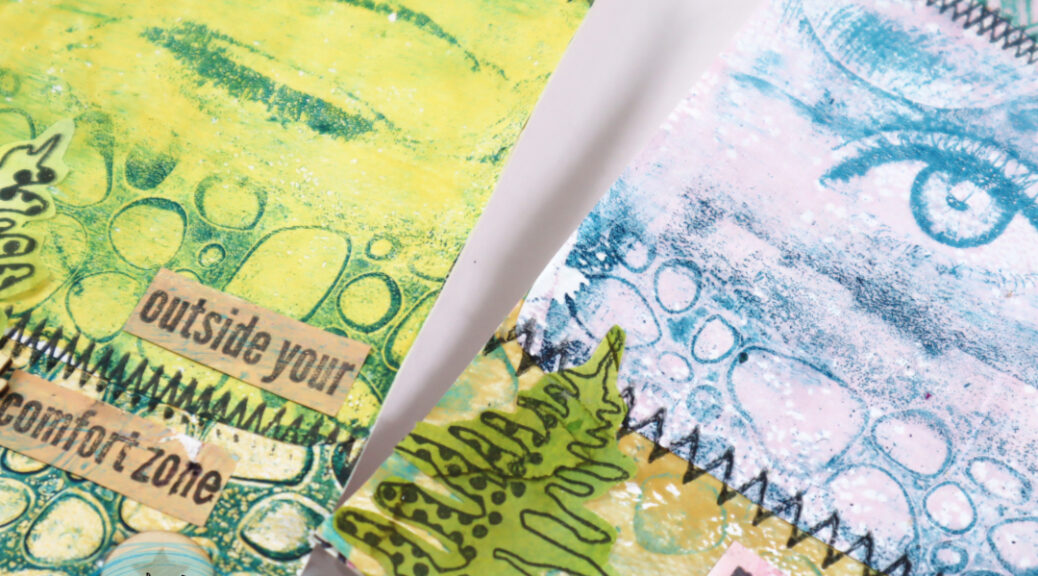
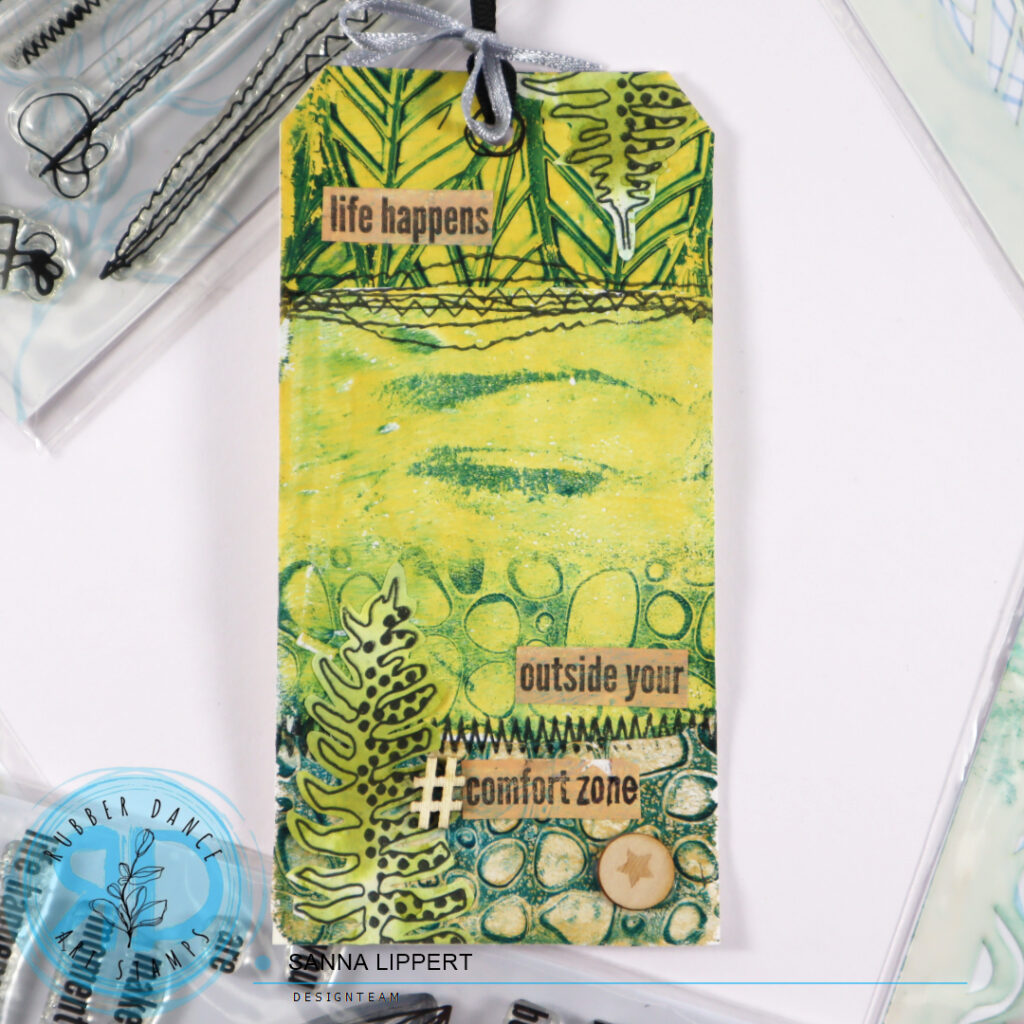
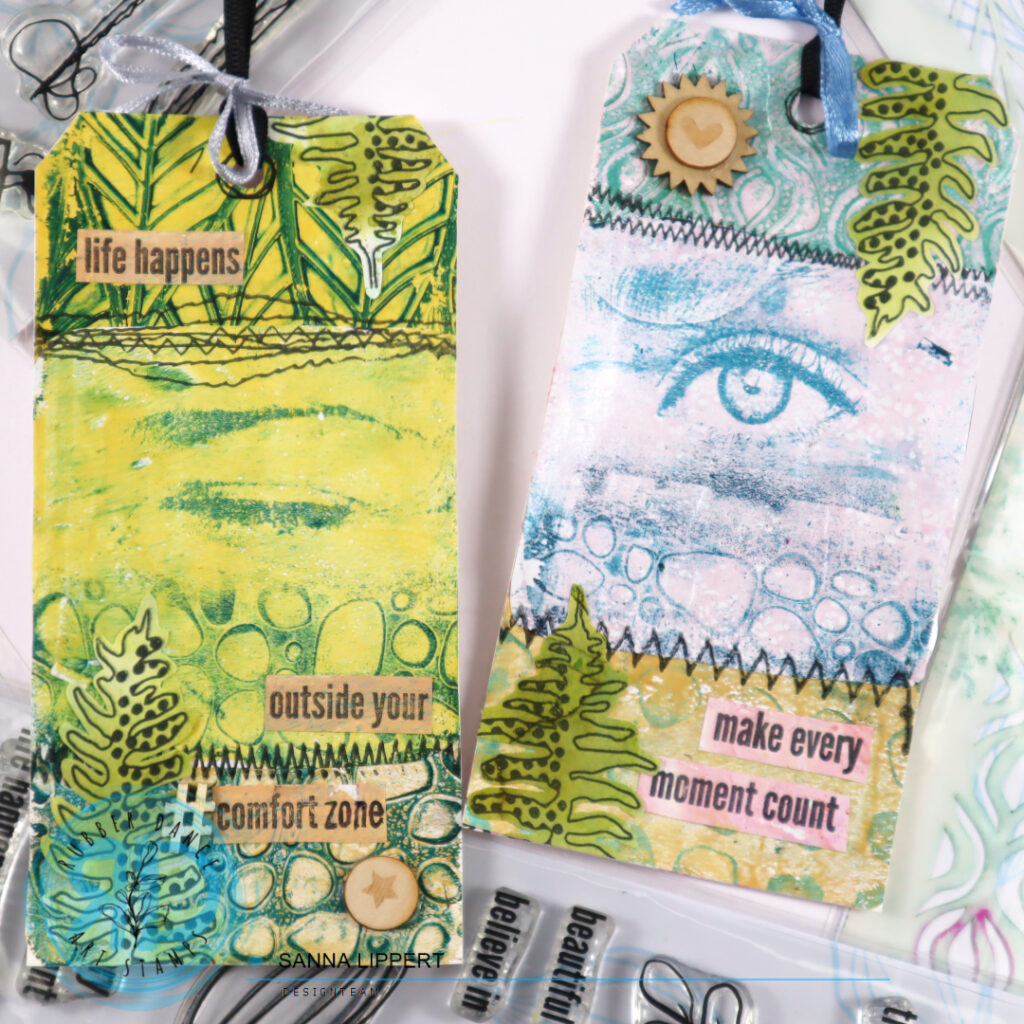
Hello everyone, I´m here today with a set of gelli printed collage paper tags. I´ve used the Leaves #2, Ornament 1, Dotted 1 and Organic 4 stencils to make the gelli printed collage papers. For the stamping and fodder I used the Stitching Borders, Collage Leaves 3 and Doodle Flowers 2 stamp sets.

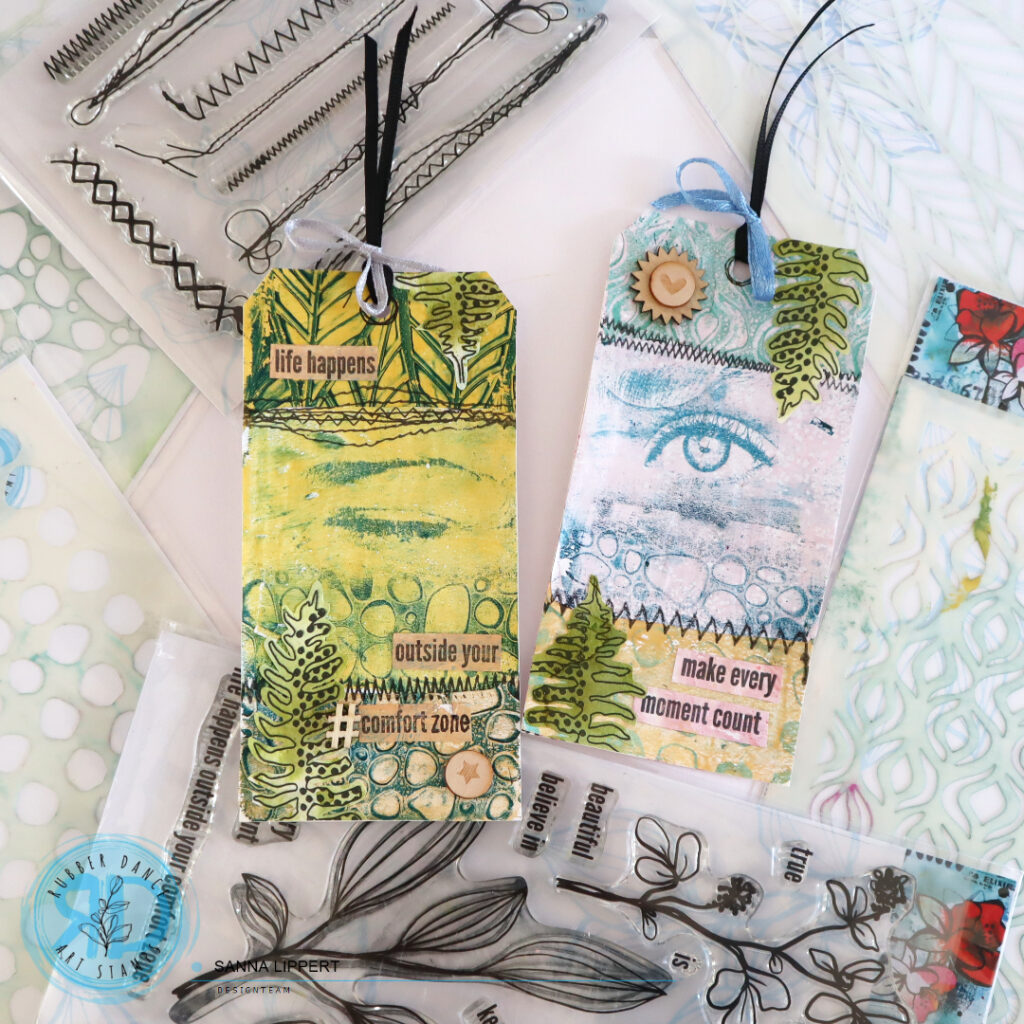
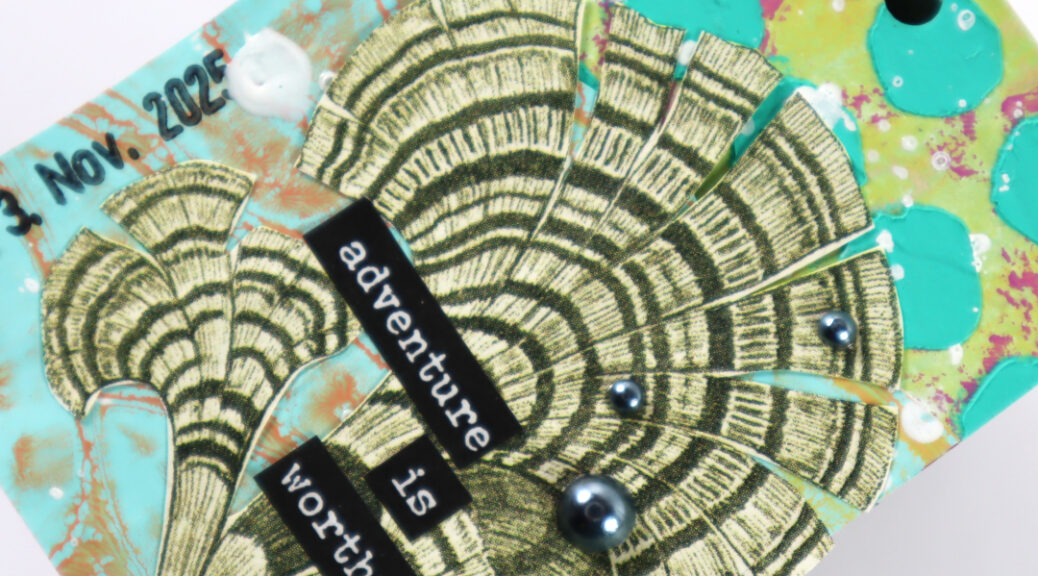
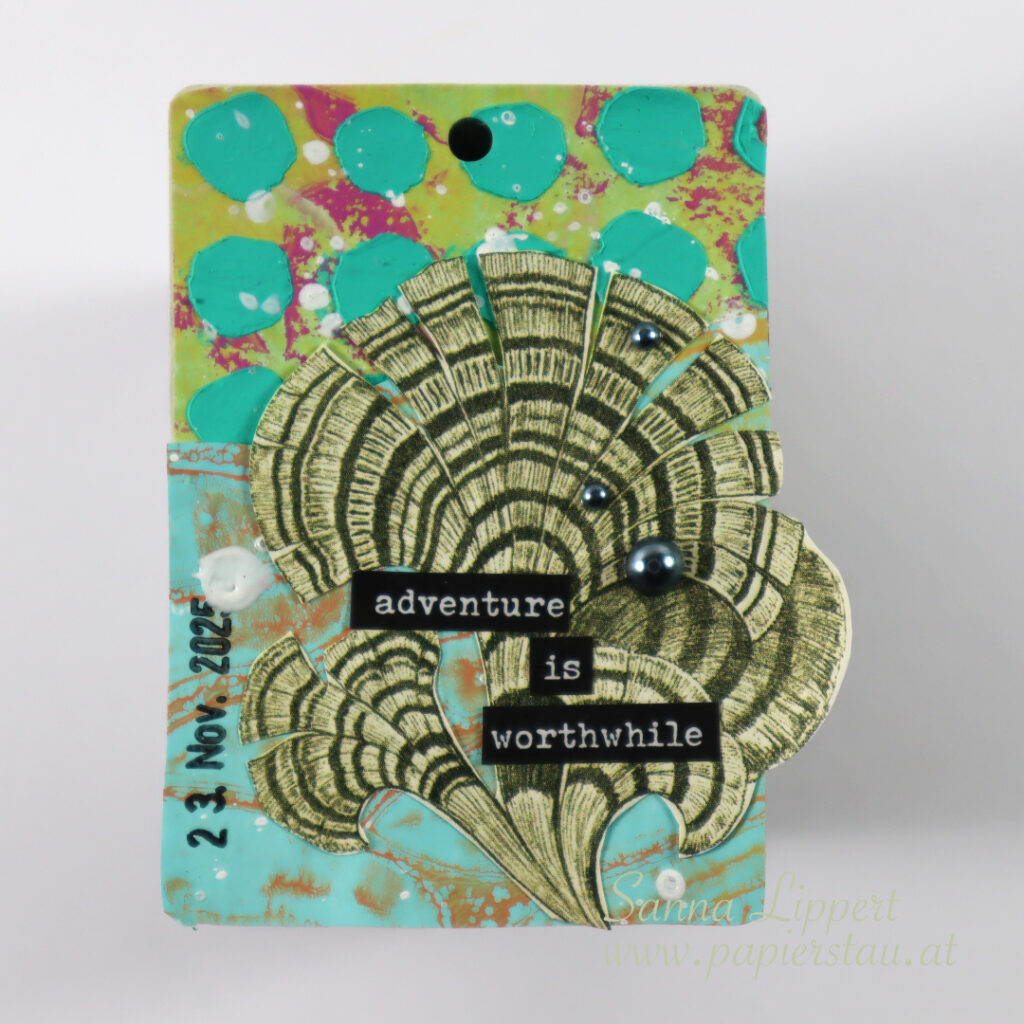
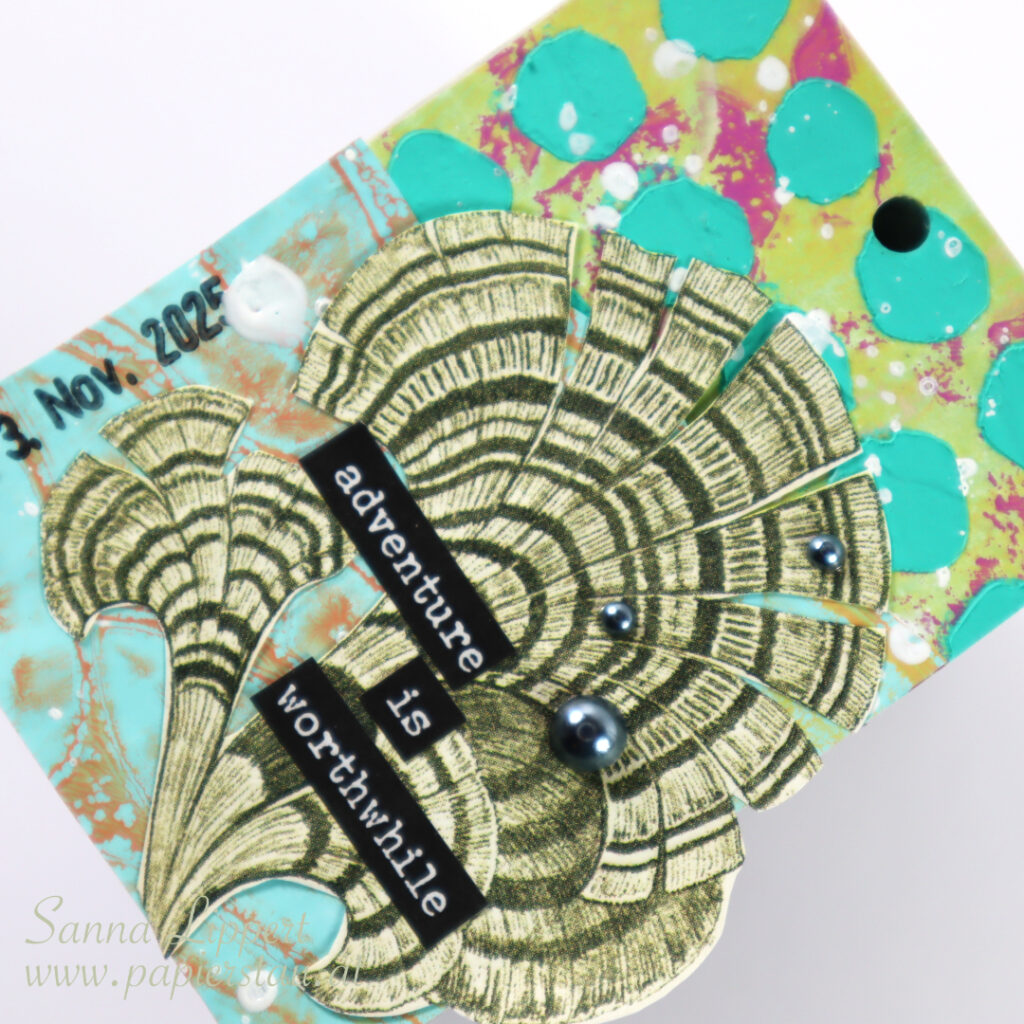
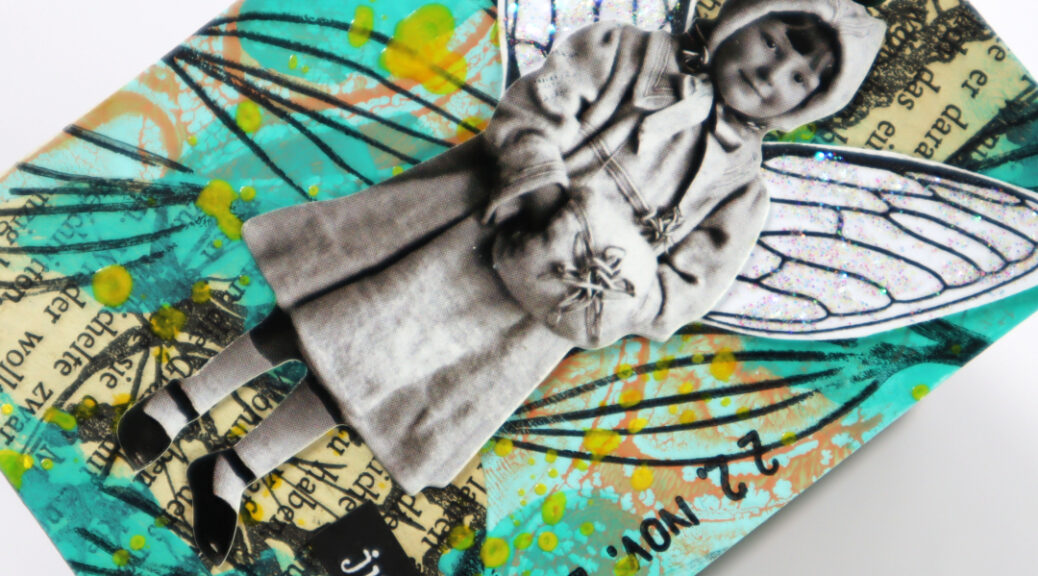
I started by using a Gelli Arts mini printing square plate for creating the stenciled images as well as the stenciled and transfer image ones. After creating plenty of collage paper squares, I chose the ones that worked the best together and adhered those to tags. On top I then added a some stamping with black ink and the Stitching Border set. On top I then added some collage fodder leaves (made with Doodle Flowers 2 set). For finishing touches I added some stamped sentiments from the Collage Leaves 3 stamp set.

For dimension and interest I also adhered a few wood veneer pieces from my stash and added some ribbon to the tags.

On how to make those gelli printed papers, there are plenty of videos available on the interned. I made a few here too. Hope you get inspired to try out making your own collage papers with Rubber Dance stencils and a gel plate. Have fun!
xx, Sanna

Cards with bold backgrounds – Rubber Dance

Hello, today I have a card set share up that feature very bold backgrounds. They don´t need much on top as they really stand out on their own. For these cards I used the Loose Florals 2024 and the Doodle Flowers 2 stamp sets as well as the Kartengrüße set for stamped sentiments.

The background papers are from a gelli printing session where I made my own collage papers using strong colors and the Loose Florals 2024 stamp set. For this set I wripped the paper on one side to create an irregular border and adhered the paper onto a card base. On top I added something light – a lightly inked collage fodder flower in pink. To go with it, I added a few enamel hearts and a stamped sentiment along the cards edge.

On the second set I have a even more distressed look going on on the background. Thus I left the backgorunds full and didn´t wrip the paper. I love the peeled paint look of the paper. It makes it seem like vintage wallpaper in layers. For these cards I again used the same principle. A bold background paper paired with a single flower as a focal point.

Here I added some faux stitching around the edges with a white gel pen. Some glitter glue for detail onto the flowers and a stamped sentiment on a residue piece that has the same tone like some areas on the background piece.

And all these cards are flat and thus very easy to put into mail. Who else loves creating collage papers with stamps and a gelli plate?
xx, Sanna

Working with residue papers – Rubber Dance

Hello, today I´m sharing a card idea that started off from a piece of “waste” paper. I used the Doodle Flowers 2 and the Stitching Borders stamp sets with the Ornament 1 stencil to create this card.

I´ve also “hidden” some light stamping with Distress Oxide Inks and Mix It Up 7 and Mix It Up 5 stamp sets onto the background. This card started with a “waste paper” I brayered gelli printing residue ink onto. I also cleaned my used stencil with a baby wipe thru the Ornament 1 stencil onto this piece of paper. That way the beginning for this backgroud had started by accident in a way.

After cleaning my table I noticed how nice the paper looked like and decided to use it as a card background. I then went and used the Mix It Up 5 stamp set iwth various light Distress Oxide Ink colours to add details to the white areas. After that I grabbed some collage fodder flowers from my stash, added one to the card as a focal point and stamped the sentiment with Kartengrüße stamp set. For finishing touches I added the faux stitching with black ink and some glitter glue to the flower for detail.

I love to use this type of papers as a starting point and give them a new life as a card background, for example. I think this one turned out pretty nice. Have you tried this idea?
xx, Sanna

Full Deck Challenge 49/2025 – mosaic

Hello! This is my take on the ShanoukiArt 2025 Full Deck Challenge number 49: mosaic.

As my carry over item I used some of the gelli printed blue collage paper from my previous deck card. To that I added some collage papers gifted t me by Yuna. Then I added my constant – a date stamp.

On top I used a die cut piece (Elizabeth Craft Designs) that reminds me of mosaics. On top a collage flower by Rubber Dance and some stamped words.

Here is the video for details:

See you soon with my next take!
xxx, Sanna

Full Deck Challenge 47/2025 – under the sea

Hello! This is my take on the ShanoukiArt Full Deck Challenge 47/2025 – under the sea.

My carry over item is the turquoise, gelli printed collage paper. To that I added a stenciled, gell printed paper. On top is my constant, a date stamp.

Next I added some Dina Wakley Gloss Spray in white and a fussy cut, sea themed collage paper (coral). On top some half pearls and Tim Holtz sticker words.

Here is the step-by-step video:

See you soon with another FDC take!
xx, Sanna

Full Deck Challenge 46/2025 – fairy

Hello! Here is my take on the ShanoukiArt Full Deck Challenge number 46: fairy.

For this one I used the butterfly stamped old book paper bits as a carry-over-item. To those I added some gelli printed collage papers in turquoise and some Dina Wakley heavy body paint in turquoise. After that I added my constant – the date stamp.

After that I added some yellow Dina Wakley Gloss Spray and stamped leaves with this Rubber Dance stamp to the background. As a focal point I added a Tim Holtz paper doll and fairy wings from a Rubber Dance stamp set. I added some Stickles for shine to them, too. The sticker words are by Tim Holtz.

Here is the step-by-step video:

See you again next week with another take!
xx, Sanna

Full Deck Challenge 37/2025 – coffee

Hello and happy Thursday! Here is my take on the ShanoukiArt “Full Deck Challenge 2025”, number 37: coffee.

I used collage papers gifted to me by Yuna from Australia and cafe con leche colored paper strips on the background. The collage papers are my carry over items from the previous deck card. On top I added some stamping with Hero Arts “cup-o-joe” brown ink (again the coffee theme there) and this Rubber Dance stamp.

After that I took a piece of gelli printed paper and stamped a STAMPlorations coffee mug with a sentiment as my focal point. I then also added the same brown stamp ink and stamping onto the mug. My constant is a date stamp (on the background) and I again used this Rubber Dance stamp set words to add detail.

Here is the process video:

See you again next week with another take!
Happy crafting,
xx, Sanna

“Hello Fall” Art journal page – Rubber Dance

Hello! It´s my turn to share another project created with Rubber Dance goodies over at their blog today. I am up with a fall themed art journal page process video step-by-step. I used one of my favorite stencils, the Leaves 2, for the background. More details were added with Autumn Leaves, Mix It Up 7, A to Z and Loose Florals 2024 stamp sets.

I started with the Leaves 2 stencil and Distress Inks in peeled paint, mustard seed, ripe persimmon and forest moss. I placed the stencil onto the page and started by adding the yellow ink tone. Then I took the other ink pads and brushed just tiny areas with them. I then flipped the stencil over and continued with the pattern (my page is bigger than the stencil) in the same way. After that I added some yellow to the background with a blending brush. Next I added stamped elements with the Mix It Up 7 stamp set.

Since it is a fall themed art journal page, I added some gold pigment with a water brush pen, too. Then I chose one of my gelli printed collage papers and wripped it into size. It is made using the Loose Florals 2024 stamp set on a gel plate (see the video here). After adhering the collage paper on place I took out some watercolor style stamped (see video here) Autumn Leaves and arranged them on top.

I also tuck a DIY vintage ticket (see video here) under the collage paper to create a cluster. On top of it all I added a Tim Holtz paper doll with dragonfly wings. I stamped the title with A to Z stamp set onto a paint residue paper and fussy cut the letters with scissors.

And here is the art journal page process video. Have fun watching!

I just love how the background turned out. I might just use that same idea on some cards!!
Happy creating,
xx, Sanna

Full Deck Challenge 35/2025 – letters of the alphabet

Hello and happy Wednesday! Here is my take on the ShanoukiArt Full Deck Challenge number 35: letters of the alphabet.

As my carry over item from the previous deck card, I used the dark green paper strip and the one with the stenciled stars on it (on the previous card I used the backside, here it´s the front).

The other paper piece is from my gelli printing projects, where I wipe residue inks etc. onto a separate paper. I usually save these papers for later use and somehow they always find a way into artworks.

My constant is a date stamp and it´s added to the background in a repeated manner. I then used tiny sticker alphas as my “letters of the alphabet”. I scattered them onto the background very randomly to create a pattern with them. Next I took a fuchsia Posca pen and added splatters with the marker tothe surface.

I finished the card off with a Rubber Dance stamp image from the set “Mix It Up 6” and added stamped words from the “Mix A Sentiment 2023” set.

Here is again the process video – have fun watching!

See you again next week with another deck card take!
xx, Sanna

Fast and easy-to-do bird cards – Rubber Dance

Hello! It´s my turn to share a project over at Rubber Dance blog today. I have an easy-to-do set of cards up. I used the Mini Marks 1 stencil, the Textured Birds 2 and Weed Love stamp sets for these cards.

I started by stamping the birds onto a gelli printed paper and then fussy cutting them. After that I used the Mini Marks 1 stencil on the card backgrounds with Distress Oxide Inks (twisted citron and salvaged patina) and a blending tool. Next I stamped a “branch” to the card for the birds to sit on using the Weed Love stamp set. After adhering the birds onto place I added the stamped sentiments and a few hearts and stars to the cards.

Here is a short start-to-finish video for you to watch. Hope you like the idea!

If you have leftover gelli printed papers, try using them for creating coloful bird images next time. Then grab a stencil and you have a finished card created in no time!
Happy crafting,
xxx, Sanna