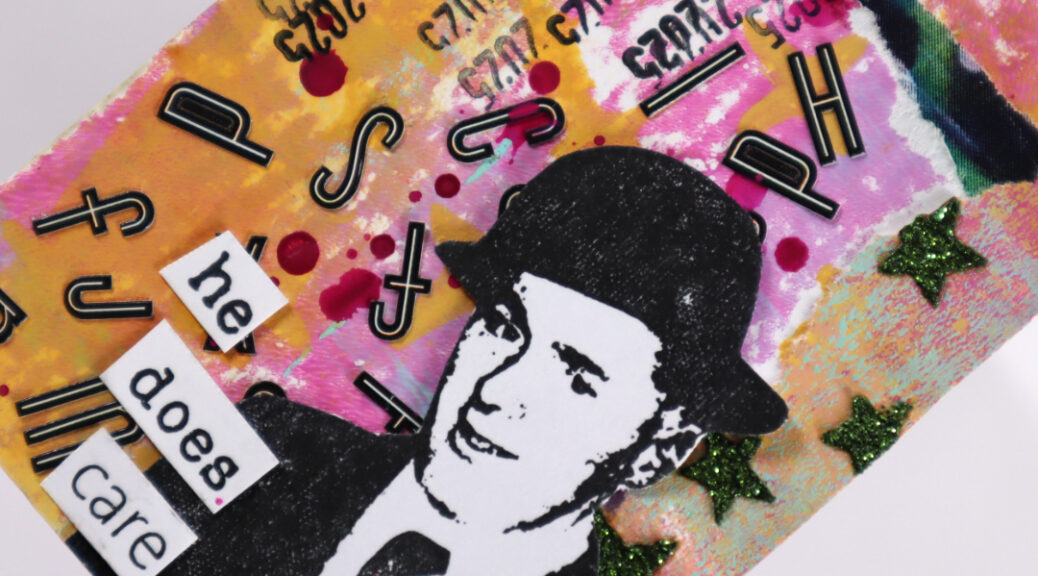
Hello and happy Wednesday! Here is my take on the ShanoukiArt Full Deck Challenge number 35: letters of the alphabet.
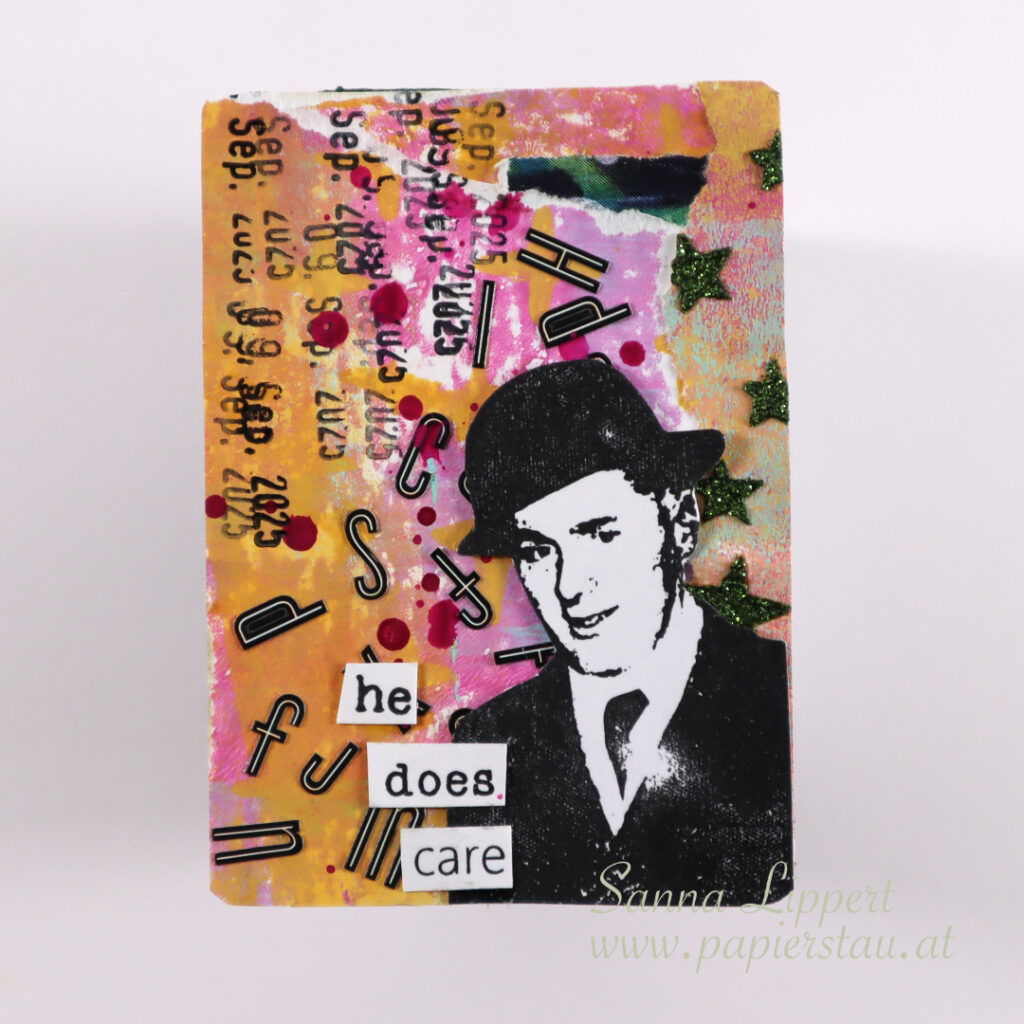
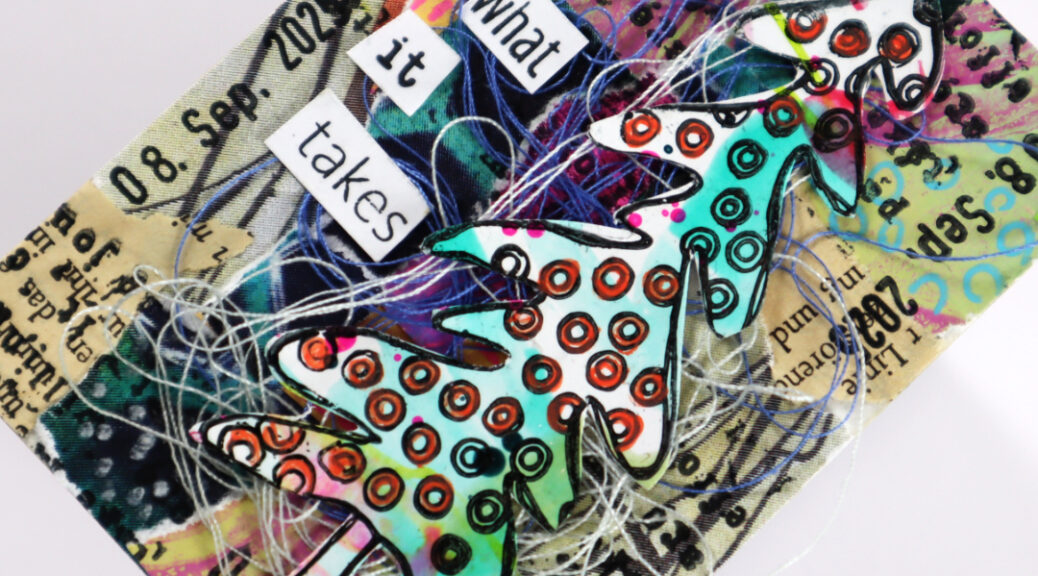
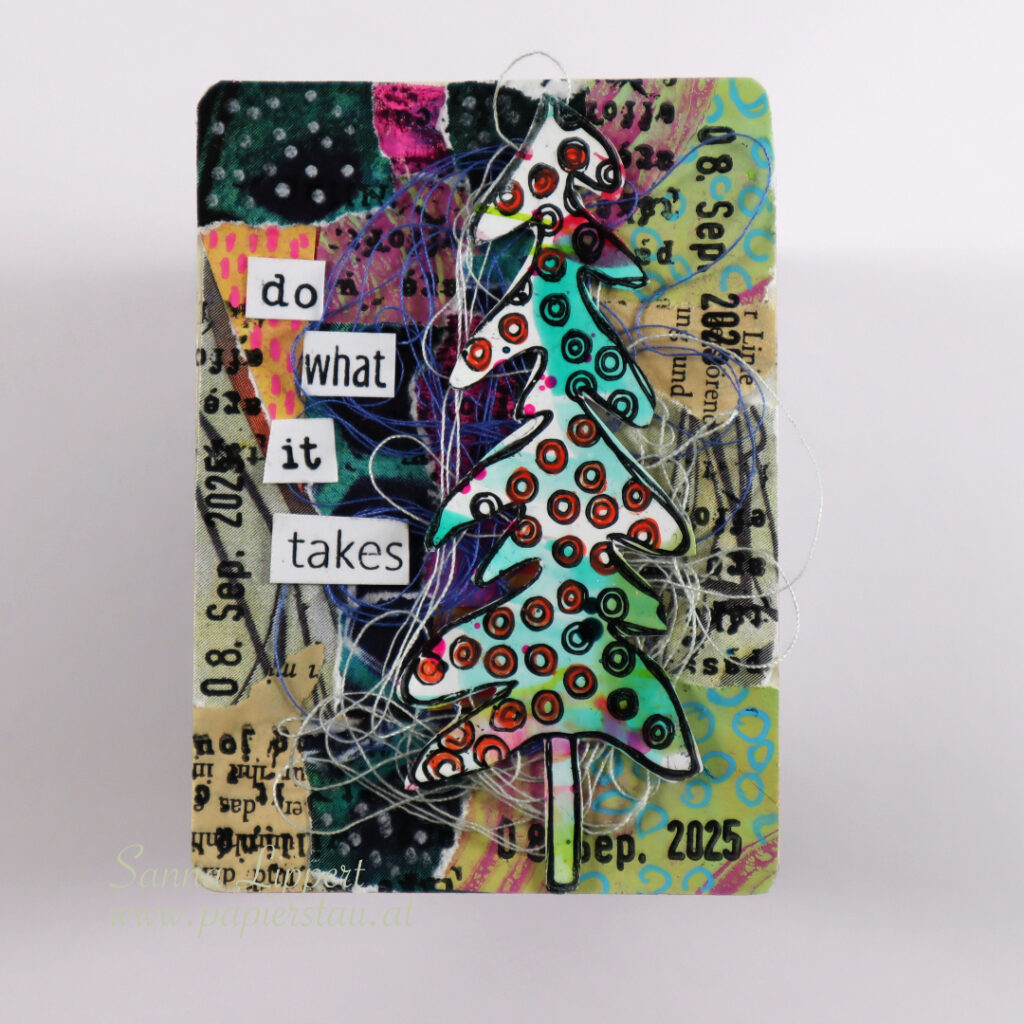
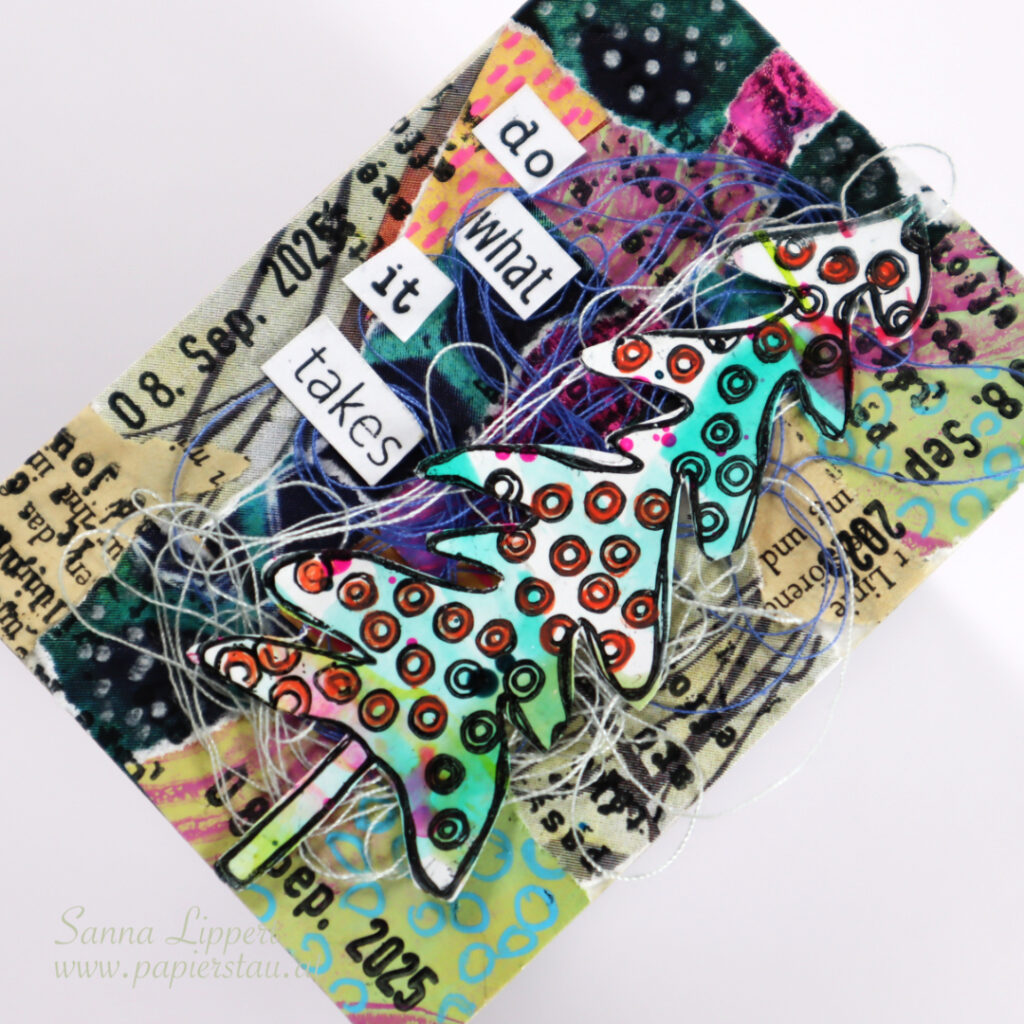
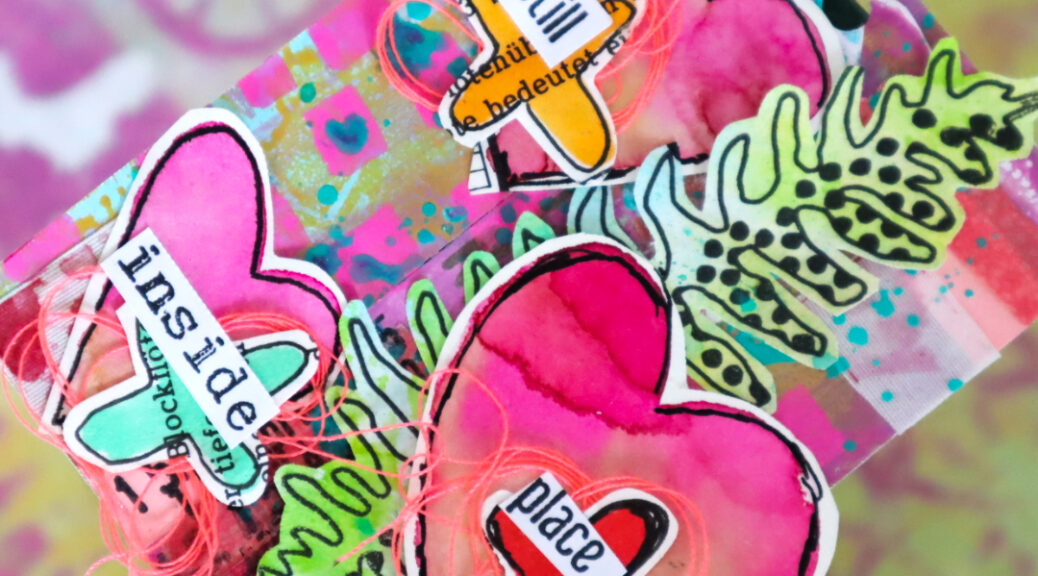
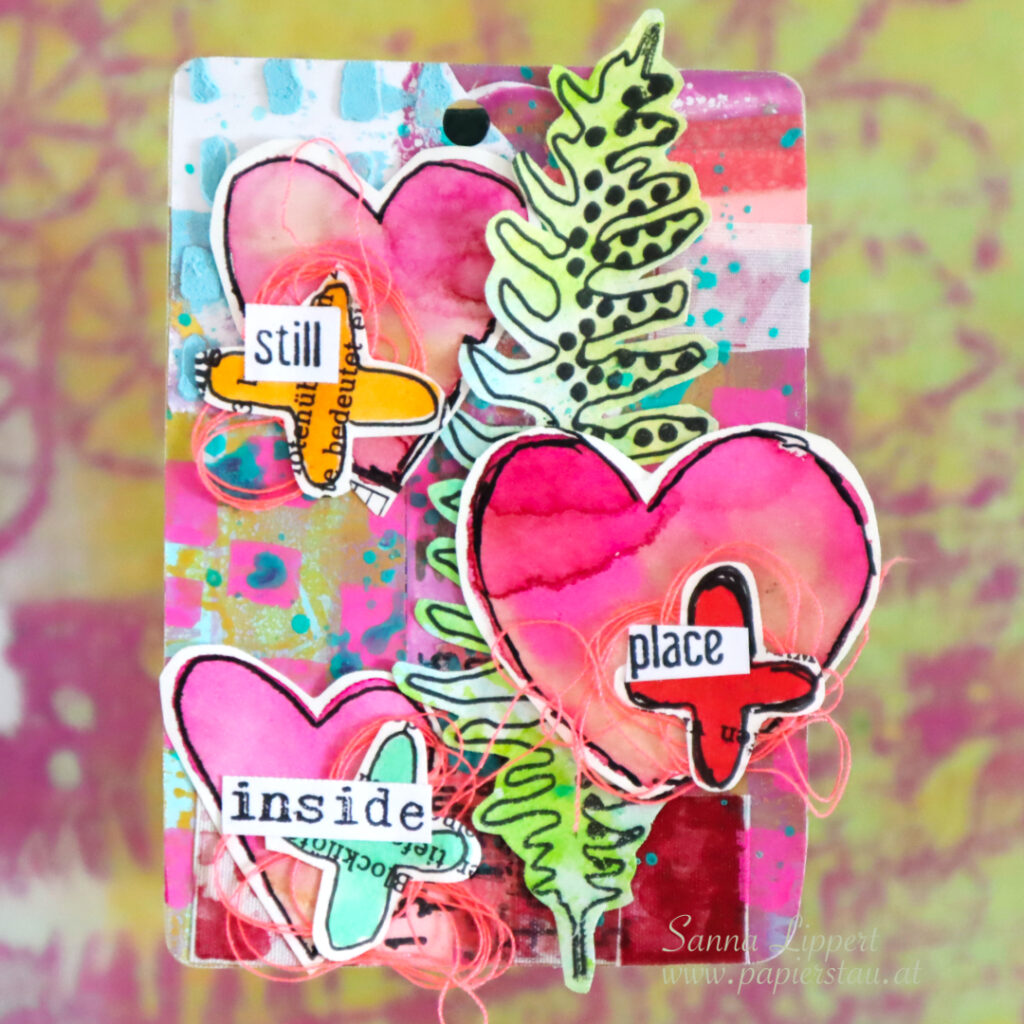
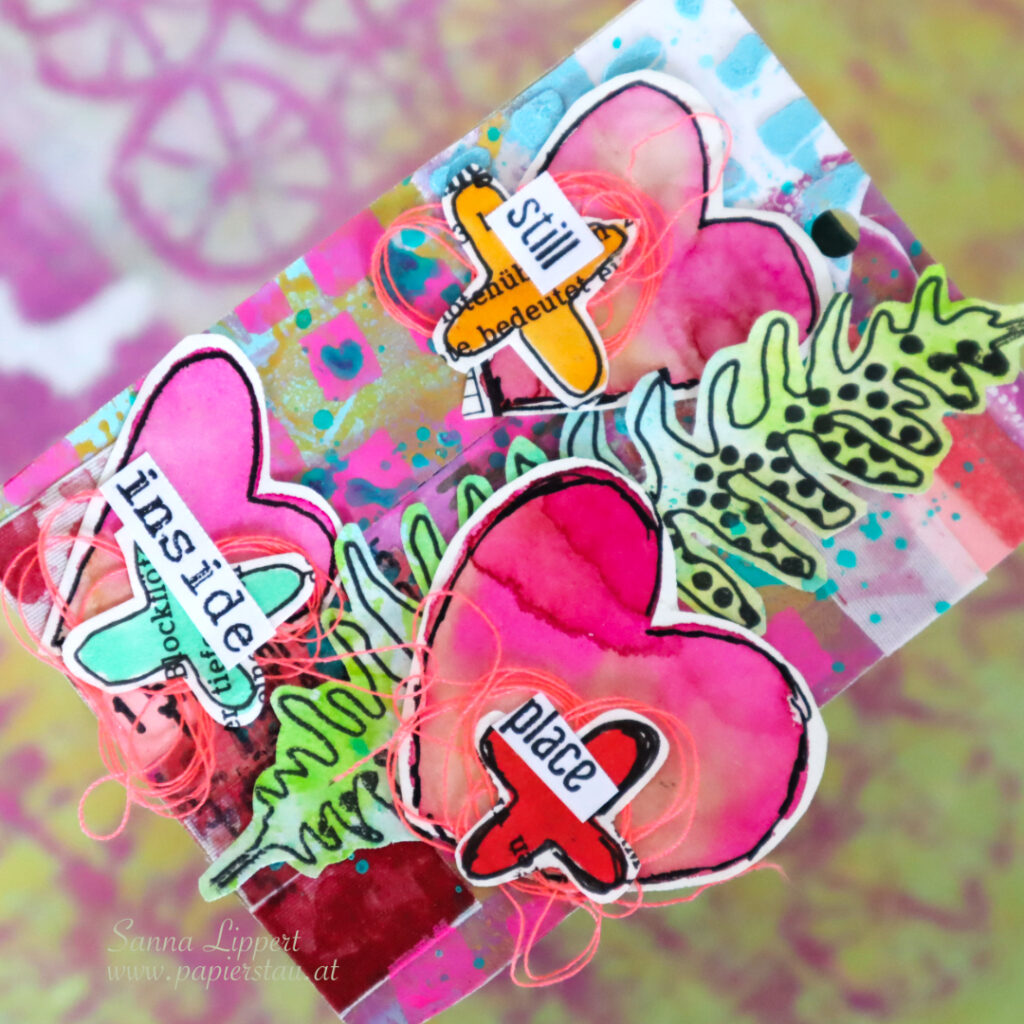
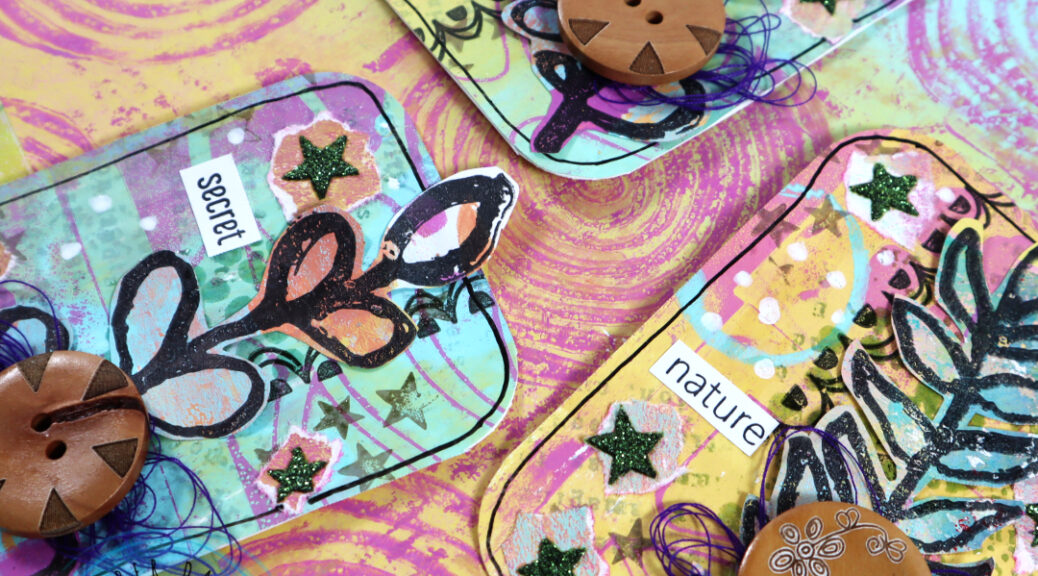
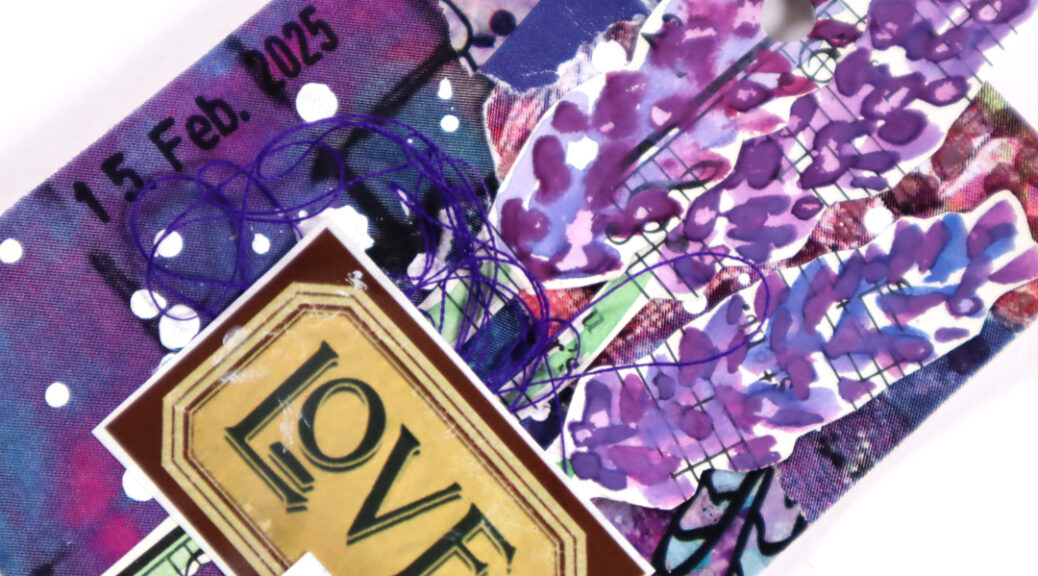
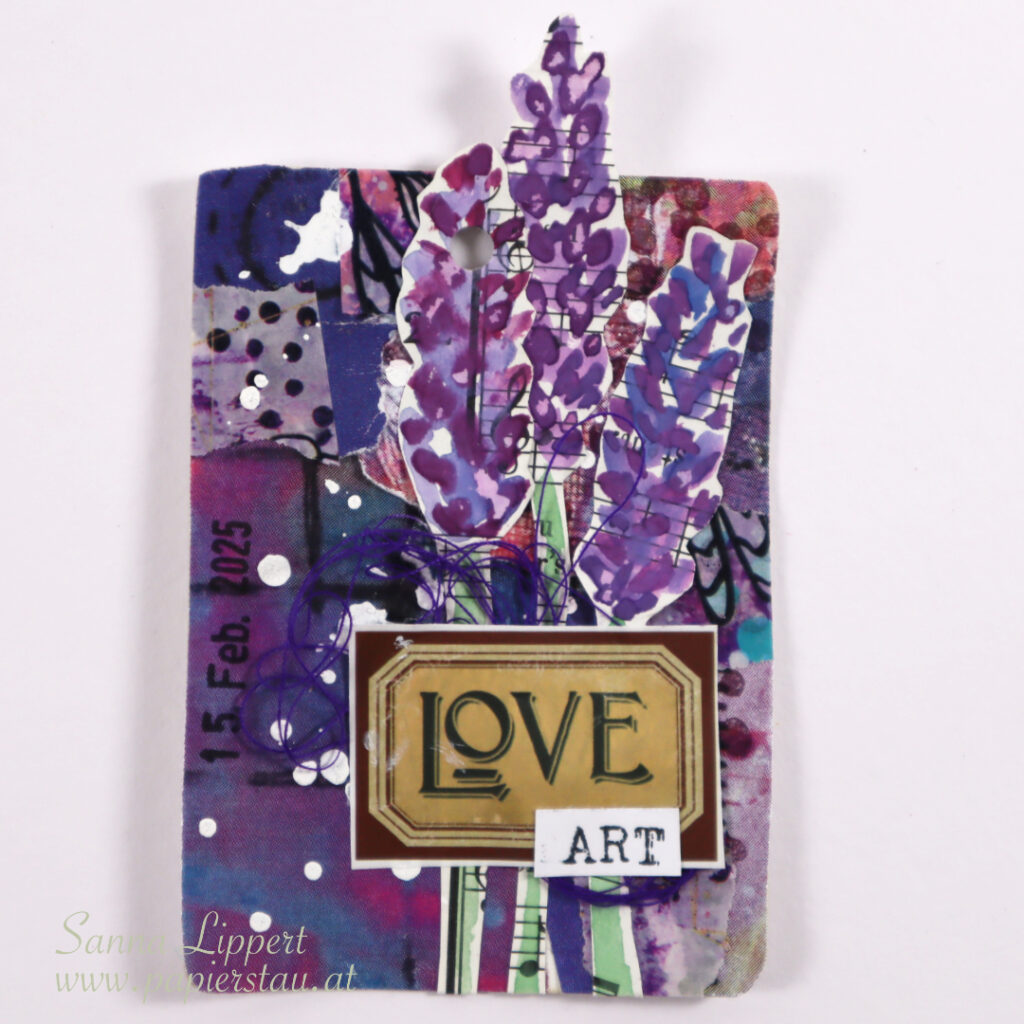
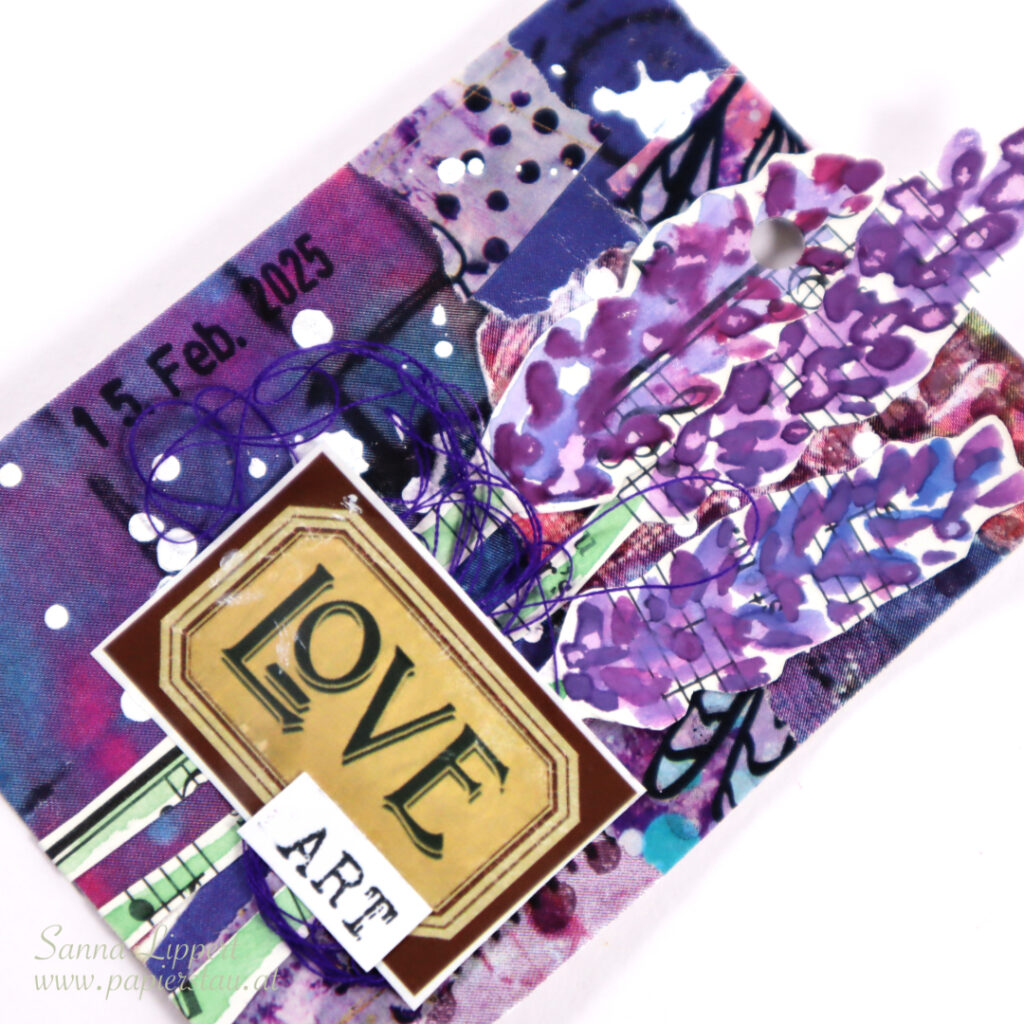
As my carry over item from the previous deck card, I used the dark green paper strip and the one with the stenciled stars on it (on the previous card I used the backside, here it´s the front).
The other paper piece is from my gelli printing projects, where I wipe residue inks etc. onto a separate paper. I usually save these papers for later use and somehow they always find a way into artworks.
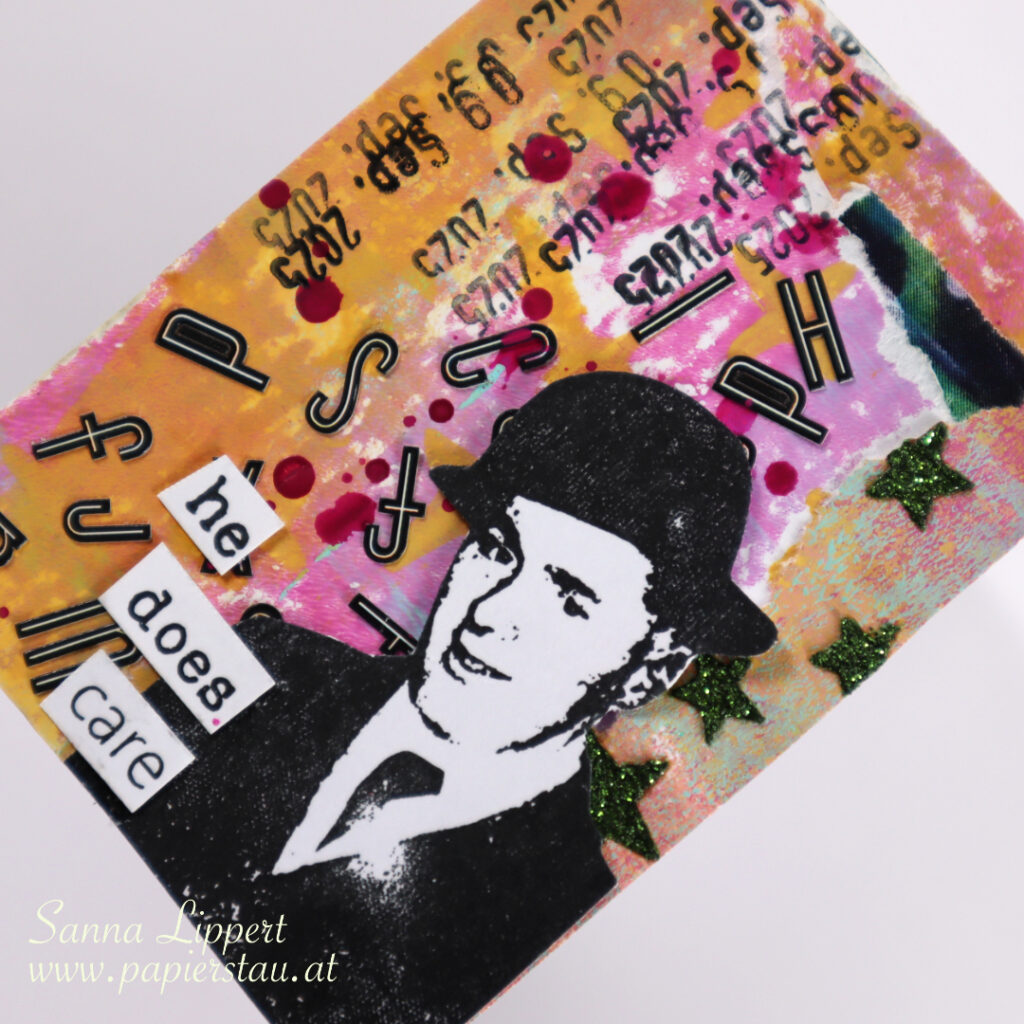
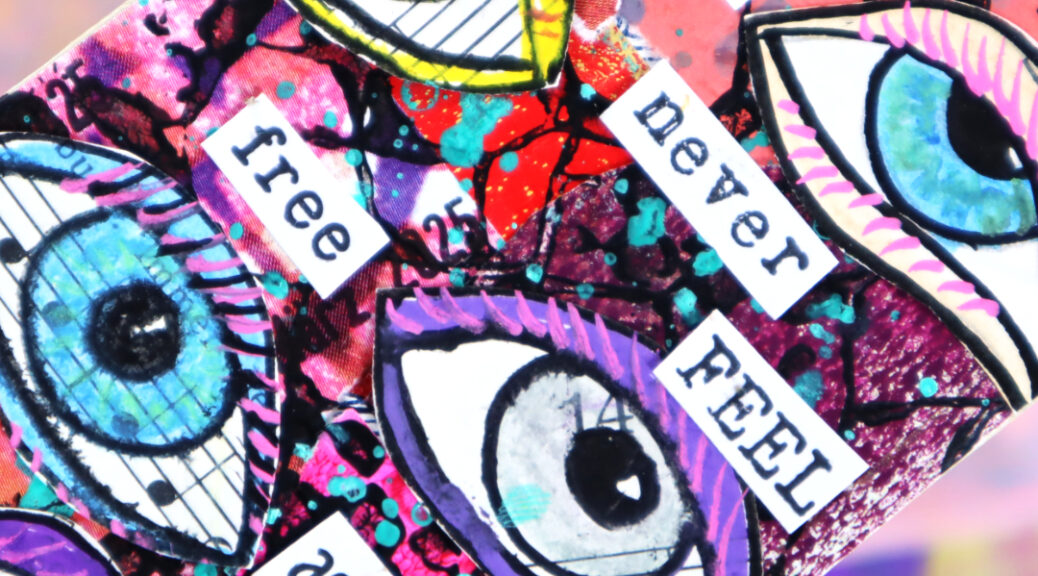
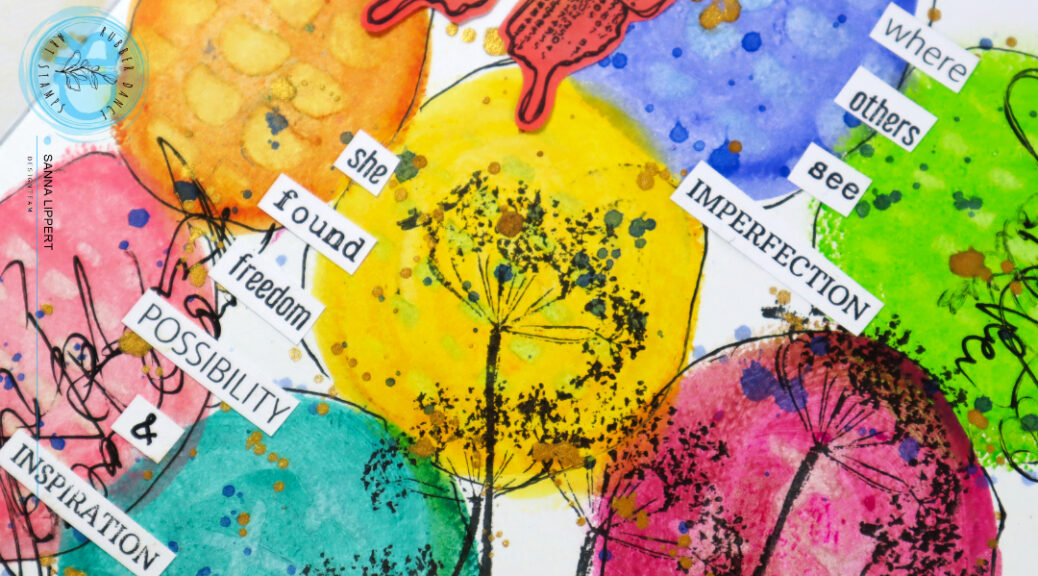
My constant is a date stamp and it´s added to the background in a repeated manner. I then used tiny sticker alphas as my “letters of the alphabet”. I scattered them onto the background very randomly to create a pattern with them. Next I took a fuchsia Posca pen and added splatters with the marker tothe surface.
I finished the card off with a Rubber Dance stamp image from the set “Mix It Up 6” and added stamped words from the “Mix A Sentiment 2023” set.
Here is again the process video – have fun watching!
See you again next week with another deck card take!
xx, Sanna