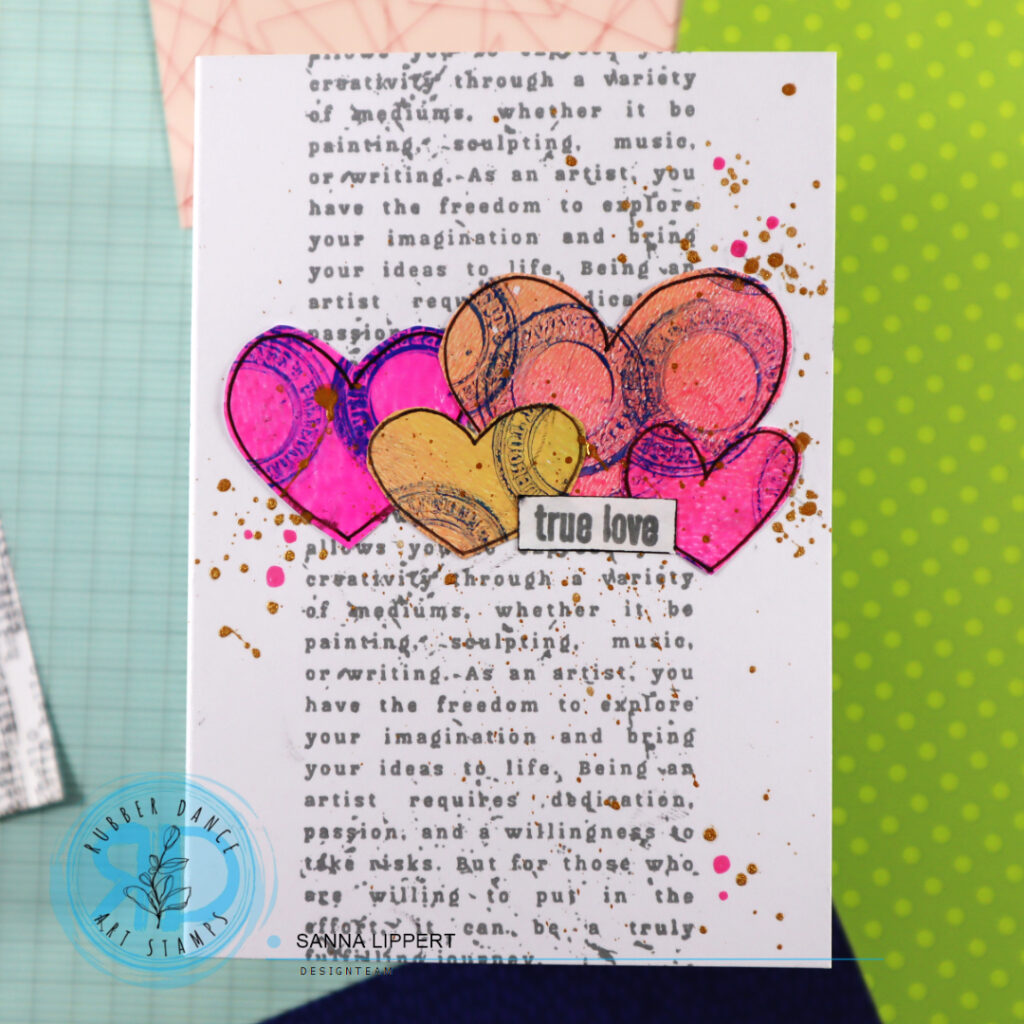
Hello everyone, I am up with a Rubber Dance project share today. I used following products: Rainbows 2 stencil, Mix It Up 5 and Pencil Marks 8 stamp sets.
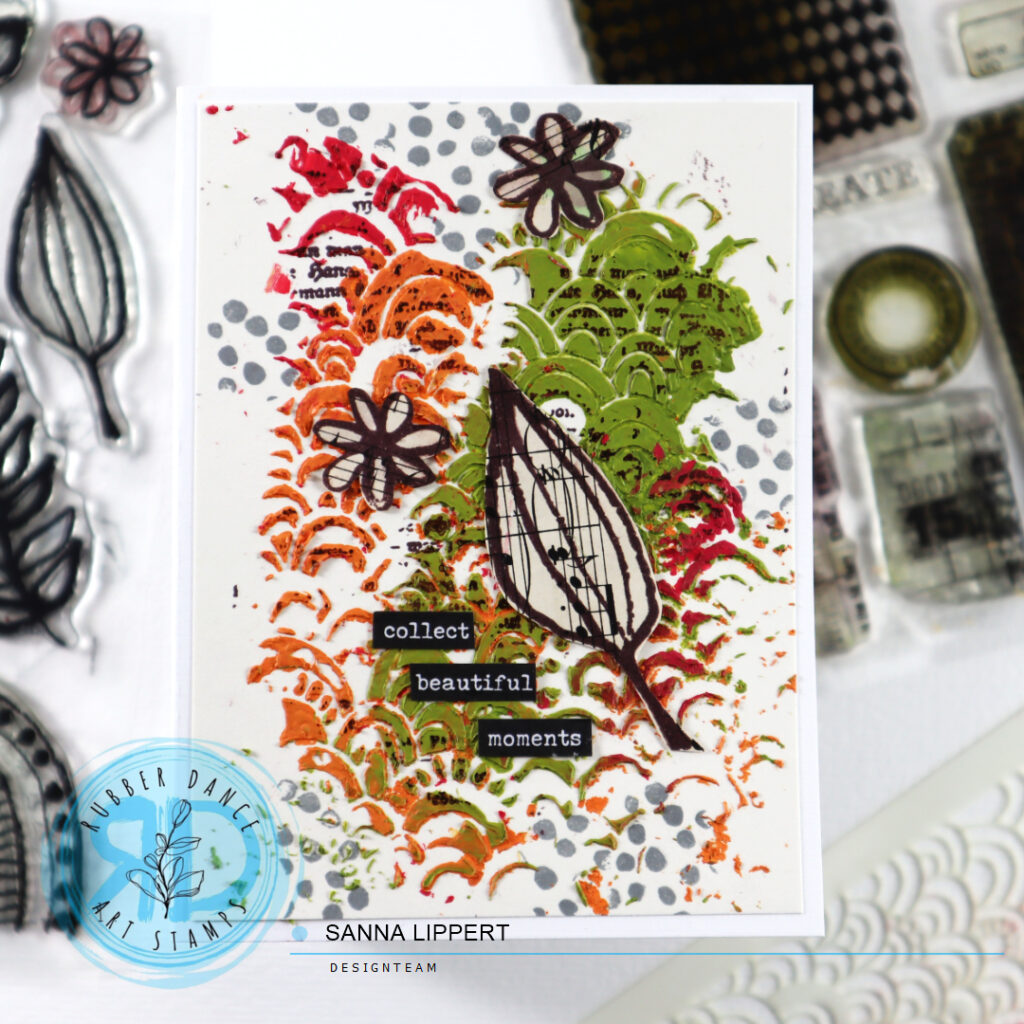
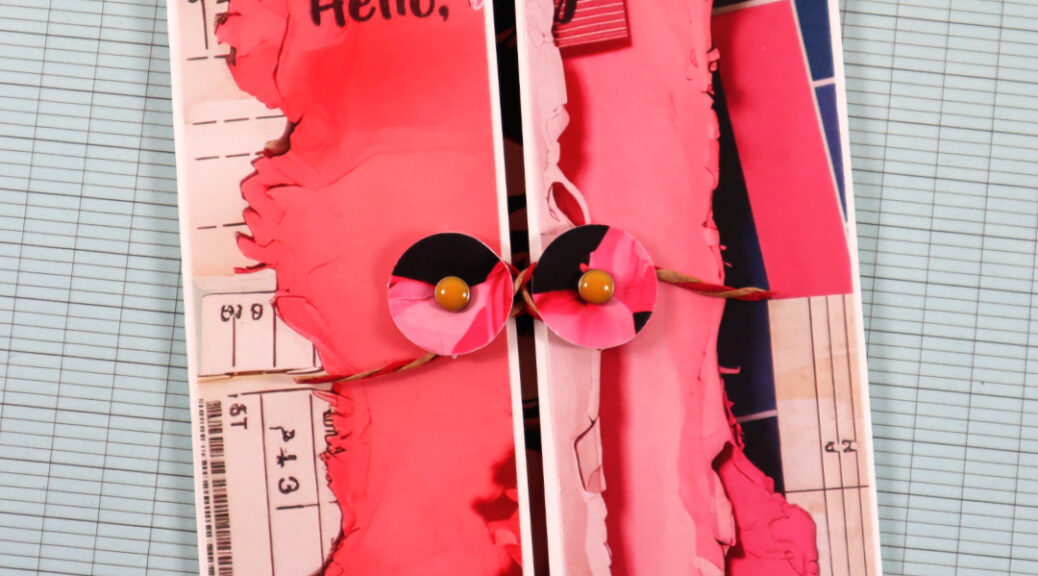
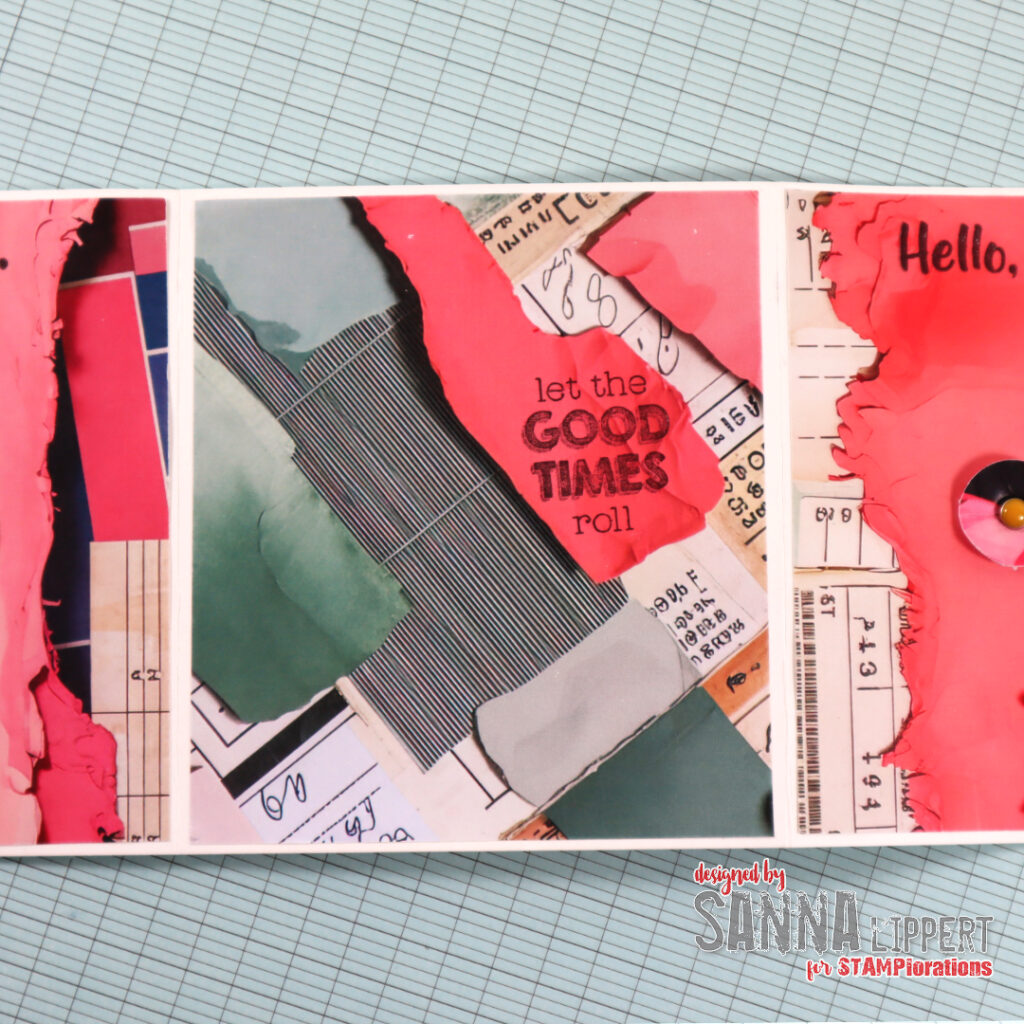
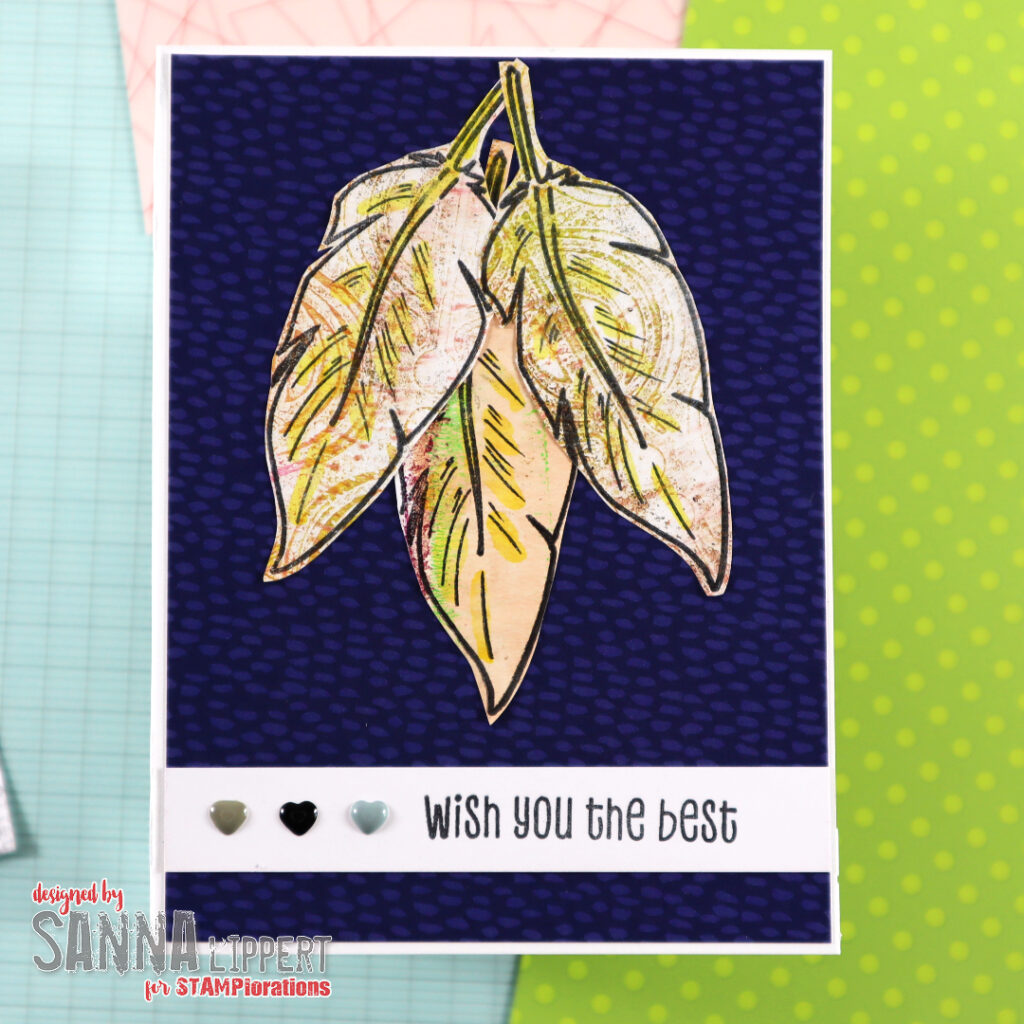
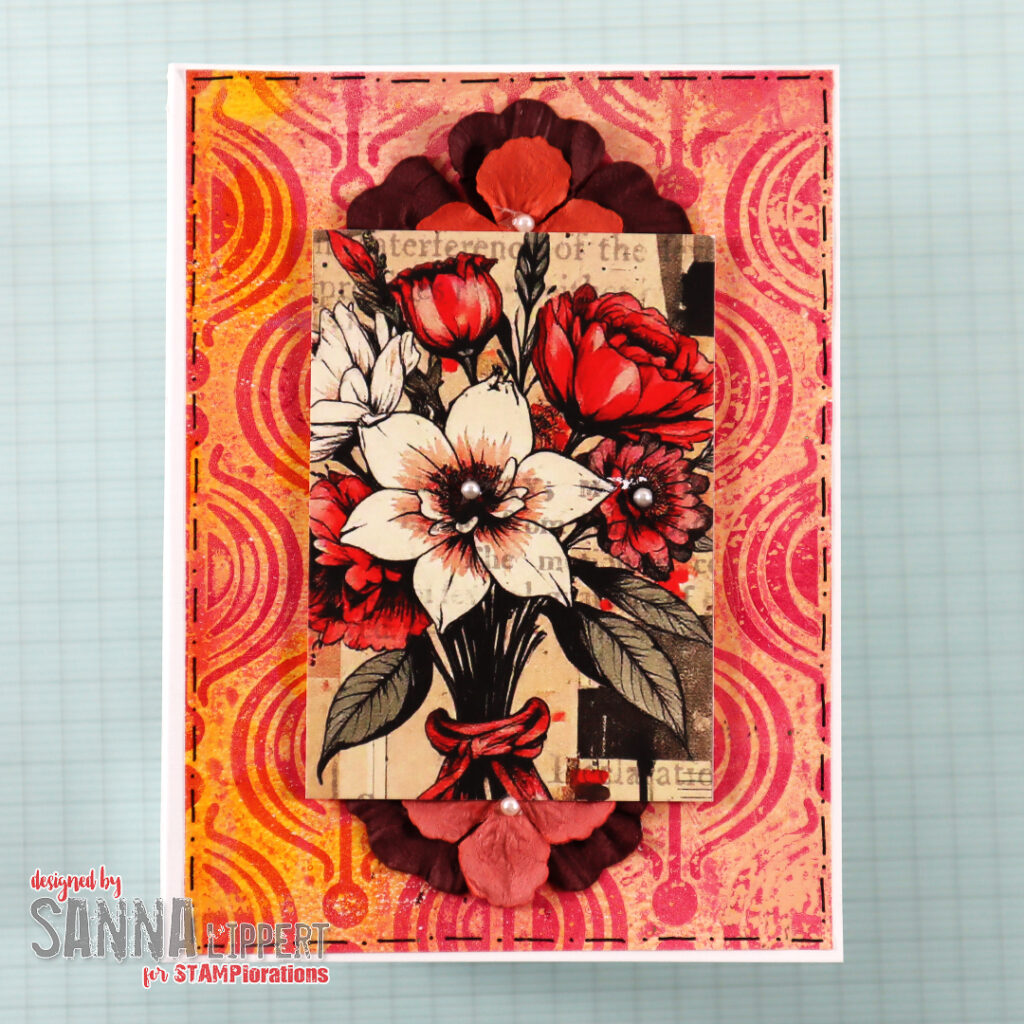
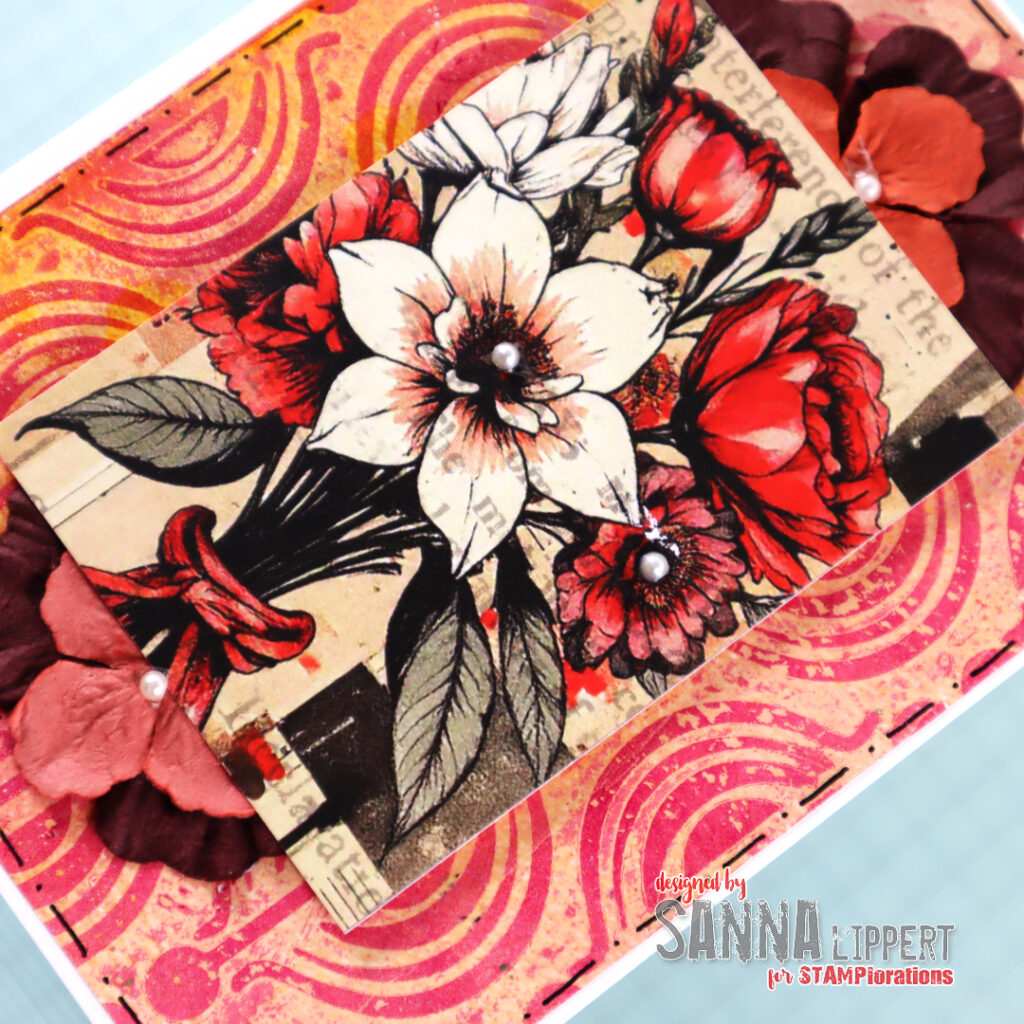
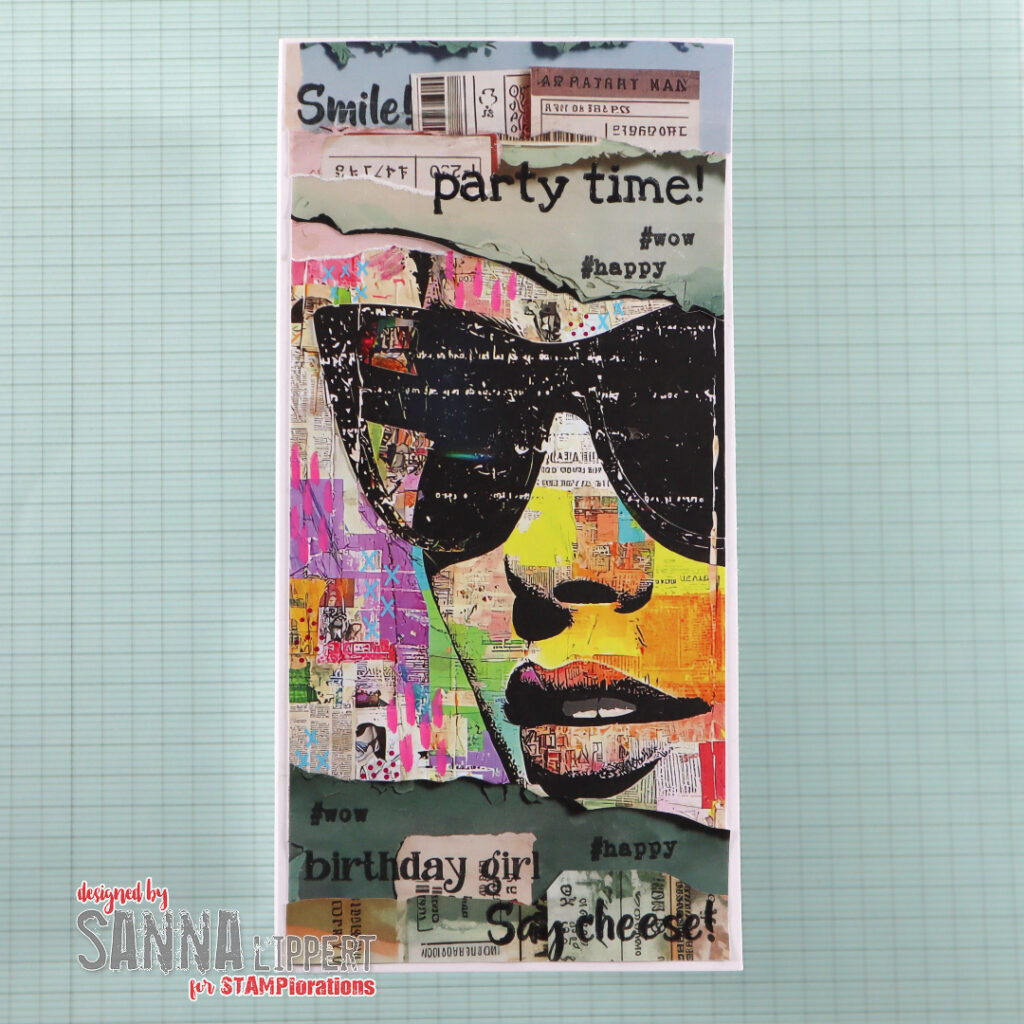
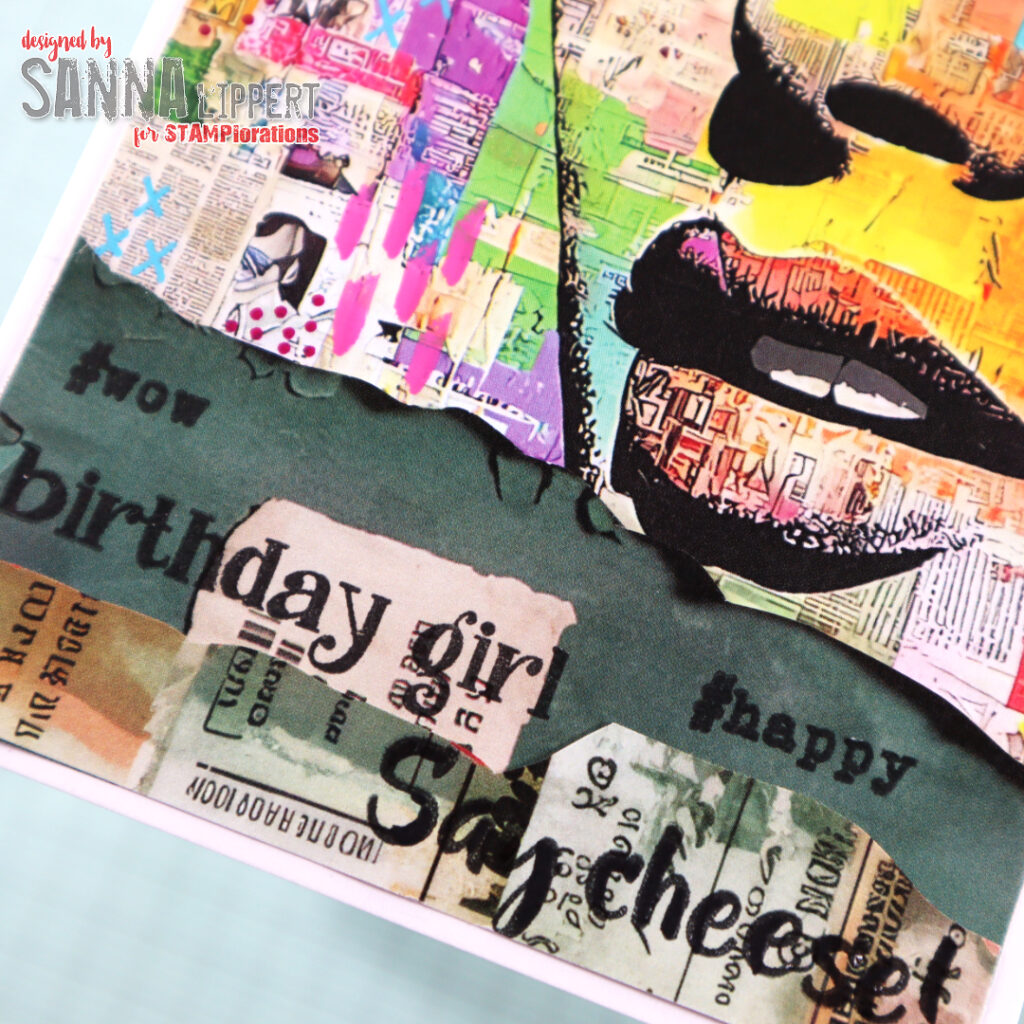
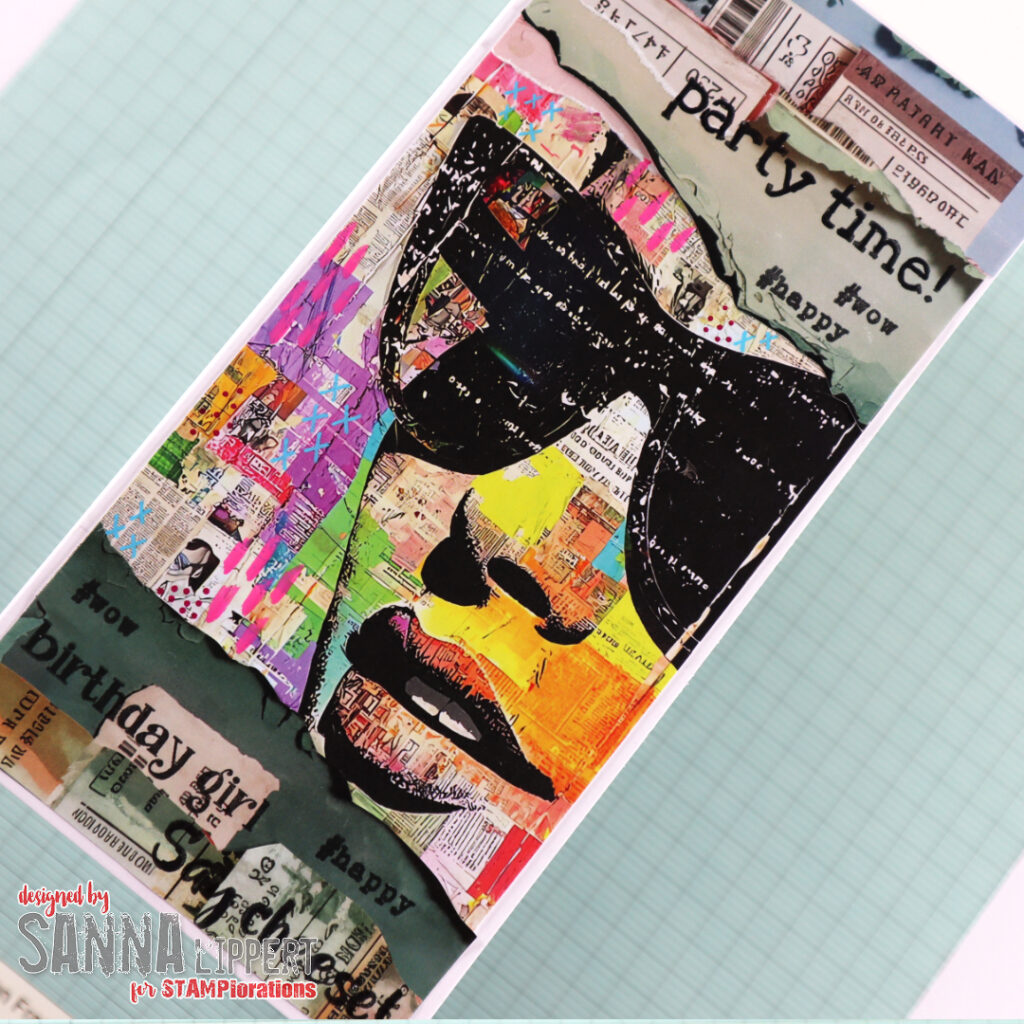
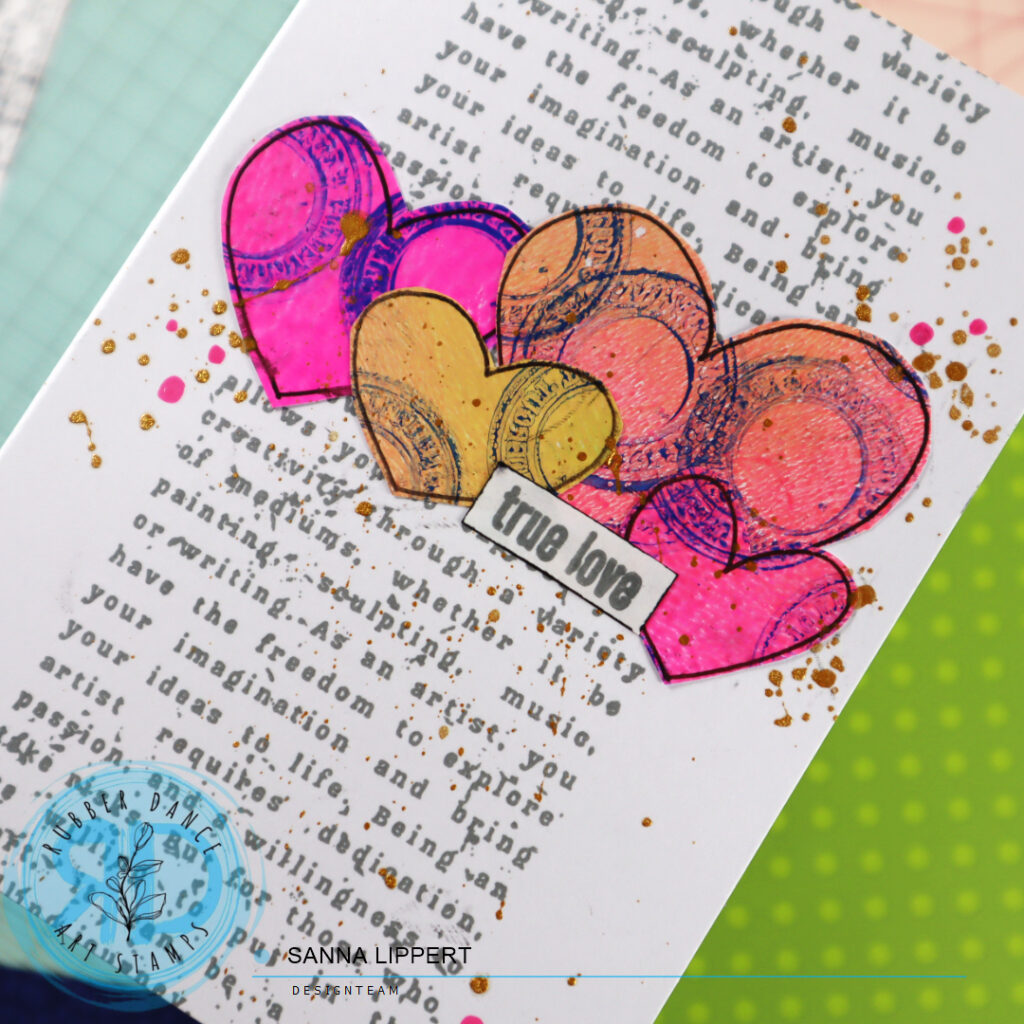
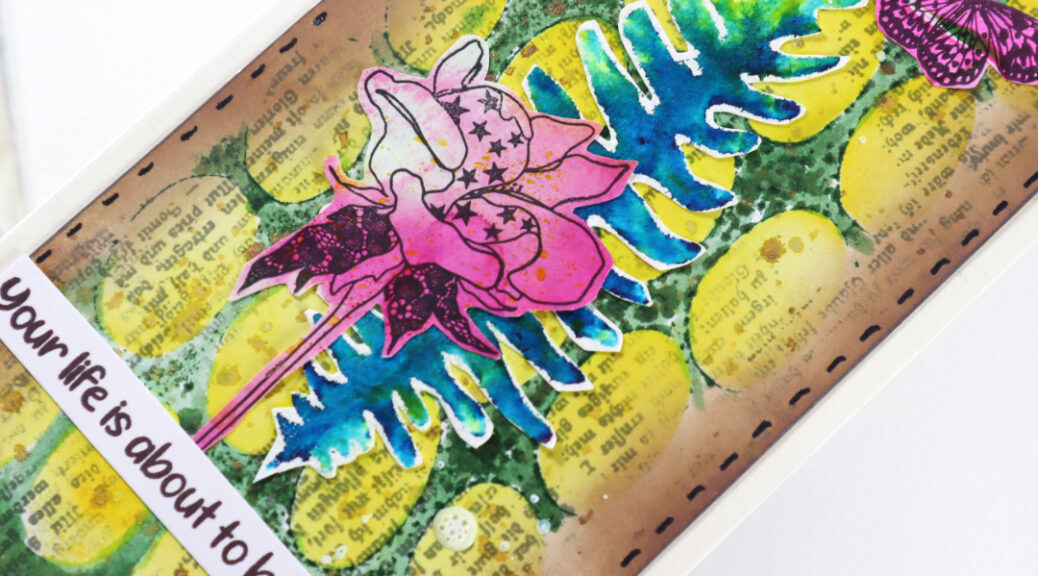
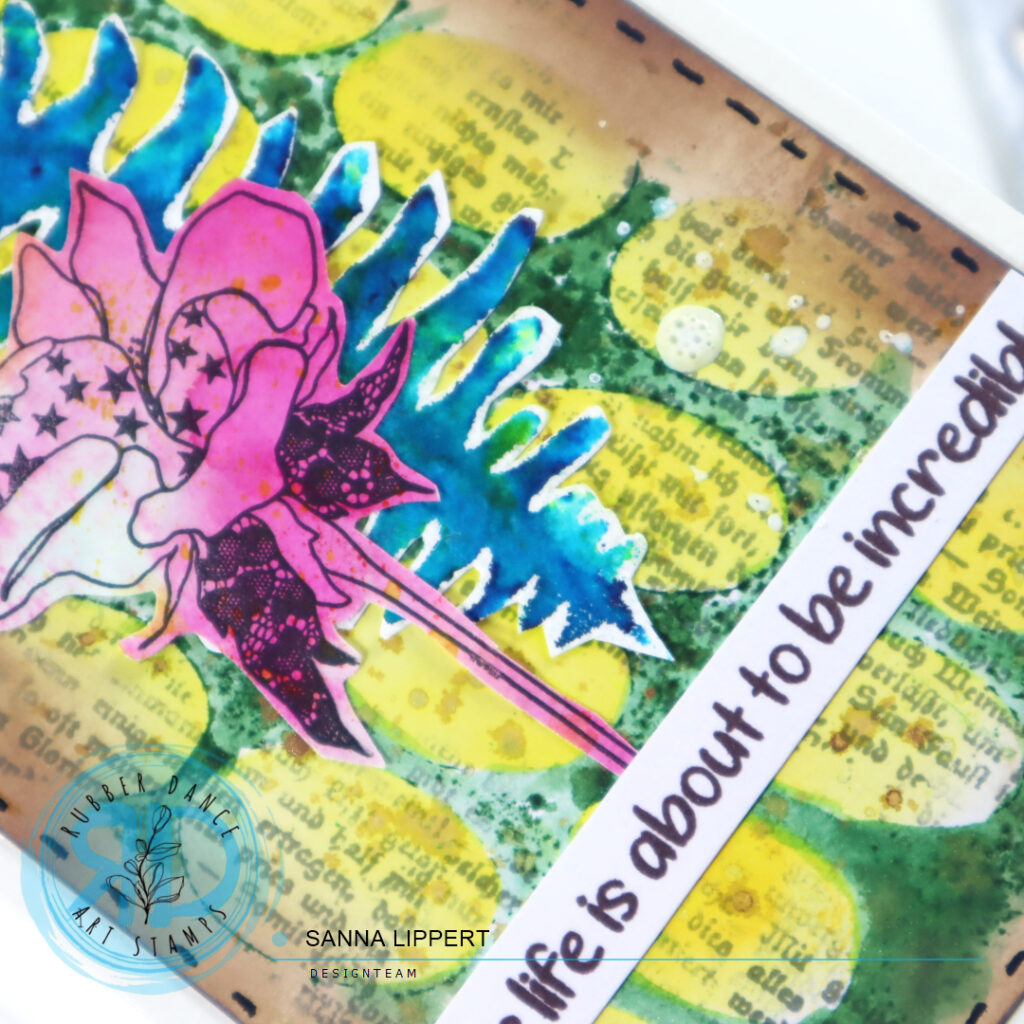
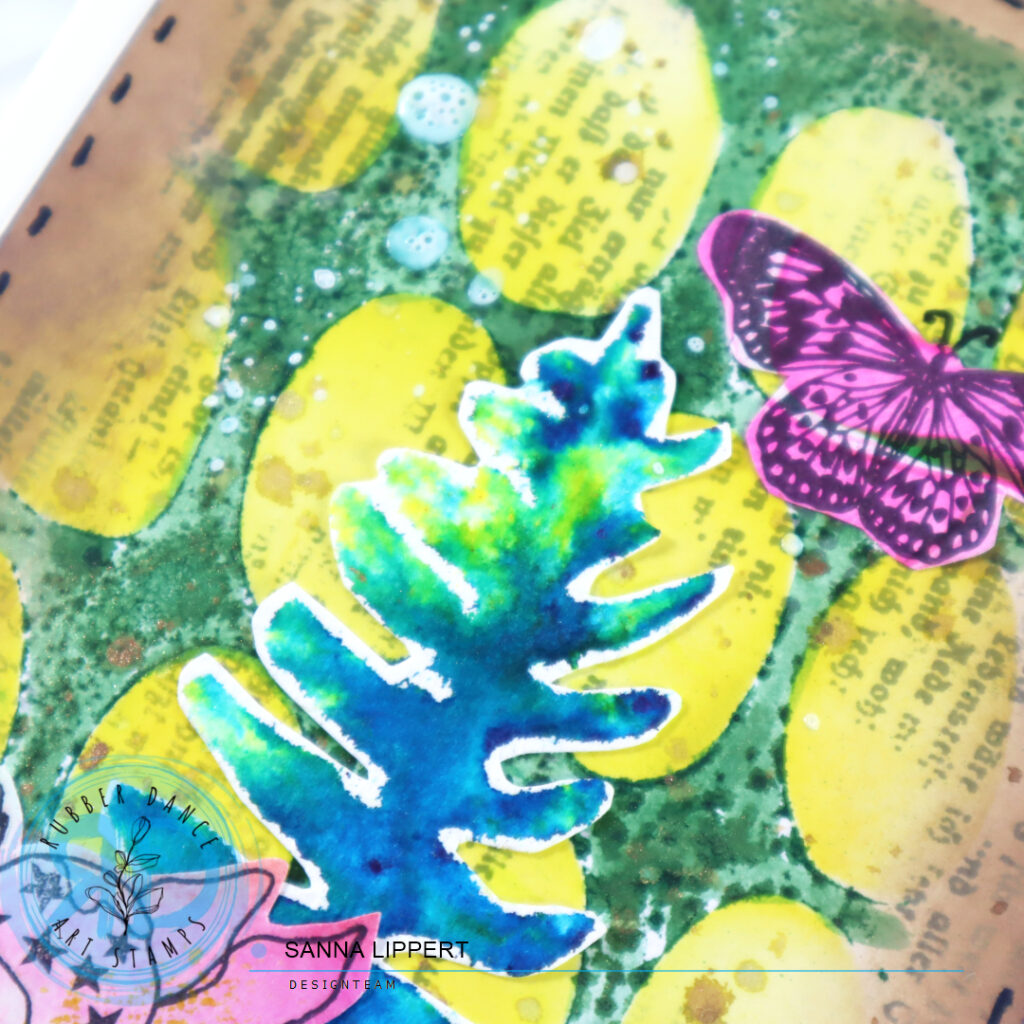
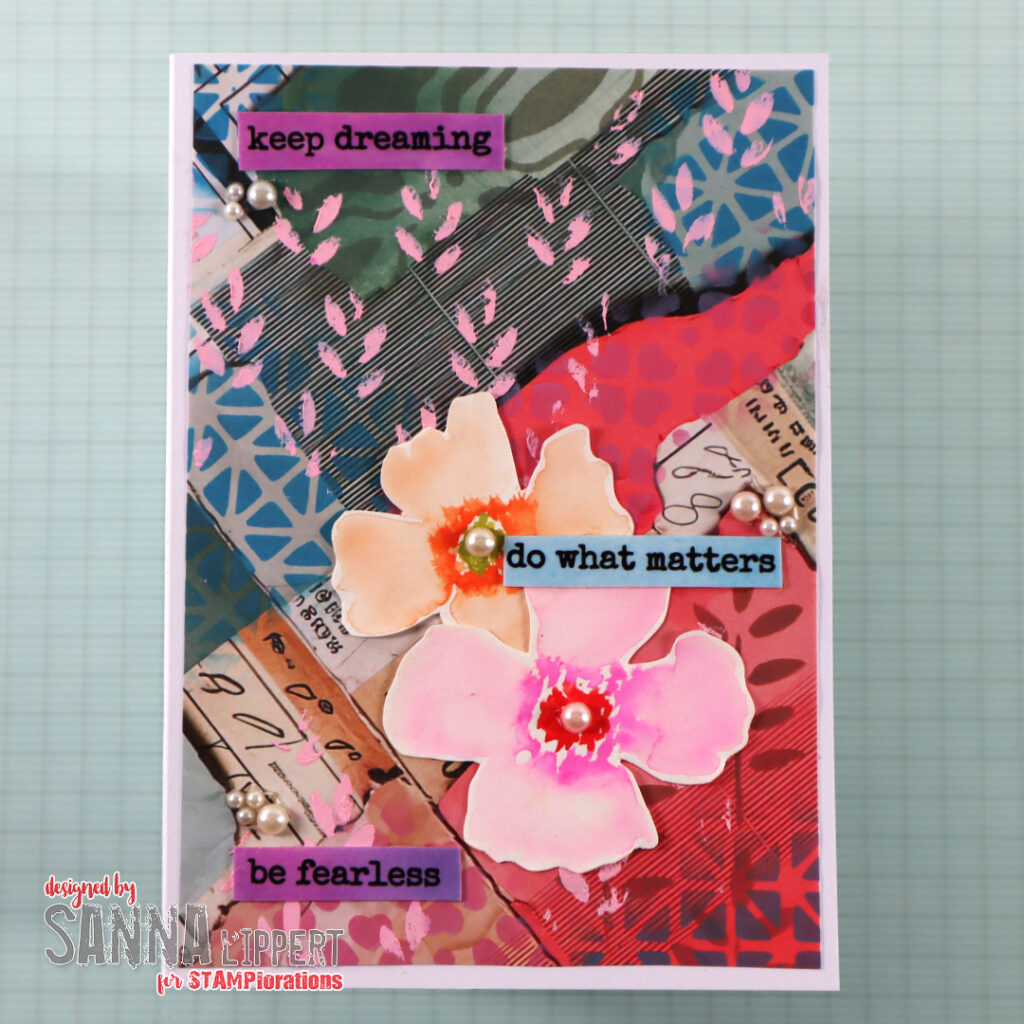
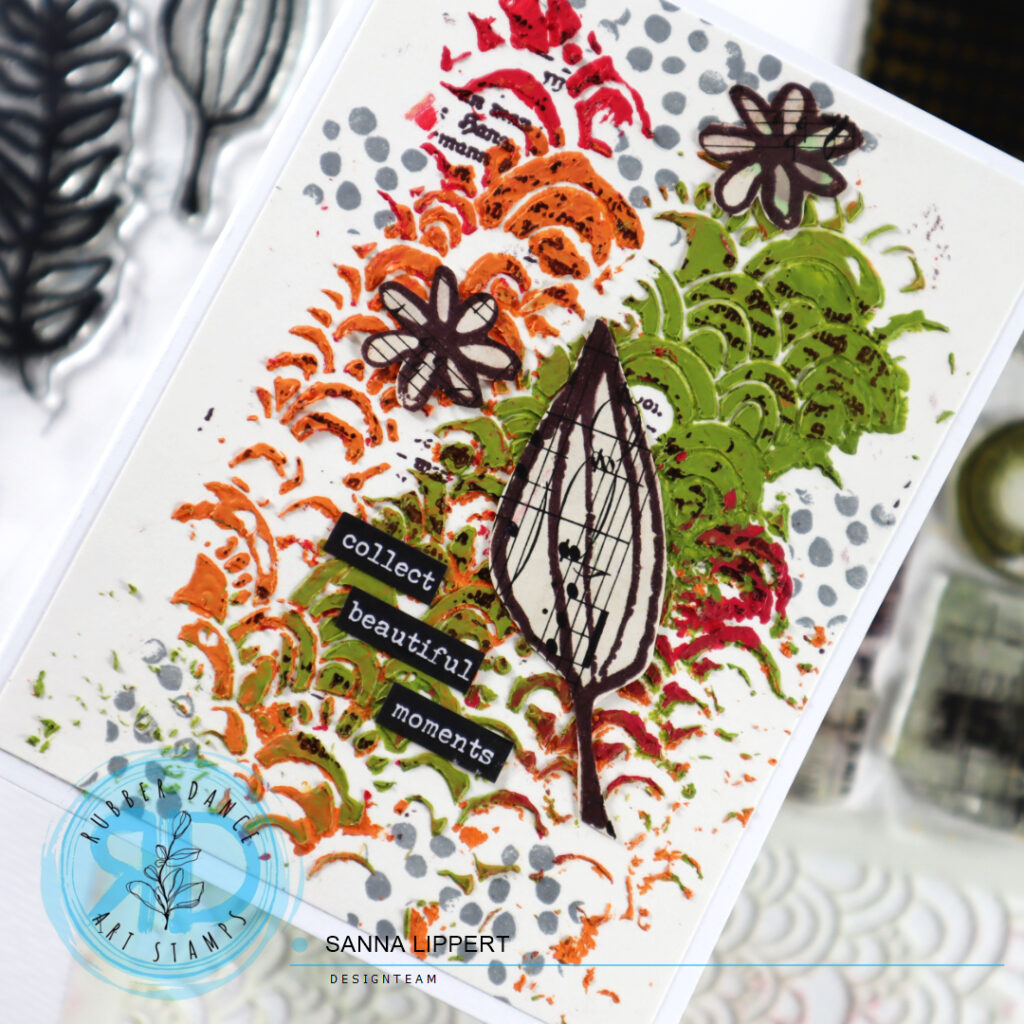
Like on my art journal page (see details here) I used the tinted paste residues from that project for this card background. I placed the Rainbows 2 stencil onto a piece of white paper and wiped the tinted pastes thru it onto the paper very randomly. I then let the pastes dry and added some stamping with the Pencil Marks 8 stamp and a grey stamp ink.
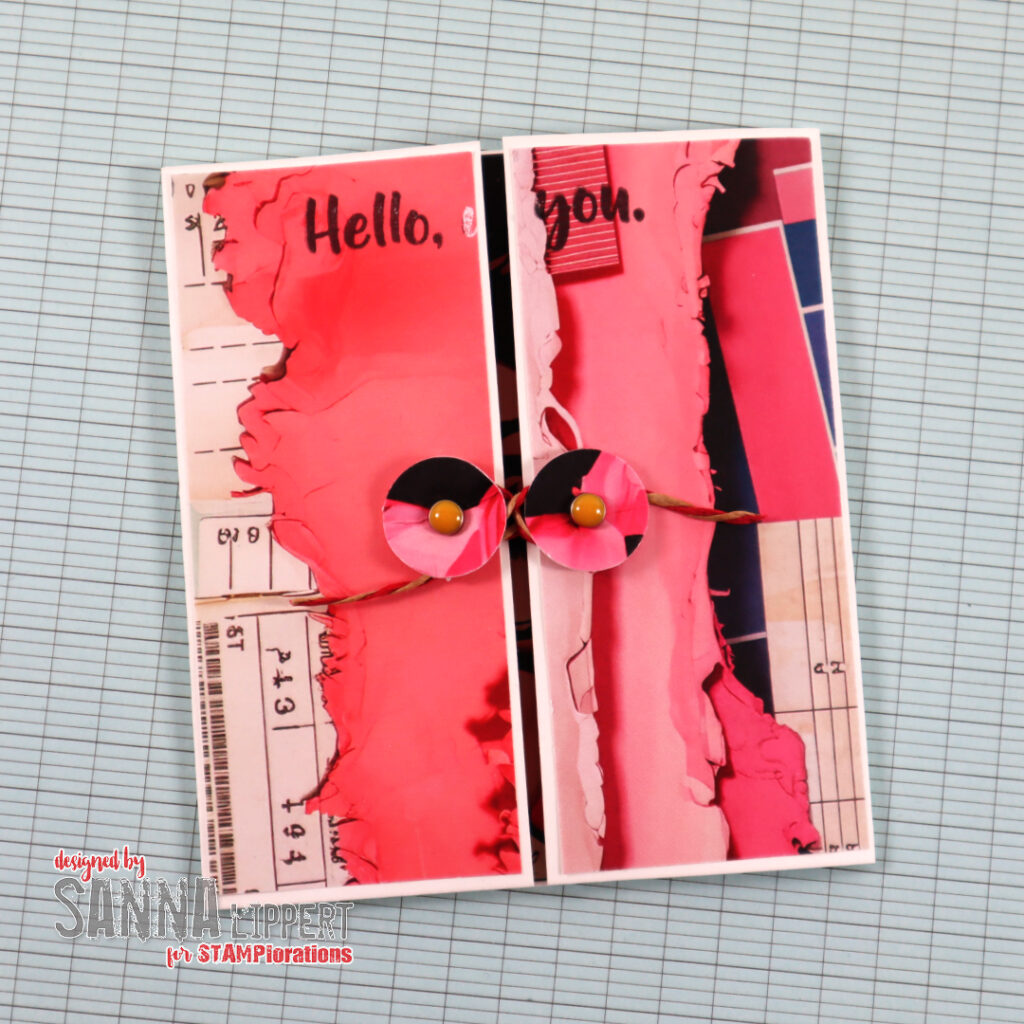
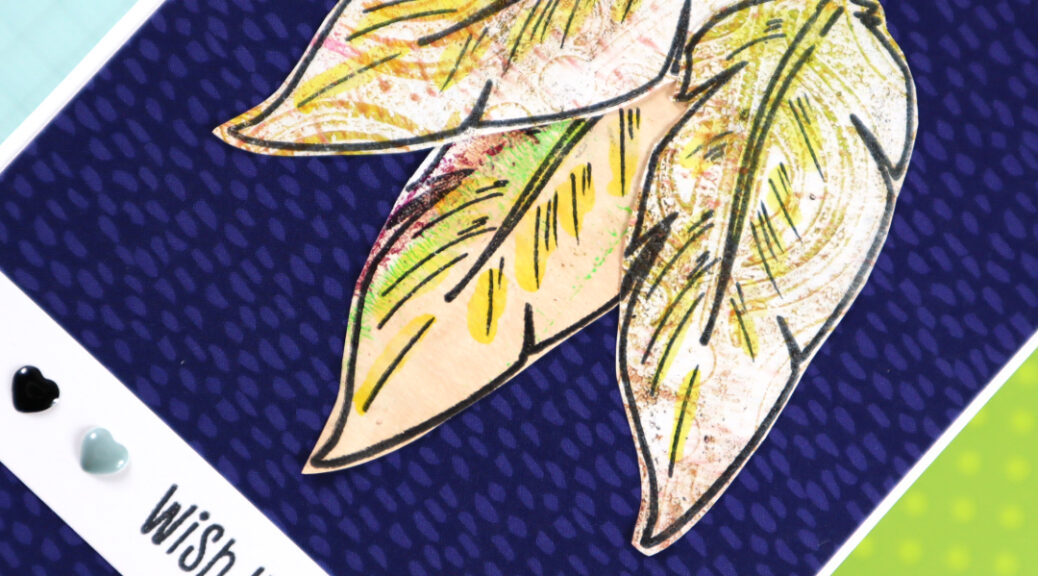
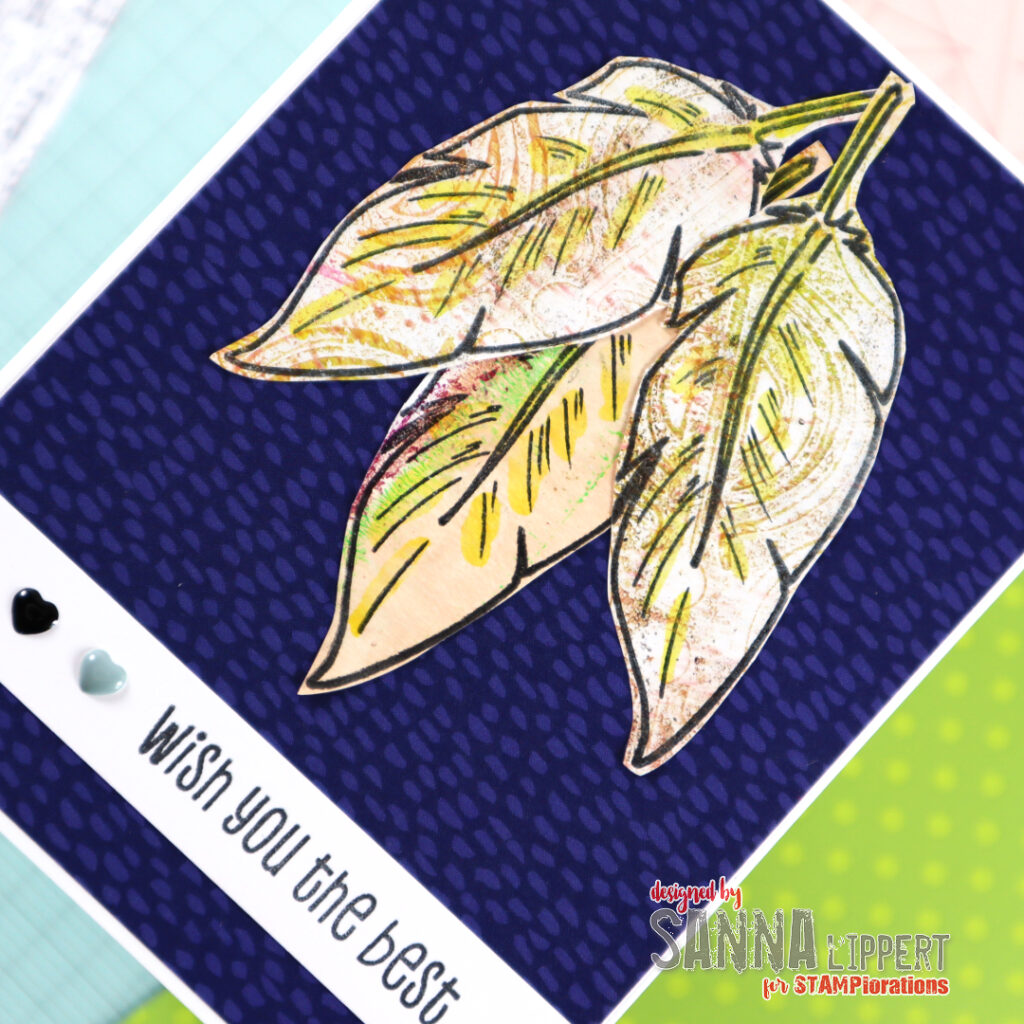
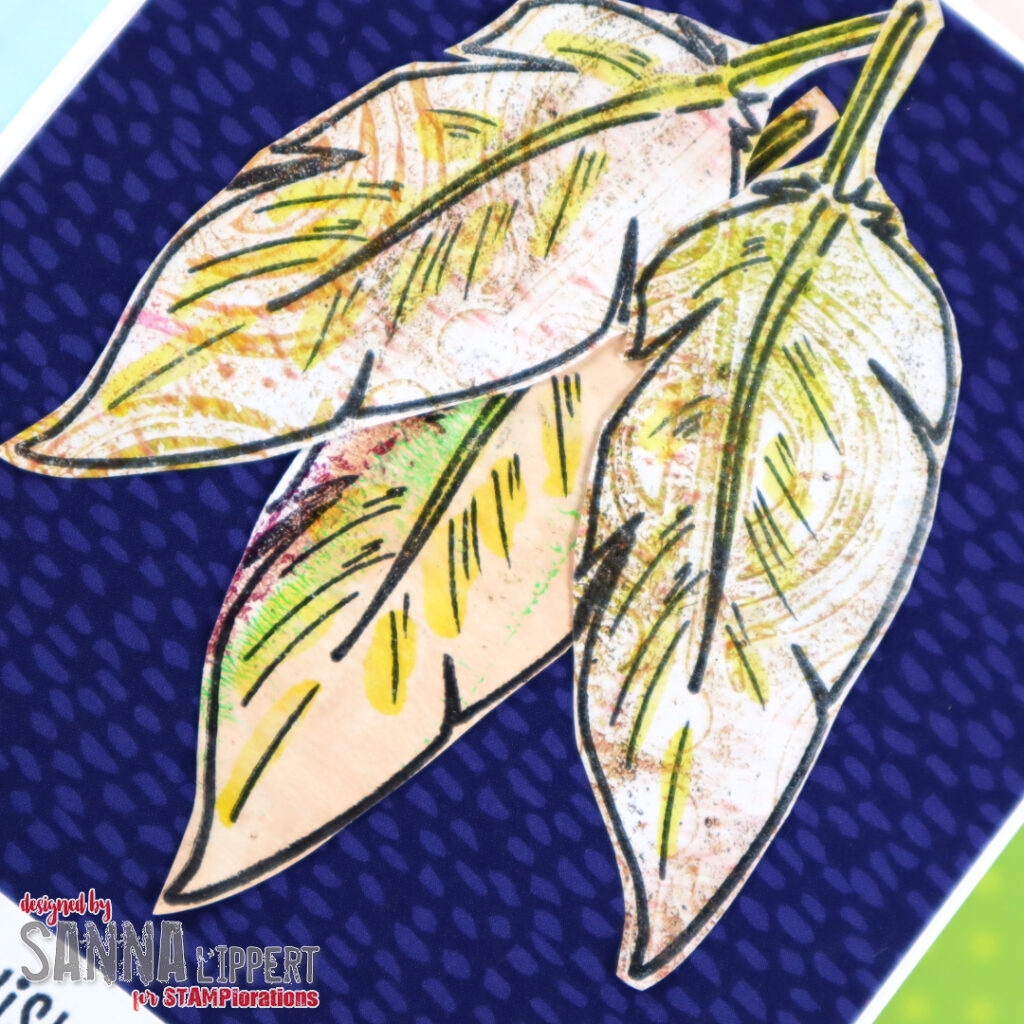
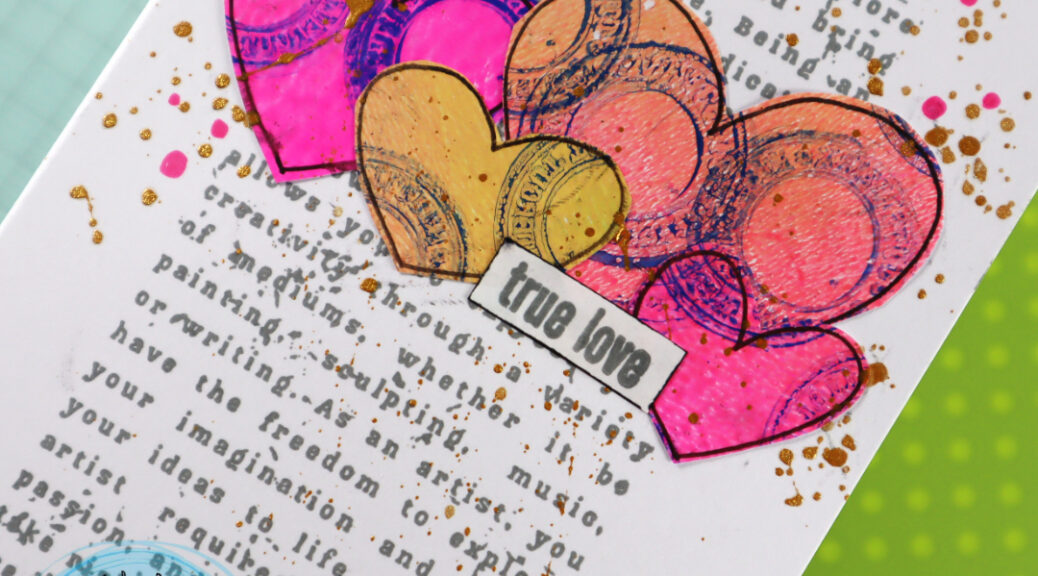
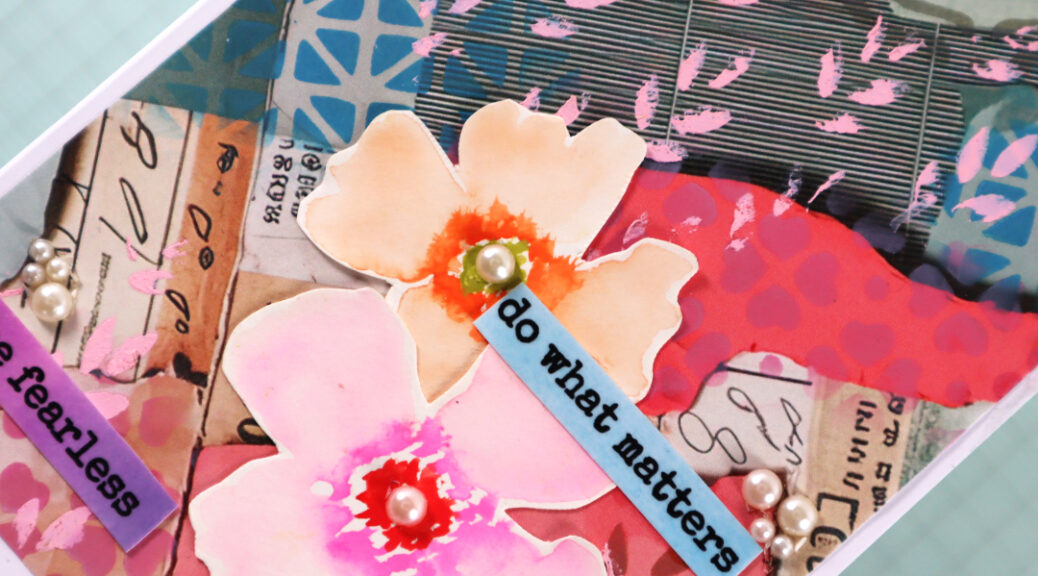
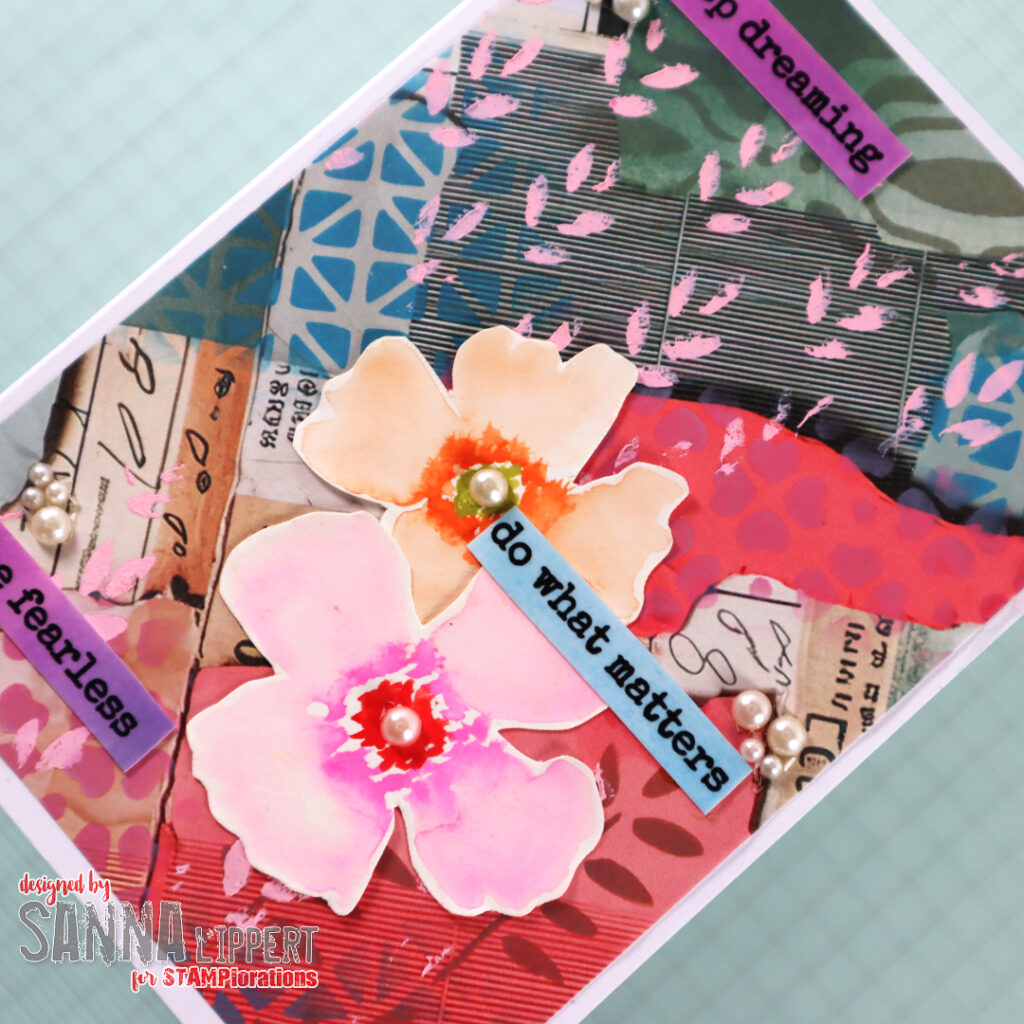
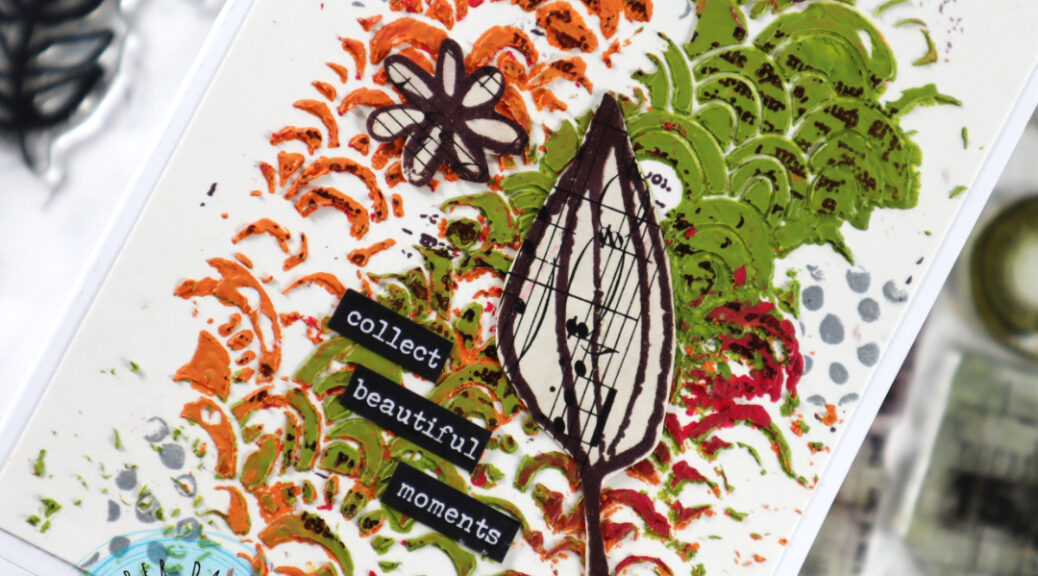
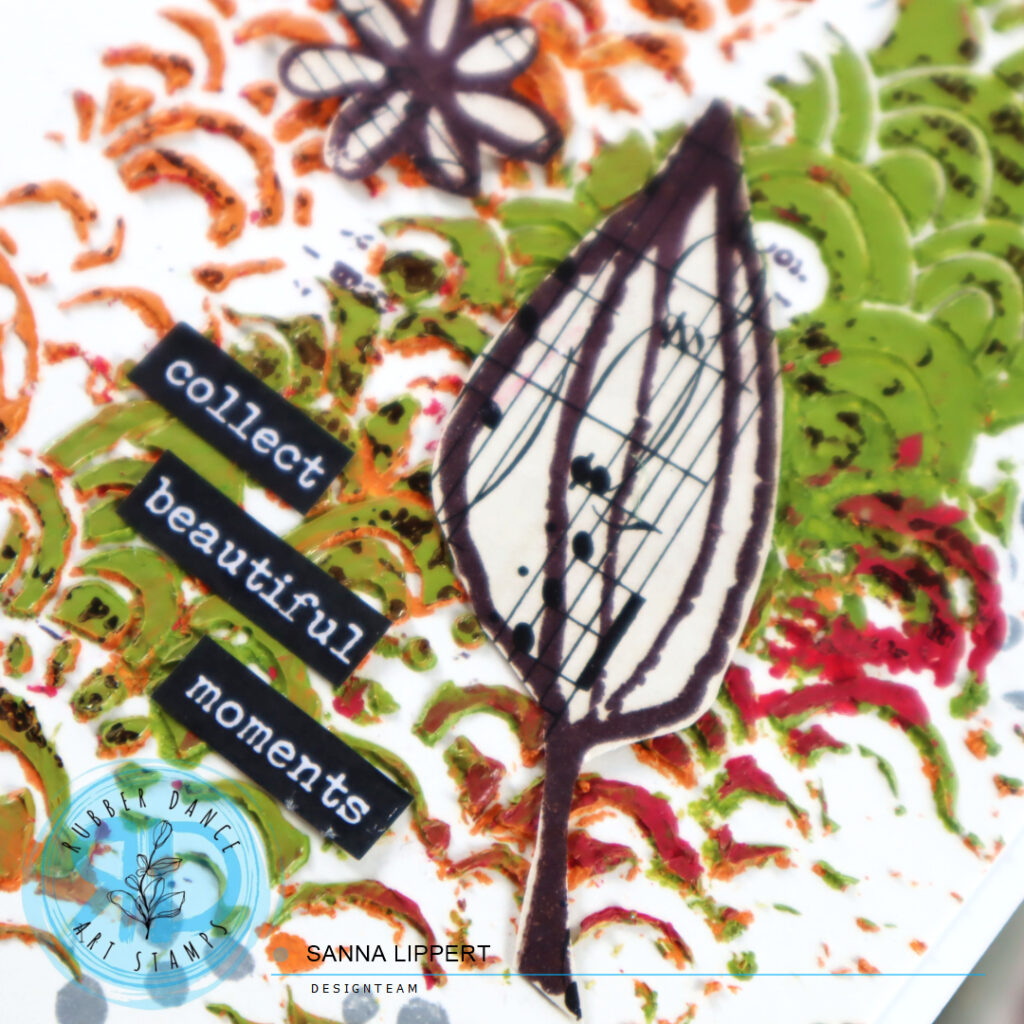
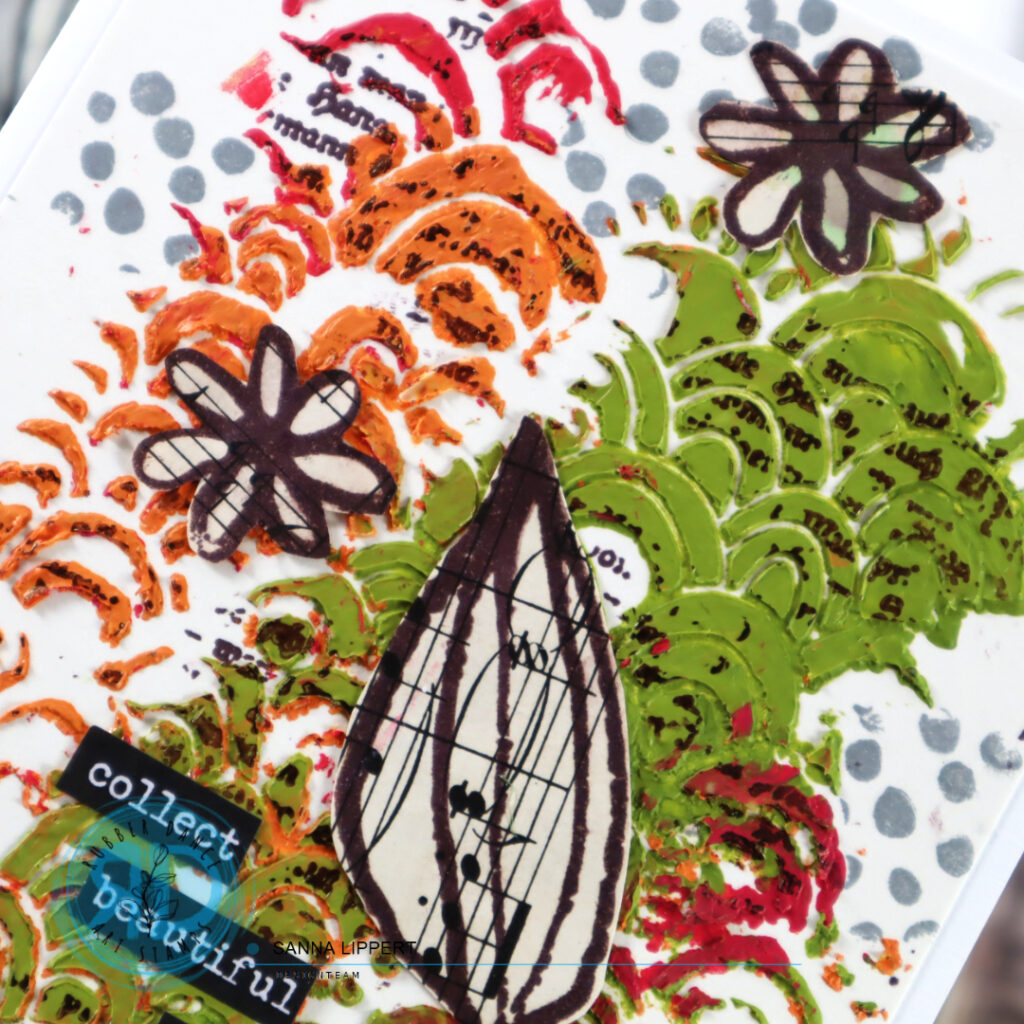
On top of the paste I stamped with the Mix It Up 5 stamp set and the text stamp with brown ink. It adds an interesting detail to the stenciled surface. I finished the card off with a sticker sentiment and stamped flower and leaf images from the Pencil Marks 8 stamp set. I stamped onto a piece of music paper here too, to add more interest to the images.
This is a great way to use up any leftover pastes and to create interesting looking starting points for cards. I hope you like the idea and grab some pastes to make fun card backgrounds of your own.
Have fun crafting,
xxx, Sanna