Cardmaking tutorial – STAMPlorations

Hello everyone – this tutorial has been sitting and waiting for posting for a very long time, so I figured I´ll just share it now for random inspiration!!! With New Year just around the corner, let´s think of these cards as motivation for 2024 :). Here are three cards with Stamps, Stencils and Stickers. Hope you like them!

Card 1: 

For this card I used following products: Bloomdalascopic #7 stencil, Good Things clear stickers and Shine Bright stamp set. 

To create this card I did the following steps: 

Step 1: I first placed the stencil onto the card base and applied Distress Oxide thru it in three different tones (yellow, pink and blue). Then I removed the stencil and misted it with water to and pressed it onto a second card base (this is the beginning of card two), but since I did it at this point, I will also mention it already here. 

Step 2: Next I added the stamping using the Shine Bright stamp set and black ink. I bend the sentiment into a curve to follow the line of the stencil border. 

Step 3: After that I cut a piece of the same toned cardstock to adhere the Good Things clear sticker sentiment onto it, I fussy cut the piece into a banner/flag and inked the bottom are in the same yellow tone as I had used in the stencil pattern earlier. For more texture I also adhered the sentiment with 3D foam on place. 

Card 2:

For this card I used the following products: Bloomdalascopic #7 stencil, Trendy Butterflies stamp set and Shine Bright clear stickers.

To create the card I used the following steps:

Step 1: Like mentioned in the beginning, I took the already inked Bloomdalascopic #7 stencil and misted the Distress Oxide inked areas and then pressed the stencil onto the card base for a second image. 

Step 2: Create another similar background like on the first card and stamp a Trendy Butterfly onto it with black ink and then fussy cut the image. 

Step 3: Adhere the clear sticker onto a piece of cardstock, fussy cut into a banner and ink the edges pink.

Step 4: Add a few ink splatters onto the background for additional interest.

Step 5: Add a stamped sentiment directly onto the card base and adhere the butterfly on place using 3D foam.

Step 6: Finally use 3D foam and adhere the banner under the previously stamped sentiment and hte card is done. Here is the finished card once more: 

Card 3: 

For the third card I used the following products: Big Blooms Slimline Stencil, Bloom Doodles stamp set and Good Things clear stickers. 

And this is how I created card number three: 

Step 1: I placed the Big Blooms stencil on top a white slimline card base and added the same Distress Oxide colours thru it onto the card, like on the previous two cards.

Step 2: Next I stamped a row of flowers into the middle section of the card with black stamp ink and the Bloom Doodles set.

Step 3: For finishing touches I added the Good Things clear sticker (fussy cut into two parts!) onto cardstock and again cut them into banners/flags. This time I inked the ends of the banners with blue ink and adhered them with 3D foam to the card for more texture. 

So I´ ve basically used the same idea on all cards with same colours, but they still look different because I´ ve either changed proportions of stenciling or stamping or positioning on the card bases. I like to challenge myself this way to see with how many different variations I can come up with using one idea. 

I hope I could inspire you to pull out some stamps, stencils and stickers and play with them yourself!

Take care, Sanna

Supplies:

Christmas cards 2023 – part six

Hello and happy Wednesday! Here is another set of Christmas cards I made:

For these two cards I used Lindy´s spray ink in green and light brown to draw the circles after that I added random ink splatters with another tone of spray ink, outlined with a black pen and adhered the clear stickers on top.


On the second card I also used Nuvo Drops with loose golden glitter for additional sparkle.


For the pink card I used a snowflake stamped image with a paper badge from my older stash, added a Studio Tekturek paper as background and stamped with Klartext stamps and red ink the sentiment.

Happy crafting, 

xxx, Sanna

Supplies:

Christmas cards 2023 – part five

Hello and happy Tuesday! Here is another set of Christmas cards:

I used the same products and techniques on this card again. What can I say, these baubles are addictive :).

Here I went a bit wild and used an orange spray ink tone and added some dotted stamping on top. They look a bit like oranges, when you think about it ;-). I also added some stamping on top of the baubles.

For this one I used Vicky Boutin Warm Wishes paper on the background. On top I added a Studio Tekturek tag that I had left over in my stash. The embellishment (dog image) is from my older stash and the stamping is done with a Klartext stamp again.
There will be more cards to share, so do come back tomorrow again :). 
xxx, Sanna


Supplies:

Christmas cards 2023 – part four

Hello! Here is another set of Christmas cards I made for this holiday season:


For this card I used music note papers and stamped Klartext stamp images onto them, then fussy cut the trees and adhered them onto the card base. I then hand drew the “tree trunks” and decorated the trees with Nuvo Drops and some rhinestone stars. For stamping the trees I used Distress Oxide inks.

I also had to join the hand drawn Christmas bauble trend that is going strong on various social media sites this year. I used spray inks for “painting” the baubles and then outlined them with a black pen and added some golden glitter onto them and finished the card with a clear sticker sentiment.

And here is another try on the Christmas bauble trends. This time I use Lindy´s spray ink and made them all in the same colour and again outlined with a black pen and added details with a Signo uni-ball white pen. For finishing touches there is again a clear sticker sentiment.
And it was fun making these!

There might be more coming 😉
xxx, Sanna


Supplies:

Christmas cards 2023 – part three

Hello! Here is another set of Christmas card I made for this holiday season:

On the first one I used again a Martha Stewart snowflake punch and Vicky Boutin Warm Wishes collection papers. In addition to that I added star rhinestones and some faux stitching around the edges.

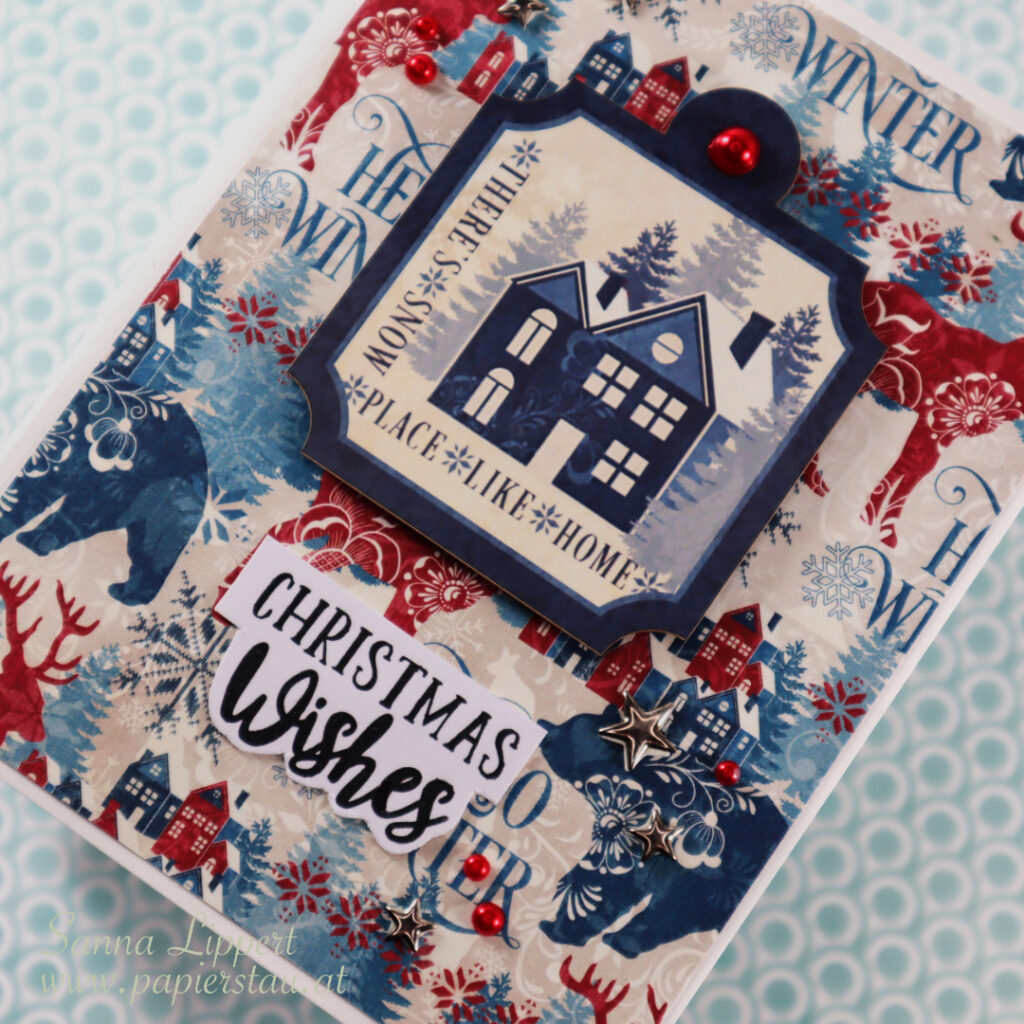
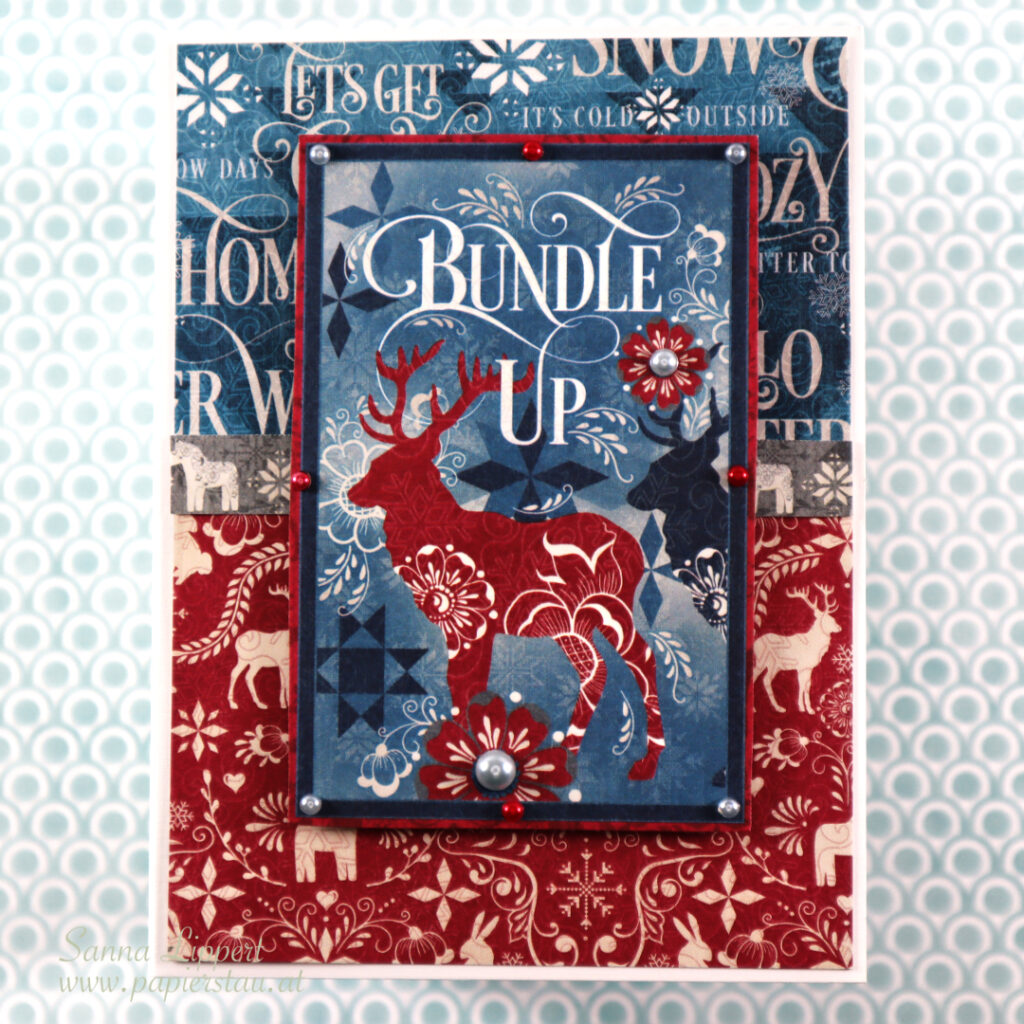
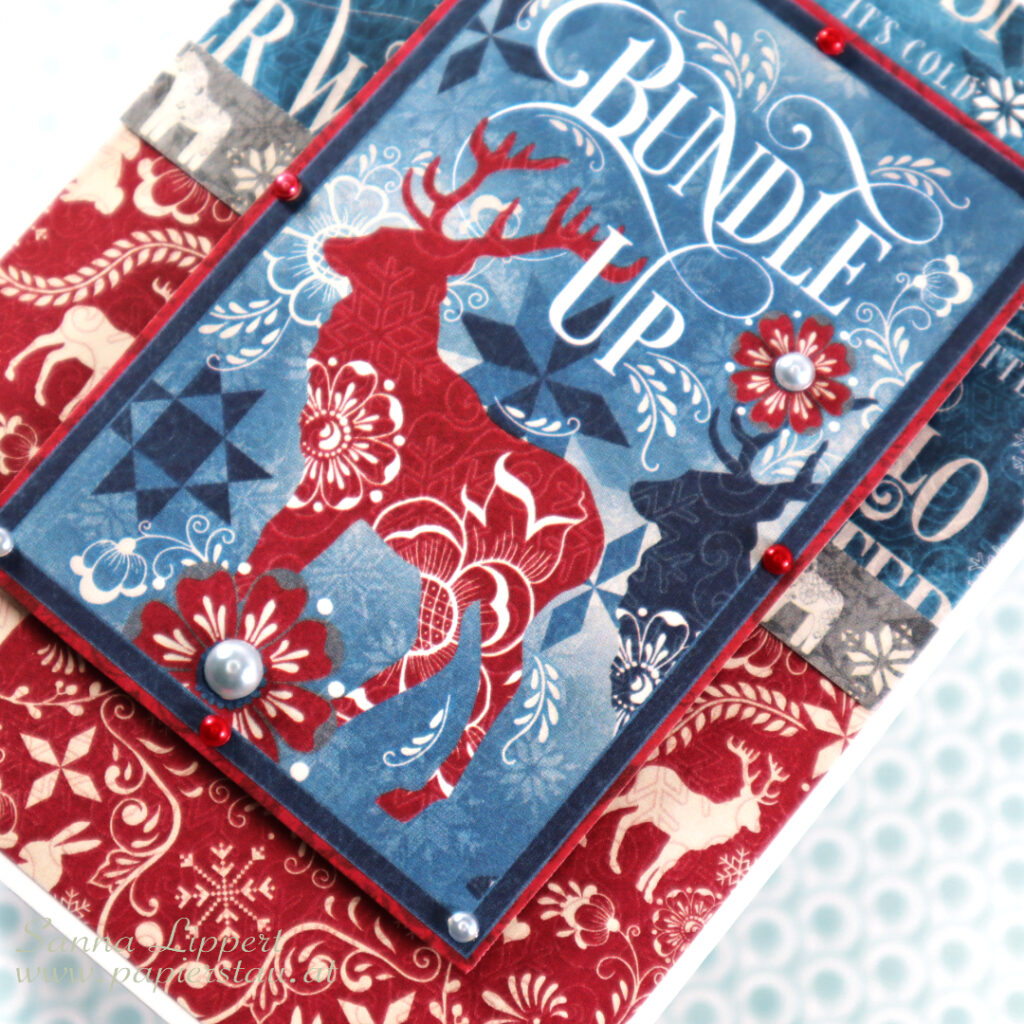
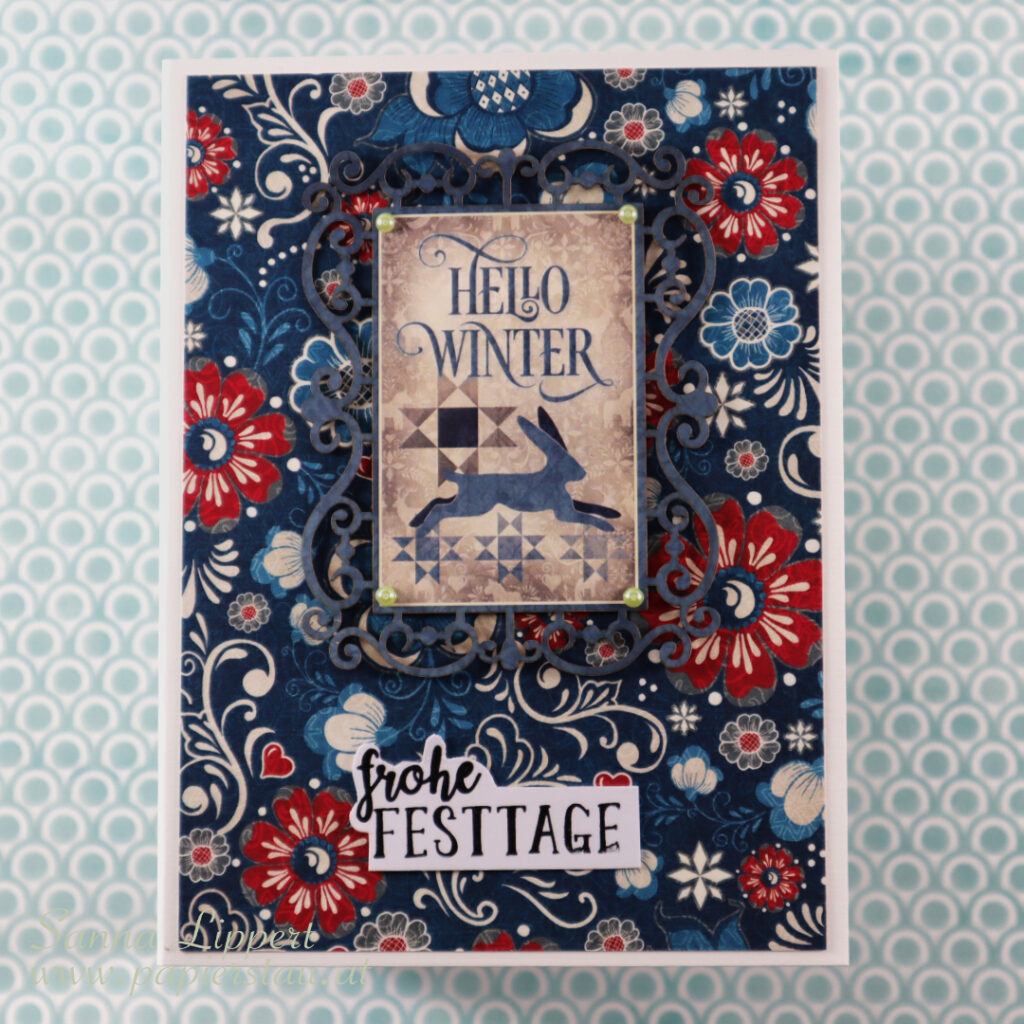
On this card I used solely Canvas Corp Brands papers. Also the printed fabric piece is from their collections.

For my last card I again used a Cuttlebug embossing folder with cardstock and then added some papers I had been gifted (sadly, don´t remember by whom). And then I again added s clear sticker for sentiment.

This year is very much a very clean and simple type of Christmas card year!
xxx, Sanna

Supplies:

Christmas cards 2023 – part two

Hello and happy Saturday! Here is another set of Christmas cards I made:

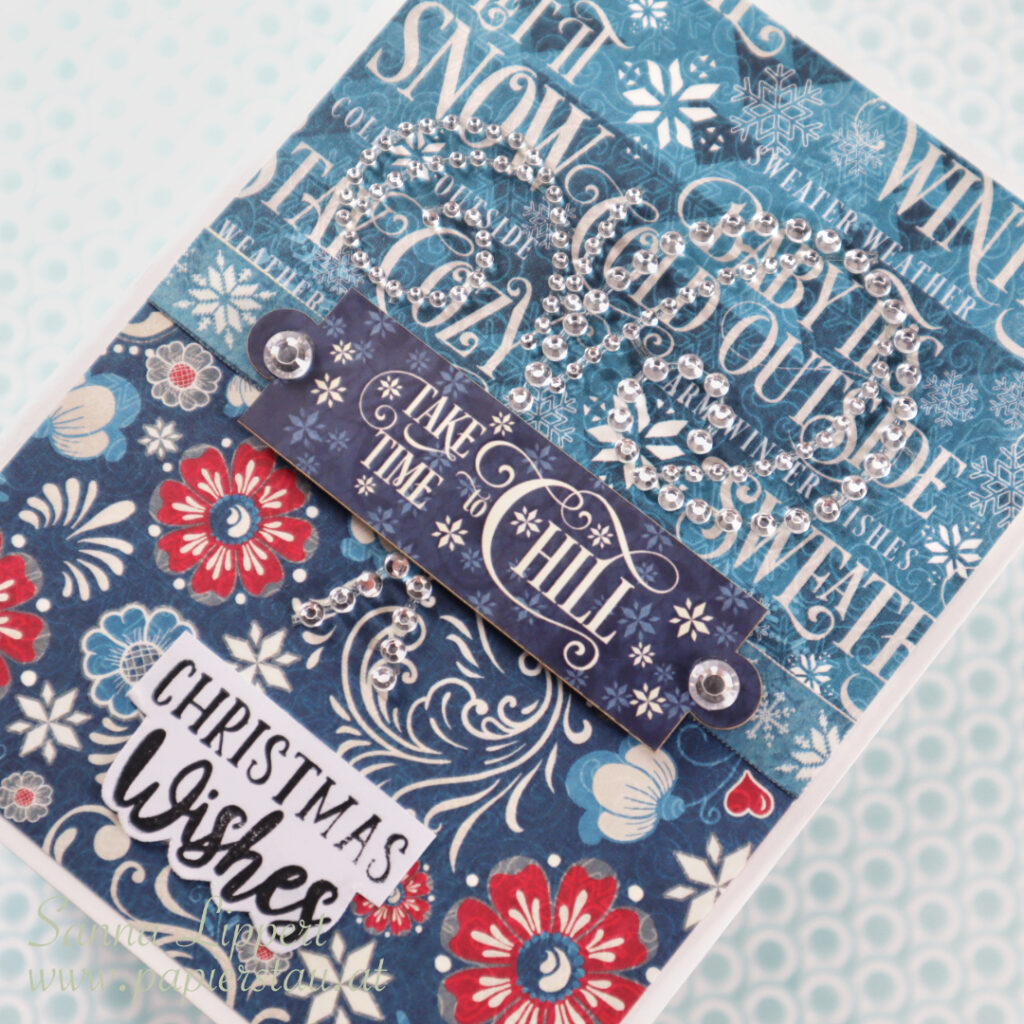
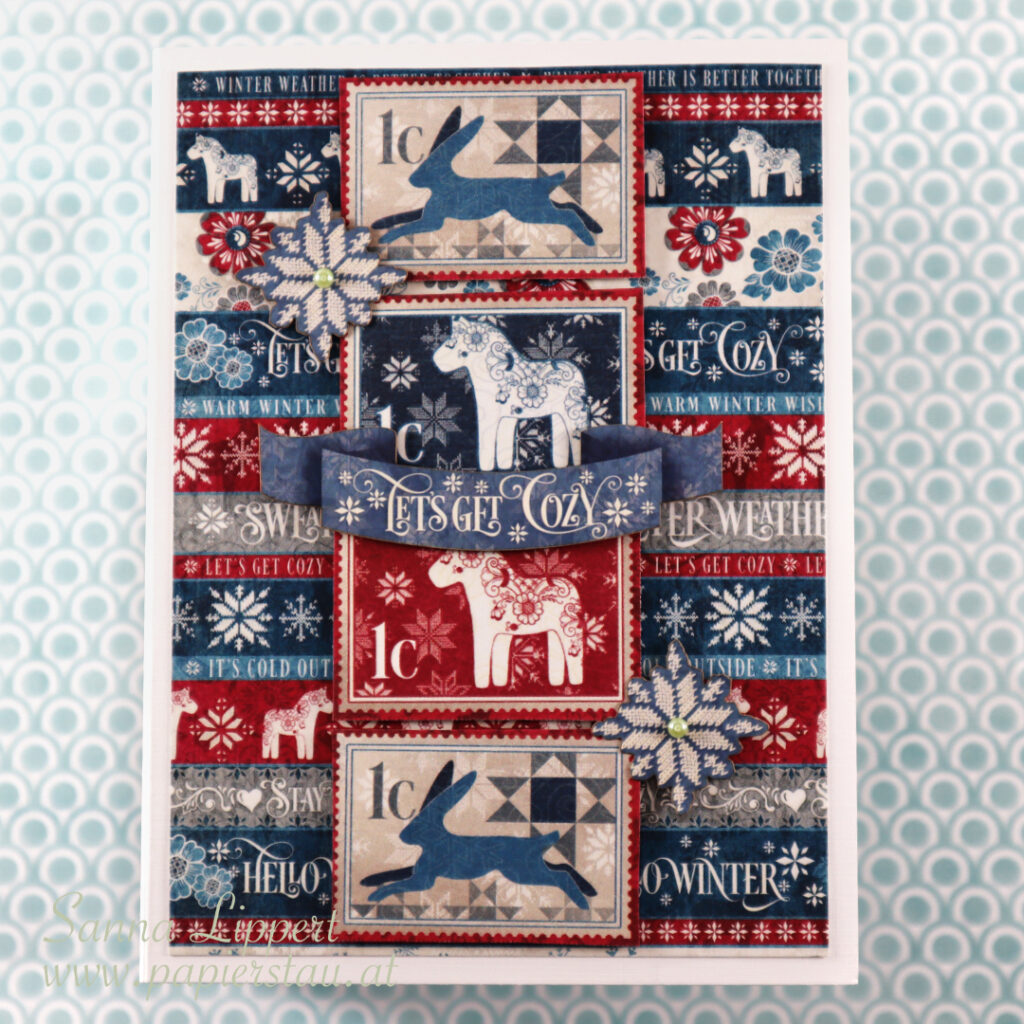
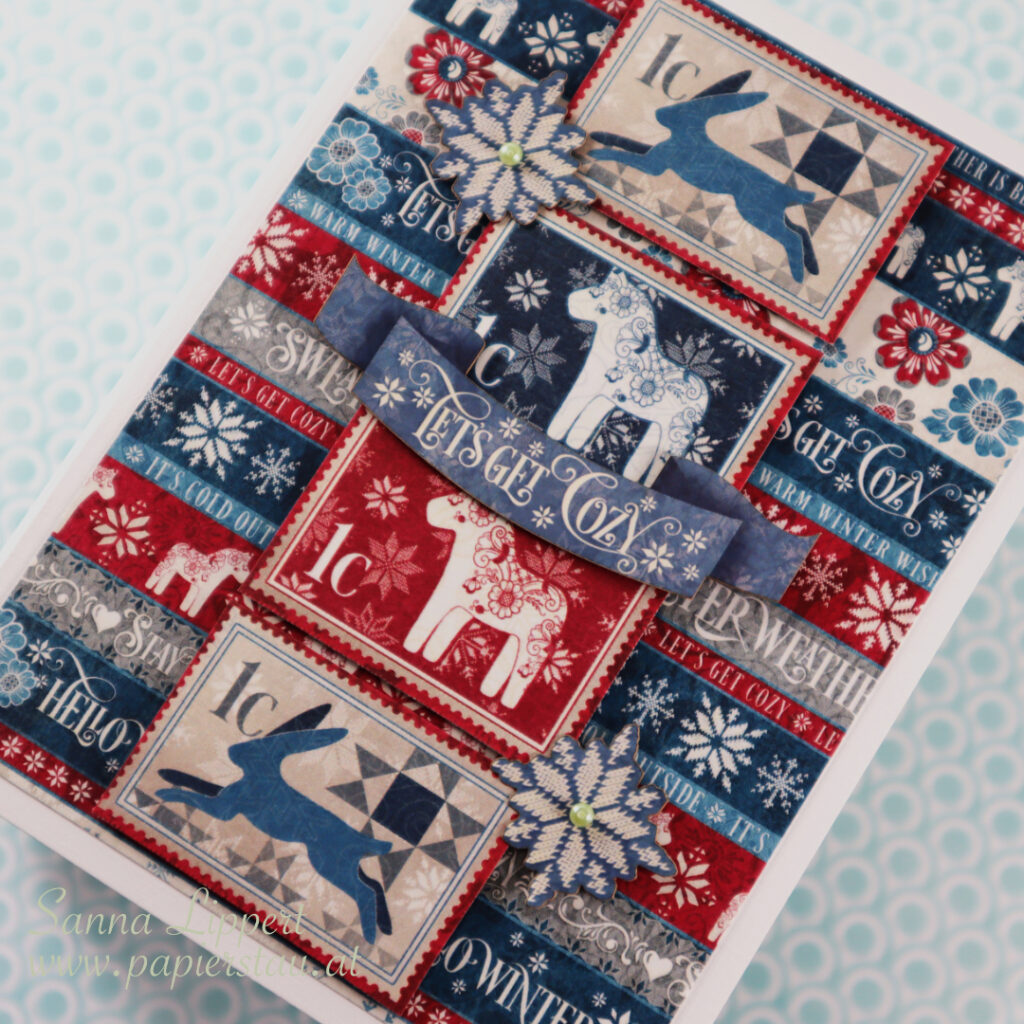
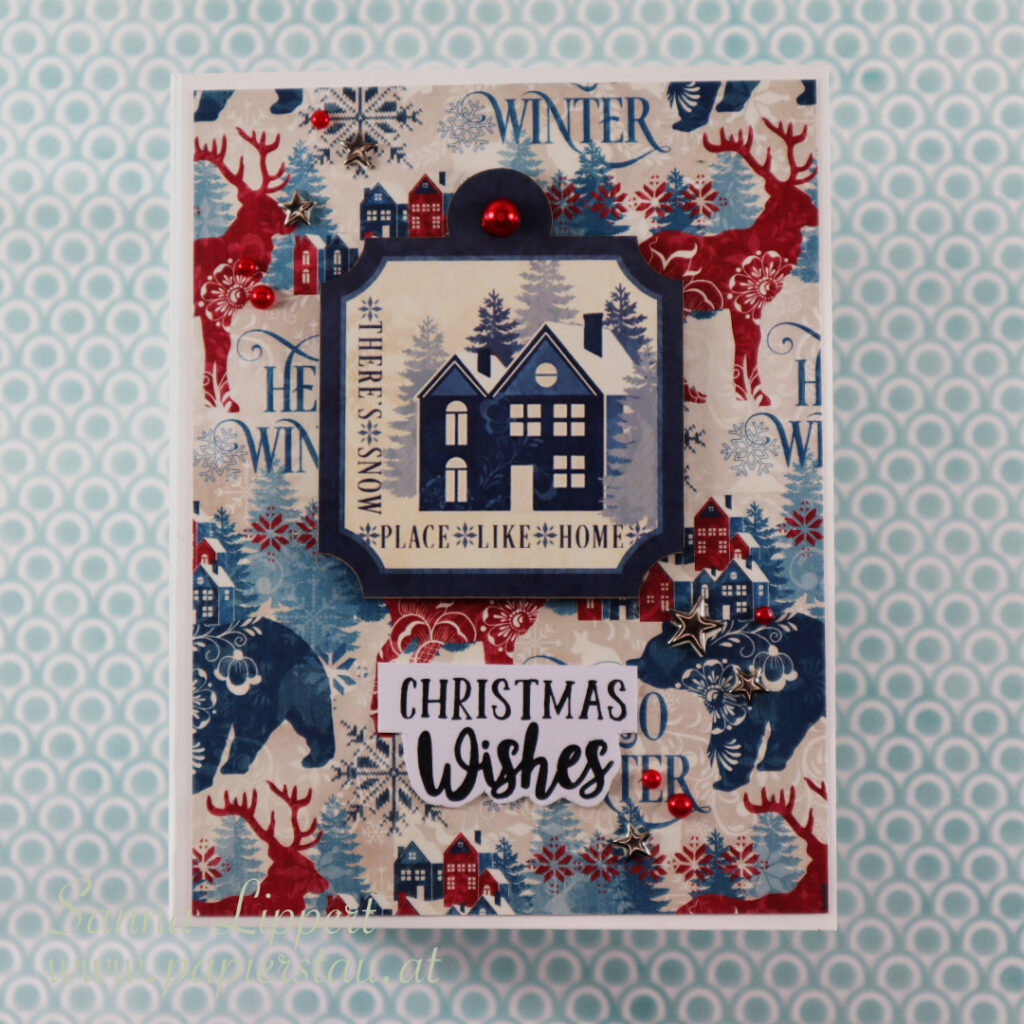
For these two cards, I again used the Vicky Boutin Christmas paper collection from last year. The chipboard elements are also from that collection. The stamping is done with a Klartext stamp and the faux stitching is done by hand. I also recycled older “regular” card images and added those as focal point to each of the cards.

I really like this paper alot! Too bad it is all used up now. I am really liking grey at the moment on cards.

Hope your holiday preparations are going well?

xxx, Sanna

Supplies:

Christmas cards 2023 – part one

Hello and happy Friday! Today is a good day to start sharing this years Christmas card creations ;-). So here is part 1:


I used papers from last year with a Martha Stewart snowflake punch on this card. Then I added rhinestones into the middle and some Nuvo Drops for additional interest.


For the second card I also used the Vicky Boutin Christmas papers from last year and added some Nuvo Drops and a Klartext stamped sentiment into the bauble.

For the last card I again used the Vicky Boutin Christmas paper on the background. On top of that I added a dry embossed (Cuttlebug) green paper that I had treated with a golden Gelato. On top of everything I added some embellishments and a clear sticker sentiment.

Wishing you a lovely weekend!

xxx, Sanna


Supplies:

DAP-journal / December 29th, 2022

Hello and happy Tuesday! Here is yet another DAP-journal share:

For this one I used Neocolor 2´s, Stabilo Woody´s and Stabilo all black pencil with the original almanac page cut into smaller bits and added to the rest. Lots of earth tones here. I didn´t want to add any words or journaling this time, so I just kept the page very simple.

Happy crafting, 
xxx, Sanna

Supplies:

DAP-journal / December 28th, 2022

Hello there! Here is another share from my DAP-journal:

For this page I used a premade gelli printed background piece (done with a STAMPlorations stencil – my line there) and some Glimmer Mist on top. In addition to that layer, I added strips of washi, some white gesso, Stabilo all black pencil and Neocolor 2´s. On top of those layers I added the original almanac page and it fits the color sheme very well.

Have a good start into the new week!

xxx, Sanna

Supplies:

DAP-journal / December 31st, 2022

Hello! This is the very last page share from my 2022 DAP-journal:

I gessoed the page first, then I added spray inks on top and some Neocolors. On top of that I grabbed some washi tape and stickers from my stash and added the original almanac page to go with them. I then wrote “better times ahead” onto yellow paper scraps and adhered them to the page.


This is the FULL 365 days of journal. As you can see, they did fit into the journal. BUT it is very, very thick. I might need to change the binding to a bigger one and then figure out, what kind of covers I want to add to it.

Here is the “top view”. Very thick indeed ;-).

This is it, when helt together with a hand. If I change the ring binding to a huge one, it might work with covers too. Still need to do that. But it is such a cool journal! Lots to look at and some parts are even interactive, so it makes it more interesting. I had fun doing it. Some pages were hard to do, some came easier. And at some point I thought I´d never finish it. But here it finally is. I am very proud of being able to finish it.
I will share a full flip-thru in near future. Just have to make a video of it first. So stay tuned :). Thanks for sticking with me thru this project! I had a good time – hope you enjoyed watching it!?
And now to other stuff – Christmas card sharing time is just around the corner again ;-). So bare with me for the next days (and maybe weeks), when I share a motherload of Christmas cards here.

Take care!

xxx, Sanna


Supplies: