Hello, it´s my turn over at Rubber Dance blog today again and I am up with a Christmas card set. For these cards I used the Textured Xmas Trees 2 stamp set with the Xmas Trees 1 stencil. I have been playing quite a lot with this stencil, because you can do so many different things with it and it´s slowly but surely turning into a big favorite of mine.


Here is how I created these cards:


I started by creating DIY background paper with a gel plate and acrylic paints. I rolled red acrylic paint onto my gel plate with a brayer, then quickly “lifted” the ink off by pressing the Textured Xmas Trees 2 stamp onto the paint and this way removing the paint from that area. Next I let the paint dry, before applying light blue paint over the red layer. Then I pressed white paper onto the image to create the background paper pattern.
Next I took some glitter paste in green and some papers I had brayered residue paint onto. I placed the stencil over the paper and applied a good layer of the paste with a palette knife onto the paper. As the paste is quite thick, it needs to dry well first.


After the glitter trees were dry, I fussy cut them and left a little of the painted background to be seen around the edges for more interest. Then I added some 3D adhesive foam onto two of them and adhered the middle one directly onto the background and the other two slightly overlappingly on both sides of it.


Adding the 3D foam adds even more depth to the card. For finishing touches I stamped the sentiments onto a white cardstock piece and adhered them onto the card base also with 3D foam. Finally I stamped some stars with black stamp ink to the background.


By the way, if you don´t own any colored glitter paste, you can add loose glitter to a transparent texture paste and mix your own. I hope I could inspire you a little. Have fun creating!
Sanna
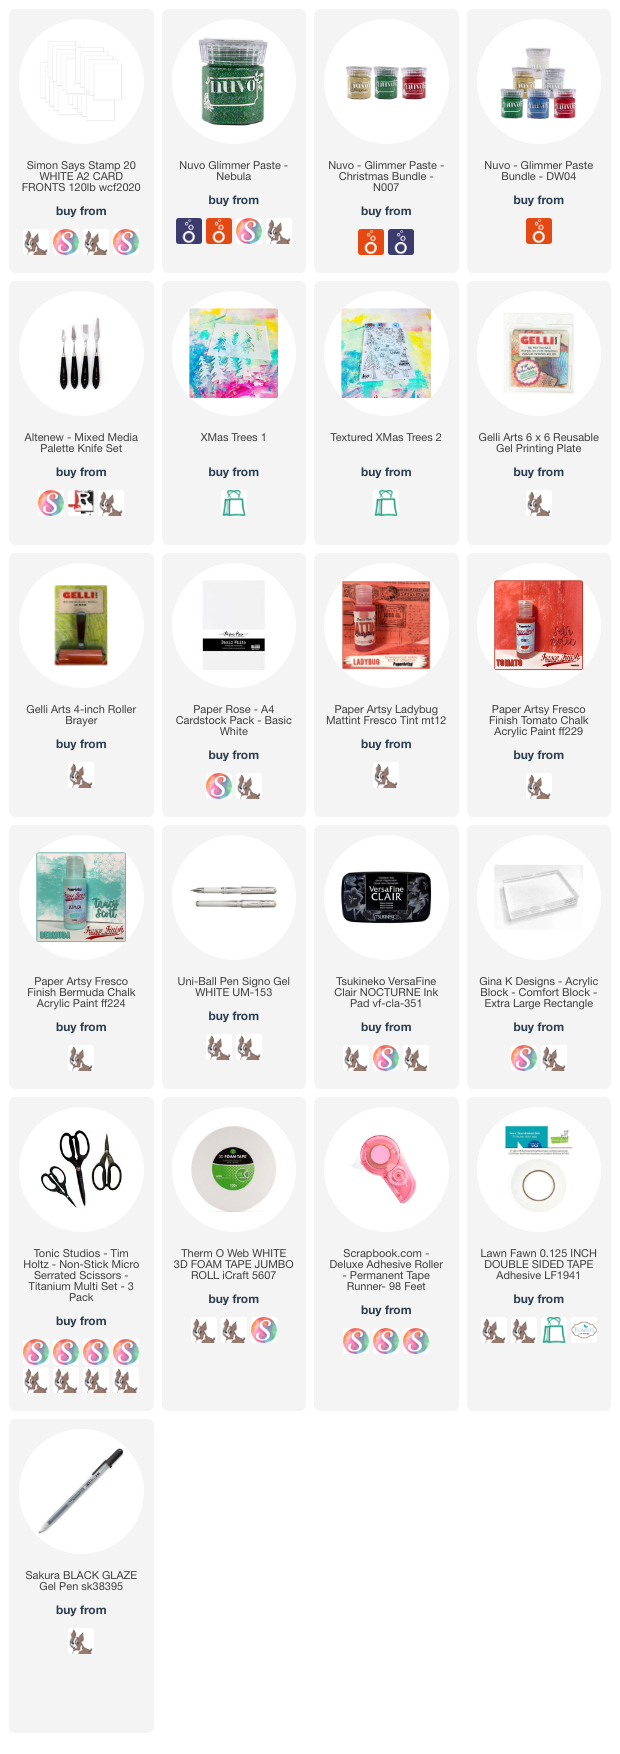
Supplies: