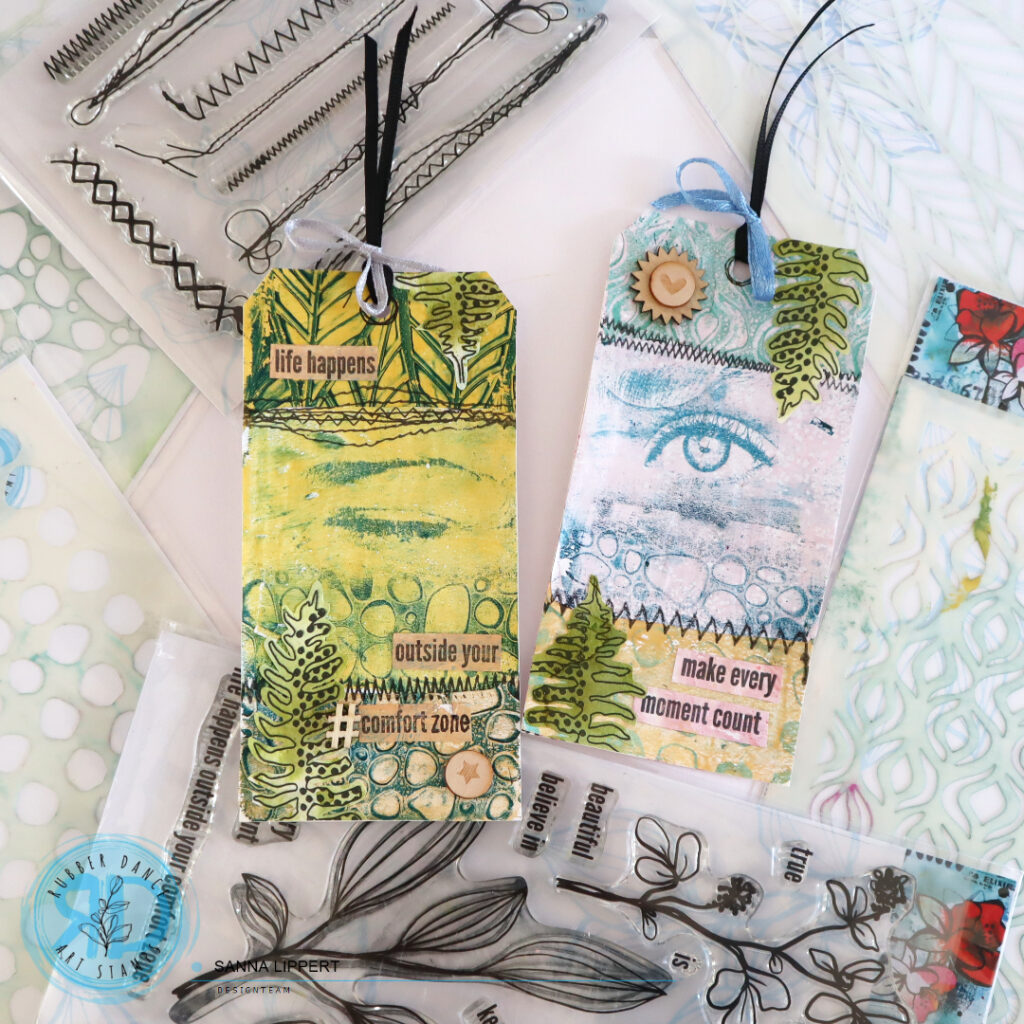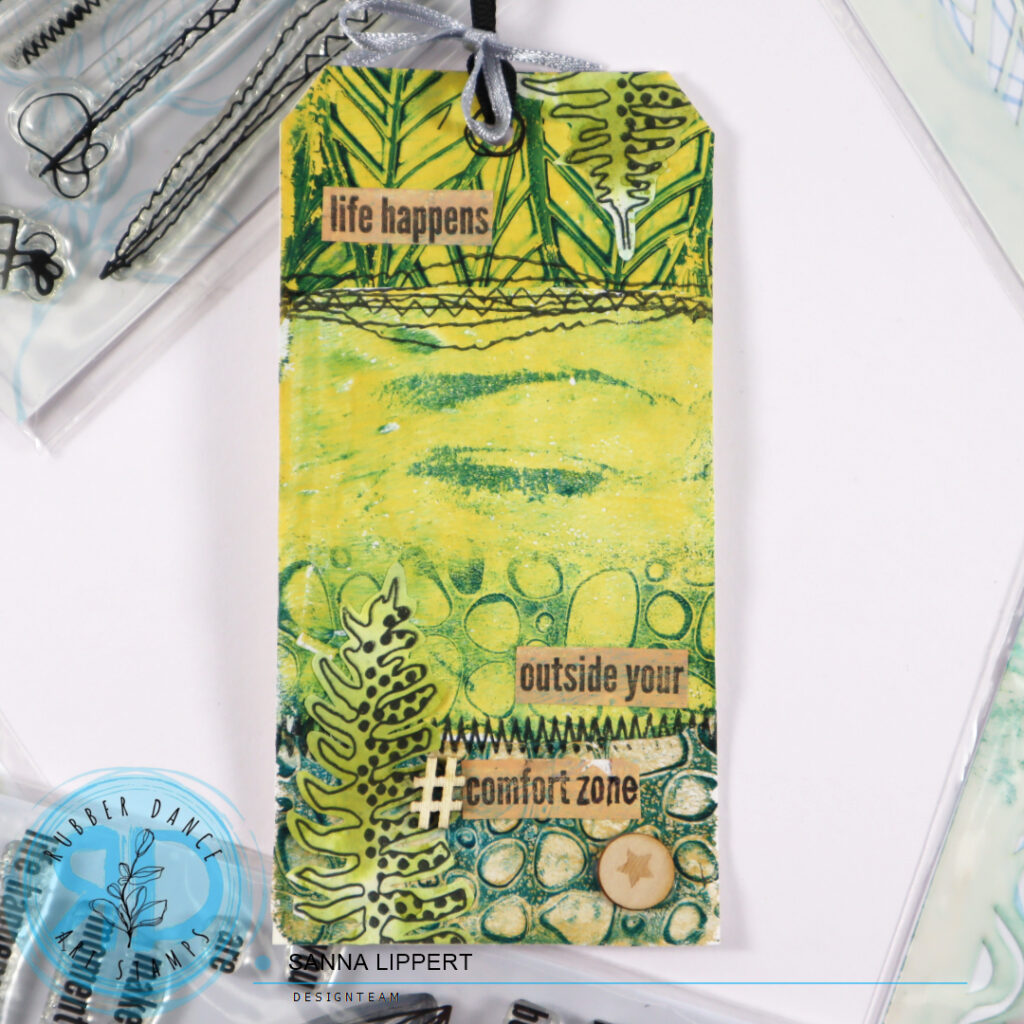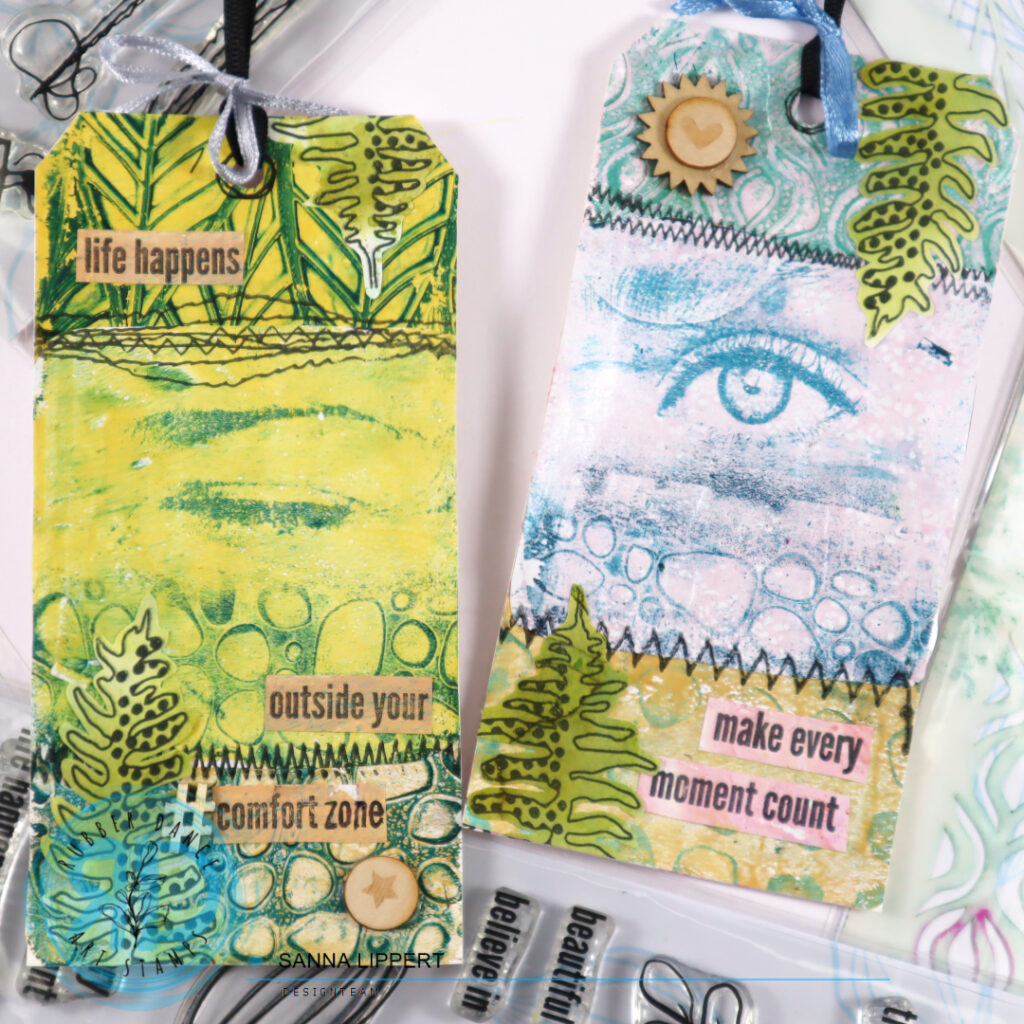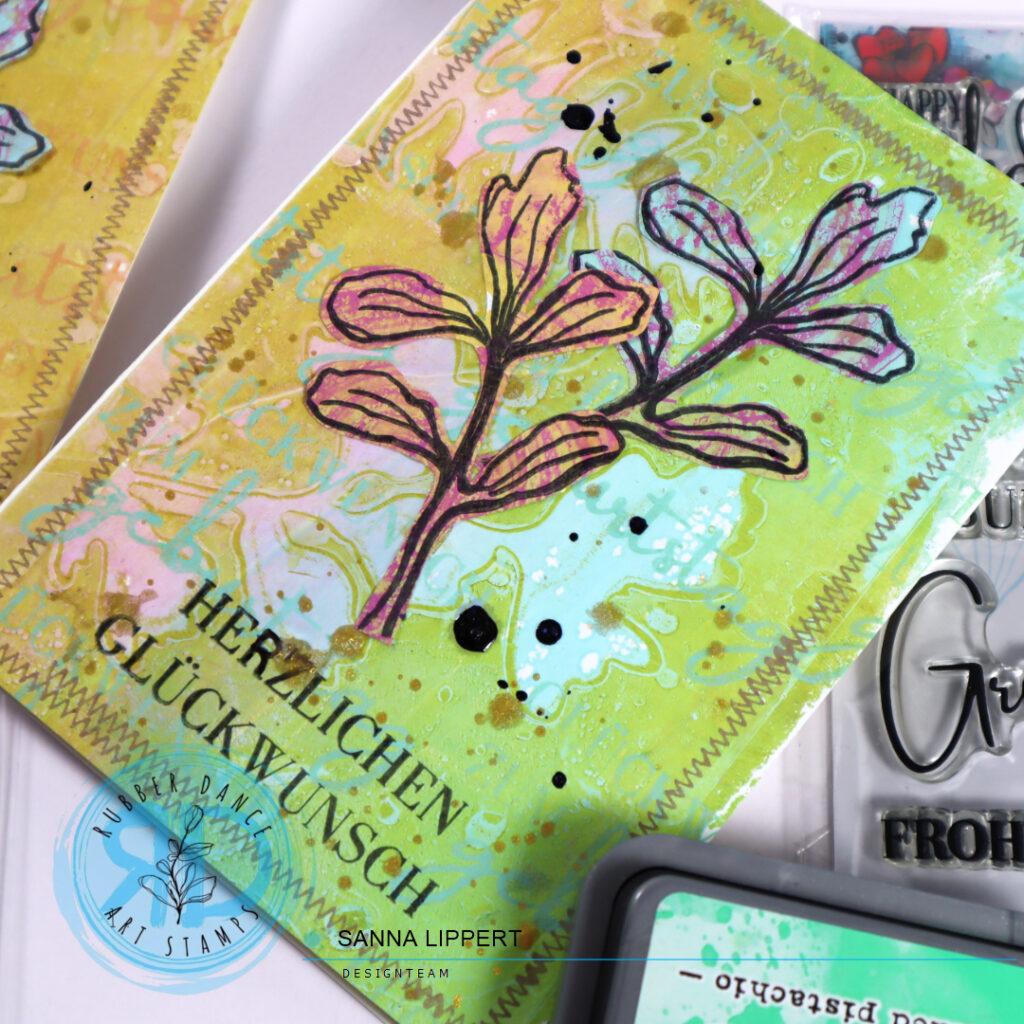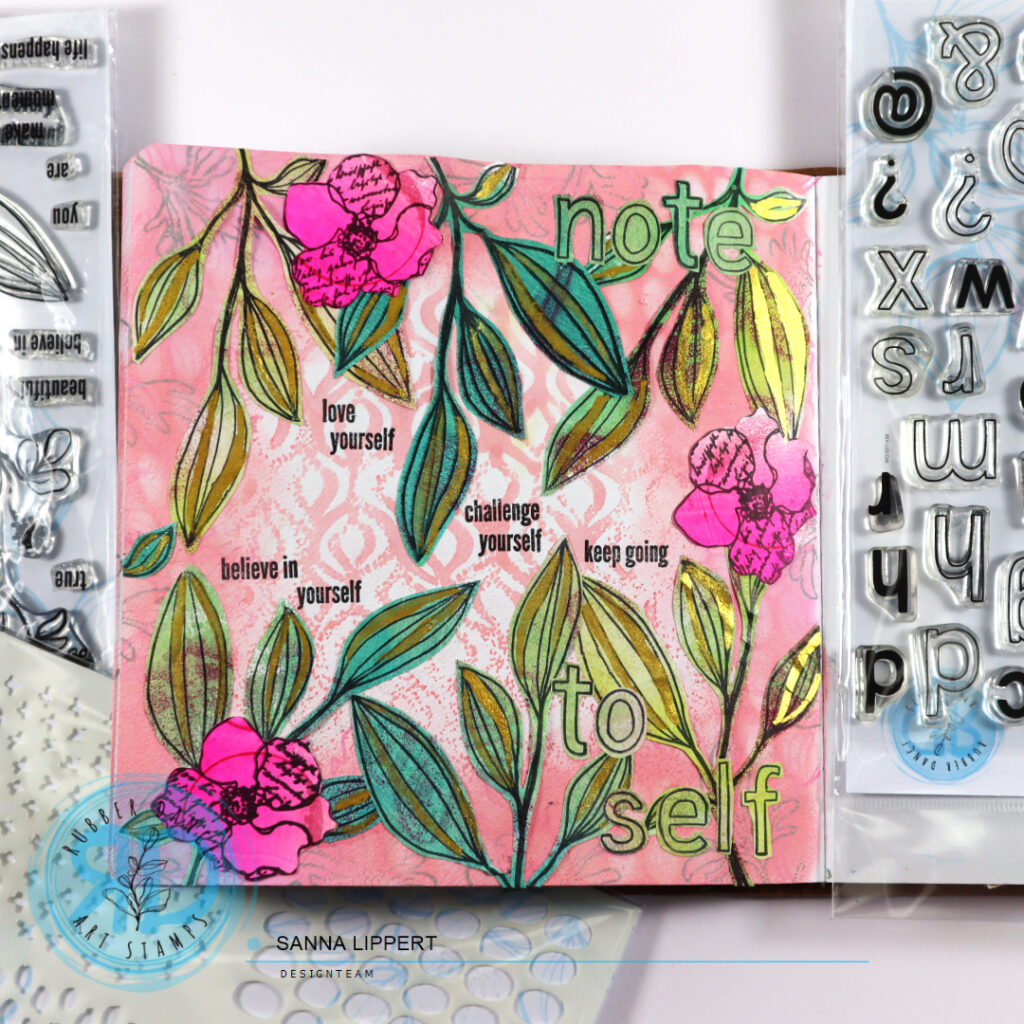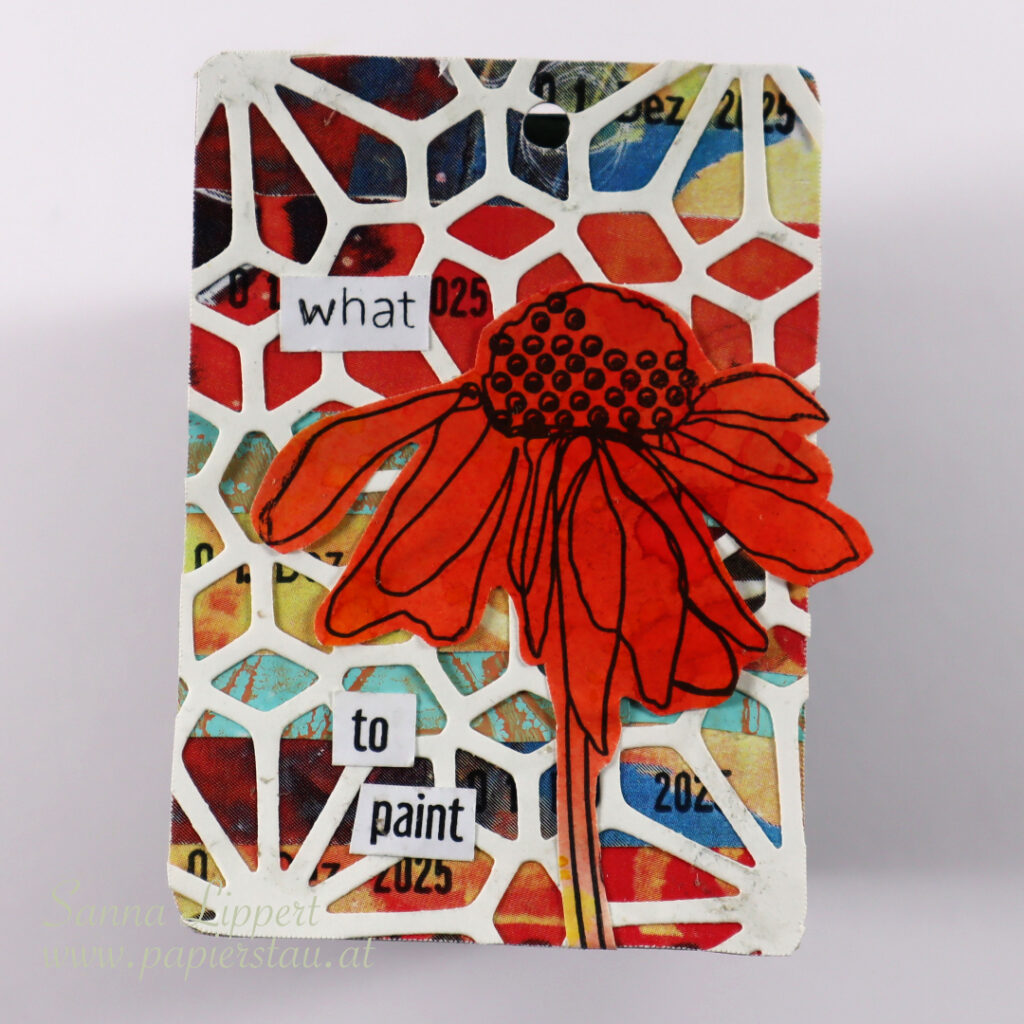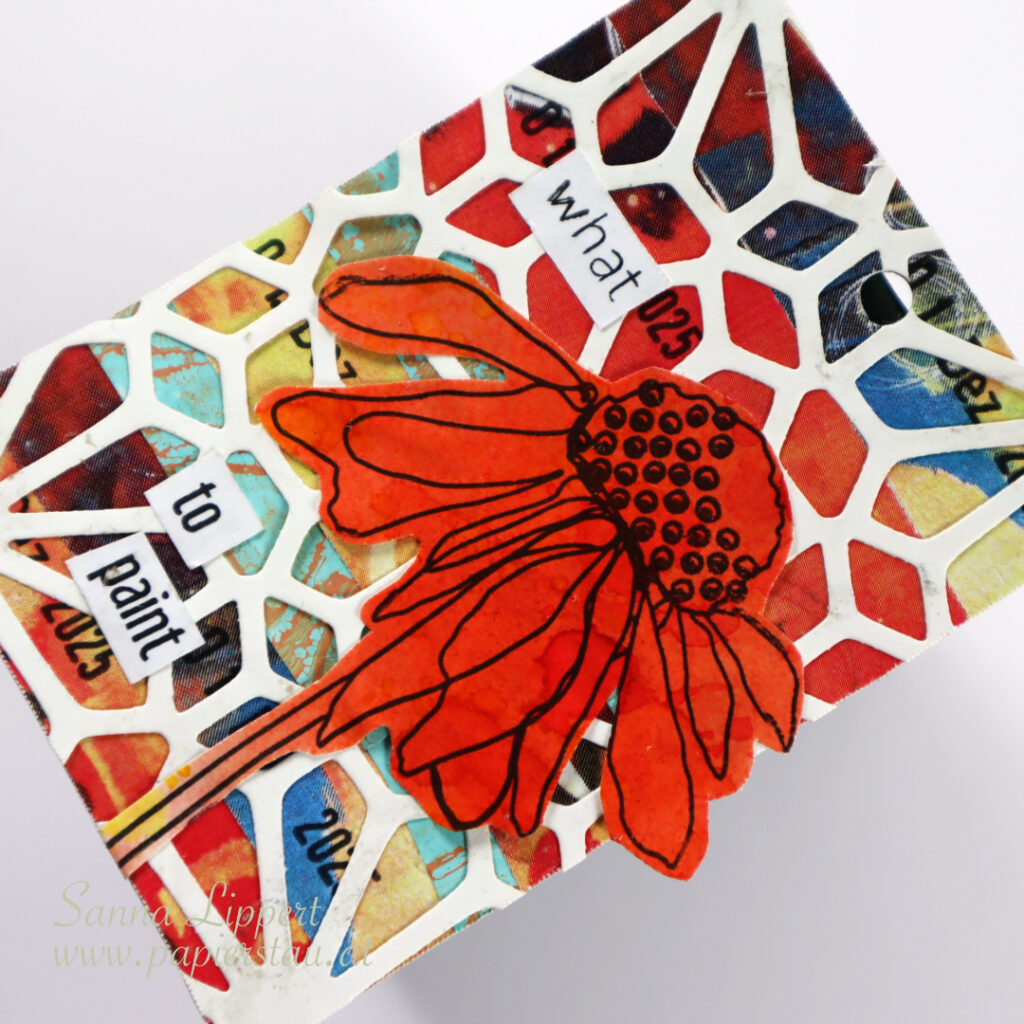
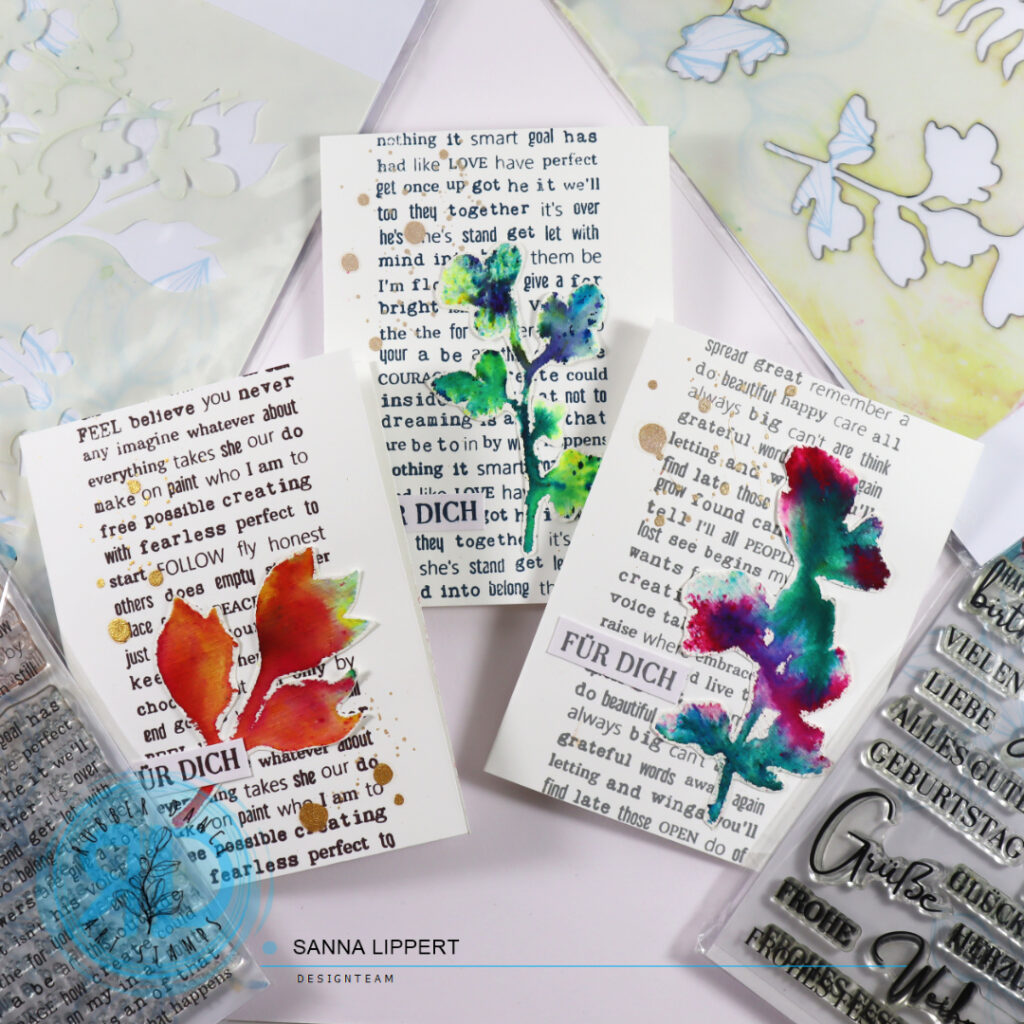
Hello, today I am sharing a video and a set of cards. For these cards I´ve used the Xmas Trees 2, Sketchy Leaves 7 and Sketchy Leaves 5 stencils as well as Kartengrüße and Mix A Sentiment 2023 stamp sets.
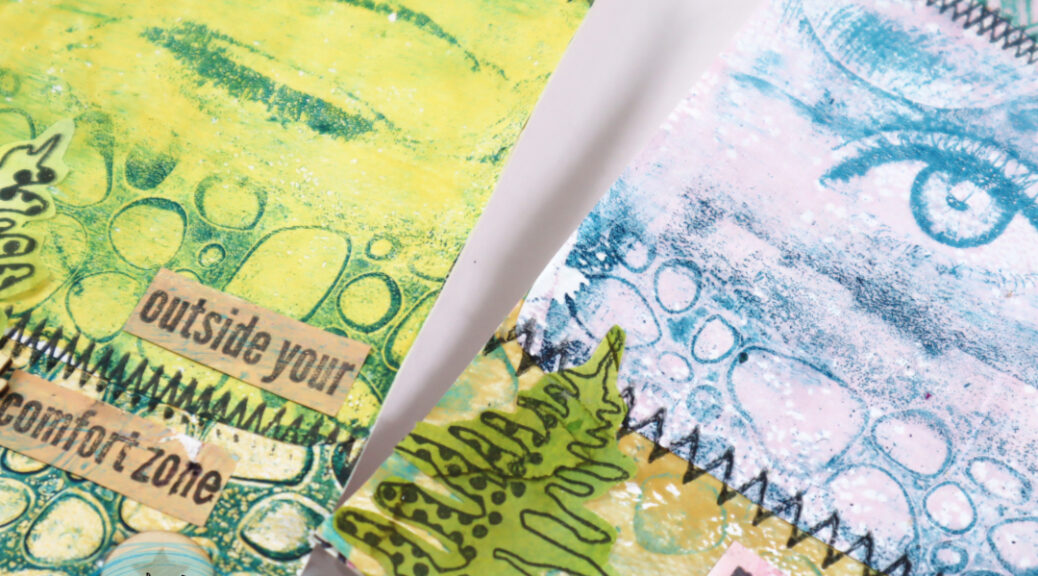
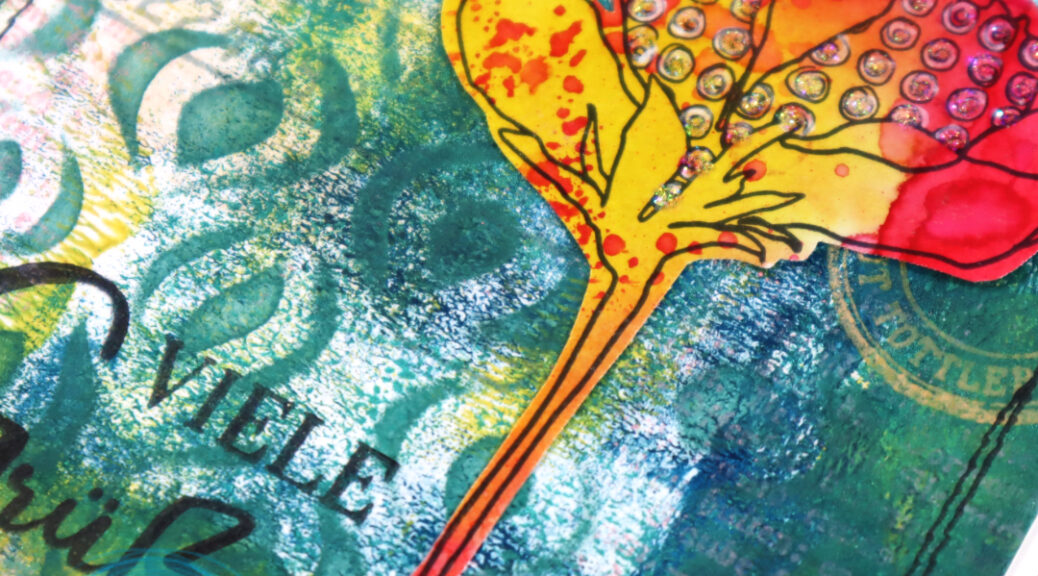
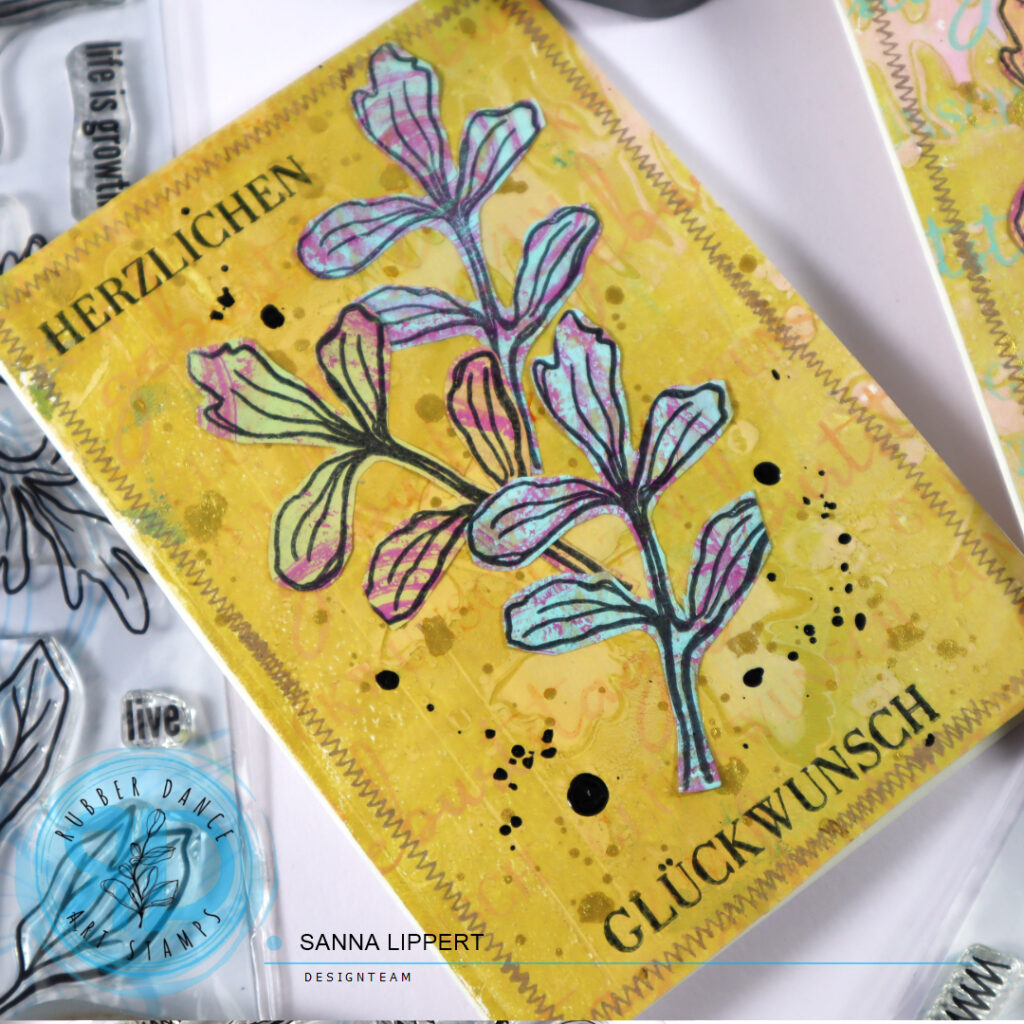
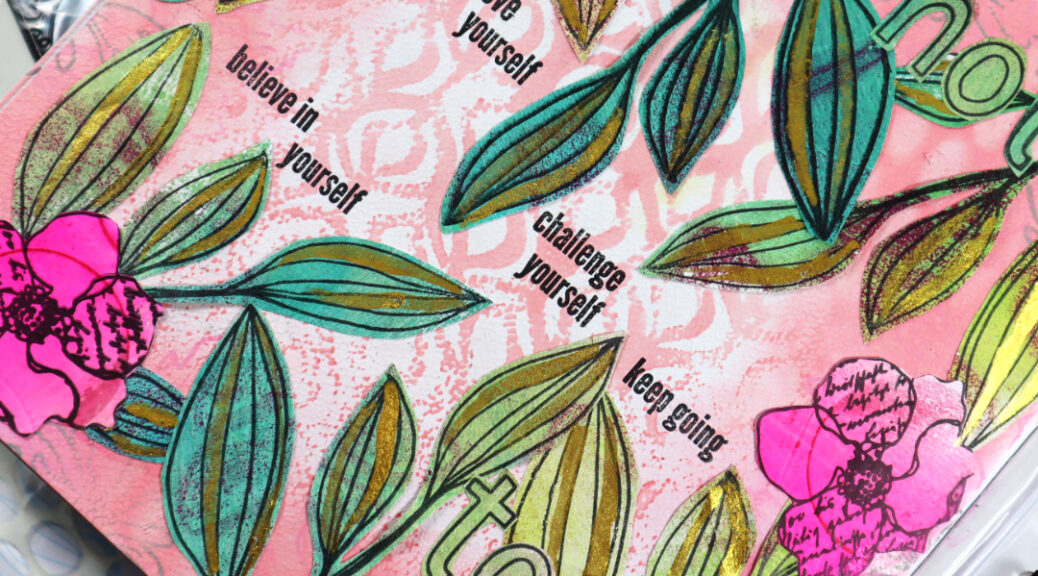
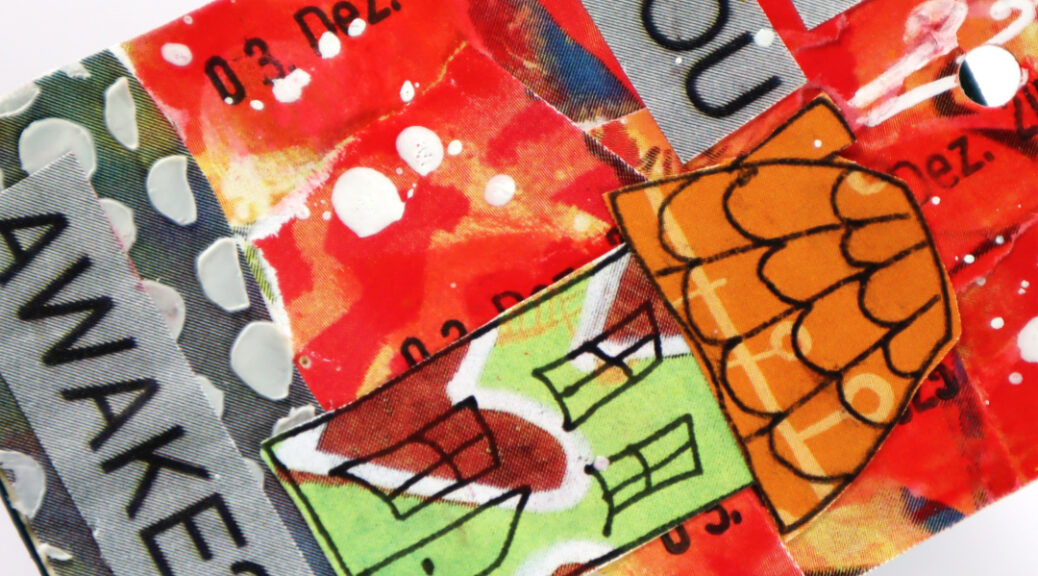
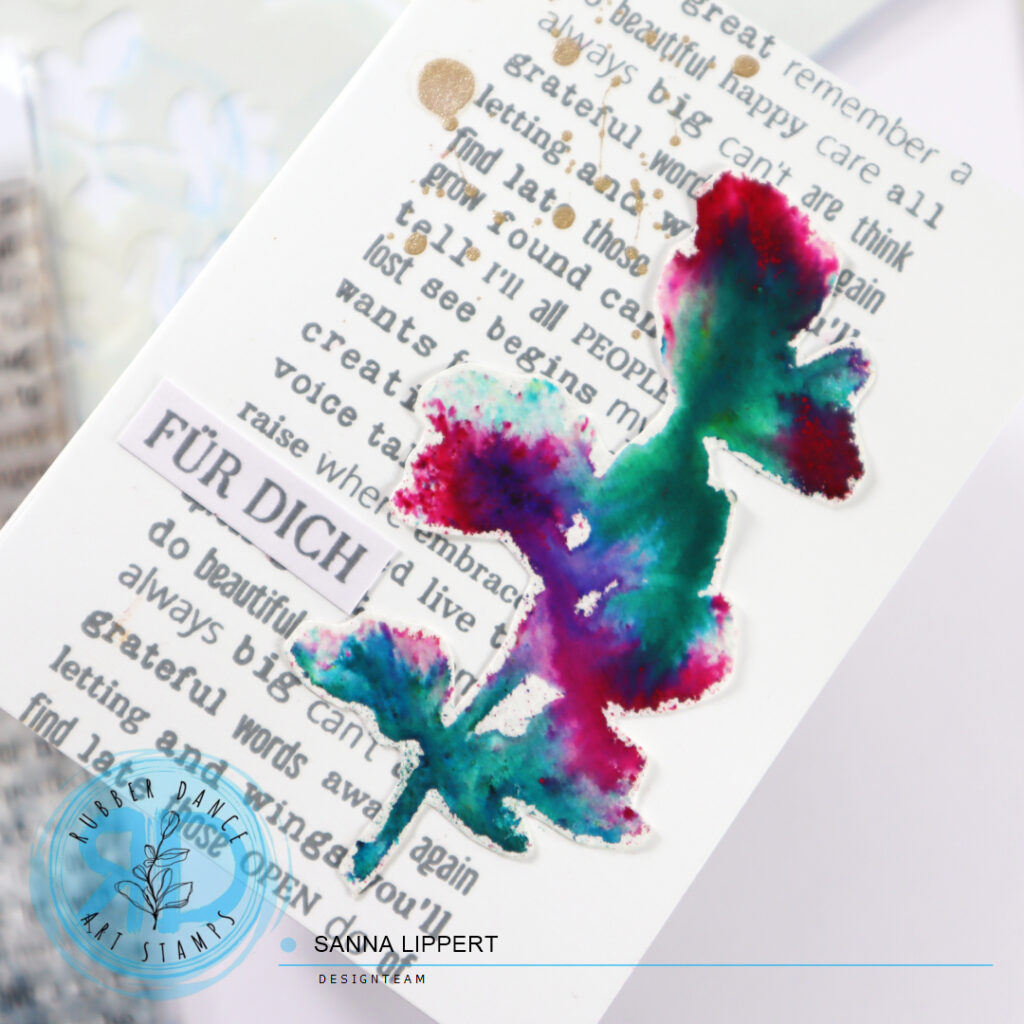
I started with a watercolor paper and places the stencil onto it. Next I misted the leaf and tree areas of the stencils with a water spray bottle. After that I removed the stencils from the paper and dabbed some Brusho powders onto the wet areas. The color particles immediately start to spread on the wet areas and create interesting looking leaf patterns.
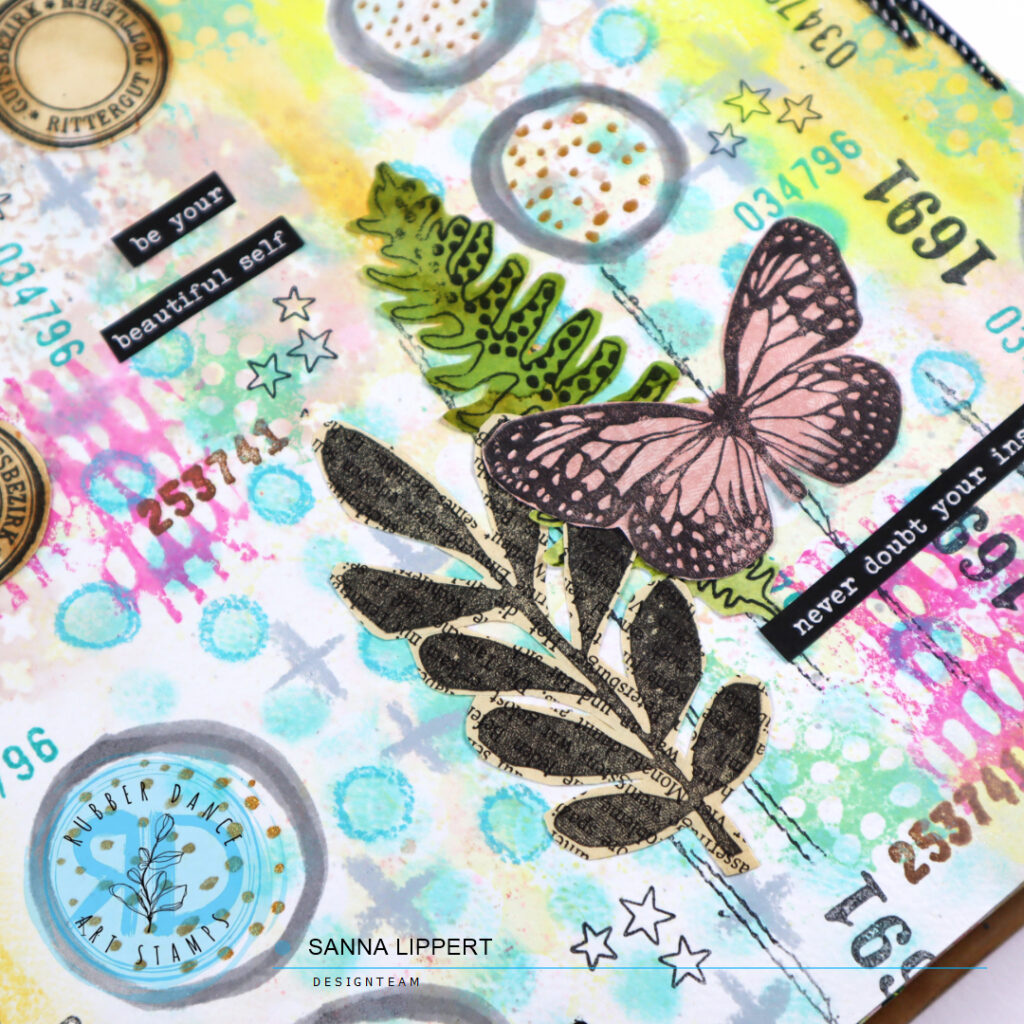
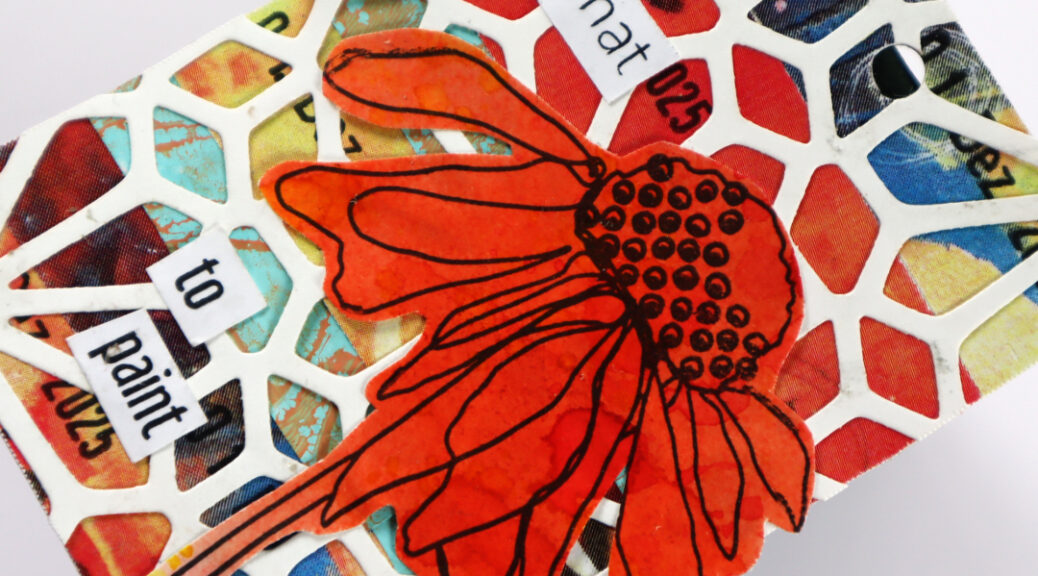
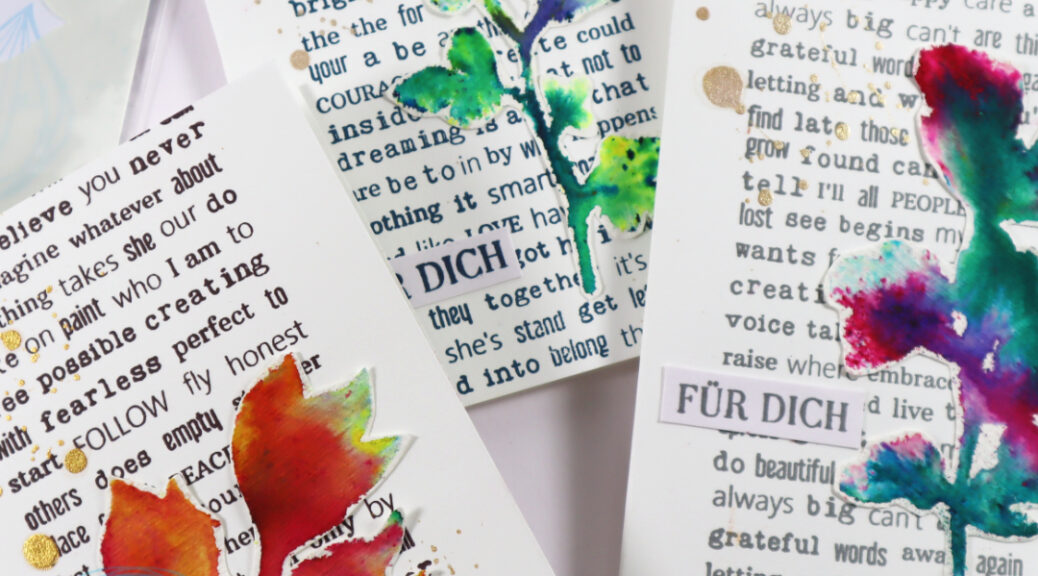
I let the water dry on it´s own and after all the areas were completely dry, I dabbed any residue powder off the paper and fussy cut the leaves. I mixed various colors together to create interesting looking images.
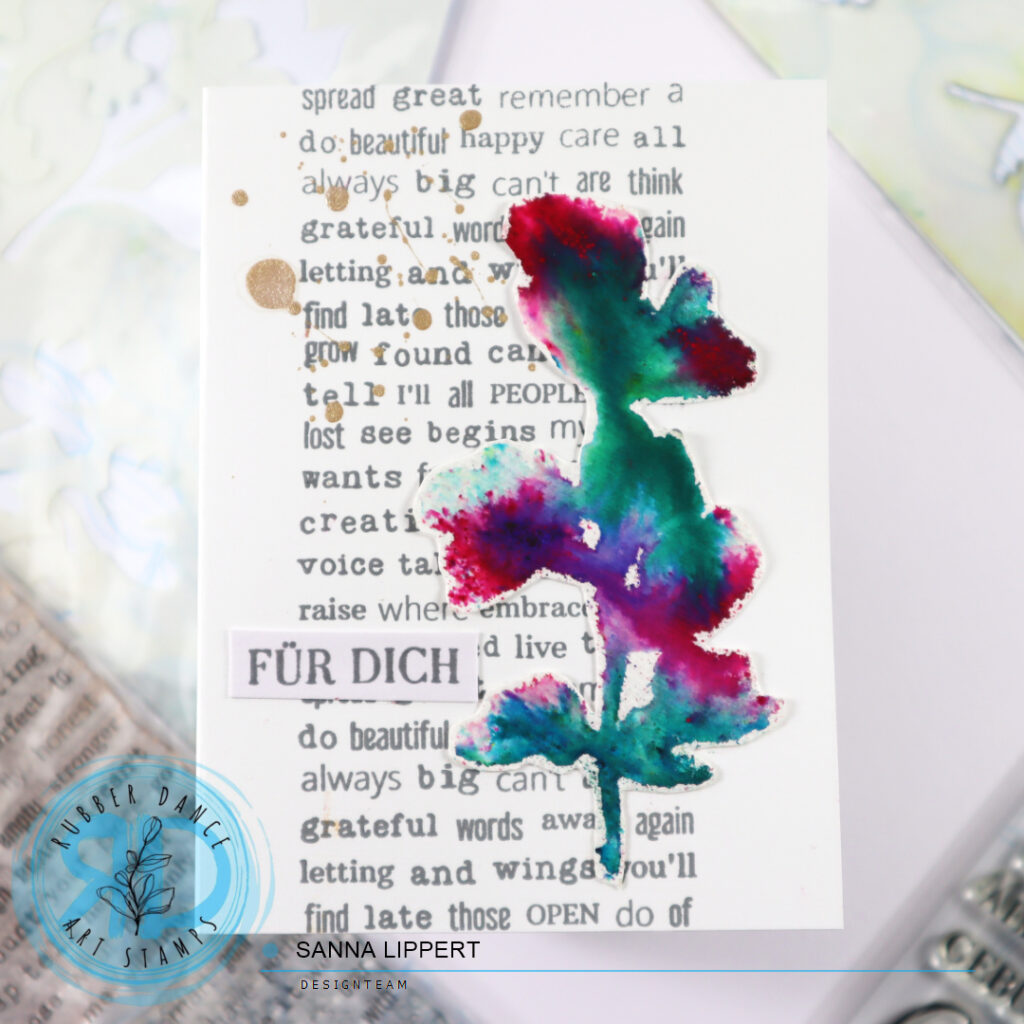
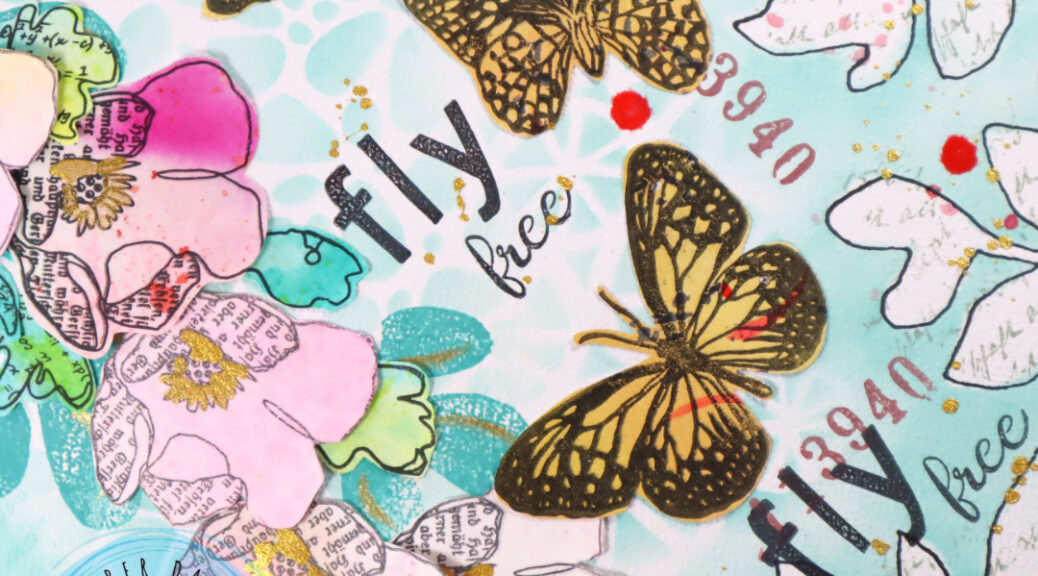
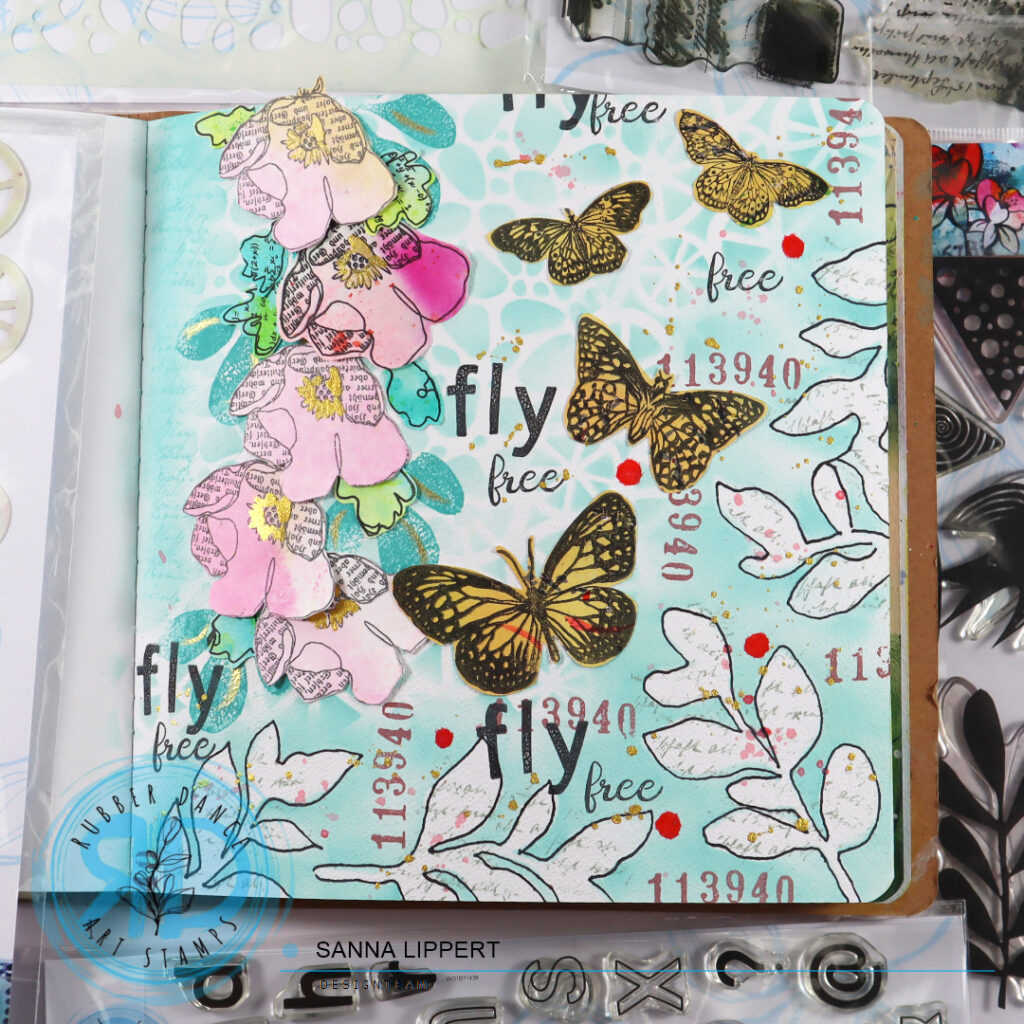
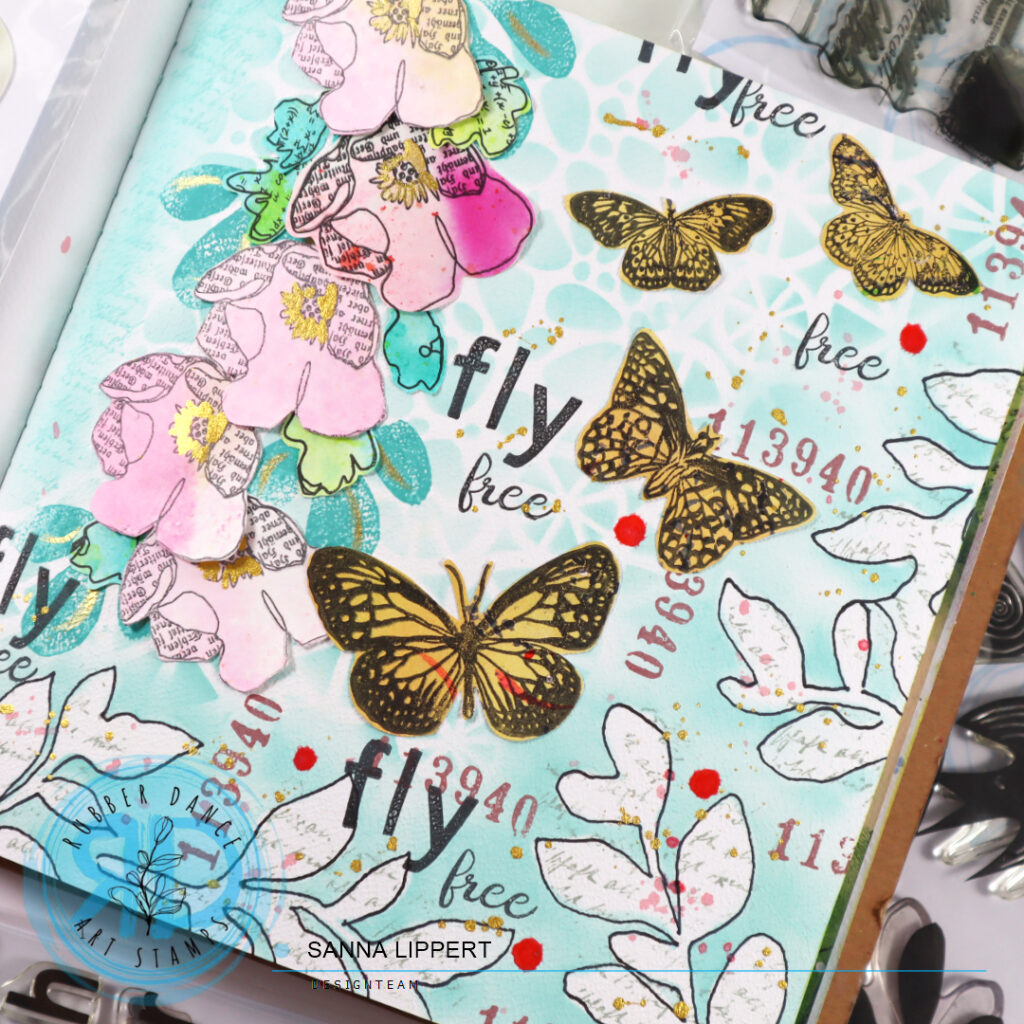
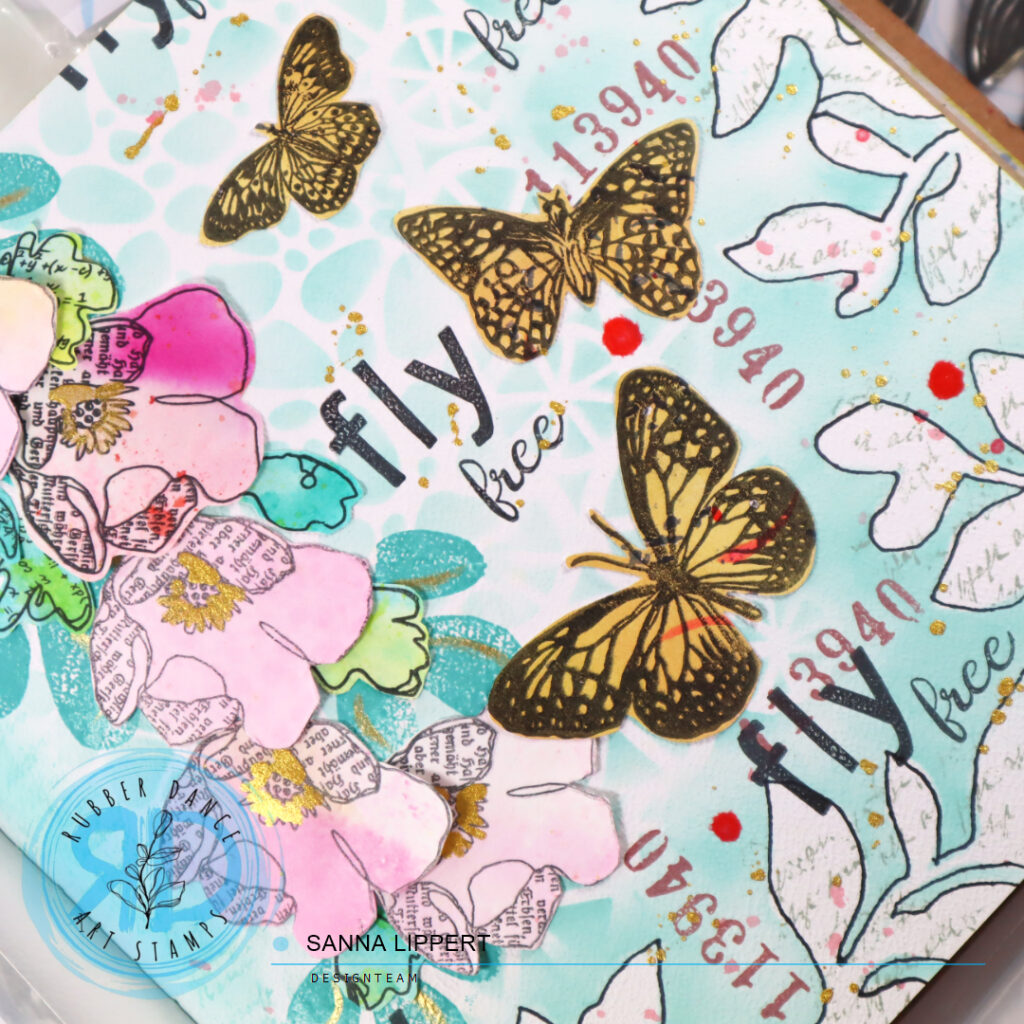
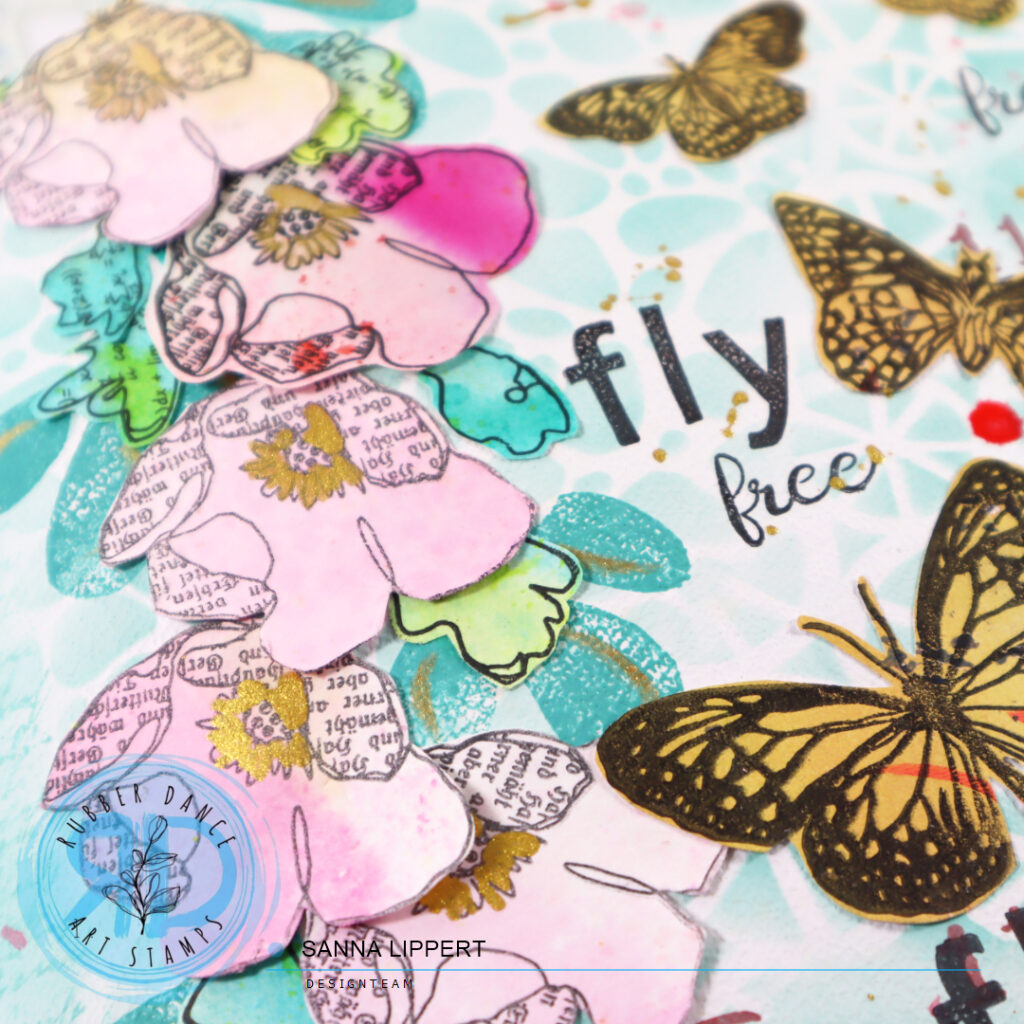
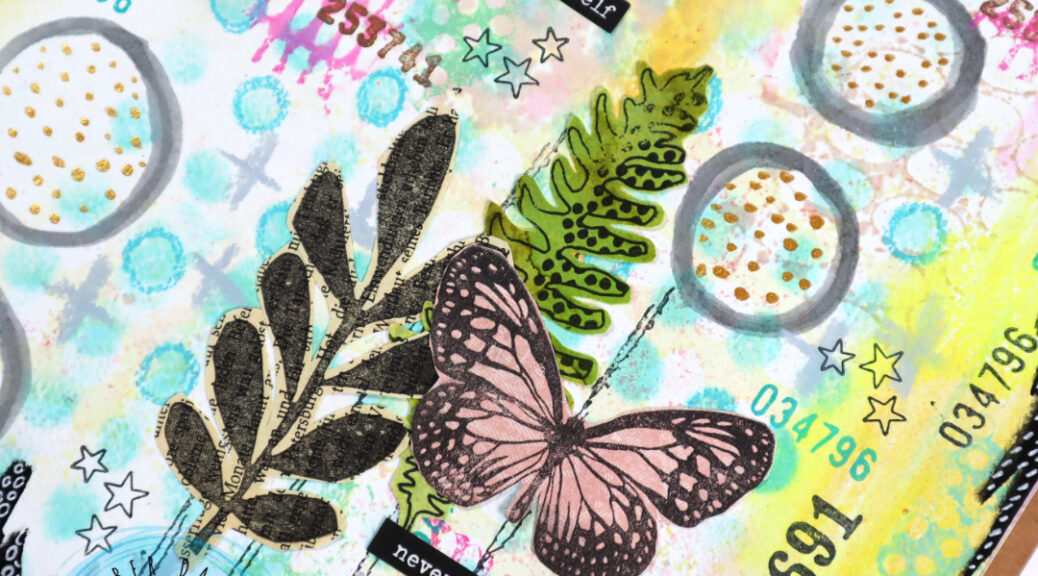
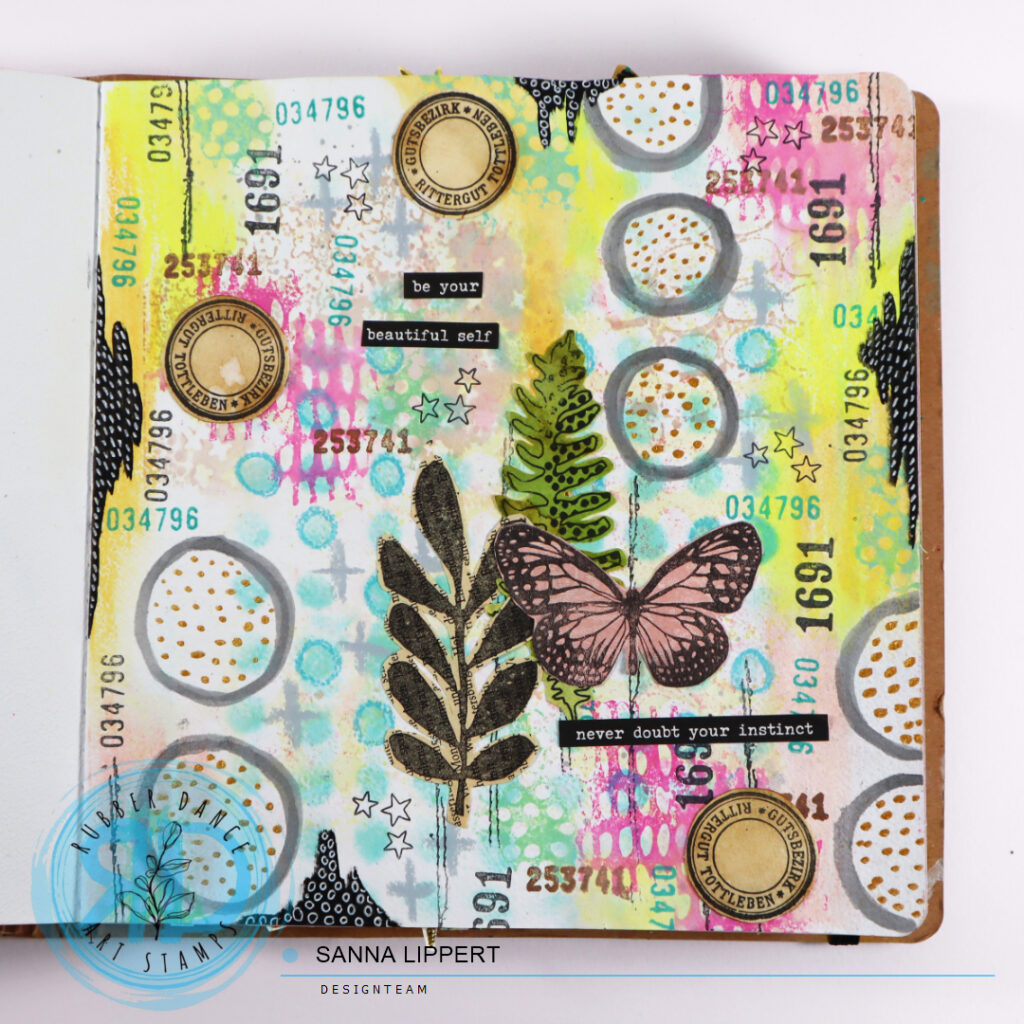
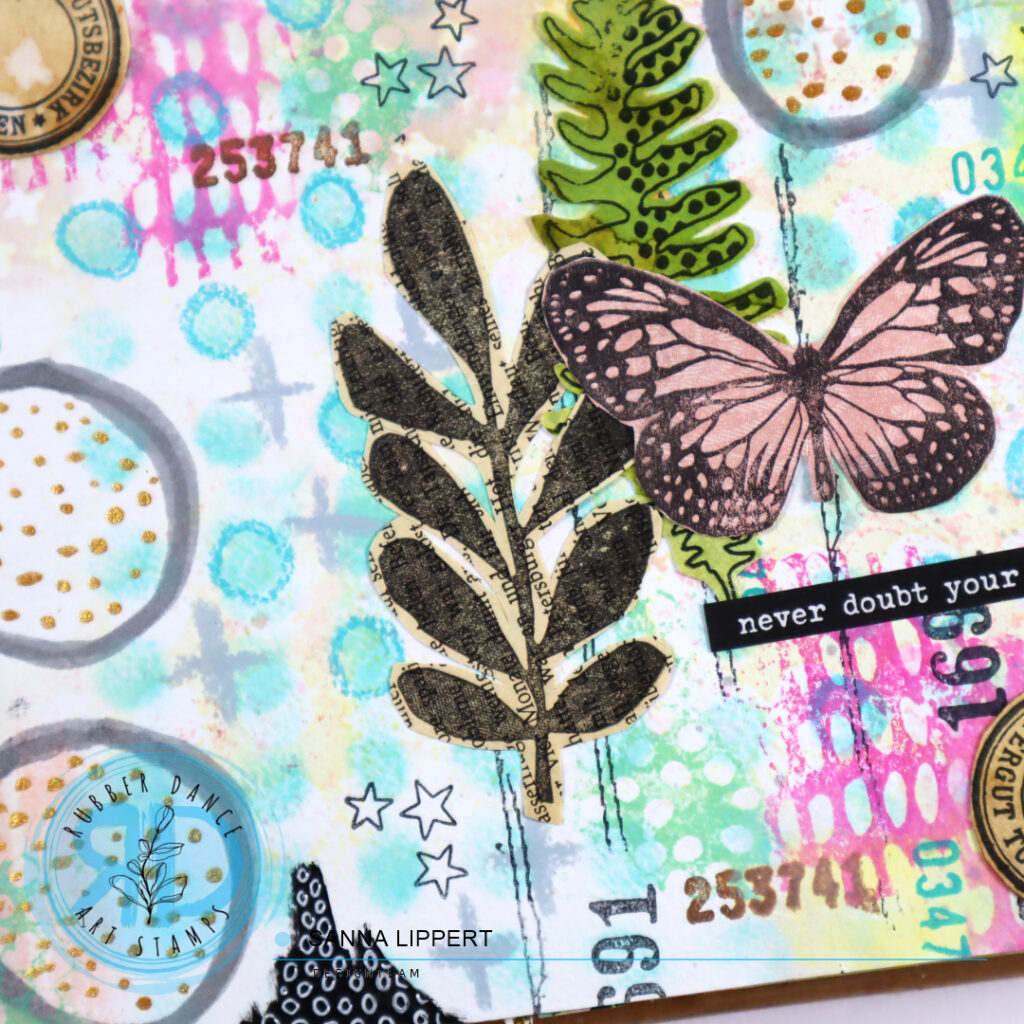
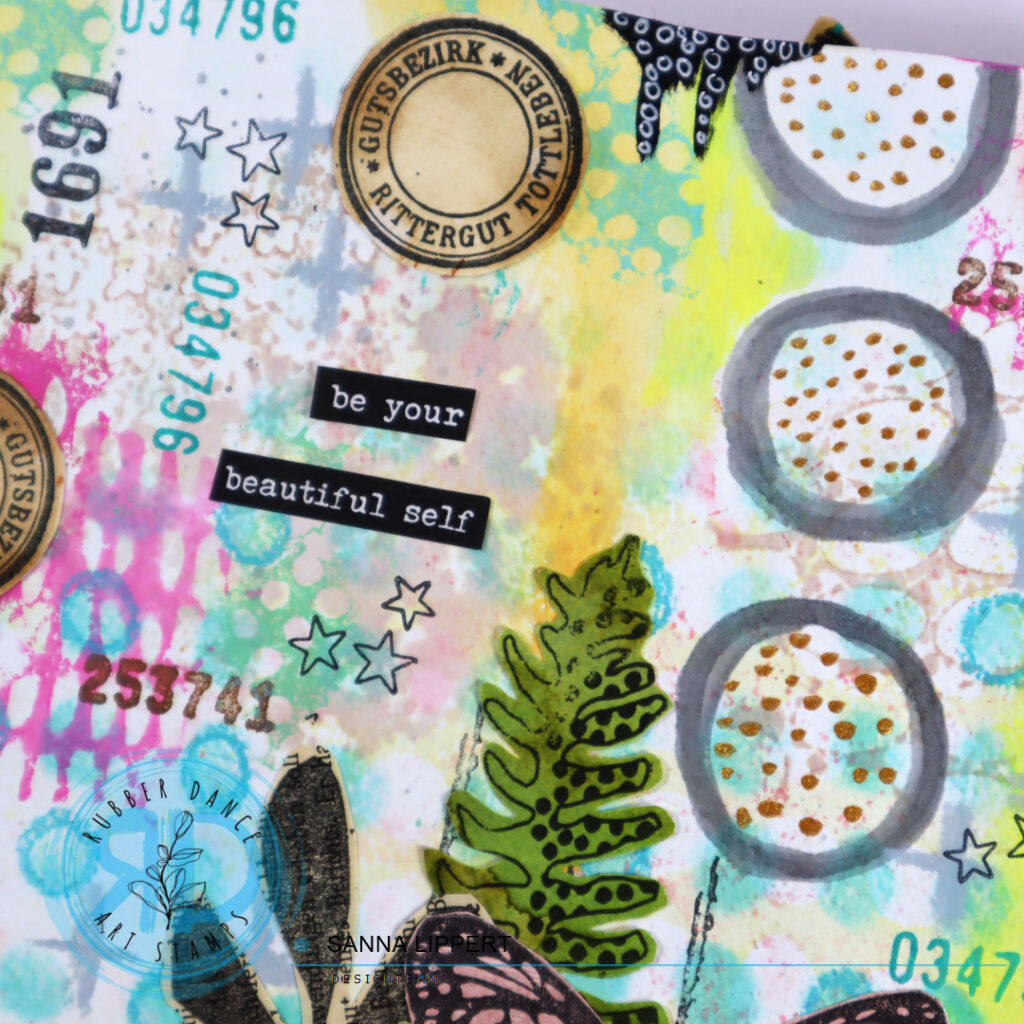
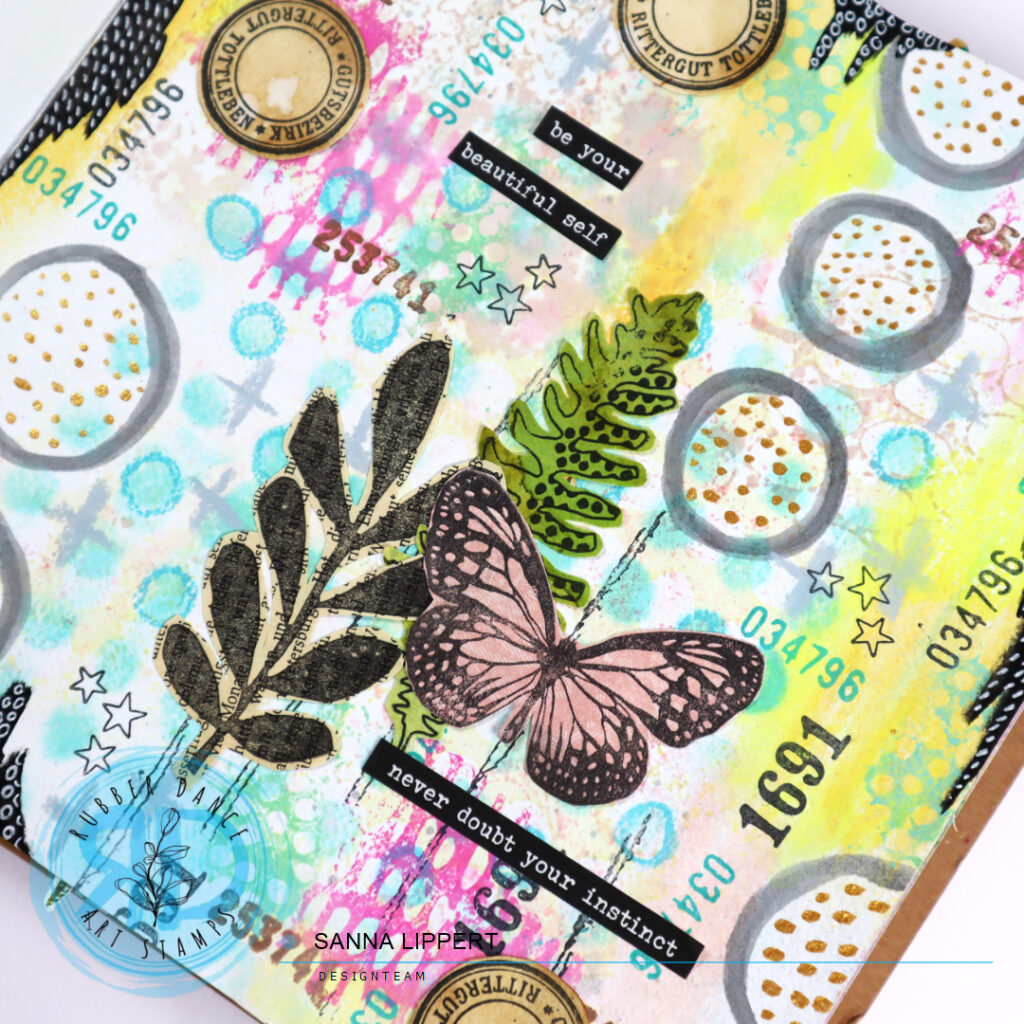
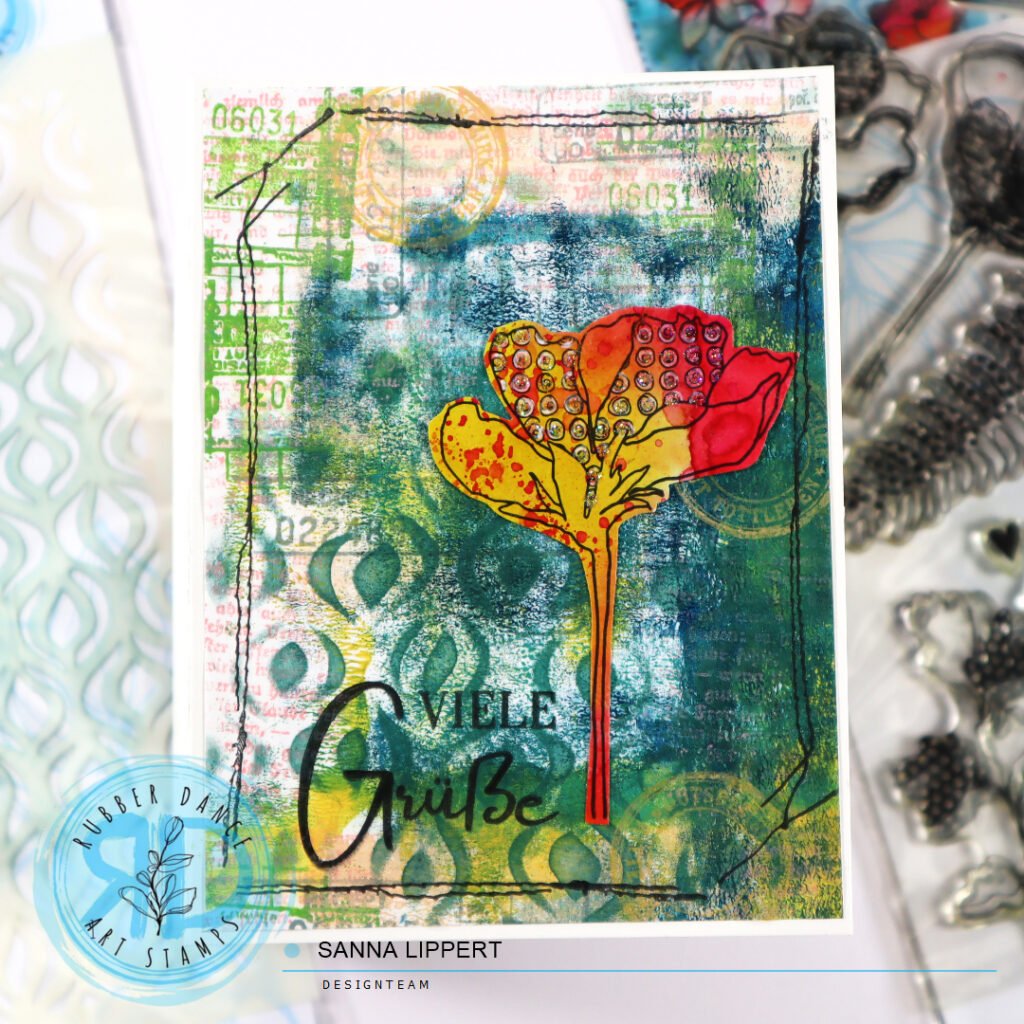
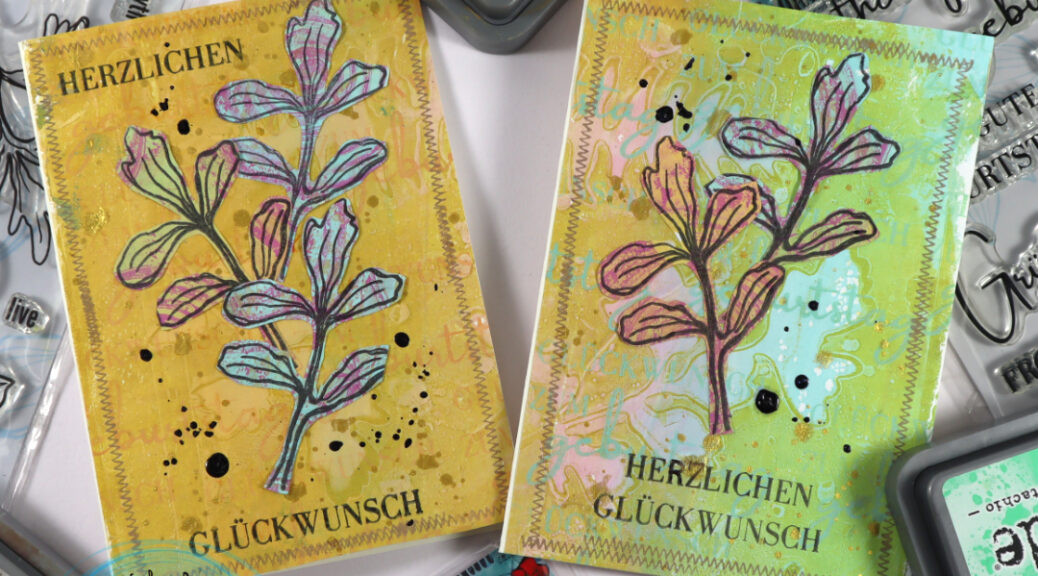
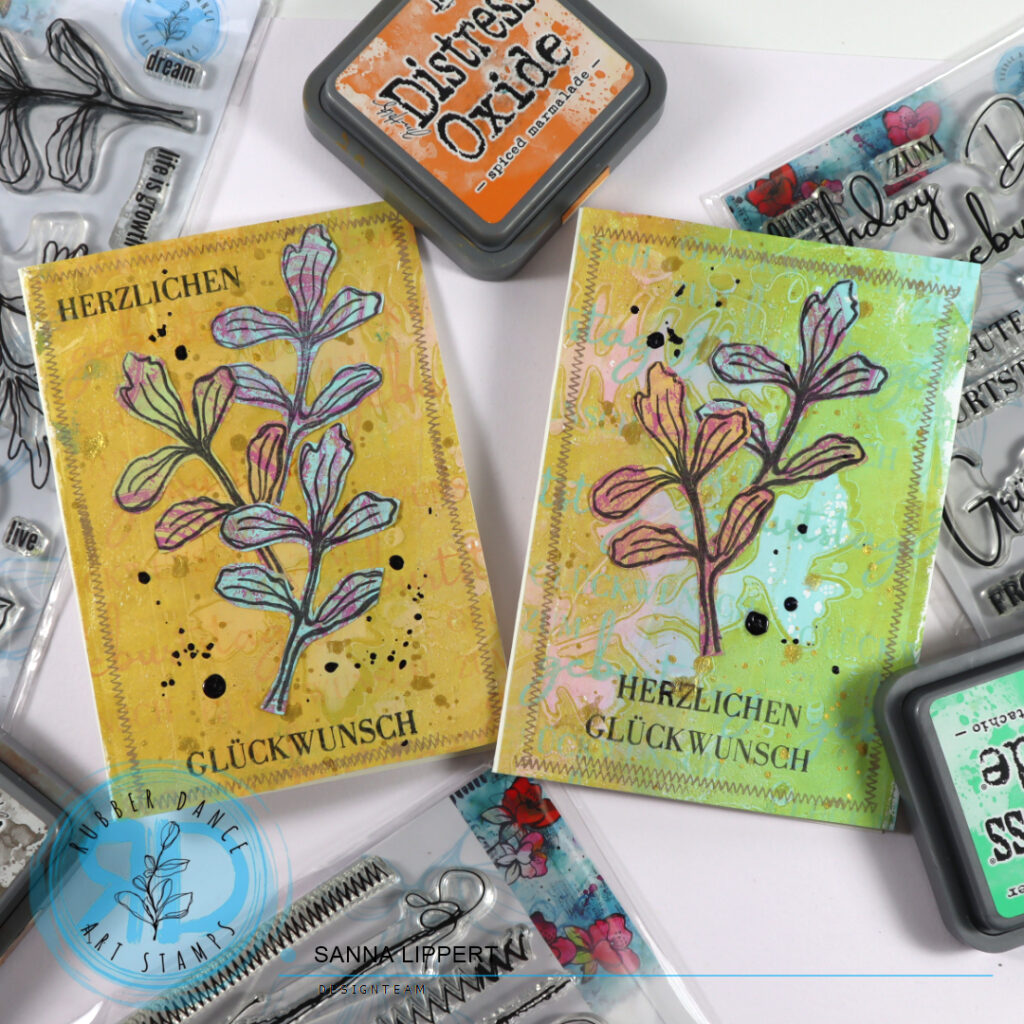
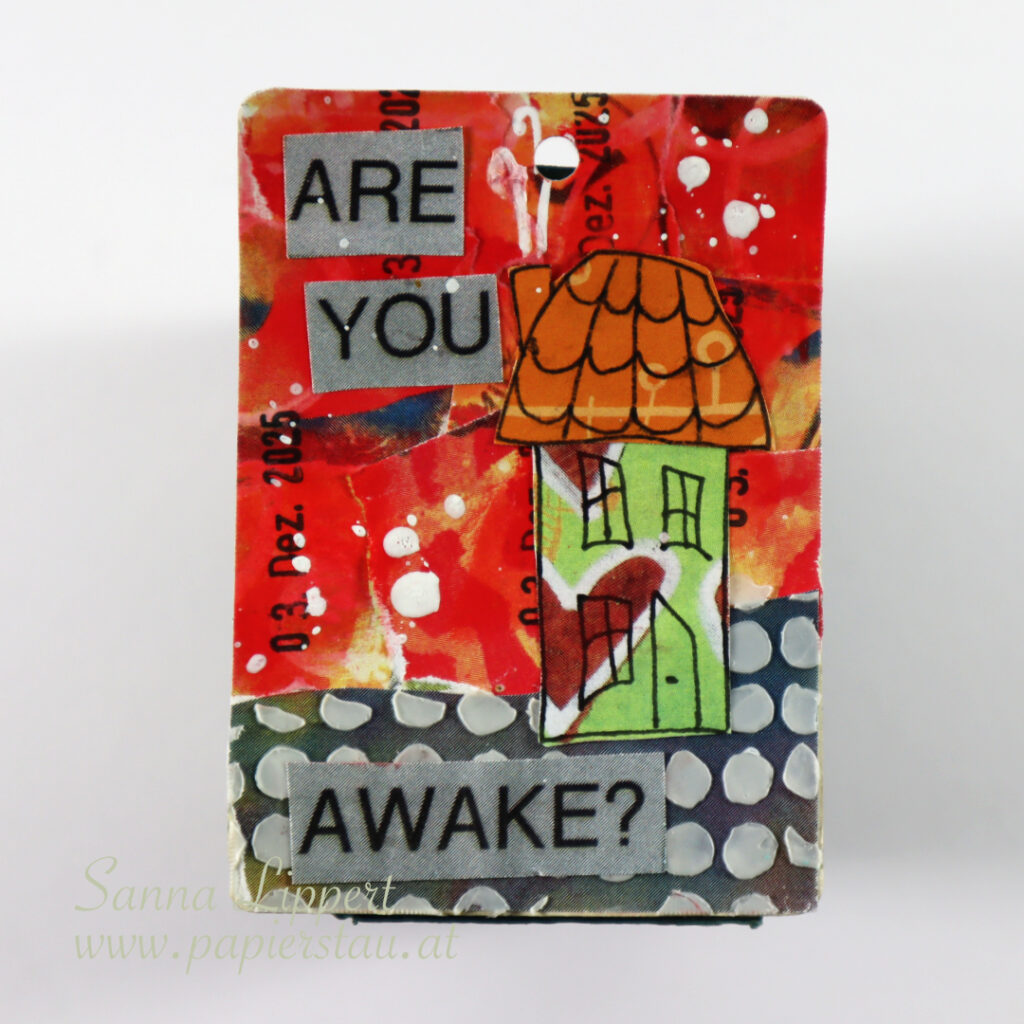
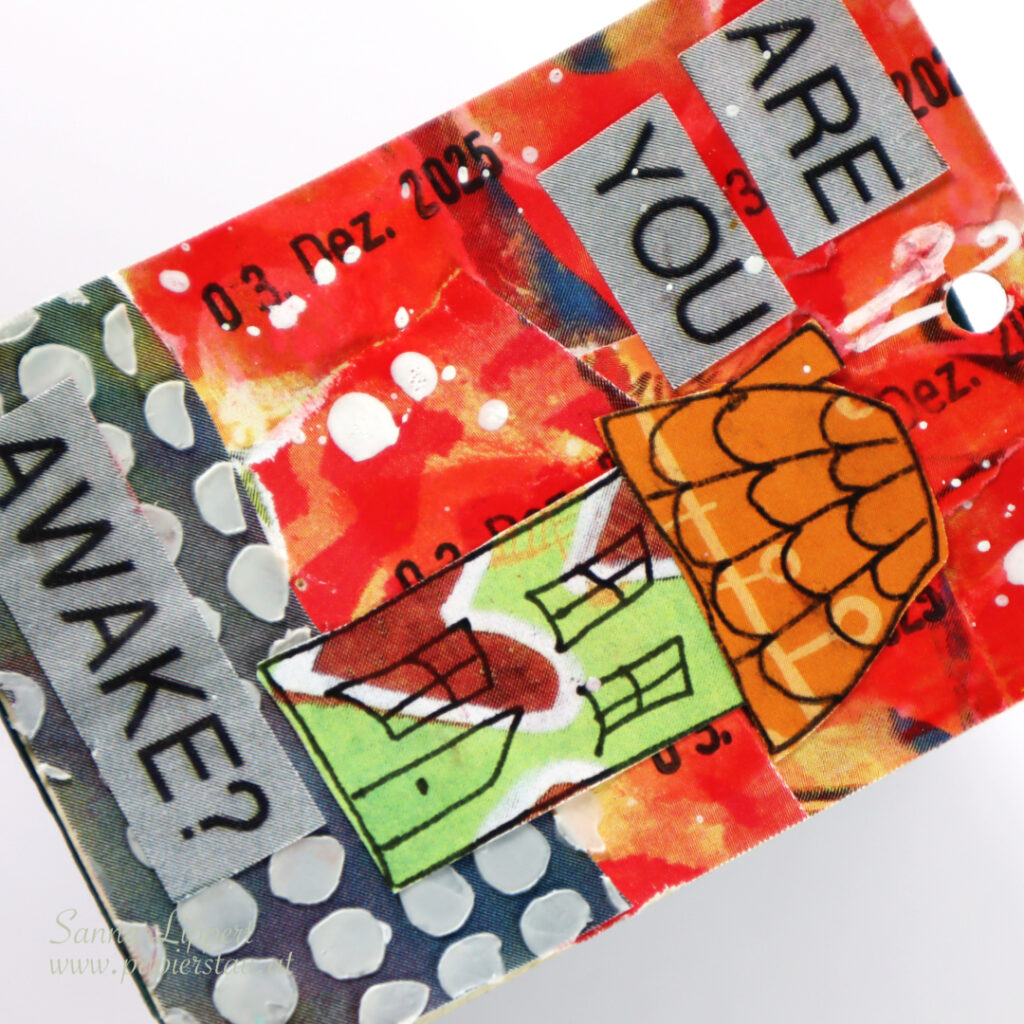
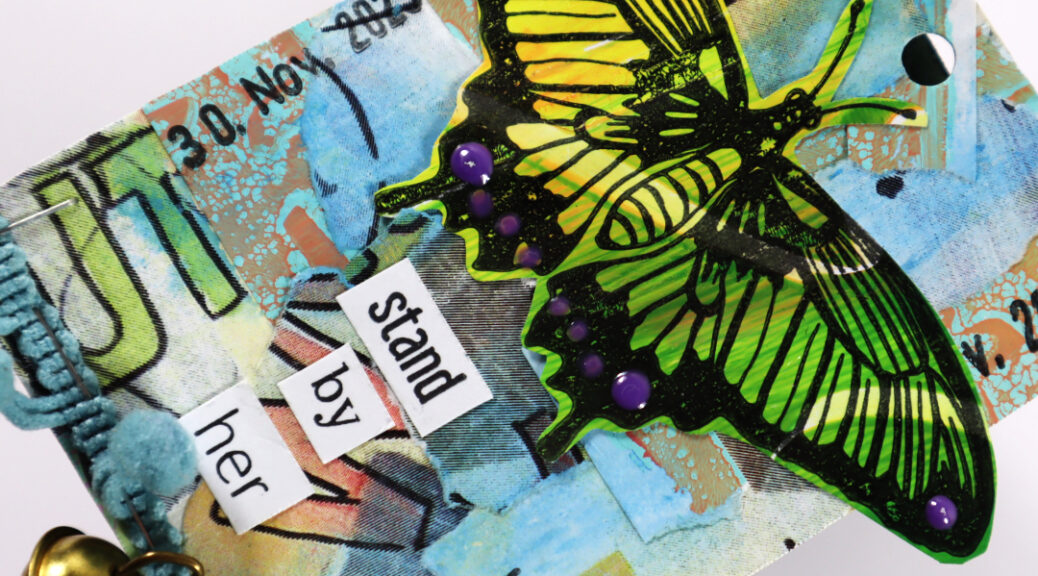
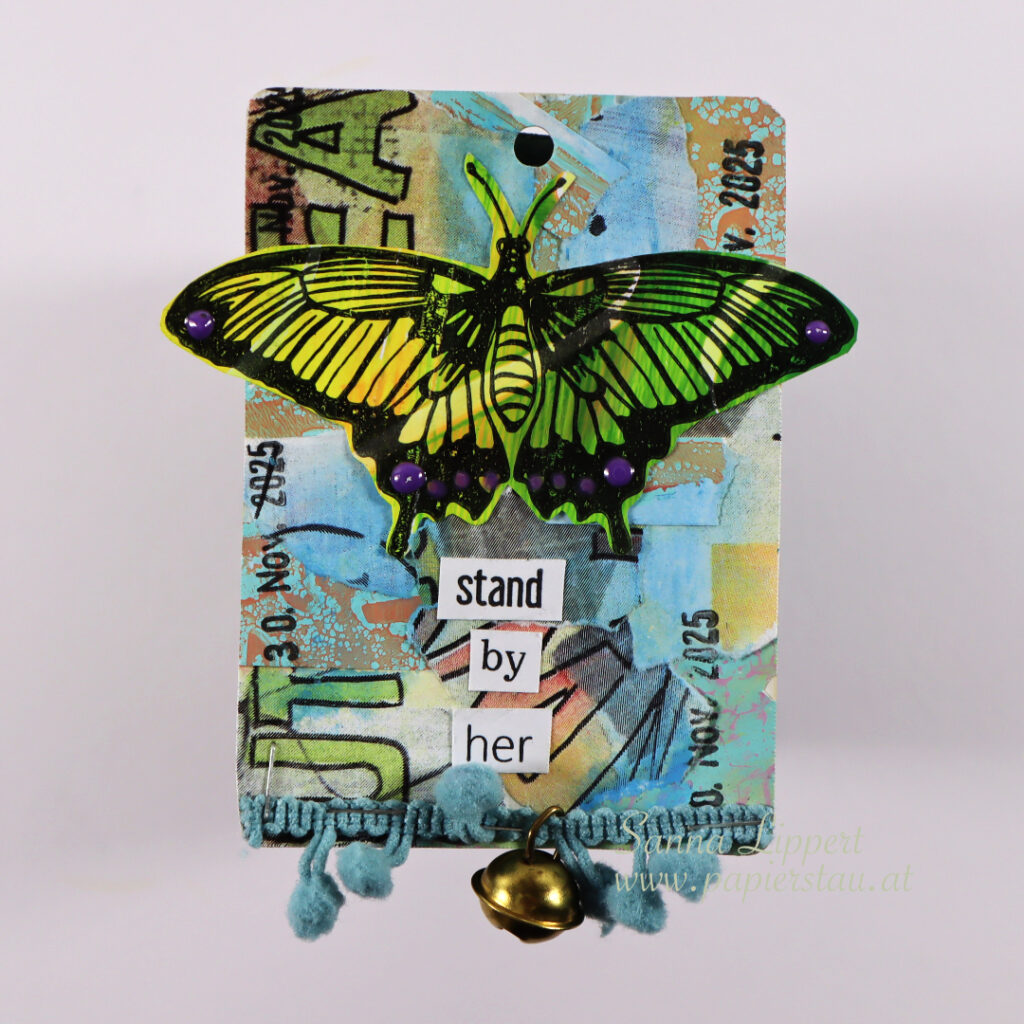
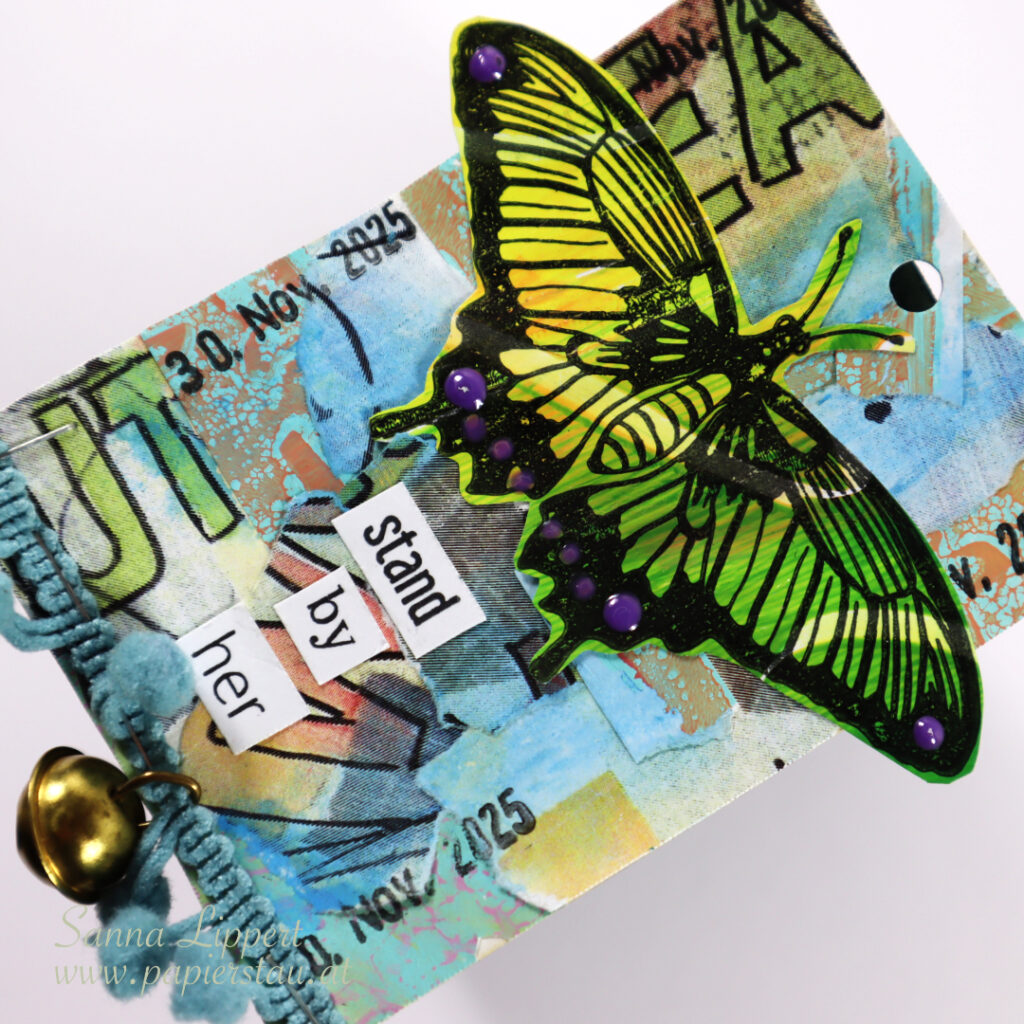
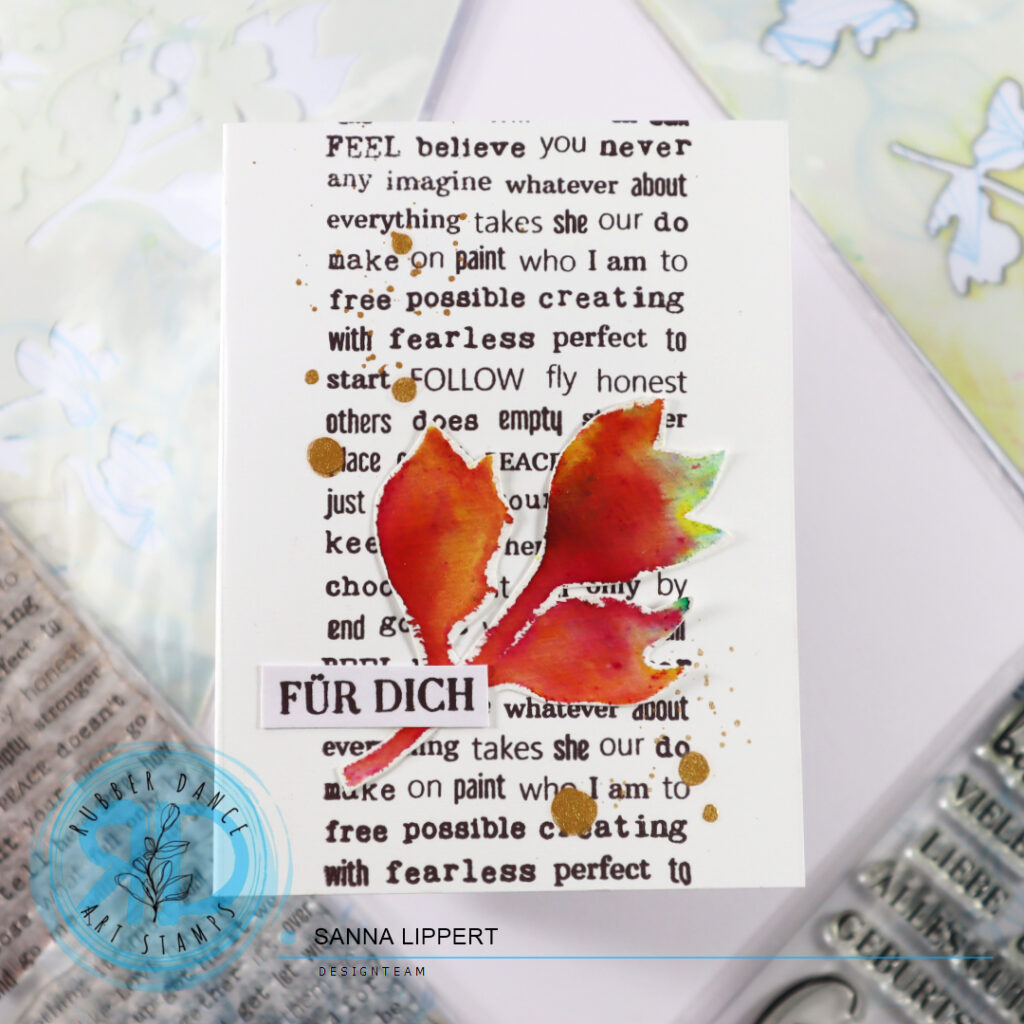
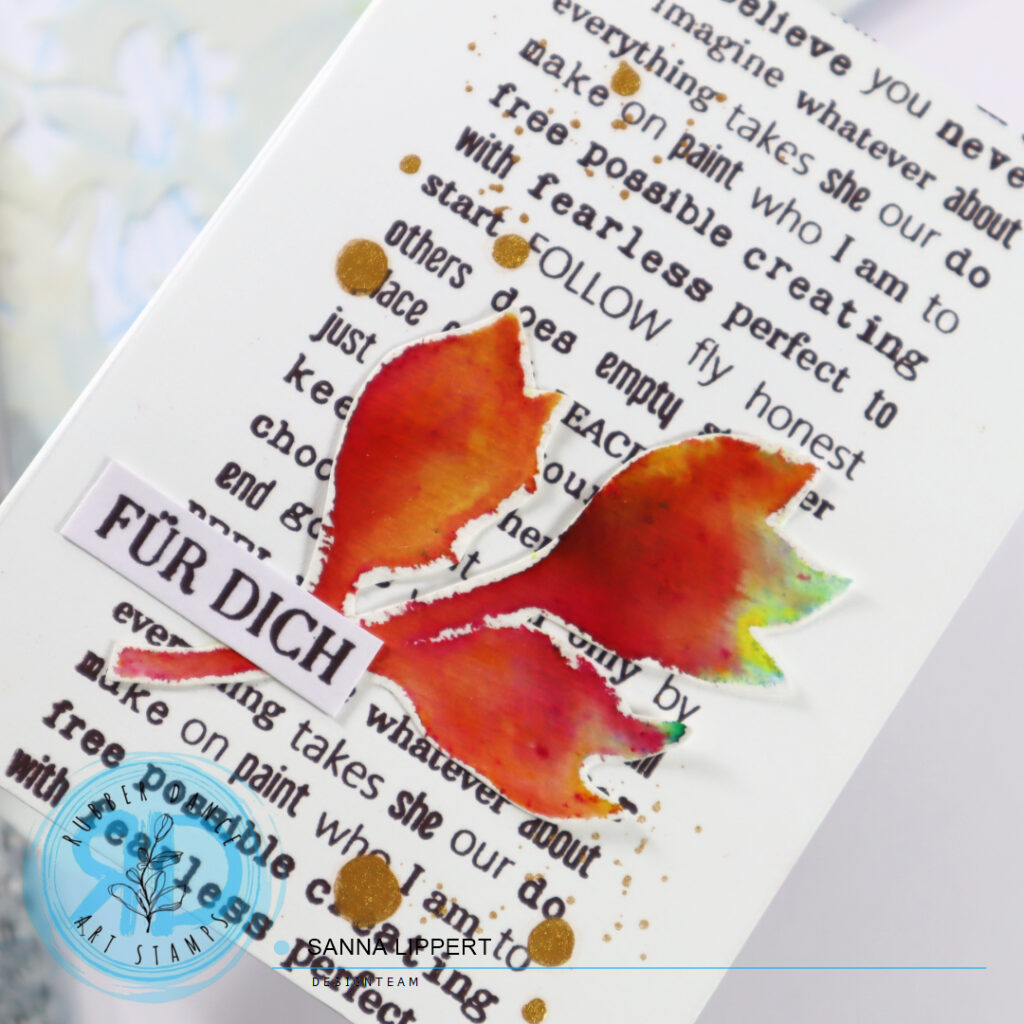
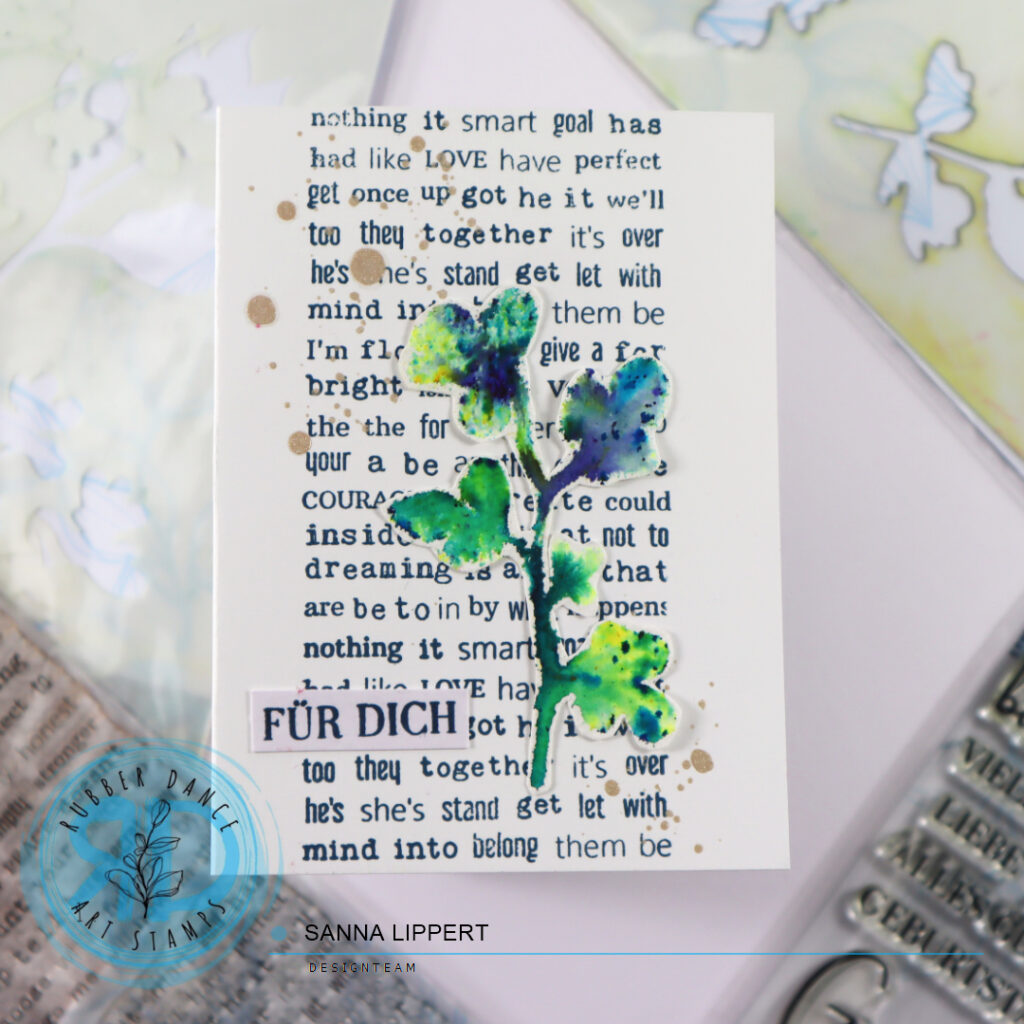
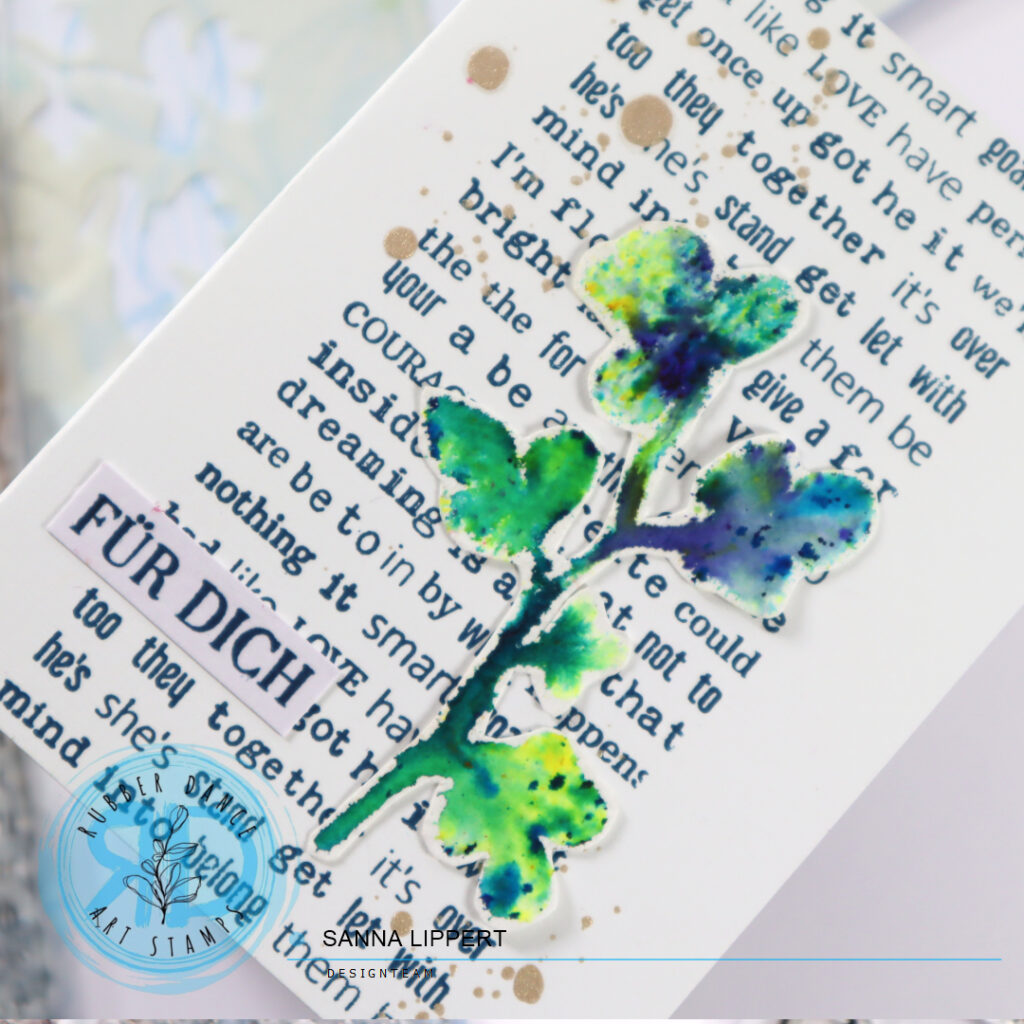
After finishing the Brusho collage fodder, I used the Mix A Sentiment 2023 stamp set to stamp a background pattern to white card bases. I used grey, brown and blue ink tones for stamping. Then I added some golden pigment droplets here and there and added the fodder leaf as a focal point. I finished the cards with a stamped sentiment in the same color like the text on the background.
Here is a video of the steps for you to watch:
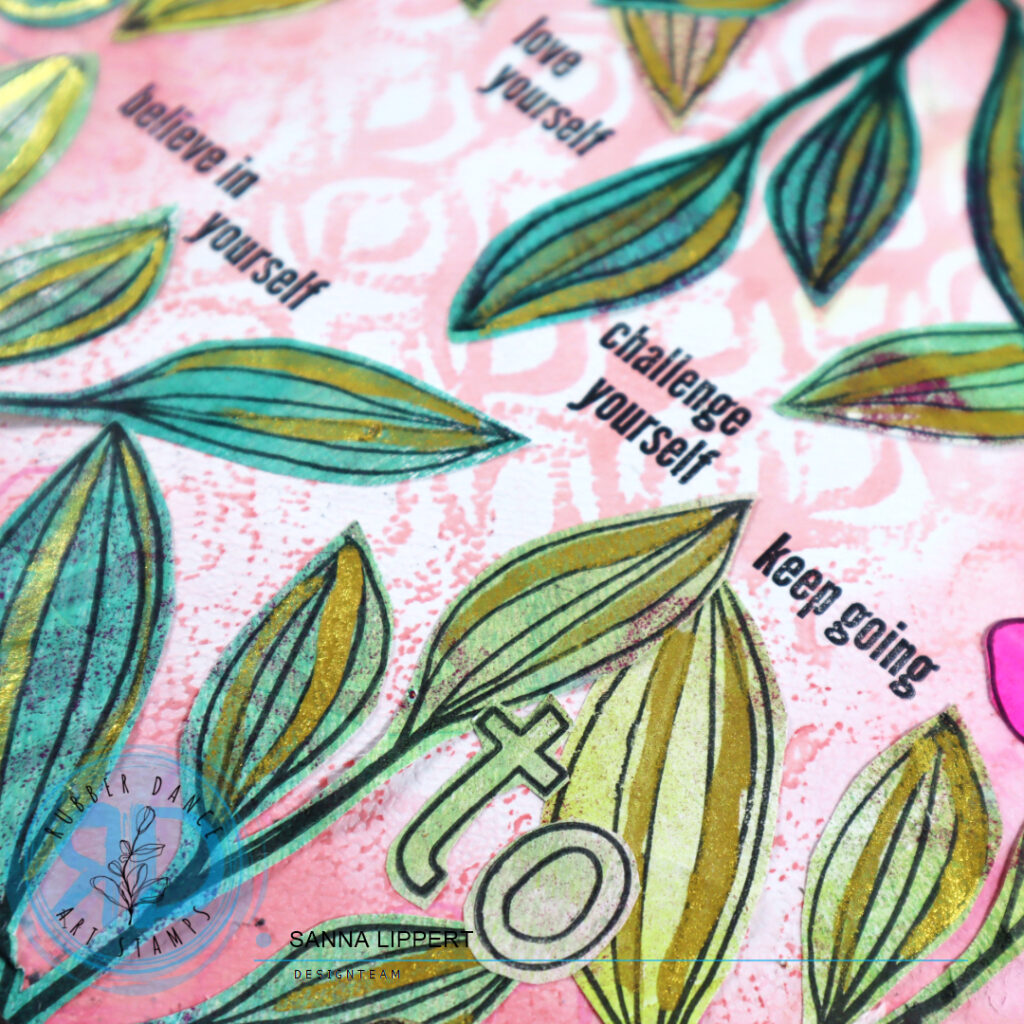
I have been wanting to try this technique out fo a while and I must say,
it´s a lot of fun to watch the powders create depth and lightness to the leaves on their own. Not a single leaf turns out the same.
Happy crafting,
Sanna