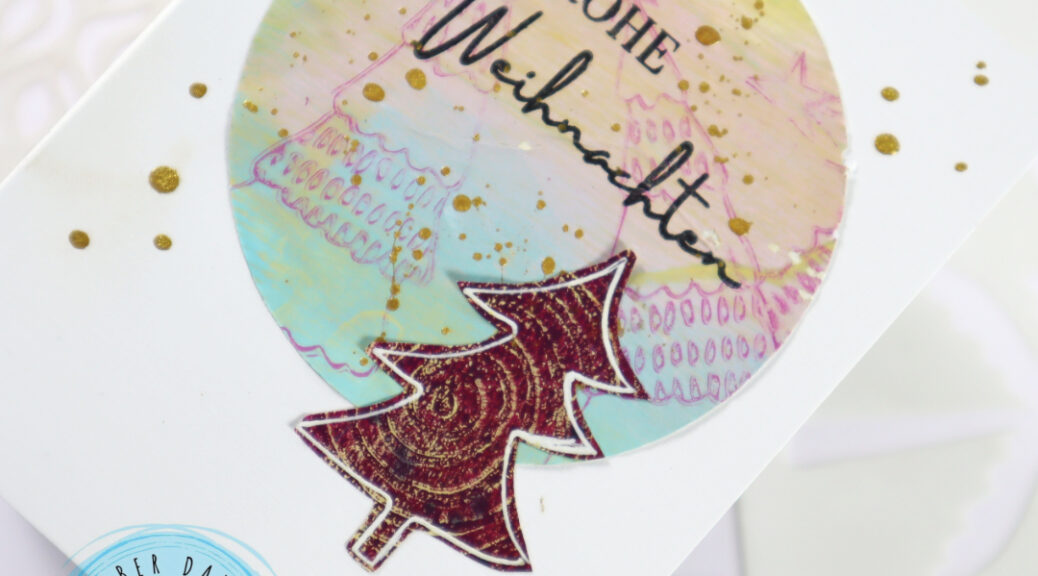
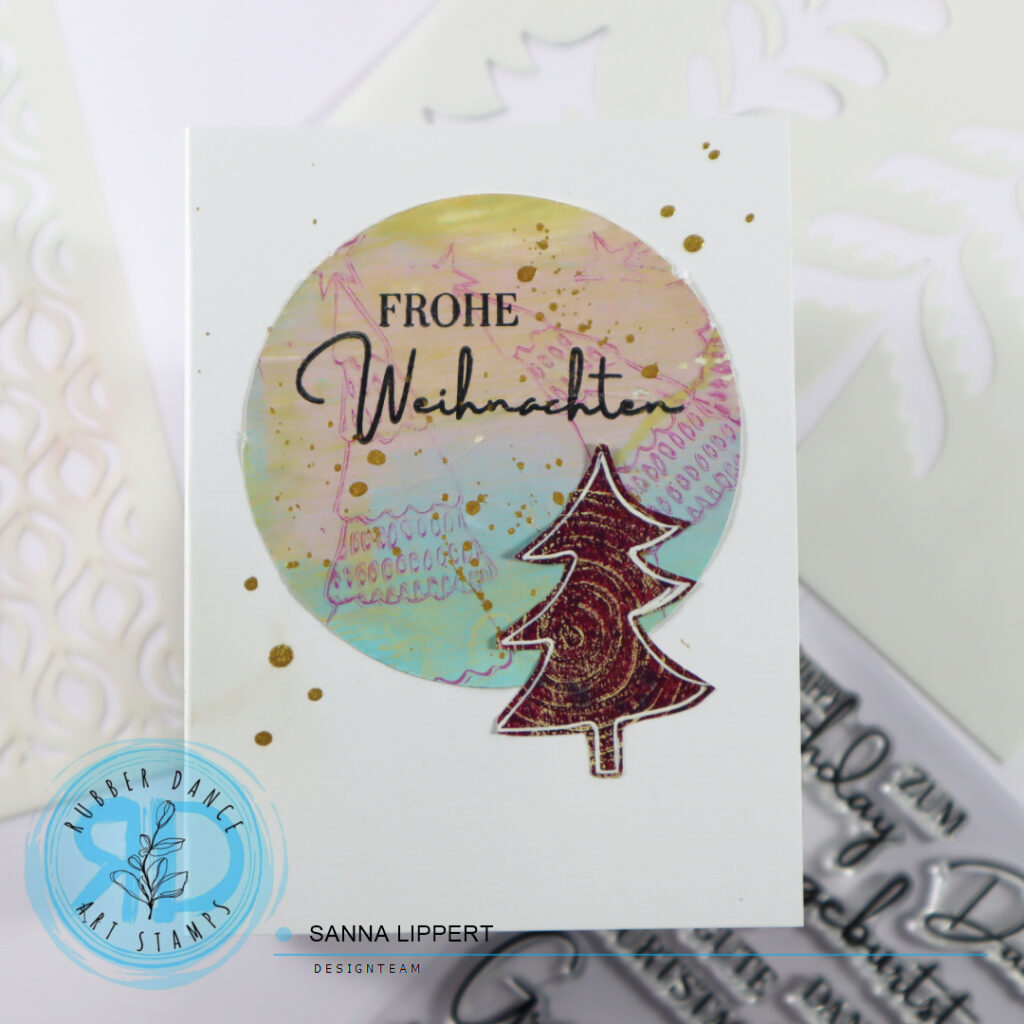
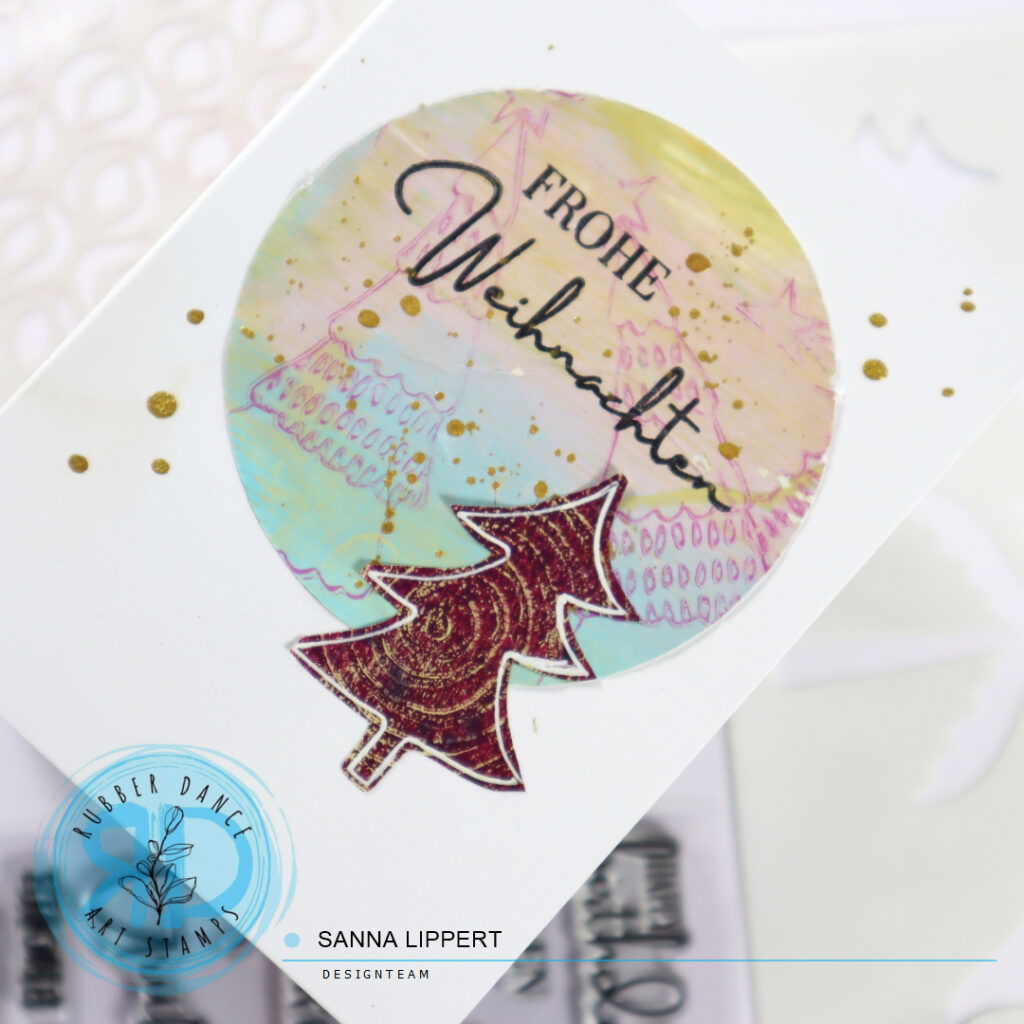
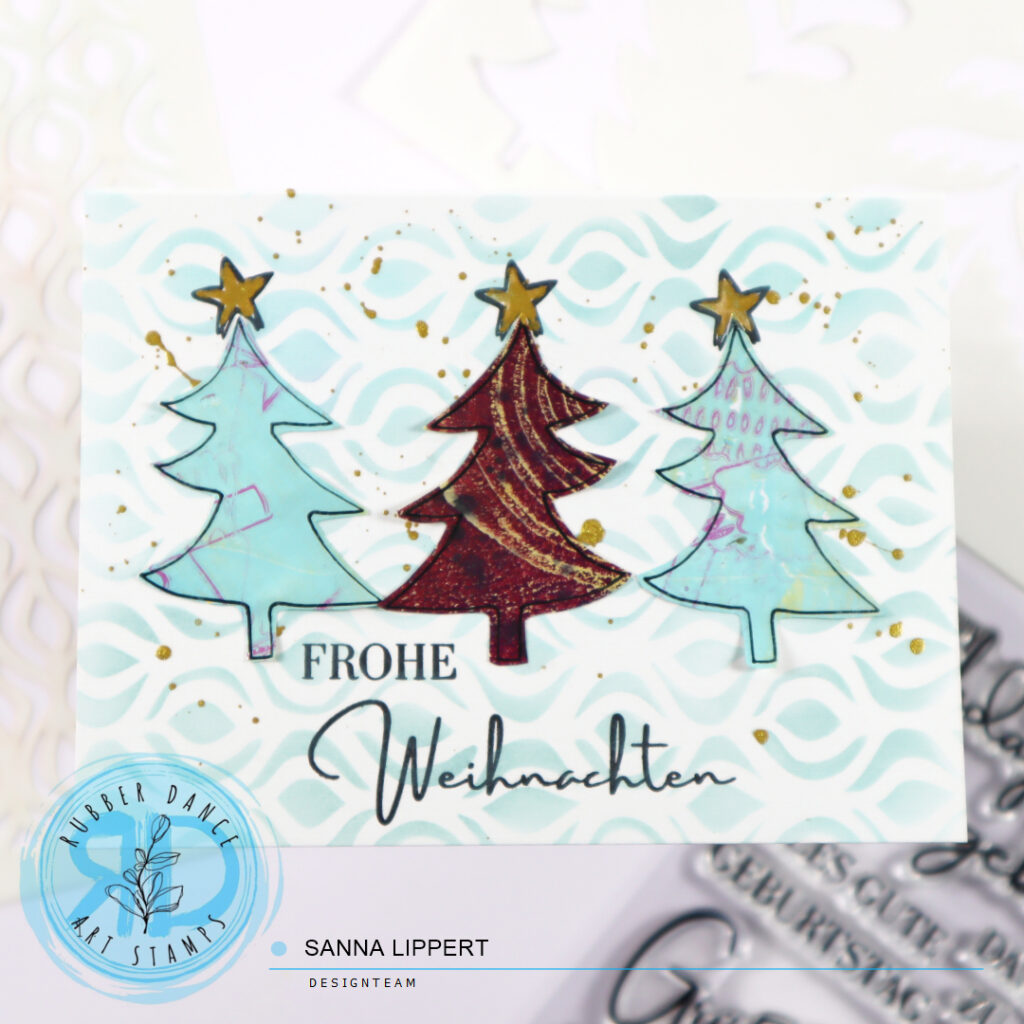
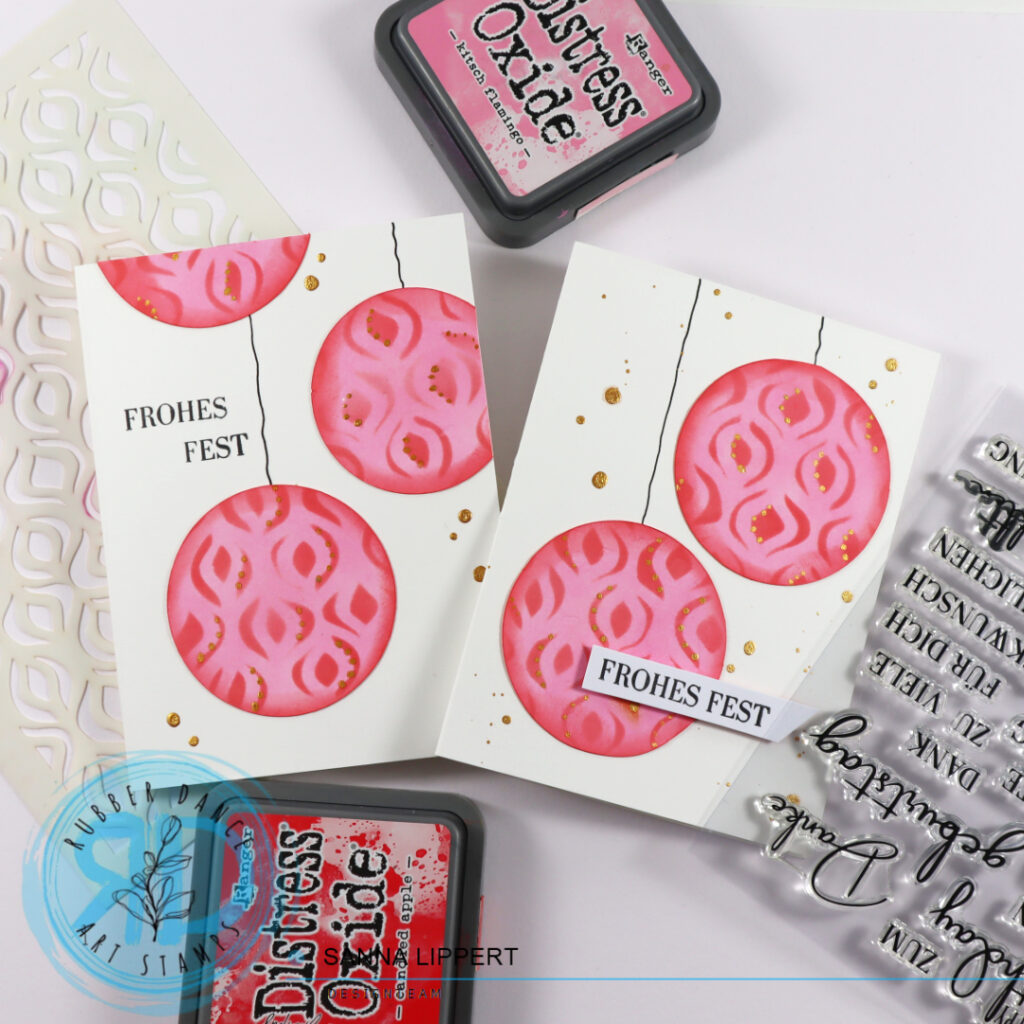
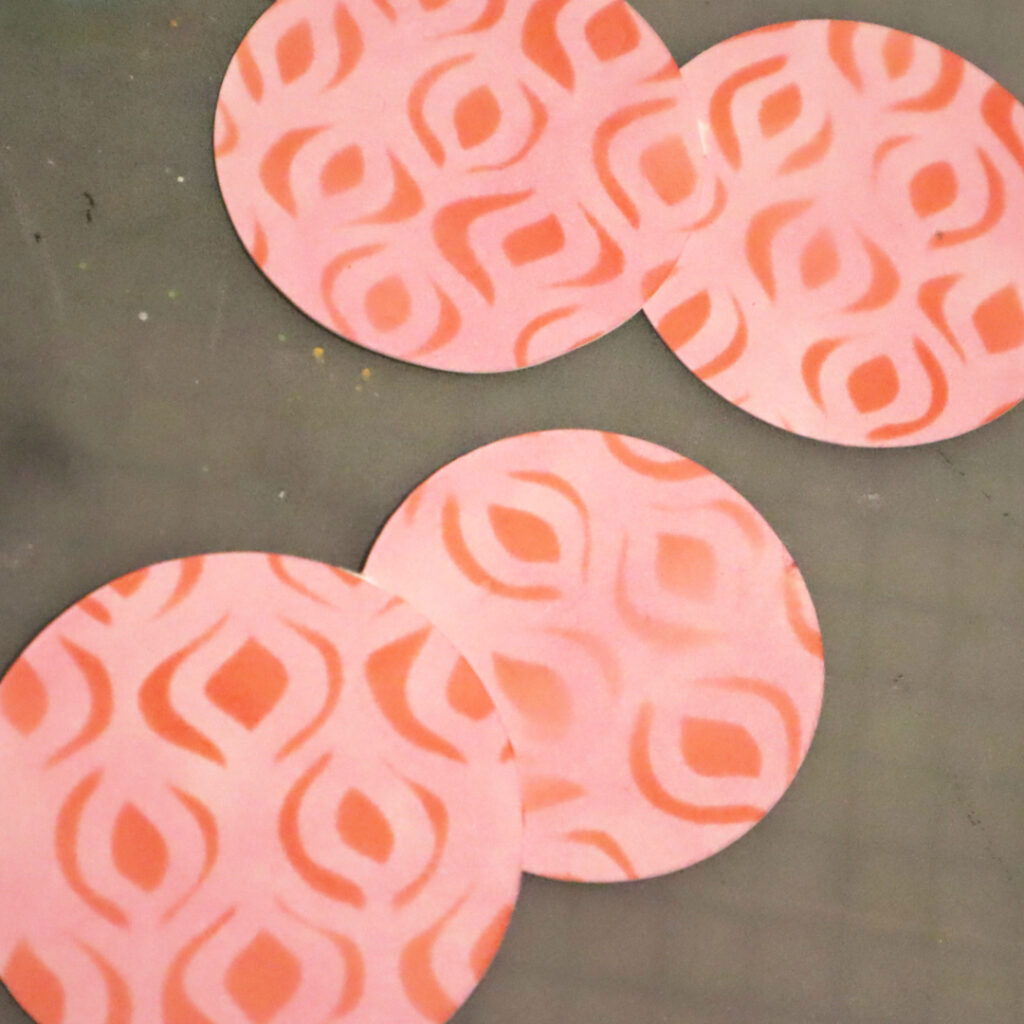
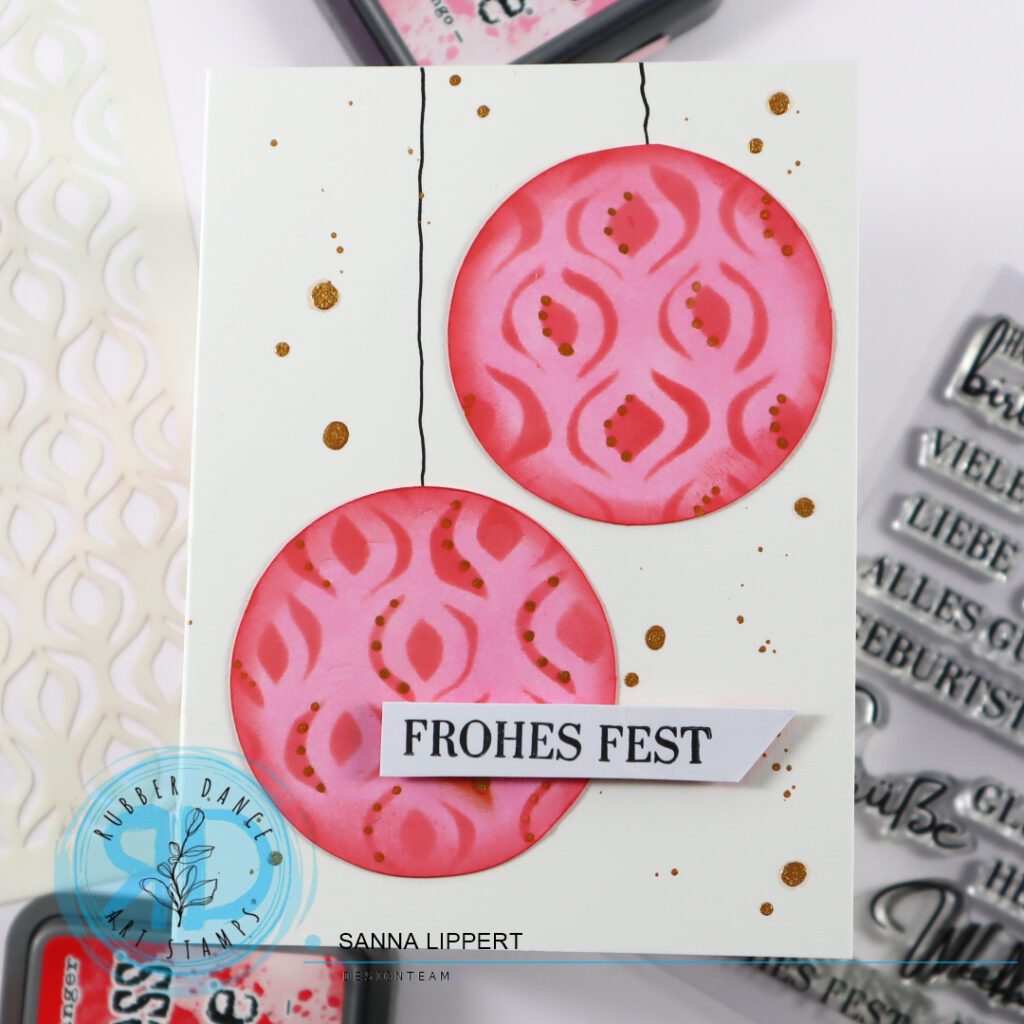
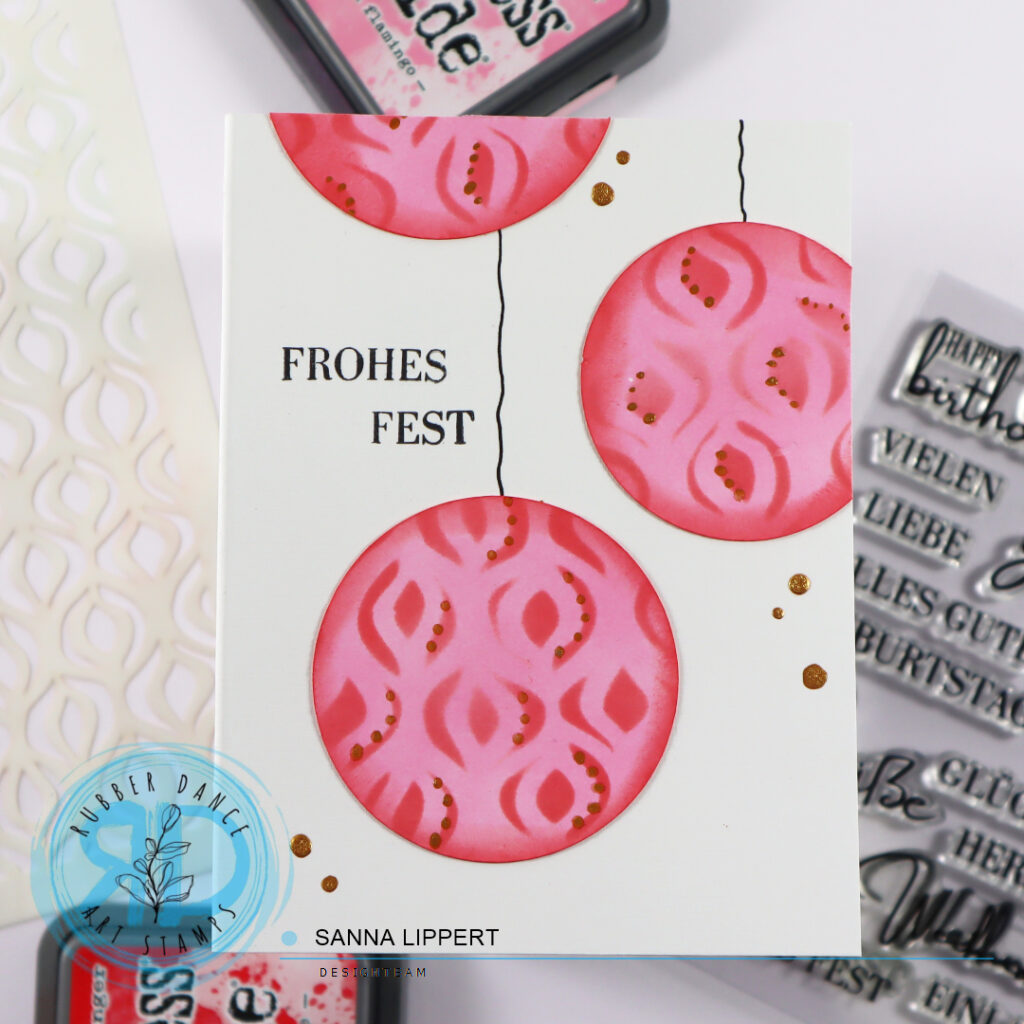
Hello, I am up over at the Rubber Dance blog again today with another clean and simple card Christmas card share. For these cards I used some gelli printed collage papers, the Xmas Trees 2 stencil and the Kartengrüße stamp set. For the collage paper I had used the Textured Xmas Trees 2 and the Mix It Up 4 stamp set.
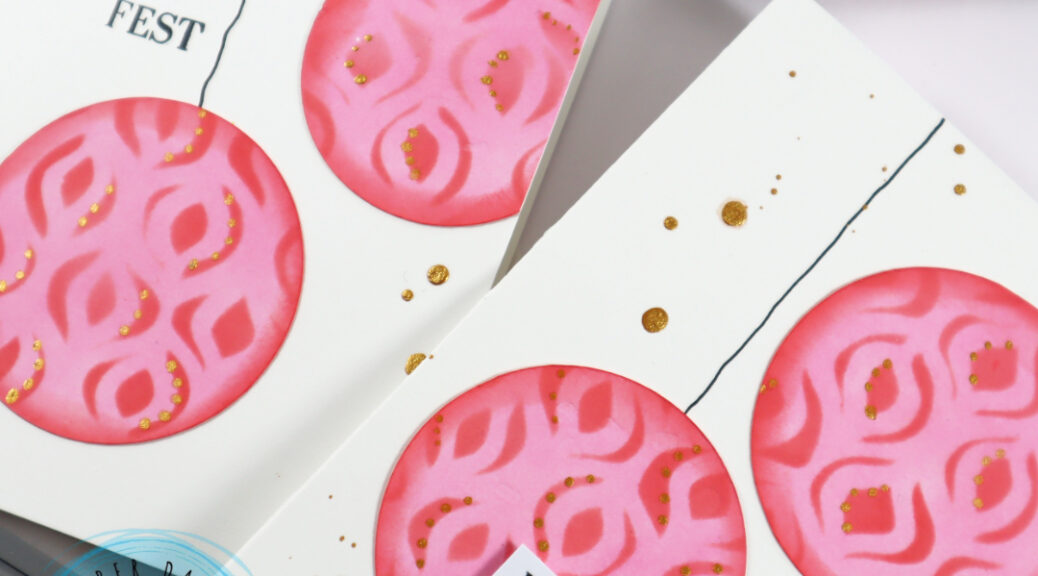
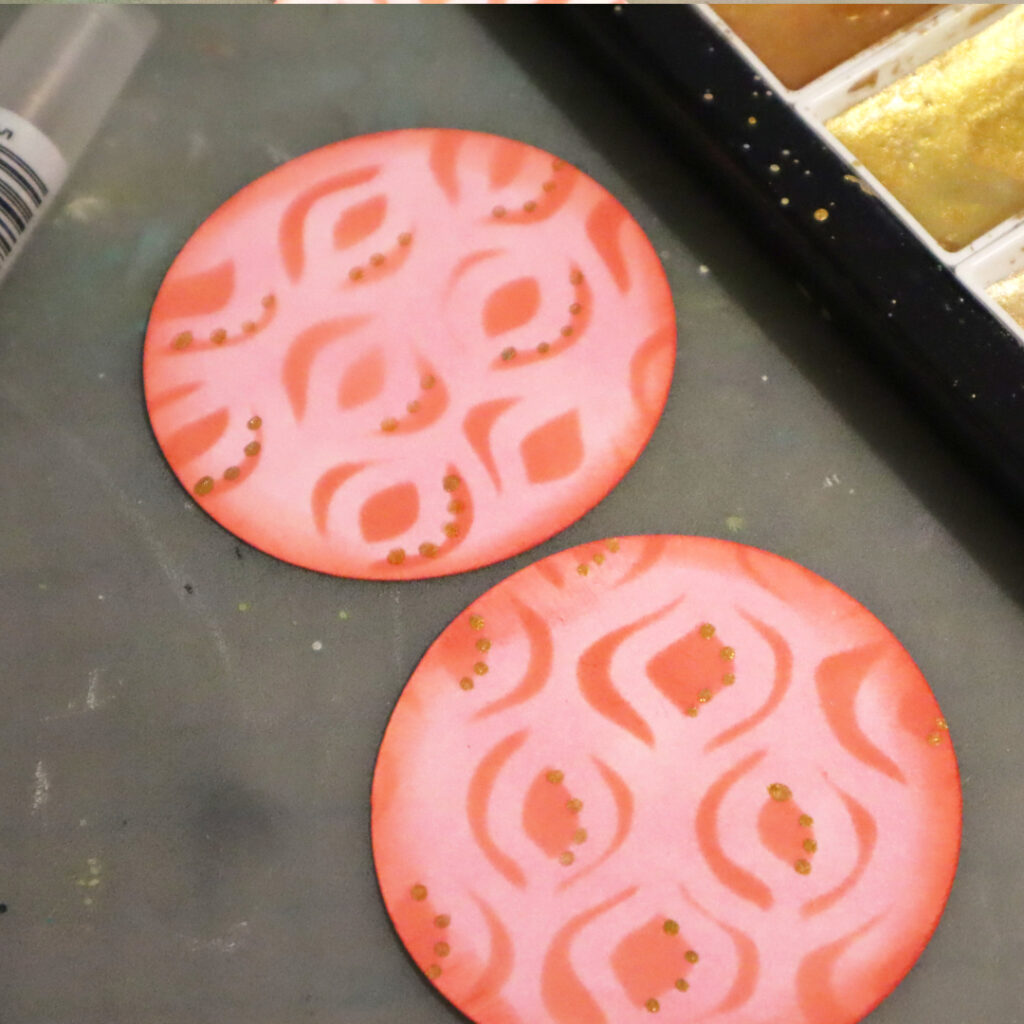
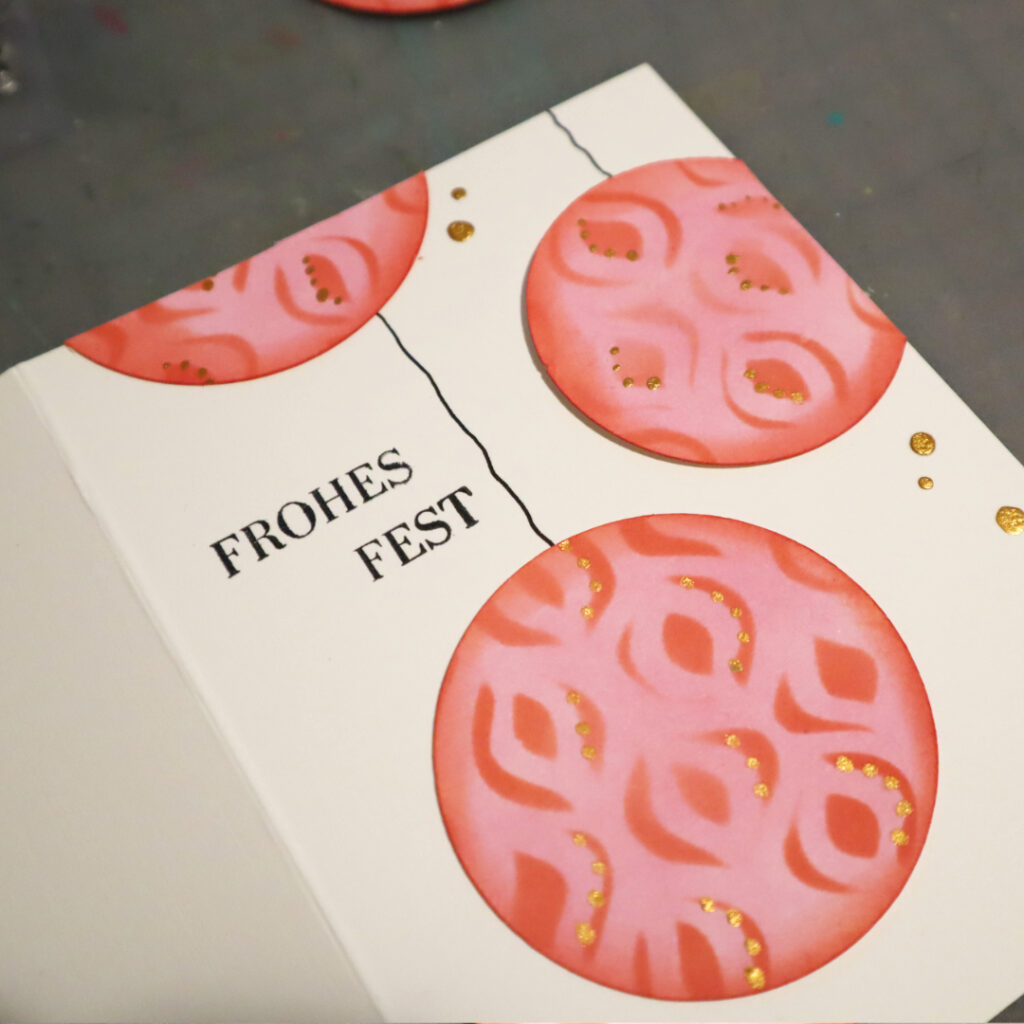
I basically combined the ideas from my previously shared Christmas cards here. I die cut the collage paper with the Textured Xmas Trees 2 pattern on it with circle die cut dies. And the Mix It Up 4 set circle stamp patterned paper is traced thru the Xmas Trees 2 stencil and then fussy cut. I then adhered both pieces to a white card base, added a sentiment stamp with the Kartengrüße stamp set and some golden pigment droplets here and there.
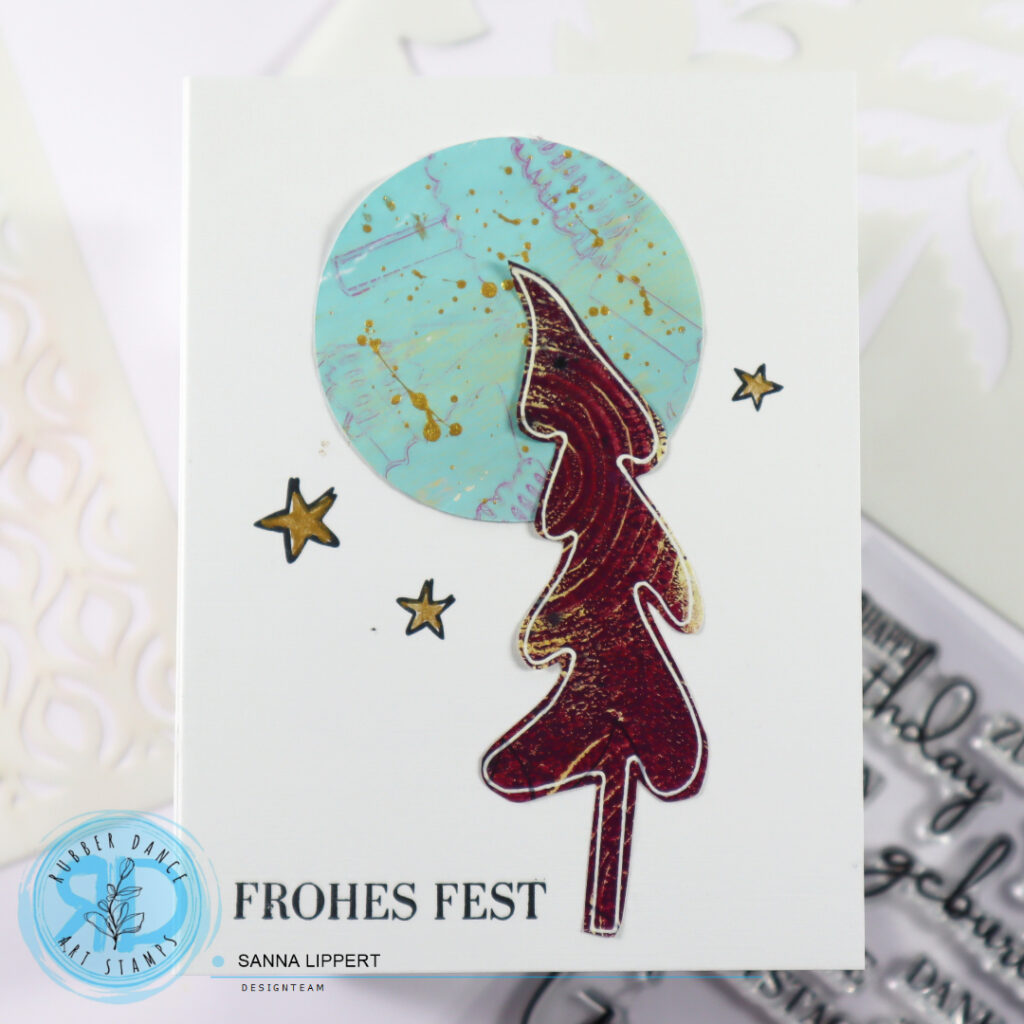
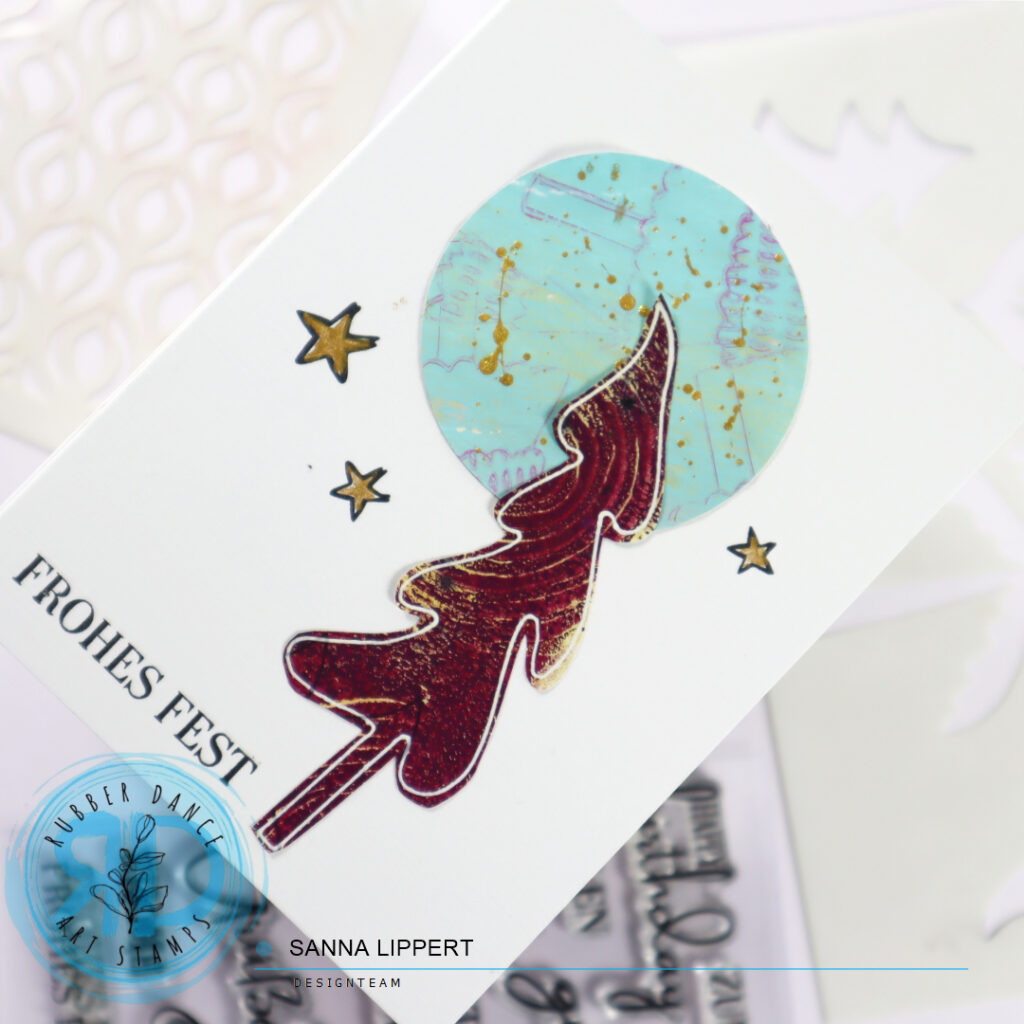
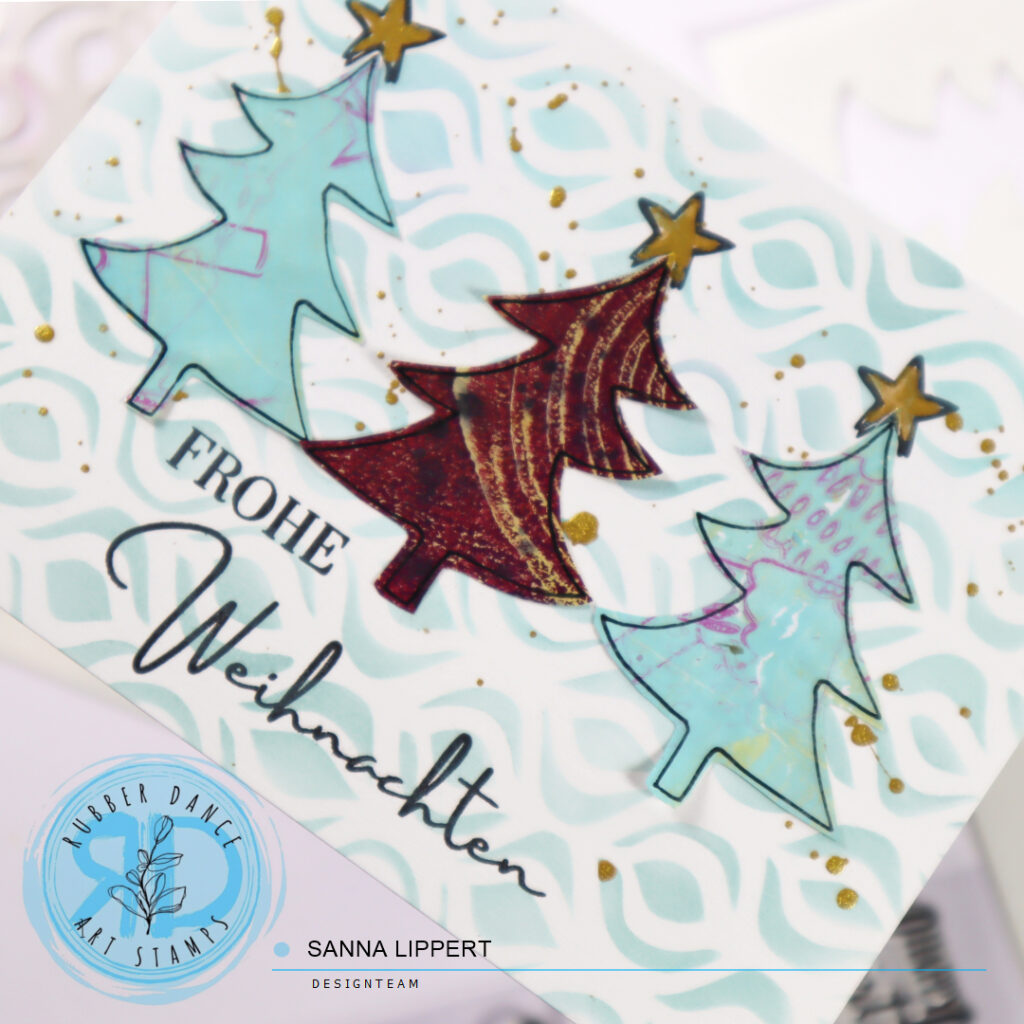
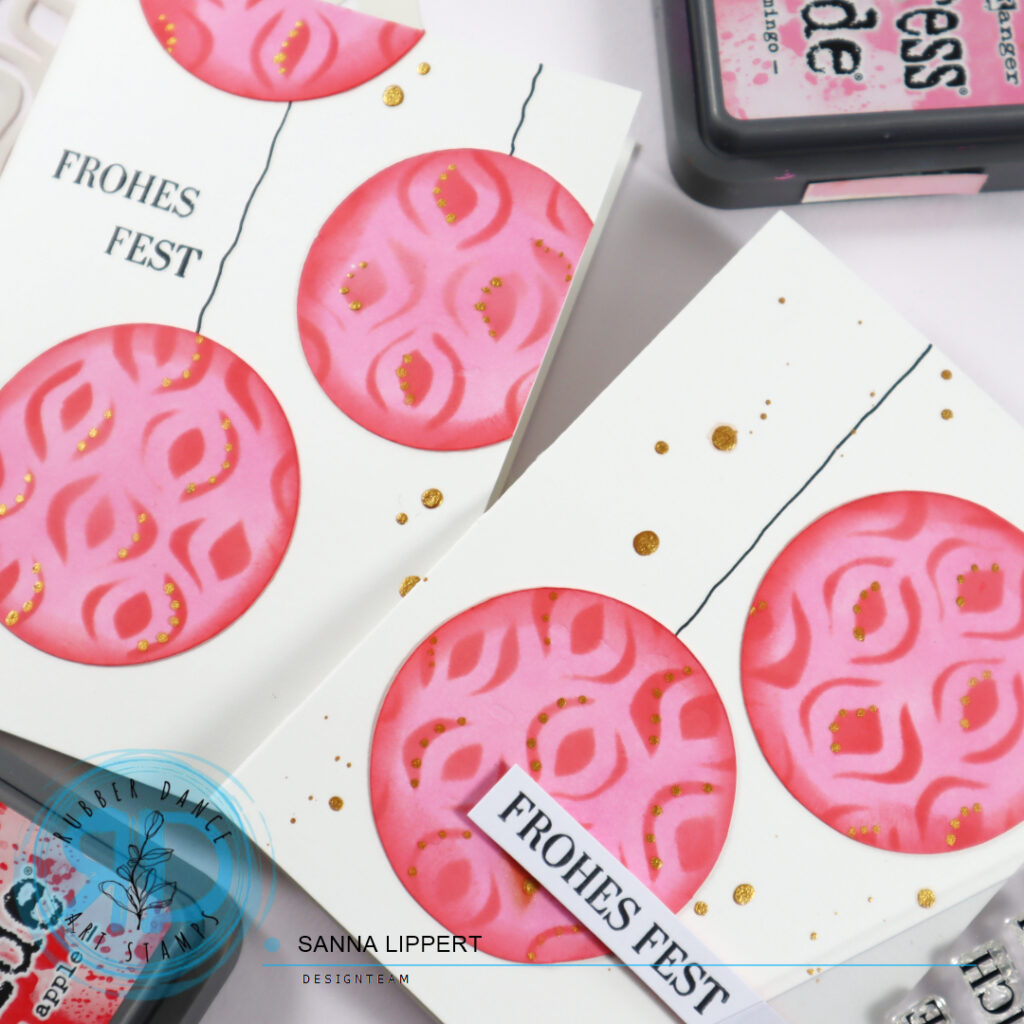
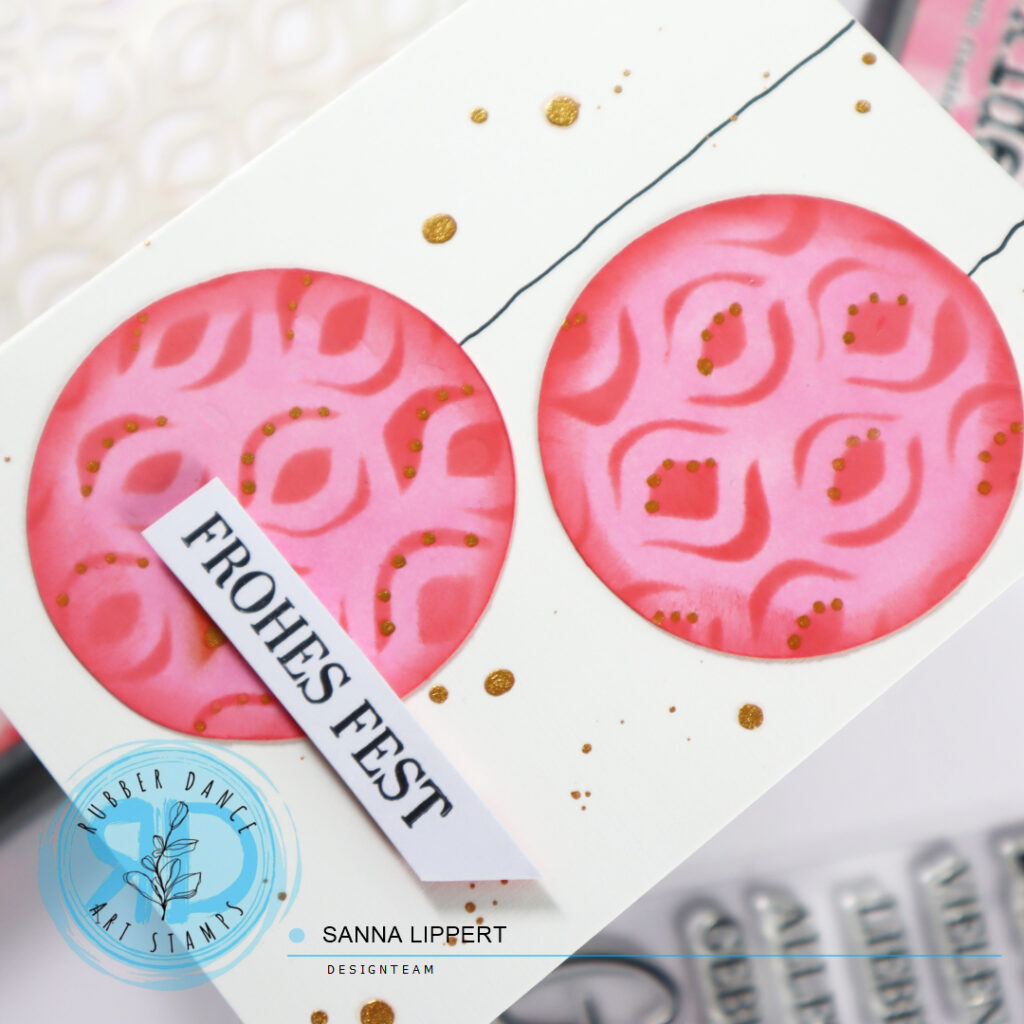
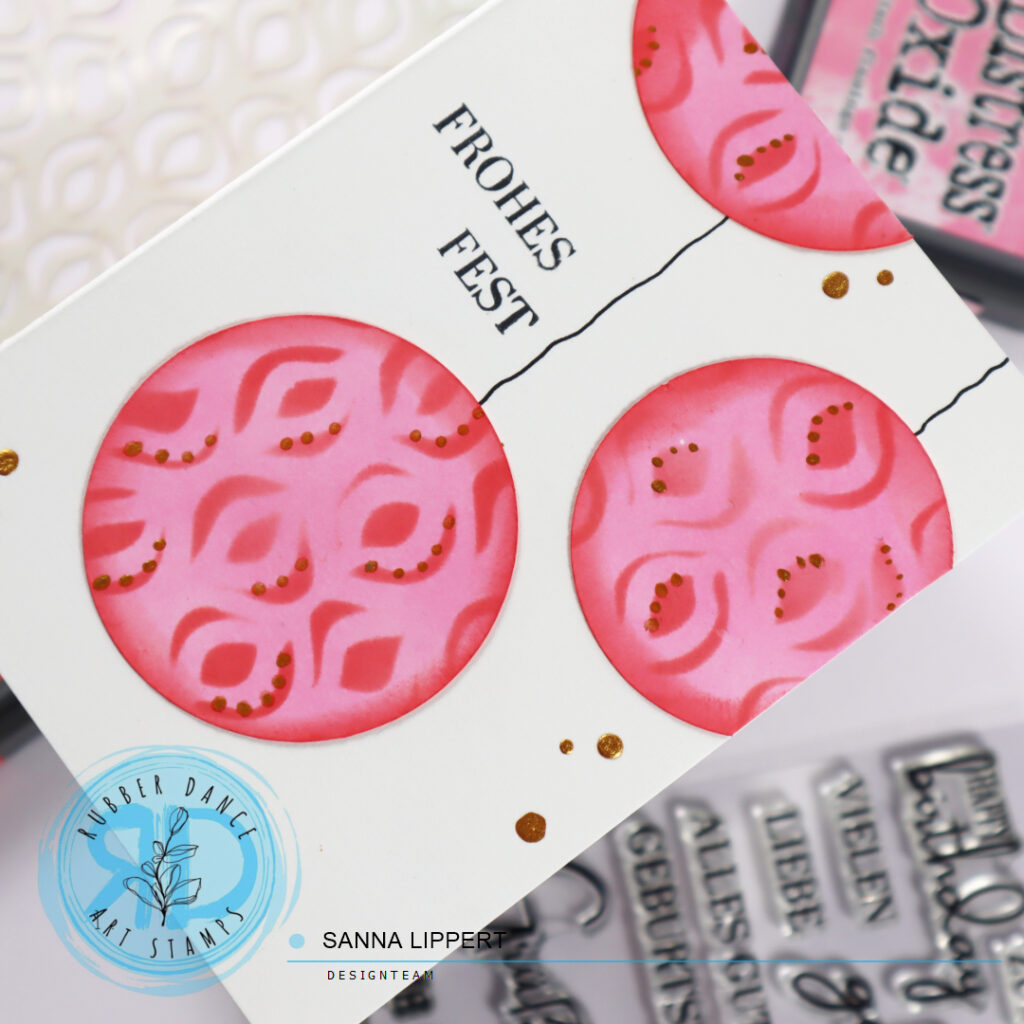
For the second card I basically did the same, except the stamped sentiment is on the card base, not on the collage paper. Also the golden pigment droplets are on the collage paper and the stamped stars are colored with the same golden color. For stamping those I used the Textured Xmas Trees 2 stamp set.
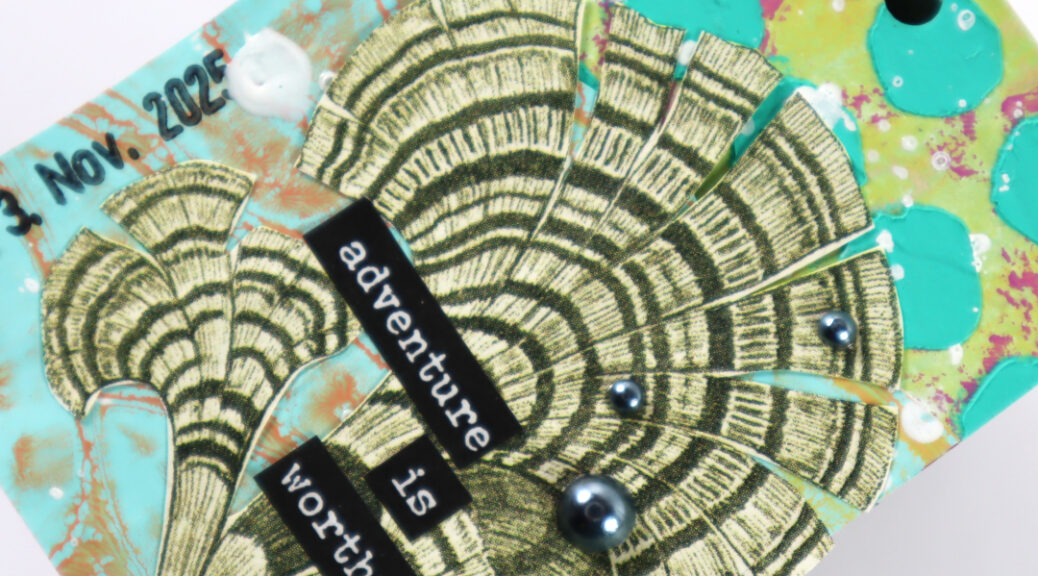
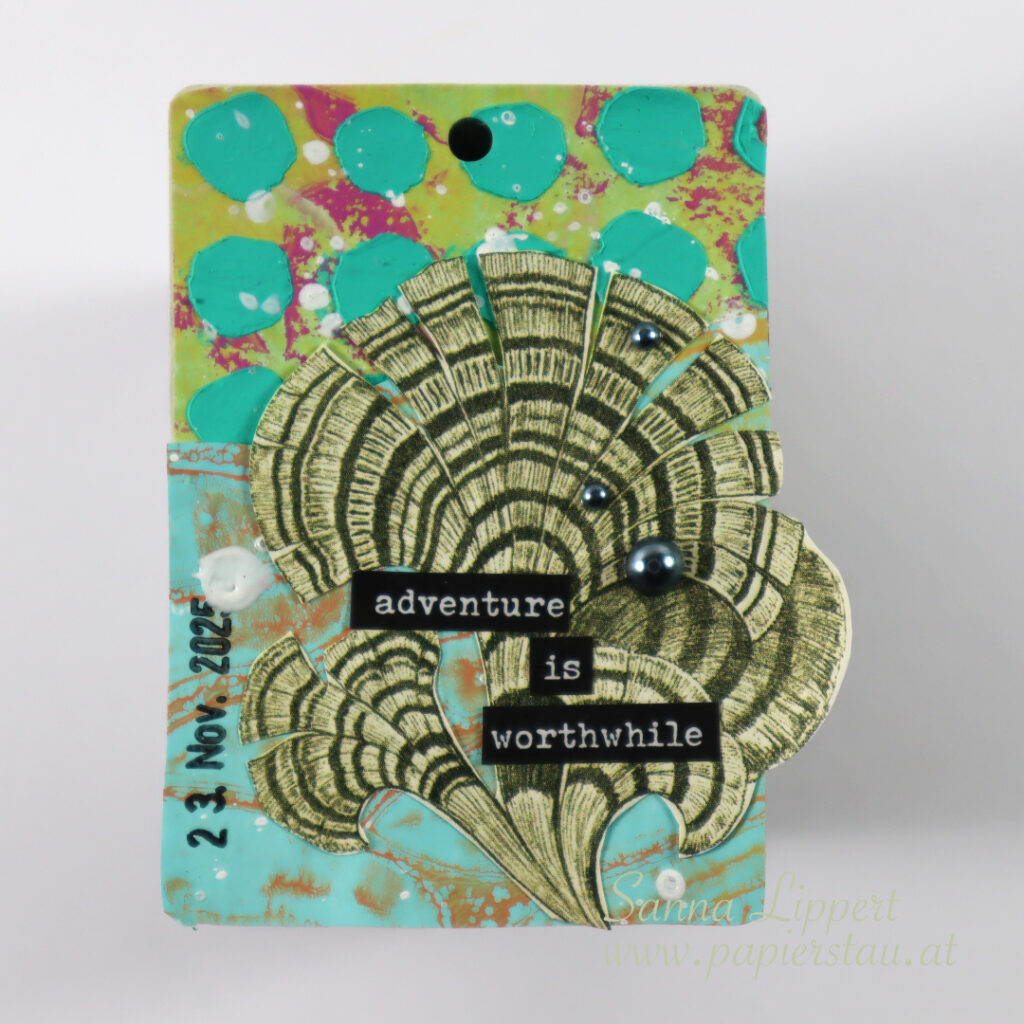
Here is one more bonus card, for which I just added some stenciling with the Ornament 1 stencil as a background and arranged some collage paper trees on top. I had some left over and didn´t want them to go to waste.
Have fun creating some of your own!!
xx, Sanna