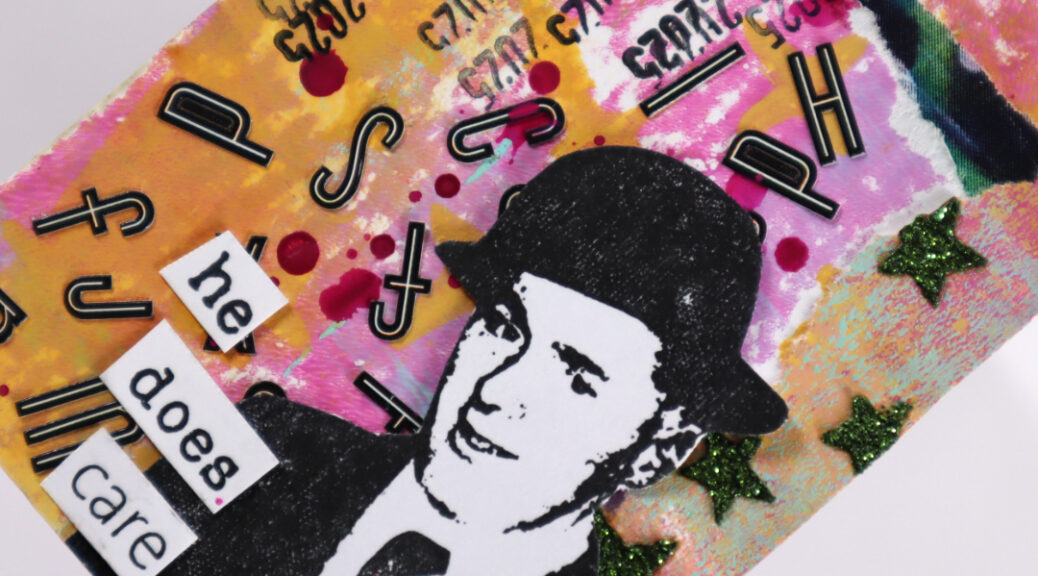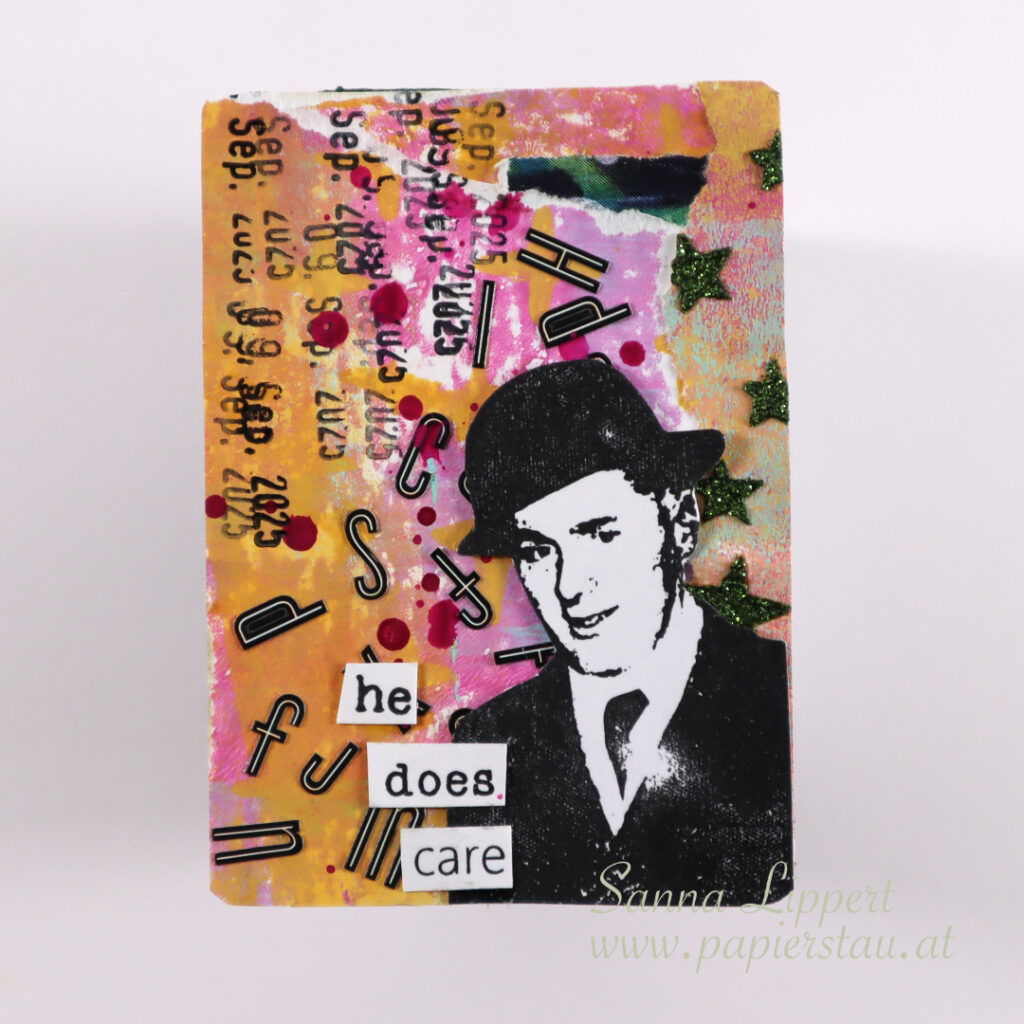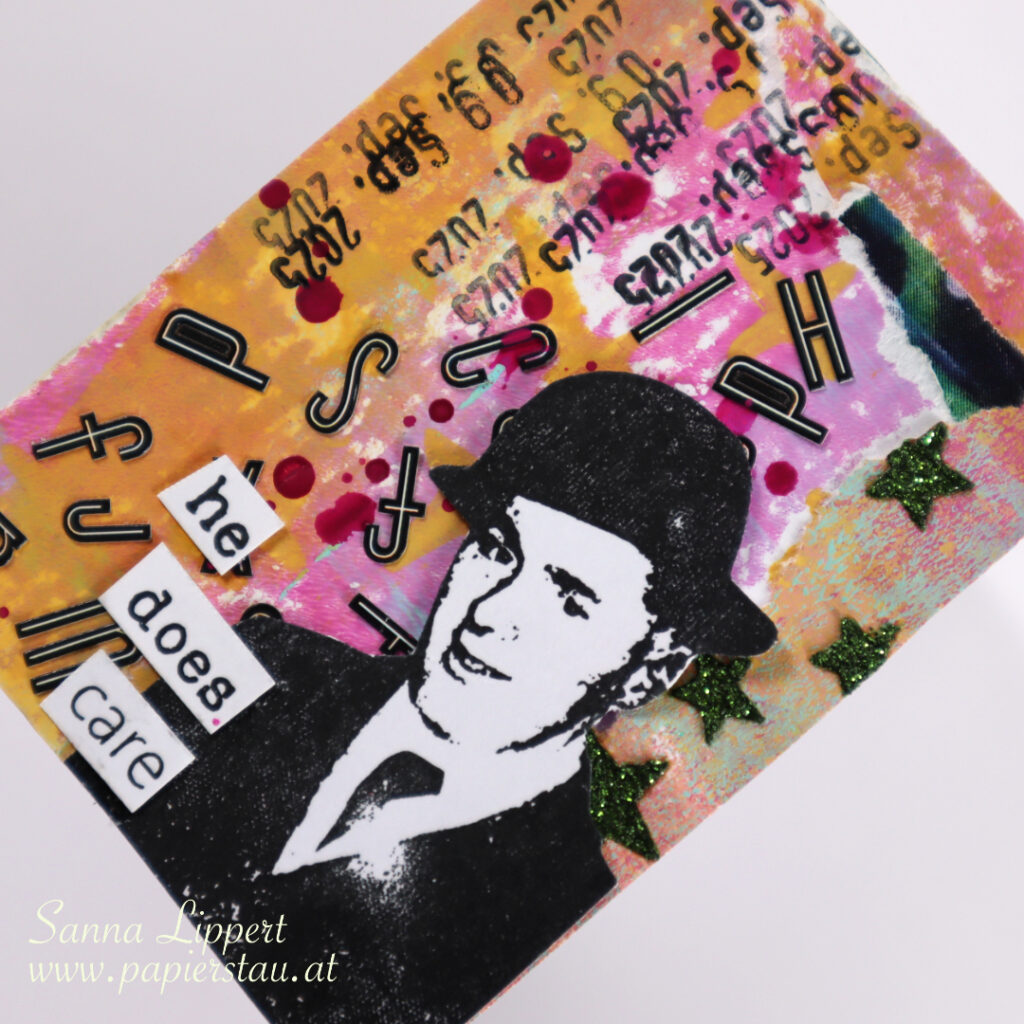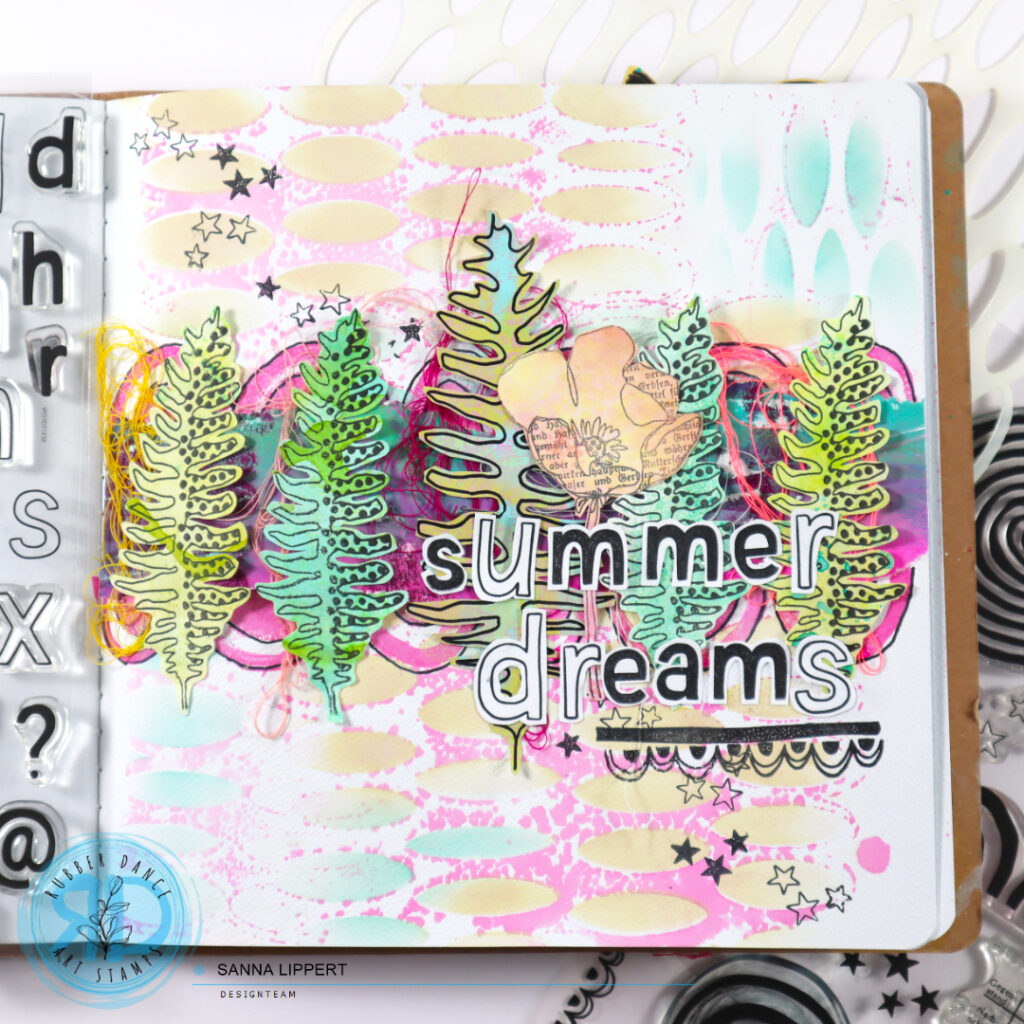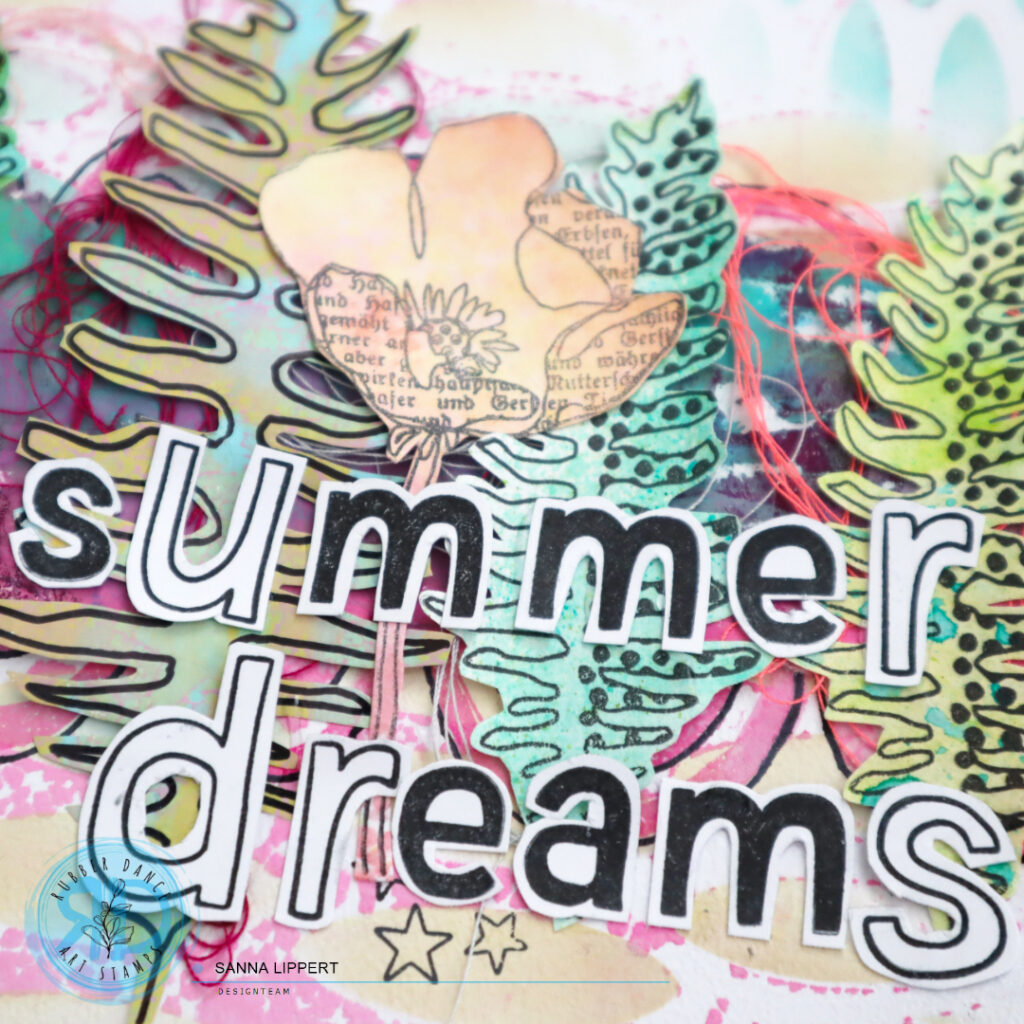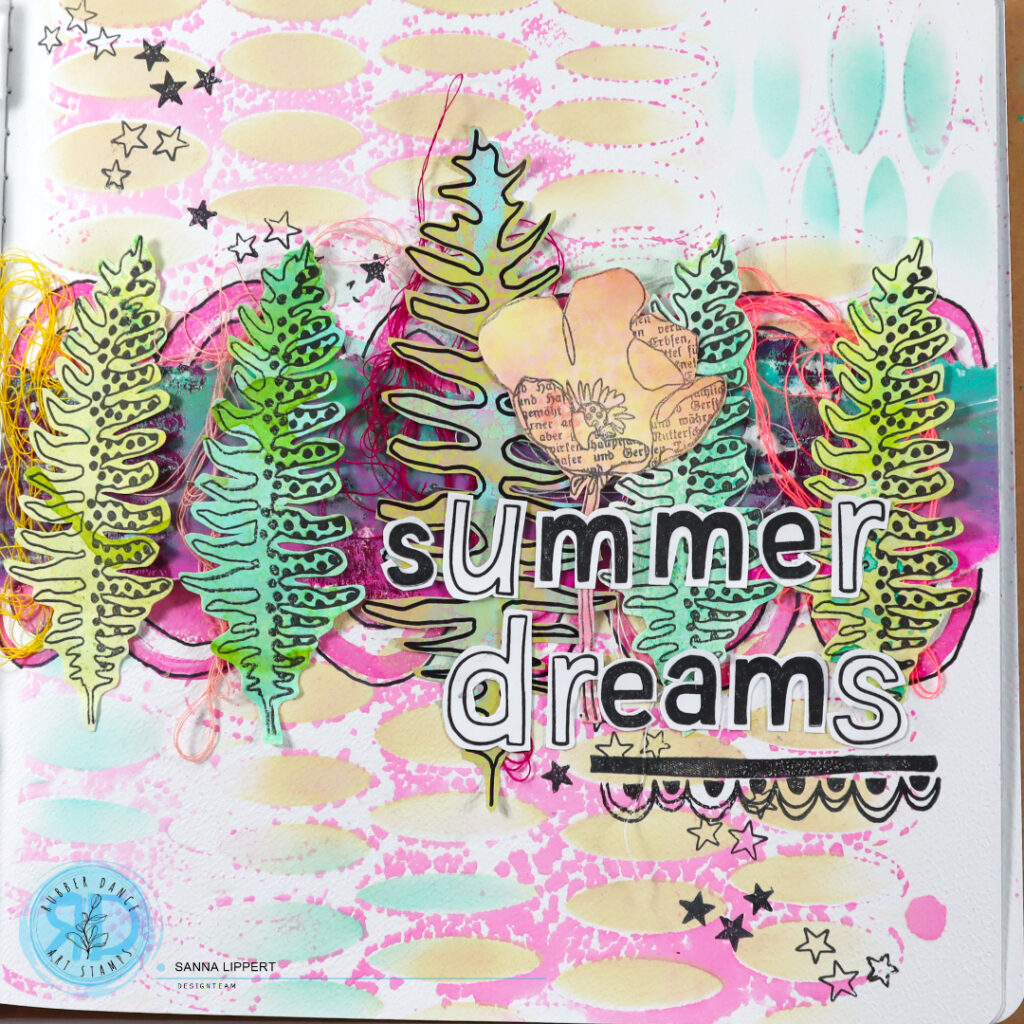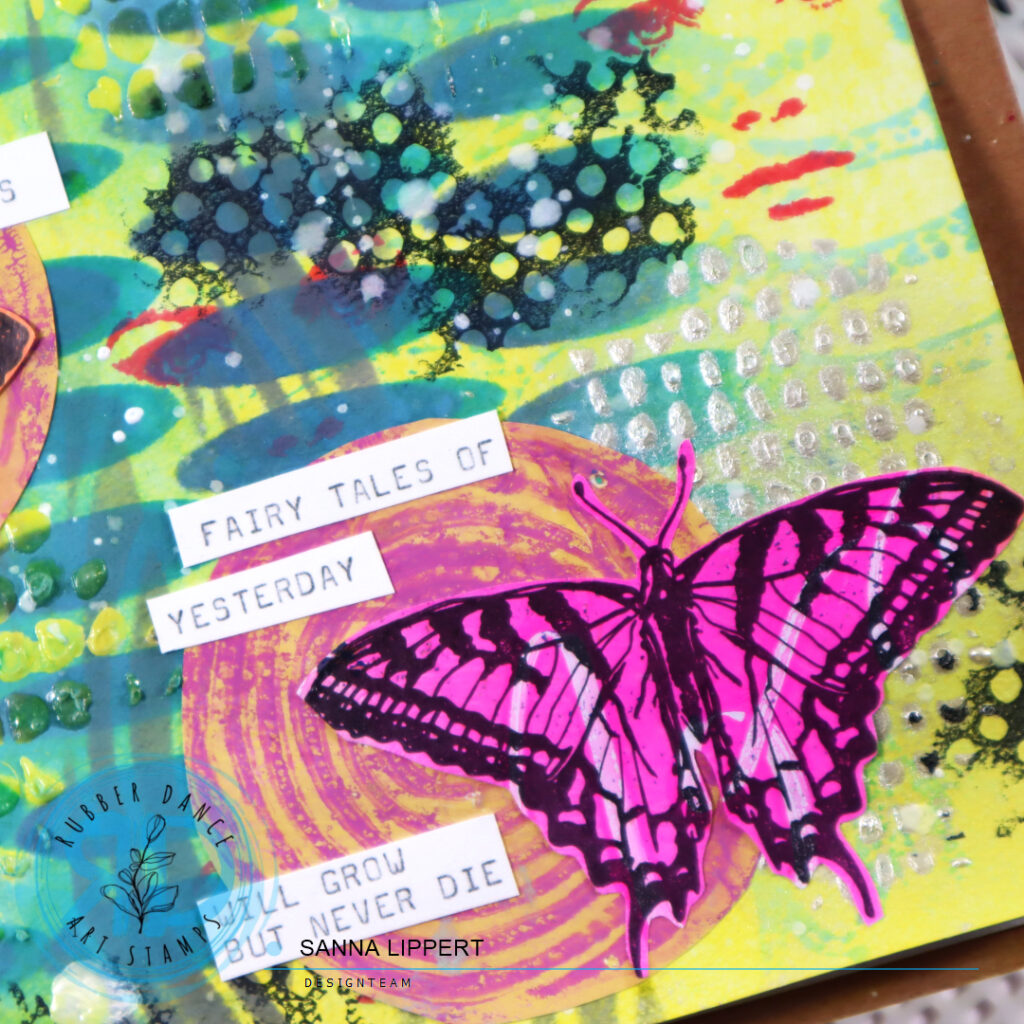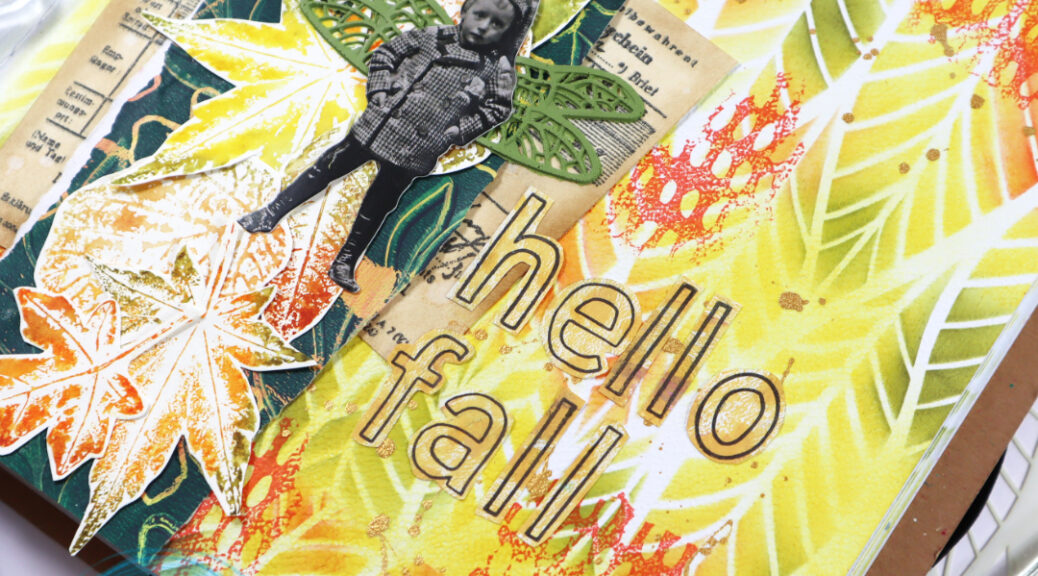
Hello! It´s my turn to share another project created with Rubber Dance goodies over at their blog today. I am up with a fall themed art journal page process video step-by-step. I used one of my favorite stencils, the Leaves 2, for the background. More details were added with Autumn Leaves, Mix It Up 7, A to Z and Loose Florals 2024 stamp sets.
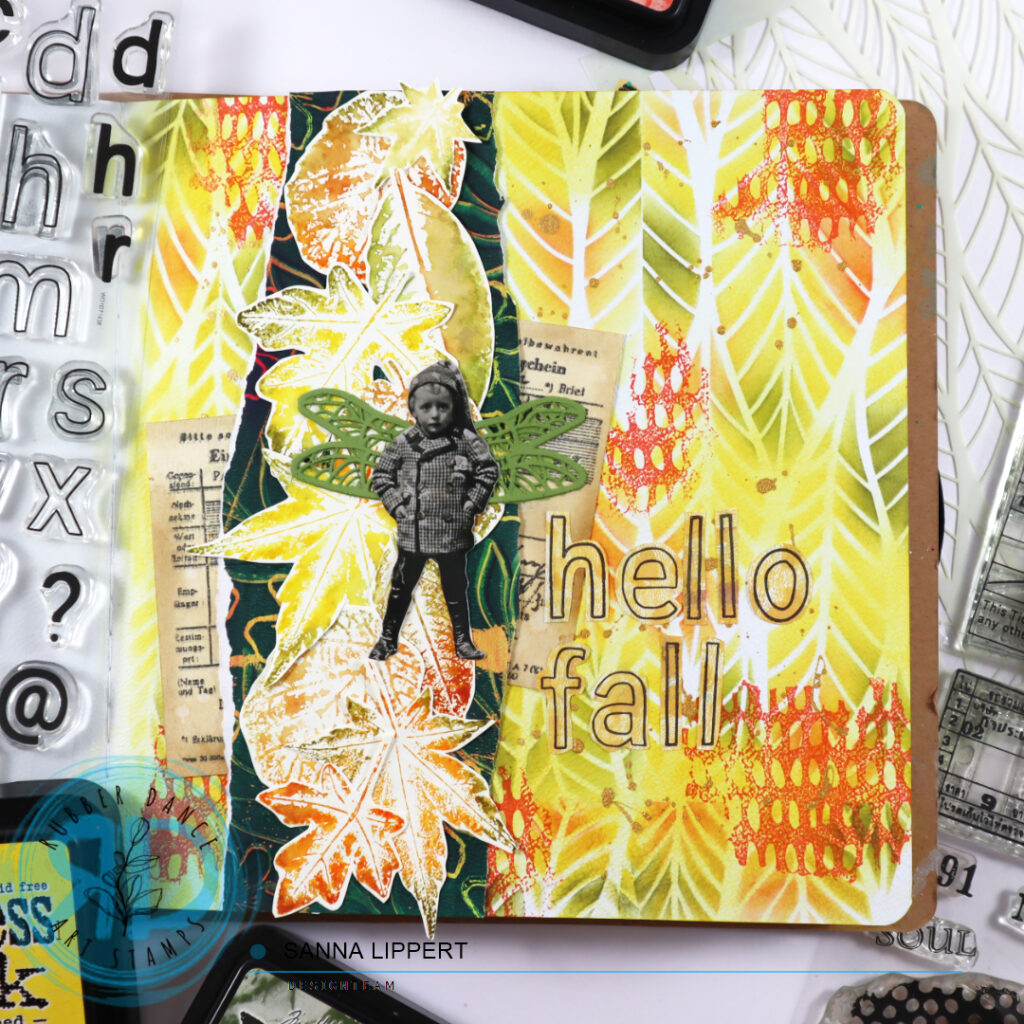
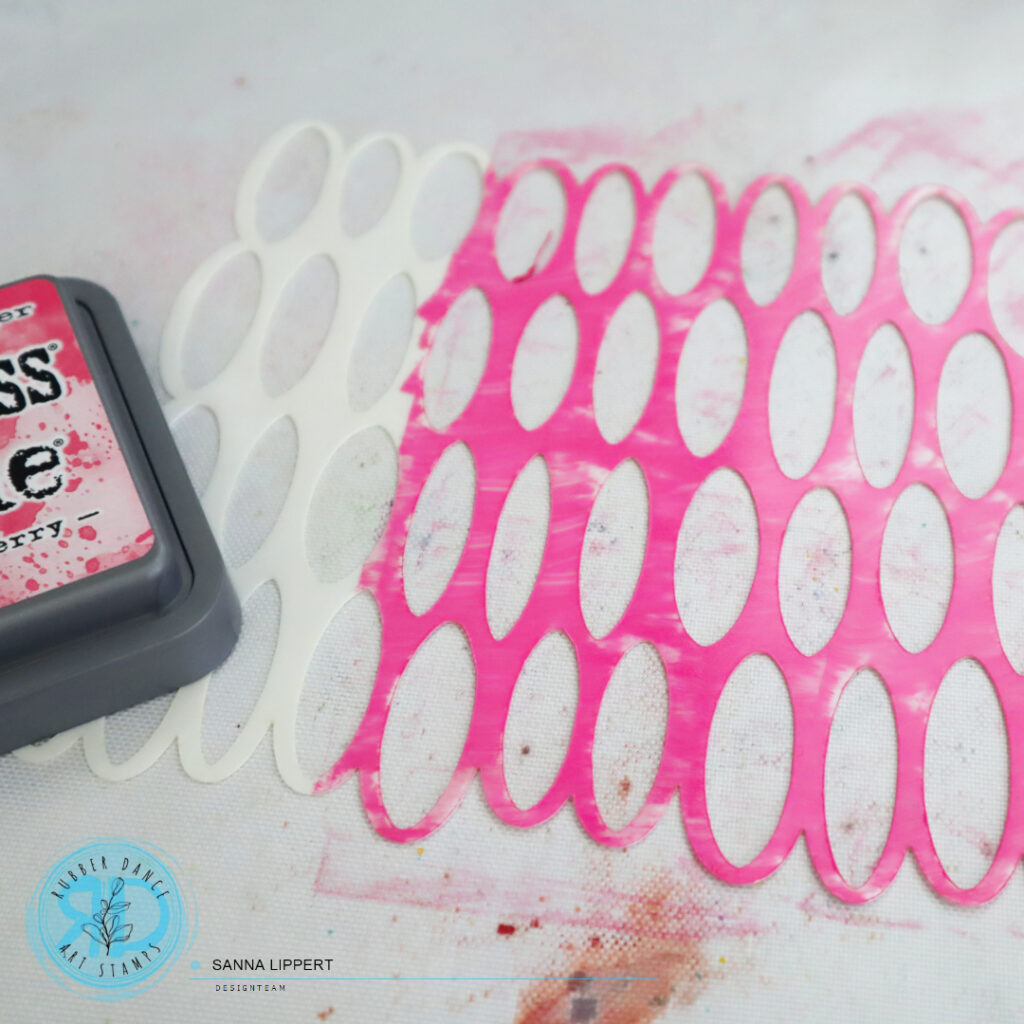
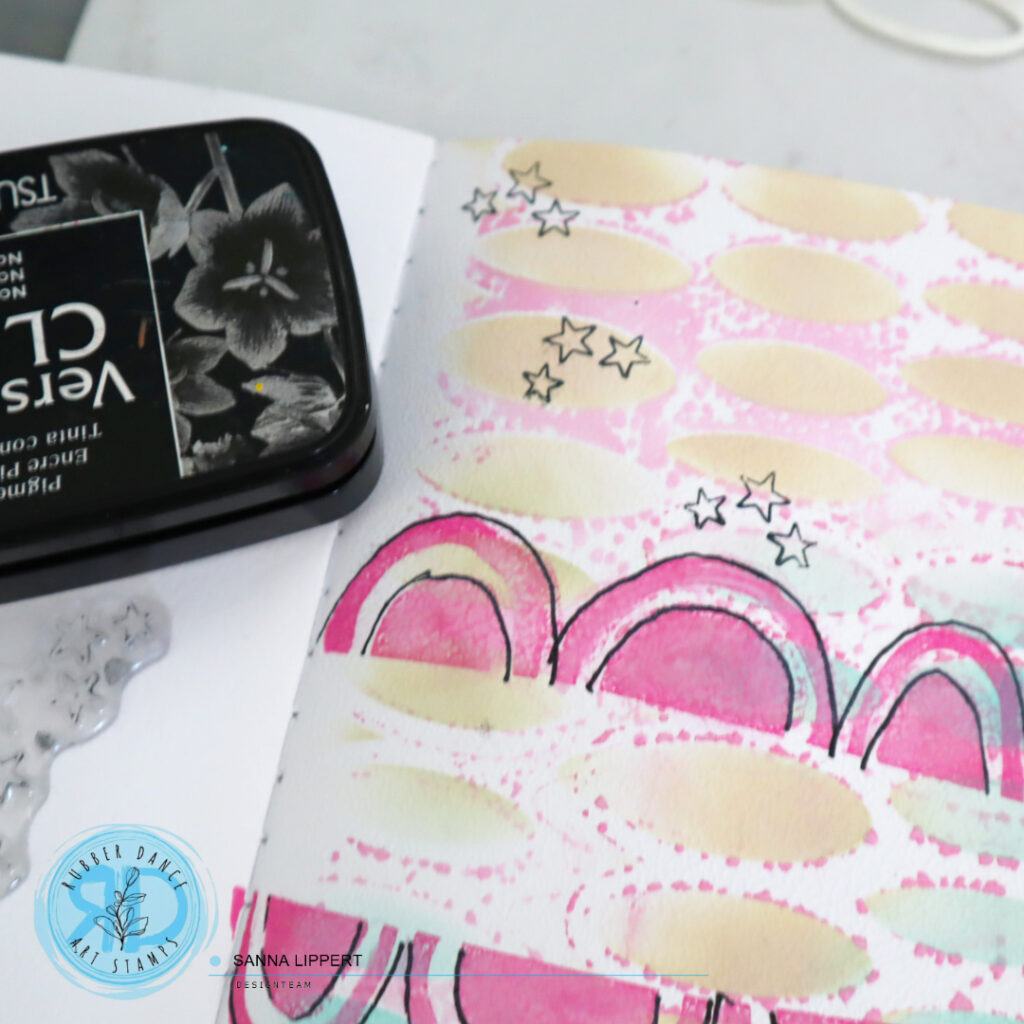
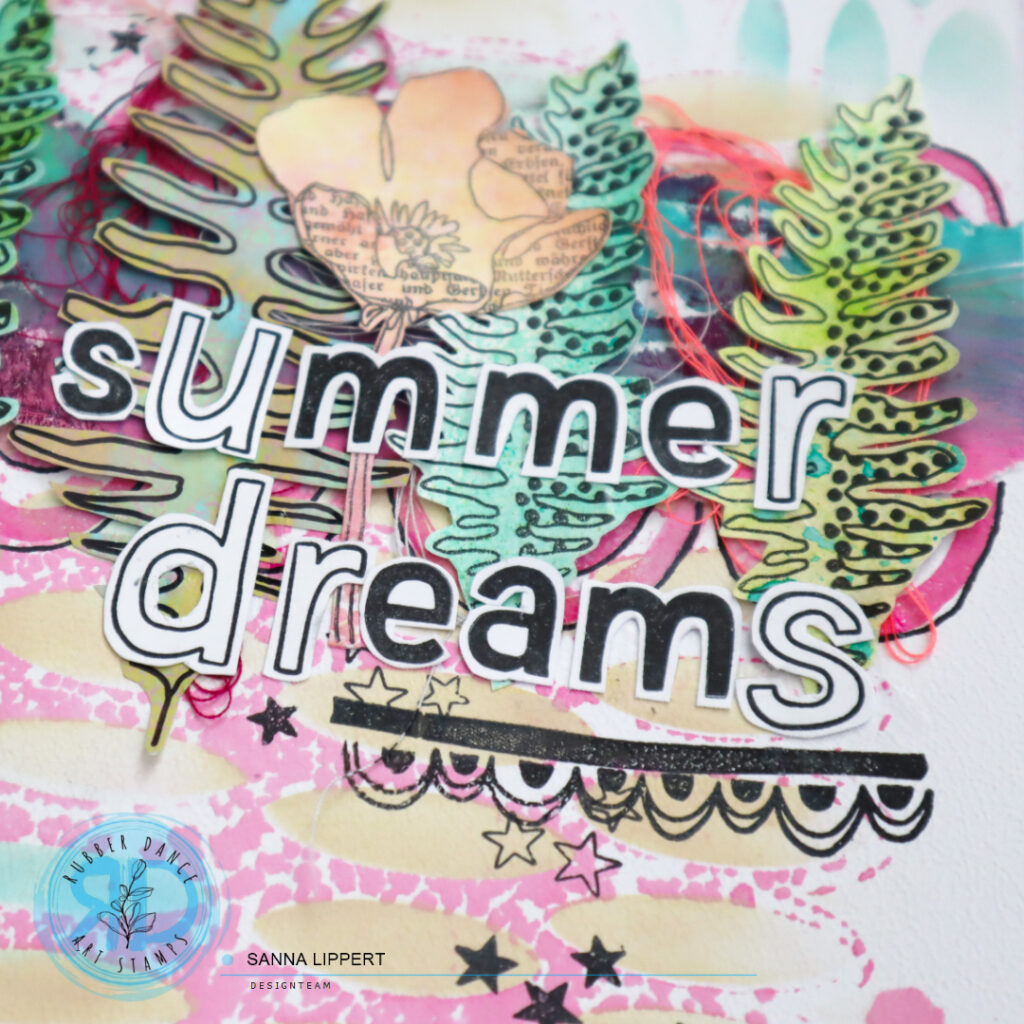
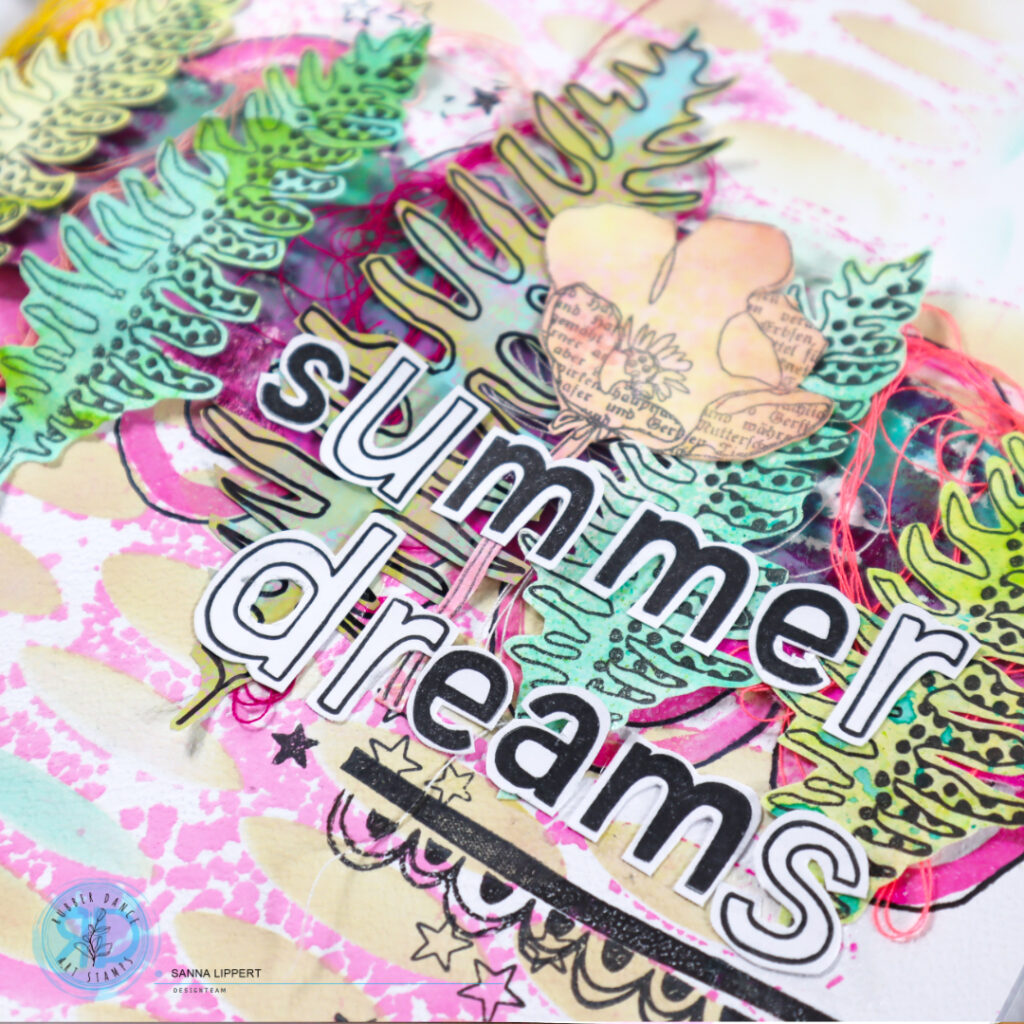
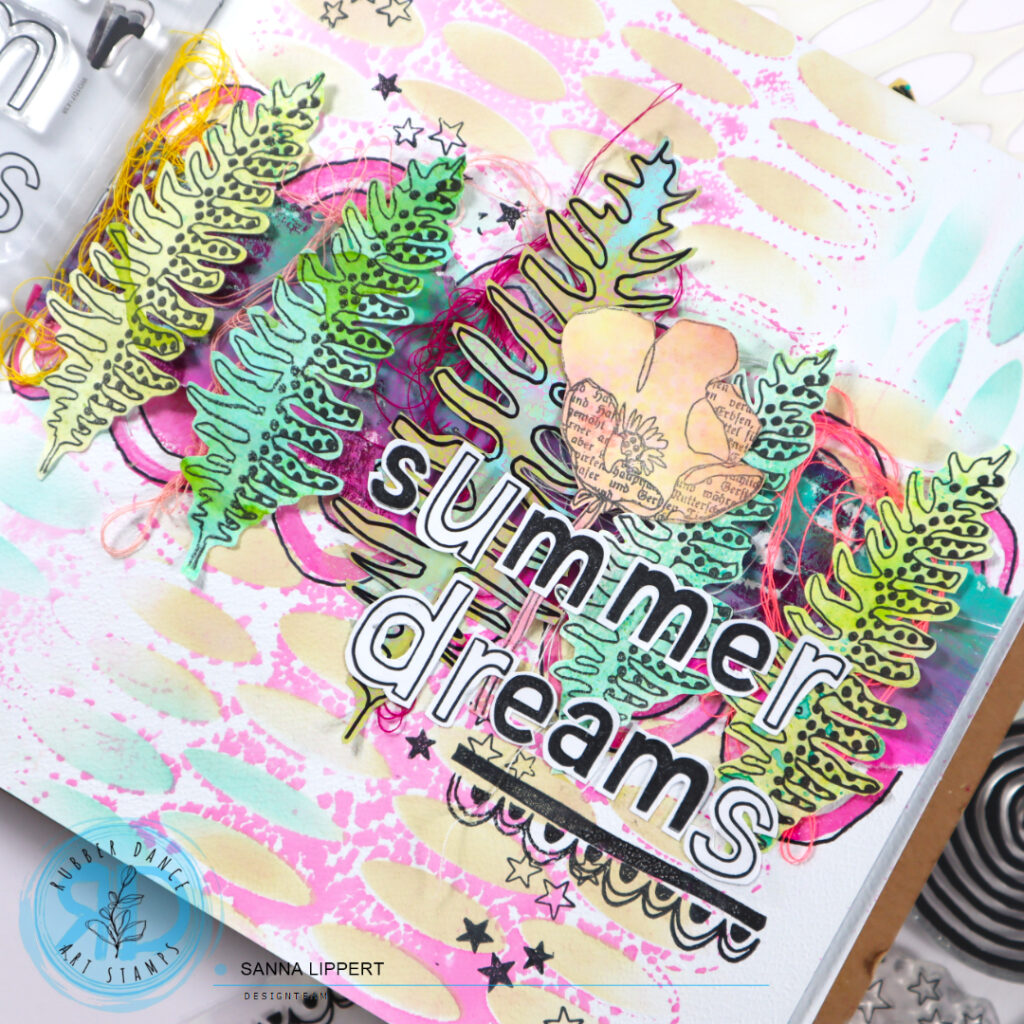
I started with the Leaves 2 stencil and Distress Inks in peeled paint, mustard seed, ripe persimmon and forest moss. I placed the stencil onto the page and started by adding the yellow ink tone. Then I took the other ink pads and brushed just tiny areas with them. I then flipped the stencil over and continued with the pattern (my page is bigger than the stencil) in the same way. After that I added some yellow to the background with a blending brush. Next I added stamped elements with the Mix It Up 7 stamp set.
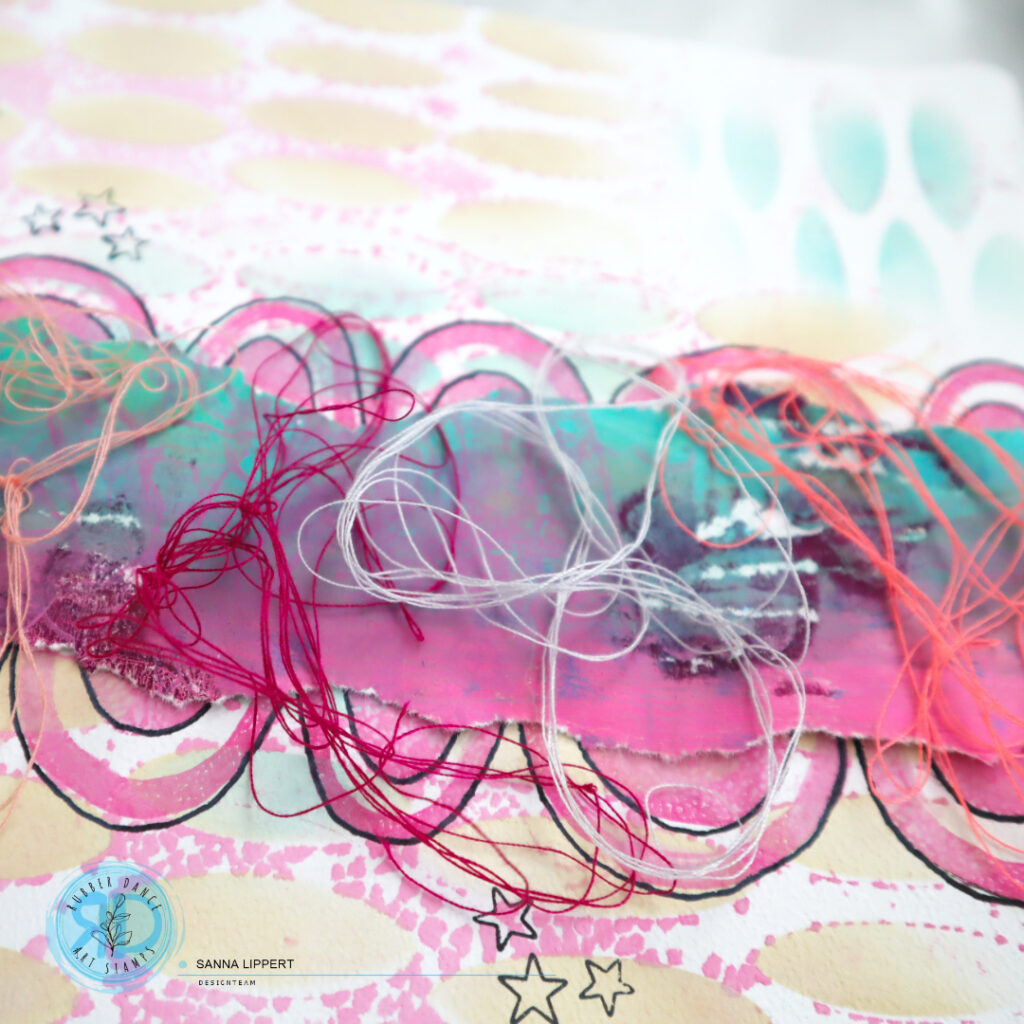
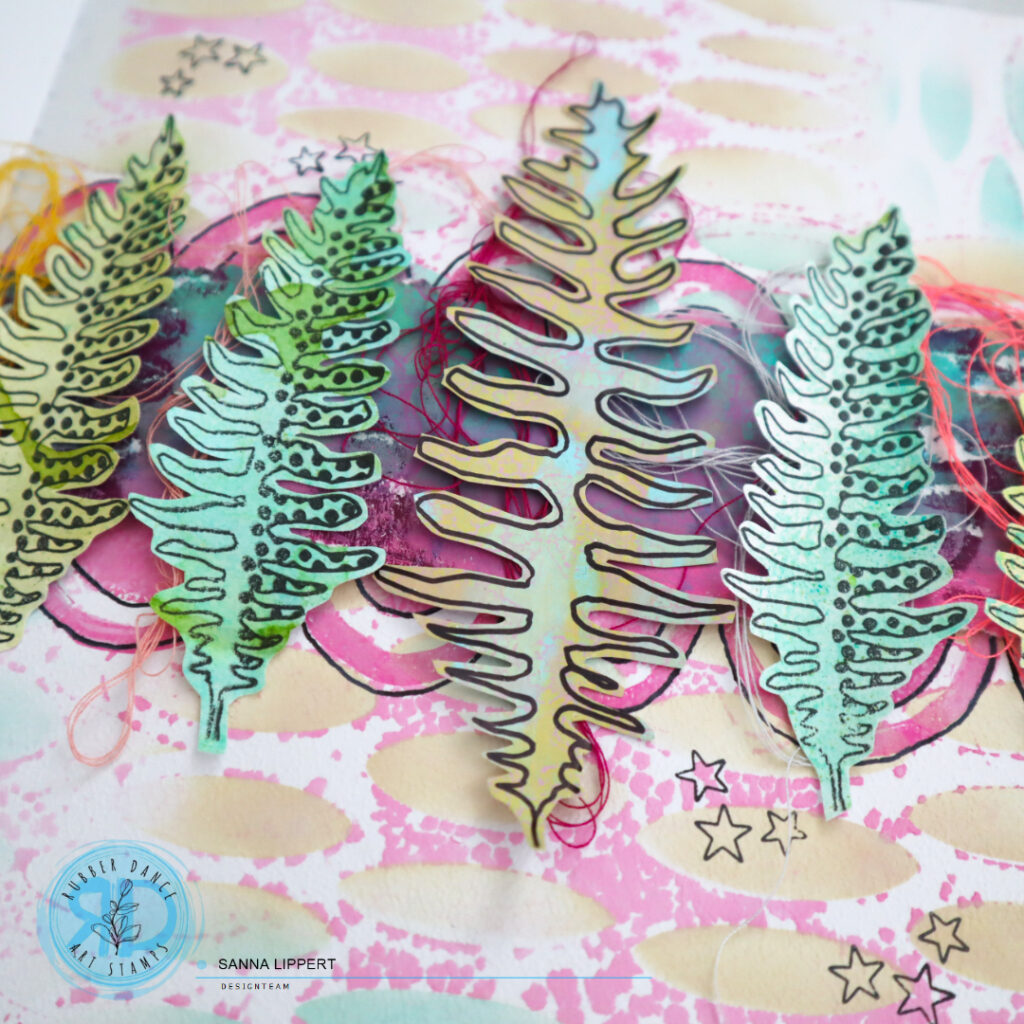
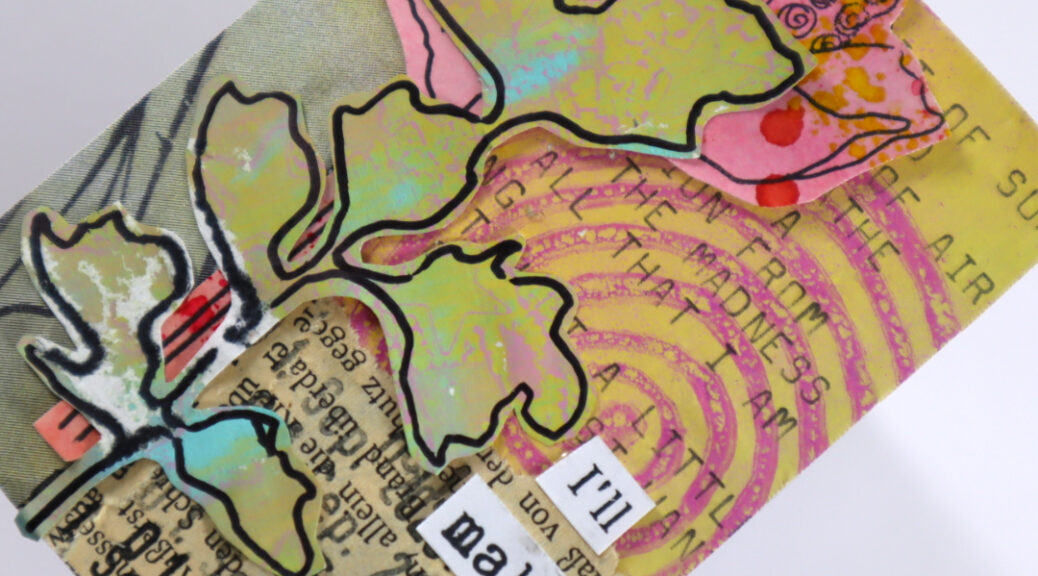
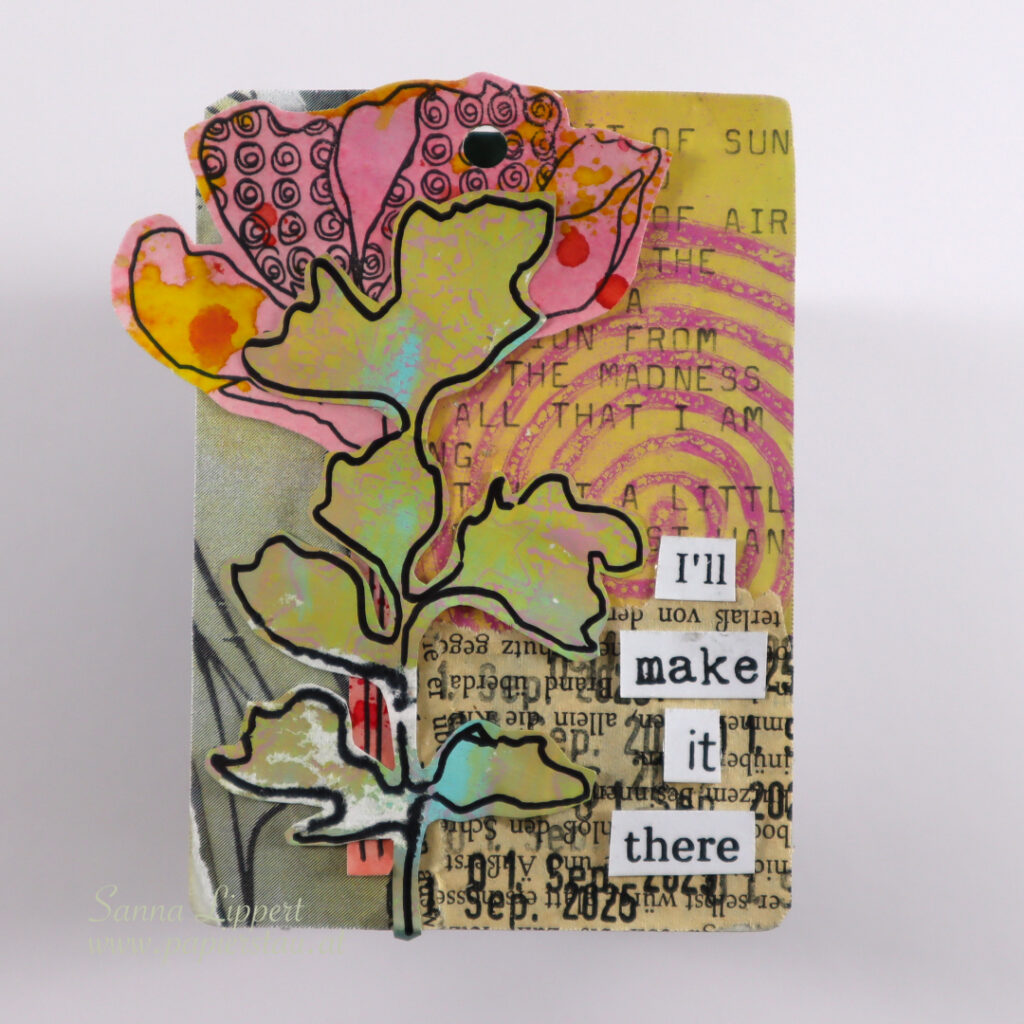
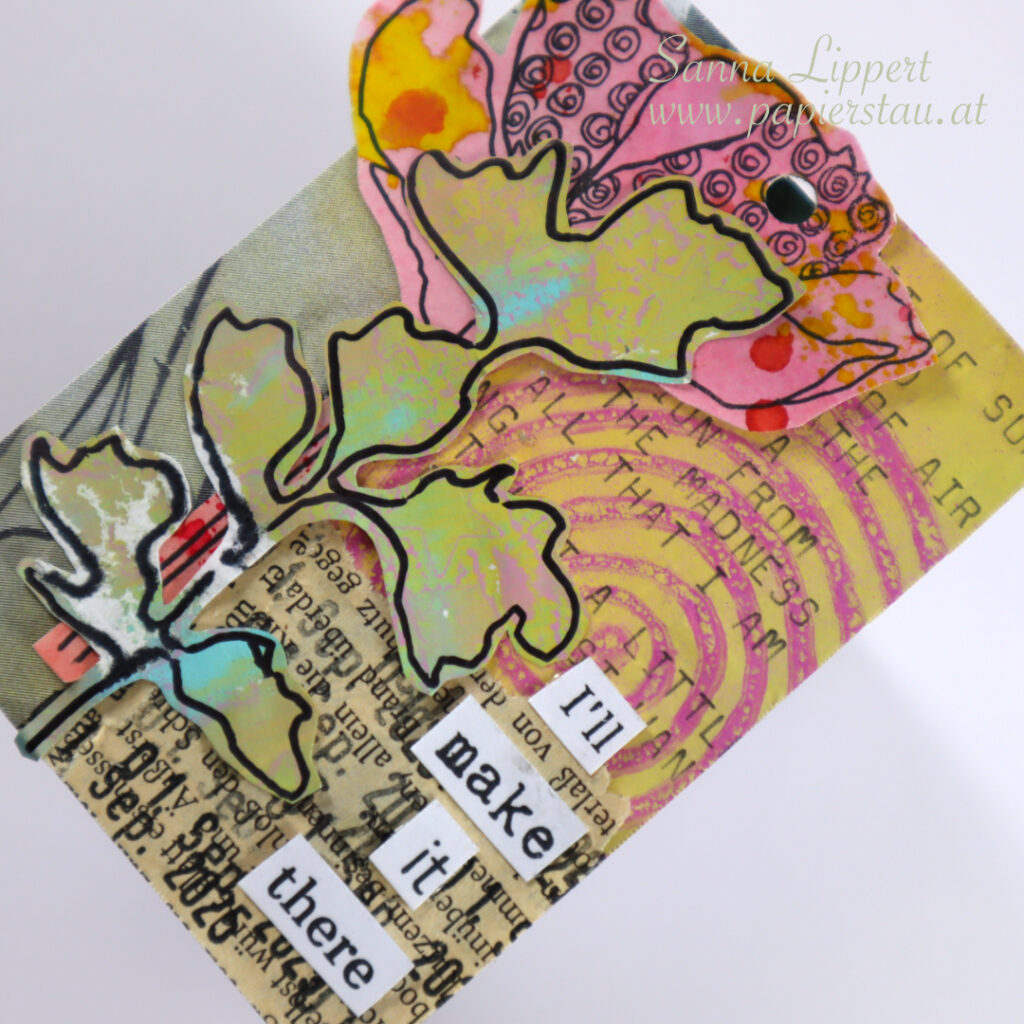
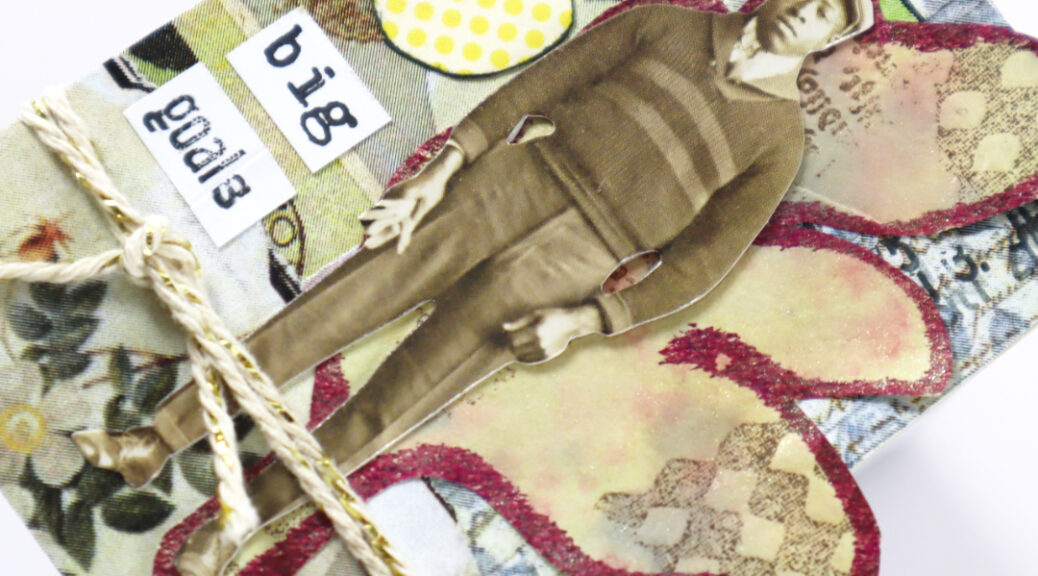
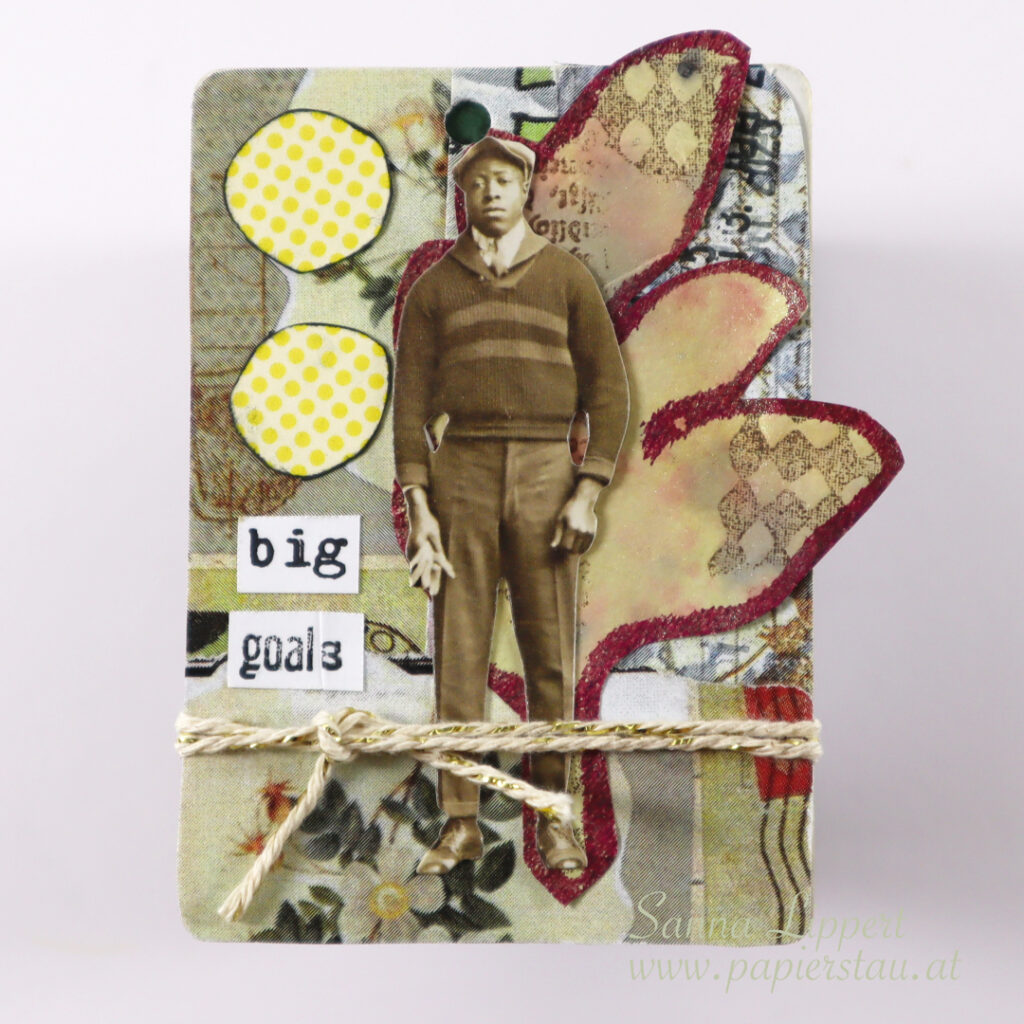
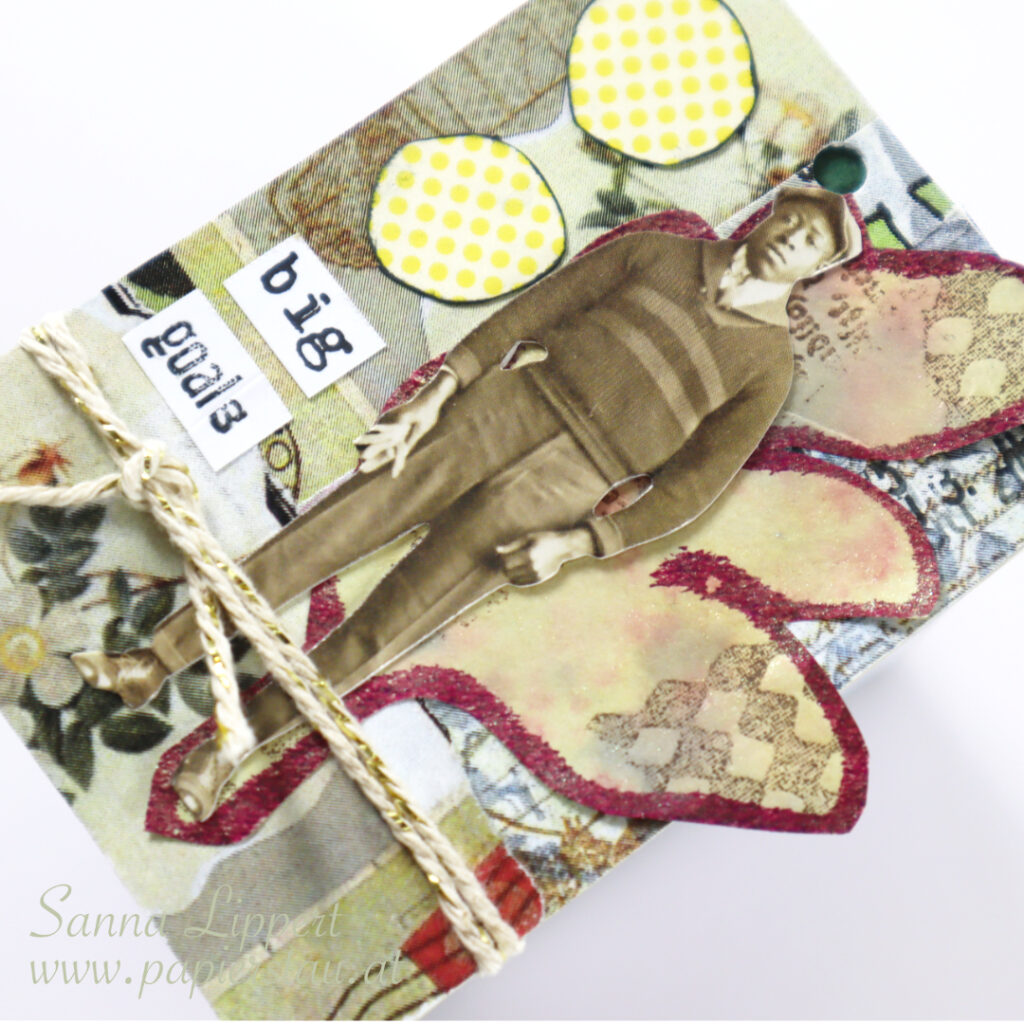
Since it is a fall themed art journal page, I added some gold pigment with a water brush pen, too. Then I chose one of my gelli printed collage papers and wripped it into size. It is made using the Loose Florals 2024 stamp set on a gel plate (see the video here). After adhering the collage paper on place I took out some watercolor style stamped (see video here) Autumn Leaves and arranged them on top.
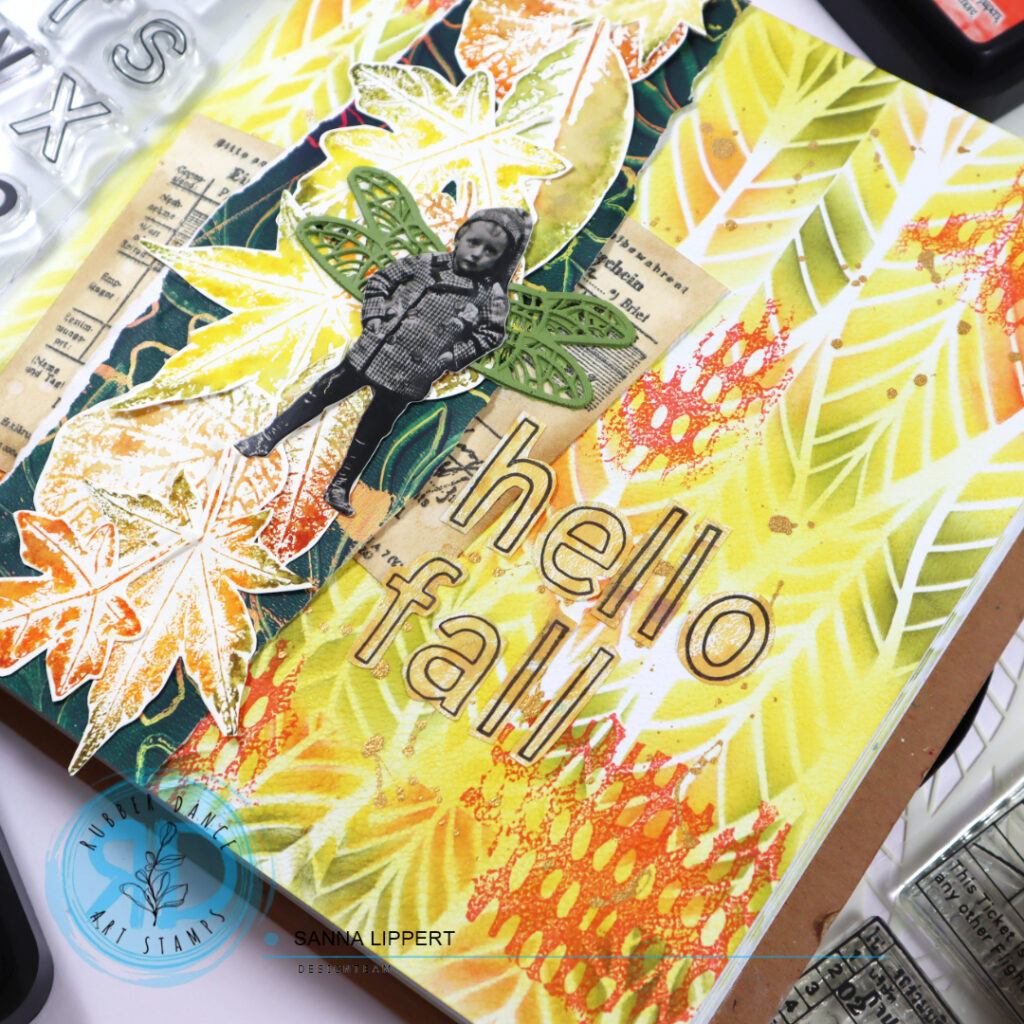
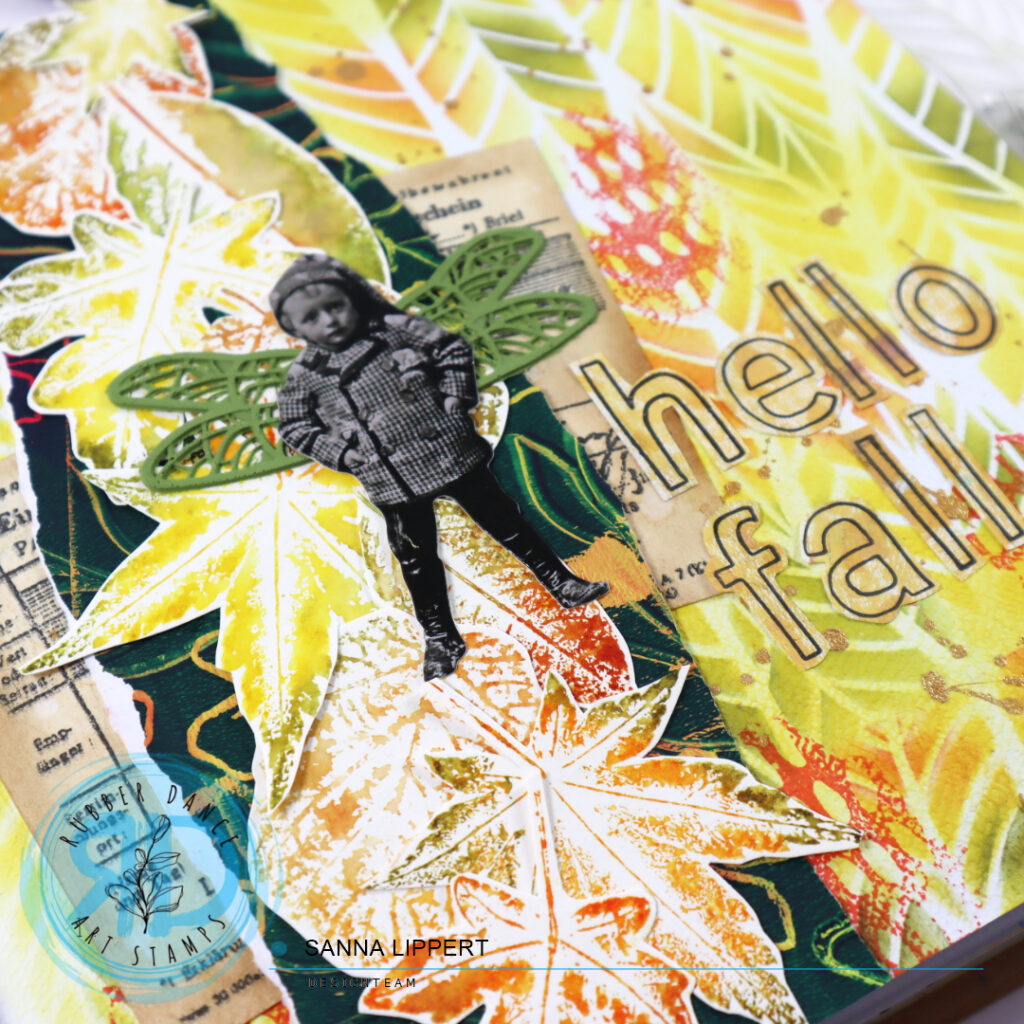

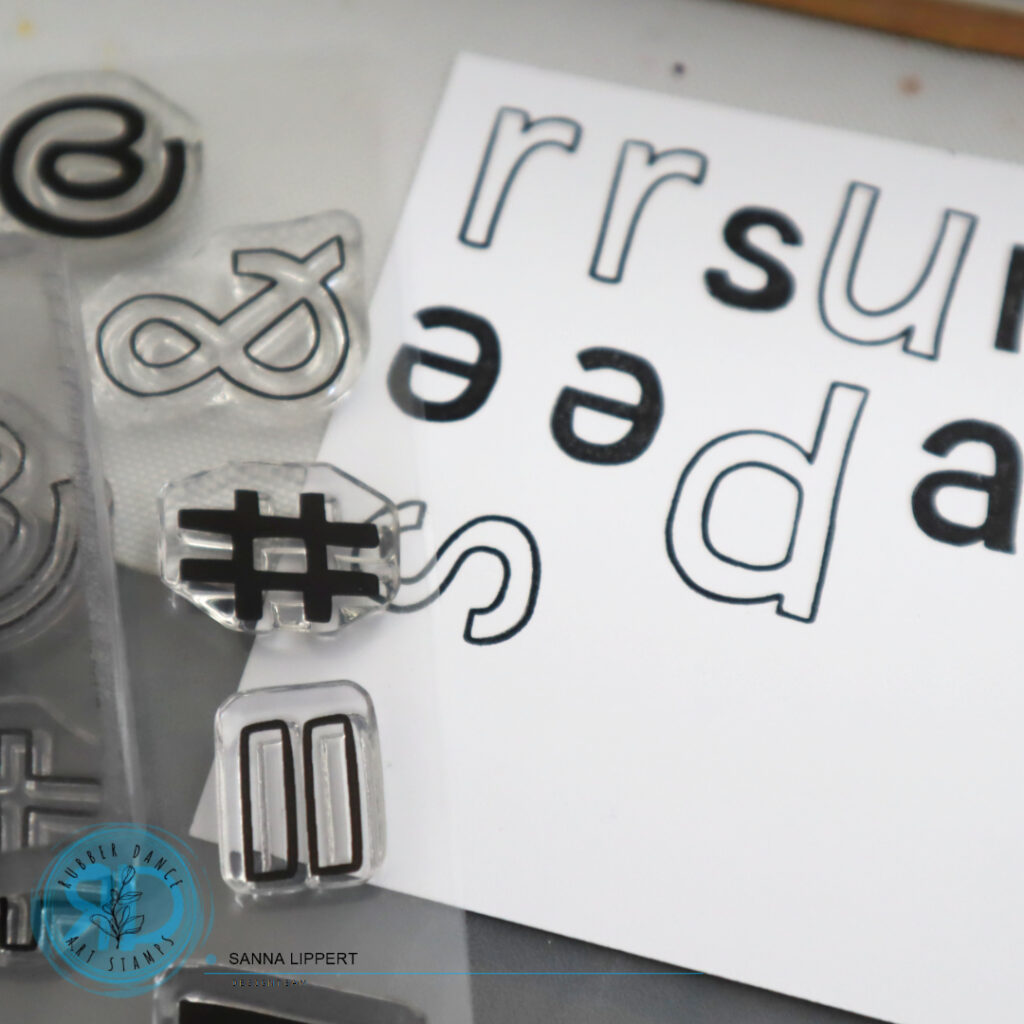
I also tuck a DIY vintage ticket (see video here) under the collage paper to create a cluster. On top of it all I added a Tim Holtz paper doll with dragonfly wings. I stamped the title with A to Z stamp set onto a paint residue paper and fussy cut the letters with scissors.
And here is the art journal page process video. Have fun watching!
I just love how the background turned out. I might just use that same idea on some cards!!
Happy creating,
xx, Sanna