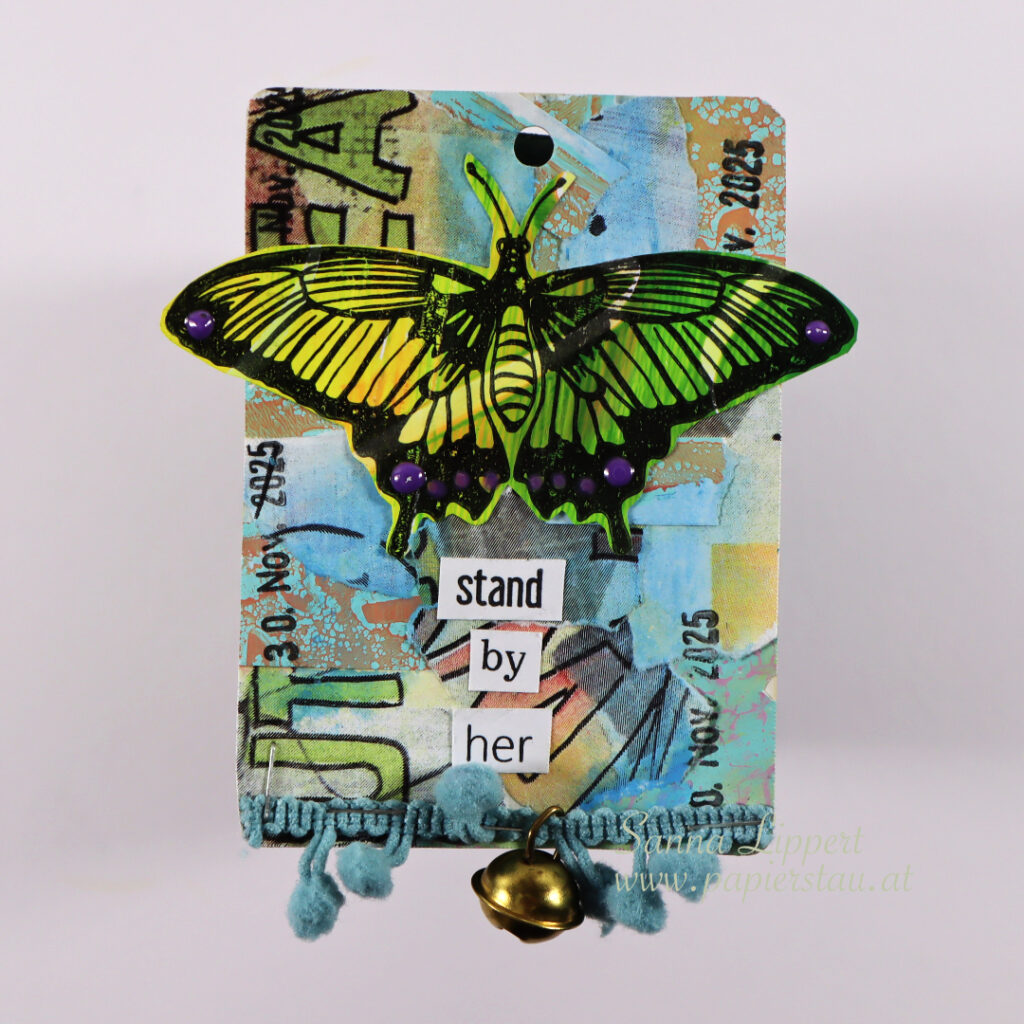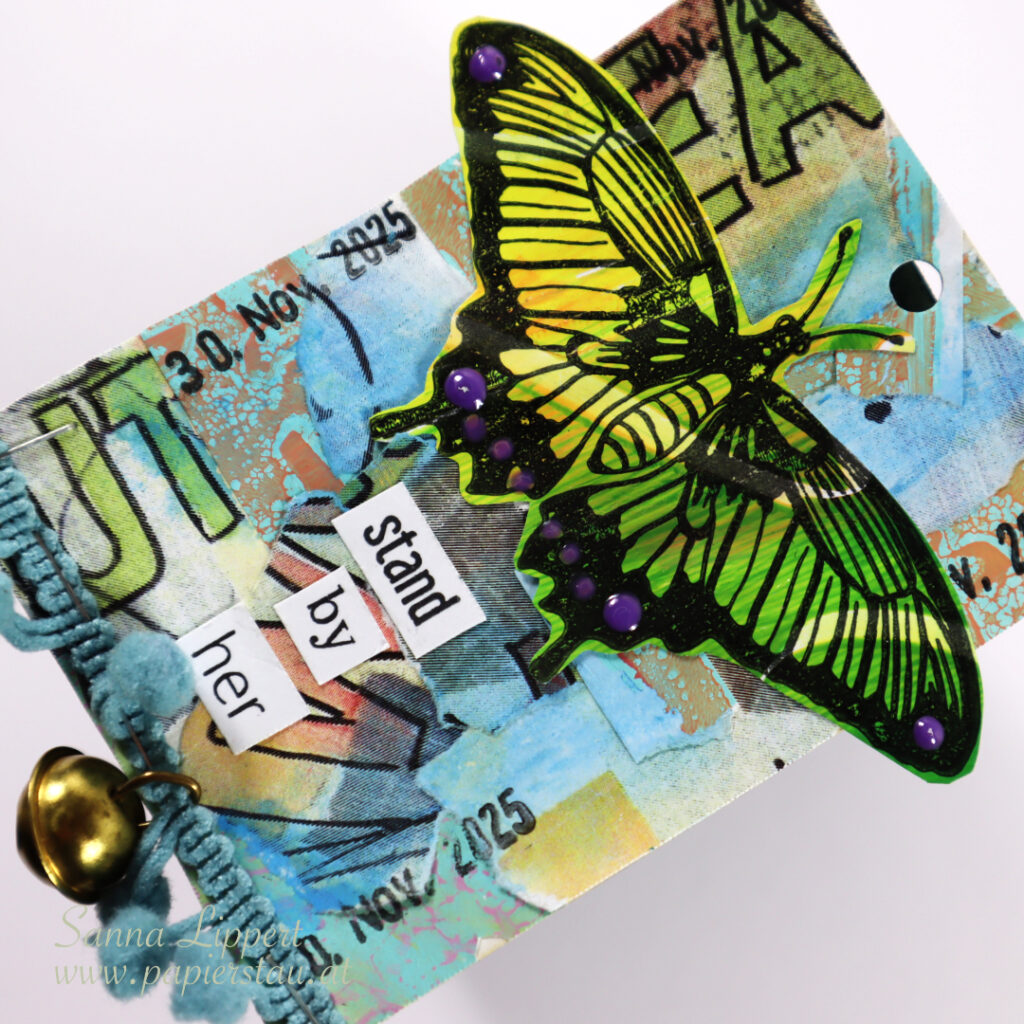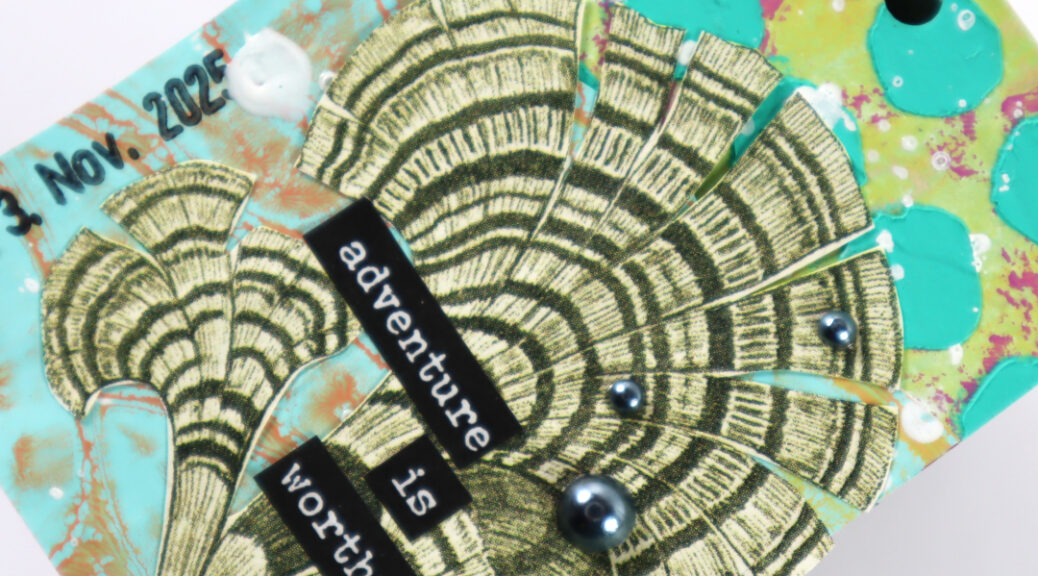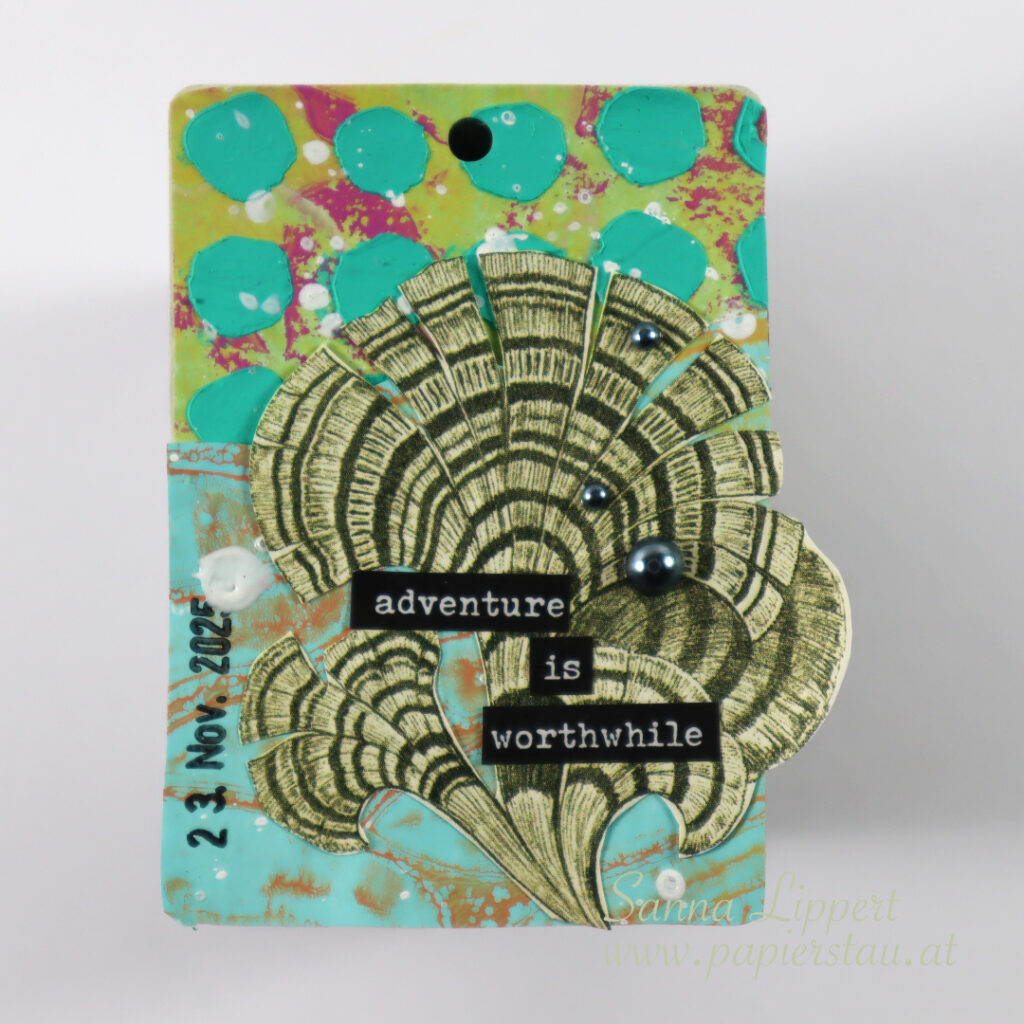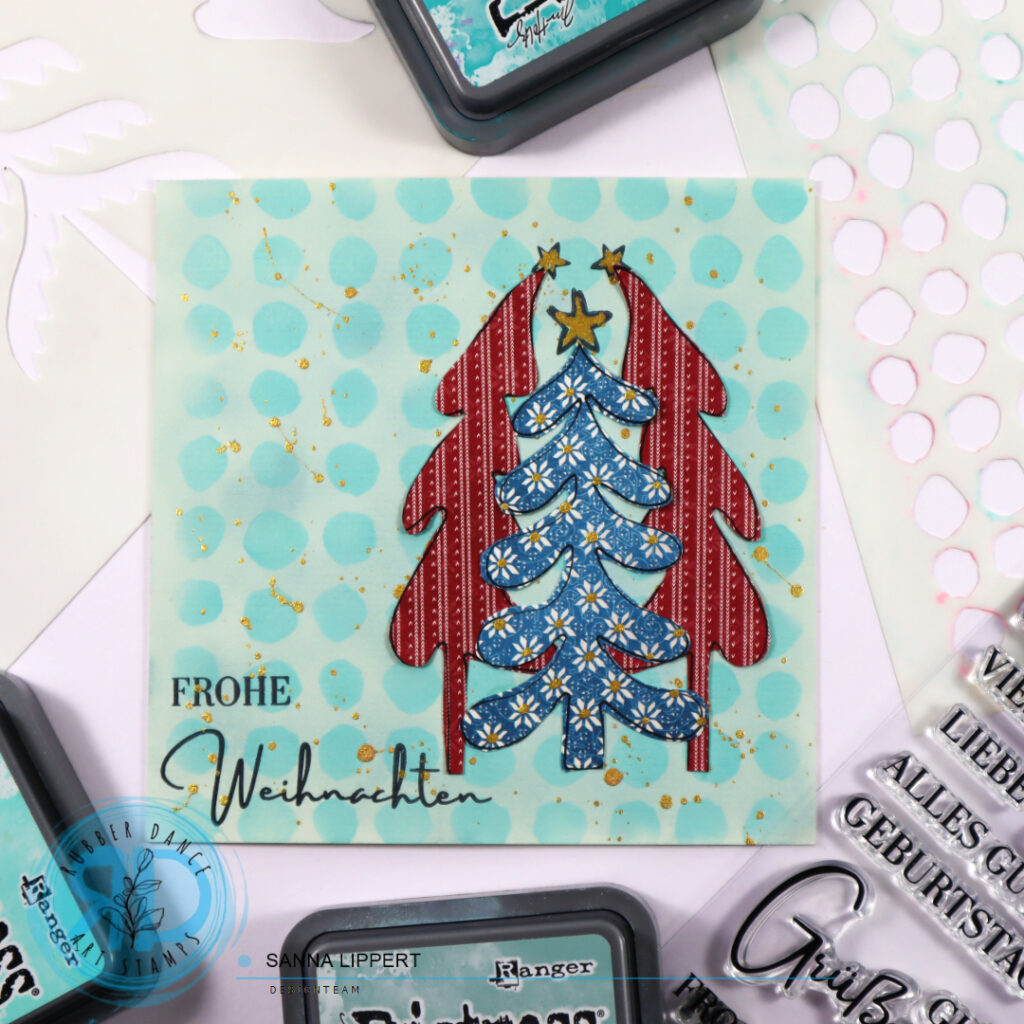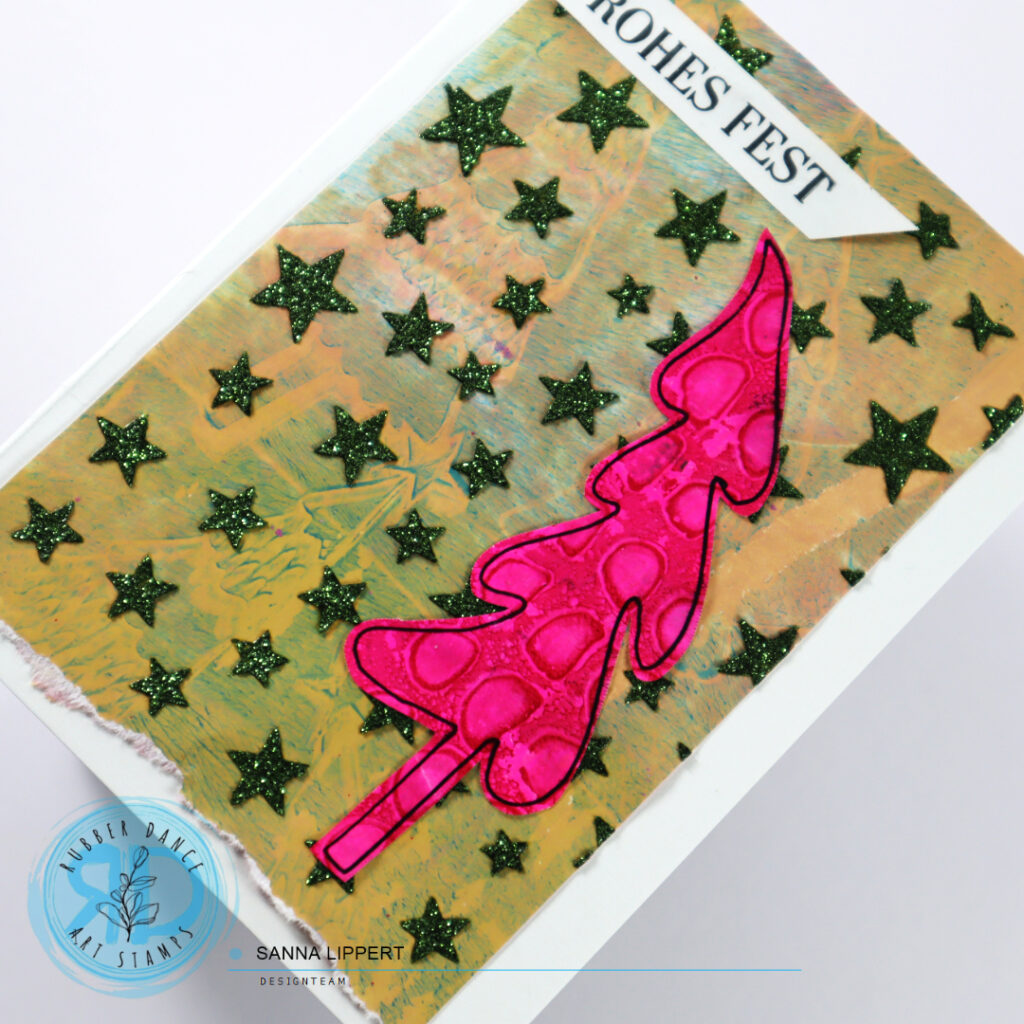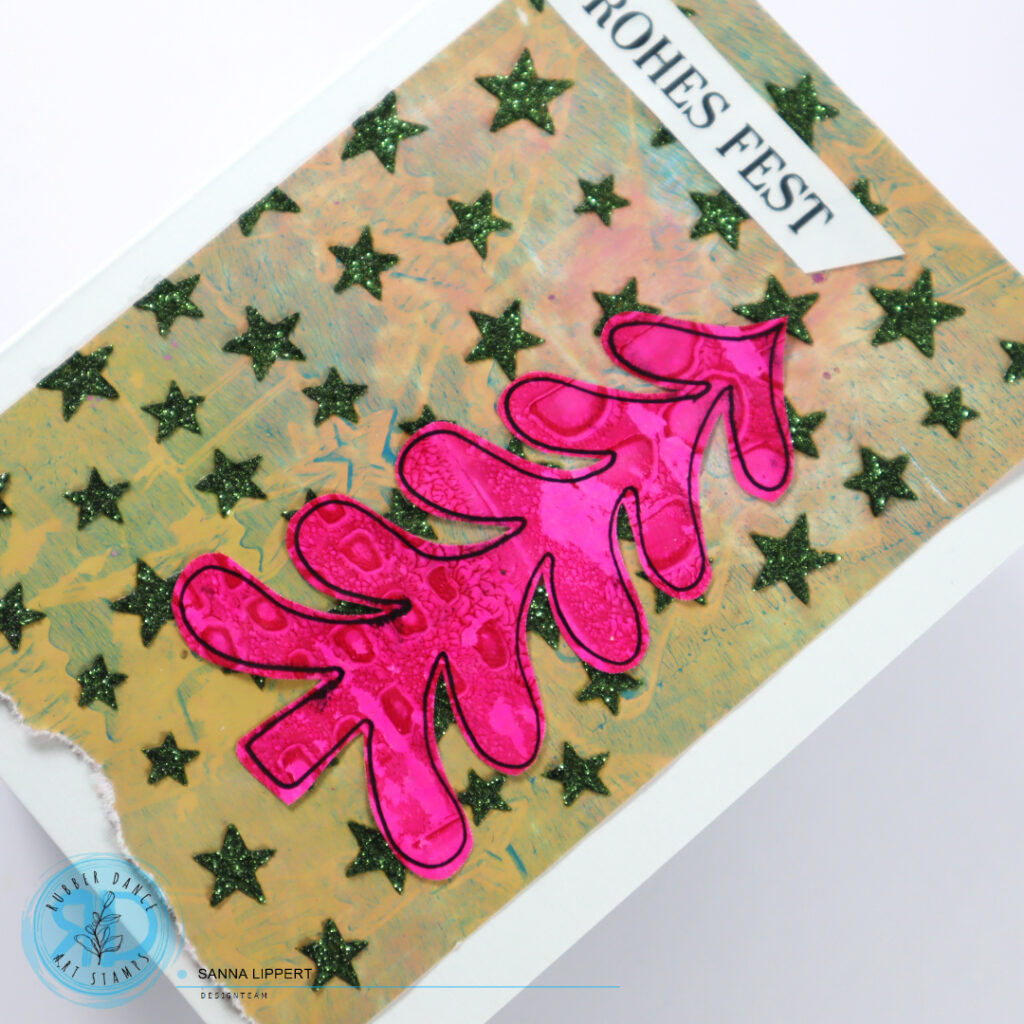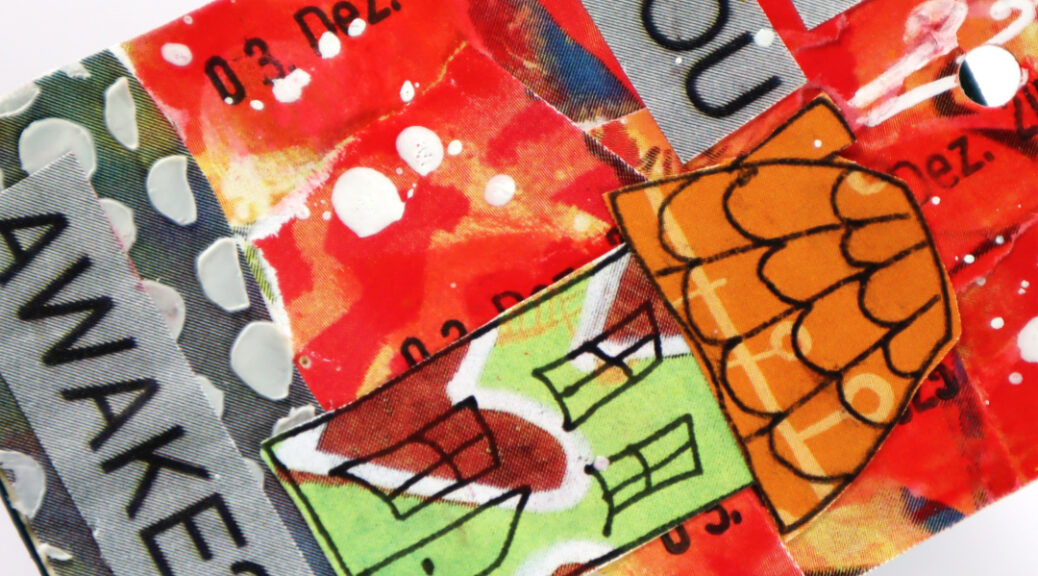
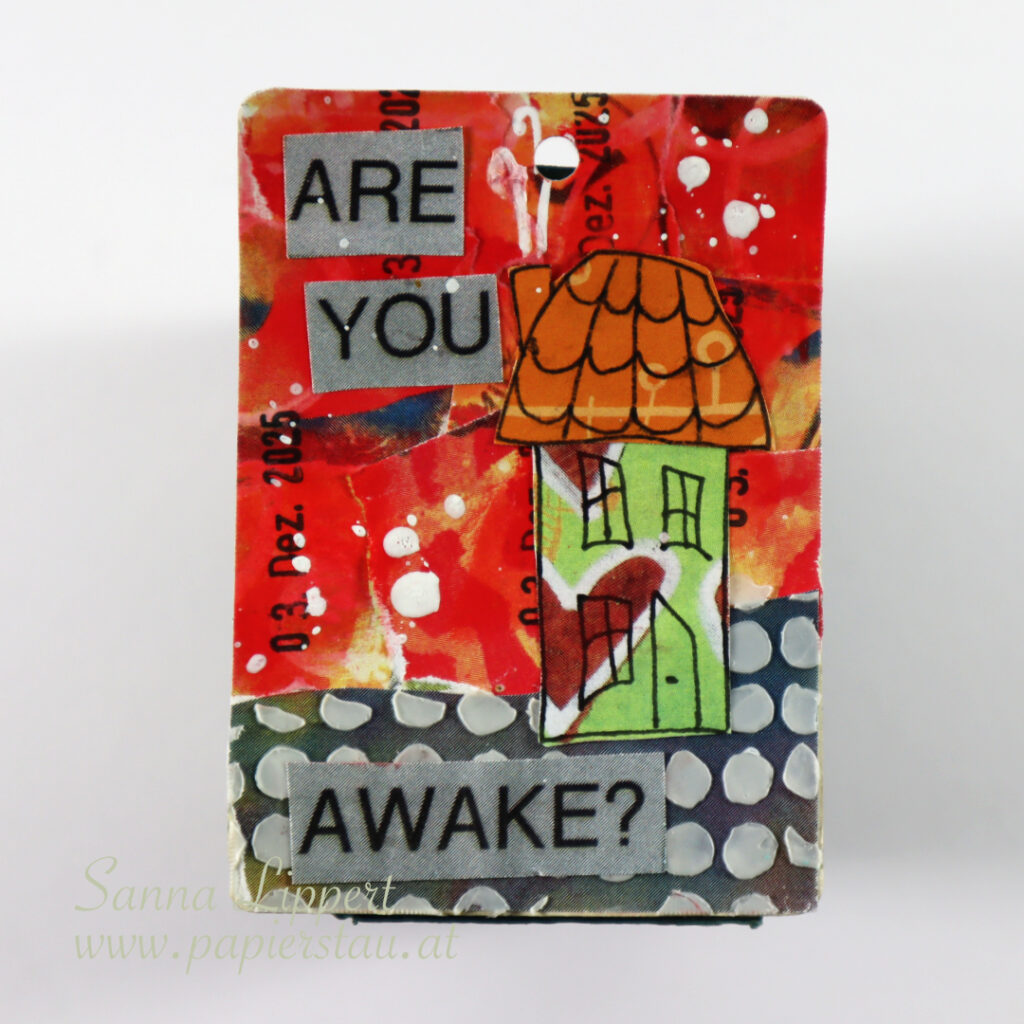
Hello! This is my take on the 2025 ShanoukiArt Full Deck Challenge number 50: wonky house.
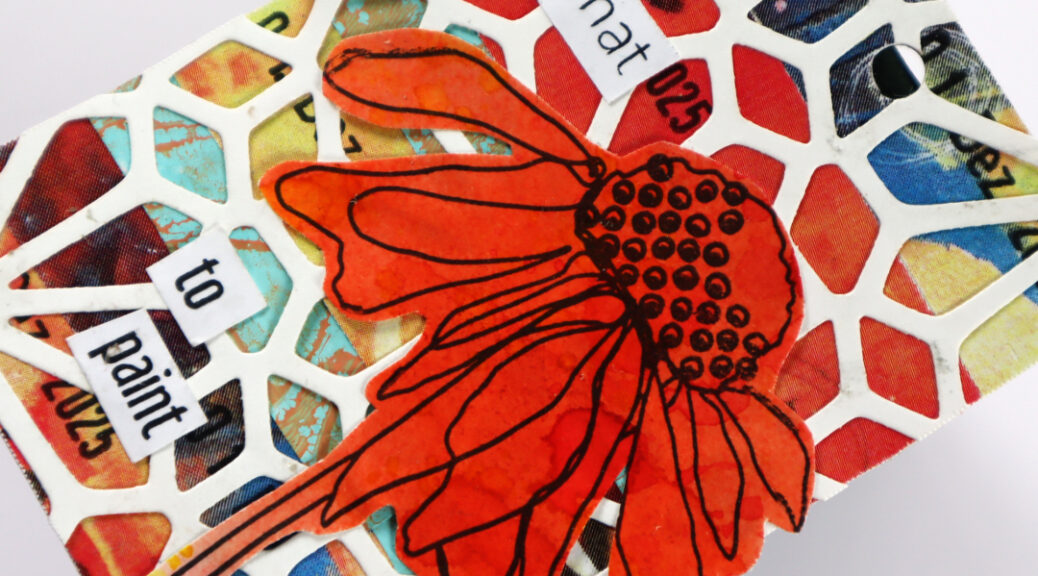
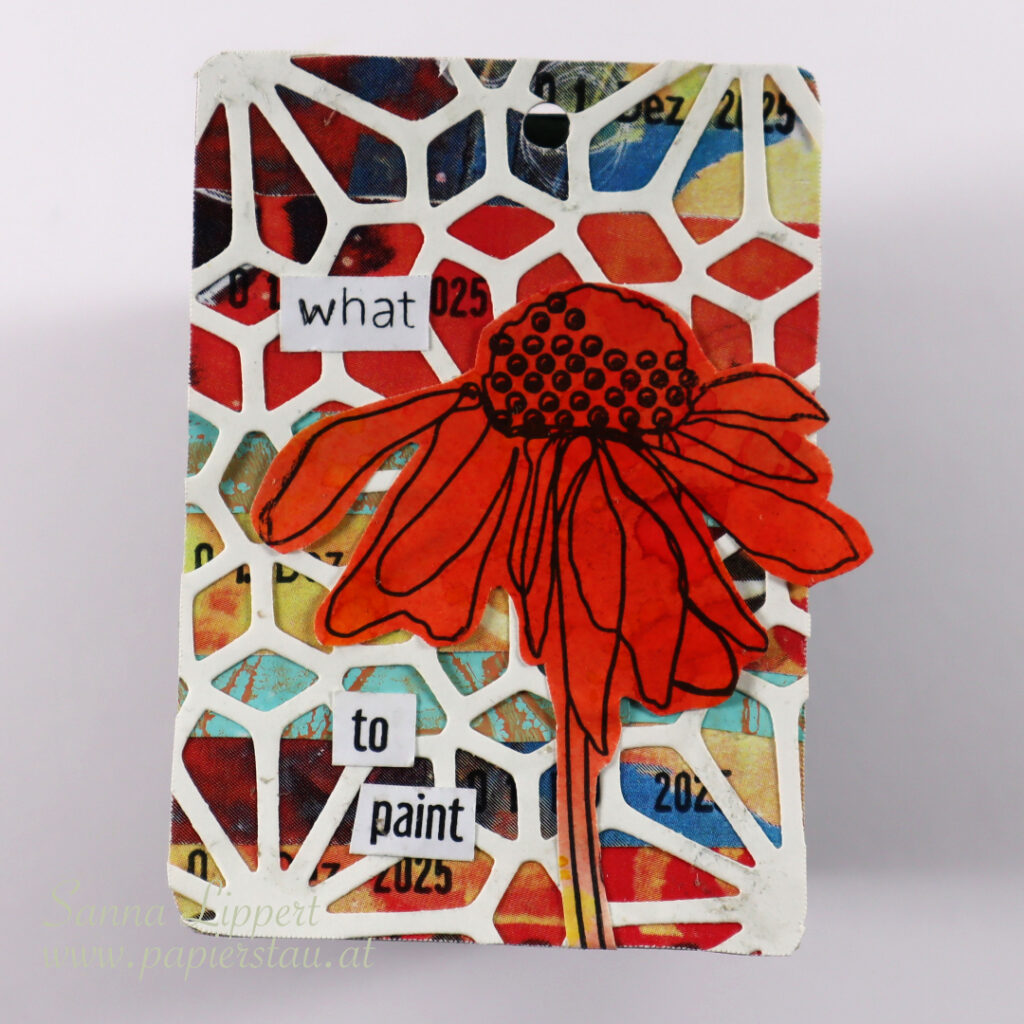
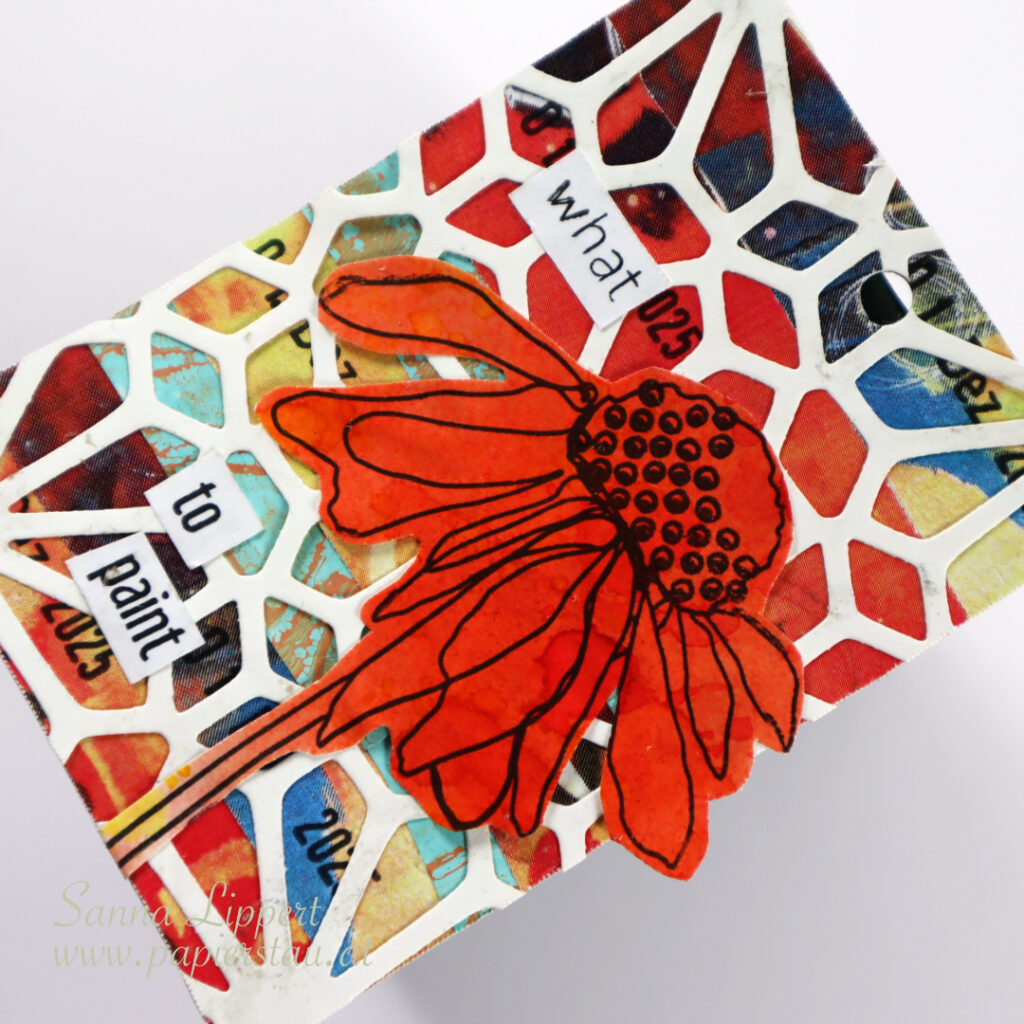
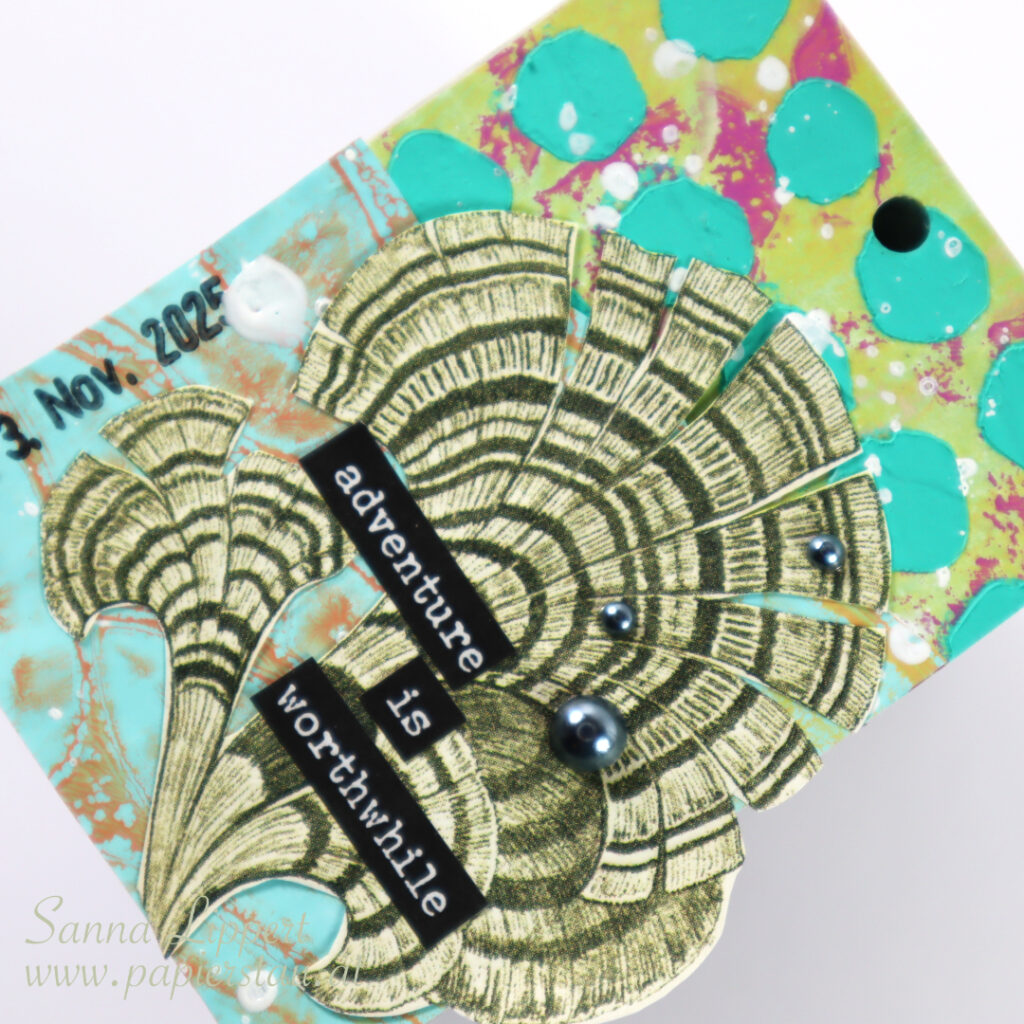
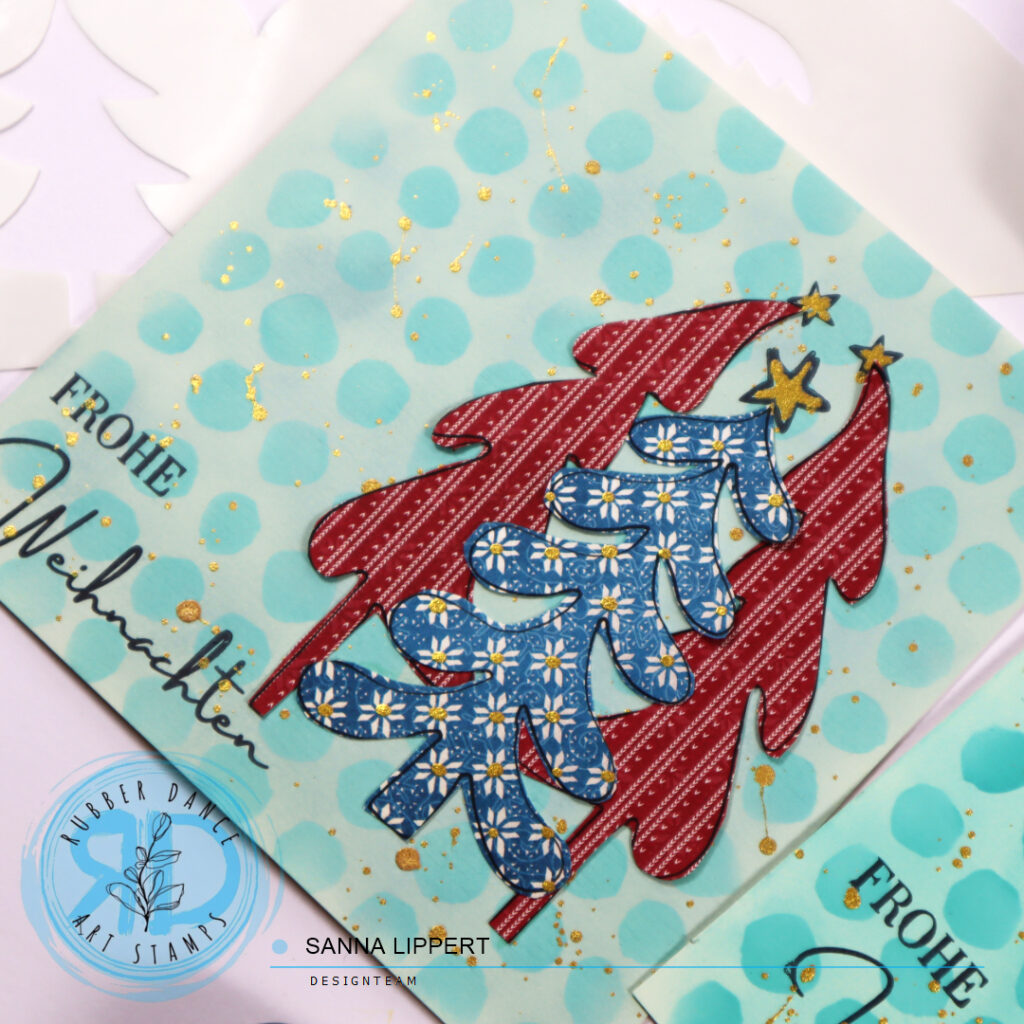
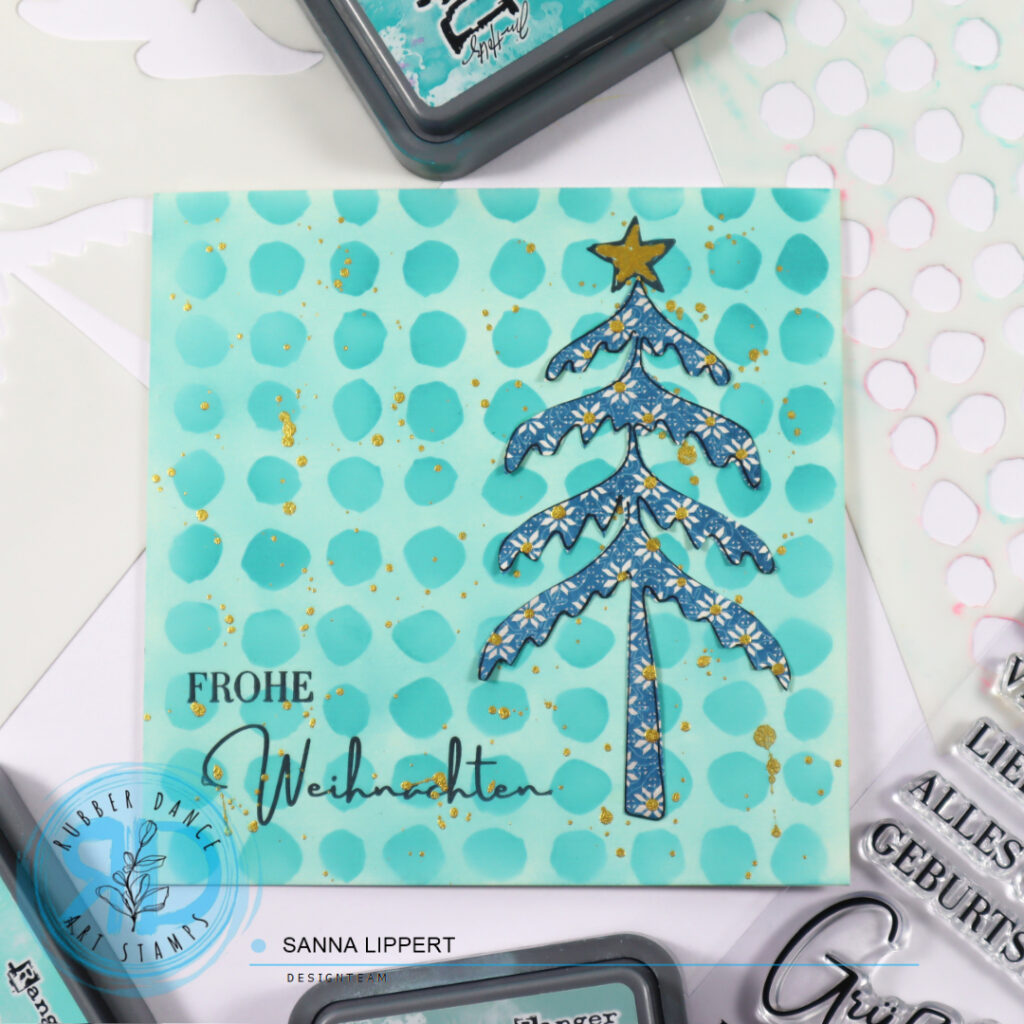
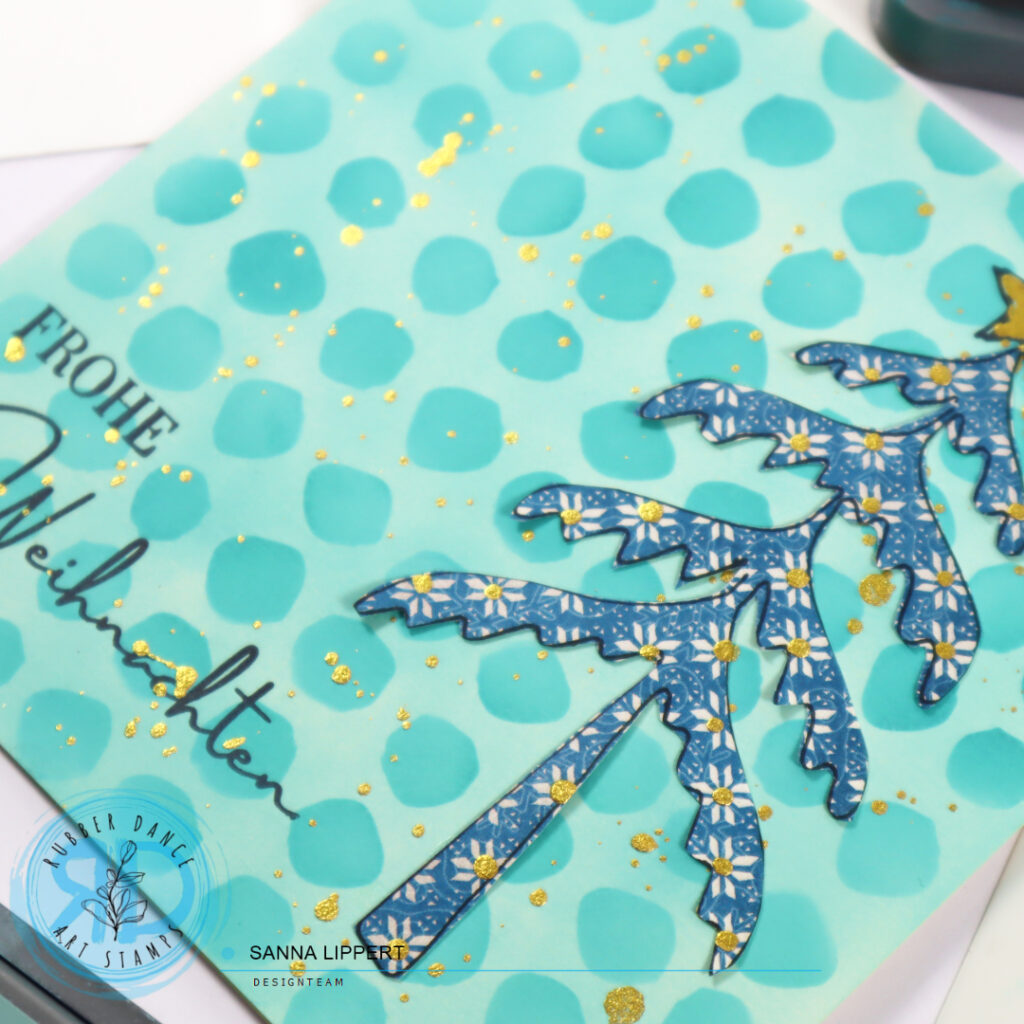
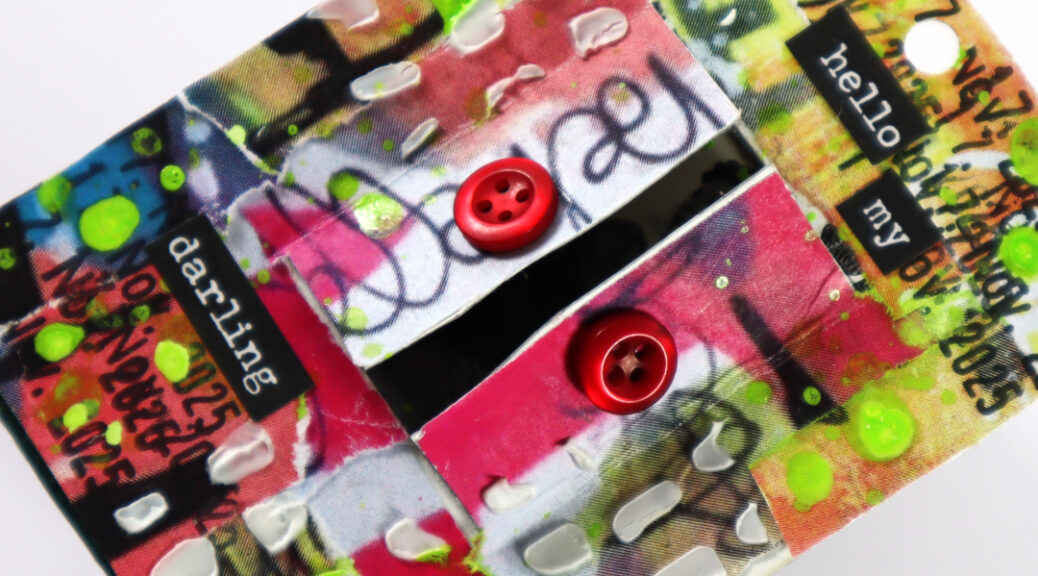
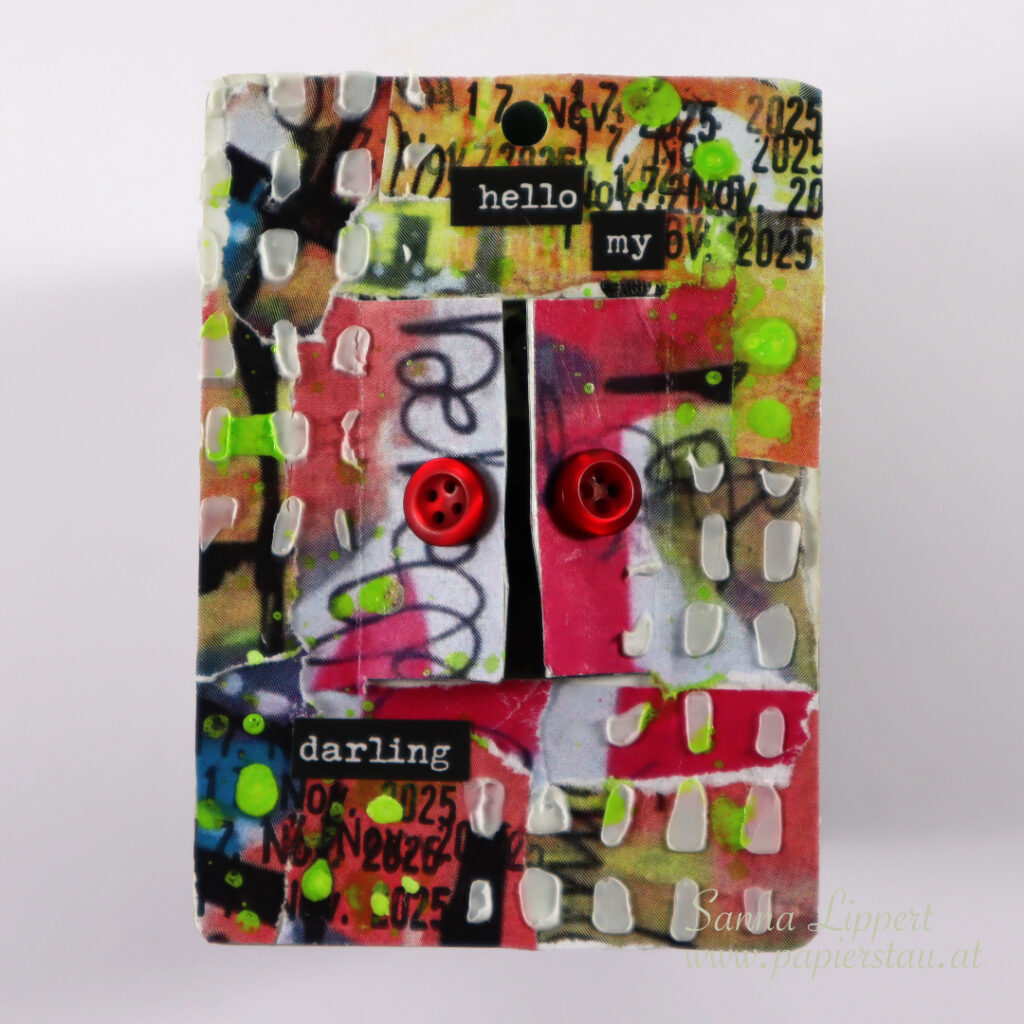
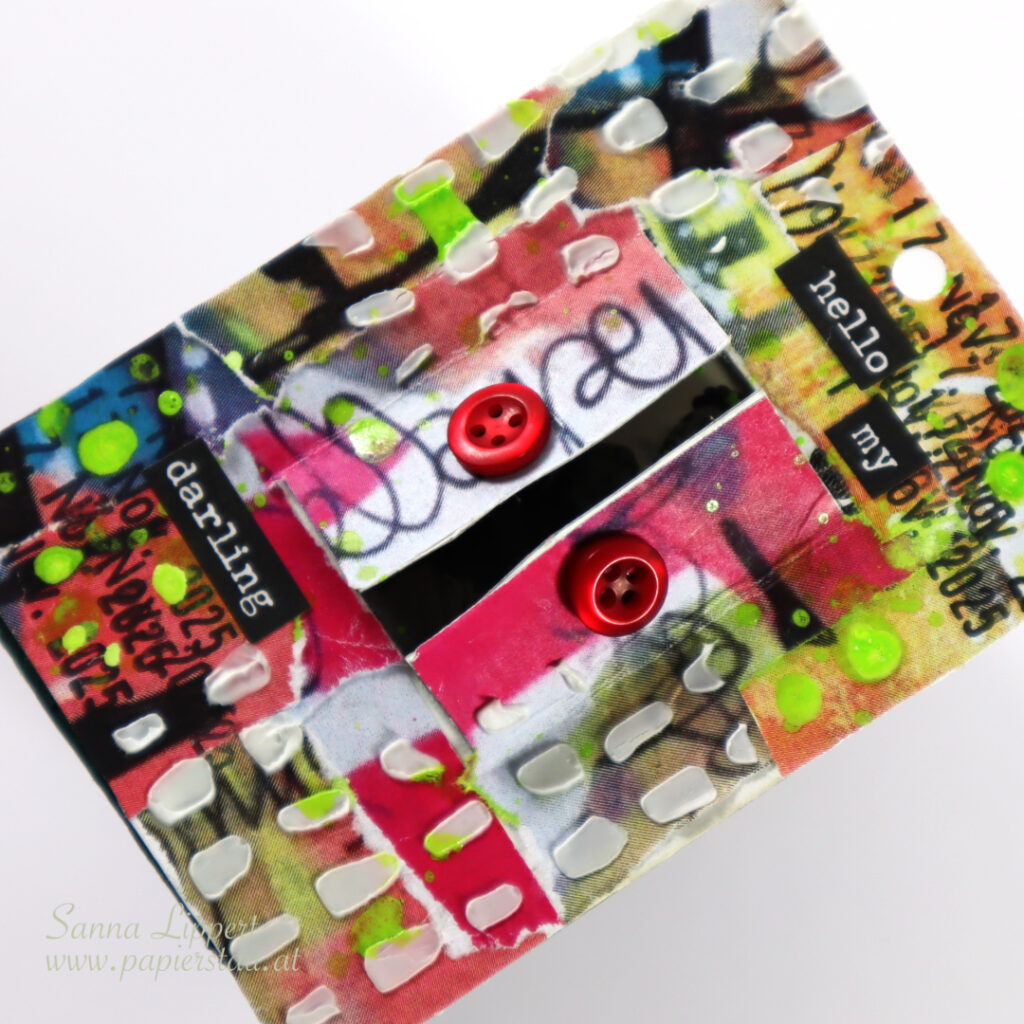
On the background I´ve again used collage papers gifted to me by Yuna. On top some Neocolor II crayon and Dina Wakley Gloss Spray in white. The bottom paper is stenciled with a Rubber Dance stencil and modeling paste.
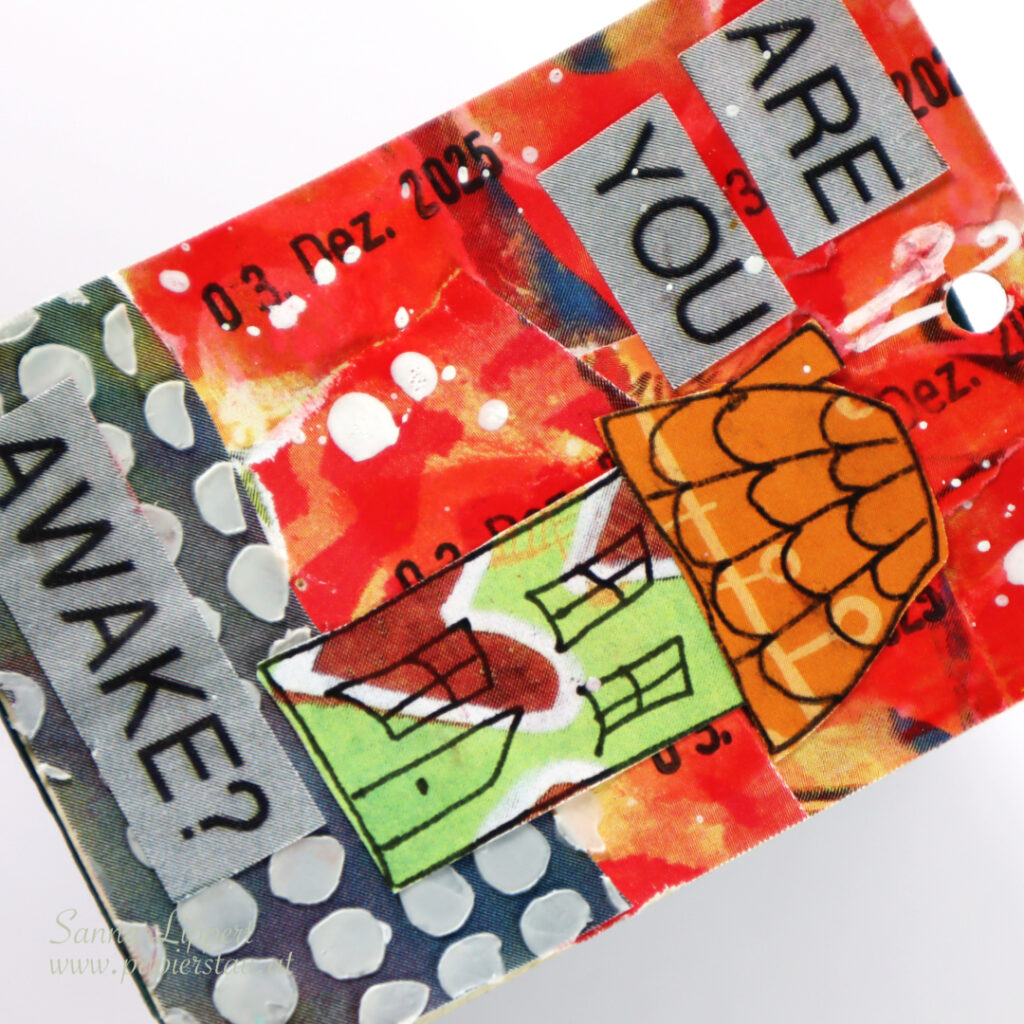
I hand drew the wonky house and fussy cut it. The title was a coincidence, because one of Yuna´s collage papers had it written on it. So I fussy cut that and used it as my title.
Here is the process video:
This was the hardest one for more of the deck challenges. I just could not figure out what to do with “wonky house”. So this is all I came up with.
Come back for the next one in a few days!
xx, Sanna