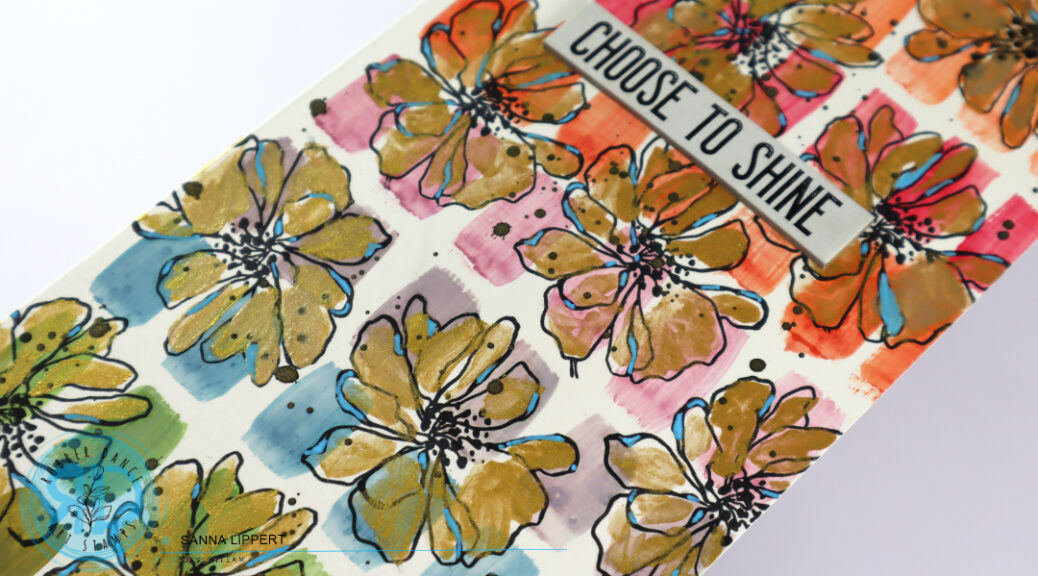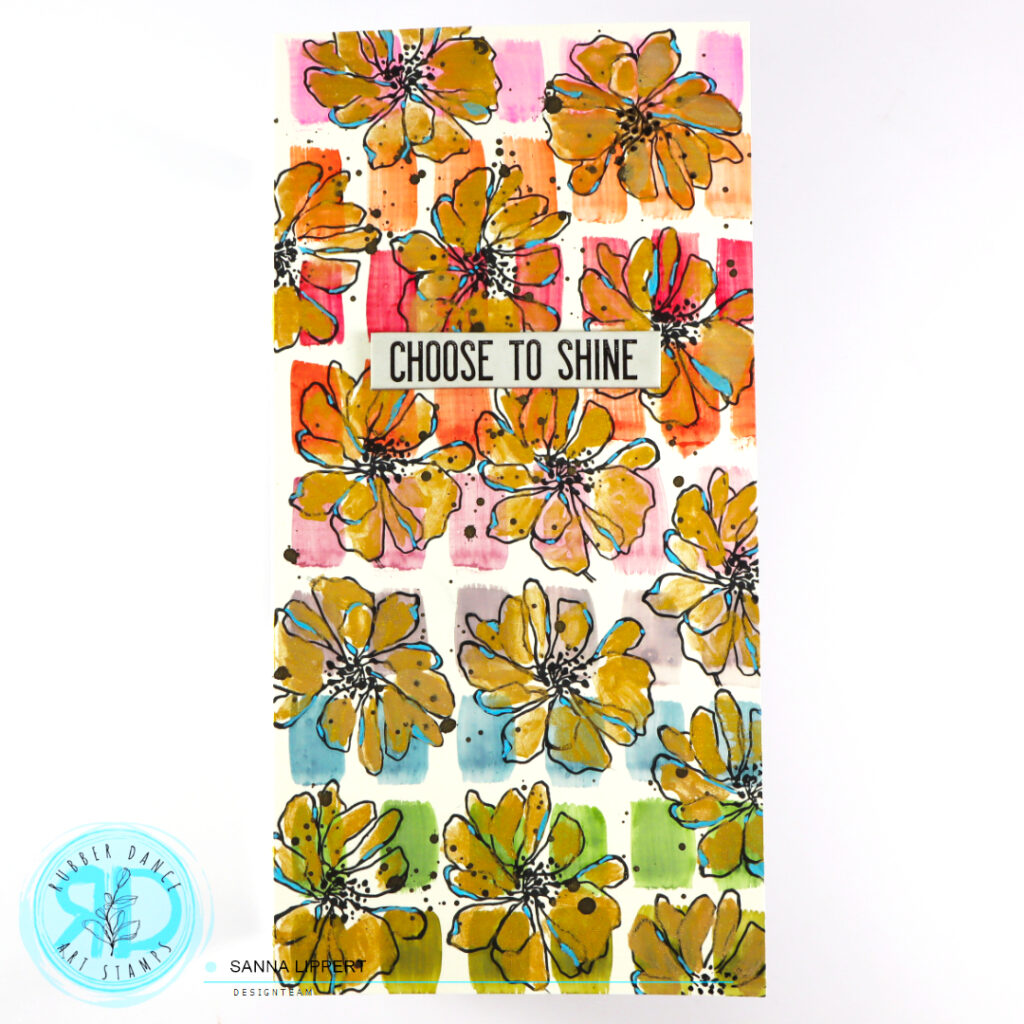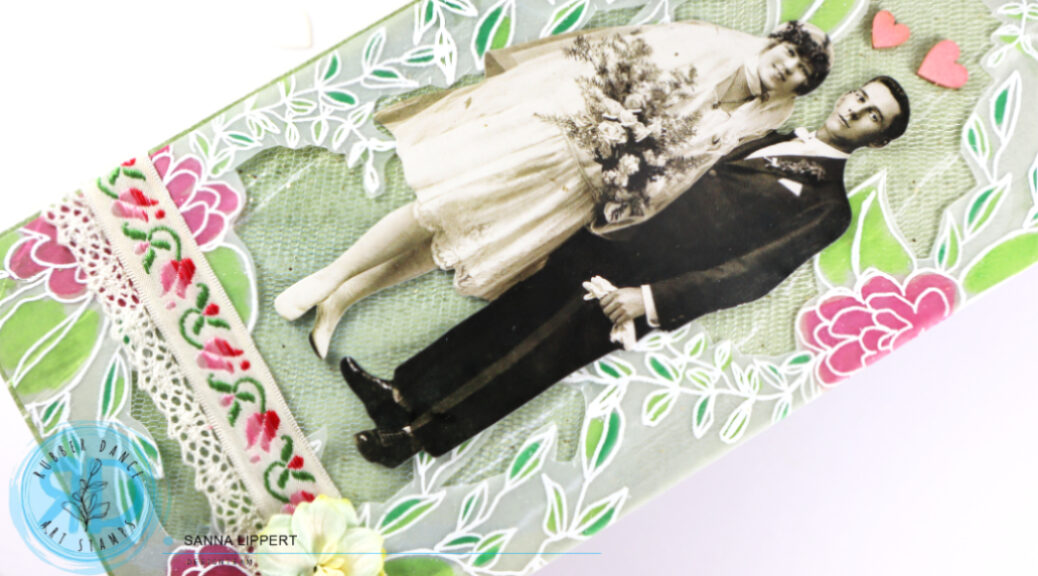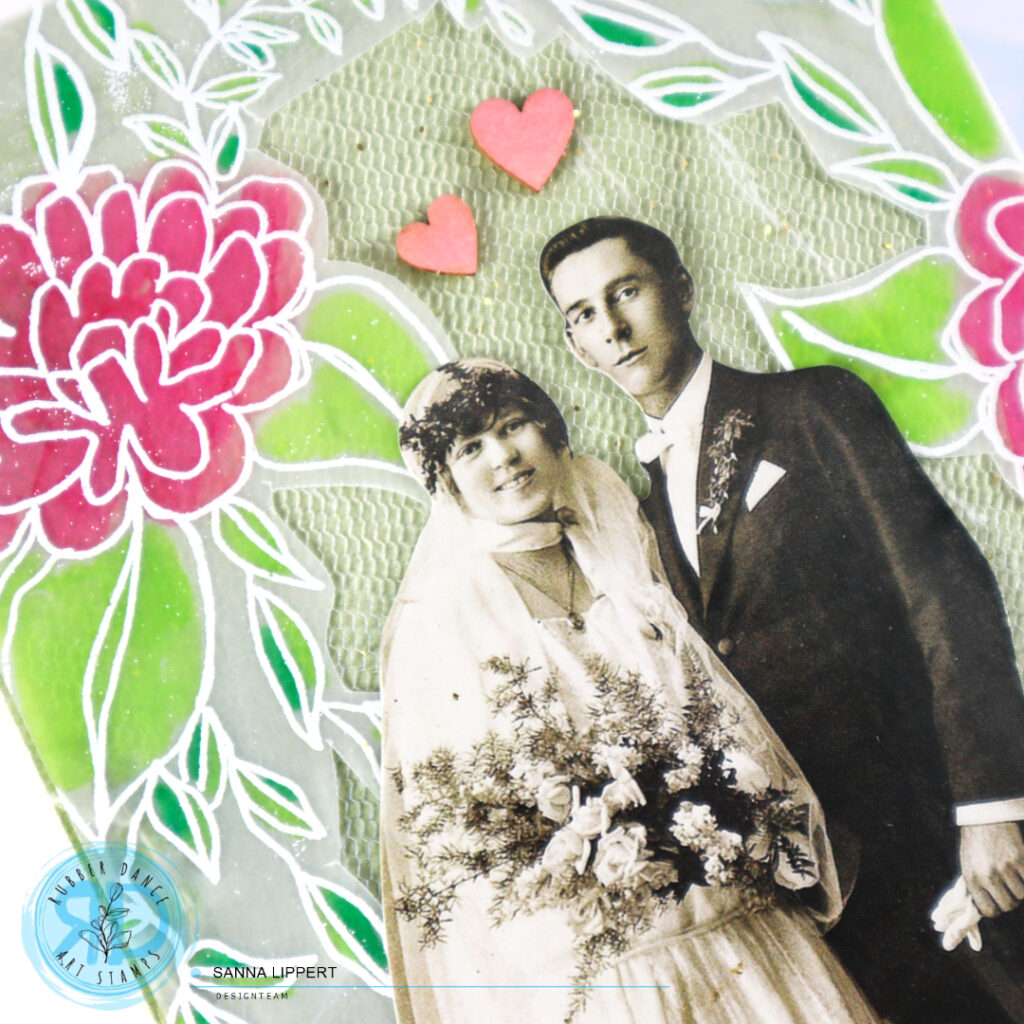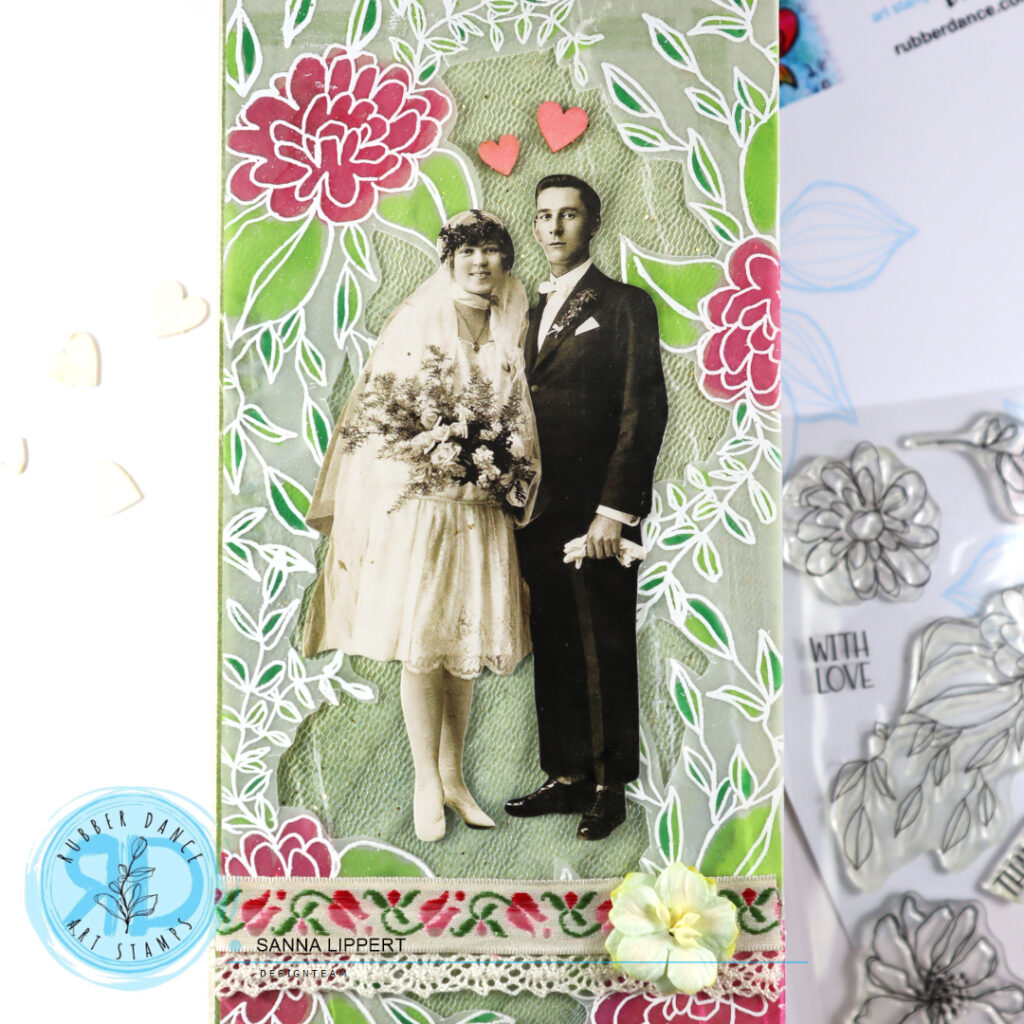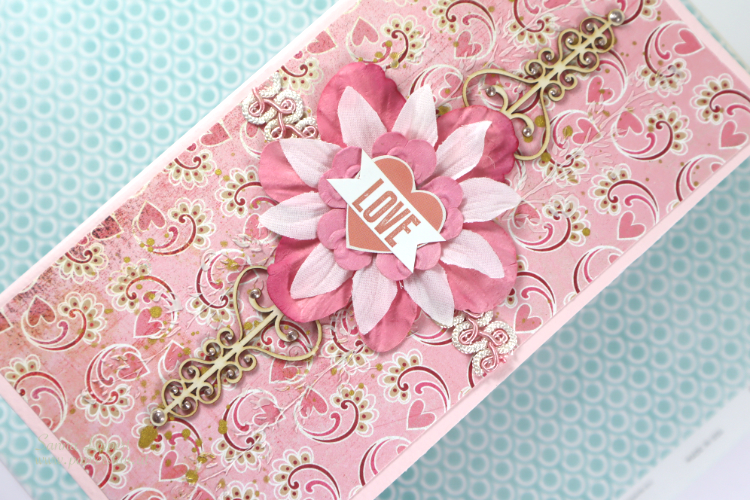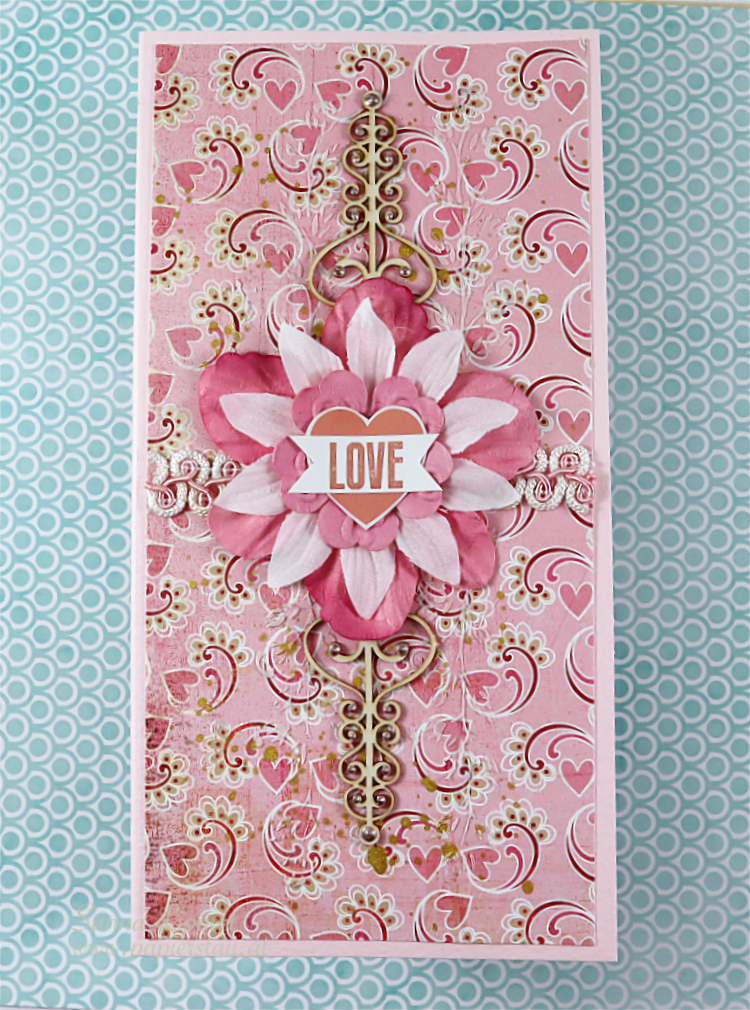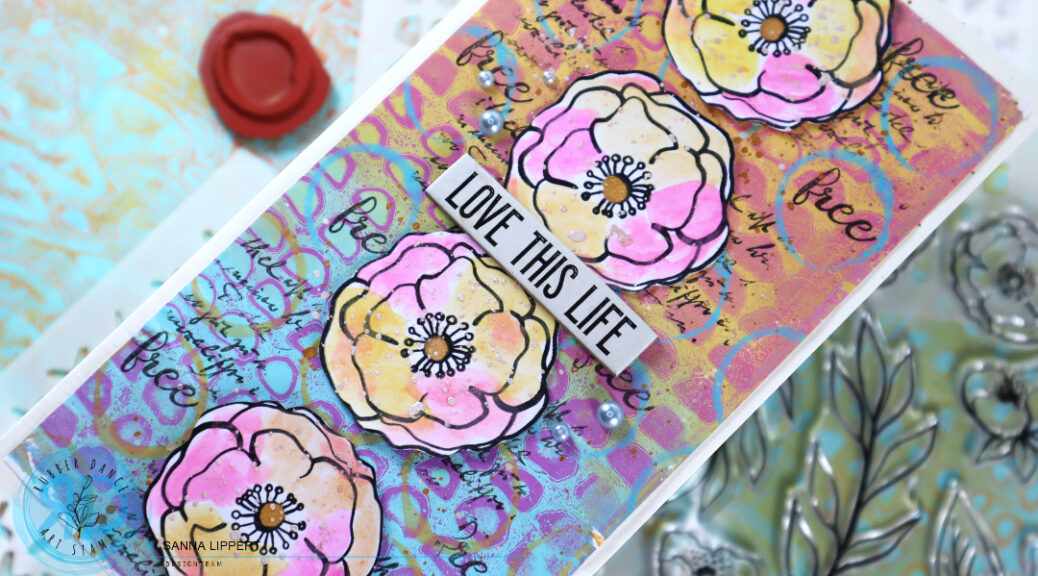
Hello, this time I am up with a slimline mixed media flower card share over at the Rubber Dance blog. For this card I used a stenciled and gelli printed background paper that I created & used also on my previous projects (for example here). For the card I used the Loose Florals stamp set, as well as the Mix It Up 6 stamp set and the Round In Circles stamp set.

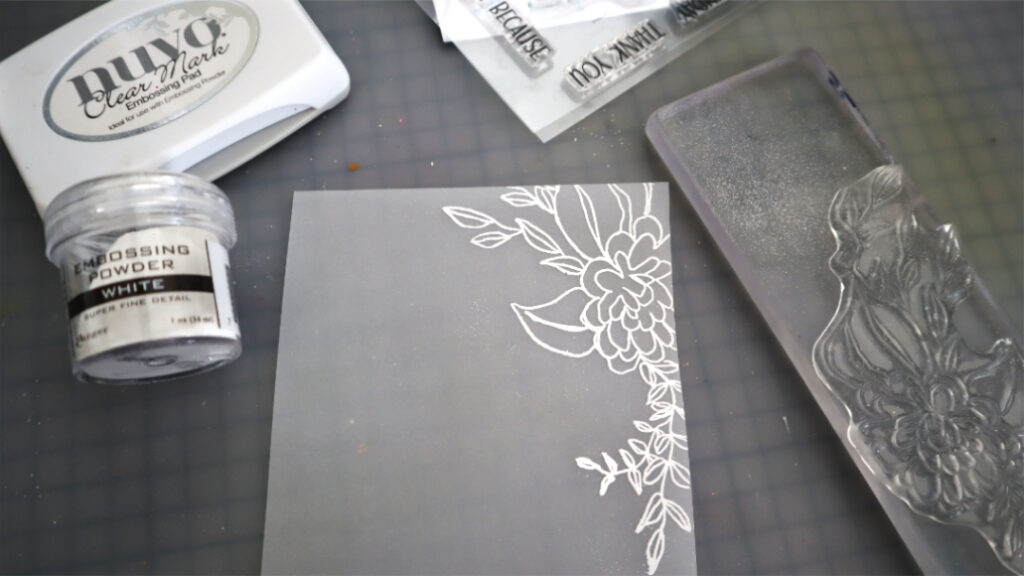
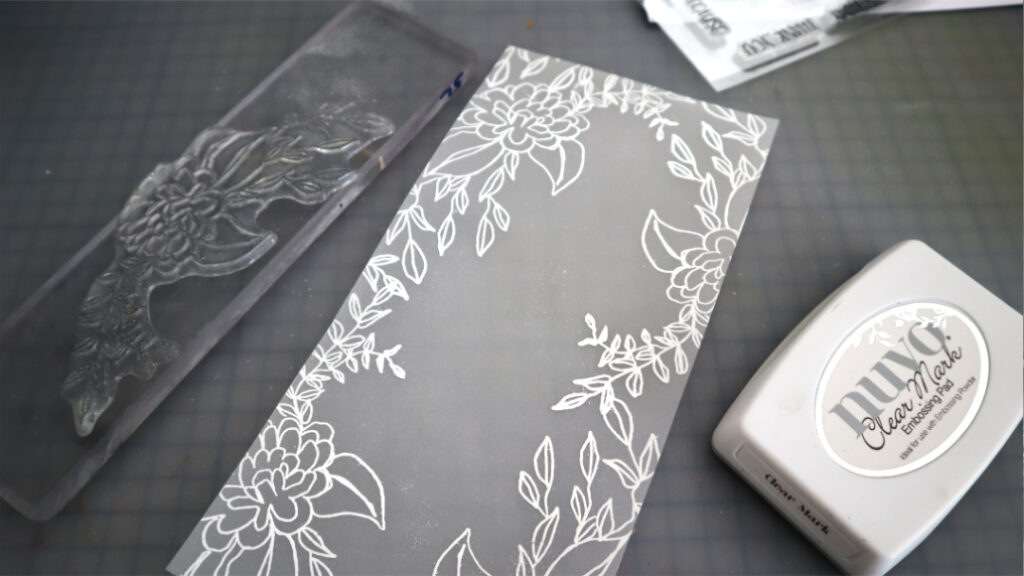
For the background gelli paper I used acrylic paints with Marks 2 stencil. You can find the video to that in the post linked above.


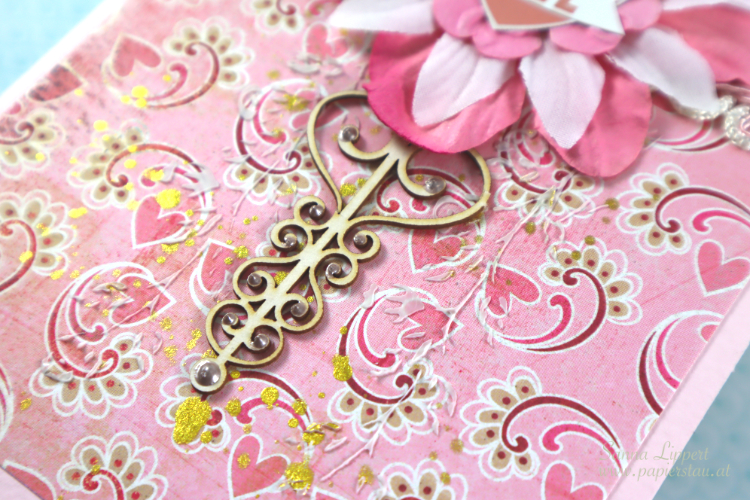
First I cut the gelli printed paper into right size to match my card base. Then I stamped with the Round In Circles stamp set stamp some circles on top of the gelli image with salvaged patina and spiced marmalade Distress Oxide Inks. After that I grabbed the Mix It Up 6 stamp set and black stamp ink and added some random stamping on top for additional interest and contrast.


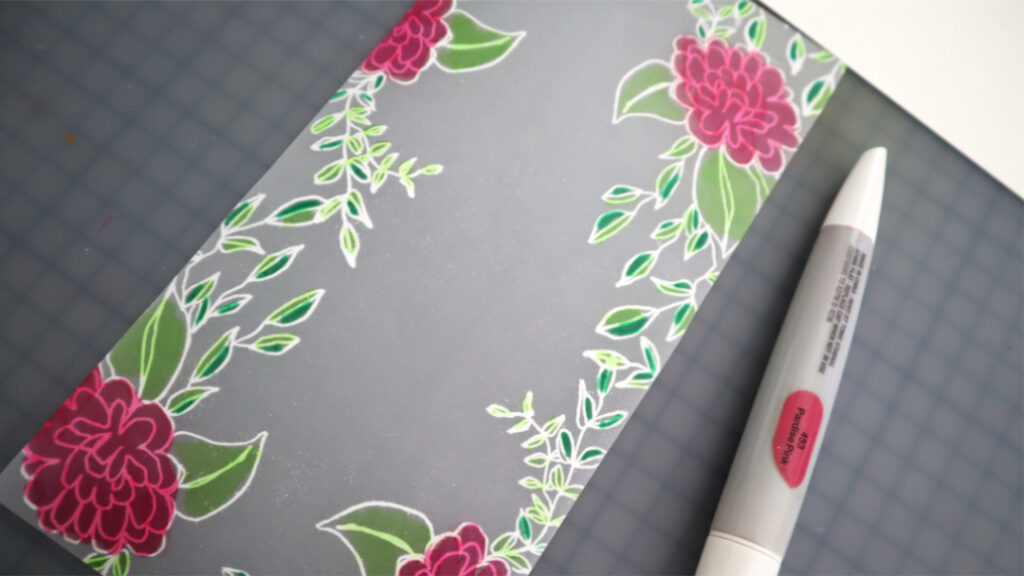
After that I stamped some Loose Florals with black stamp ink onto white paper and colored them very loosely with watercolors and fussy cut them.


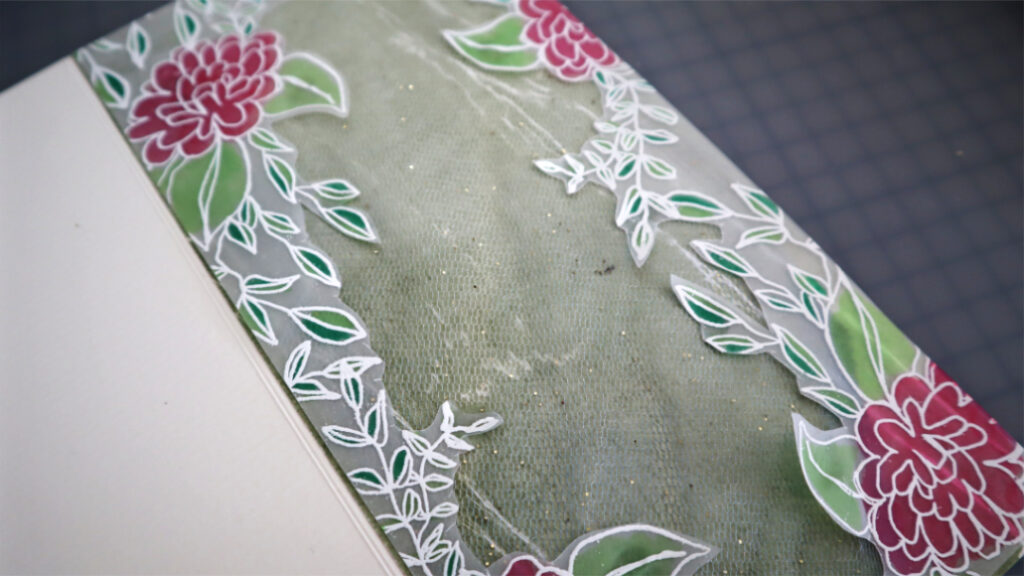
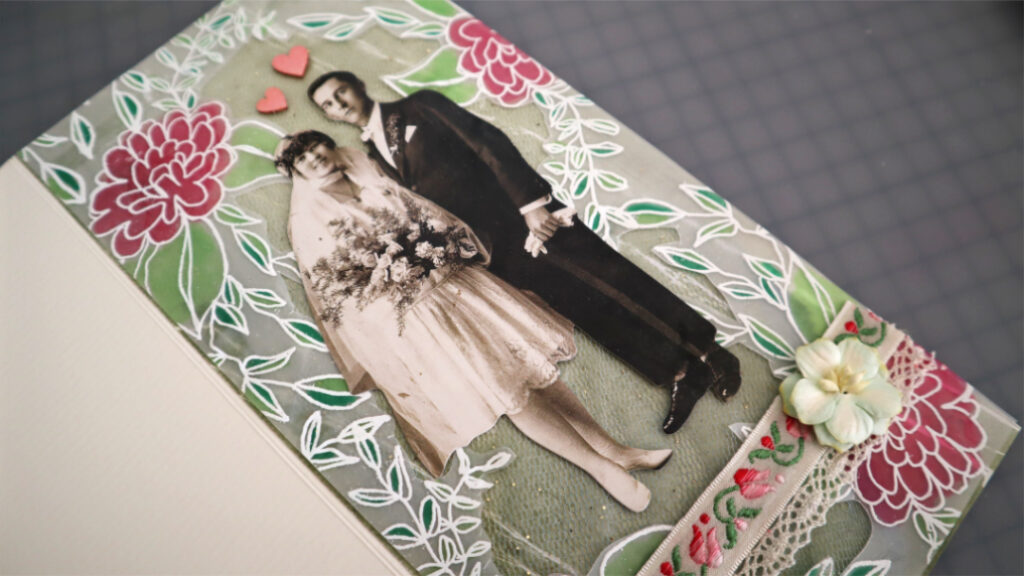
Finally I added some golden and silver ink droplets onto the fussy cut flowers as well as onto the background. Then I arrenged the flowers onto the card, added a chipboard sentiment and some half pearls for decor.


I had so much fun creating this card. It has quite a few layers again and happy, bold colors. I hope it makes it´s recipient happy and also inspired you to grab your stamp and stencil stash a play a little!!
Have fun! xxx, Sanna
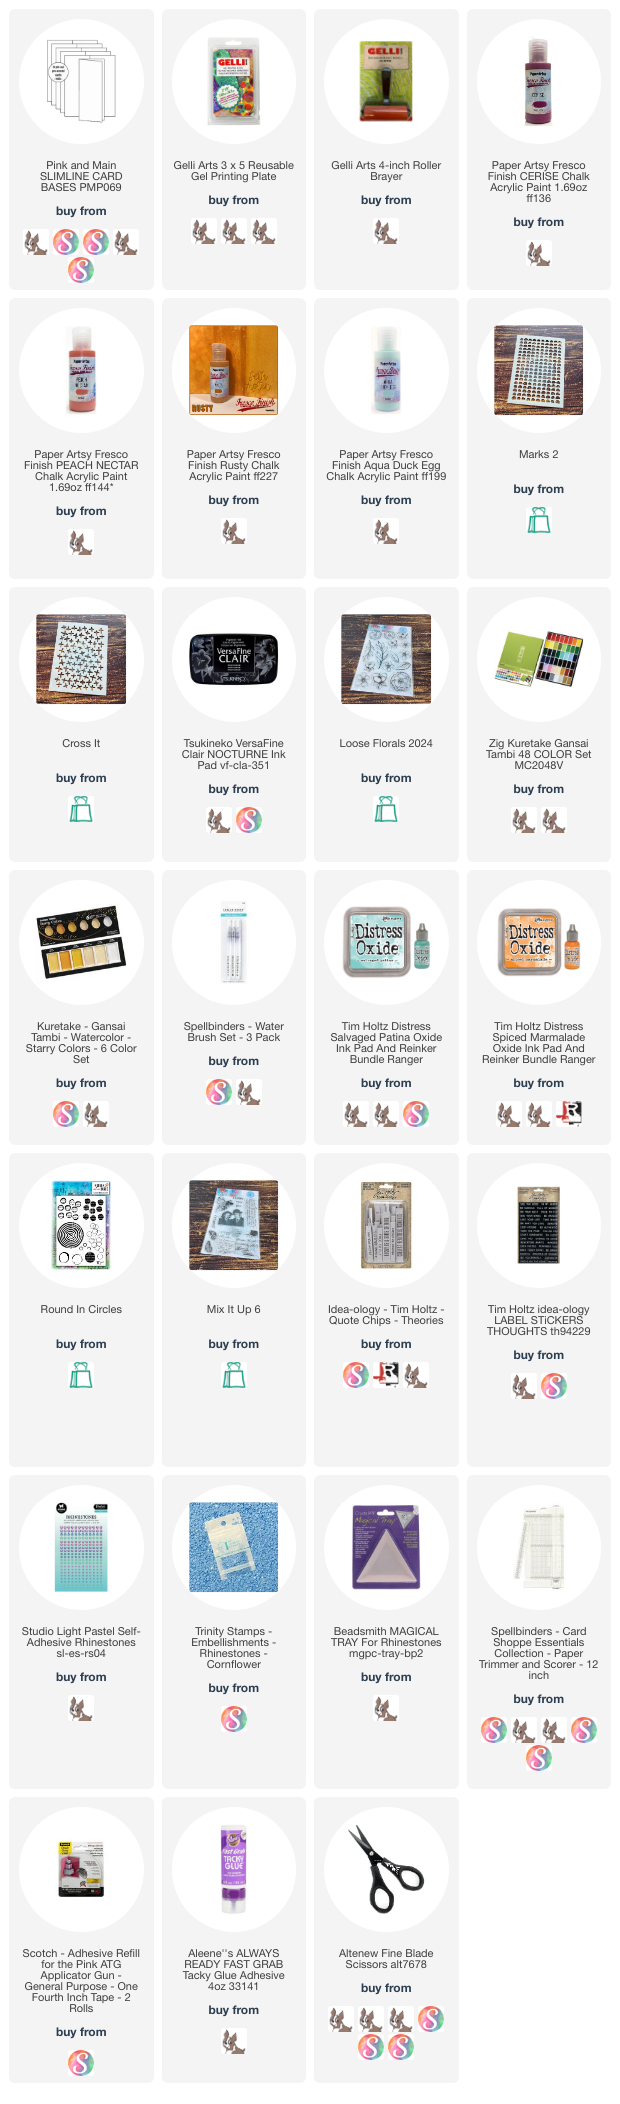
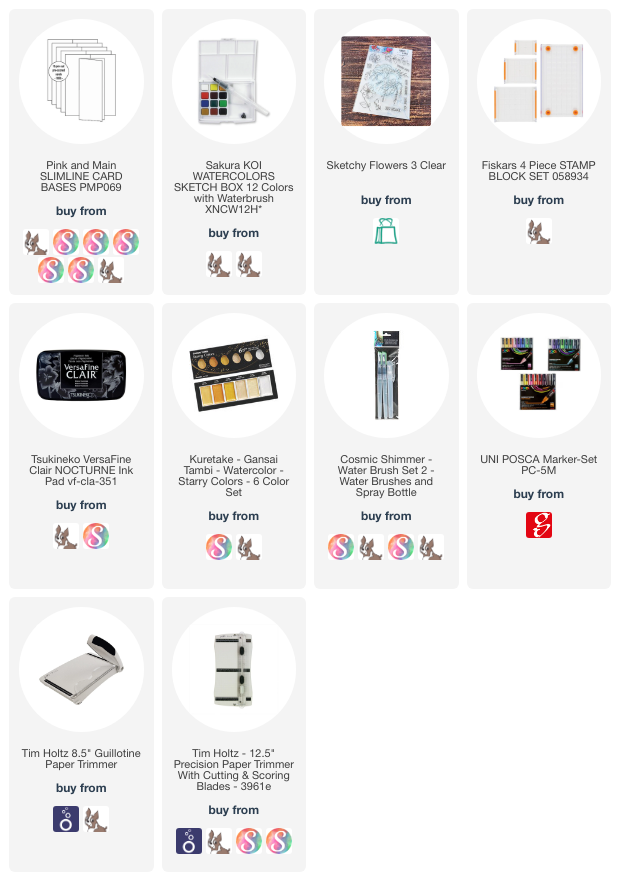
Supplies: