Tag Archives: Rubber Dance Stencils

Full Deck Challenge 28/2025 – black

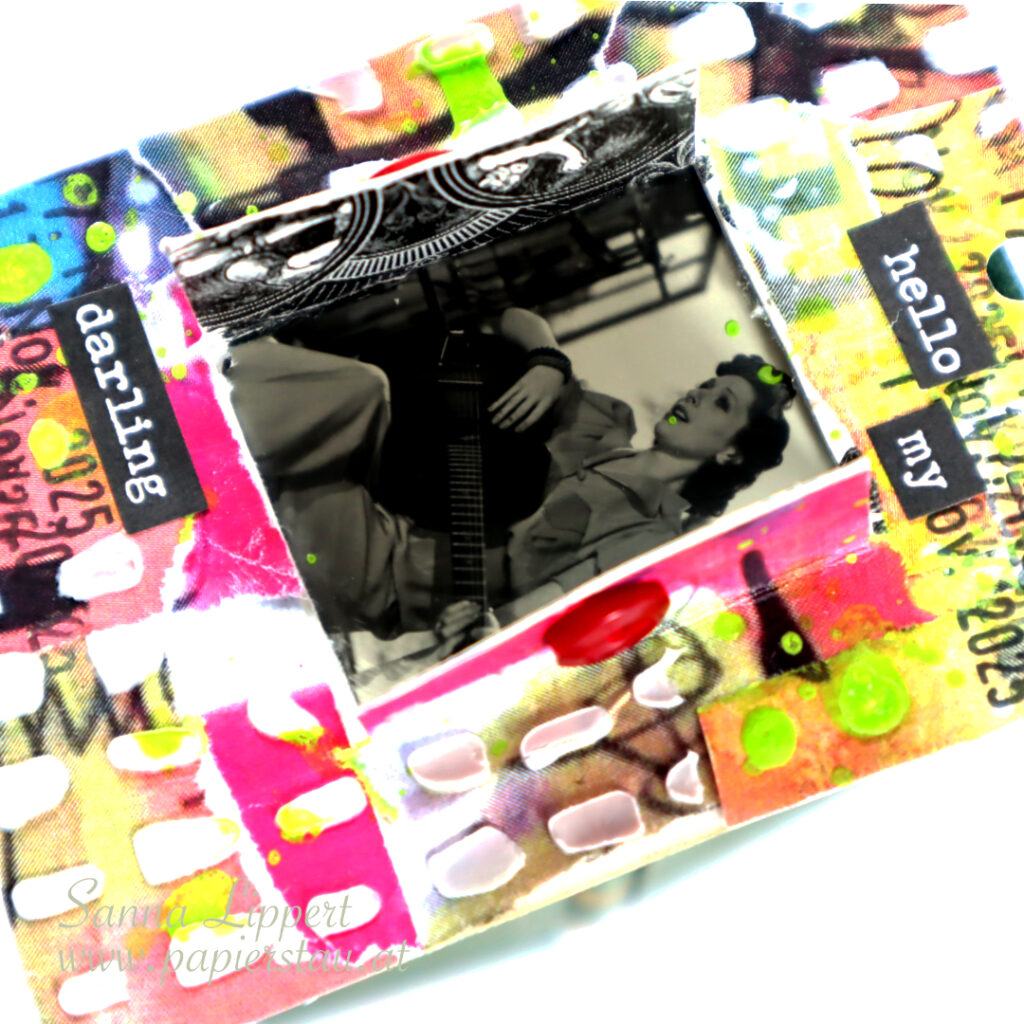
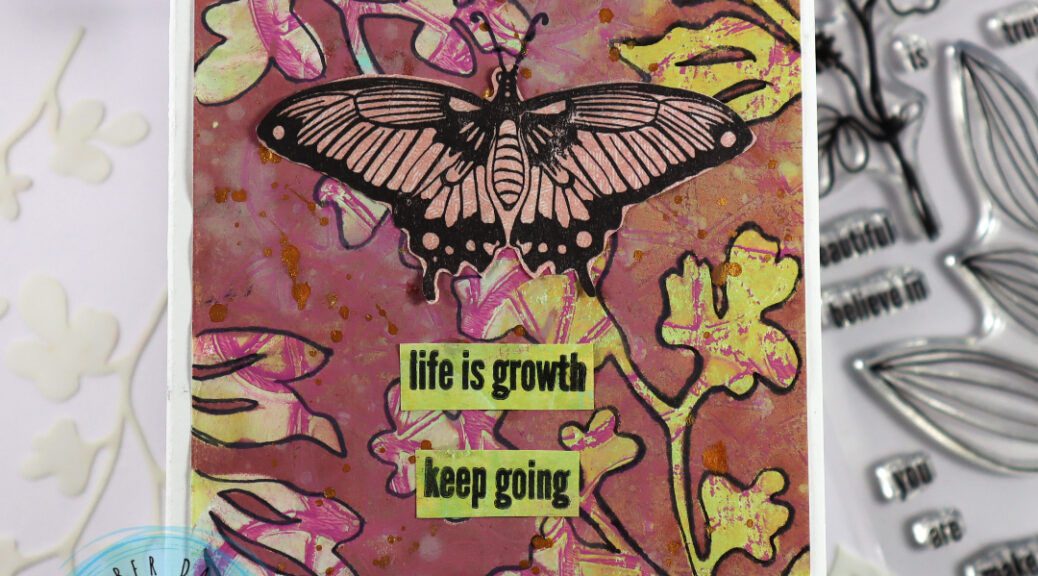
Hello, here is my take on the 28th ShanoukiArt Full Deck Challenge. The theme was “black”.

I used a light pink paper strip (very right) as my carry over item from the previous deck card. The sticker alphas on that strip are also from the same set like the numbers in my previous card. So also carry over things :).

I then added a black and white paper with flowers and a plain black paper to the backgroun. My constant is a date stamp. On top I drew some ovals with a white gel pen using the Rubber Dance Stacked Ovals stencil as a drawing guide. On top of that I as butterfly (Rubber Dance Butterflies and Moths) stamped onto a book page. For decor I added some rhinestones and Rubber Dance Mix A Sentiment 2023 stamped words.

Here is the start-to-finish video:

See you again next week with another FDC take! Happy crafting,
xxx, Sanna

Watercolor style stamped collage fodder card with Distress Inks – Rubber Dance

Hello, it´s my turn to share another creative project over at the Rubber Dance blog today. I am up with a simple, but fun to make card idea. I used Autumn Leaves and Mini Marks 1 for this card project with plenty of Distress Ink tones.

I started the card project by playing with Distress Inks and the Autumn Leaves stamp set. I wanted to create “watercolor styled” collage fodder with the leaves. So I stamped with various fall toned Distress Inks onto the stamp images, misted them lightly and stamped onto a mixed media paper.

After fussy cutting the images, I took the “Mini Marks 1” stencil, places it onto a card base and added two tones of Distress Ink with a blending brush thru it onto the background. Next I just needed to adhere a row of leaves on top of the stenciled pattern as a focal point and add a sticker sentiment (or use the Mix A Sentiment 2023 stamp set to make a sentiment) and some rhinestones for decor. The card itself was done in no time, it´s the fodder creating that takes some time. Thus, I suggest, when you start, make plenty at once.

Here are the videos on how to make the collage fodder and about the card process. Hope you get inspired!

I know it´s still summer, but for those, who cannot wait for fall to come. Here is some fall themed card inspiration. Happy crafting!
xx, Sanna

Supplies:

Cards with fodder clusters and oval backgrounds – Rubber Dance

Hello, it´s my turn to share a project over at Rubber Dance blog today. I love the Rubber Dance ovals stencil line! So I played around with them (Big Ovals and Stacked Ovals) and created fun oval background cards with a big collage fodder cluster as a focal point.

For the bright colored card I used a gelli print created earlier this year. It creates a beautiful, happy and bright backdrop for the cluster of flowers, leaves and butterflies. I also added some rhinstones and a fussy cut sentiment to the card for finishing touches.

I always create collage fodder in bulk, so that I have plenty of options to add to my cards and other projects along the way. The tutorials to these fodder pieces can be found here, here and here.

For the second card in more muted colors. I used the new Stacked Ovals stencil directly on the background with “scattered straw” Distress Ink.

I again attached the stencil to the card and my working surface with washi tape. You can also use painters tape. This way the stencil will stay put while applying ink. I like washi, because it´s very easy and safe to remove afterwords – nothing tears while removing it.

For this cluster I again used collage fodder I had previously made in bulk. Except for the old book paper circle. That I created using the Butterflies and Moths stamp set and black ink just for this card. It adds a nice vintage feel to the cluster.

I really like using stencils on my cards. They can add so much to a project. Just imagine these fodder clusters without the backgrounds.

Hope you get inspired!
xx, Sanna

Supplies:

Slimline cards with Weed Love stamp set and Distress Inks – Rubber Dance

Hello, it´s my turn for a Rubber Dance project share again. I created a set of clean and simple styled cards using the Organic 2 stencil, Distress Oxide Inks and the new Weed Love stamp set.

These are the steps to the finished cards:

I started by placing the stencil onto a white slimline card base. I always use washi tape or painters tape to attach the stencil and to keep it from moving while inking. On this card I used “saltwater taffy” and “kitsch flamingo” and blended them together with a blending brush. On the grey toned card I used “iced spruce ” and “speckled egg” tones.

After that I added Weed Love stamp images using black stamp ink onto the card base.

Then I added some glitter glue onto the stamped “weeds” for texture and detail. I used Nuvo “Sherbert Shimmer” for the pink card and Stickles “Star Dust” for the grey toned card.

For stamping the sentence I used the Mixed Sentiments 1 stamp set and stamped a word a line in a vertical manner. On the photo you can see how I covered the rest of the sentiment with washi tape to get a clean stamping result of the single word each time.

For a more “artsy” finish, I added some Gloss Spray splatters in a matching tone to the rest of the card (Blushing and Aloe). If you prefer a cleaner look, you can leave this step out.

I really like how the Organic 2 stencil creates such an elegant backdrop for the Weed Love images. I hope I could inspire you with this card idea. Have fun stenciling!
xx, Sanna

Supplies:

Rubber Dance July order flip-thru

Hello everyone, here is a little product share – something new from Rubber Dance is in the house and I´ll be soon playing with these:

Which are your favorites? I am looking forward to playing with all of them :).

Thanks for stopping by!
xxx, Sanna
Rubber Dance product links:

Vintage ticket card with collage background – Rubber Dance

Hello everyone, it´s my turn to share a project over at Rubber Dance blog today. I am up with a vintage styled collage background card. For this card I´ve used the “DIY vintage tickets” I recently created, as my focal point. The stamps used on this project are: Mix It Up 7, Mix It Up 6 and Mix It Up 5. On the background I´ve used various gelli printed and stenciled collage papers using different stencils, like: Marks 2, Marks 3 and Xmas Trees 1.

For this card I first gathered gelli printed and stenciled collage paper bits together and wripped and adhered random bits onto a piece of cardstock. Next I applied some white heavy body paint with my fingers onto the surface to tie the different papers together.

After that I grabbed some dark brown Distress Oxide ink and stamped a script image with Mix It Up 5 stamp set randomly onto the surface. Using the same stamp set I swapped for black stamp ink and another stamp and continued adding images. Finally using a dark blue Distress Oxide ink and one more stamp image from the set I finished the background.

Next I created a cluster with my “DIY vintage tickets” on to the card (see the video here). I adhered one of the tickets with 3D foam to create more depth. I also stamped some additional details to the tickets with Mix It Up 7 stamp set and a turquoise Distress Oxide Ink tone.

Then I added a Tim Holtz paper doll to go with the tickets, added some Mixed Sentiments 1 words to create a sentiment to the card and finished the card by stamping the word “journey” with black ink onto the background (Mix It Up 6).

To give you a better idea of the steps, here is the process video of the card:

I hope you get inspired to try some of these ideas out. Have fun!
xx, Sanna

Supplies:

Monochromatic card set with Distress Inks and Rainbows #2 stencil – Rubber Dance

Hello everyone! It´s my turn to share an inspirational project over at Rubber Dance blog today. I am up with a monochromatic card set. I wanted to create a card background using the Rainbows #2 stencil and that is how this idea started. In addition I used the Mixed Sentiments #1 and added collage fodder elements I had previously created with Sketchy Leaves 5 stencil and Butterflies and Moths, as well as Doodle Flowers 2 stamp sets.

I started by taking a mixed media paper and cutting it into smaller sizes. Then I placed the Rainbows #2 stencil on top of the paper and applied Crystal Gel with a palette knife thru the stencil onto the surface. I did two surfaces and let them dry properly – make sure they are really dry – before moving to the next step.

Next I took a blue and green Distress Ink (twisted citron & peacock feathers) and applied those onto the stenciled surface. After that I took a baby wipe and wiped any residue ink off from the crystal gel-treated areas. After that I took double sided adhesive tape and adhered the inked and stenciled paper onto a white card base. I then decorated the card with collage fodder leaves and butterflies and stamped and fussy cut a sentiment from Mixed Sentiments #1 stamp set. For finishing touches I added some green adhesive half pearls to the butterfly.

I did the exact same steps on the pink and orange toned card, but I used spiced marmalade and picked raspberry Distress Inks on the background. The collage fodder is done using the Butterflies and Moths stamp set and the Sketchy Leaves 5 stencil. You can find tutorials to the collage fodder bits here, here and here.

And here is the full start-to-finish video for more details. Hope you like it!

I hope I could inspire you to try out Rubber Dance stencils with clear texture paste and inks. It´s a lot of fun!

Happy crafting,
xxx, Sanna
Supplies:

Art journal page with Distress Inks and Rubber Dance stamps & stencils

Hello everyone, here is a little share from when I was randomly playing in my art journal with recently made collage fodder pieces and Rubber Dance stamps and stencils.

I started with Distress Ink tones “ripe persimmon”, “picked raspberry”, “mustard seed” and “vintage photo”. I first applied the pink, yellow and orange tones with a misted gelli plate onto the background and created the random color areas. Next I pressed some “vintage photo” onto “Dotted 1” and “Marks 3” stencils, misted them and pressed the inked areas directly onto the paper. This created a hint of a pattern.

Next I used the “Pencil Marks 8” stamp set to create the oval shapes onto the page using black stamp ink. After that I grabbed some premade collage fodder pieces (leaves and butterflies) and adhered them to the page. After that I added some turquoise ink splatters (Dina Wakley Gloss Spray). For finishing touches I created a sentiment with stamped words (Mix a Sentiment 2023) and some stickers from my stash.

Here is the start-to-finish video:

I had a fun time playing in my art journal. Hope you enjoyed watching the process!

Happy crafting,
xxx, Sanna
Supplies:

Full Deck Challenge 15/2025 – stack it up!

Hello and happy Wednesday! Here is another share from my take on the ShanoukiArt “Full Deck Challenge 2025”. This weeks theme is: “Stack it up!”.

I used layers over layers (as much as I could). Starting with gelli printed leftover paper bits, then adding some texture paste treated paper bits on top. Then some washi tapes. After that some fabric tape bits. Next some pink Posca pen marks and turqouoise Gloss Spray splatter. After that a collage fodder leaf (Rubber Dance) and some hand drawn ephemera (hearts and crosses). In between some yarn and on top some stamped words. I love how this one turned out. The happy colors on top of each other. Pure joy!

The hand drawn bits are from last years 100 day challenge. I am so glad I can incorporate those bits on this challenge. And now to the video:

Hope you liked it and got inspired! See you next week with another one.

Happy crafting,
xxx, Sanna
Supplies:

Simple one stencil Easter card idea – Rubber Dance

Hello everyone, I am up over at the Rubber Dance blog today again. This time with a really simple, but awesome, stenciled Easter card tutorial. You will need the Big Ovals stencil (one of my faves!), two tones of blue Distress Inks, a brown spray ink of some sort, washi tape and a white card base.

This was the kind of idea that when it hit me, I just immediately had to run to my craft room and try it out. And it worked out so great! I have this simple stenciled egg background for my Easter card and it is so easy to make.

First you need a slimline card base in white. Next take two tones of blue Distress Inks (I used tumbled glass and broken china). Start by adhering the card base with washi tape onto your working surface, next adhere the stencil on top and cover all unnecessary circle areas with washi too.

Now apply the lighter blue tone with a blending brush, then go over the lower circle areas with a darker blue tone. After that leave the stencil as is and splatter brown spray ink thru the stencil. Let shortly dry and carefully remove the stencil and the washi tape. Decorate with a “Happy Easter” sentiment, created with golden glitter alpha stickers. How´s that for a fast and easy-to-do Easter card idea with “Robins eggs!? Here is a video for you to watch – hope you like this idea.

You could also make yellow, light pink or light brown eggs. Whatever colors you prefer. I am going to make a few more in different colors for sure.

Happy crafting,
xx, Sanna
Supplies: