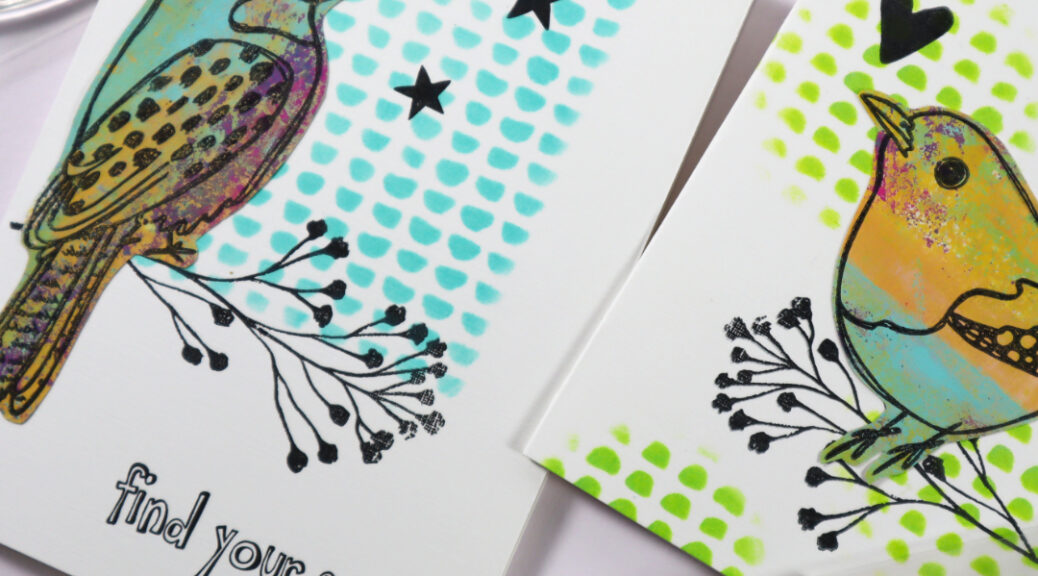
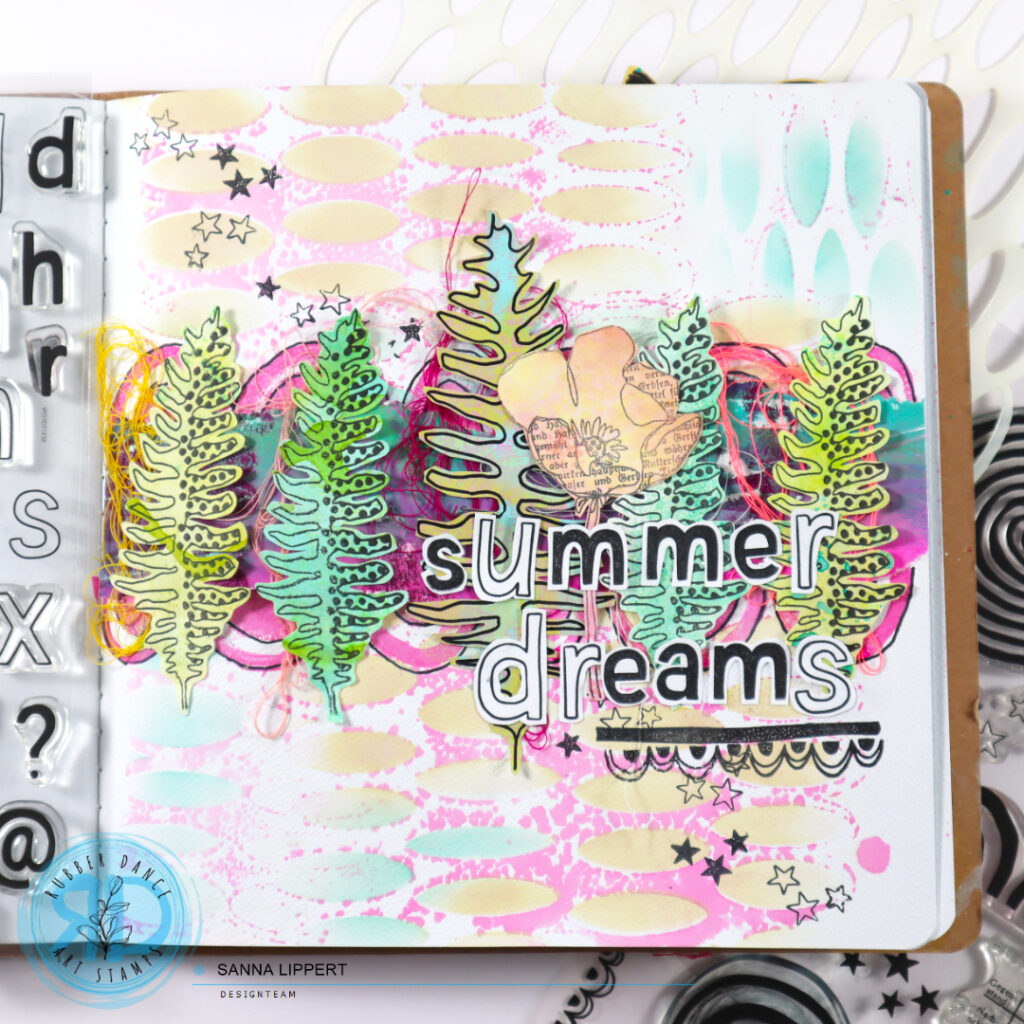
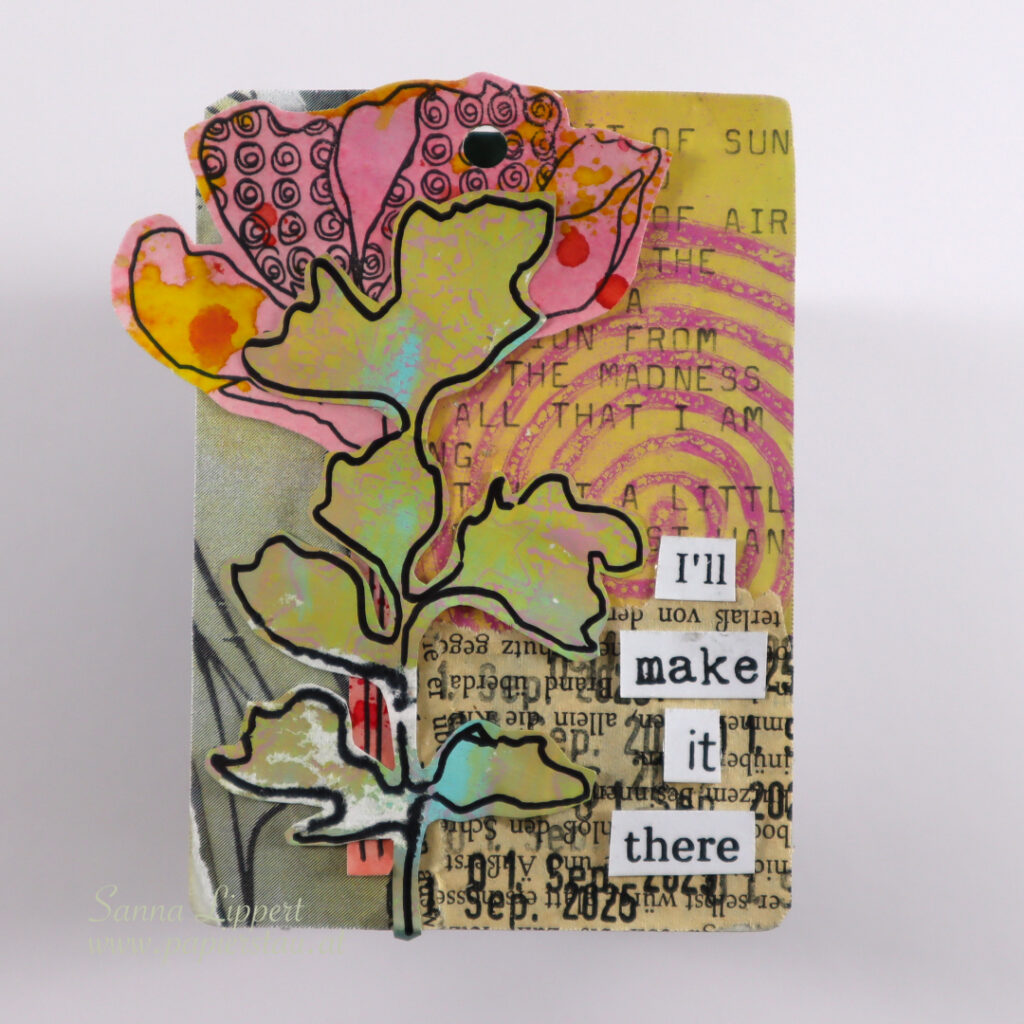
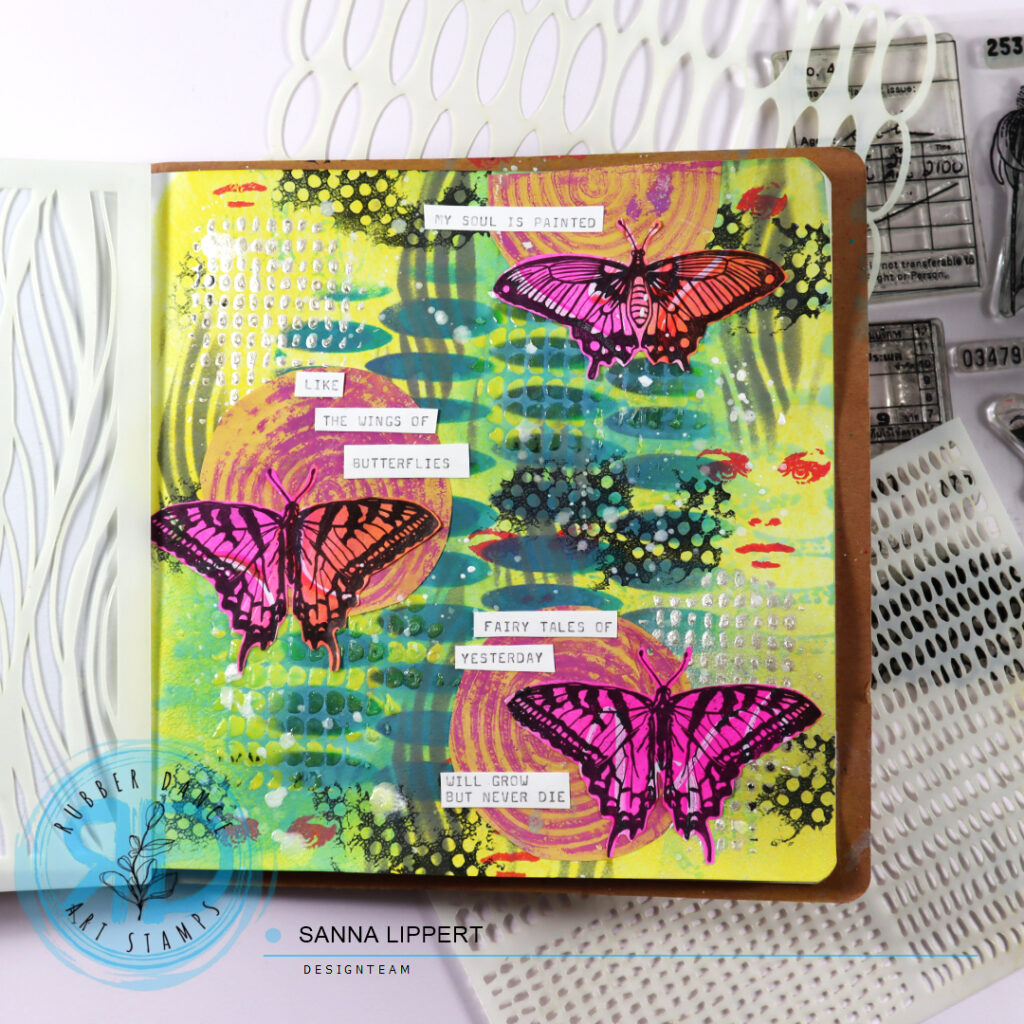
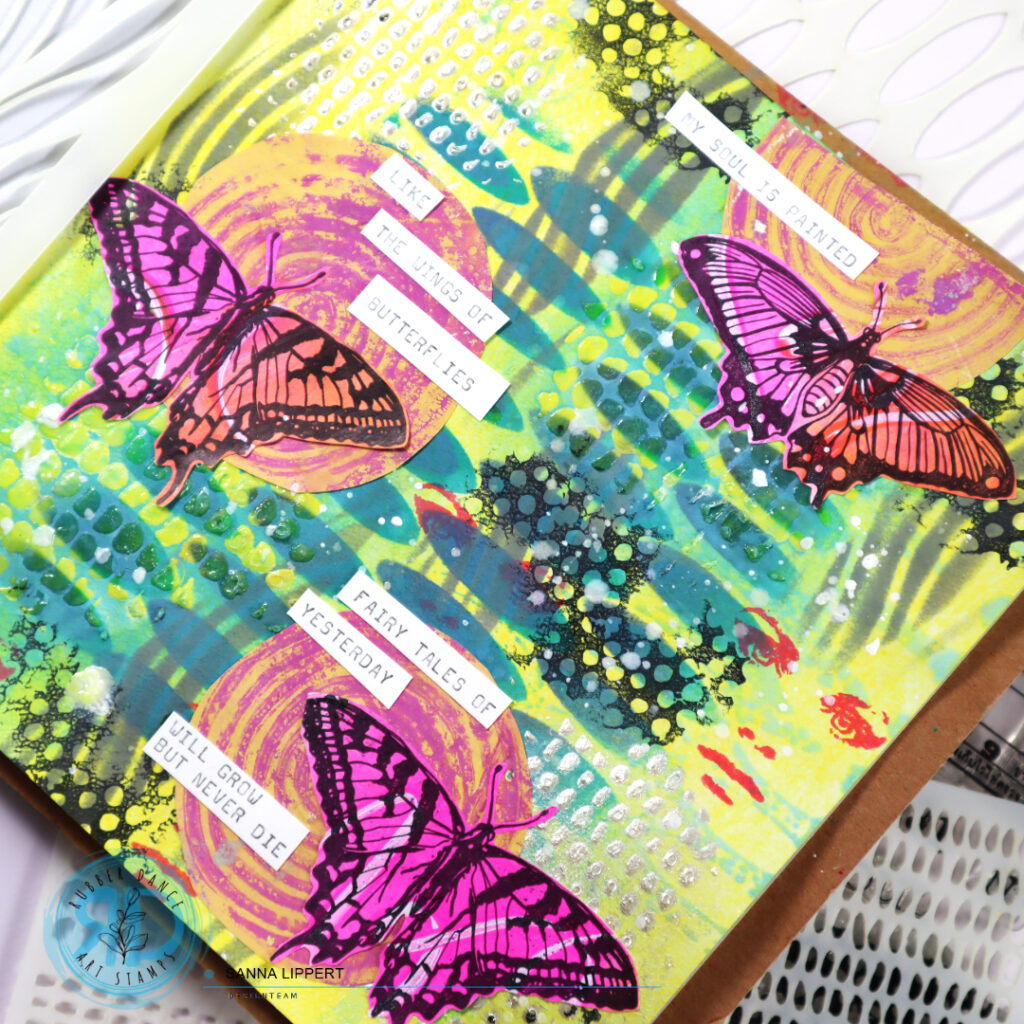
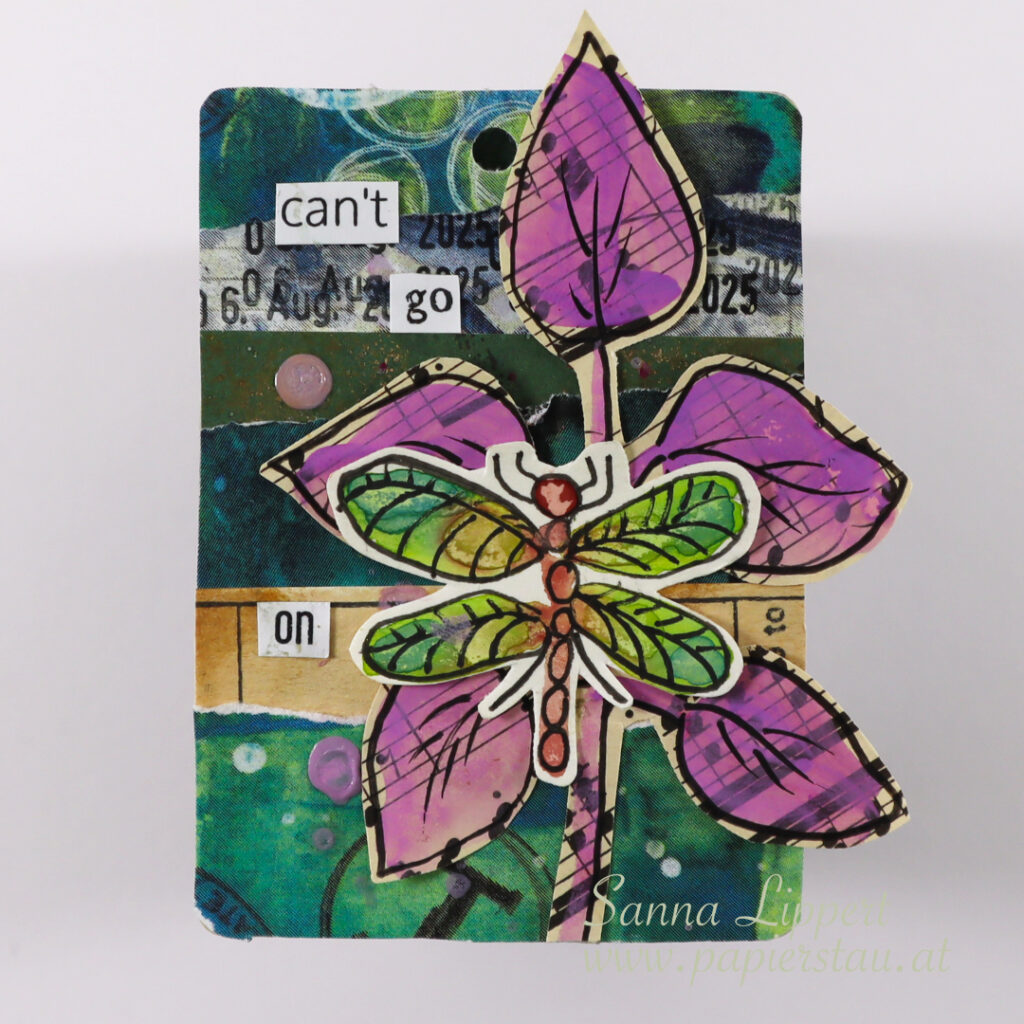
Hello everyone! I am up over at the Rubber Dance blog today with this art journal page share. I used the Stacked Ovals stencil, the Carved Collection 6, the A to Z and the Mix It up 4 stamp sets for this journal page. I also incorporated collage fodder bits made with Doodle Flowers 2 stamp set and Sketchy Leaves 5 stencil.
Here is how I created the page:
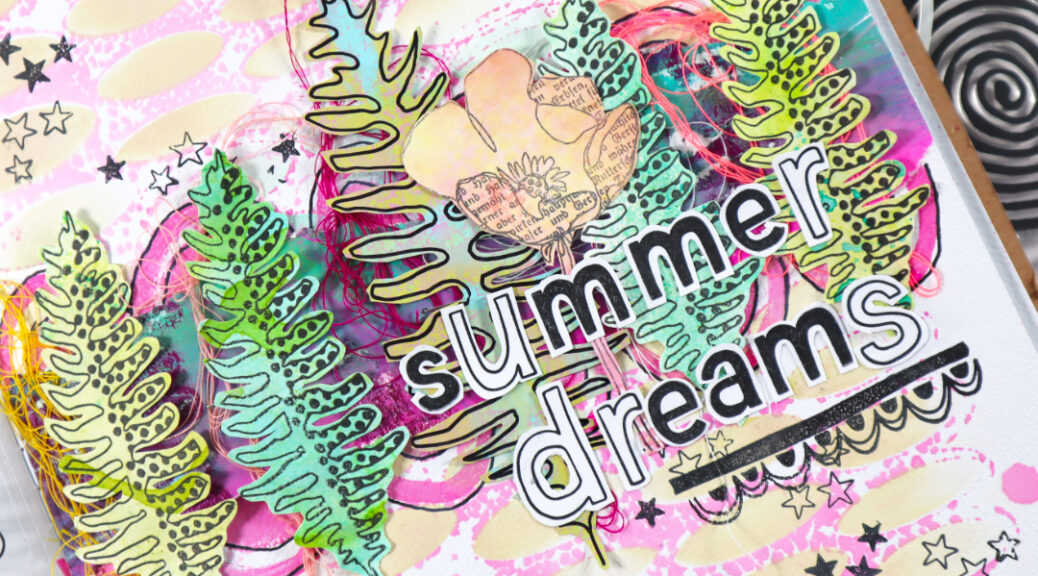
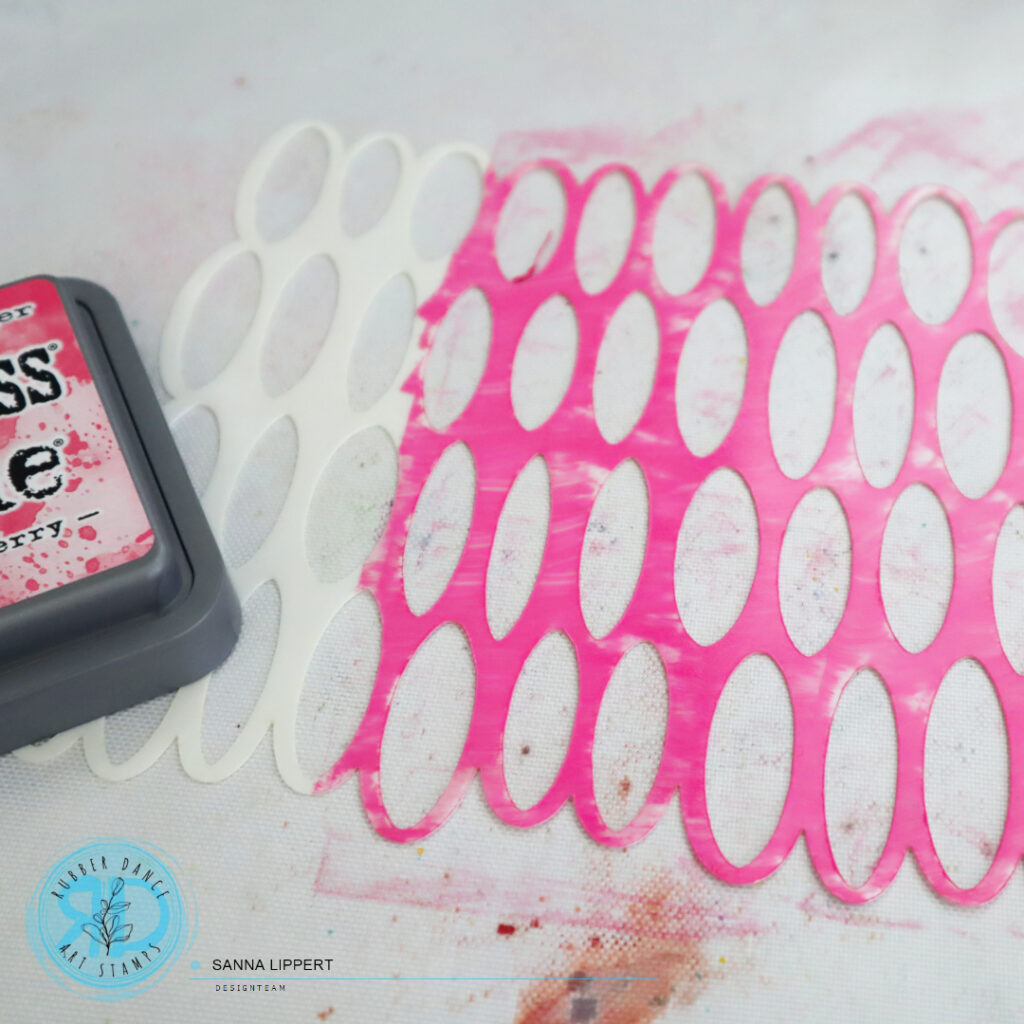
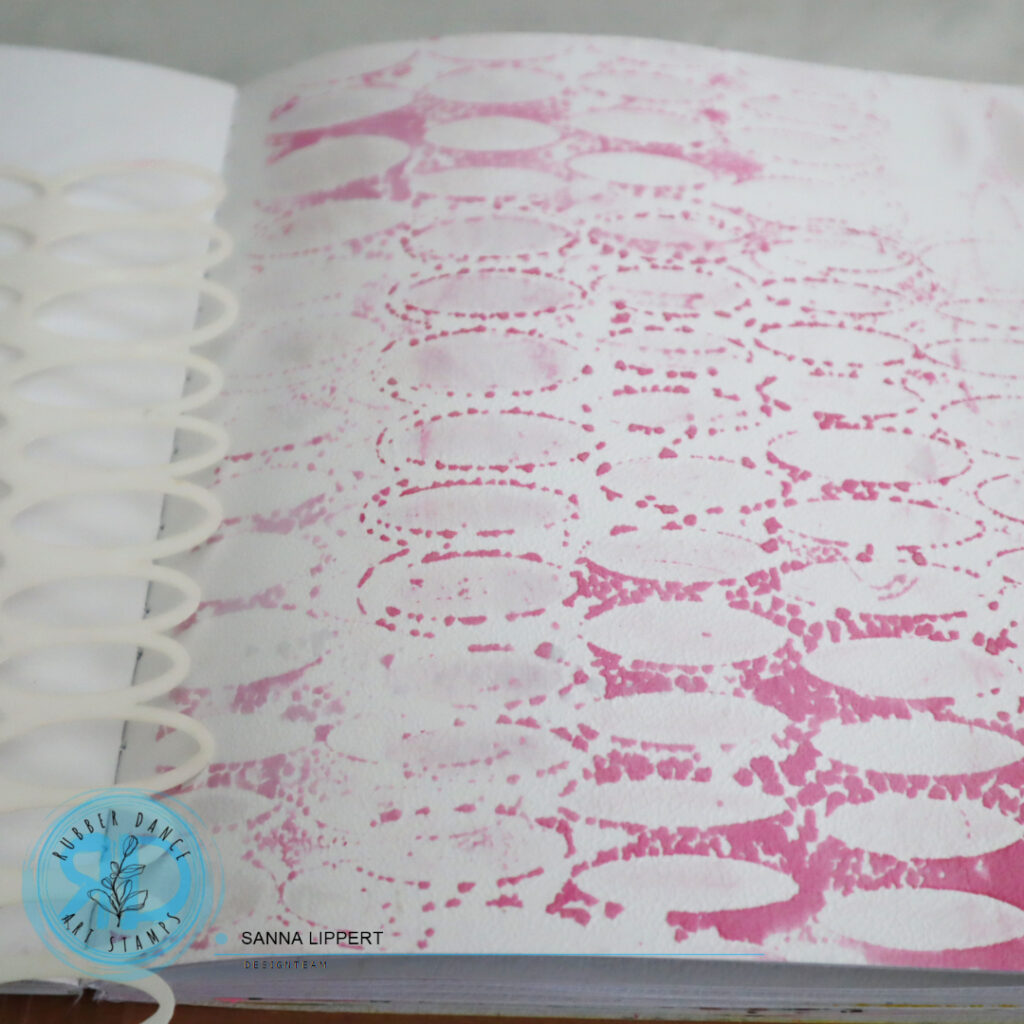
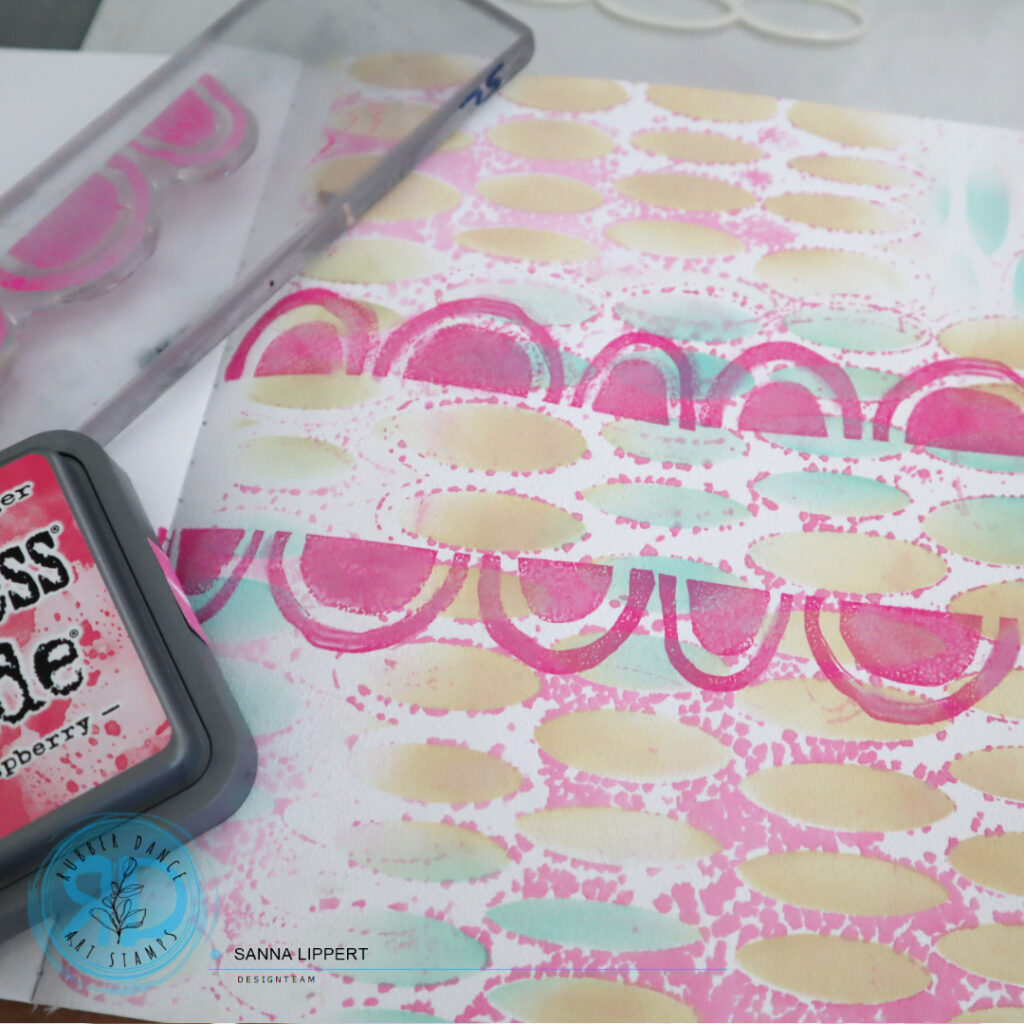
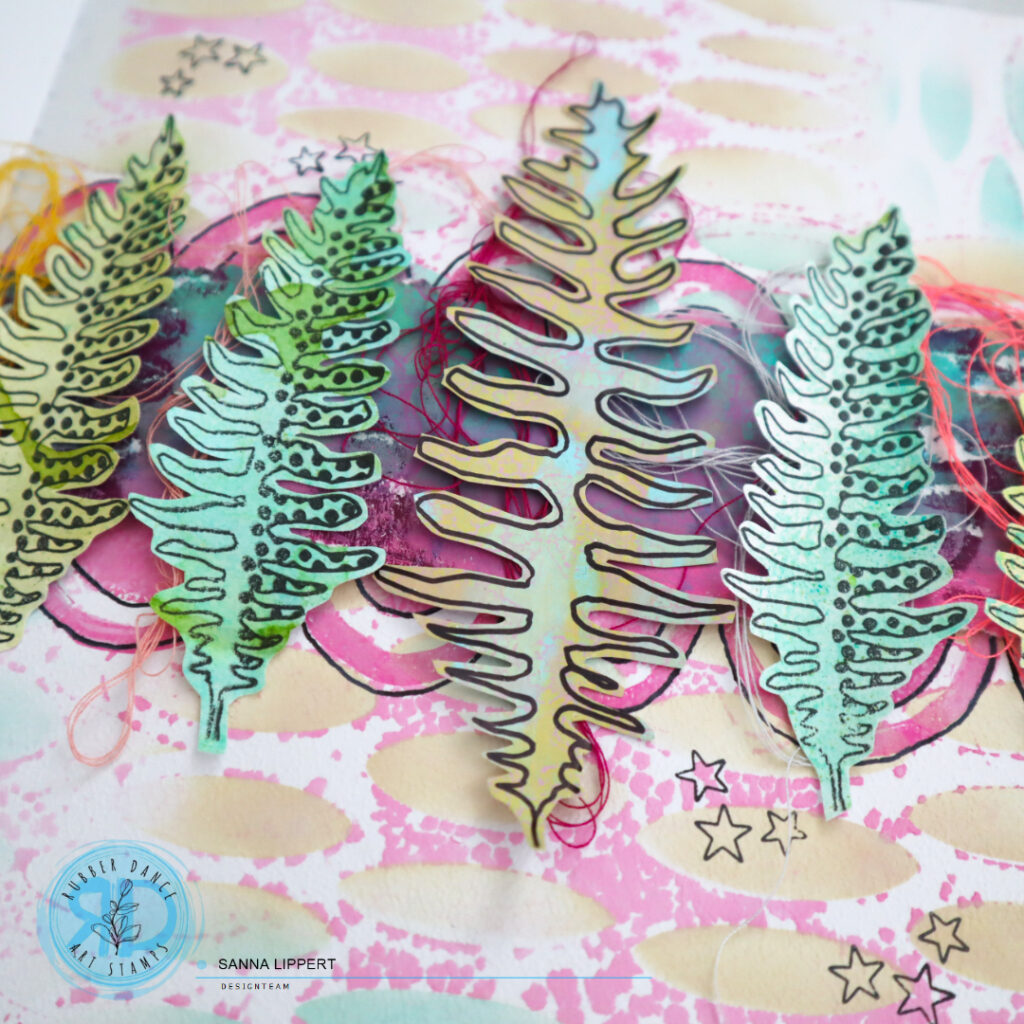
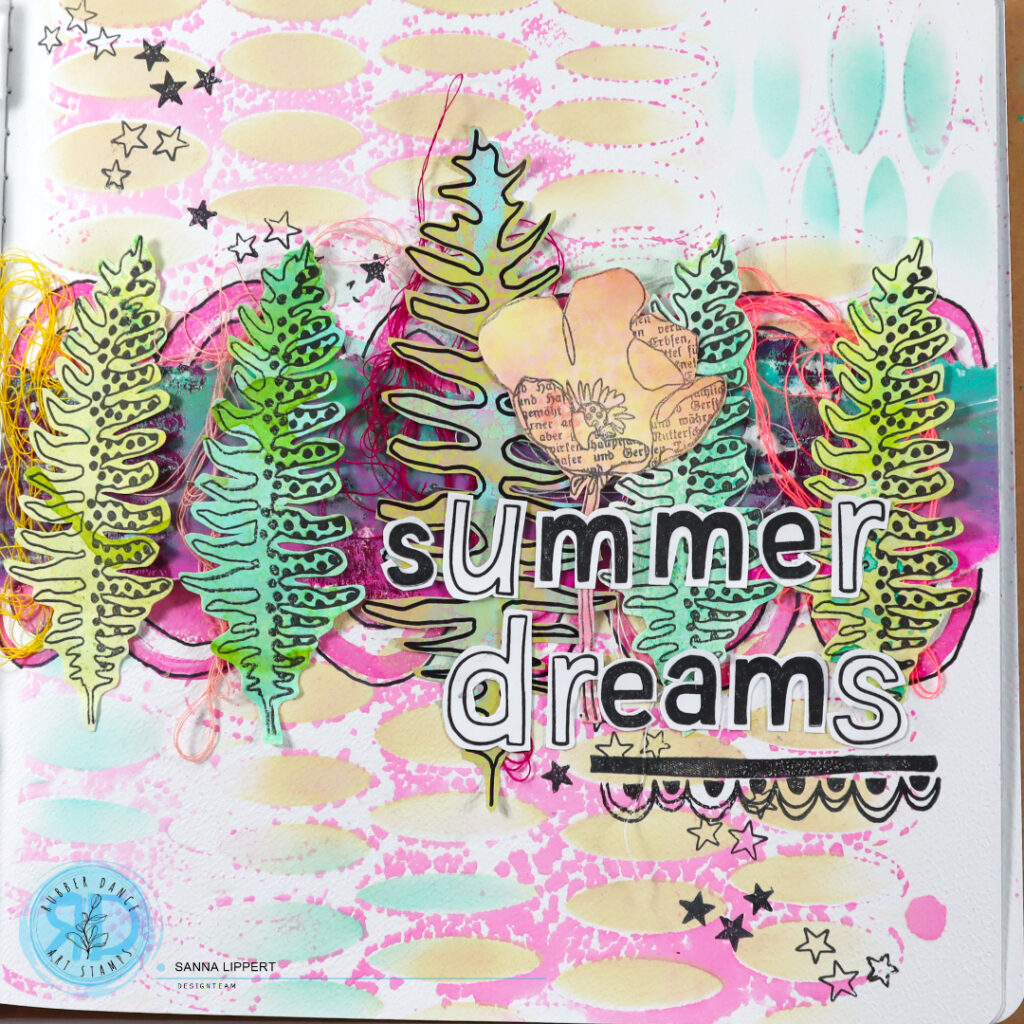
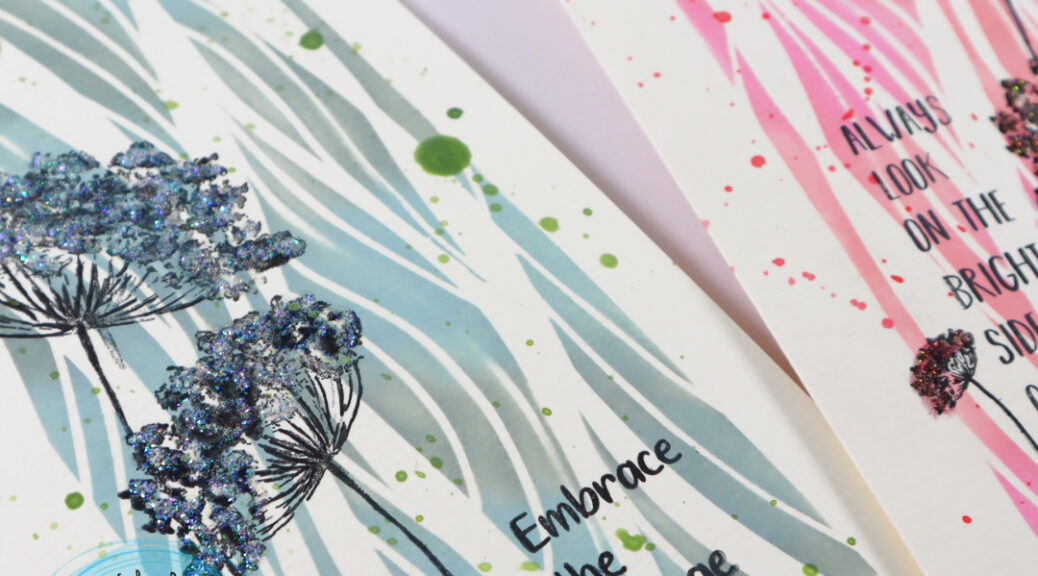
I started with Stacked Ovals ad Distress Oxide Ink in picked raspberry. I inked the stencil with the ink pad and then misted it with water. After that I pressed the stencil onto the journal page. I repeated this step until the page was fully covered.
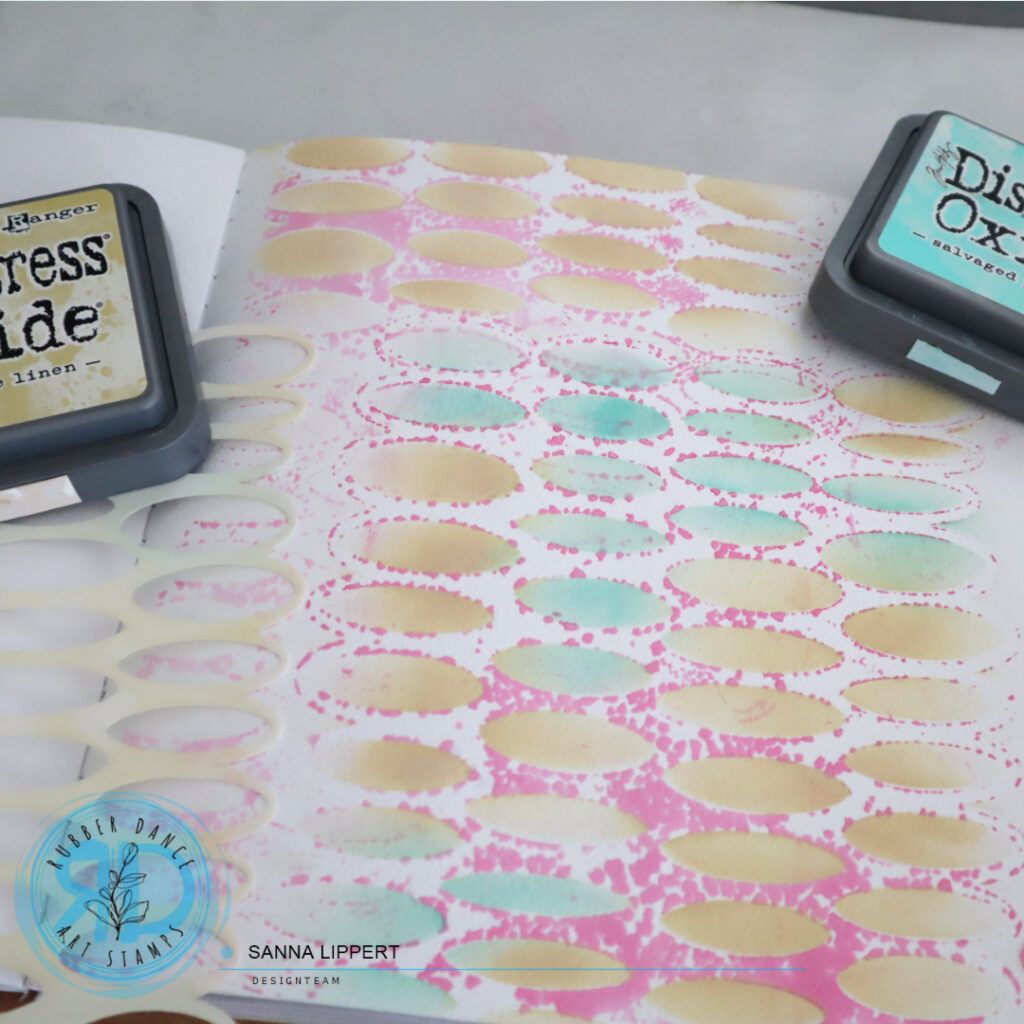
Then I took Distress Oxide Ink in antique linen and salvaged patina, placed the stencil on top of the previously created image and inked the empty areas with both inks. This created a very interesting background to start with.
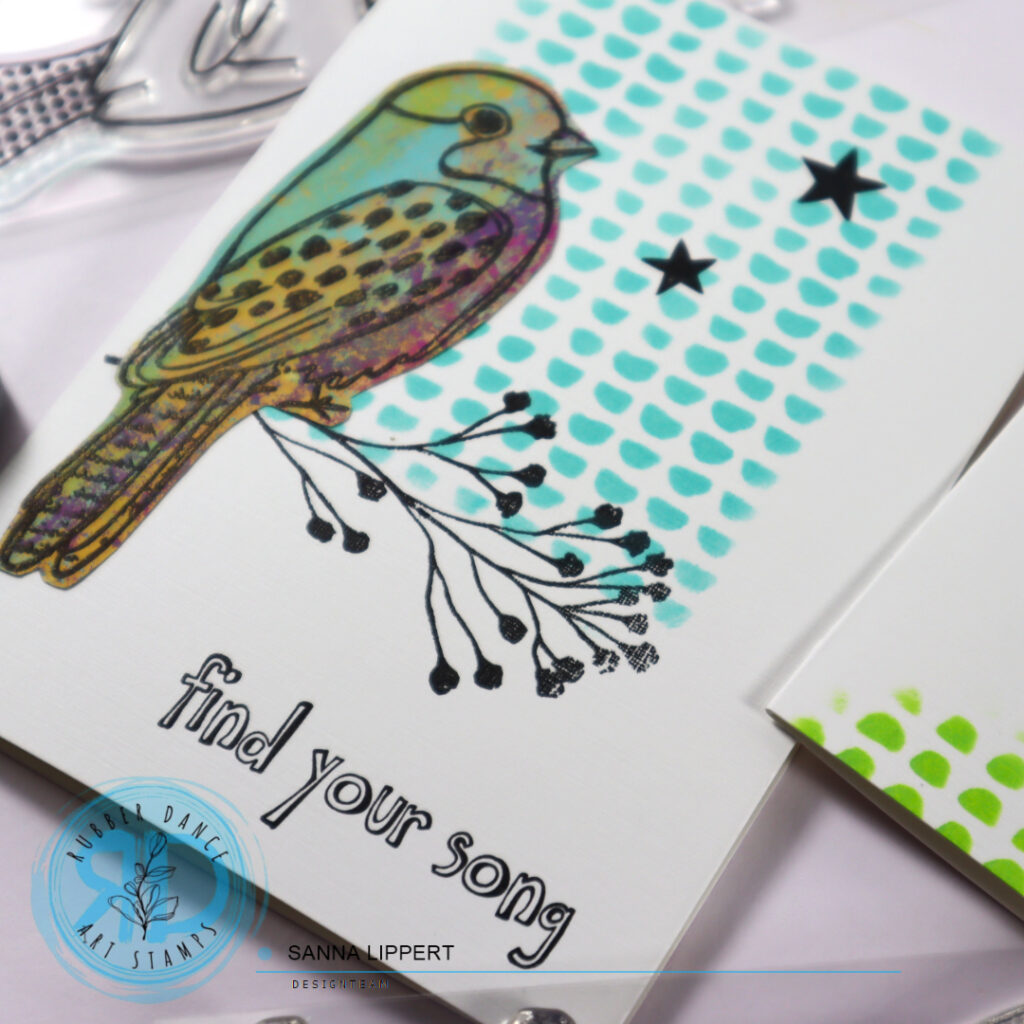
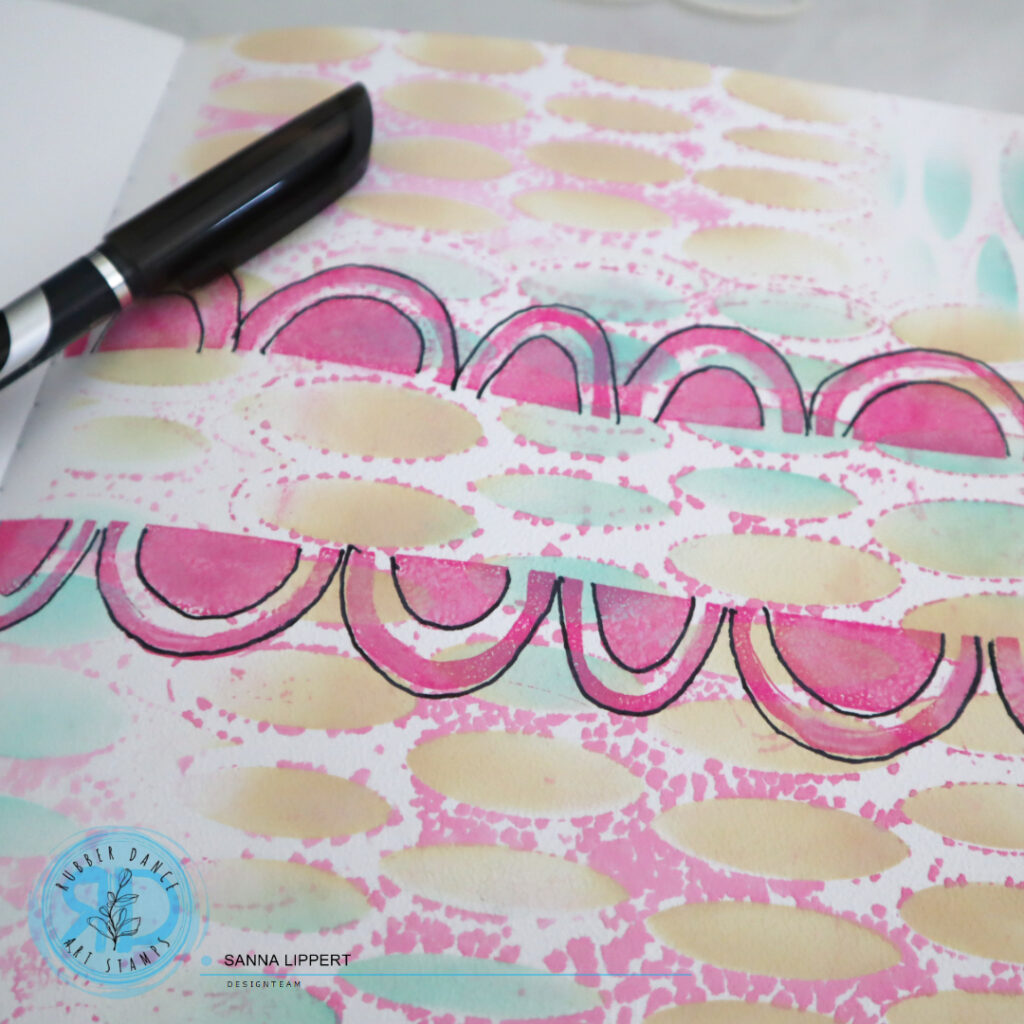
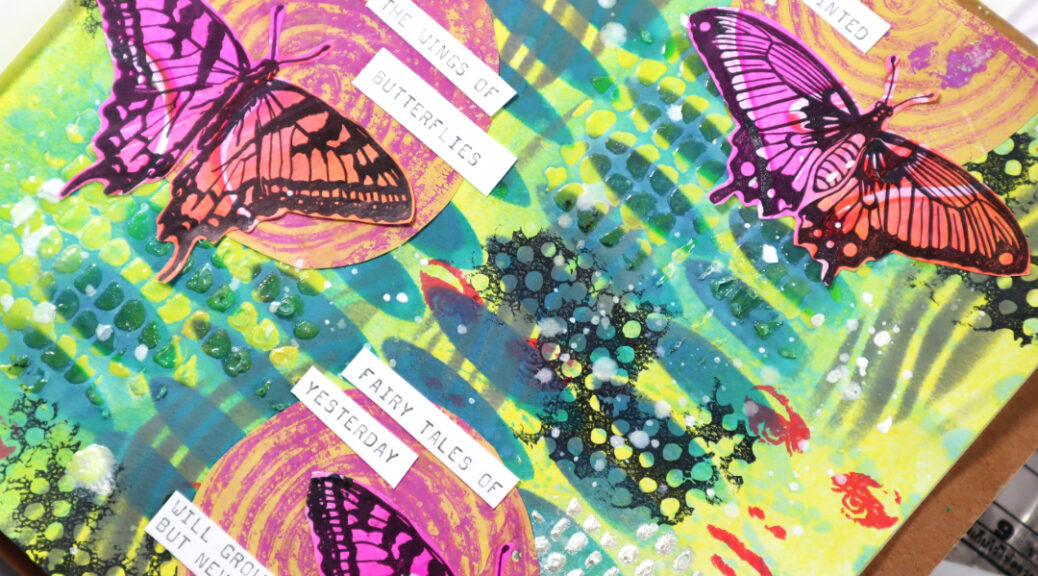
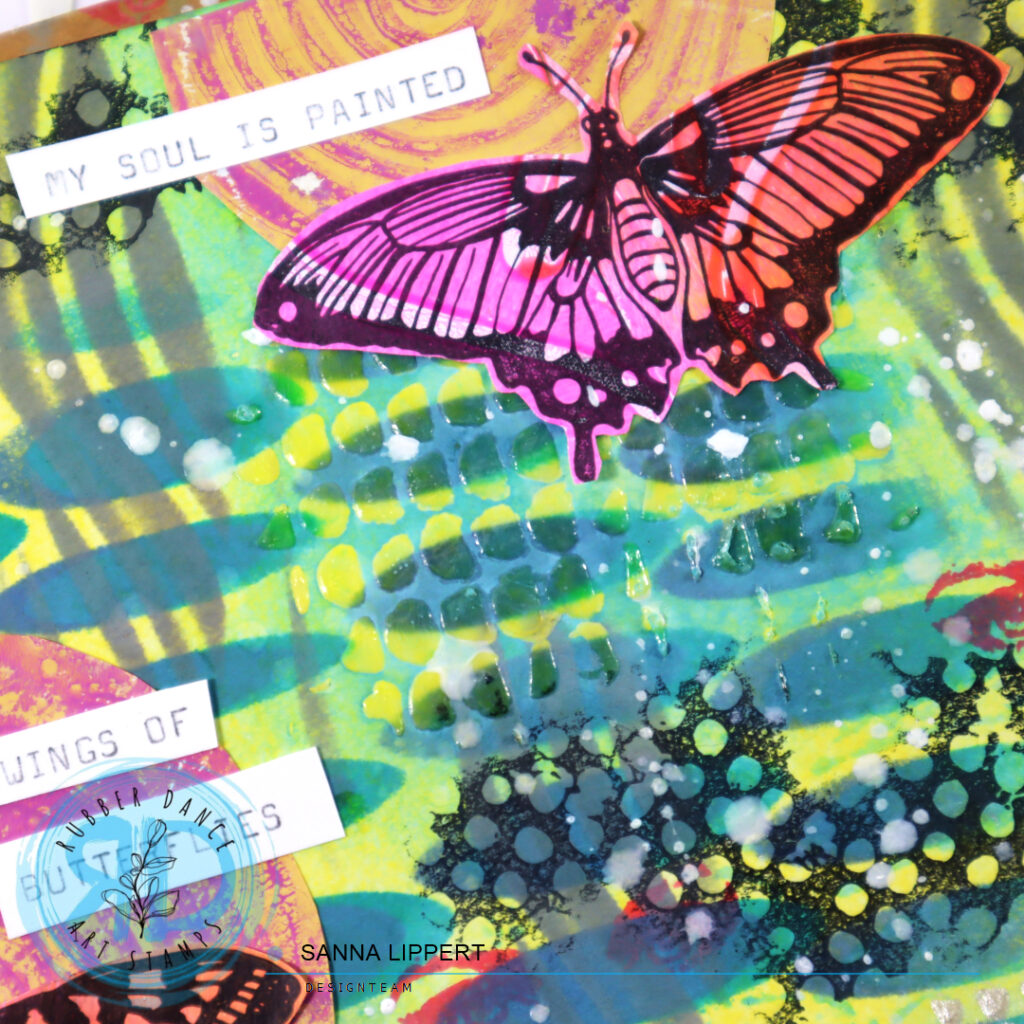
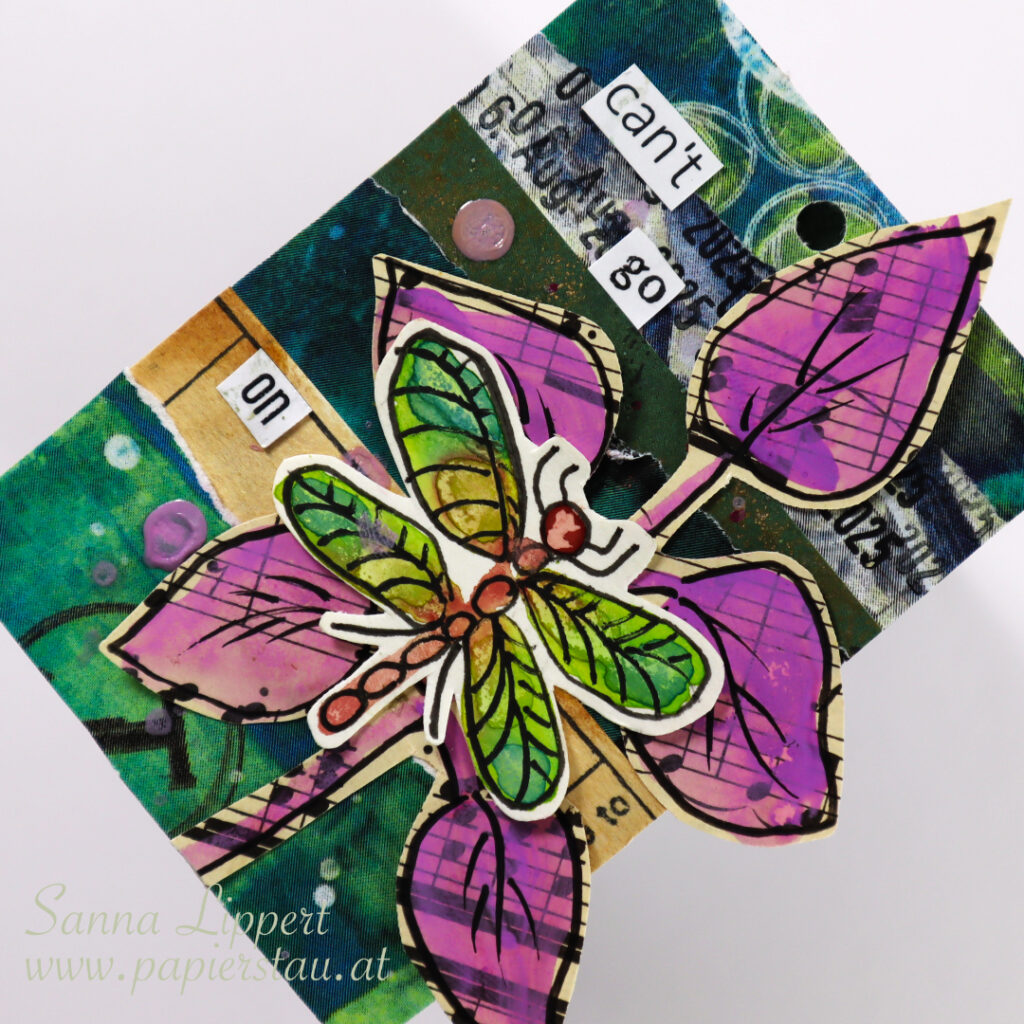
After that I grabbed the Mix It Up 4 stamp set and the scallop border stamp and stamped the border along the center of the page. Next I used a black pen to outline the scallops and add a little contrast.
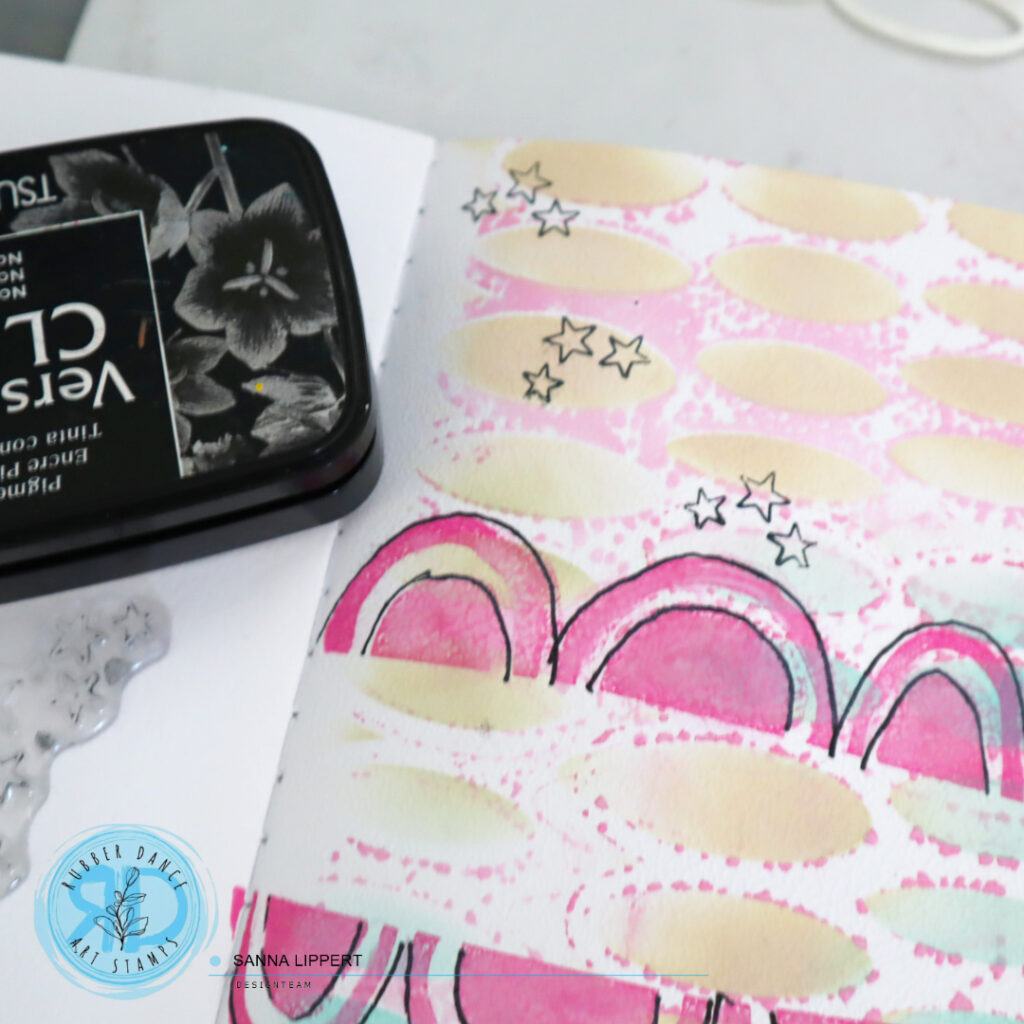
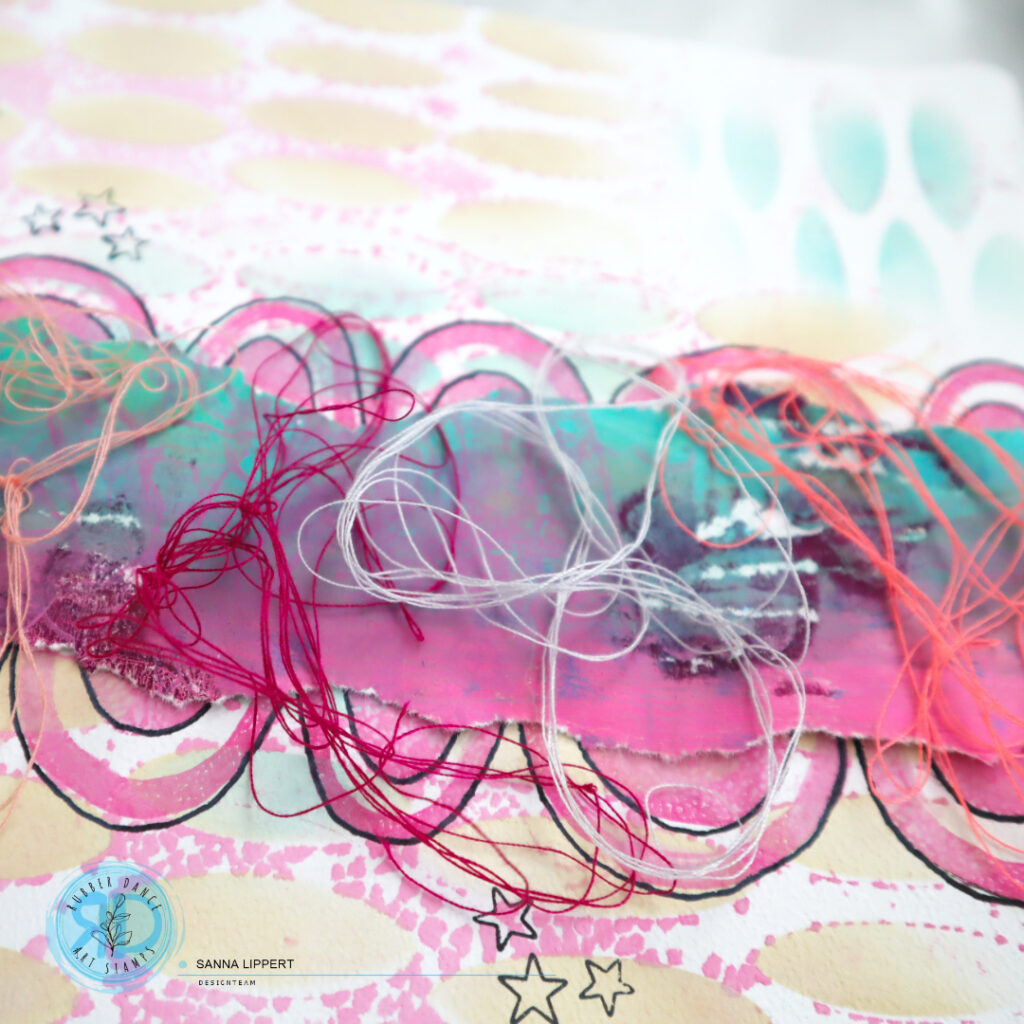
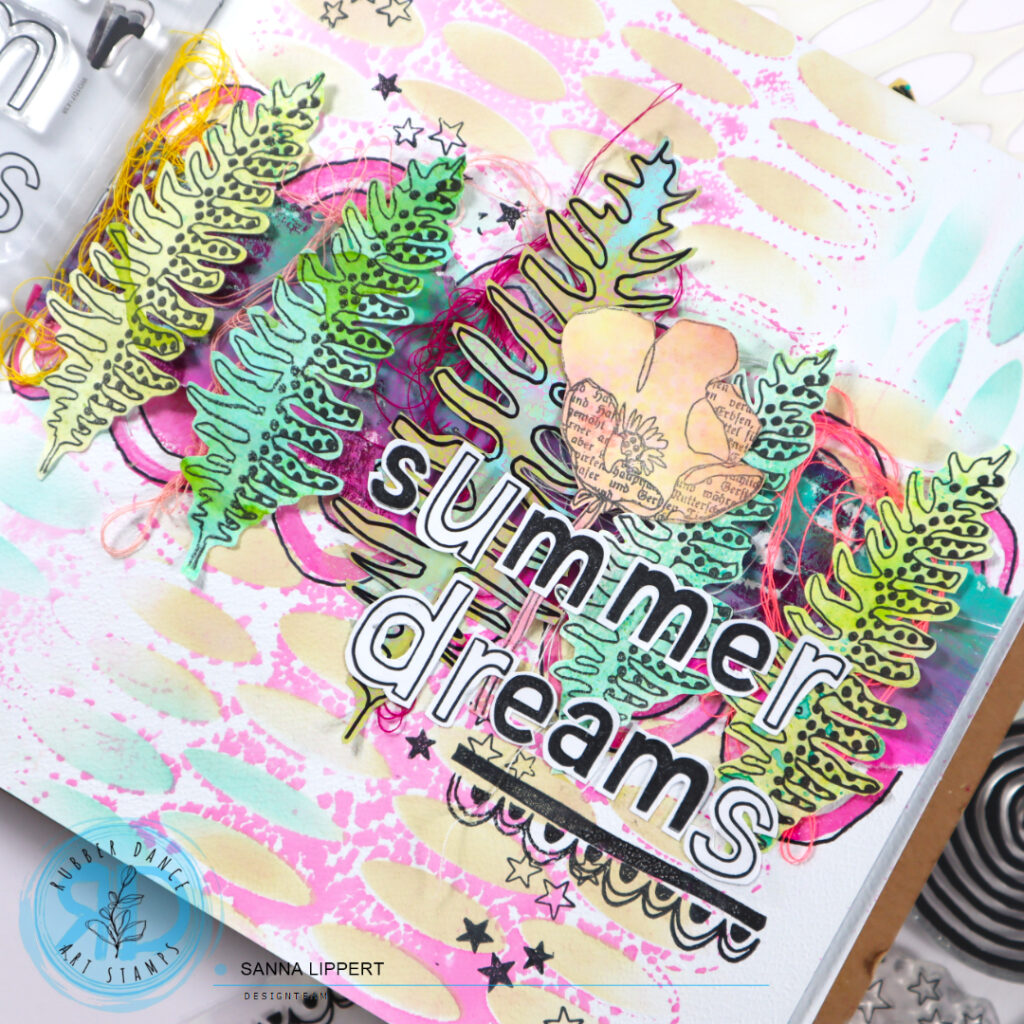
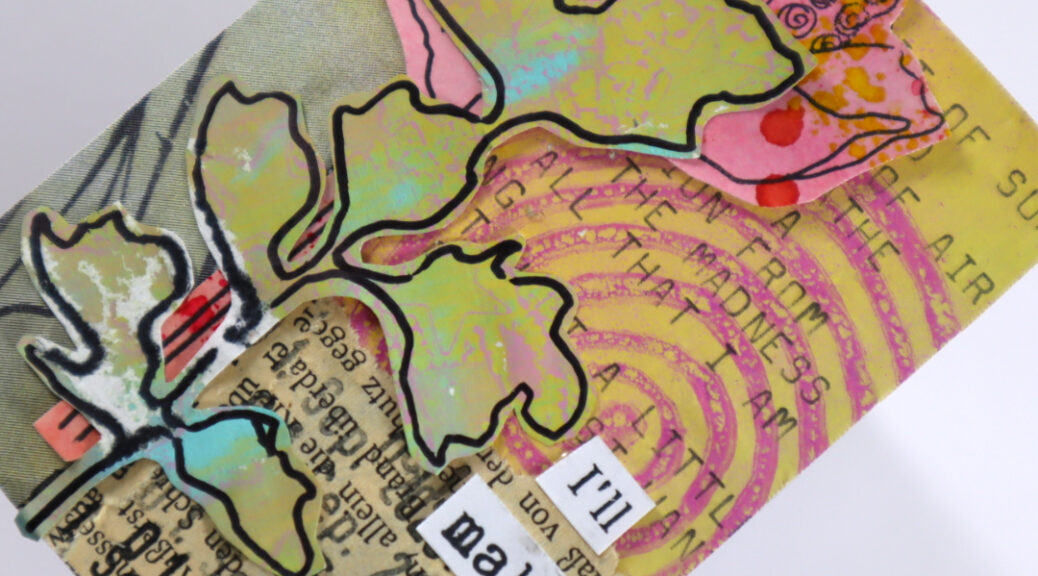
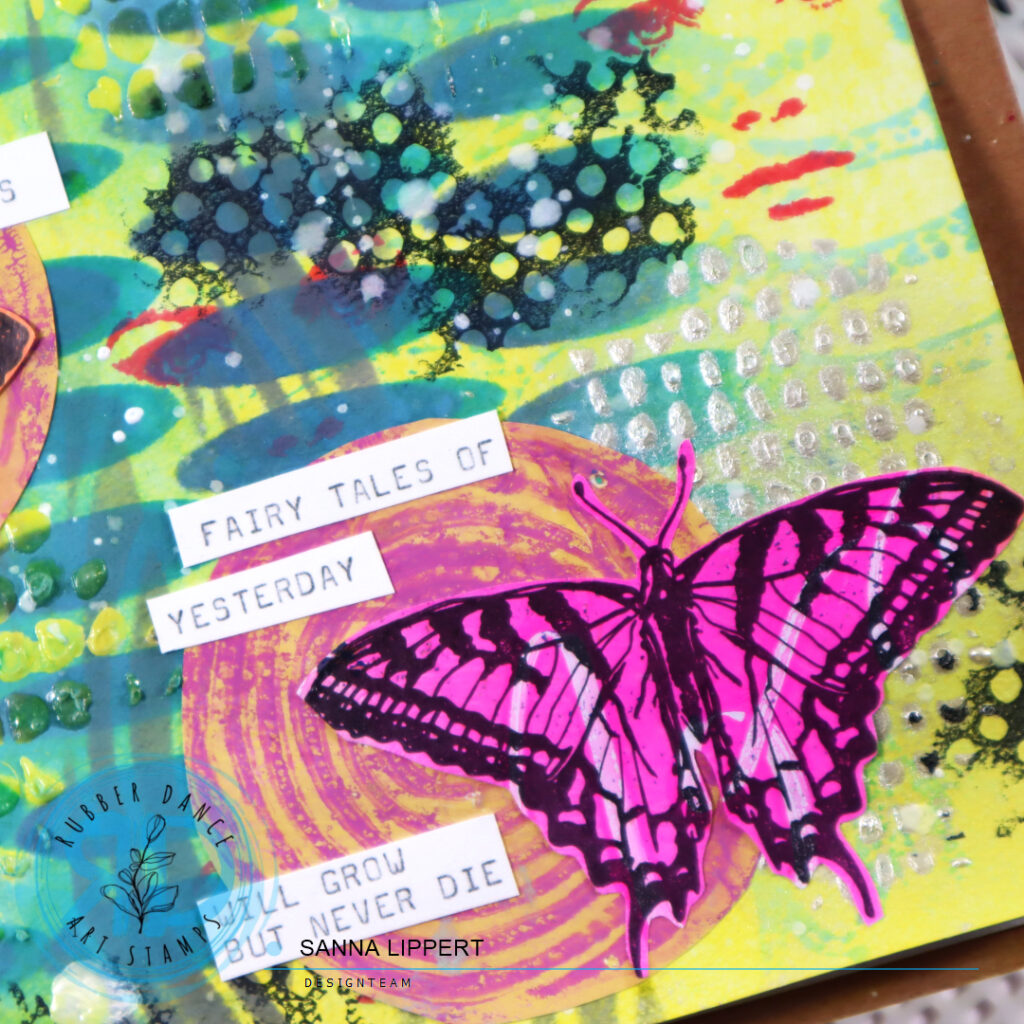
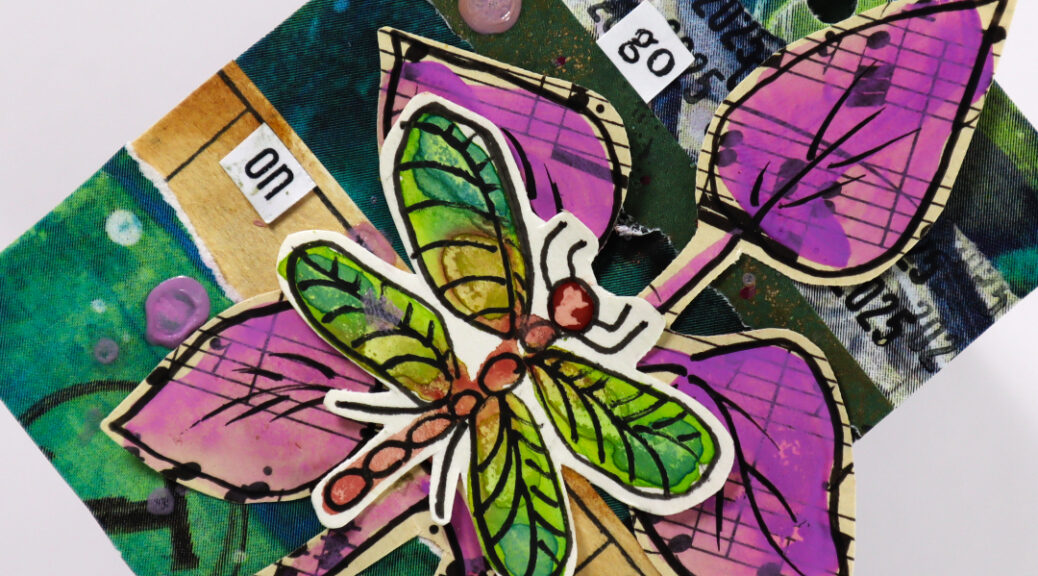
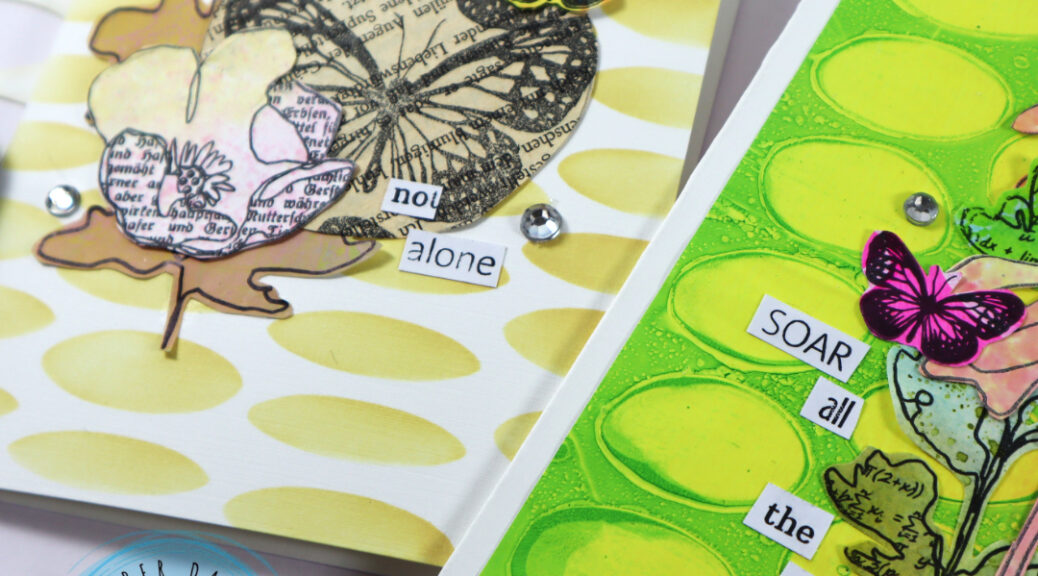
Then I stamped some stars with black ink onto the page, added a collage paper piece and various colors of yarn on top. Next I decorated the paper strip with collage fodder I had made using the Sketchy Leaves 5 stencil and Doodle Flowers 2 stamp set (see video here and here).
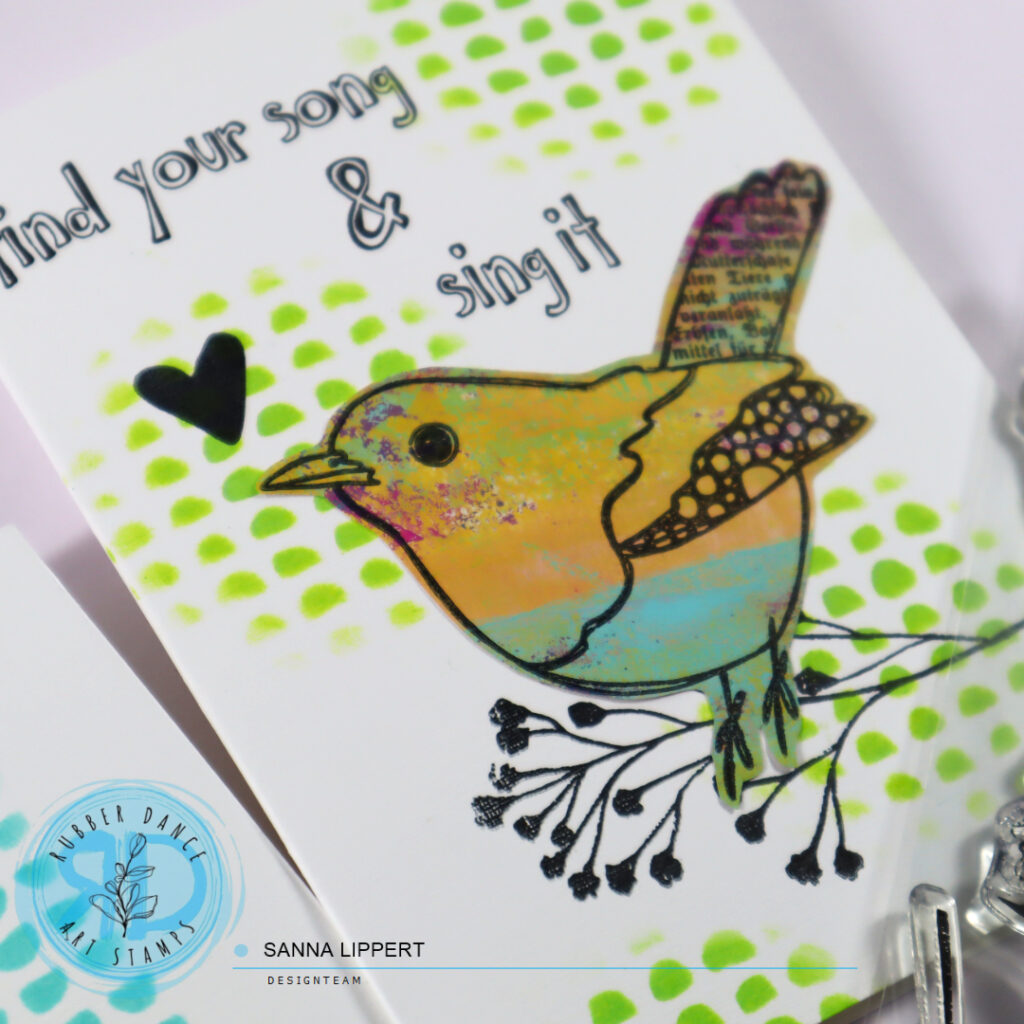
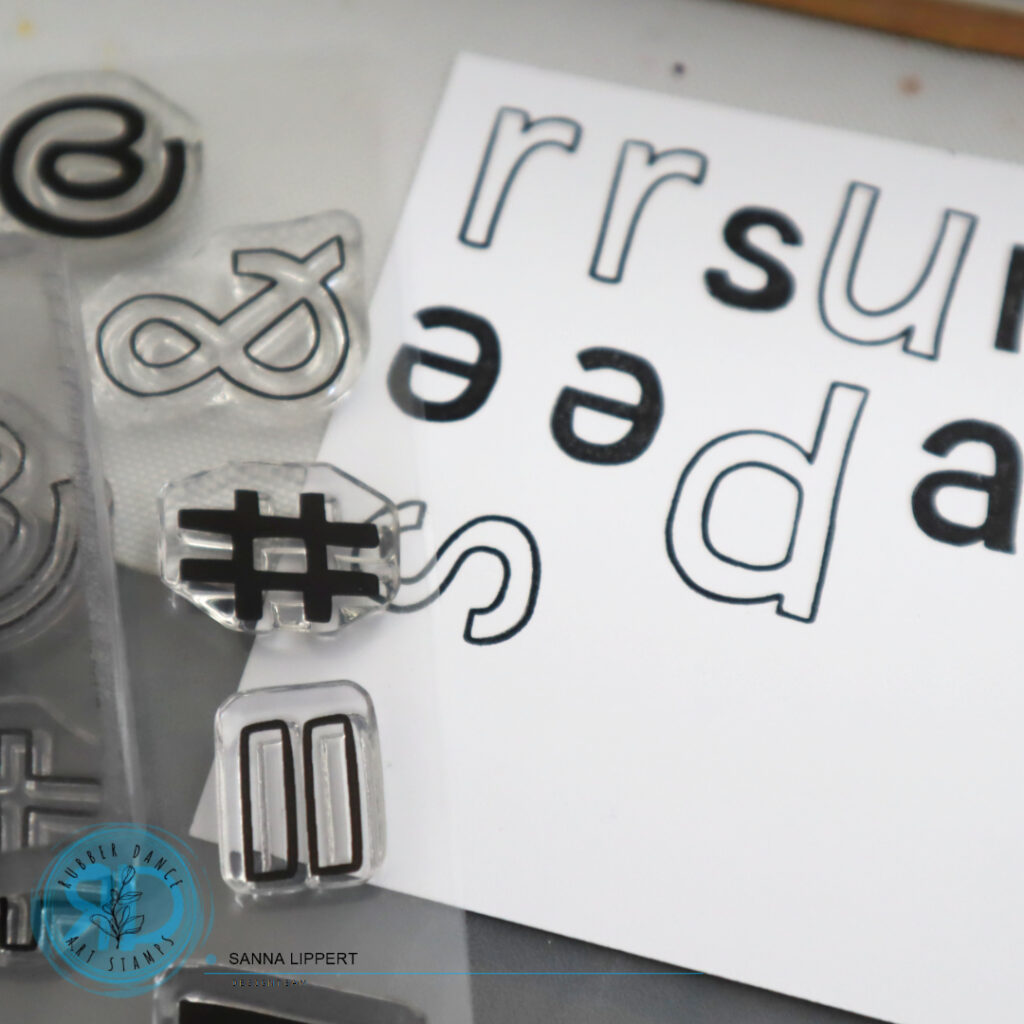
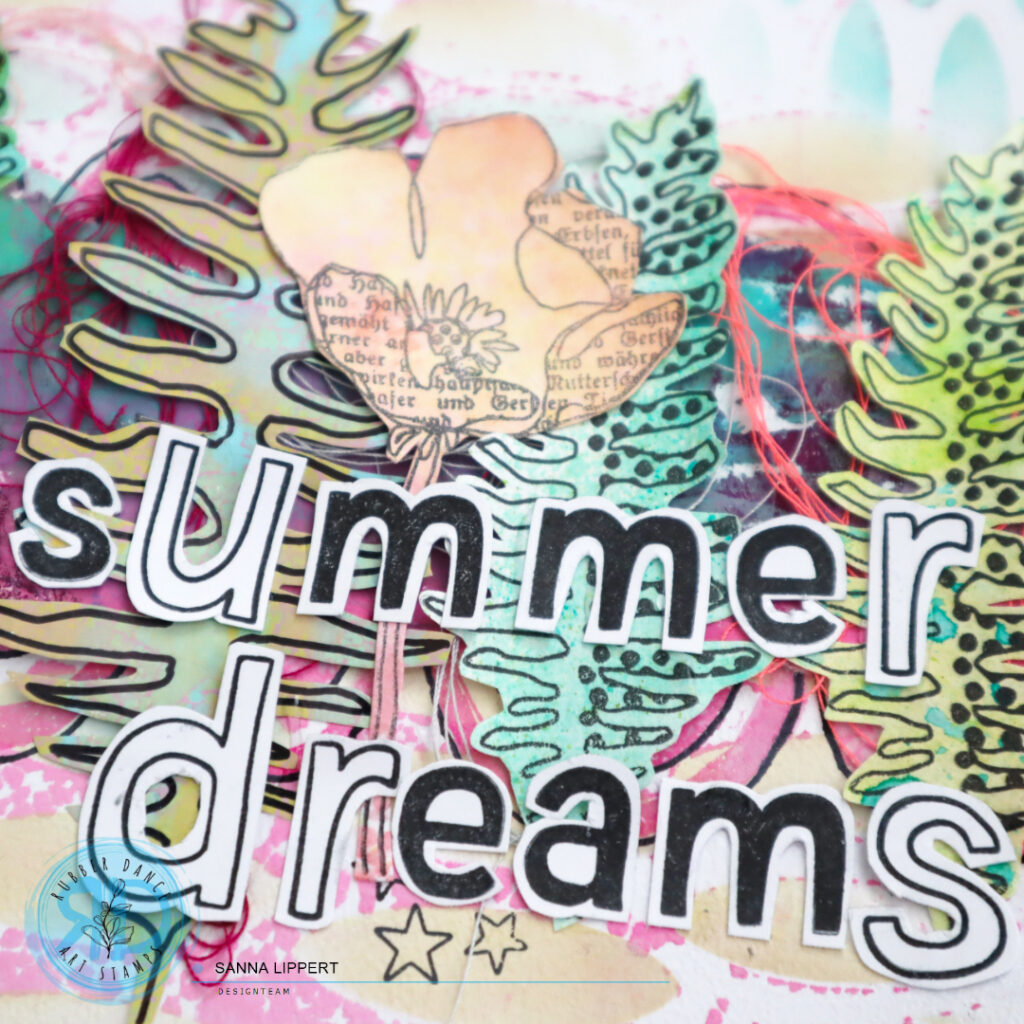
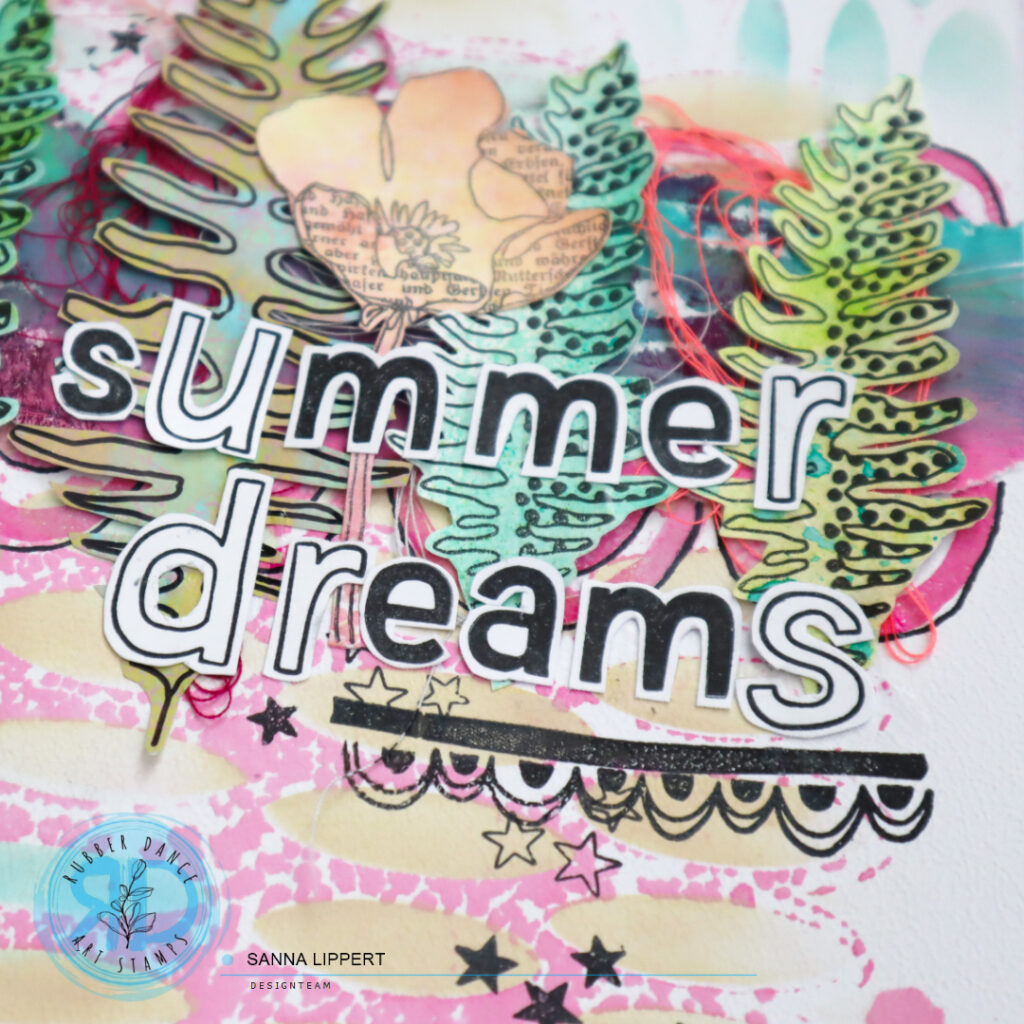
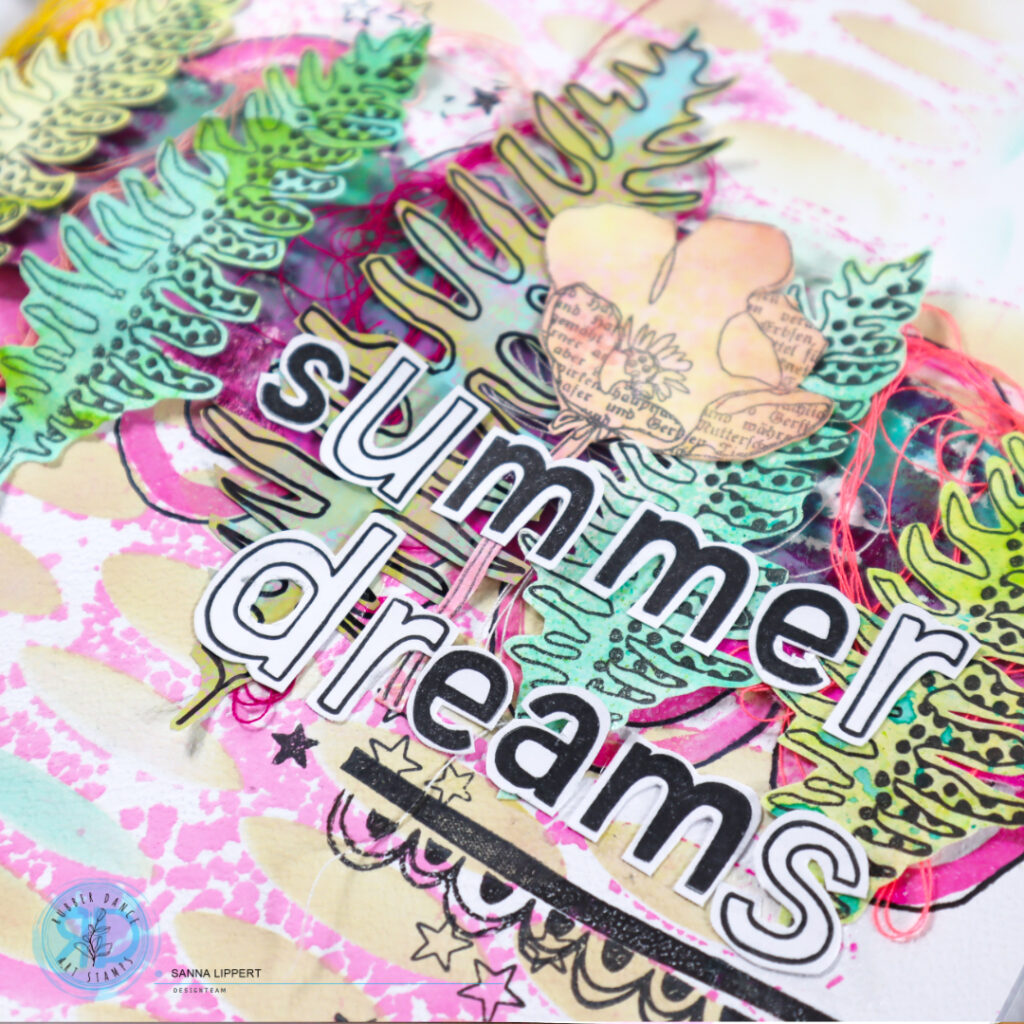
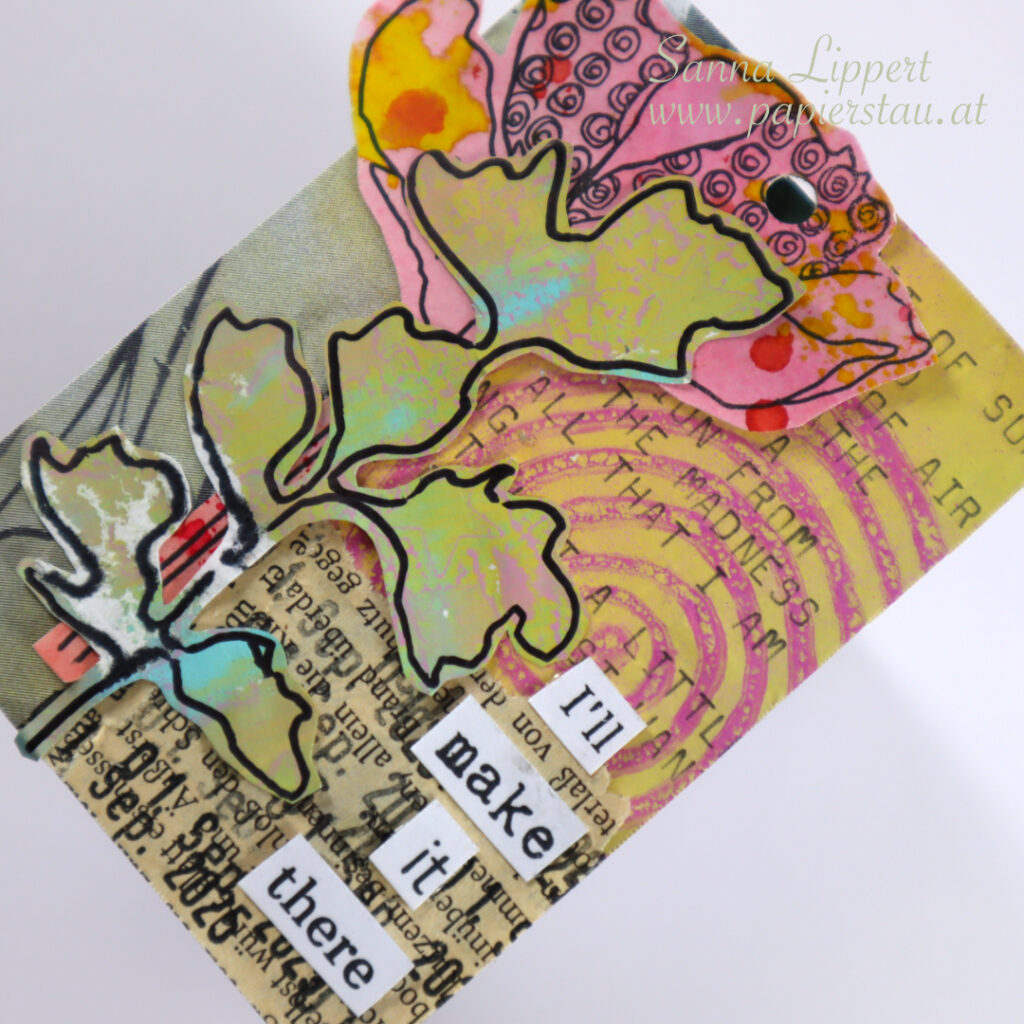
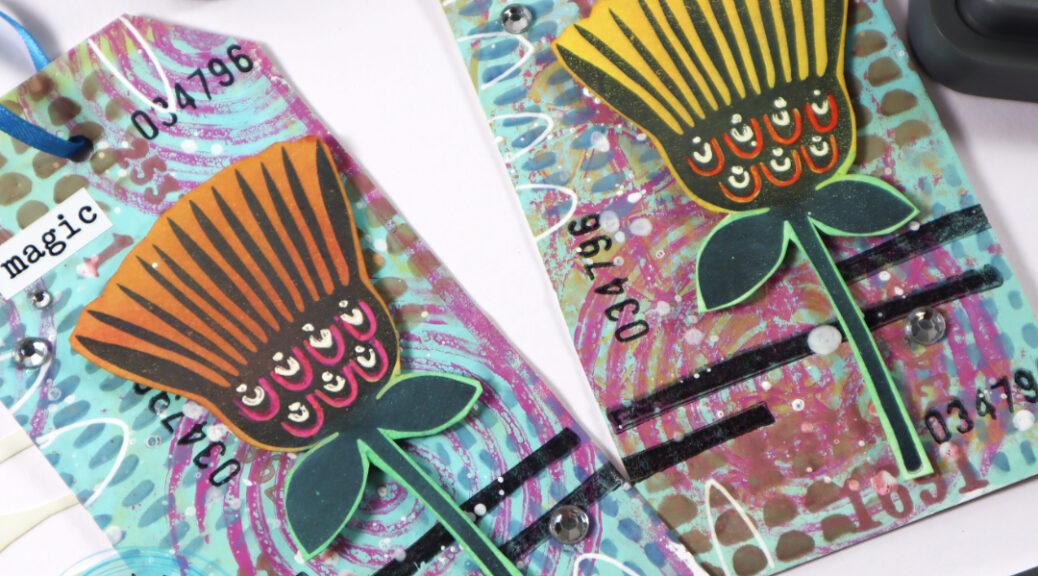
After that I took a piece of white cardstock and stamped letters with A to Z stamp set onto it. I then fussy cut the letters and adhered those to the journal as my title. I also sneaked a flower onto the paper (see the video how to make those here). I felt like the page needed some more structure, so I stamped the black line with a flower stemp stamp from the Carved Collection 6 stamp set and added a scallop border underneath (from the Mix It Up 4 set).
I am totally in love with the Stecked Ovals stencil – the backgroud was so much fun to make! I hope you give this idea a try.
Happy creating,
xx, Sanna