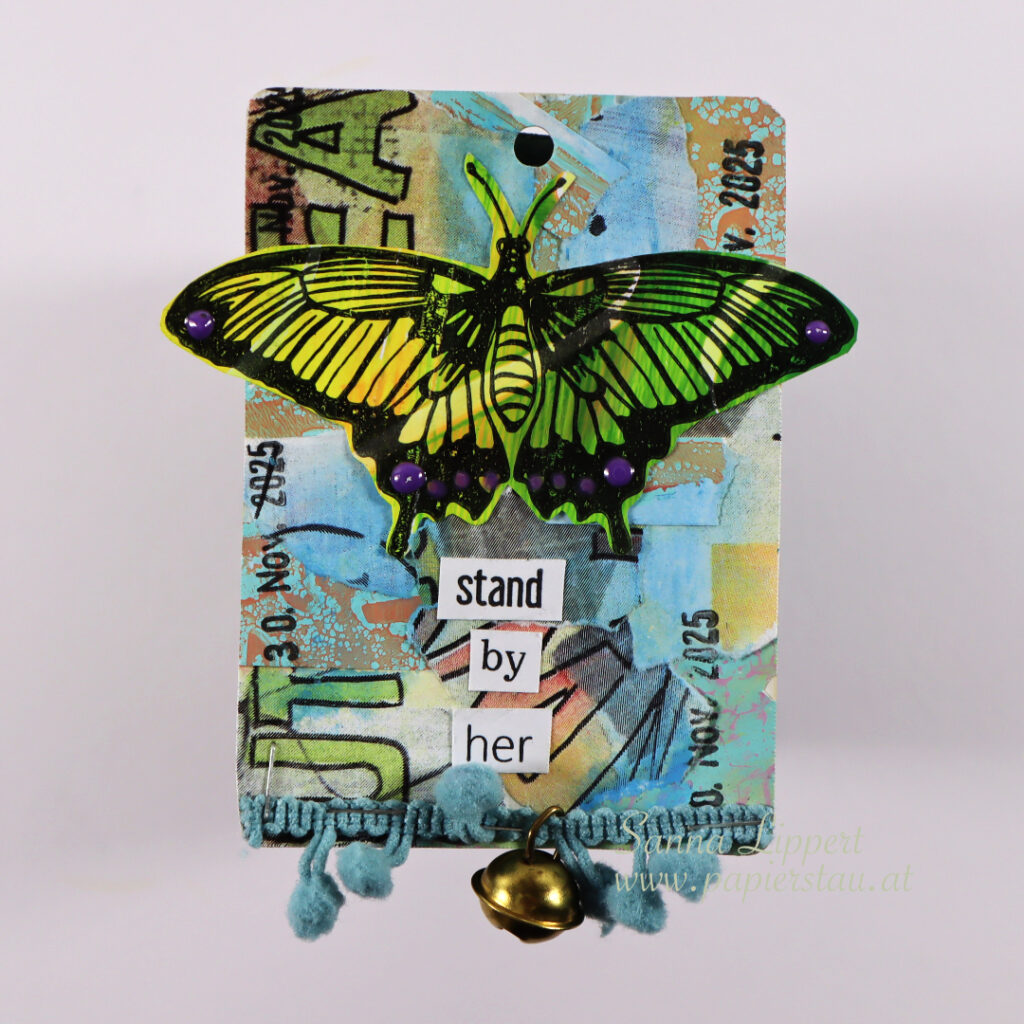
Hello and happy Sunday! Here is my take on the ShanoukiArt Full Deck Challenge number 48: dangle.
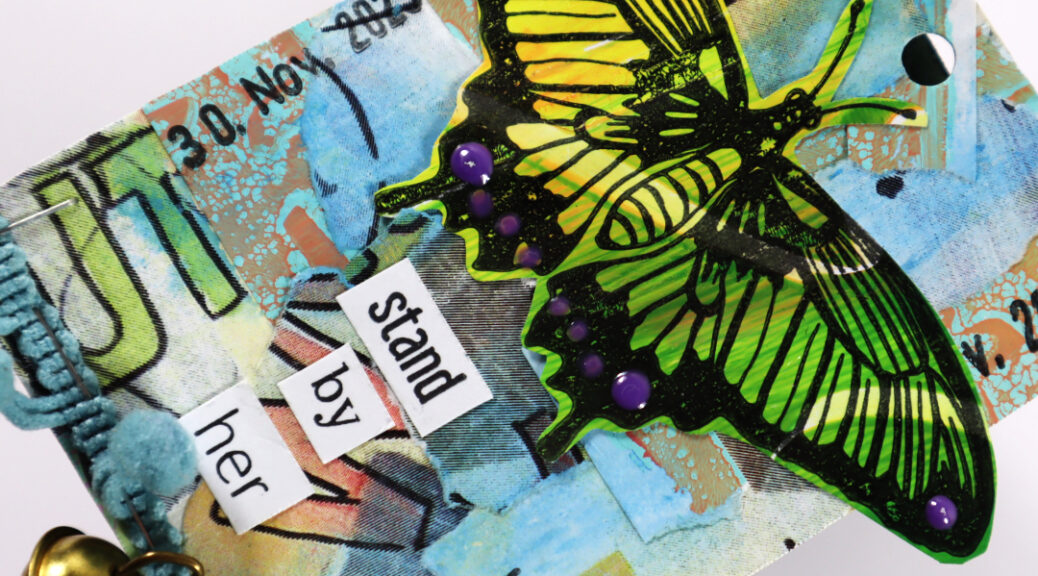
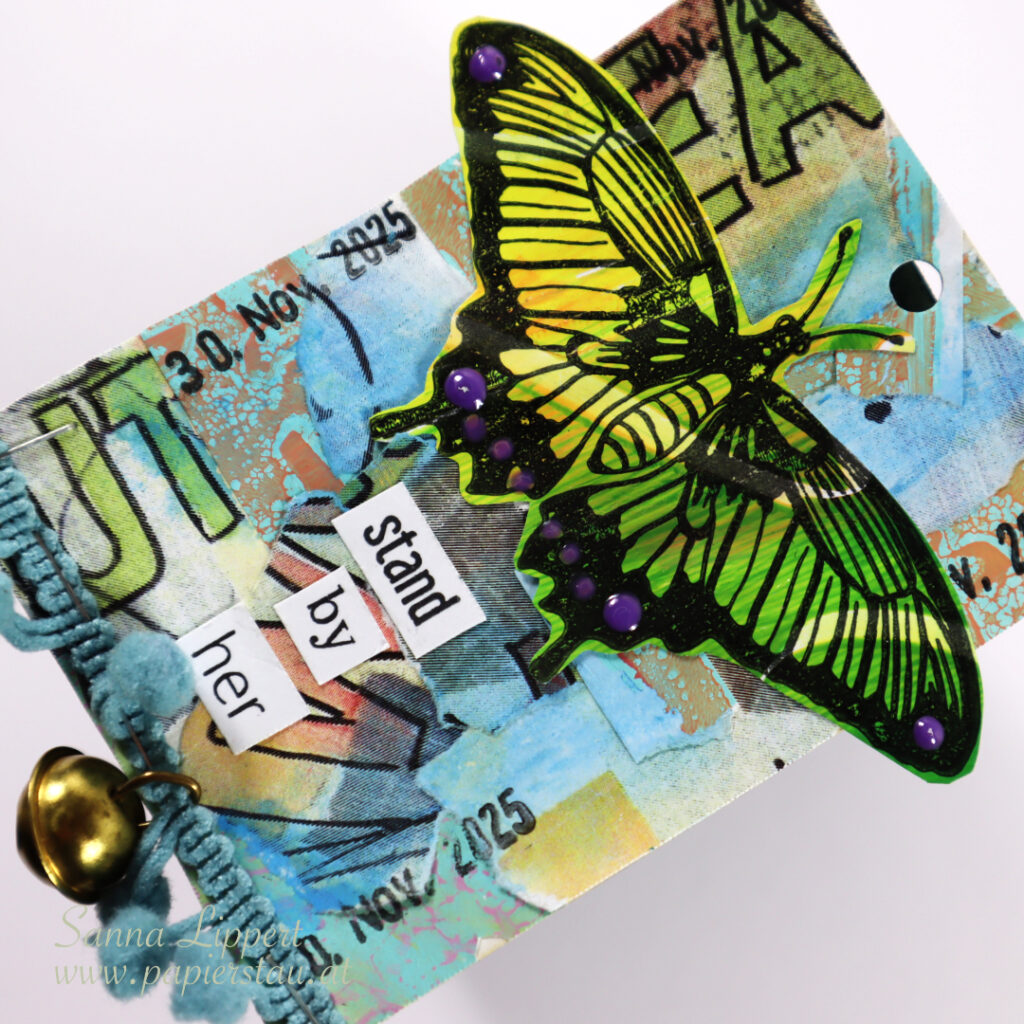
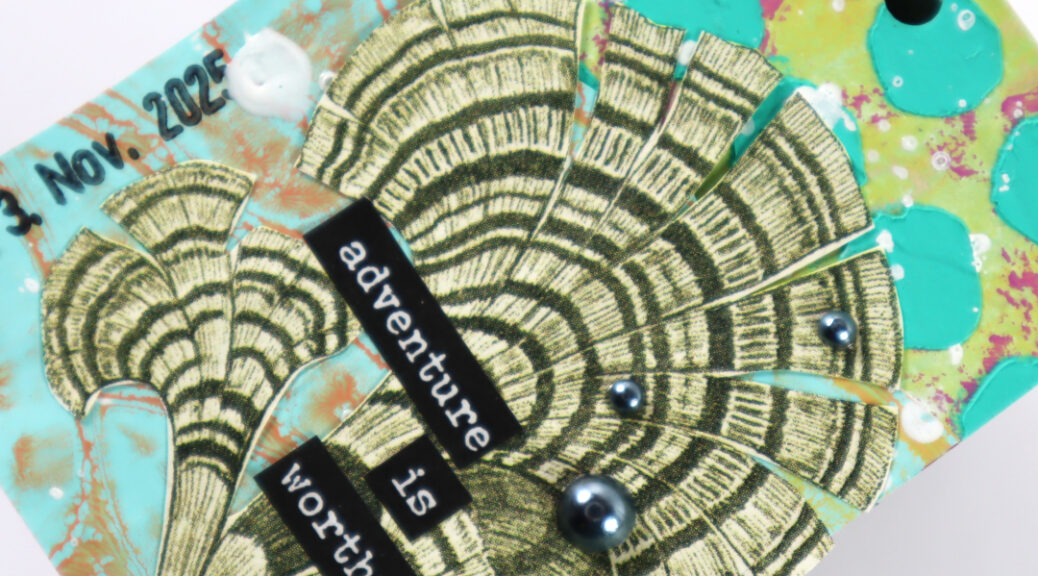
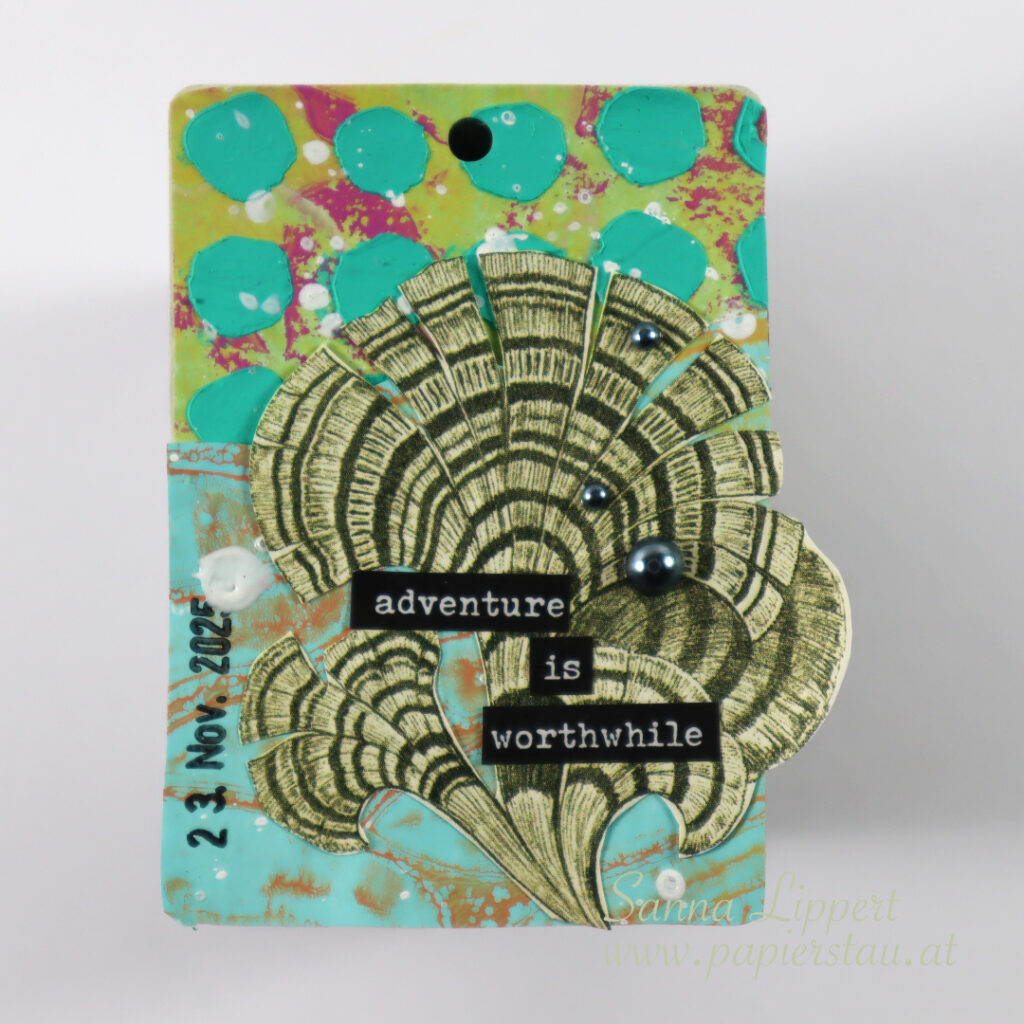
I used collage papers gifted to me by Yuna on the background again. In addition I took some gelli printed collage papers (done with Cross It stencil by Rubber Dance) and mixed those together. On top some Neocolor II crayon and my constant – a date stamp.
As a focal point I used a Rubber Dance butterfly and some Tonic Studios Nuvo Drops. My dangle is a bell and a pom pom ribbon.
Here is the process video:
See you in a few days with number 49!! Happy crafting, xxx, Sanna
Hi there! Here is a quick flip-thru of some of the Christmas cards I created this year.
I used Graphic45 papers, Gansai Tambi Starry Color pigments for sparkle, Rubber Dance stencils (Dotted) with Distress Oxide inks for background details on the cards and STAMPlorations ephemera for focal points.
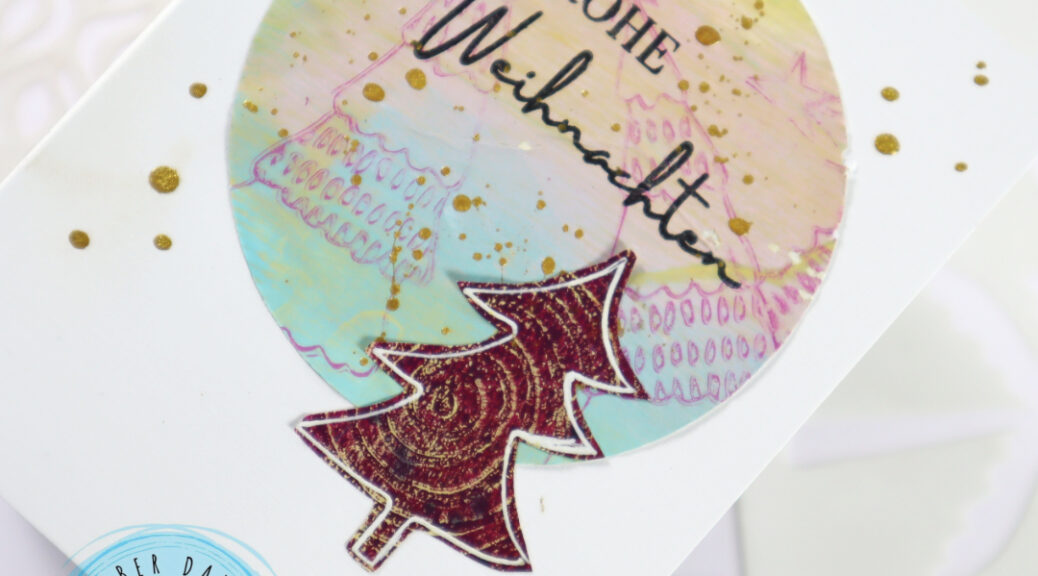
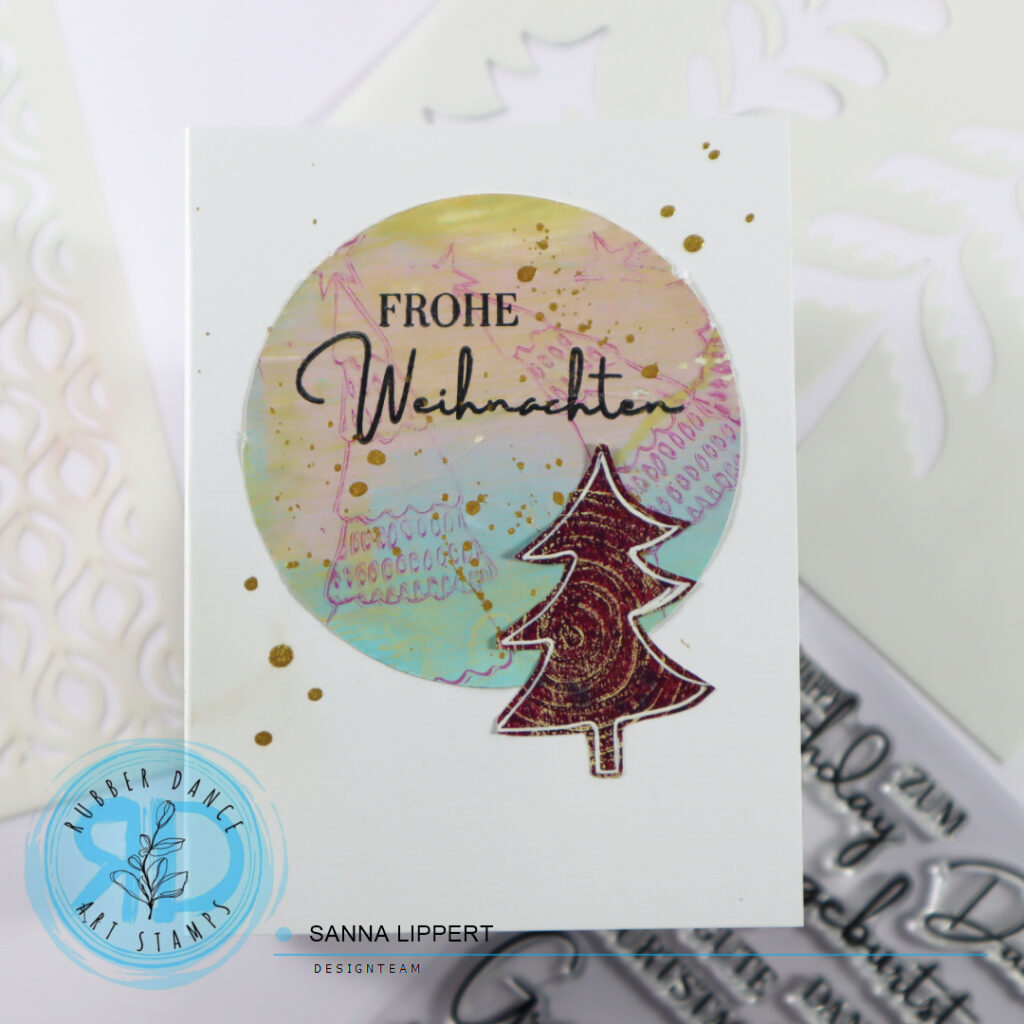
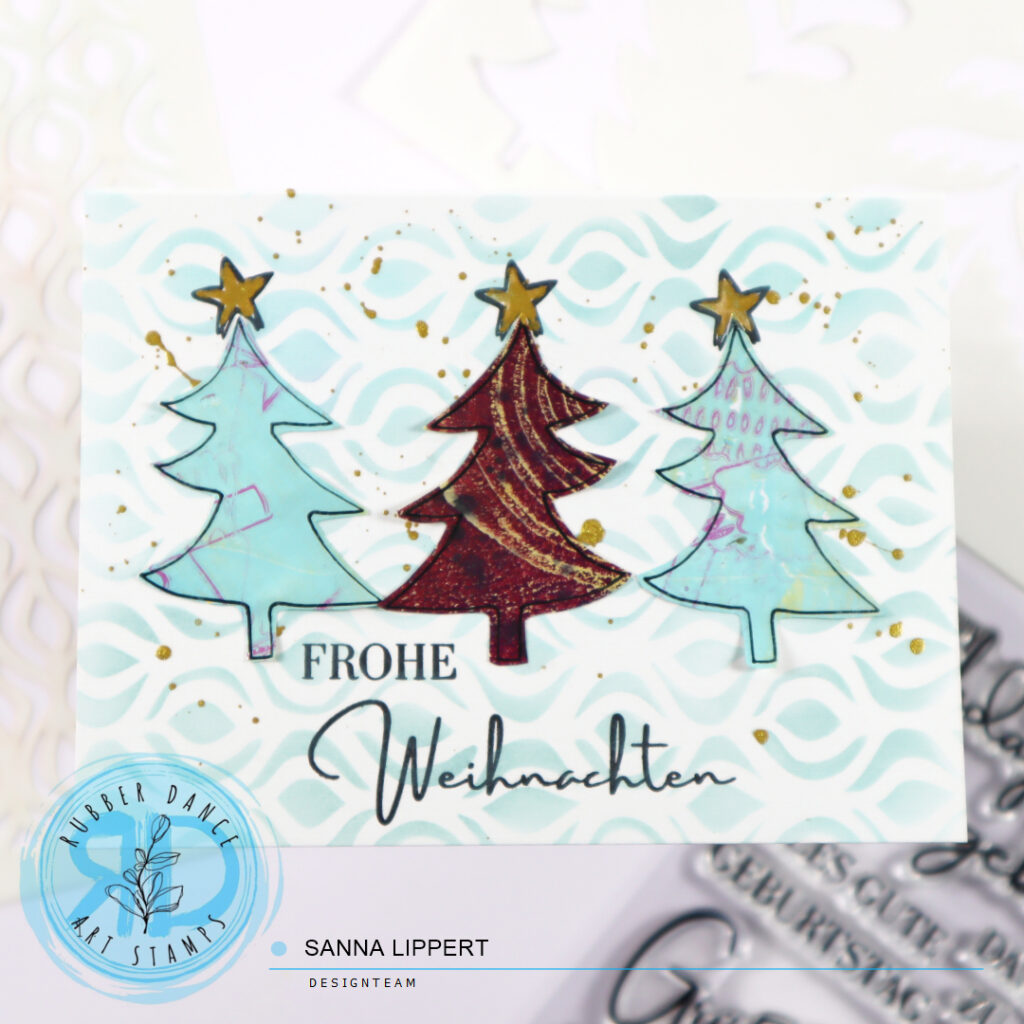
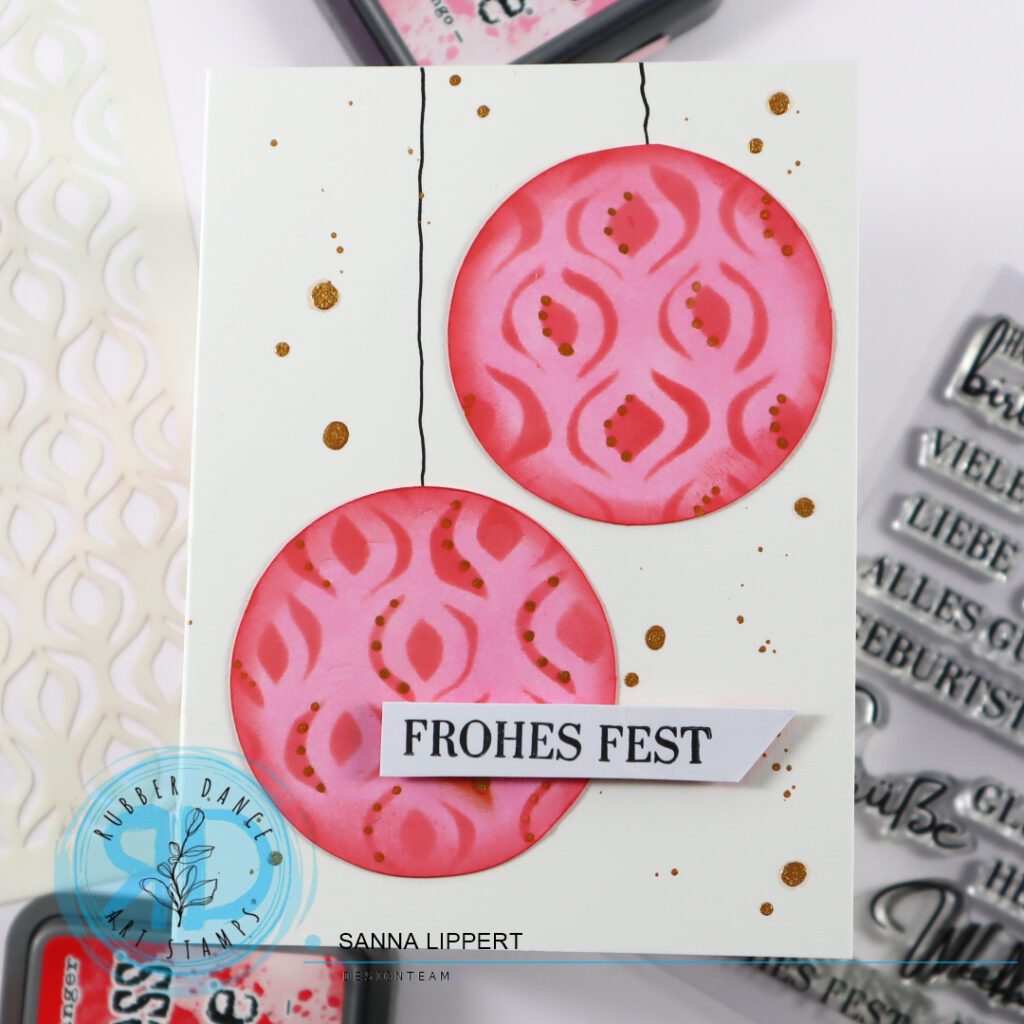
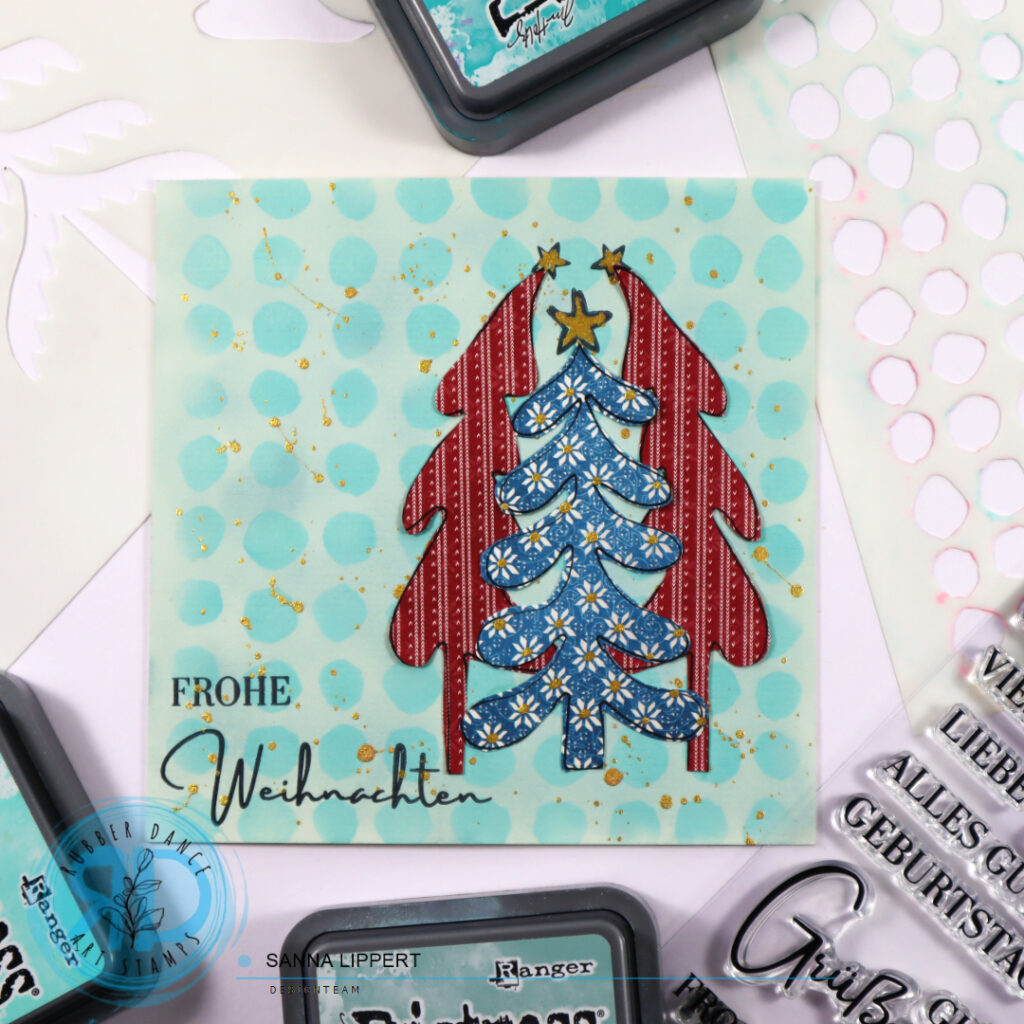
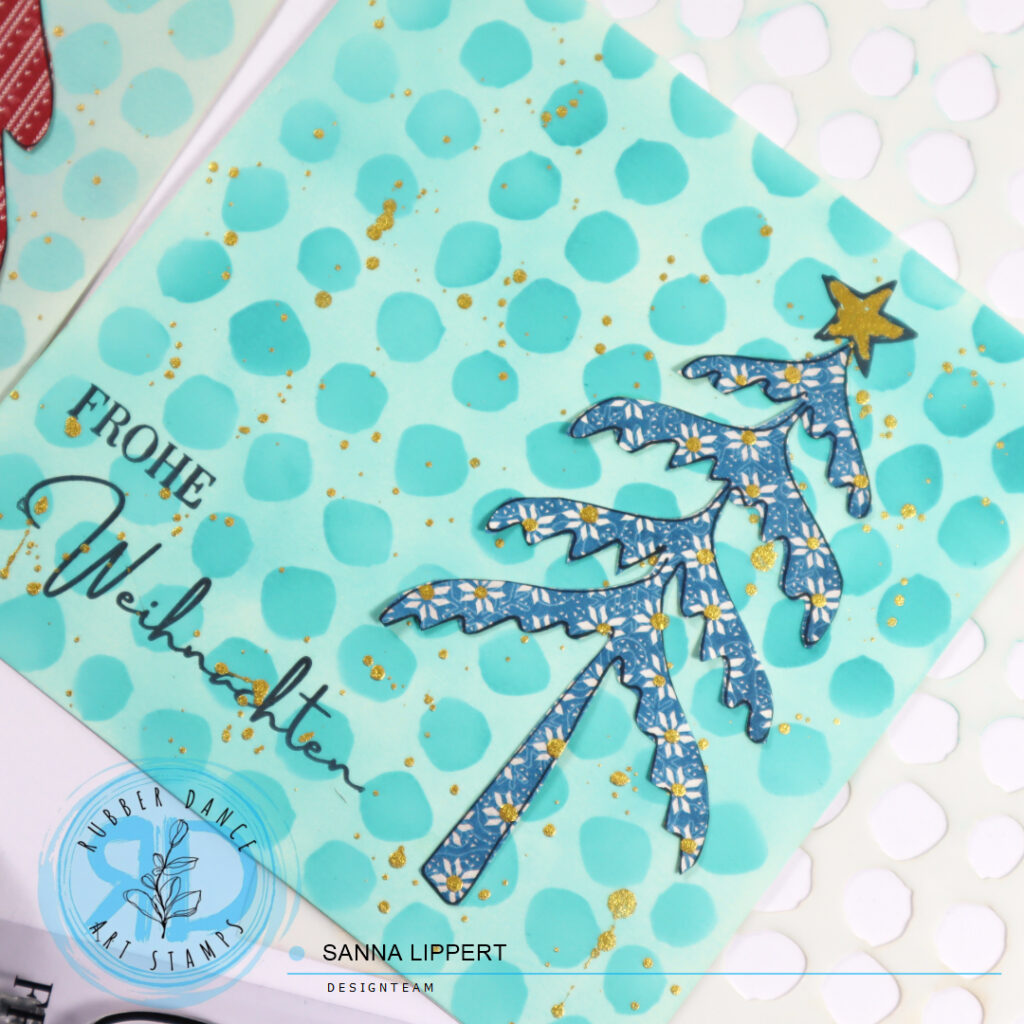
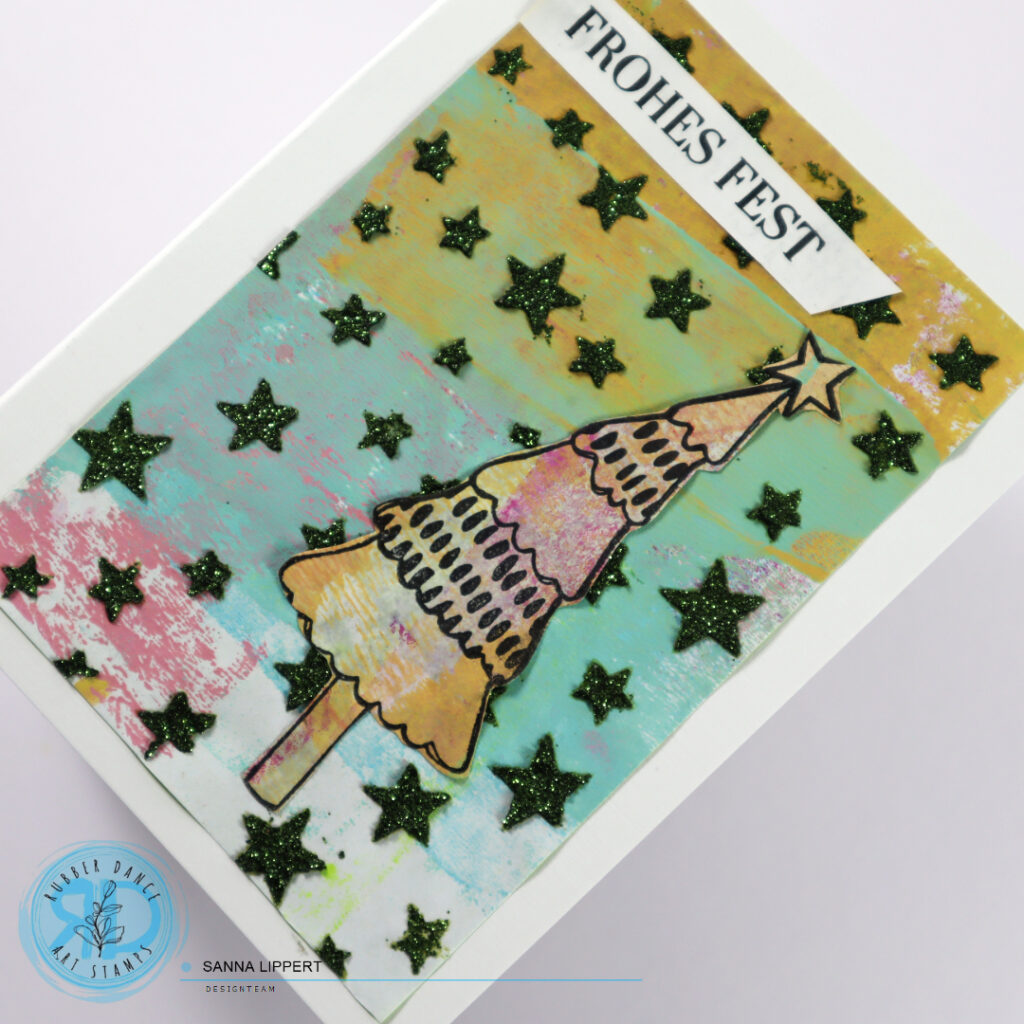
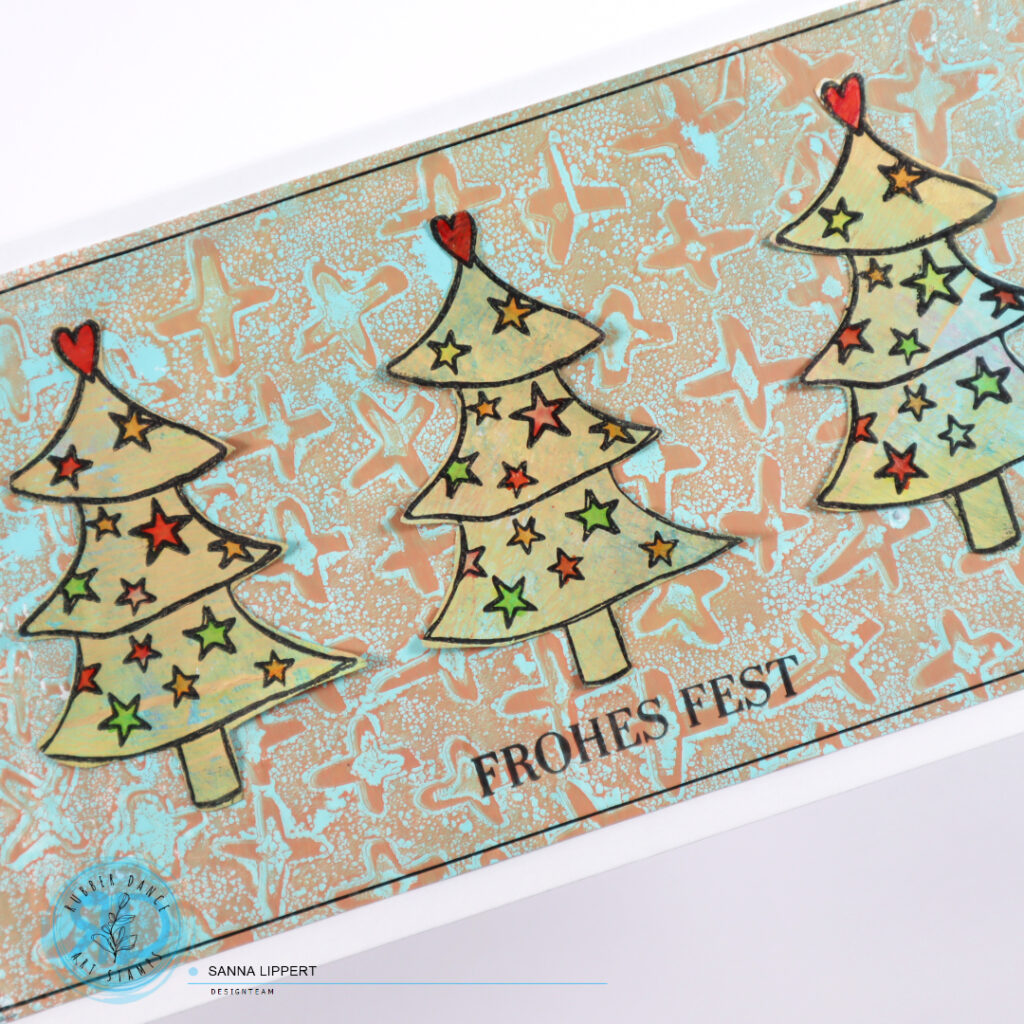
Hello, I am up over at the Rubber Dance blog again today with another clean and simple card Christmas card share. For these cards I used some gelli printed collage papers, the Xmas Trees 2 stencil and the Kartengrüße stamp set. For the collage paper I had used the Textured Xmas Trees 2 and the Mix It Up 4 stamp set.
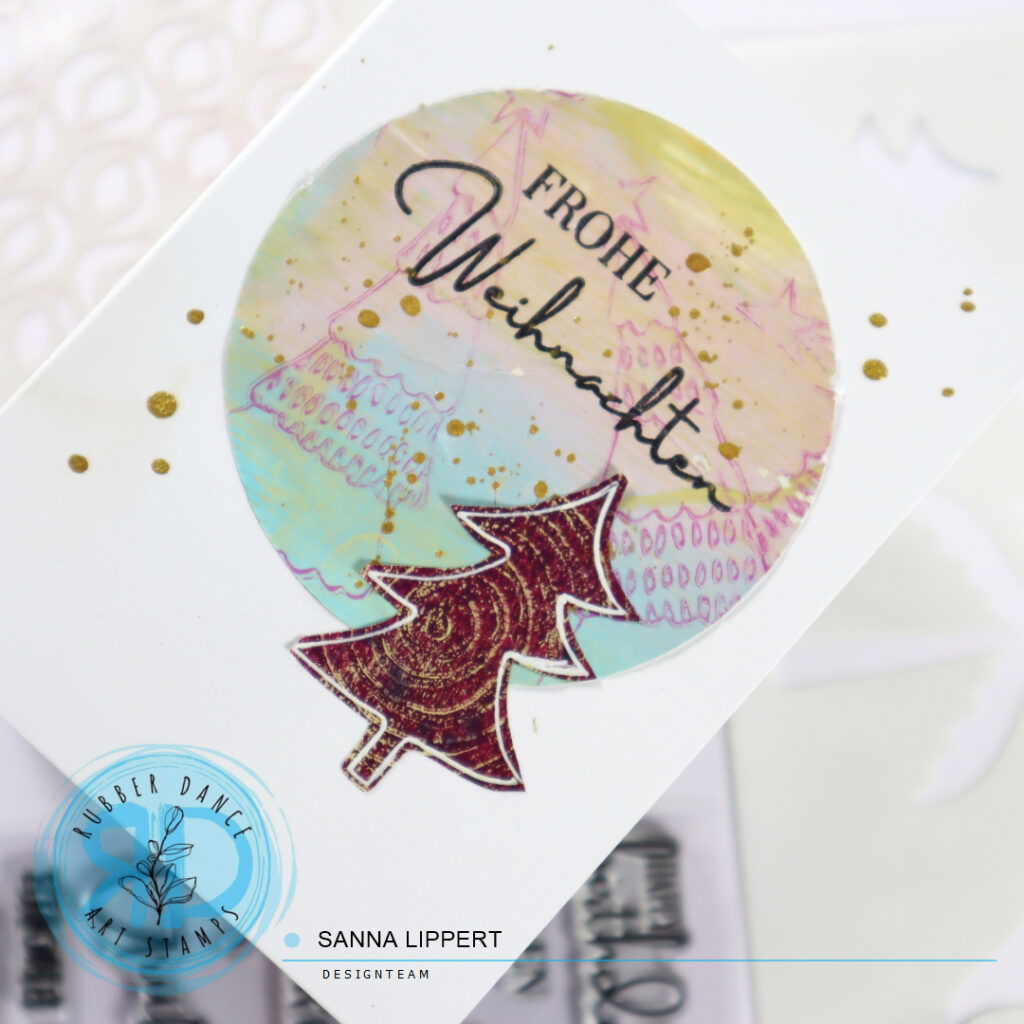
I basically combined the ideas from my previously shared Christmas cards here. I die cut the collage paper with the Textured Xmas Trees 2 pattern on it with circle die cut dies. And the Mix It Up 4 set circle stamp patterned paper is traced thru the Xmas Trees 2 stencil and then fussy cut. I then adhered both pieces to a white card base, added a sentiment stamp with the Kartengrüße stamp set and some golden pigment droplets here and there.
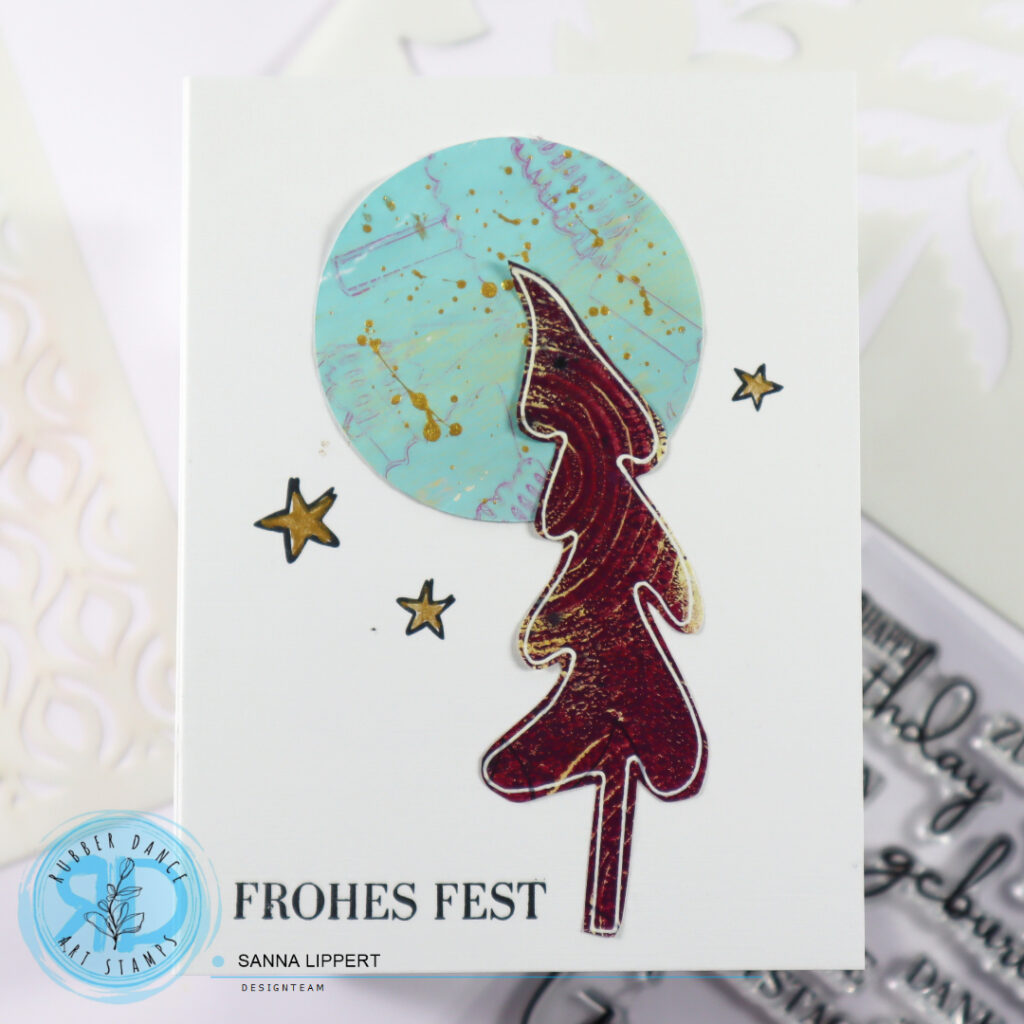
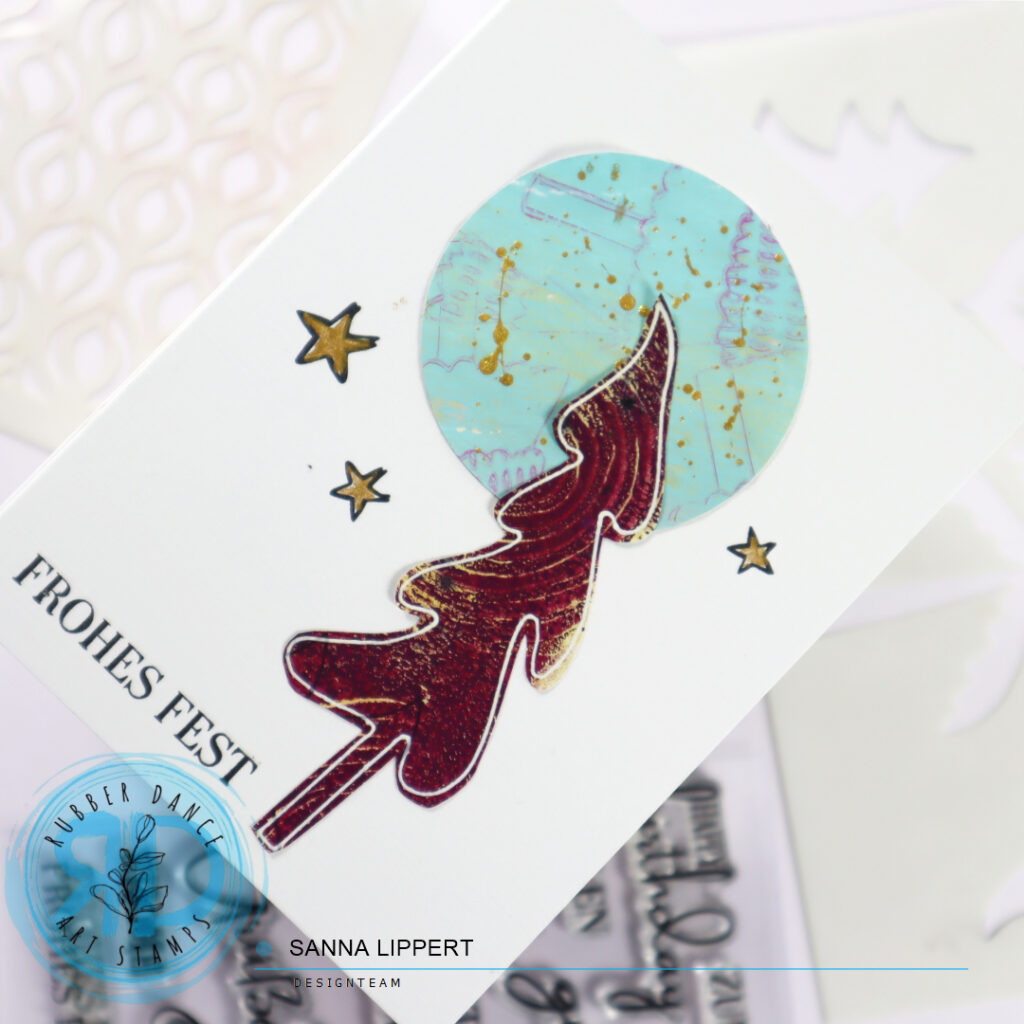
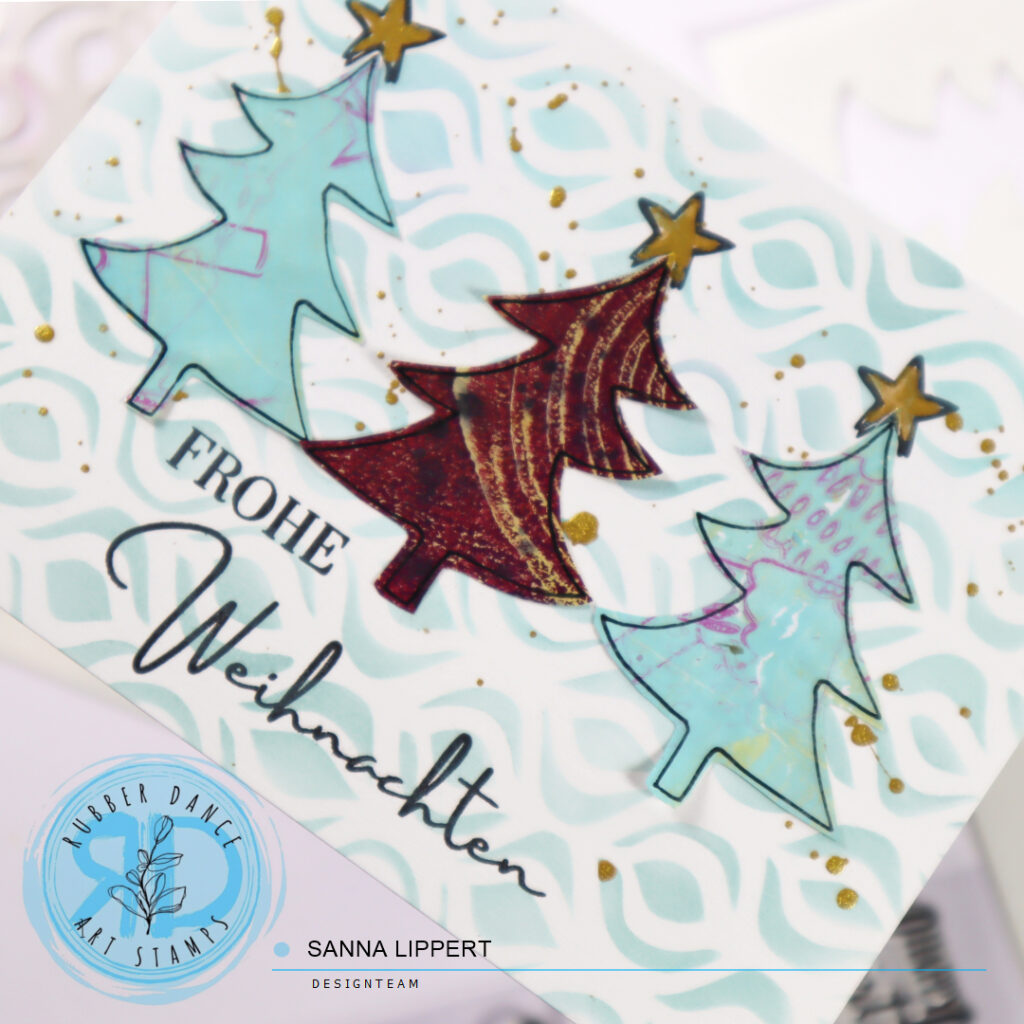
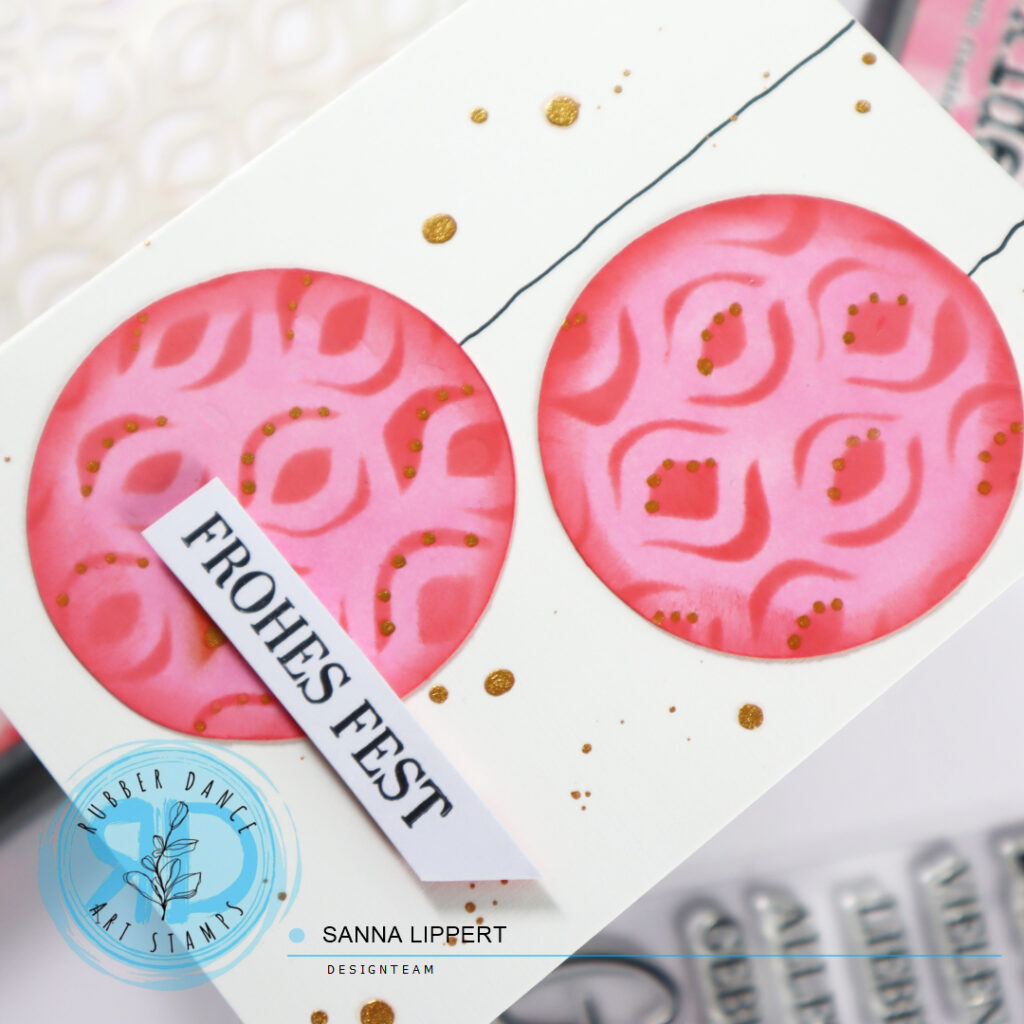
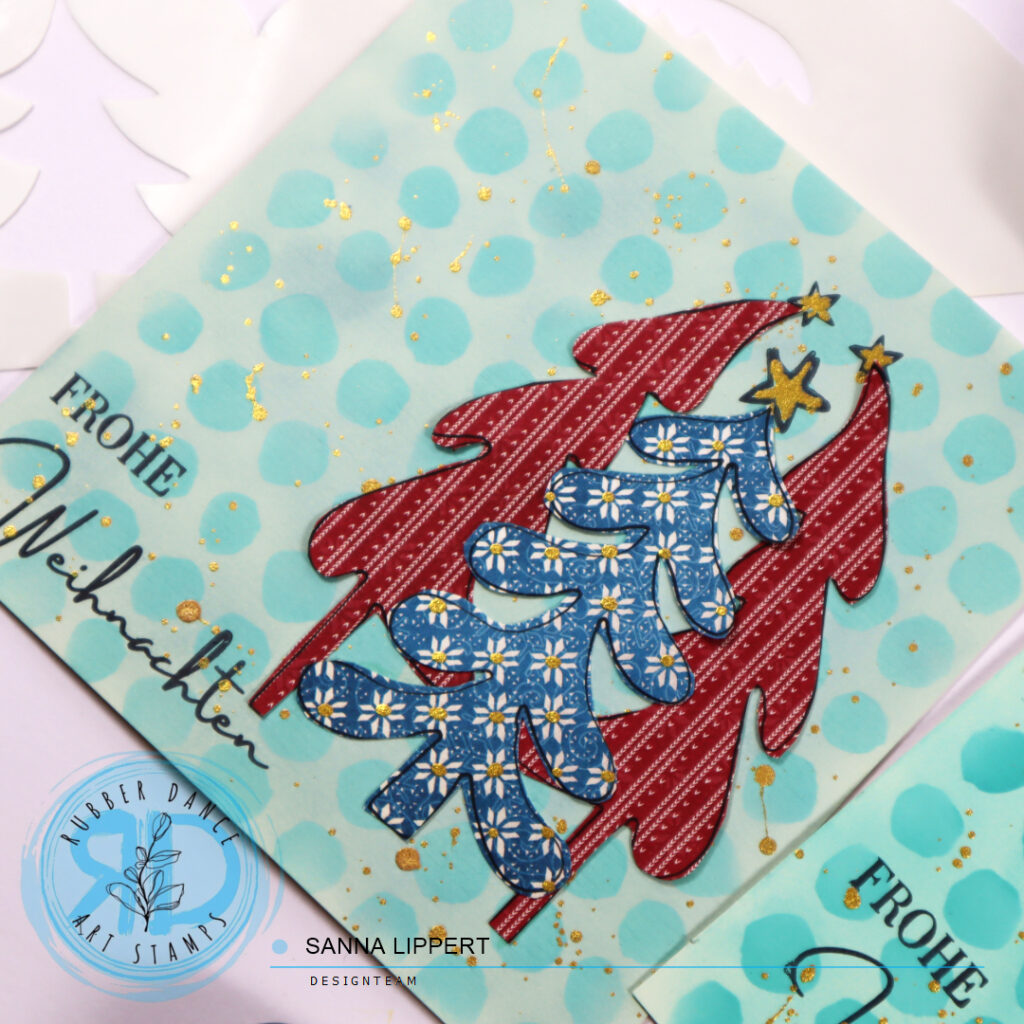
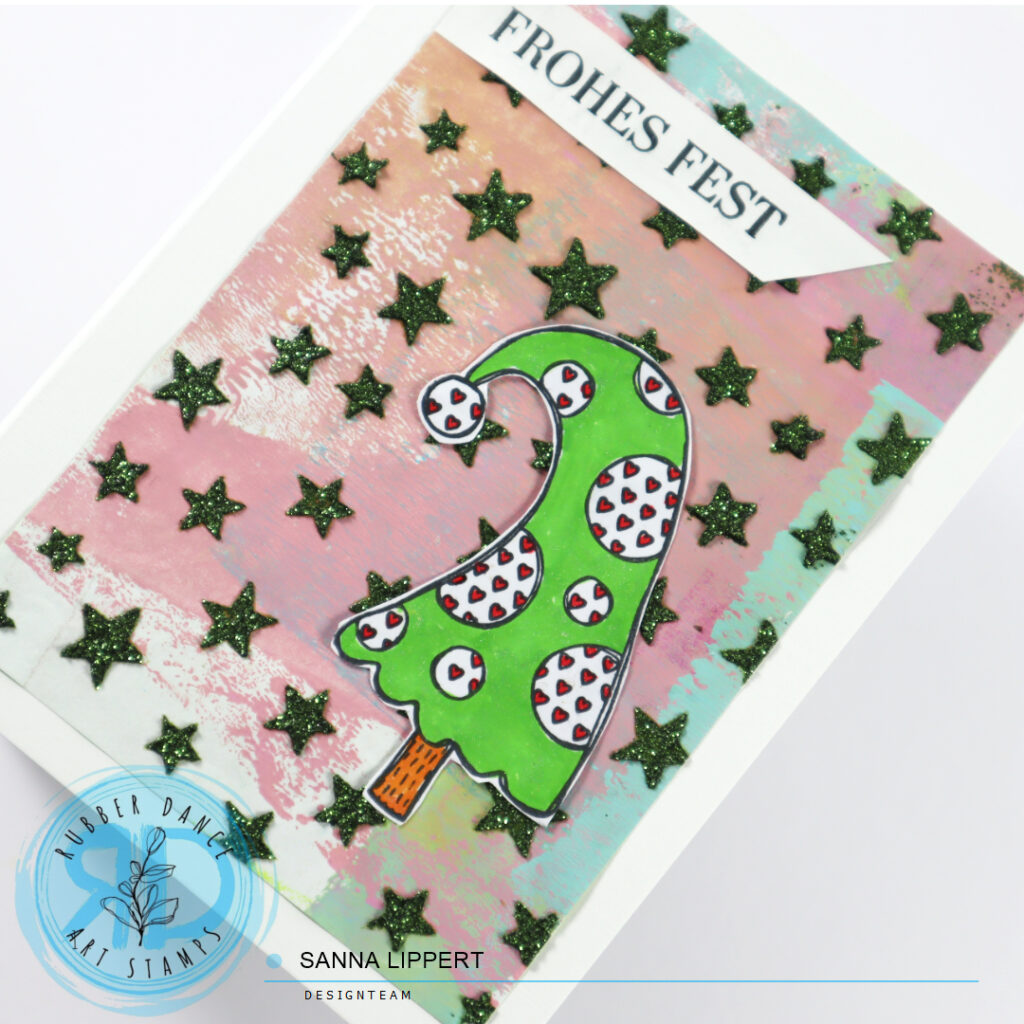
For the second card I basically did the same, except the stamped sentiment is on the card base, not on the collage paper. Also the golden pigment droplets are on the collage paper and the stamped stars are colored with the same golden color. For stamping those I used the Textured Xmas Trees 2 stamp set.
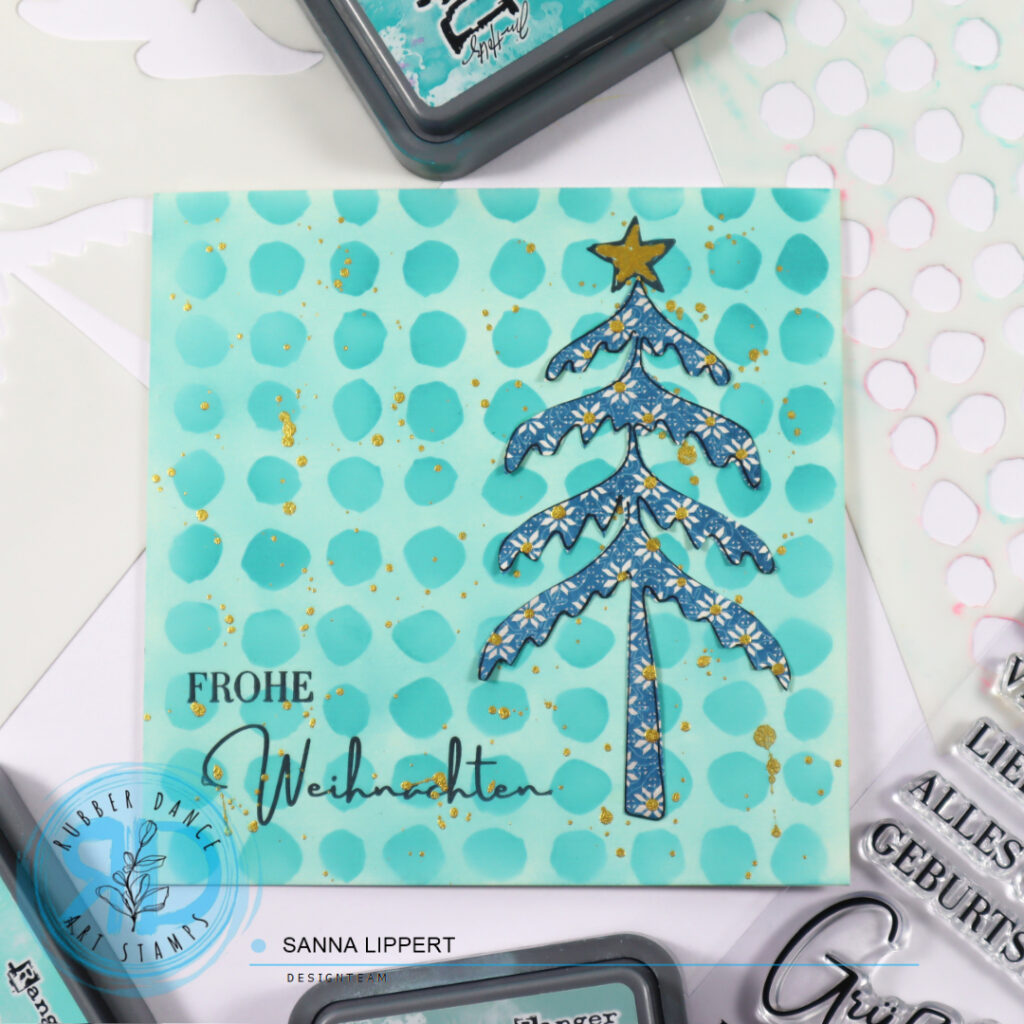
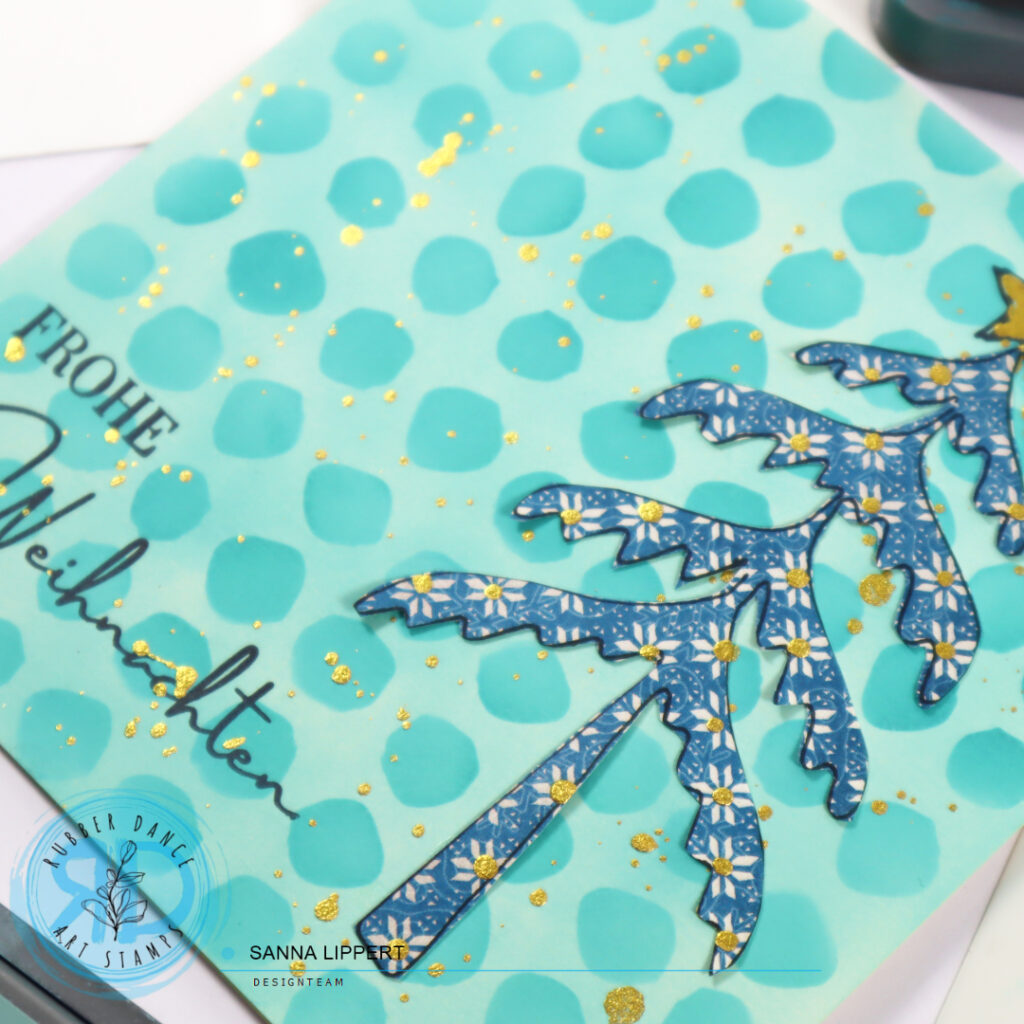
Here is one more bonus card, for which I just added some stenciling with the Ornament 1 stencil as a background and arranged some collage paper trees on top. I had some left over and didn´t want them to go to waste.
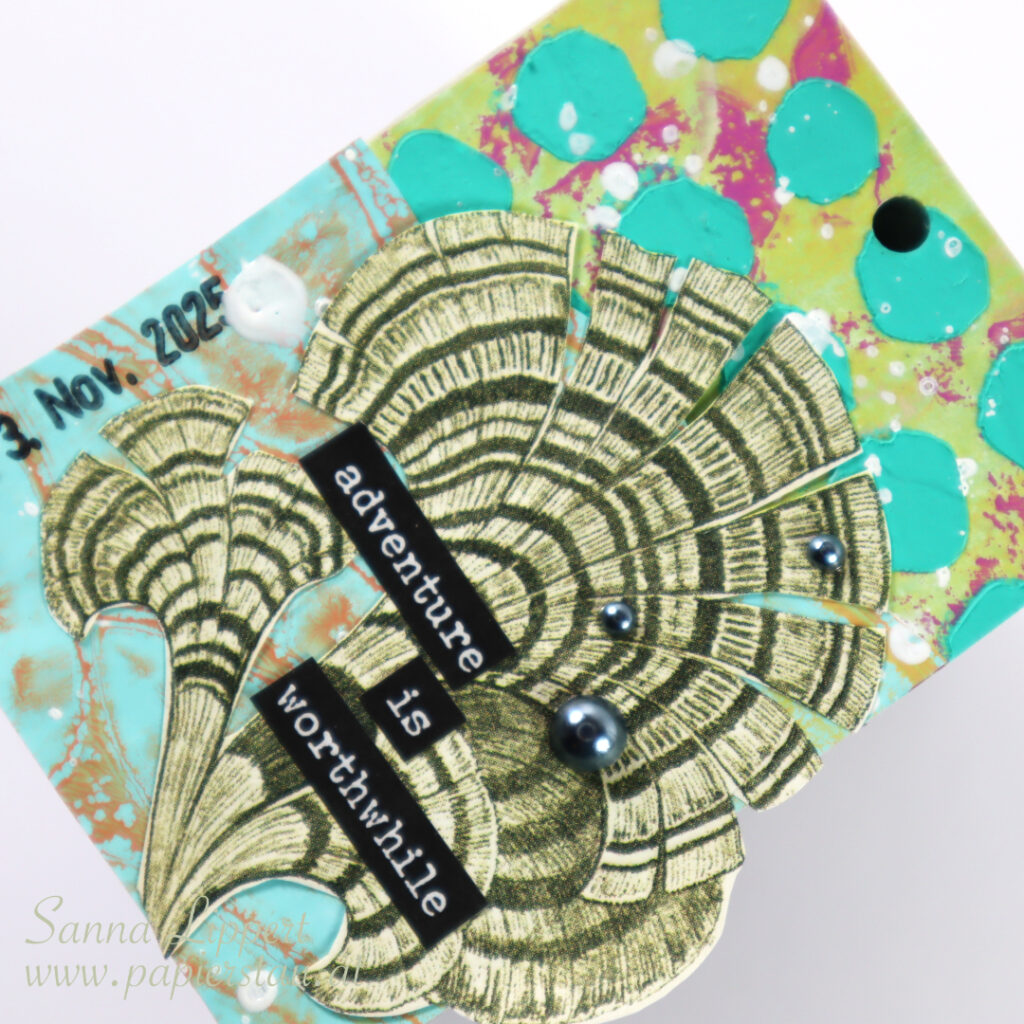
Hello! This is my take on the ShanoukiArt Full Deck Challenge 47/2025 – under the sea.
My carry over item is the turquoise, gelli printed collage paper. To that I added a stenciled, gell printed paper. On top is my constant, a date stamp.
Next I added some Dina Wakley Gloss Spray in white and a fussy cut, sea themed collage paper (coral). On top some half pearls and Tim Holtz sticker words.
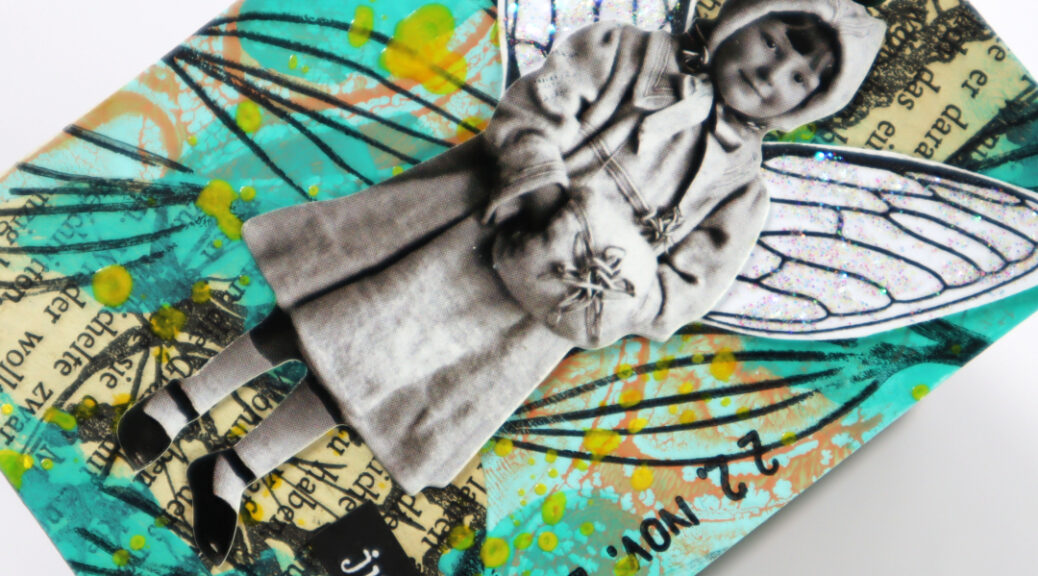
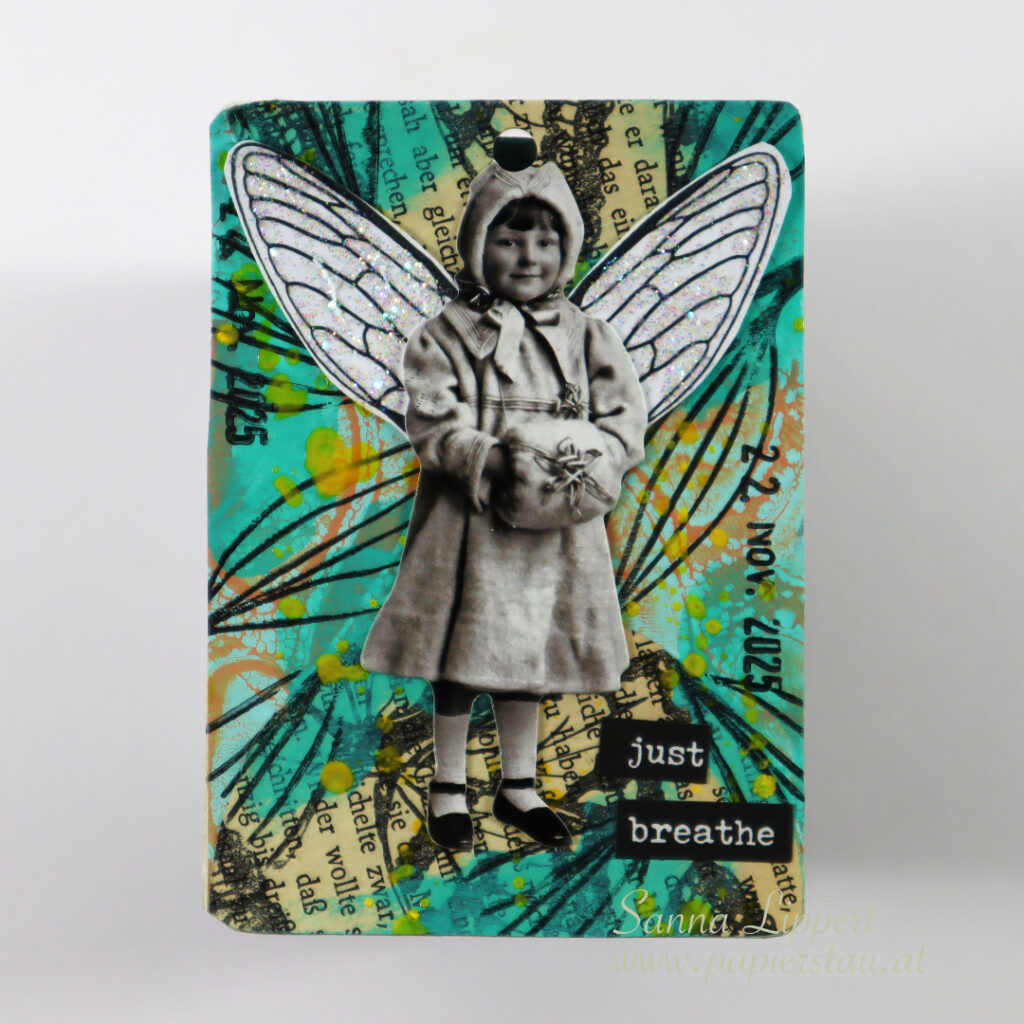
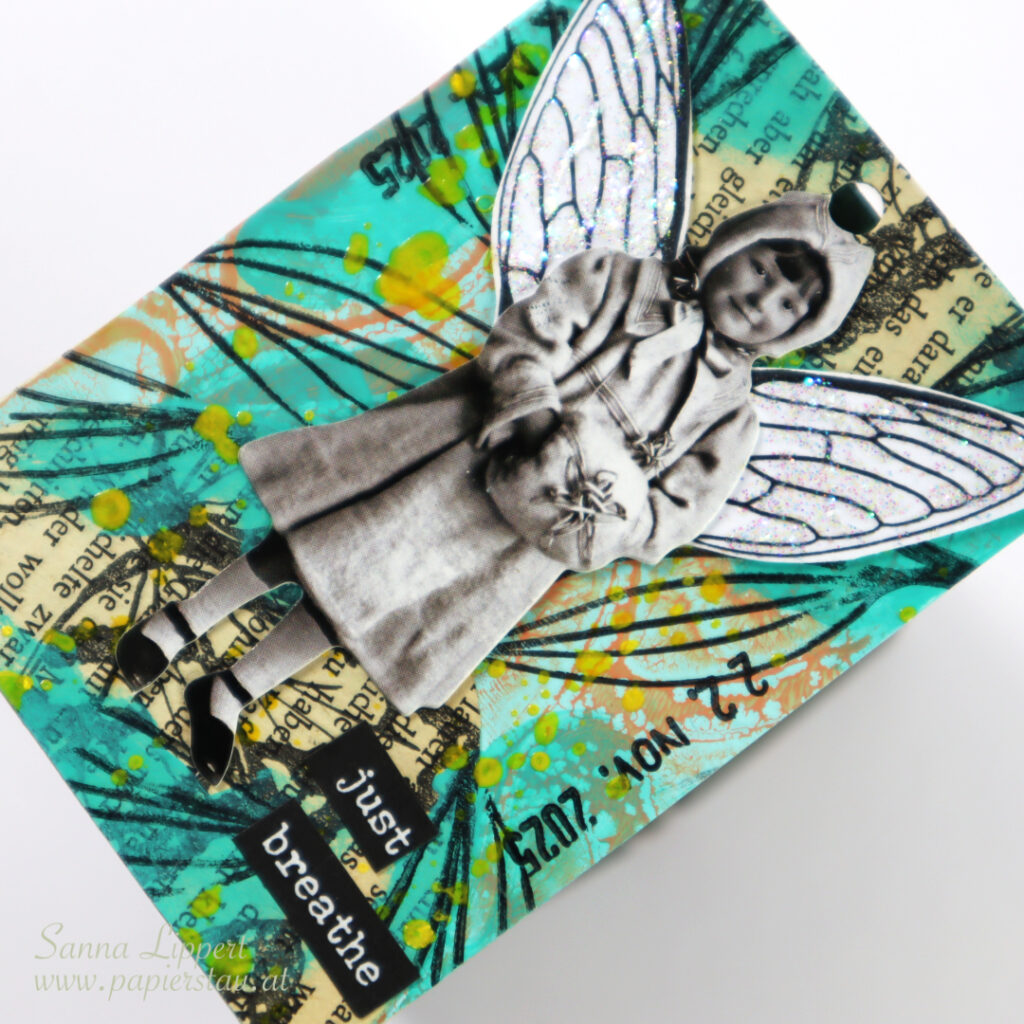
Hello! Here is my take on the ShanoukiArt Full Deck Challenge number 46: fairy.
For this one I used the butterfly stamped old book paper bits as a carry-over-item. To those I added some gelli printed collage papers in turquoise and some Dina Wakley heavy body paint in turquoise. After that I added my constant – the date stamp.
After that I added some yellow Dina Wakley Gloss Spray and stamped leaves with this Rubber Dance stamp to the background. As a focal point I added a Tim Holtz paper doll and fairy wings from a Rubber Dance stamp set. I added some Stickles for shine to them, too. The sticker words are by Tim Holtz.
Here is the step-by-step video:
See you again next week with another take! xx, Sanna
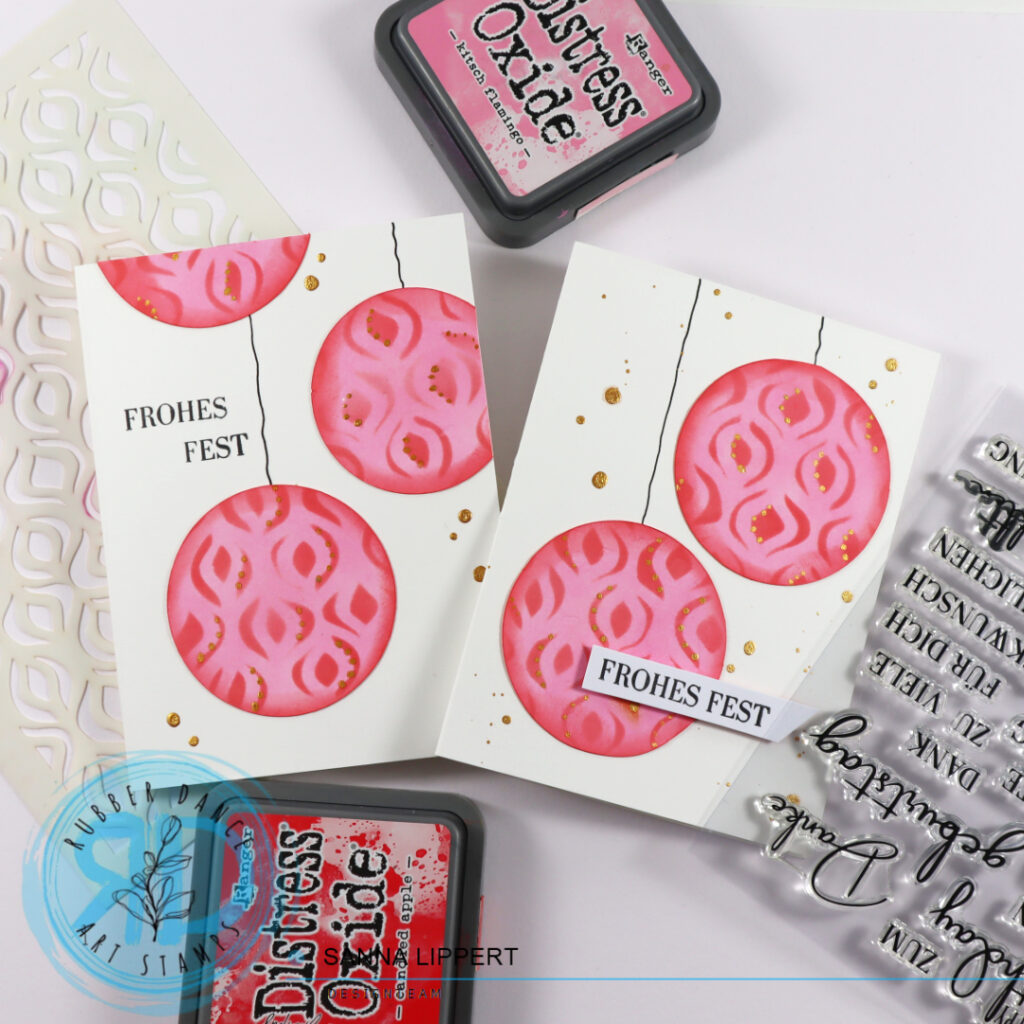
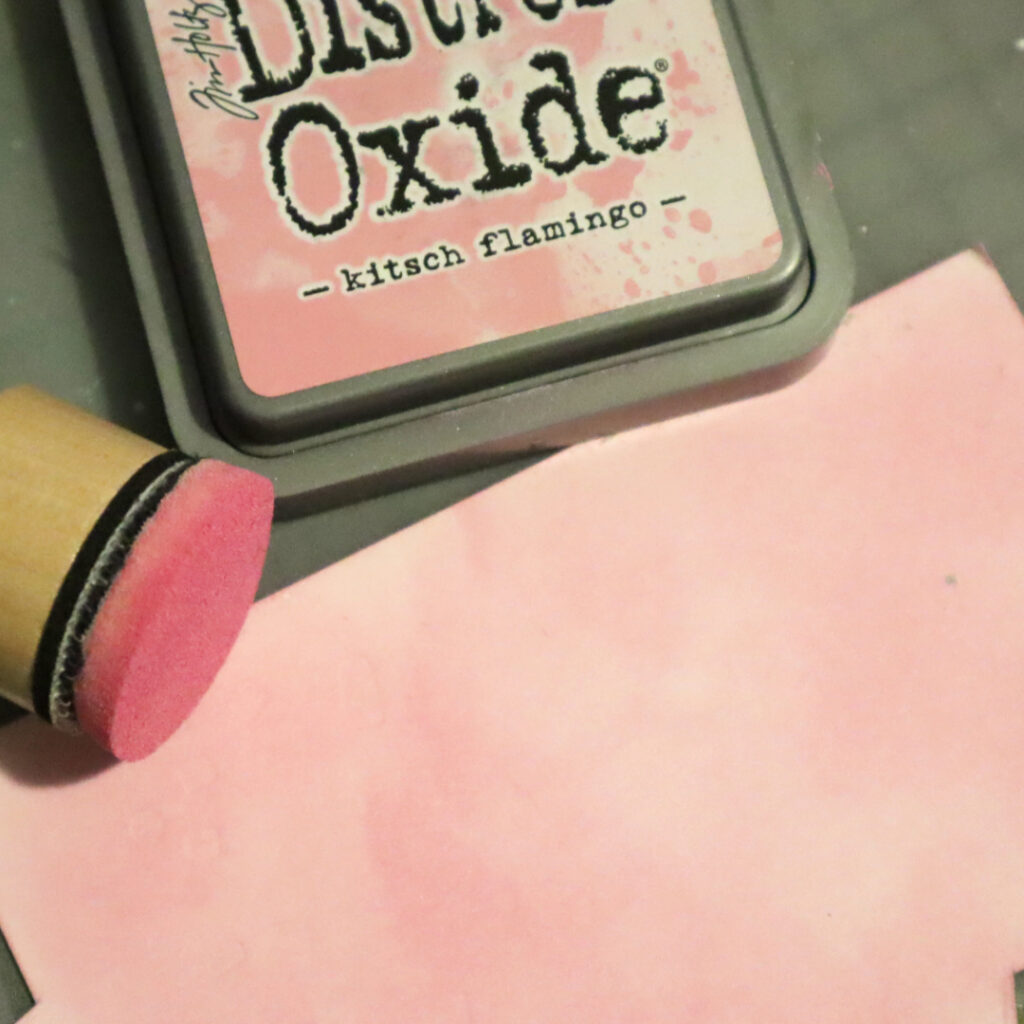
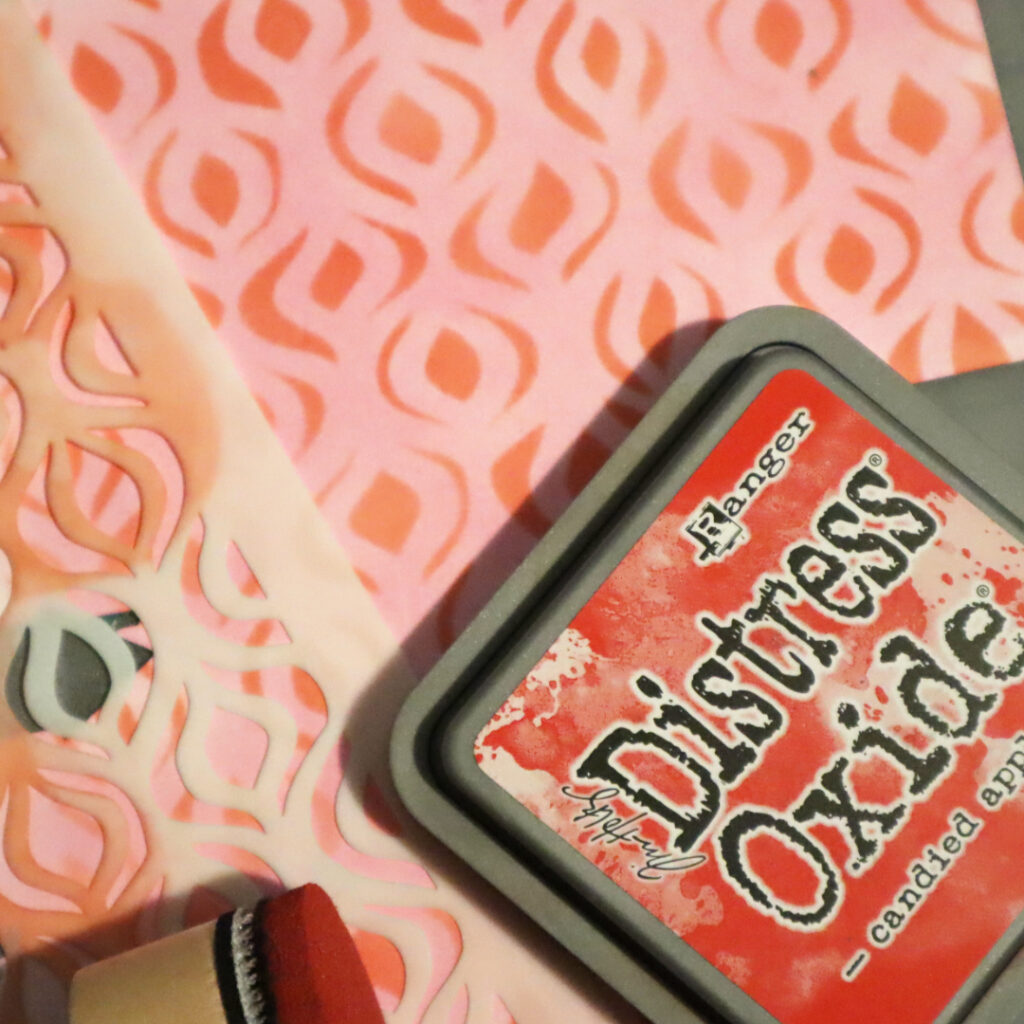
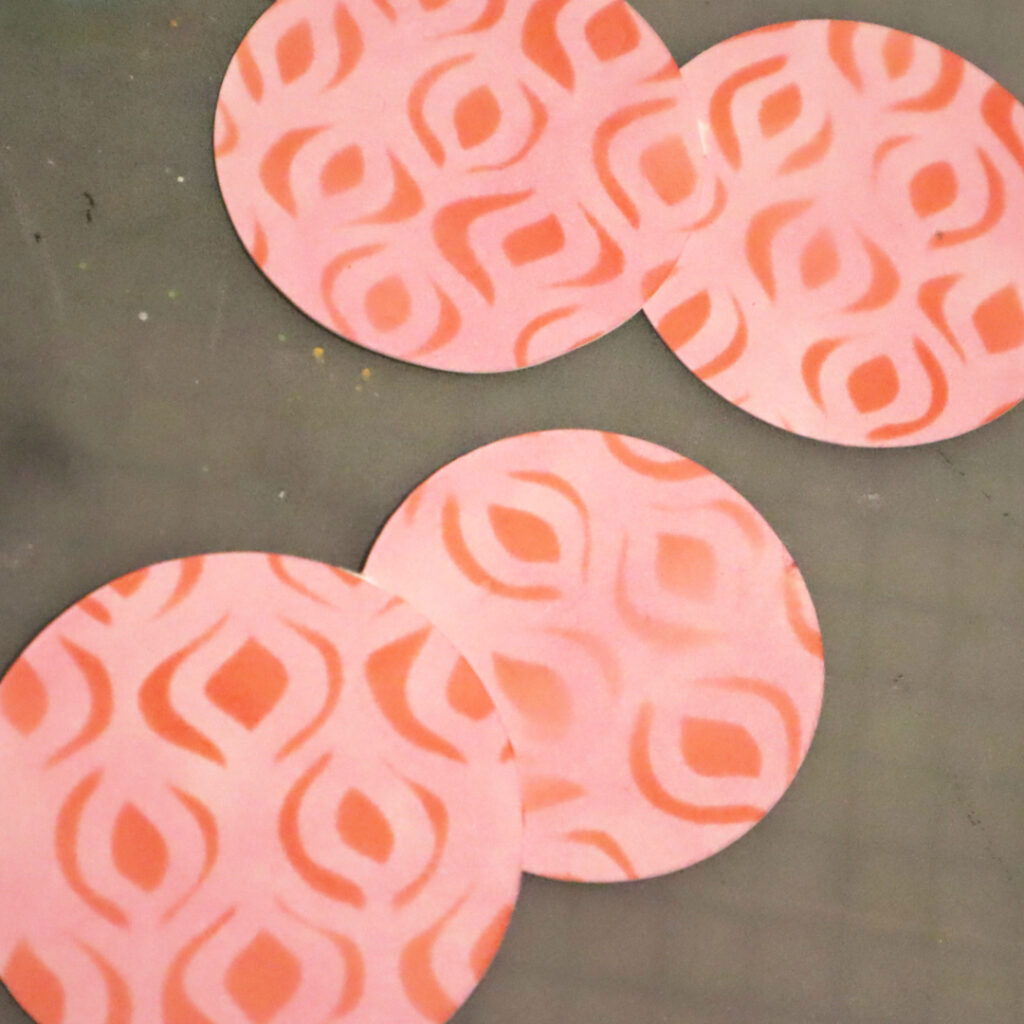
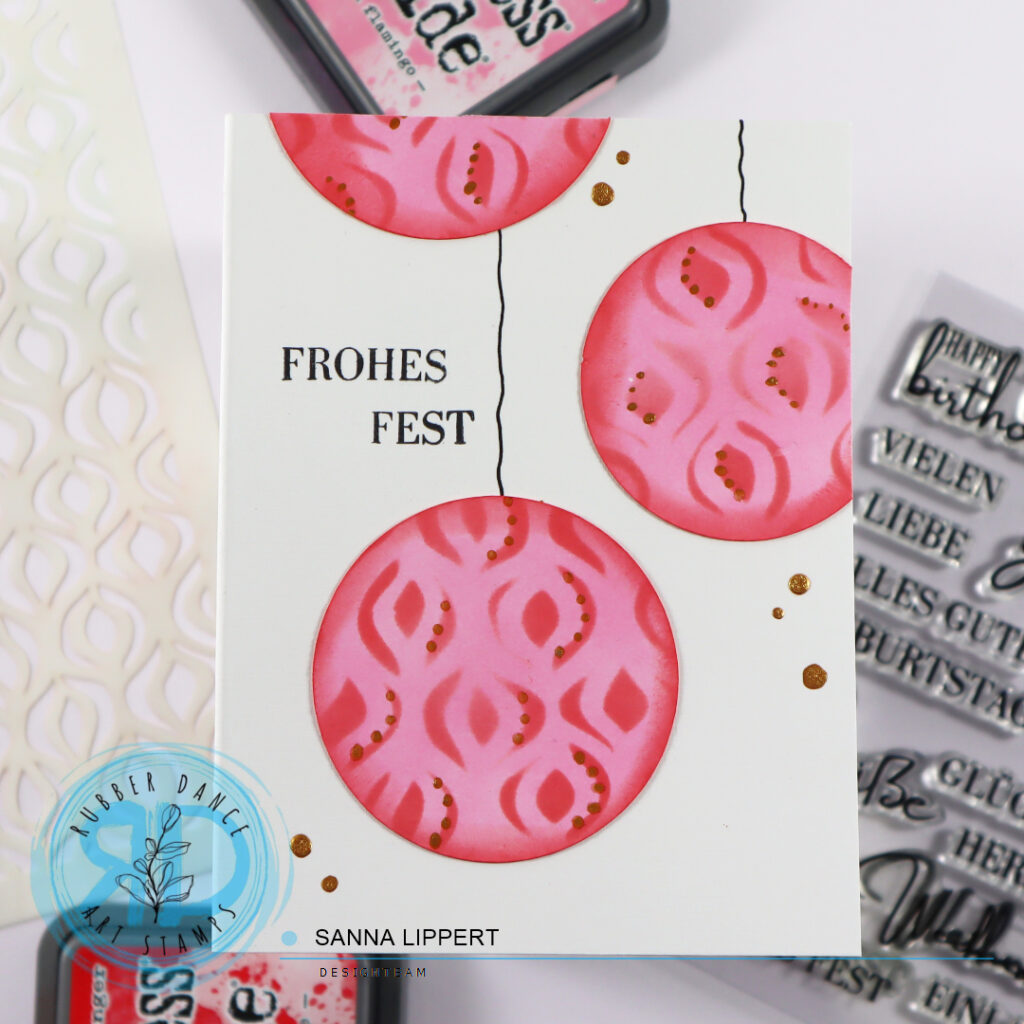
I started by inking a piece of white cardstock with “kitsch flamingo” Distress Oxide ink. next I placed the Ornament 1 stencil on top of the inked paper and applied a darker red tone, “candied apple”, thru the stencil onto paper.
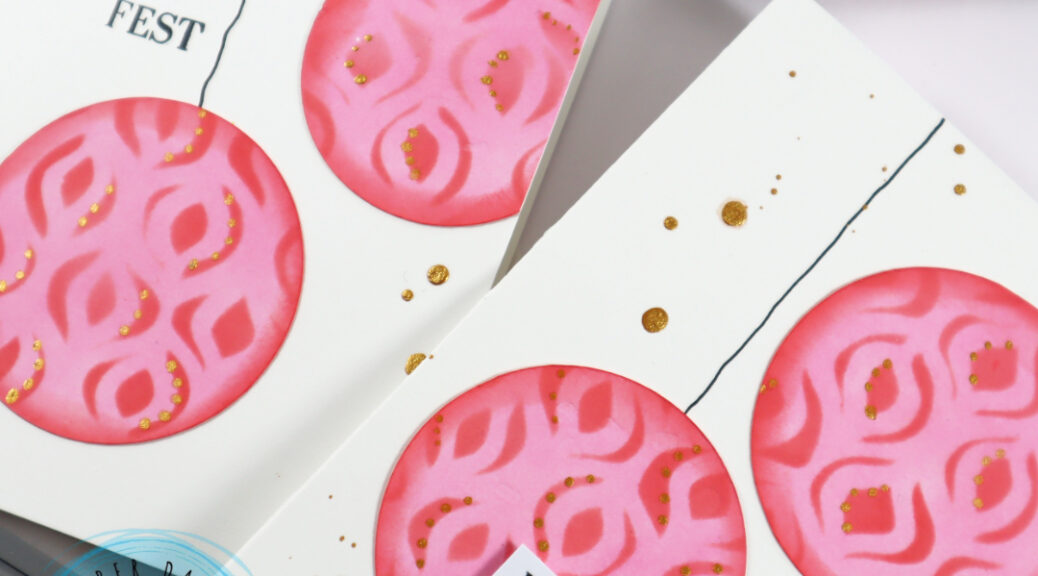
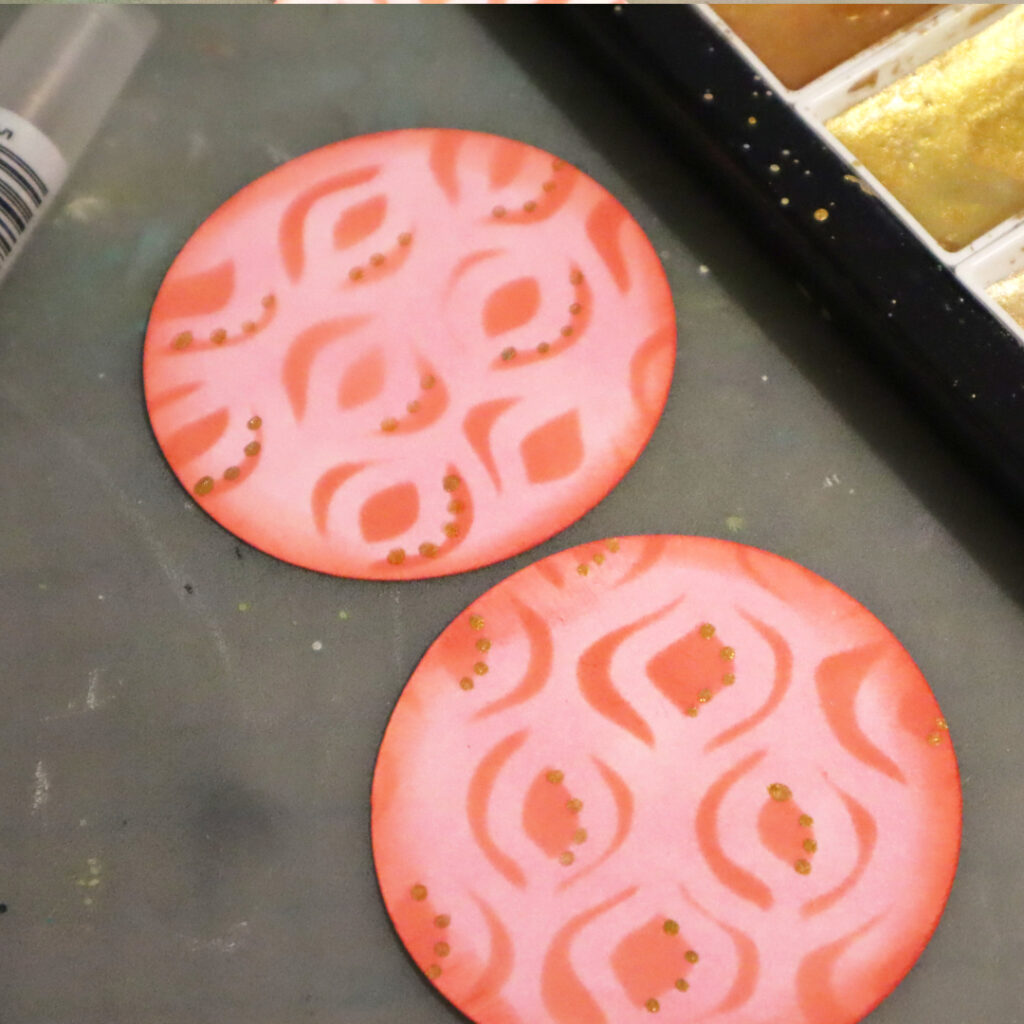
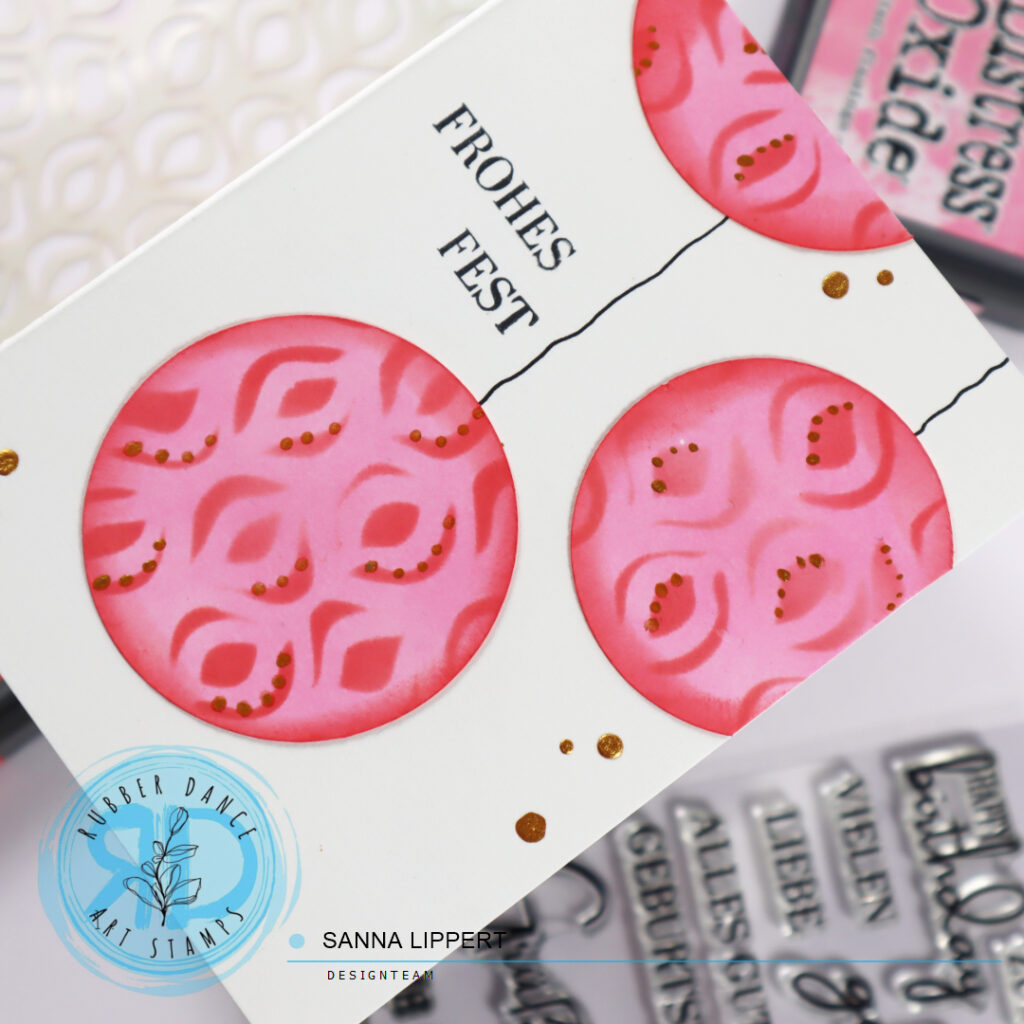
After that I die cut the paper into two different sized circles. I then inked the edges with the darker red toned ink and added some golden dots with a water brush onto them.
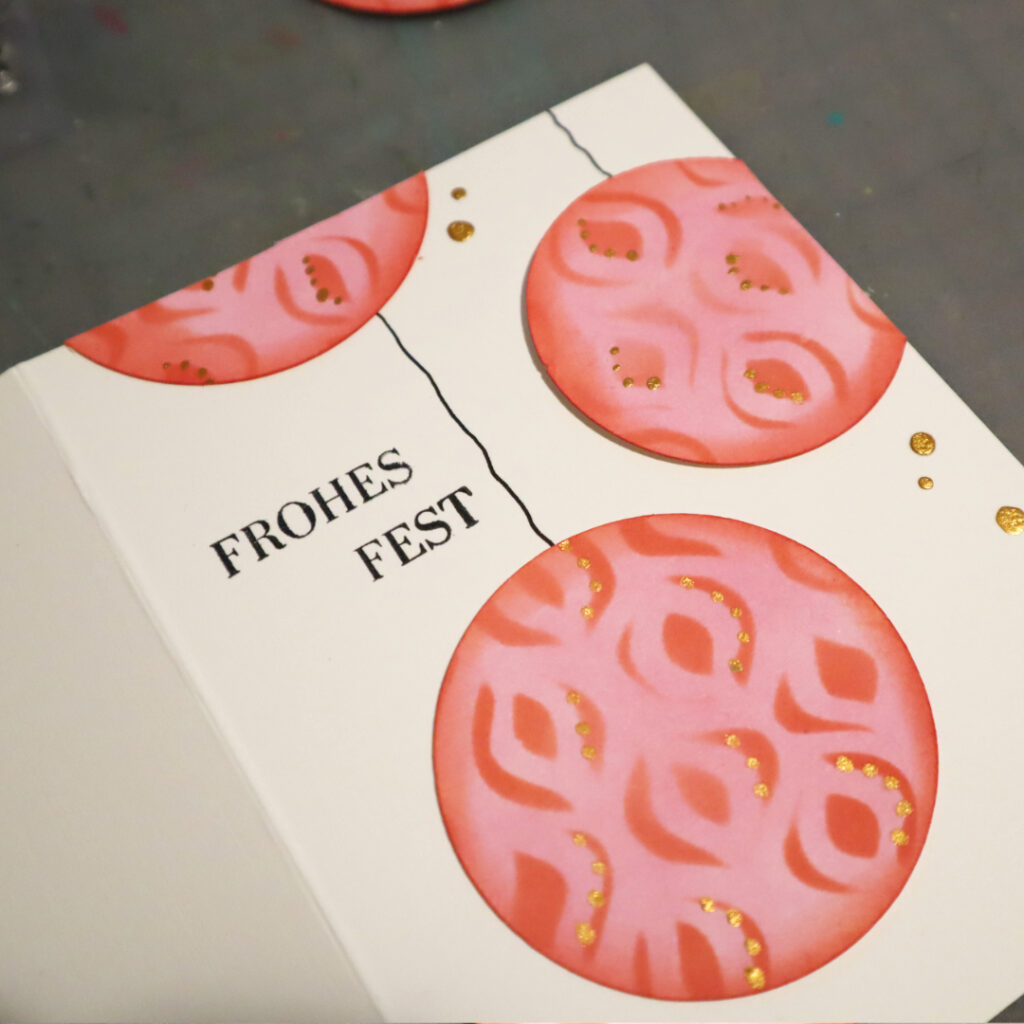
Then I just drew some strings for the baubles to hang onto the card base and adhered the circles on place. After that I stamped a sentiment with black ink onto the cards using the Kartengrüße stamp set.
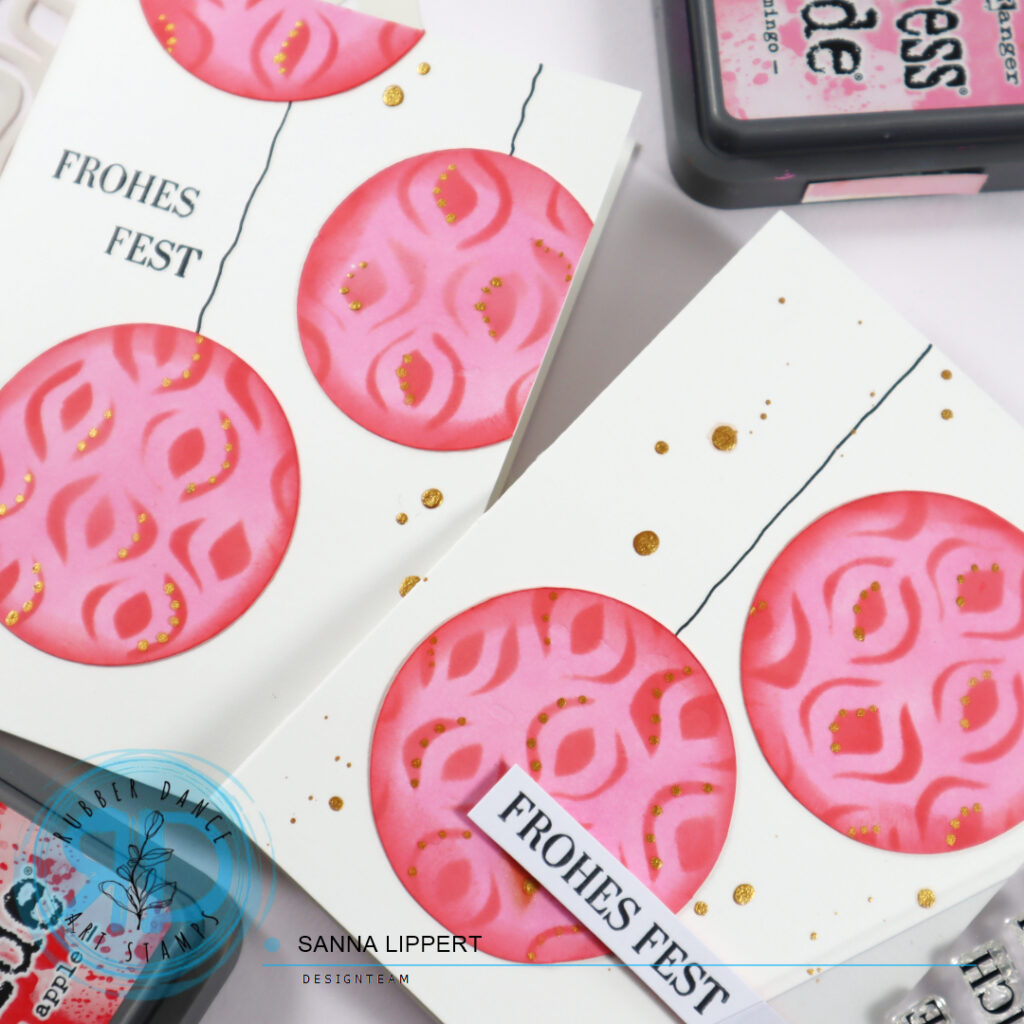
I also added some golden droplets to the card bases for additional interest in the end just for fun. Here are the finished cards:
I hope you enjoy this card idea and make some Christmas bauble cards yourself. Happy crafting, xxx, Sanna
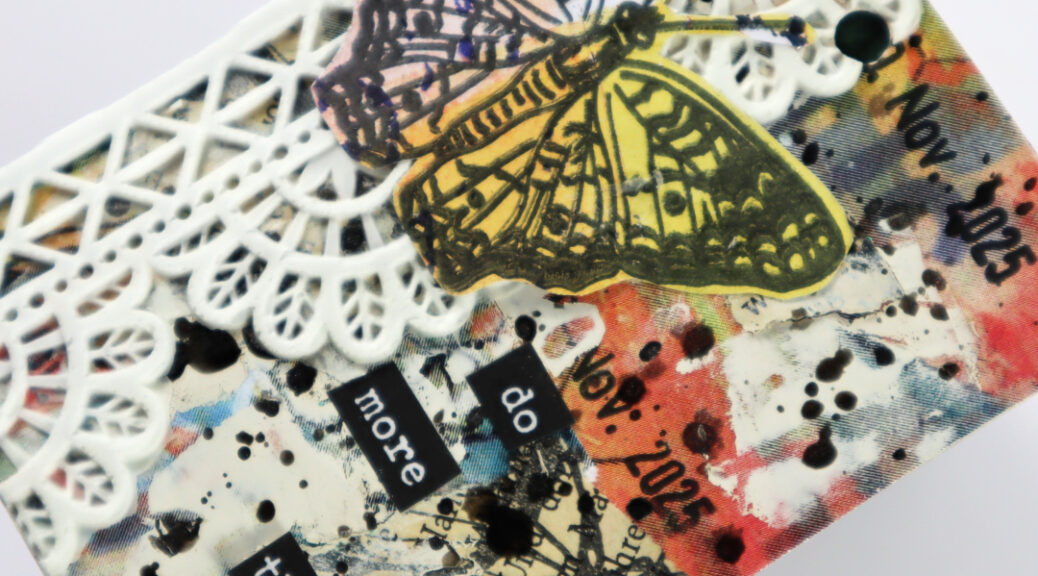
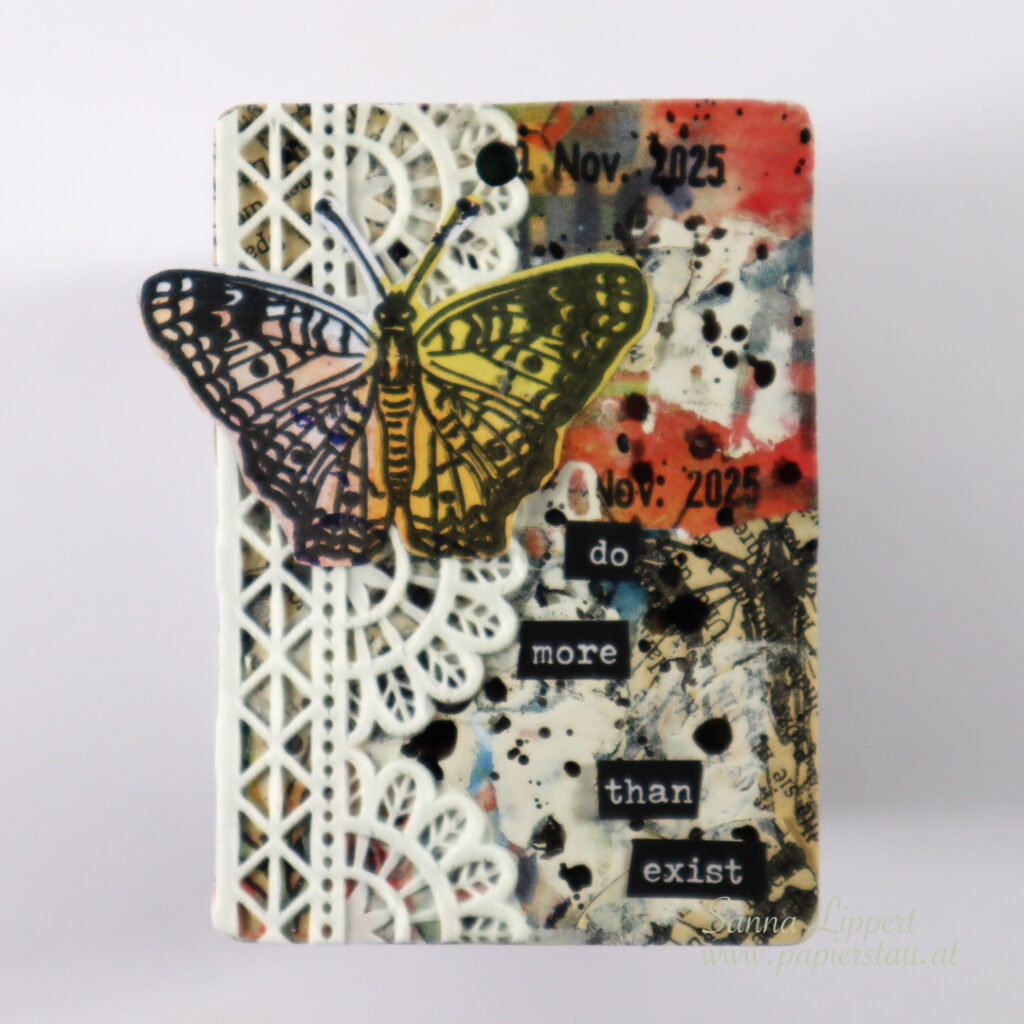
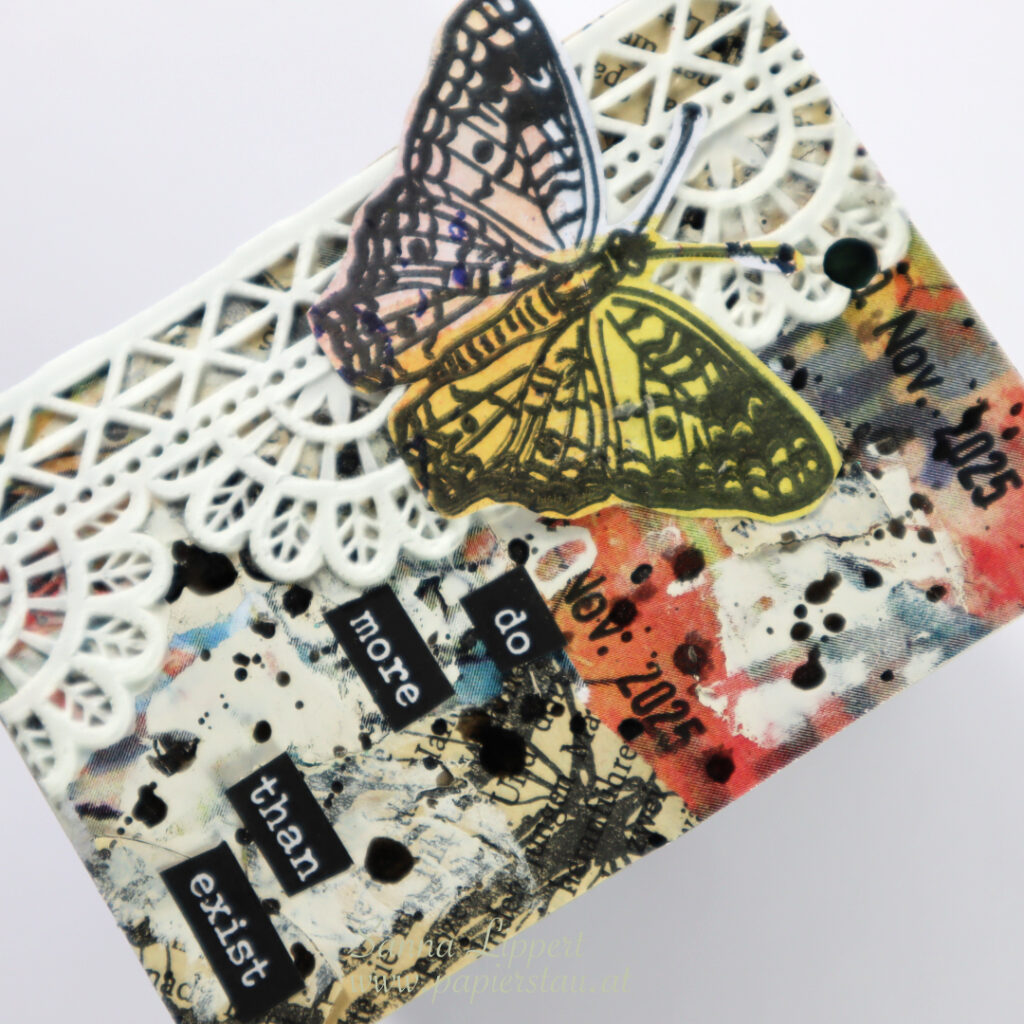
Hello! This is my take on the ShanoukiArt Full Deck Challenge 45/2025: lace.
I used collage papers gifted to me by Yuna as my carry-over item. To those I added some old book paper bits, stamped with Rubber Dance butterfly stamps. On top of that I added some Dina Wakley heavy body paint with a palette knife. On top of that my constant, a date stamp.
Next I added Midnight Dina Wakley Gloss Spray droplets and the DIY lace. I made it with lace cream and a silicone mold. On top of it I adhered a collage butterfly (Rubber Dance). For finishing touches I added word stickers by Tim Holtz.
Here is the video step-by-step:
Come back next week for another FDC take! xxx, Sanna
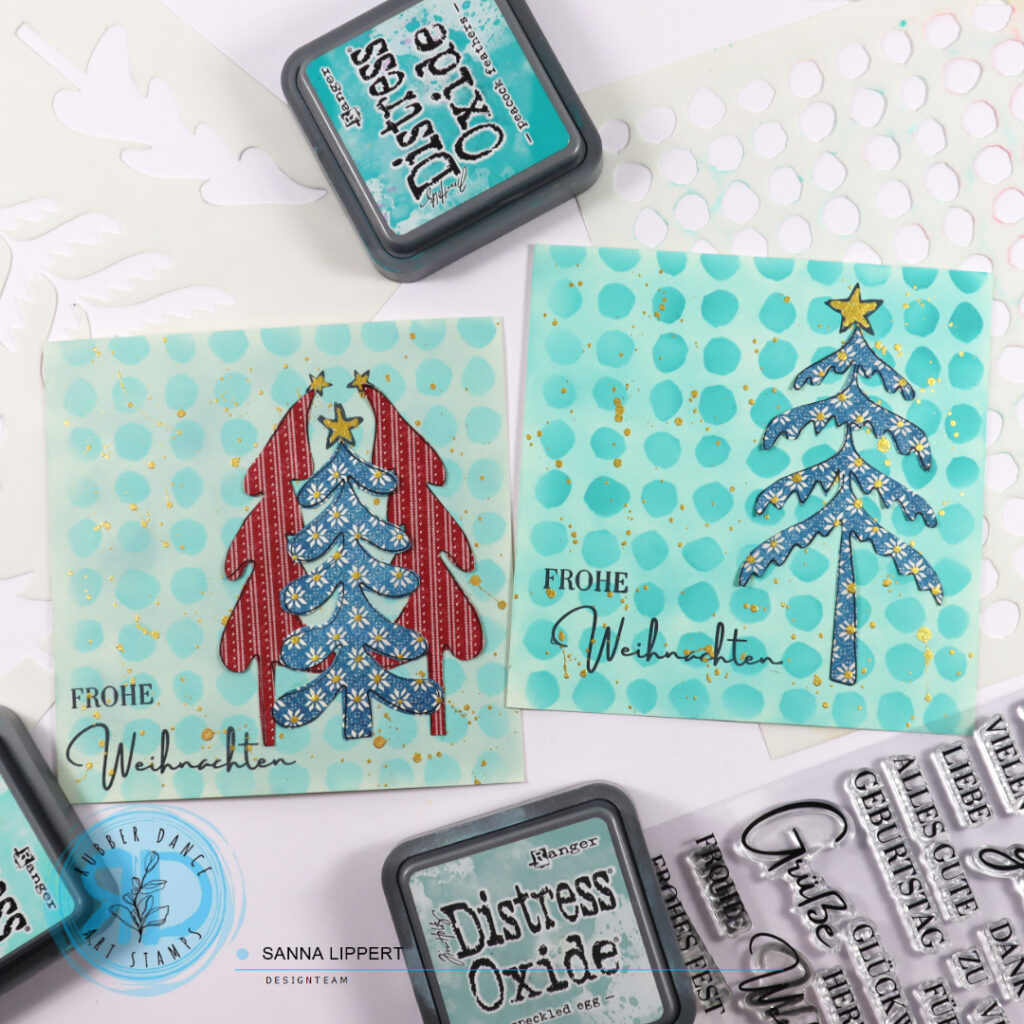
Hello, here is a set of stenciled Xmas cards I created using Rubber Dance products: Dotted stencil, Kartengrüße stamp set and Xmas Trees 2 stencil.
I used Distress Oxide in two tones for the background with the Dotted stencil. I started by inking the whole background with the first ink layer. After that I placed the Dotted stencil on top and added the second blue tone thru the stencil.
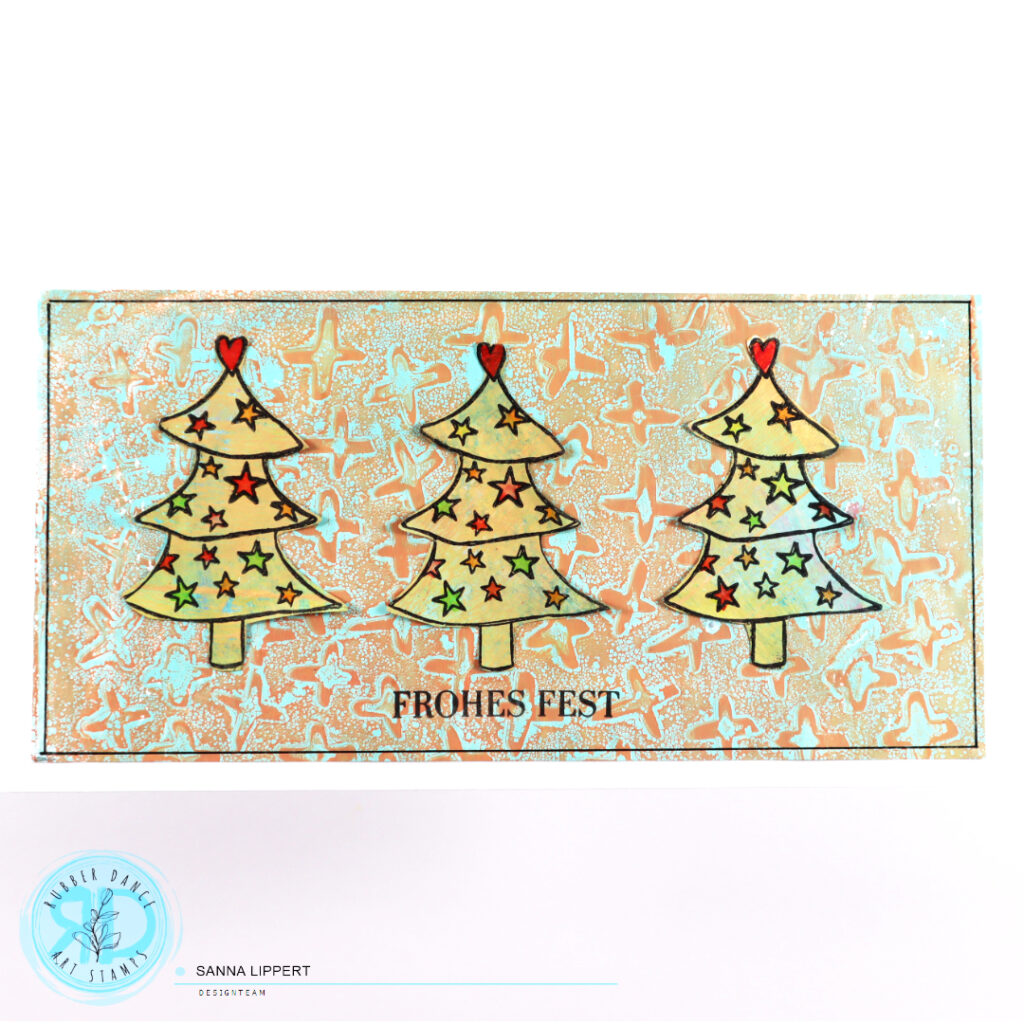
Next I took some Gansai Tambi Starry Colors golden pigment and added droplets to the background. After that I grabbed some Graphic45 Christmas papers and drew along the stencil tree patterns of the Xmas Trees 2 stencil with a black pen. Then I fussy cut the images and adhered them to the card.
For the sentiment I used the Kartengrüße stamp set with black ink. Next I stamped some stars to the treetops (Textured Xmas Trees 2 stamp set) and colored the stars with golden pigment. For finishing touches I also added some golden dots to the blue toned, fussy cut, trees. The ink tones I used for the backgrounds are: peacock feathers, speckled egg and salvaged patina.
Here is the video step-by-step:
I hope you like the card idea and create some fun stenciled Xmas cards too! Happy crafting, xx, Sanna
How about putting some of the collage paper piles we all have into good use and create some Christmas cards with them? Here are some I did:
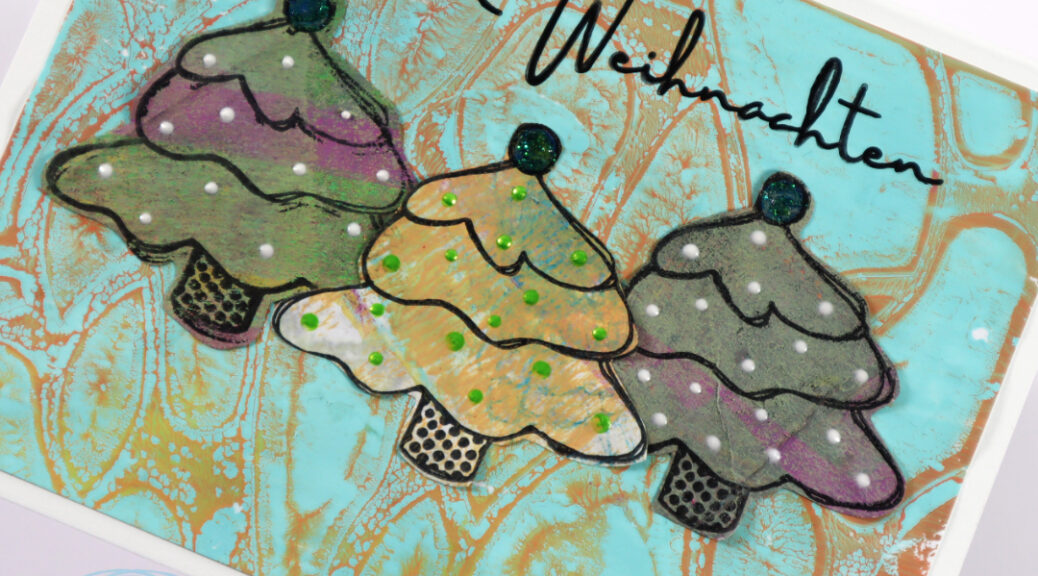
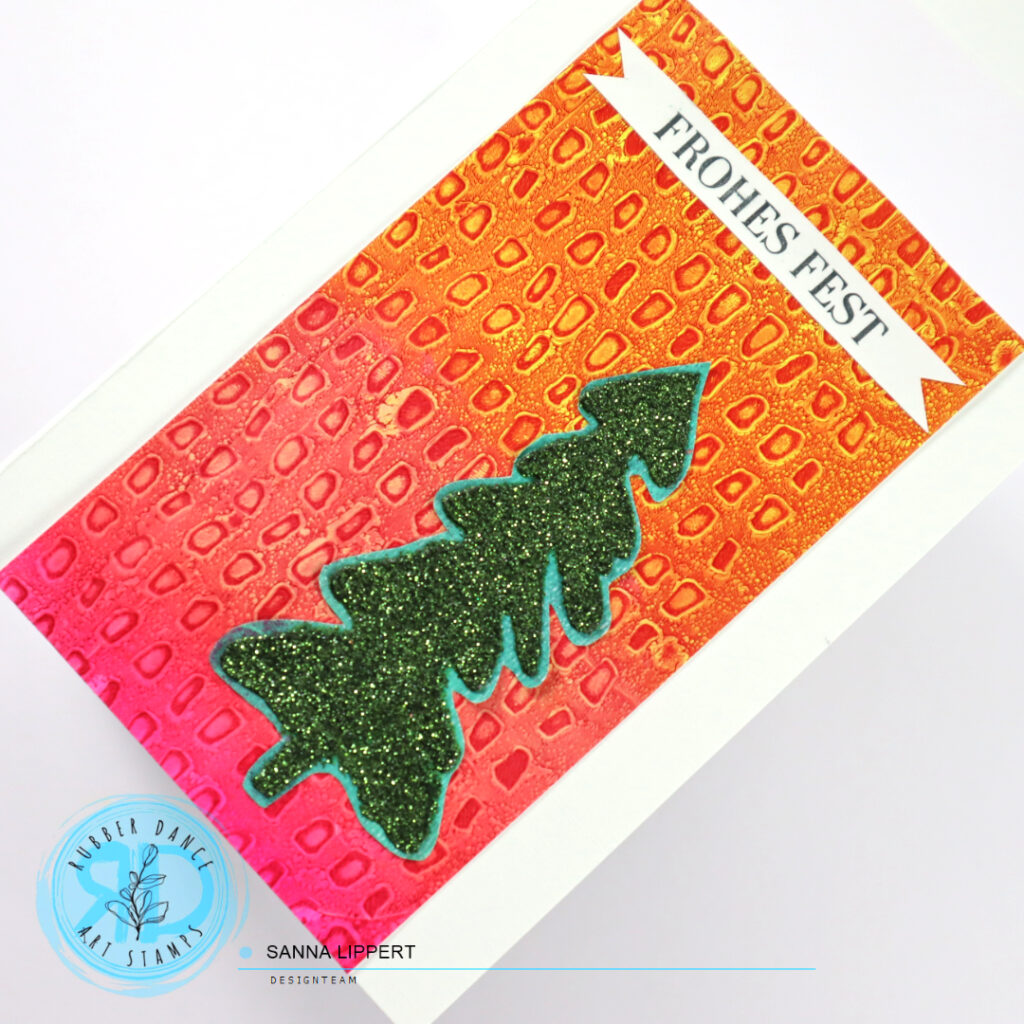
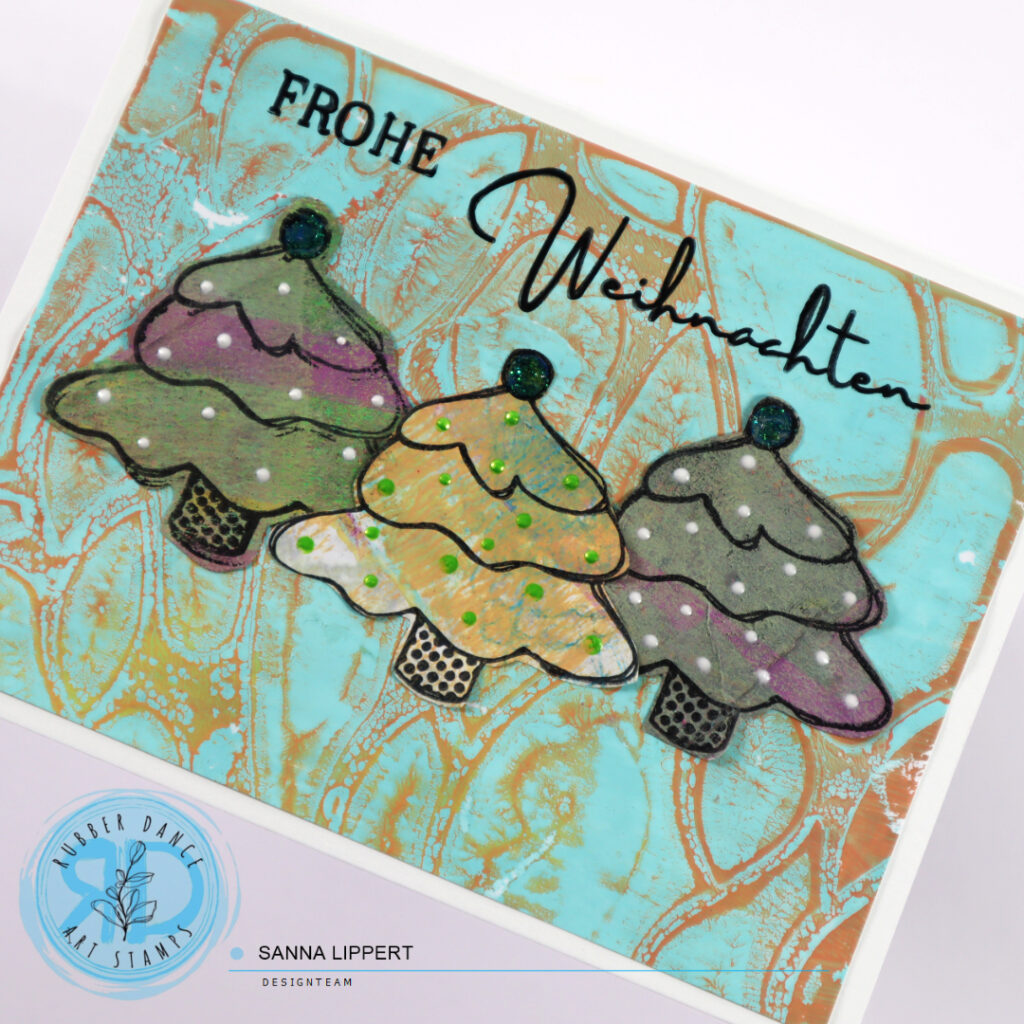
I have a glitter paste stenciled background paper on these cards (made with Tonic Studios paste and Stars 1 Rubber Dance stencil). On top I´ve added some on collage paper stamped (Textured Xmas Trees 2) trees. Finished with Kartengrüße stamp set sentiments. The green tree was stamped on plain paper and then colored with Edding glitter brush pens.
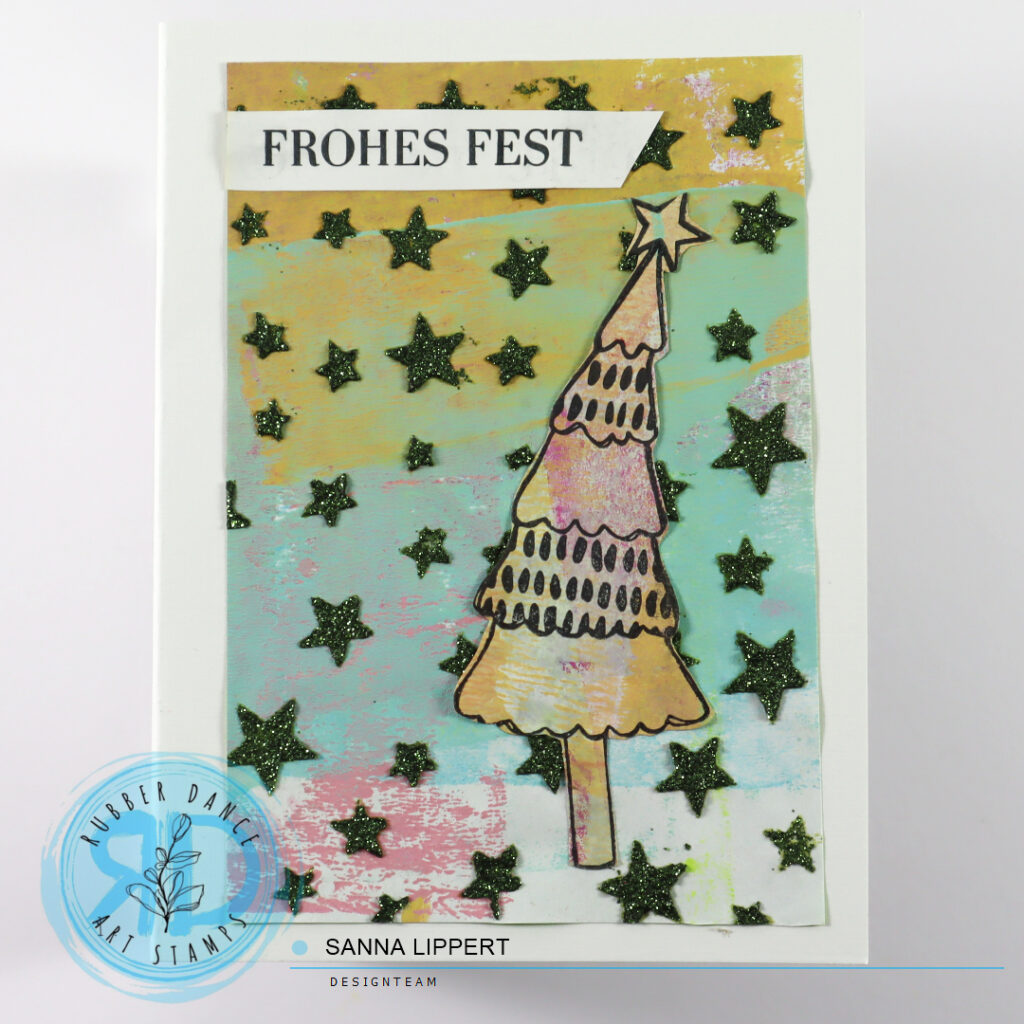
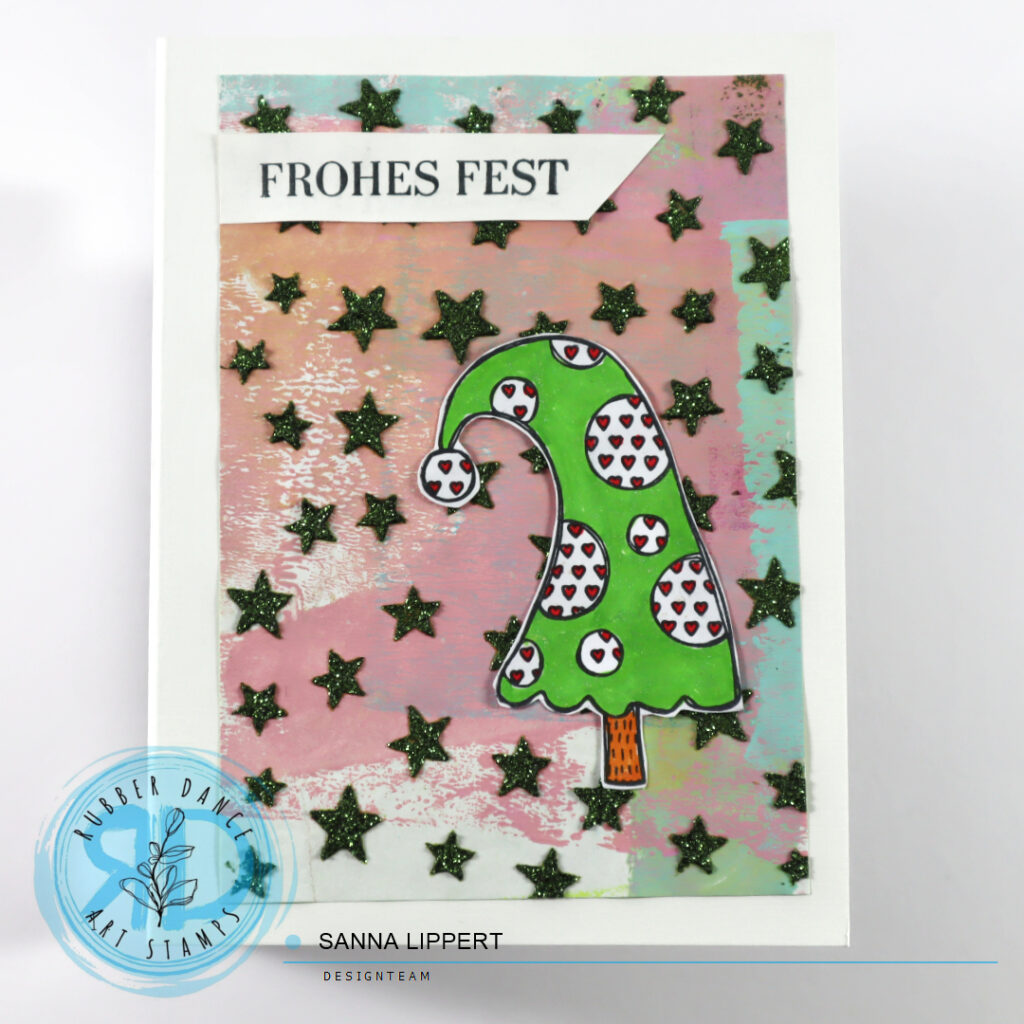
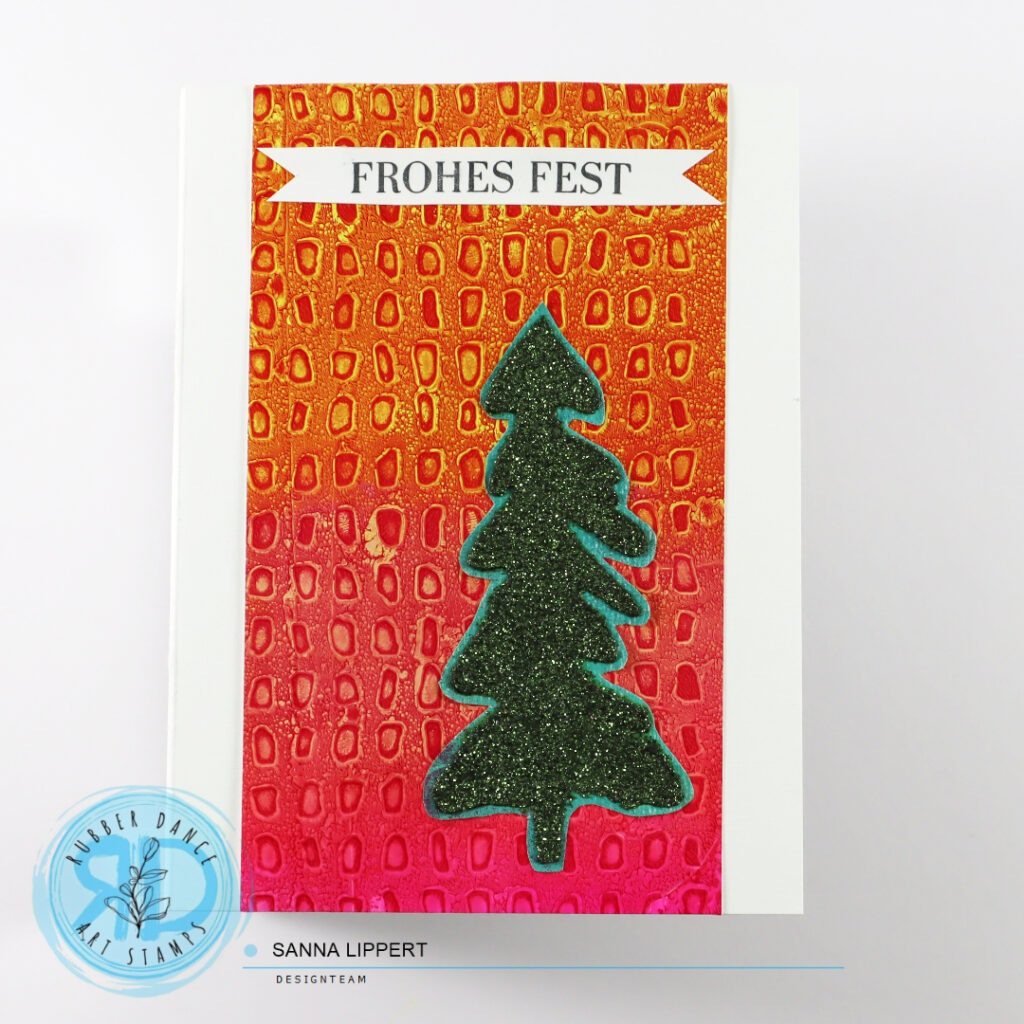
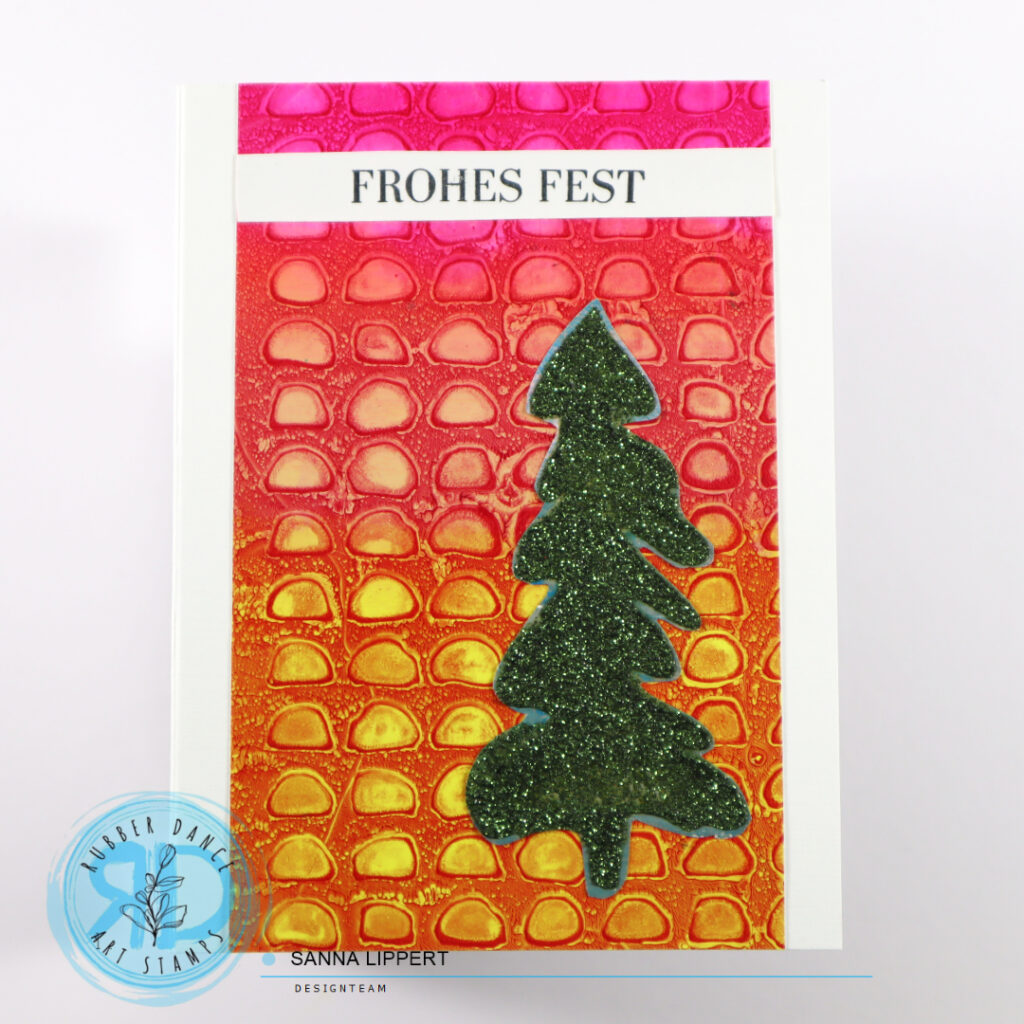
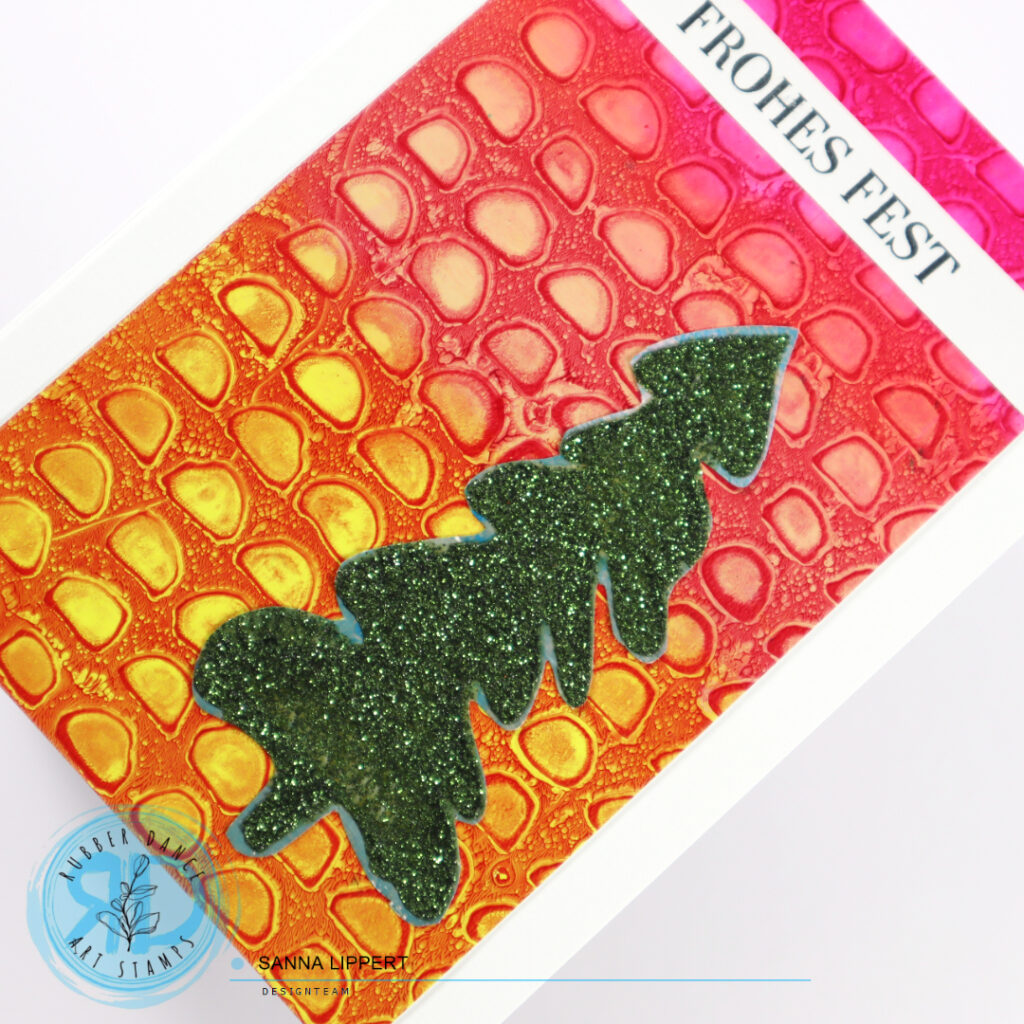
For the second set I´ve used the Marks 3 and Marks 2 stencil with a Gelli Arts gel plate for the backgrounds. On top I´ve used the Xmas Trees 1 stencil with Tonic Studios glitter paste and the sentiment is again done with Kartengrüße stamp set. I really like these bright colors! Who says Xmas cards can´t be bold in color?!
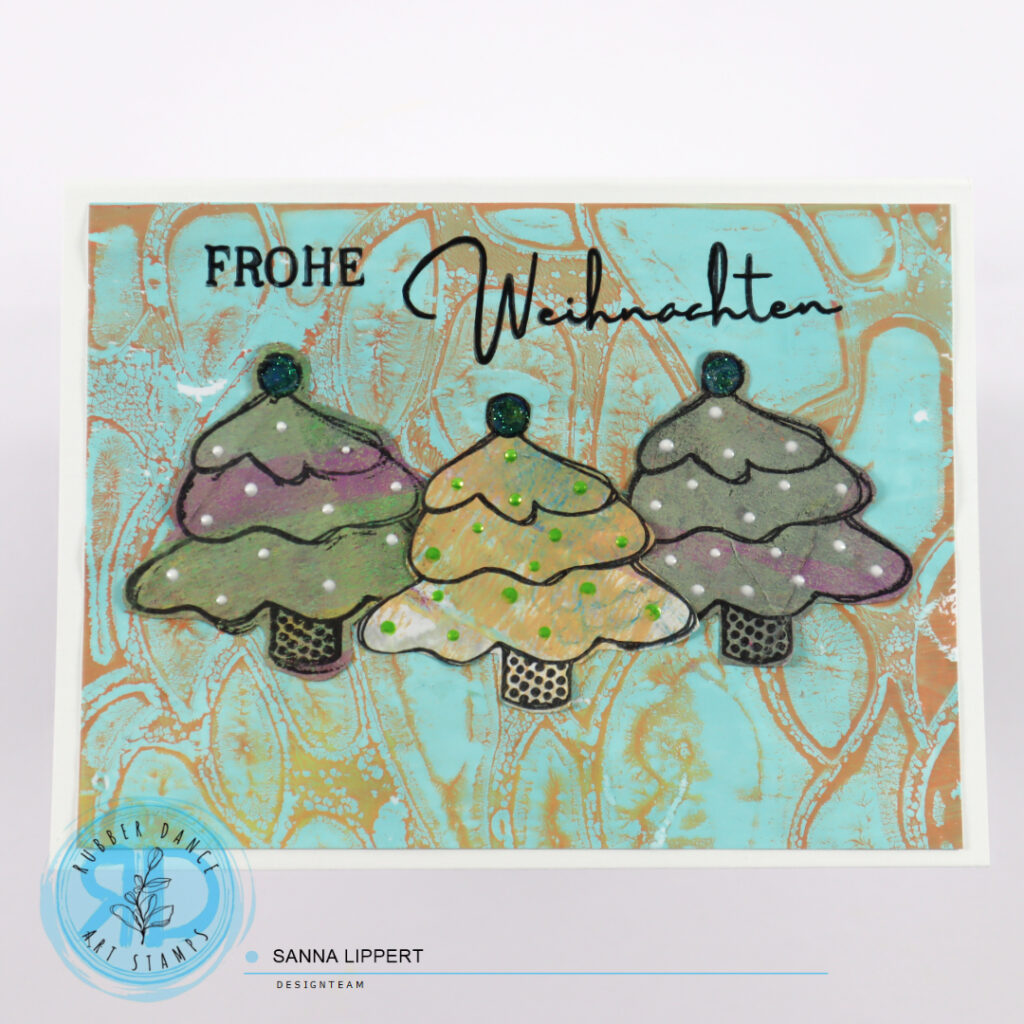
And for the final set I´ve used the Organic 3 and Cross It stencil with a gel plate on the background. The trees (Textured Xmas Trees 2) got stamped onto another gelli printed collage paper and fussy cut. I´ve added some glitter pen details to the slimline card´s trees and the smaller card has some Tonic Studio Nuvo Drops as decor. Sentiments on both were stamped with the Kartengrüße stamp set.
Have fun creating some Xmas cards with collage papers, stamps and stencils!!! xxx, Sanna
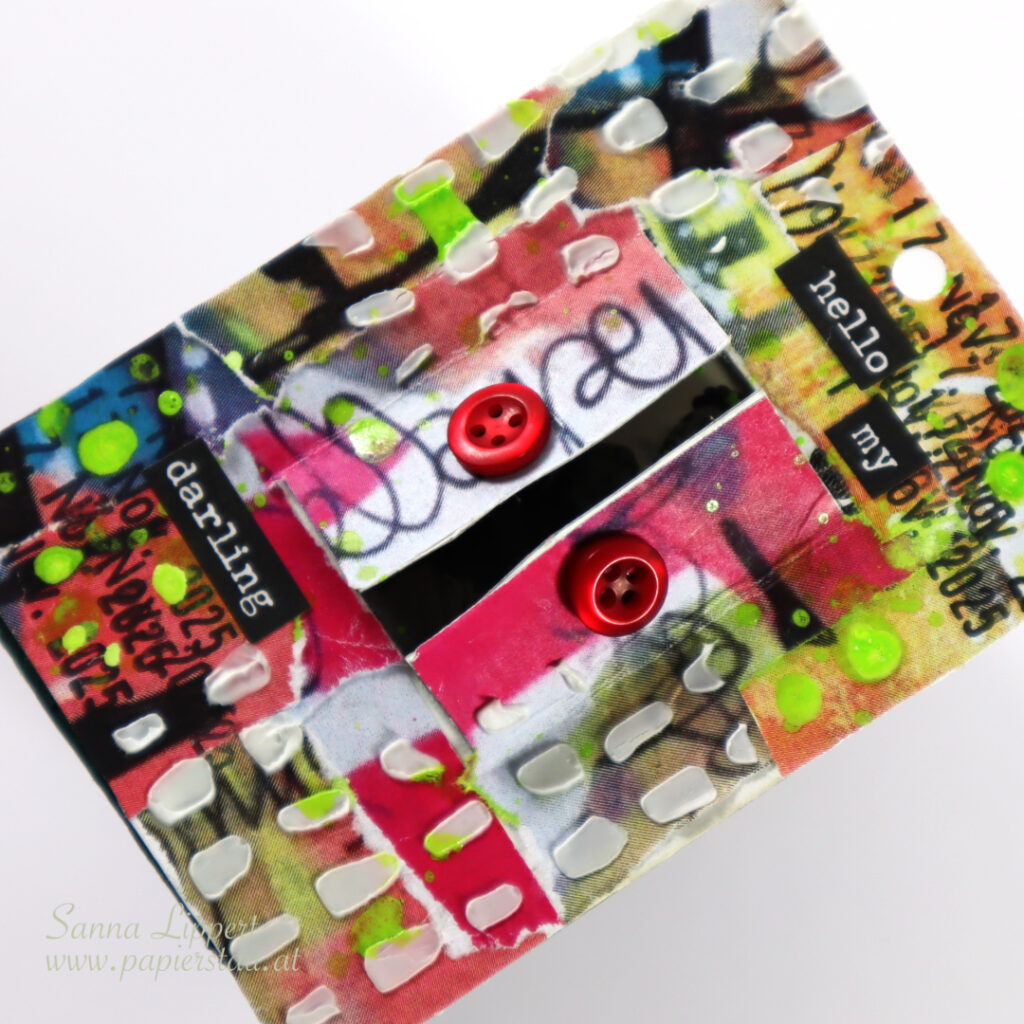
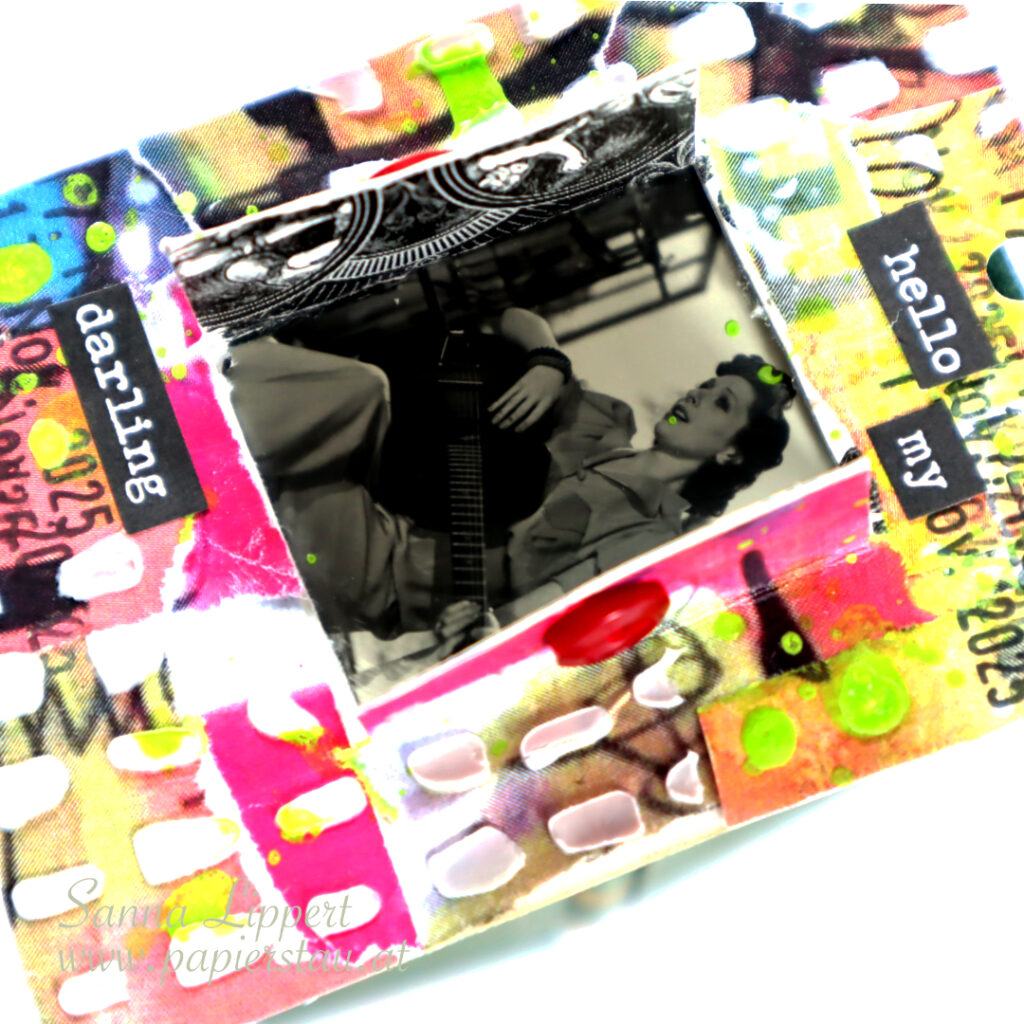
Hi there! This is my take on the ShanoukiArt Full Deck Challenge number 44: window.
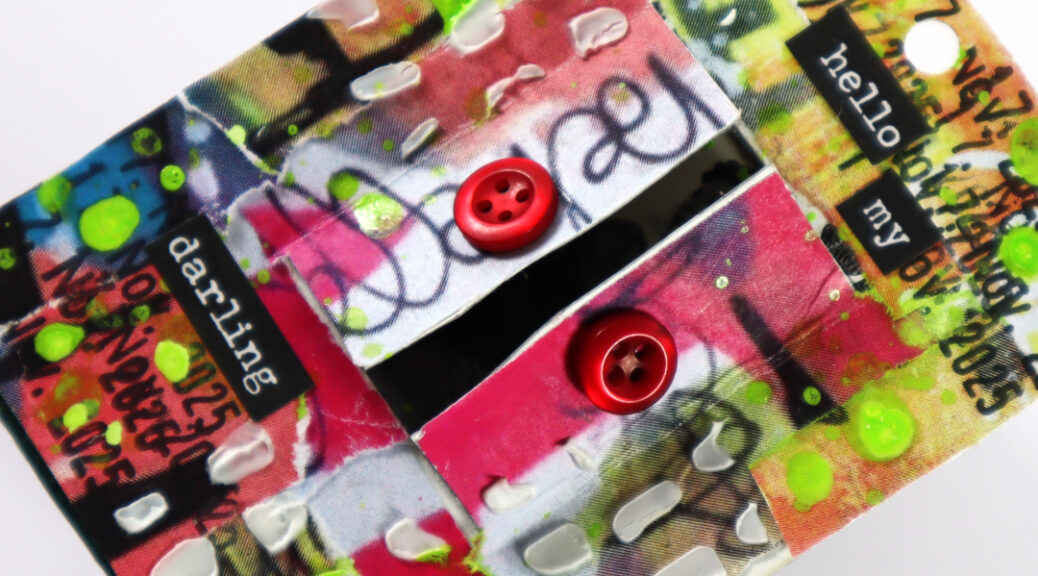
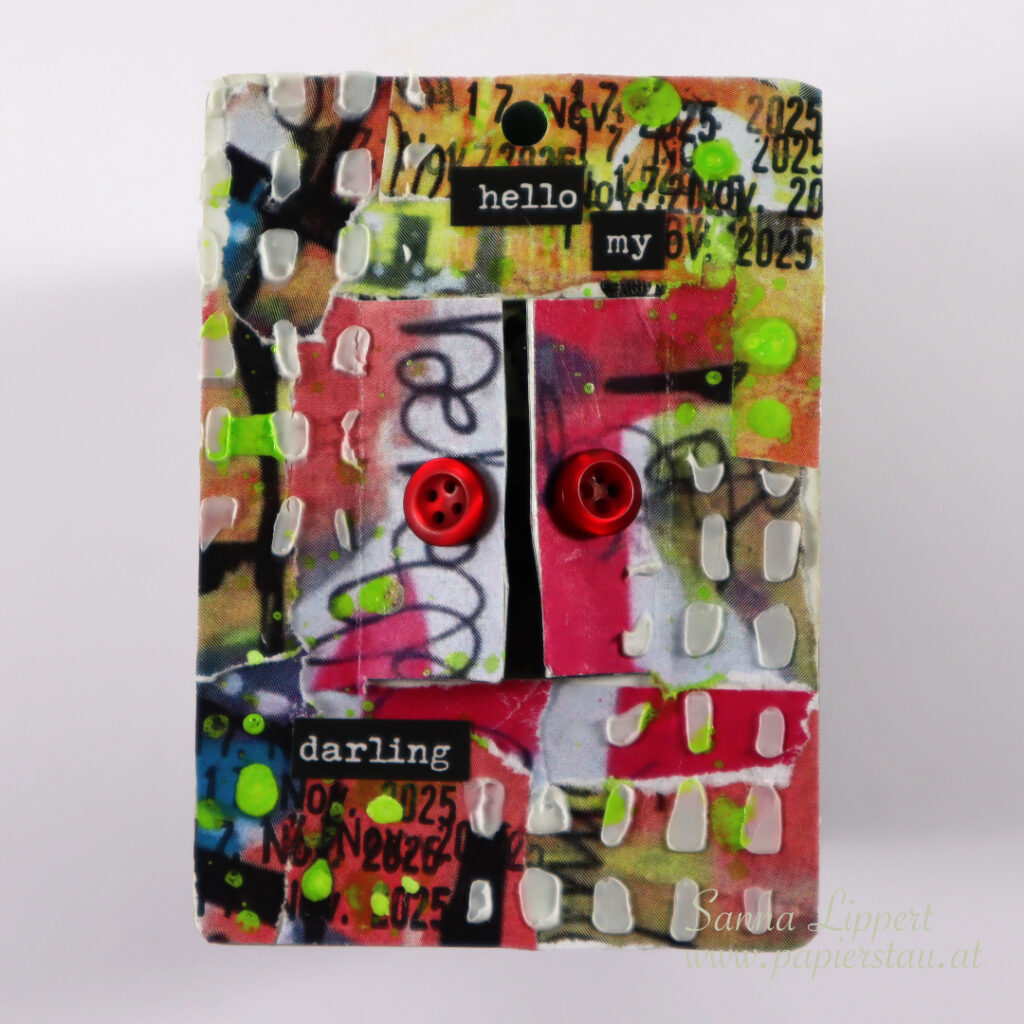
I used an exacto knife to cut a window onto the deck card. I then placed a vintage photo behind the window. After that I added some of the collage papers that I also used on my previous deck card (carry-over-item) and added some additional ones. All gifted to me by Yuna from Australia.
After adhering the collage papers on place, I added my constant, a date stamp here and there. After that some white modeling paste thru a Rubber Dance stencil. After that some Dina Wakley Gloss Spray as detail.
For finishing touches I added Tim Holtz word stickers and two red buttons for the window.
Here is the start-to-finish-video:
See you again next week with another FDC take! xxx, Sanna