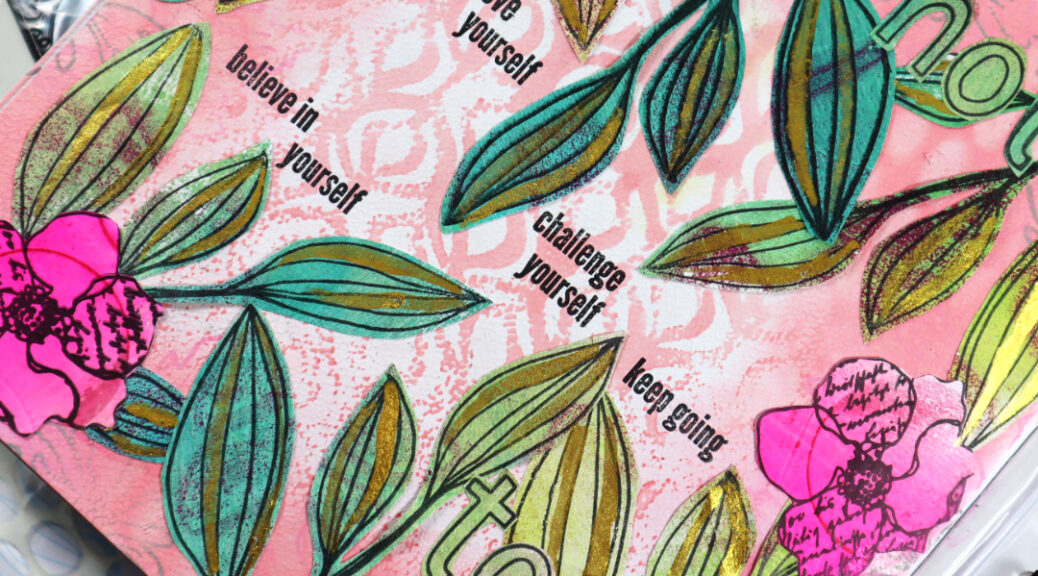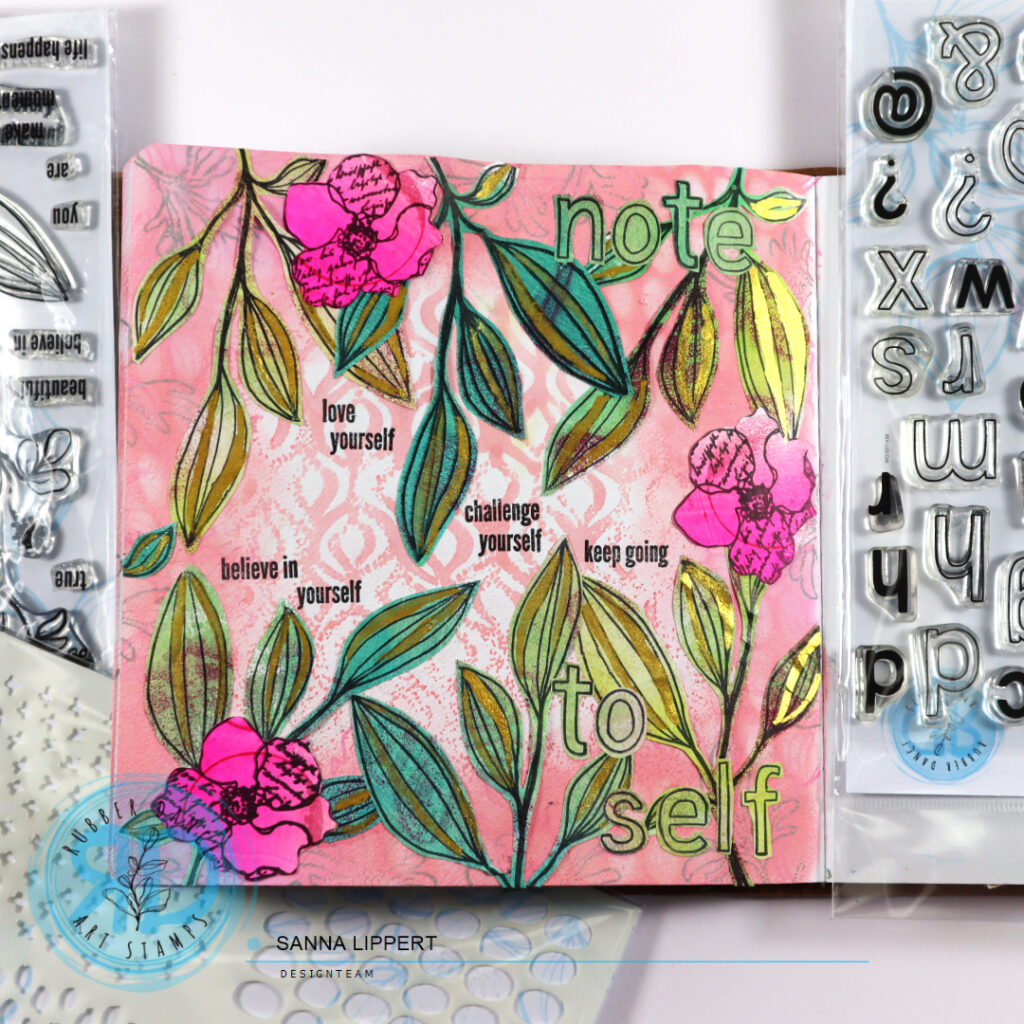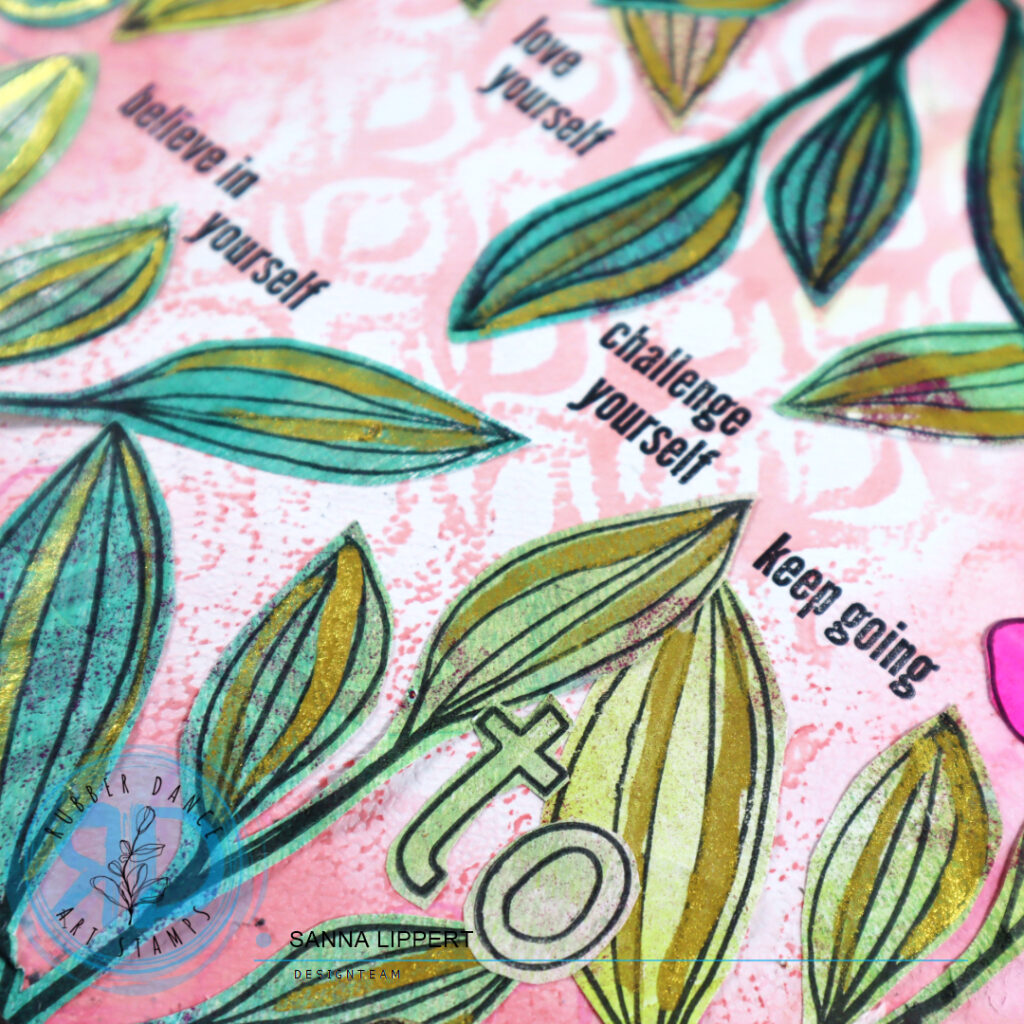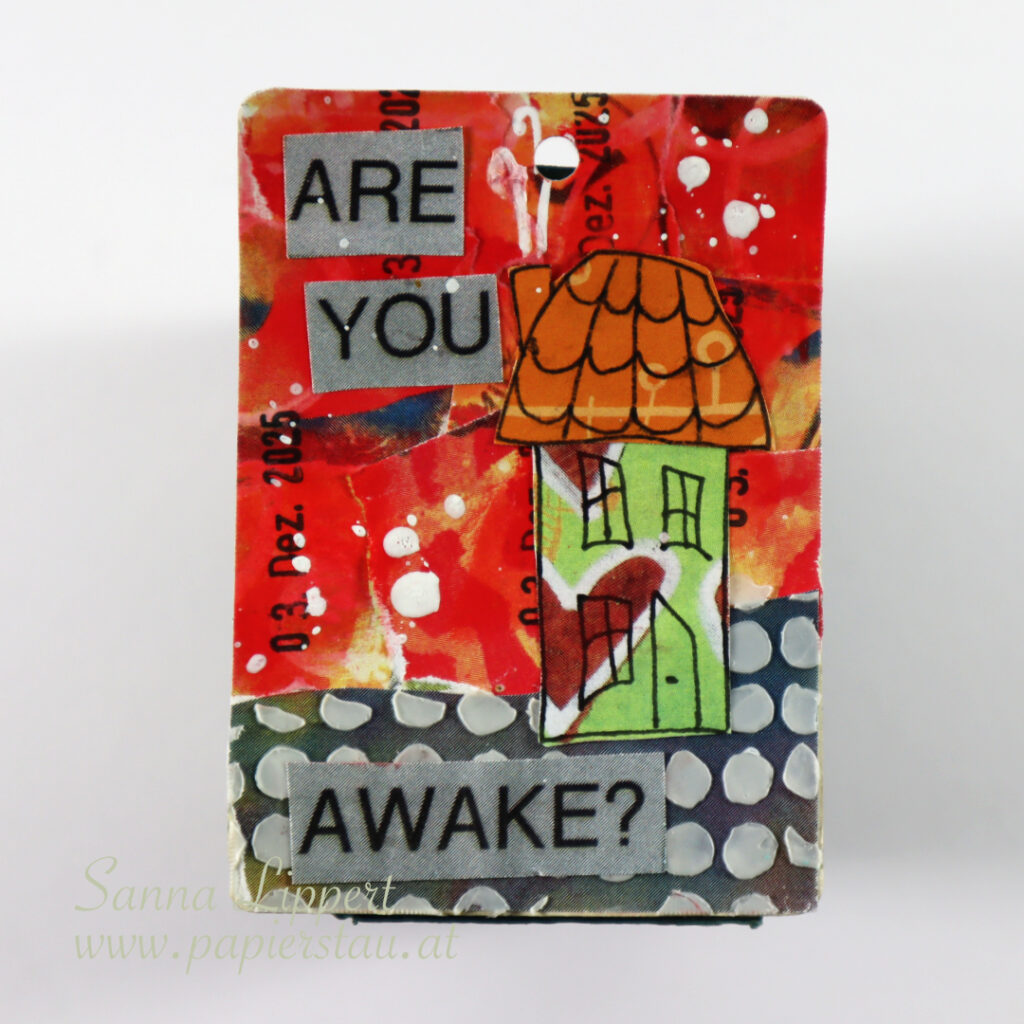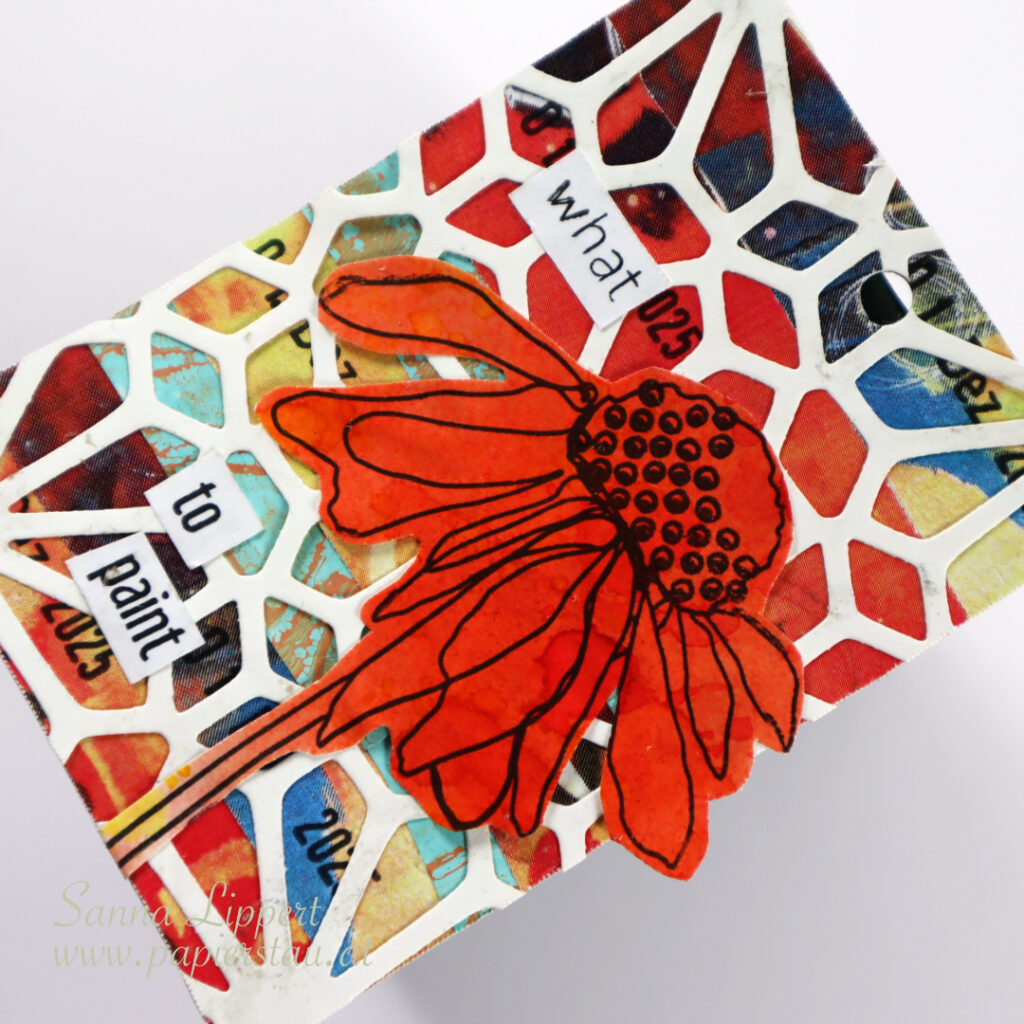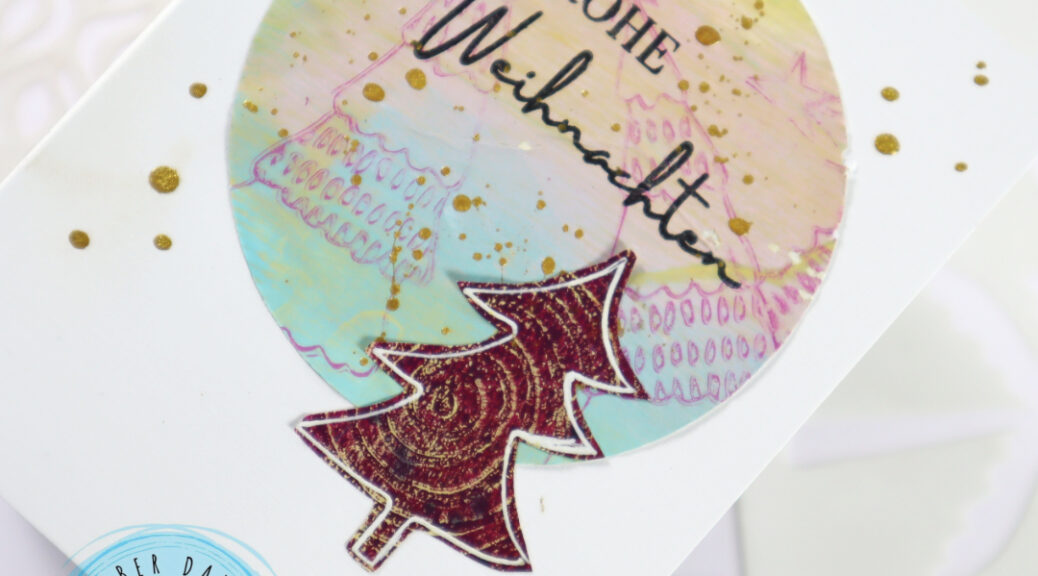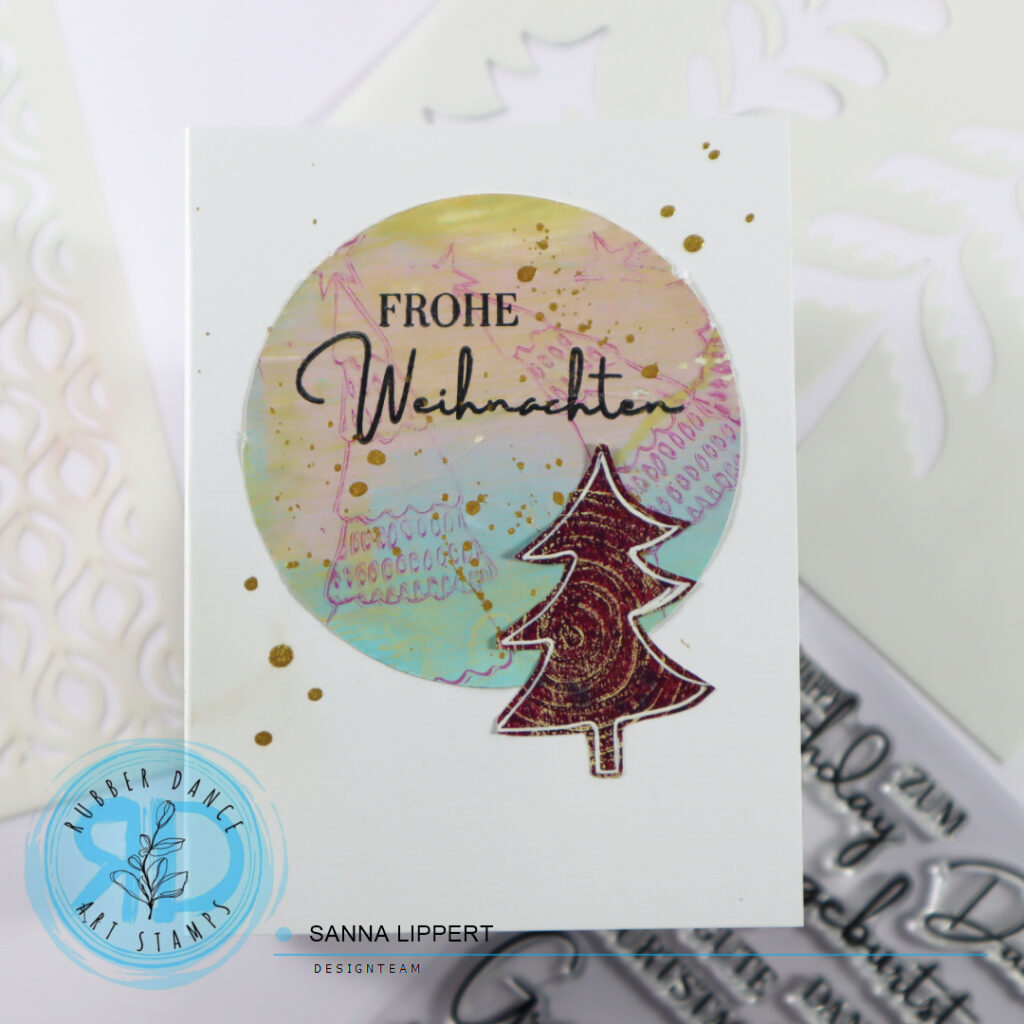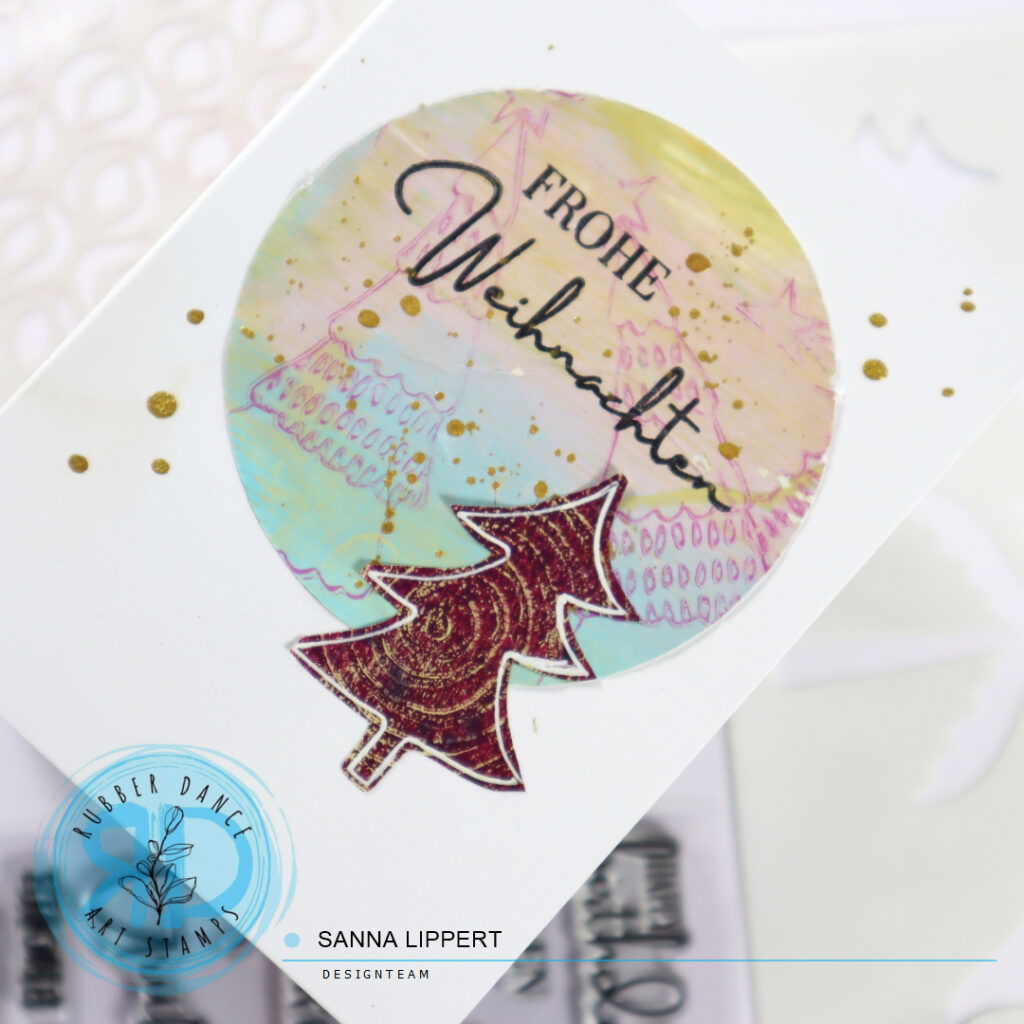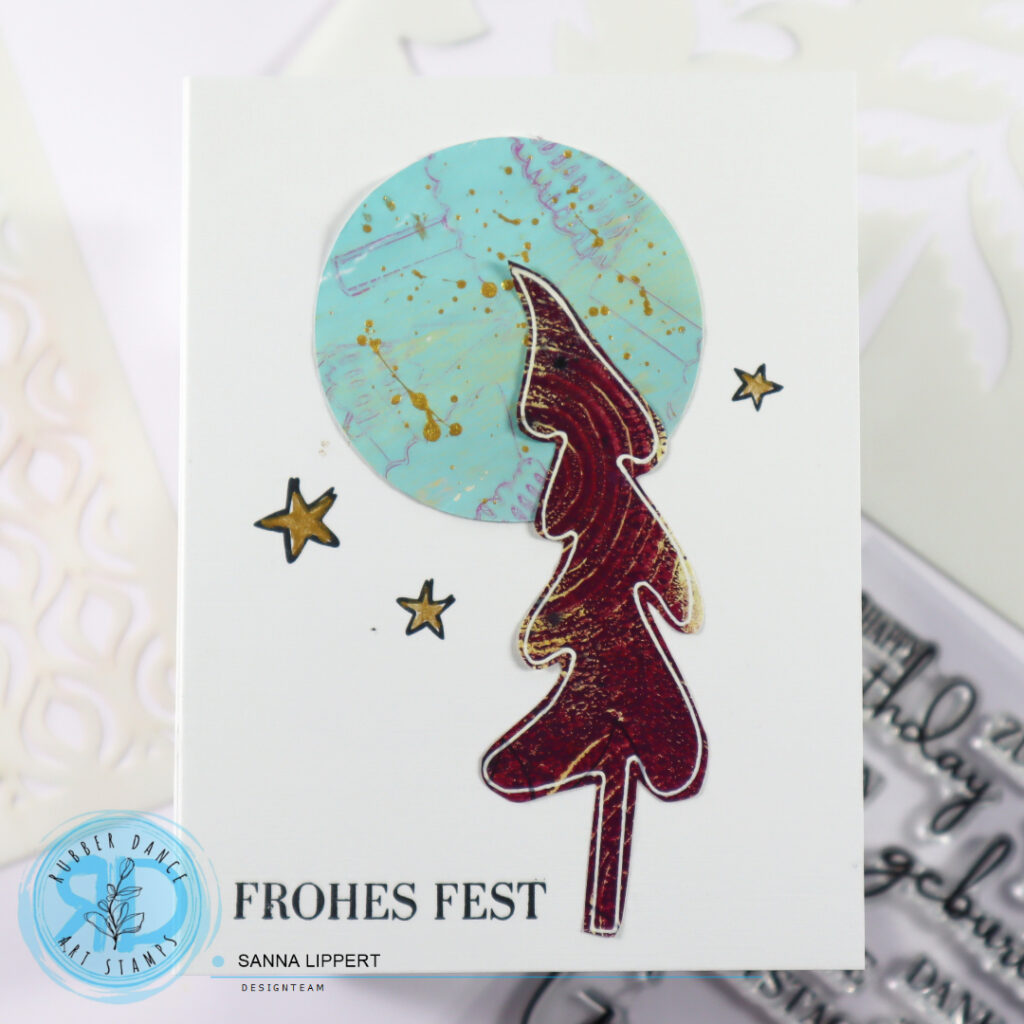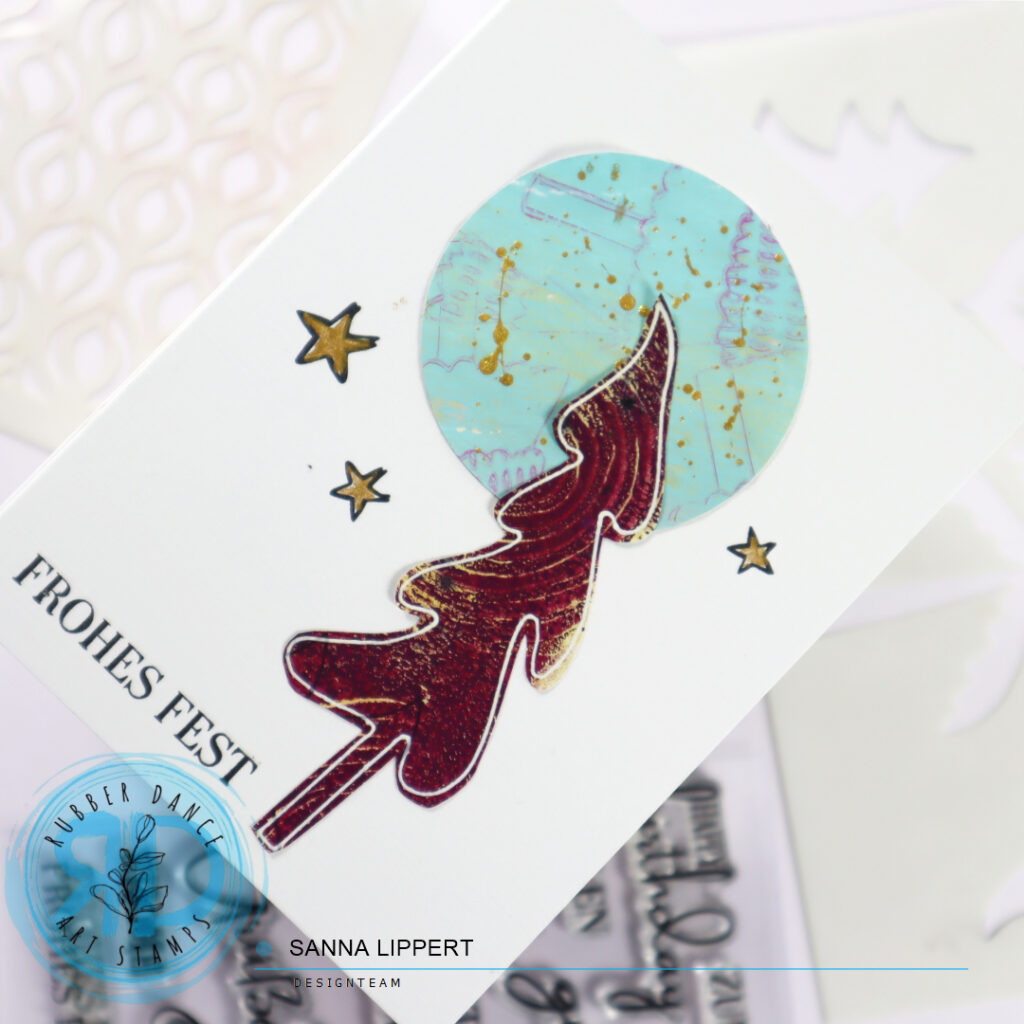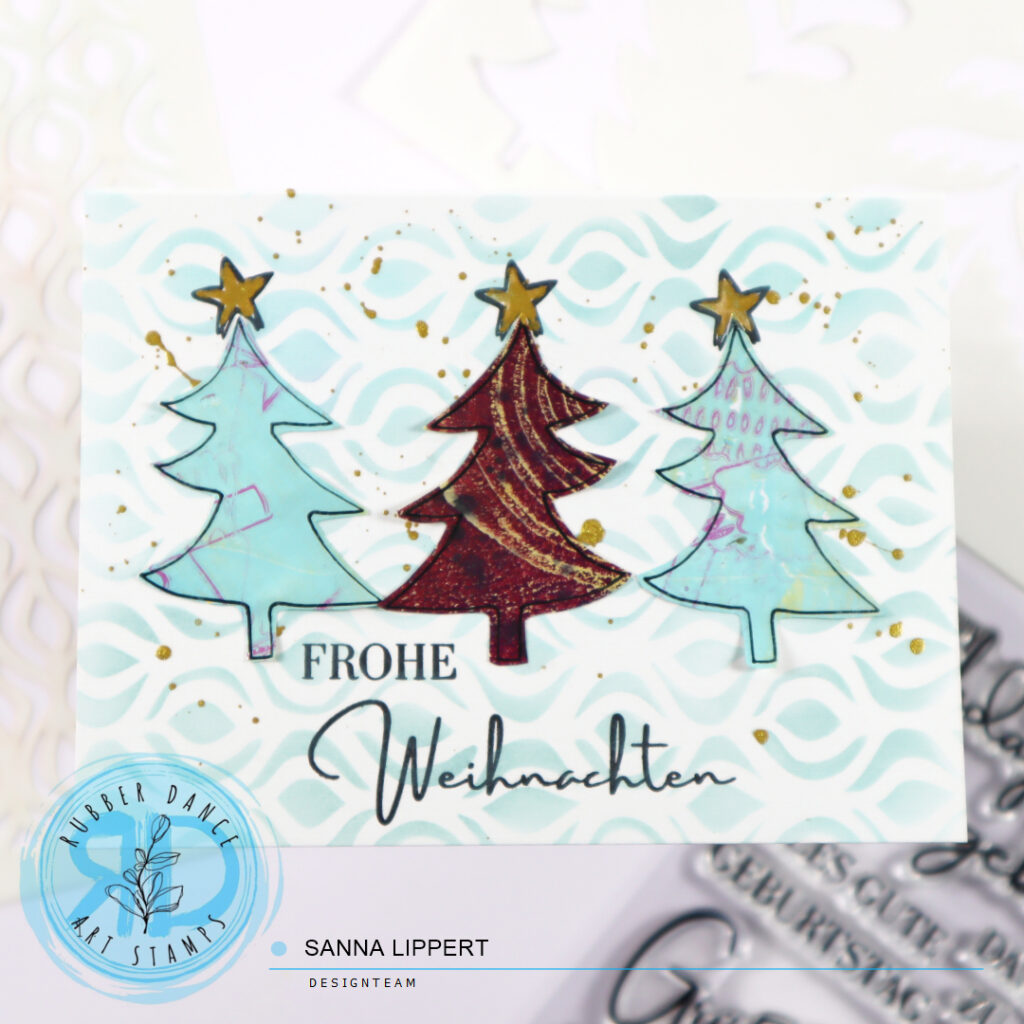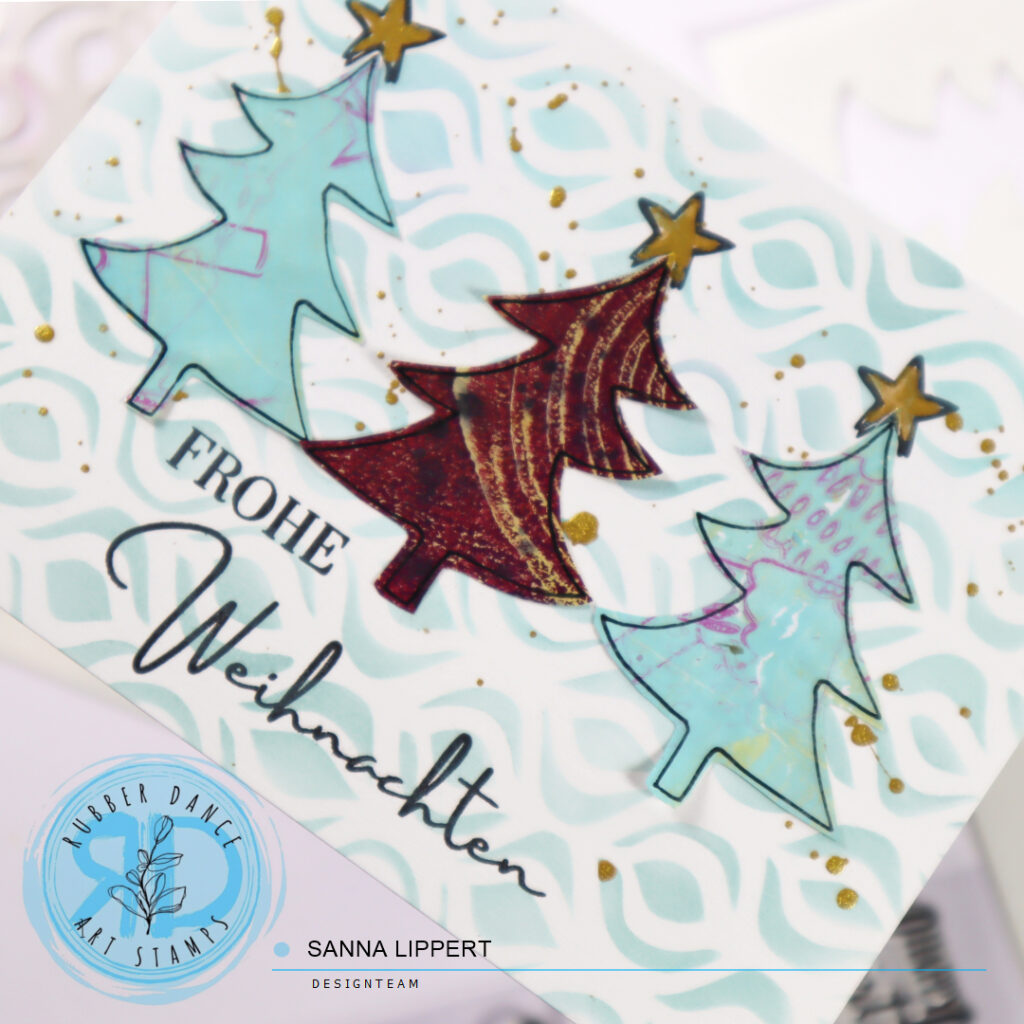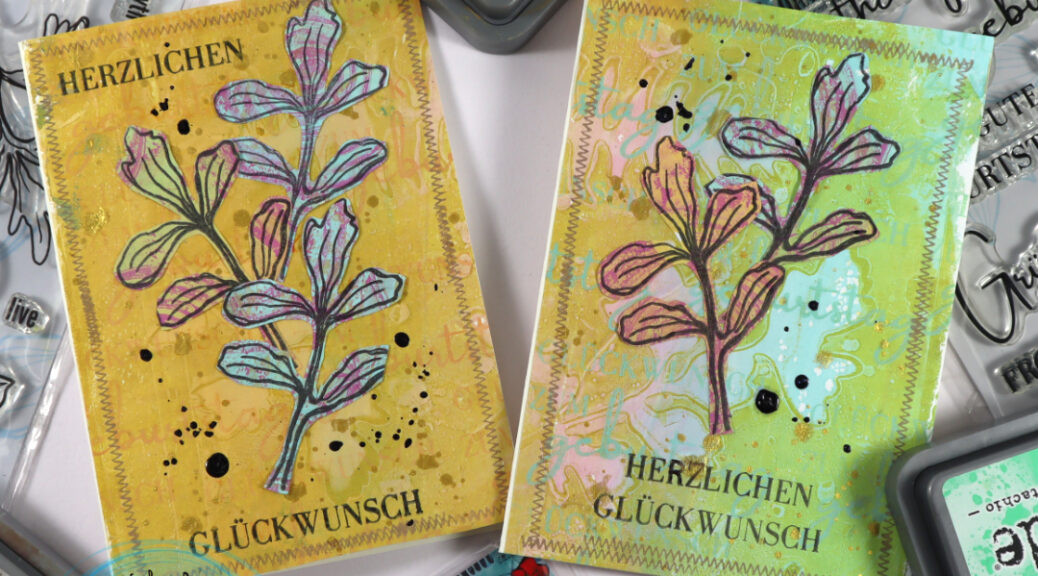
Hello, it´s my turn to share a project over at Rubber Dance today. I am up with a set of cards, created using some of the new Rubber Dance stamps. For this card set I used the: Collage Leaves 3, Stitching Borders and Kartengrüße stamp sets. My starting point was a previously made, gelli printed collage paper. For that I had used the Sketchy Leaves 5 stencil.
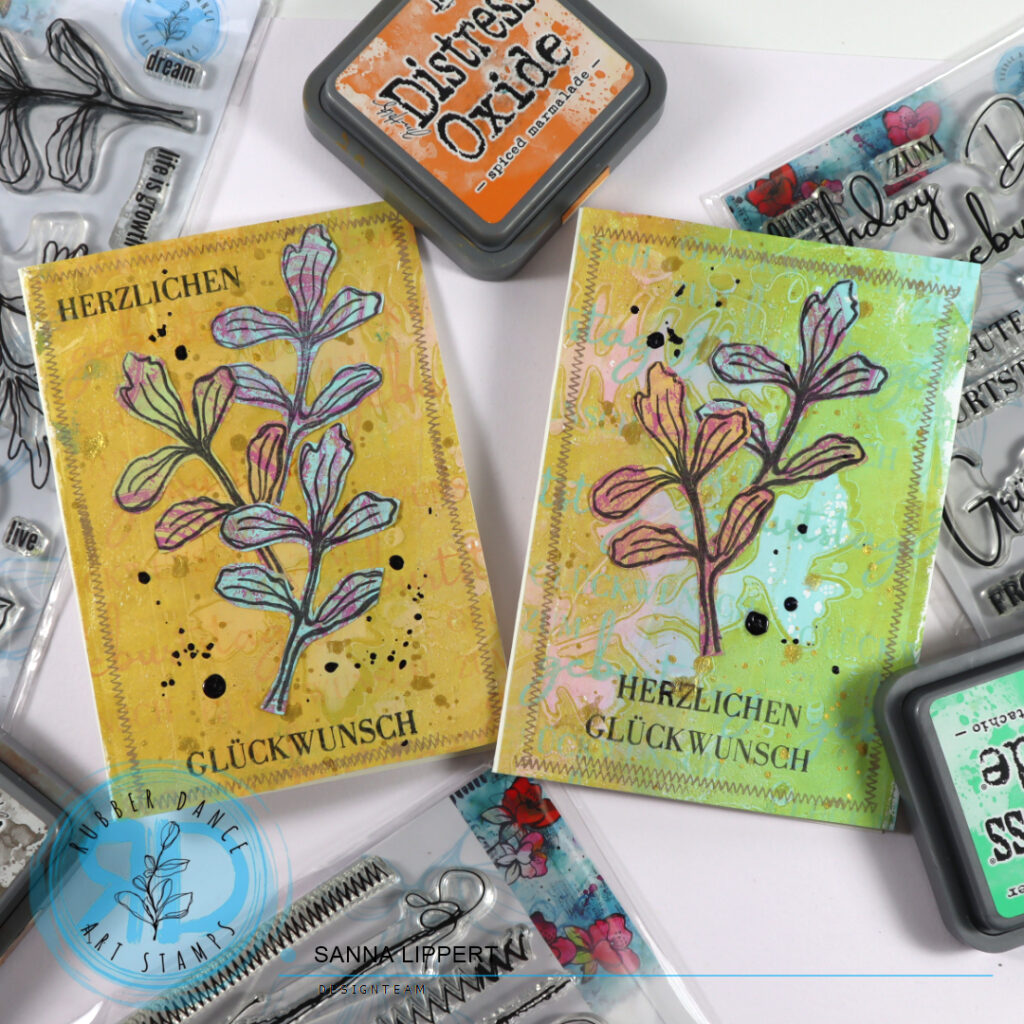
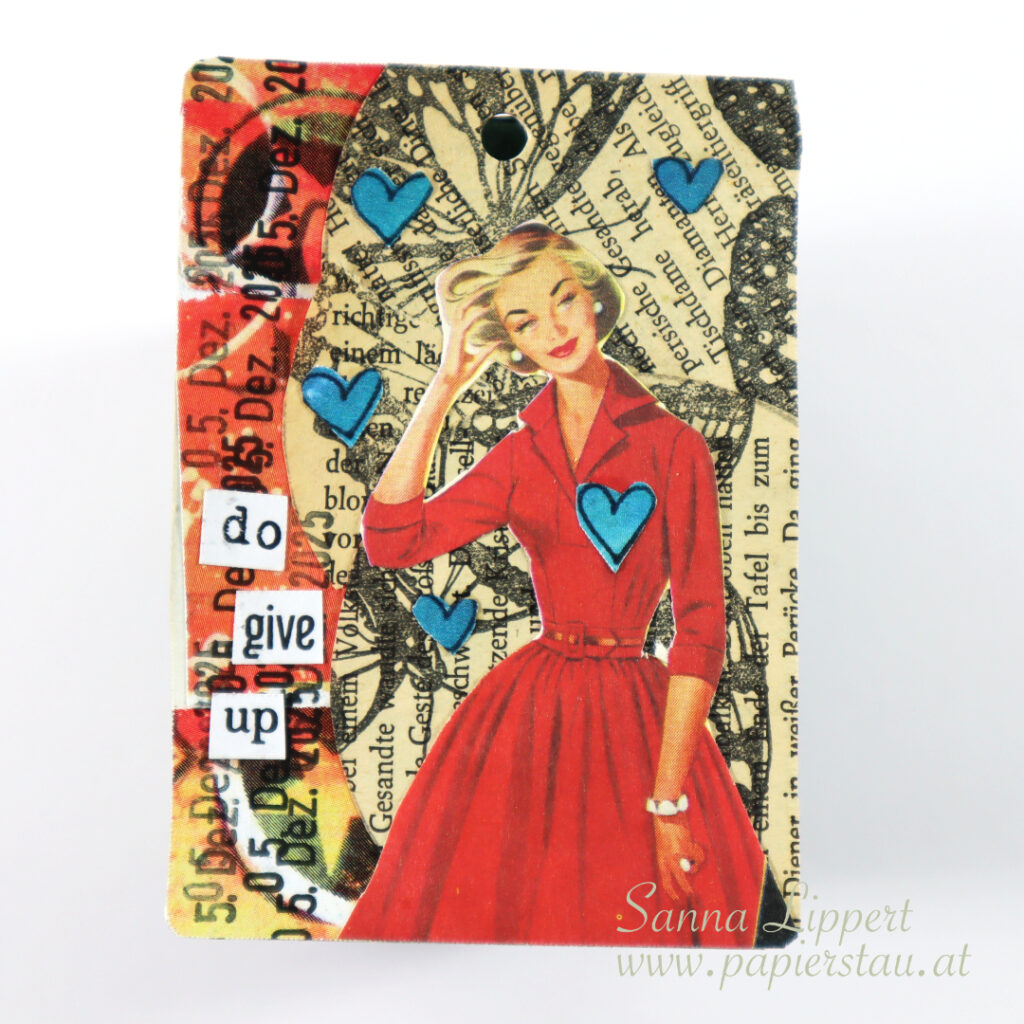
I started by cutting the previously made collage paper (gelli print with Sketchy Leaves 5 stencil) in two halves. After that I took an additional residue collage paper piece and stamped with black ink and Collage Leaves 3 onto it. Next I fussy cut the images.
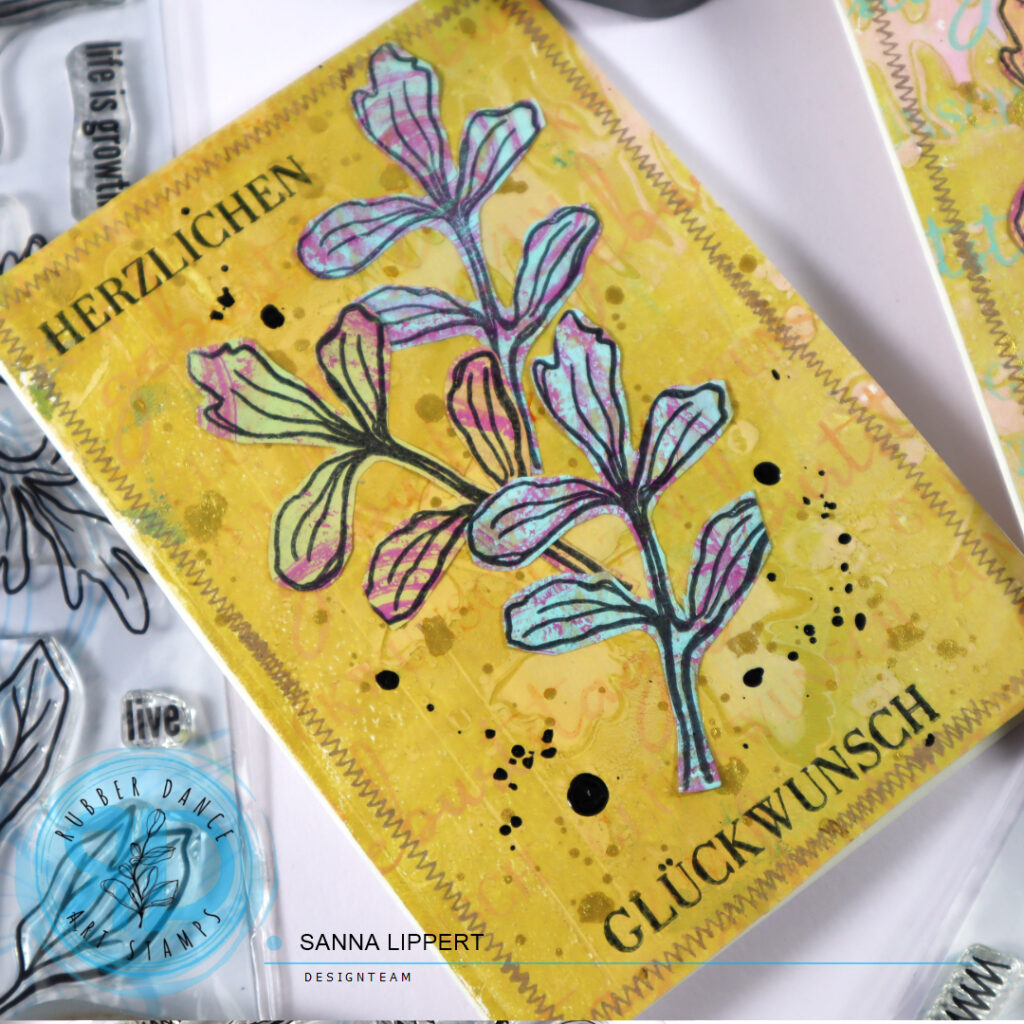
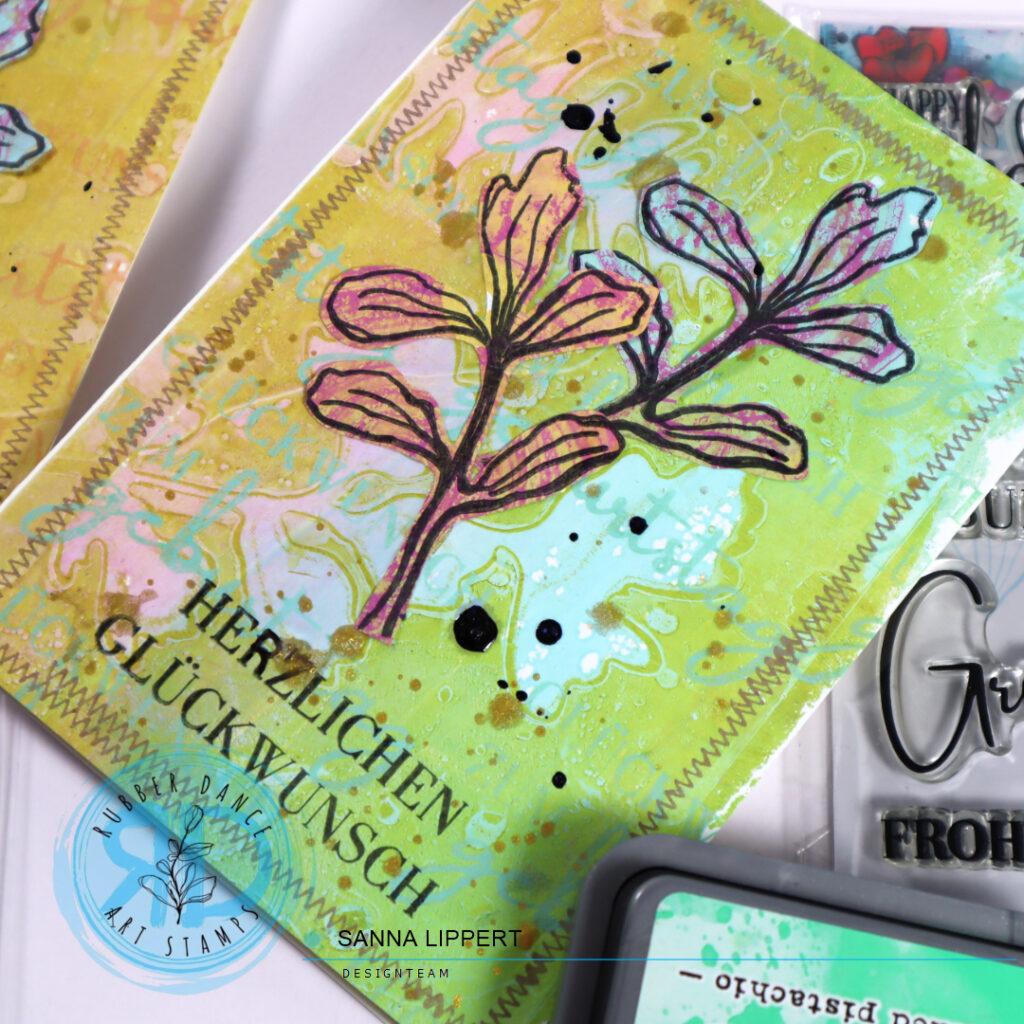
After that I arranged a German birthday sentiment onto an acrylic block and stamped with orange and green Distress Oxide inks onto the background collage paper. Then I added some golden pigment splatters to the backgrounds. Next I took the fussy cut leaves and adhered them onto the card bases. For finishing touches I added a stamped birthday sentiment in black and some stitching around the edges with brown Distress Oxide Ink.
Here is the process video for you to watch:
I hope you get inspired and create fun, stamped cards with the new Rubber Dance stamps!
Happy crafting,
Sanna