Baby girl card in pink tones

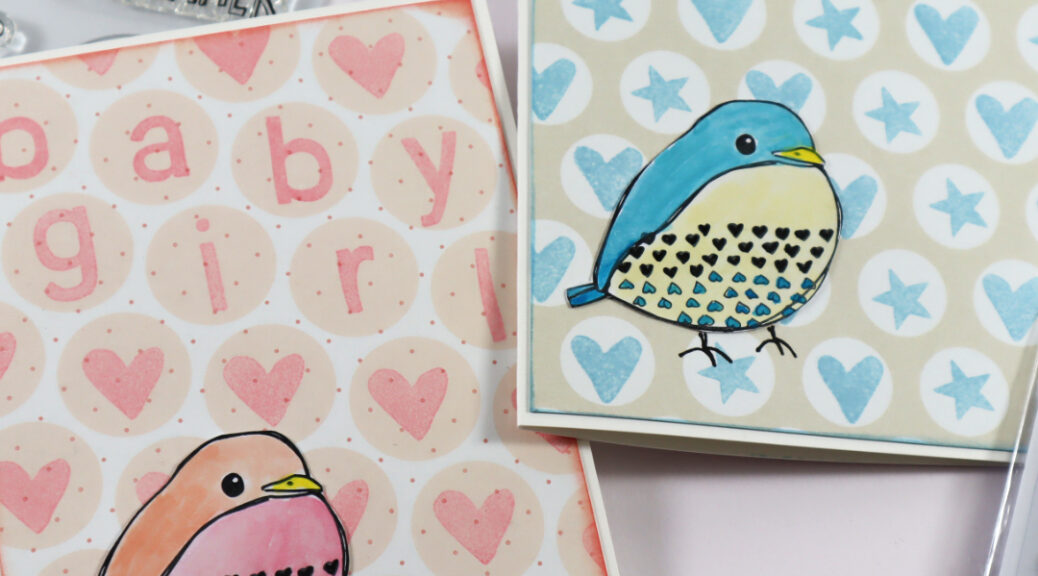
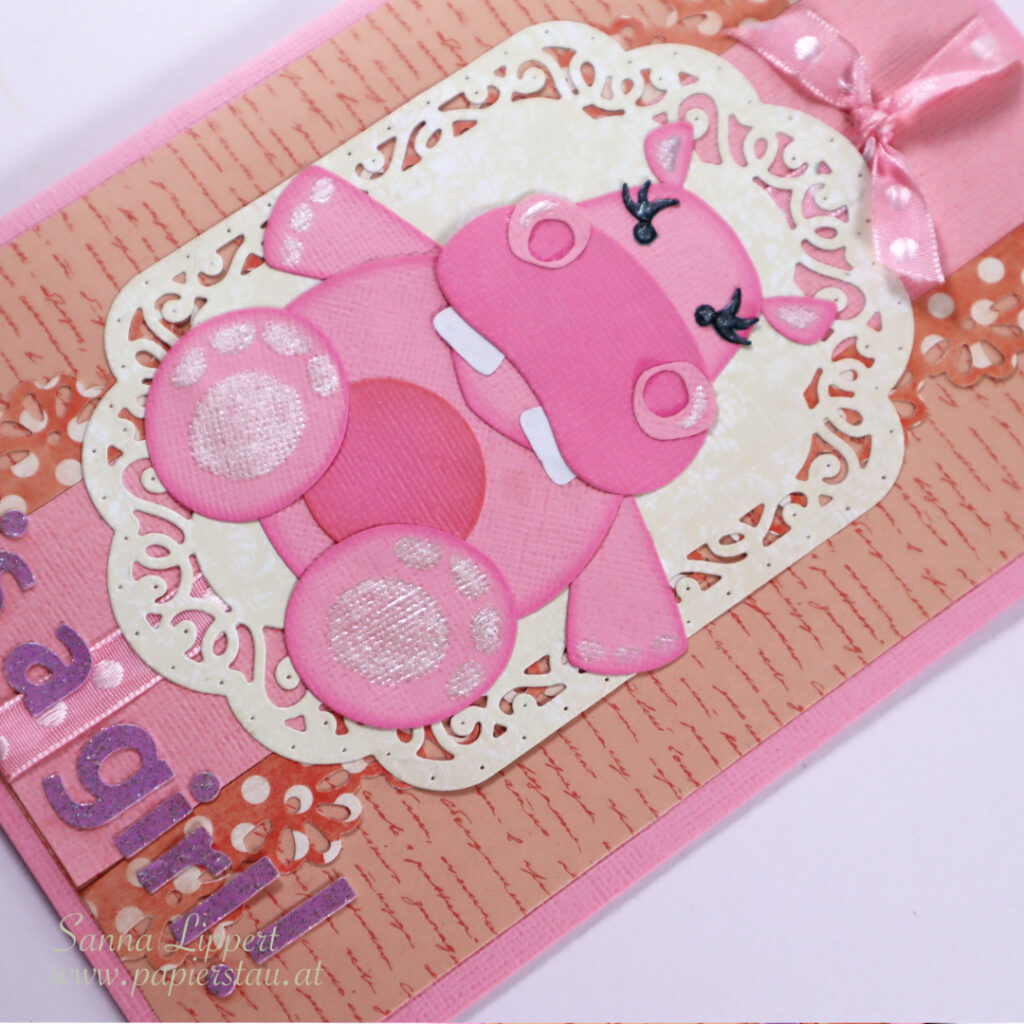
Hello everyone! I was asked to create a bigger sized (A5) baby card. Since it is for a baby girl, it was supposed to be all pink and cute. This is what I came up with:

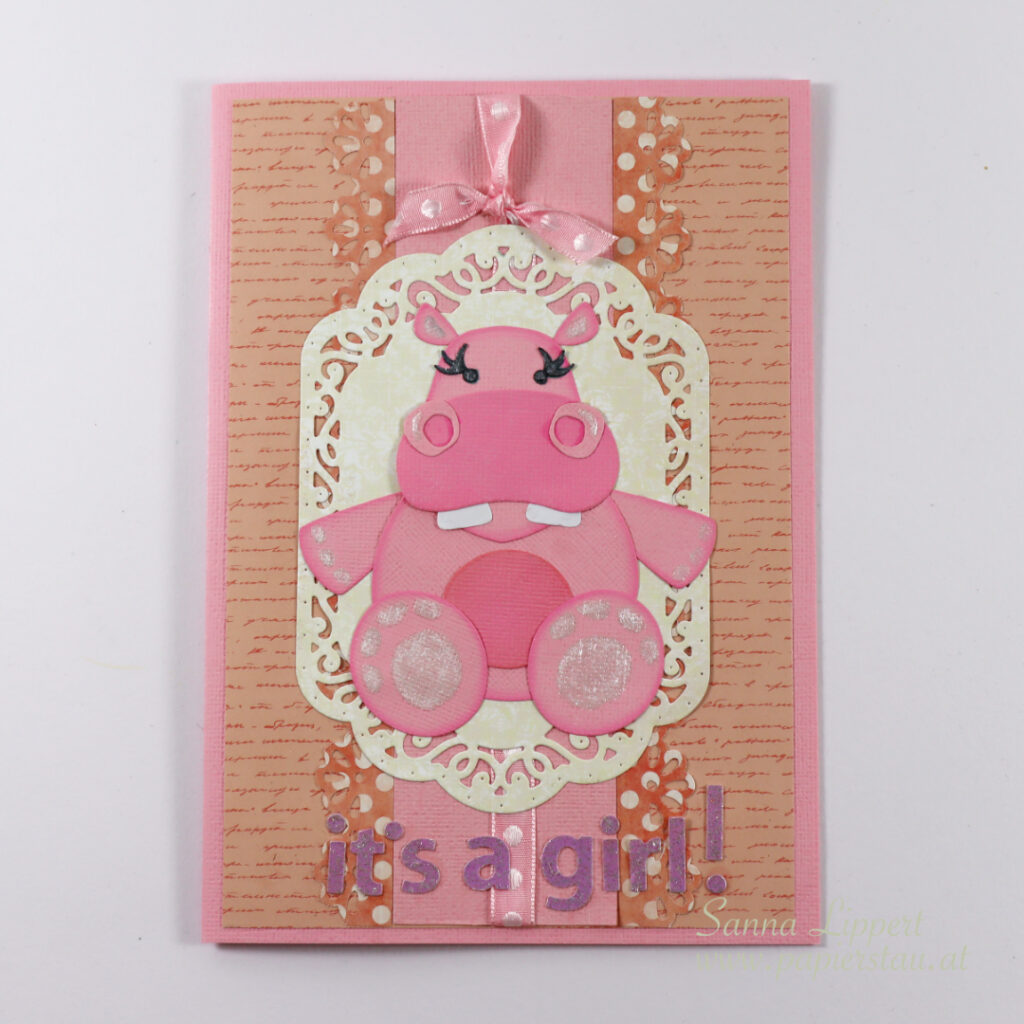
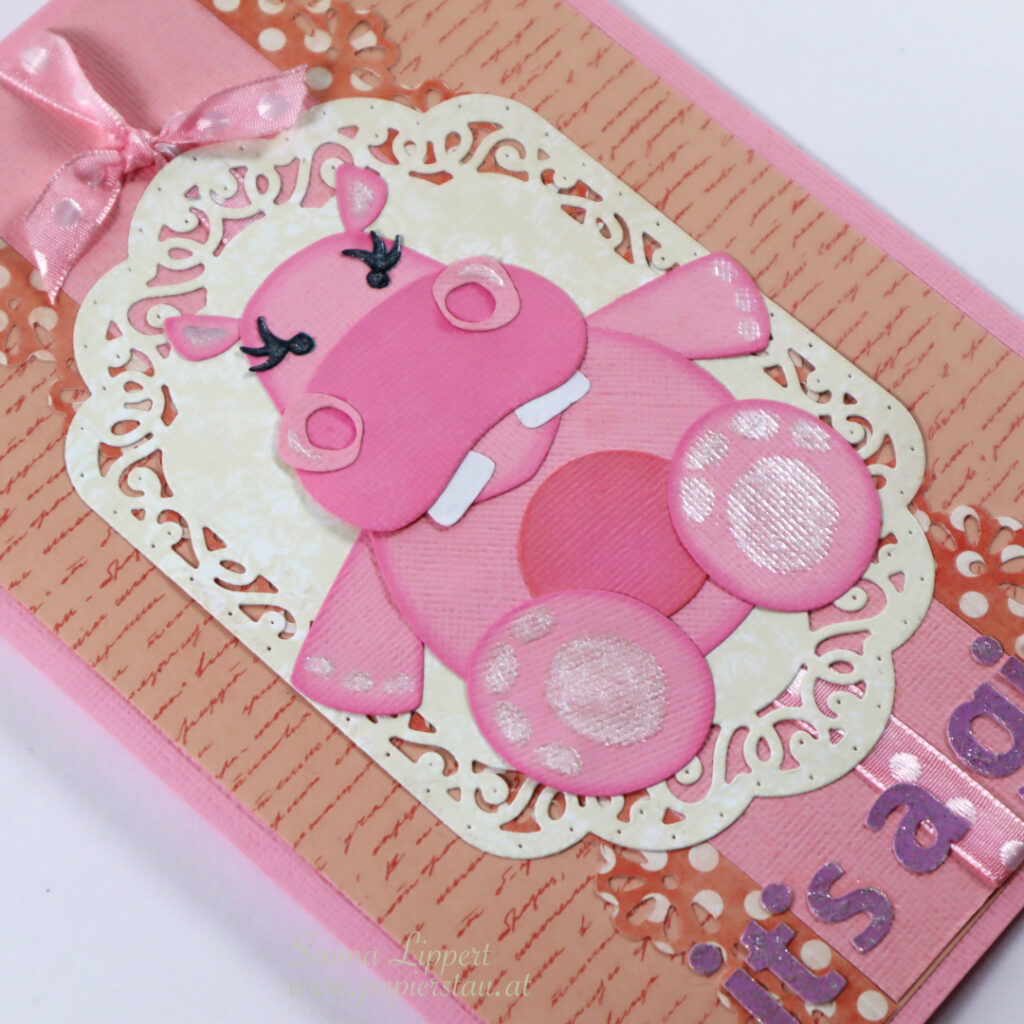
I used pink toned cardstock as a base. Added a handwriting patterned pinkish paper on top, cut some polka dot paper with a border punch. and added a Tonic Studios centerpiece in ecru as a background for the cute hippo.

The hippo die cut die is also by Tonic Studios. I used only one pink cardstock, but inked some parts with a darker pink toned Distress Oxide Ink to add contrast. The Gitter pen toes and fingers are done using a Edding silver glitter brush pen.

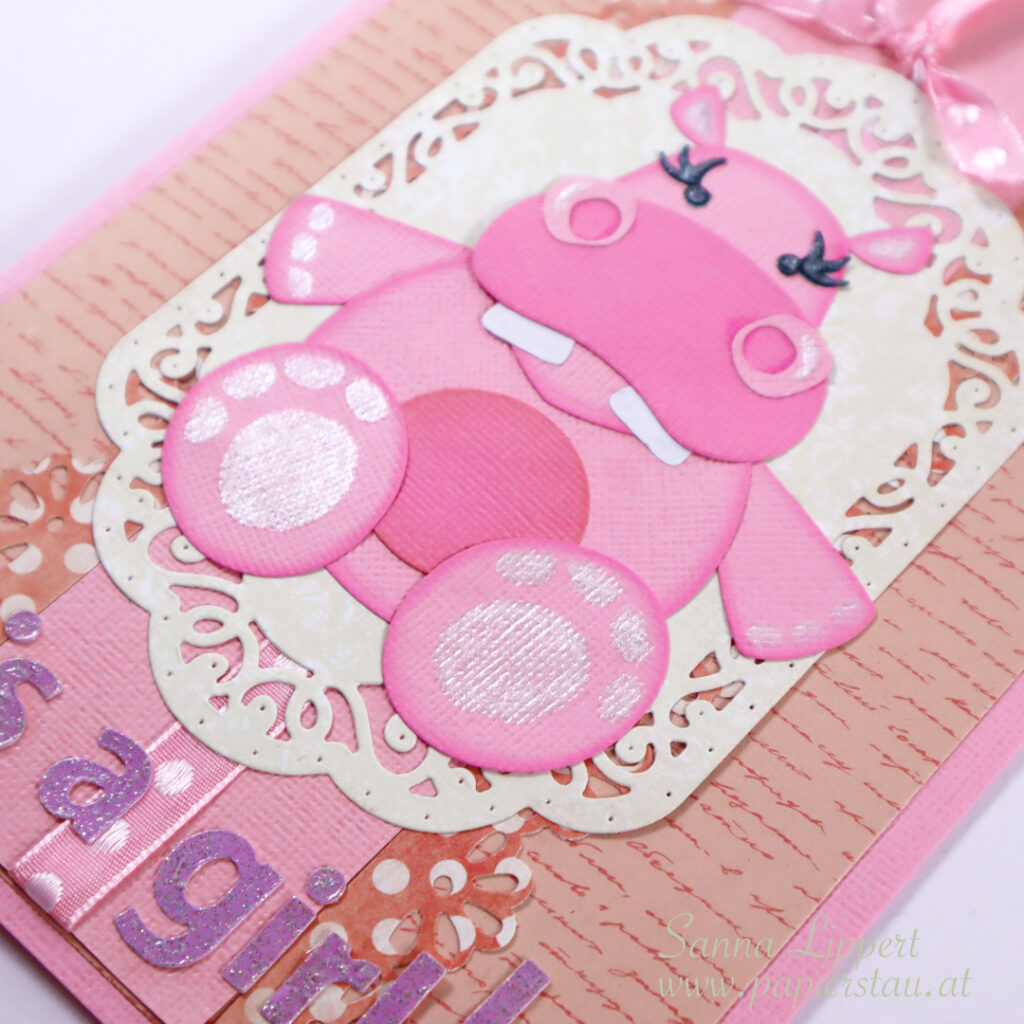
I also added some pink toned ribbon and glitter aplhas in purple. Very girly and very, very pink, like requested :).

Thanks for stopping by and taking a look!
xxx, Sanna

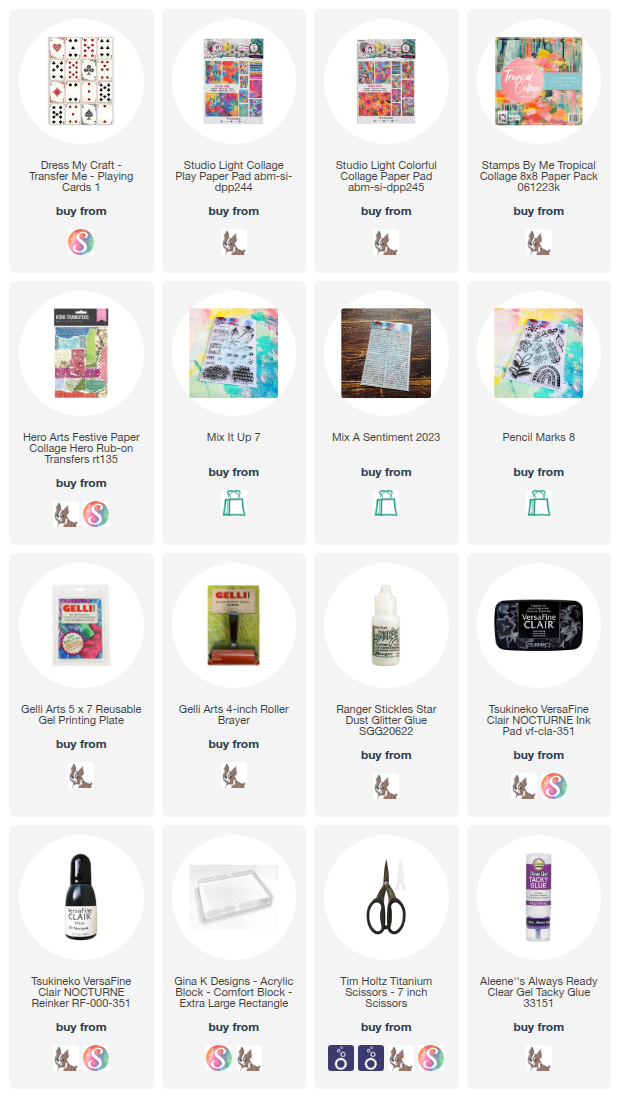
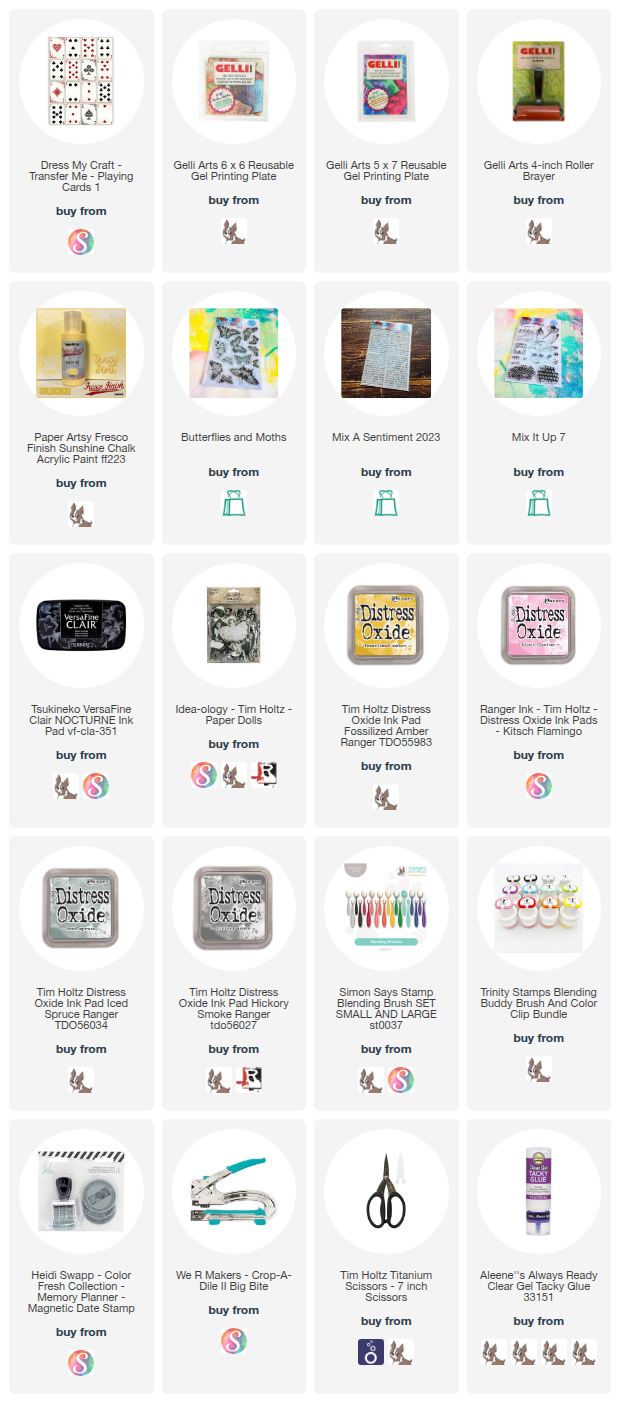
Supplies (including some alternatives):

Full Deck Challenge 23/2025 – repeat

Hello and happy Thursday! Here is my take for the ShanoukiArt 2025 “Full Deck Challenge” number 23: repeat. I used yellow washi tapes in repeated order on the background. I repeated the color as well as the order the washi was added.

My constant is the date stamp and my carry over item from last time is the attacher. I´ve added turquoise Gloss Spray and stamped words and a flower (stamps used are by Rubber Dance).

And here is the start-to-finish video:

See you next week with another FDC take! Happy crafting,
xxx, Sanna

Supplies:

Stamped Baby-card set with Rubber Dance stamps

Hello everyone, here is another Rubber Dance project share. I am up with a baby girl and baby boy card set . For these cards I used the Textured Birds 2 and A to Z stamp sets with pink and light blue stamp inks and Neocolor II crayons.

For these very easy-to-do cards you will need the following steps:

  1. Start a light colored polka dotted patterned paper and cut it into a size to fit the card base.
  2. For the Baby Girl card, pick a stamp ink in light pink tone and start by stamping the letters for baby girl onto the circles. Next grab a heart stamp from the Textured Birds 2 stamp set and stamp the other circles with hearts. Use the same stamp ink.
  3. Ink around the edges of the paper for more depth.
  4. Using black waterproof stamp ink, stamp a bird onto white cardstock. Color the bird with Neocolor II crayons and a water tank brush. Use similar pink tones like on the background.
  5. Fussy cut the bird and adhere to the card.
  6. Now repeat same steps but for a baby boy card. Use stars and hearts here for the background (Textured Birds 2 stamp set). Otherwise just repeat previous steps.

These cards are very fast and easy to make and you don´t have to be talented in coloring images either. I hope to have inspired you with this simple baby-card idea!
Happy crafting,
xx, Sanna

Supplies:

DIY vintage tickets with stamps and Distress Inks – Rubber Dance

Hello, I am up over at Rubber Dance with another project. I have a DIY ticket tutorial up for grabs this time. I used the “Mix It Up 4″, “Mix It Up 5” and “Mix It Up 7” stamp sets to create the tickets.

I started by applying 3 different Distress Ink brown tones (vintage photo, tea dye & gathered twigs) with a blending brush onto a white, smooth, mixed media paper. This blending result does not have to be meticulous. The more random and irregular it turns out, the better! You can even add lines and leave areas almost white during this step. This only adds to the vintage/used feel of the end result.

Next add water splatters onto the inked paper. Let sit for a while and dab any residue water off with a cloth or a paper towel. Then take all the ticket looking stamps from the stamp sets out and stamp onto paper repeatedly. After that cut into size with a paper trimmer / scissors. For finishing touches, go around the edges of each ticket with brown ink. Now you have yourself a pile of cool tickets you can use in future projects.

Here is a video of the ticket making process:

I hope you get inspired by this idea and make some tickets of your own with Rubber Dance stamps and Distress Inks! Have fun!
xx, Sanna

Supplies:

Full Deck Challenge 19/2025 – paper weaving

Hello and happy Friday! Here is my take on the ShanoukiArt 2025 Full Deck Challenge number 19: paper weaving.

I used Yuna´s collage papers on the background. Cut into very thin strips. After that I adhered the ends of the horizontal strips to a piece of cardstock (to hold them on place for easier weaving). Then added the vertical parts and when the piece was done, adhered it onto the deck card.

On top of that I added a collage fodder leaf (Rubber Dance). This is also a carry over item from my last deck card. My constant is a date stamp and I added those randomly onto the weaved areas. As a focal point, I decorated the deck card with a black and white stamped flower (Rubber Dance) and a stamped word. The flower has some Stickles on it for additional sparkle.

Hope you enjoy this deck card – I will be sharing the next one next week. See you then!
xxx, Sanna

Supplies:

Stamped card background card set – Rubber Dance

Hello, it´s my turn to hare some Rubber Dance inspiration today. I created another card set and tutorial share. For this card I used only one stamp set – the Mix It Up 7.

I started by applying Distress Oxide Inks in yellow, pink and light green tones with a blending brush onto a piece of white cardstock.

After that I chose stronger Distress Oxide Ink colors for my second layer (blues, greys, browns and greens). I randomly stamped with various images from the same stamp set onto the background. I also changed the ink color every time I changed to another stamp image.

Next I took the wings and flowers from the same stamp set and stamped with black stamp ink onto a piece of white cardstock. Then I fussy cut the images.

Finally I glued everything onto a white card base. The black and white images formed the focal point. For finishing touches I also added some Stickles to glimmer, like seen on this photo.

Here is a video on the full process for you to watch:

I had so much fun making these card backgrounds. I hope I could inspire you to grab a stamp set and make some fun backgrounds! Have fun!
xx, Sanna

Supplies:

Full Deck Challenge 18/2025 – junk

Hello and happy Tuesday! The ShanoukiArt “Full Deck Challenge” 18/2025 was about “junk”. This is my take.

I chose a piece of old book paper for the background with some cigar labels. On top of that I added my constant, the date stamping. After that I adhered a postage stamp to the background and then made a hole with a Crop-A-Dile big bite to attach my junk to the deck card (a clothing label and a cola can piece (both attached to the deck card with a brad).

A gelli printed Rubber Dance stamp image decorates the card and some stamped words got added for detail. Also by Rubber Dance. And here is the start-to-finish video:

See you next week with another deck card. Thanks for stopping by!
xxx, Sanna

Supplies:

Art journal page with Distress Inks and Rubber Dance stamps & stencils

Hello everyone, here is a little share from when I was randomly playing in my art journal with recently made collage fodder pieces and Rubber Dance stamps and stencils.

I started with Distress Ink tones “ripe persimmon”, “picked raspberry”, “mustard seed” and “vintage photo”. I first applied the pink, yellow and orange tones with a misted gelli plate onto the background and created the random color areas. Next I pressed some “vintage photo” onto “Dotted 1” and “Marks 3” stencils, misted them and pressed the inked areas directly onto the paper. This created a hint of a pattern.

Next I used the “Pencil Marks 8” stamp set to create the oval shapes onto the page using black stamp ink. After that I grabbed some premade collage fodder pieces (leaves and butterflies) and adhered them to the page. After that I added some turquoise ink splatters (Dina Wakley Gloss Spray). For finishing touches I created a sentiment with stamped words (Mix a Sentiment 2023) and some stickers from my stash.

Here is the start-to-finish video:

I had a fun time playing in my art journal. Hope you enjoyed watching the process!

Happy crafting,
xxx, Sanna

Supplies:

Full Deck Challenge 17/2025 – blending

Hello and happy Thursday! Here is my take o the ShanoukiArt “Full Deck Challenge” number 17. This challenge was all about blending.

I used a piece of patterned tissue paper on the background, then added some matt medium on top. On that layer I used Distress Oxide inks (blended) in pink, yellow and light grey. After that I added my constant, a date stamp and a Rubber Dance stamp image, stamped with grey Distress Oxide ink.

My carry over item from the last deck card is a stamped butterfly (Rubber Dance). And on top of that I added a Tim Holtz paper doll with some garn and a stamped words for journaling. I also outlined the deck card with a black pen.

And here is the full star-to-finish video:

Thanks for stopping by and see you next week with another FDC take!
xxx, Sanna

Supplies:

Full Deck Challenge 16/2025 – sewing

Hello everyone and happy Friday! I´m a bit late with sharing these, but the weather has been so nice lately and gardening has taken some of my time.

However, here is the ShanoukiArt Full Deck Challenge Nr. 16. The theme was “sewing”. Which I did with my sewing machine. You must know I am not “friends with” my sewing machine, so this is always an accomplishment, when I manage to sew.

For this deck card I again used collage papers gifted to me by Yuna on the background. I also added a small piece of a music paper that had some misting on it. Then on top some sewing and random date stamping (my constant). On top of that a paper doll by Tim Holtz with wings. The wings are done with a Rubber Dance stamp (Butterflies and Moths) on a gelli paper. The rhinestone heart got some Copic marker on it (to change the color).

And here is the star-to-finish video:

Next one will be “blending”. I still need to figure out what I am going to do for that ;-). See you next week!
xxx, Sanna

Supplies: