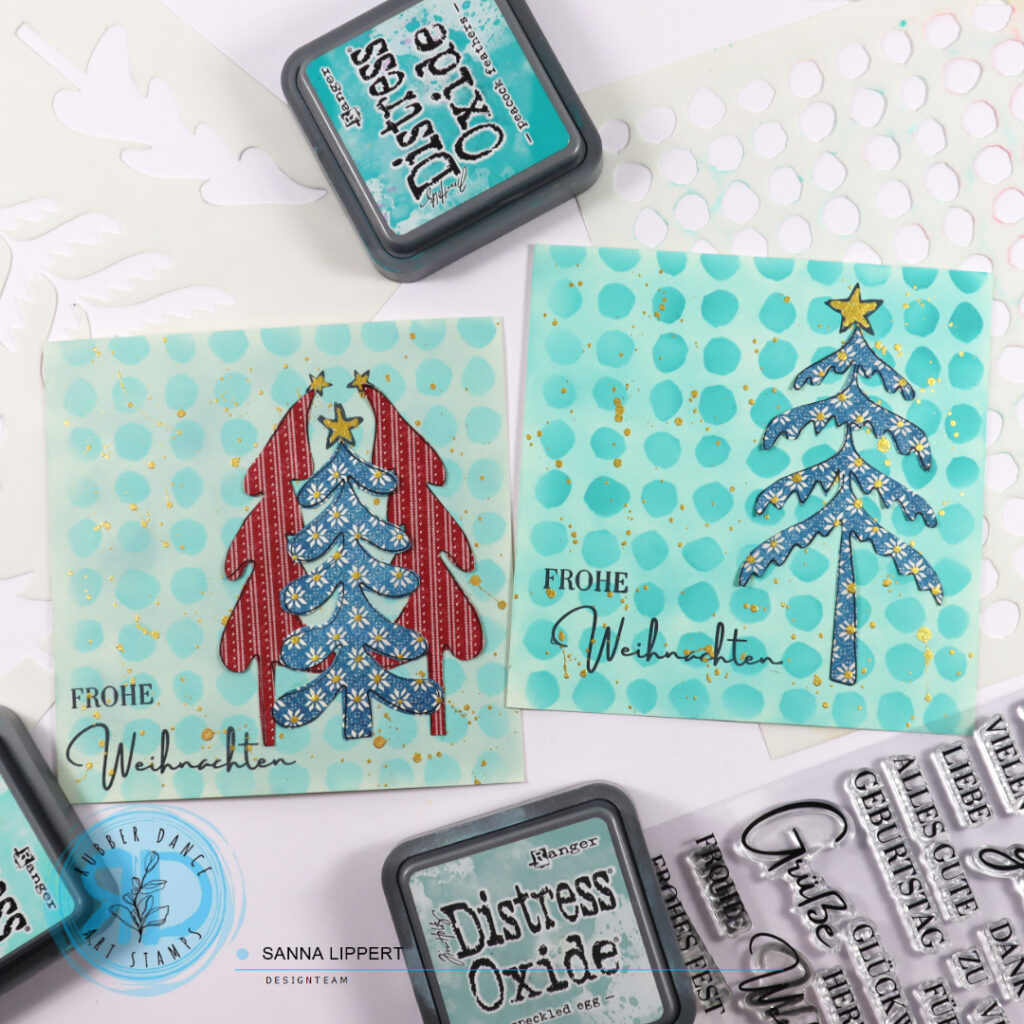
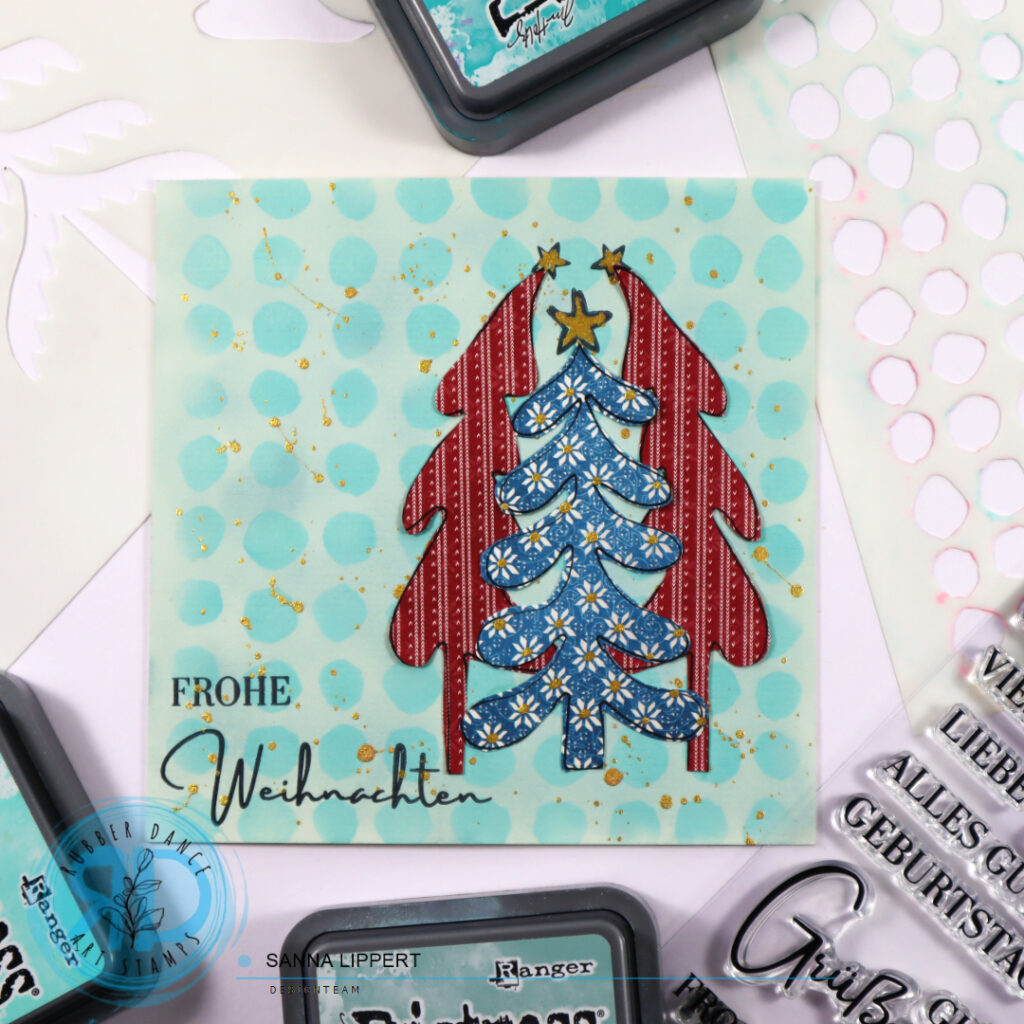
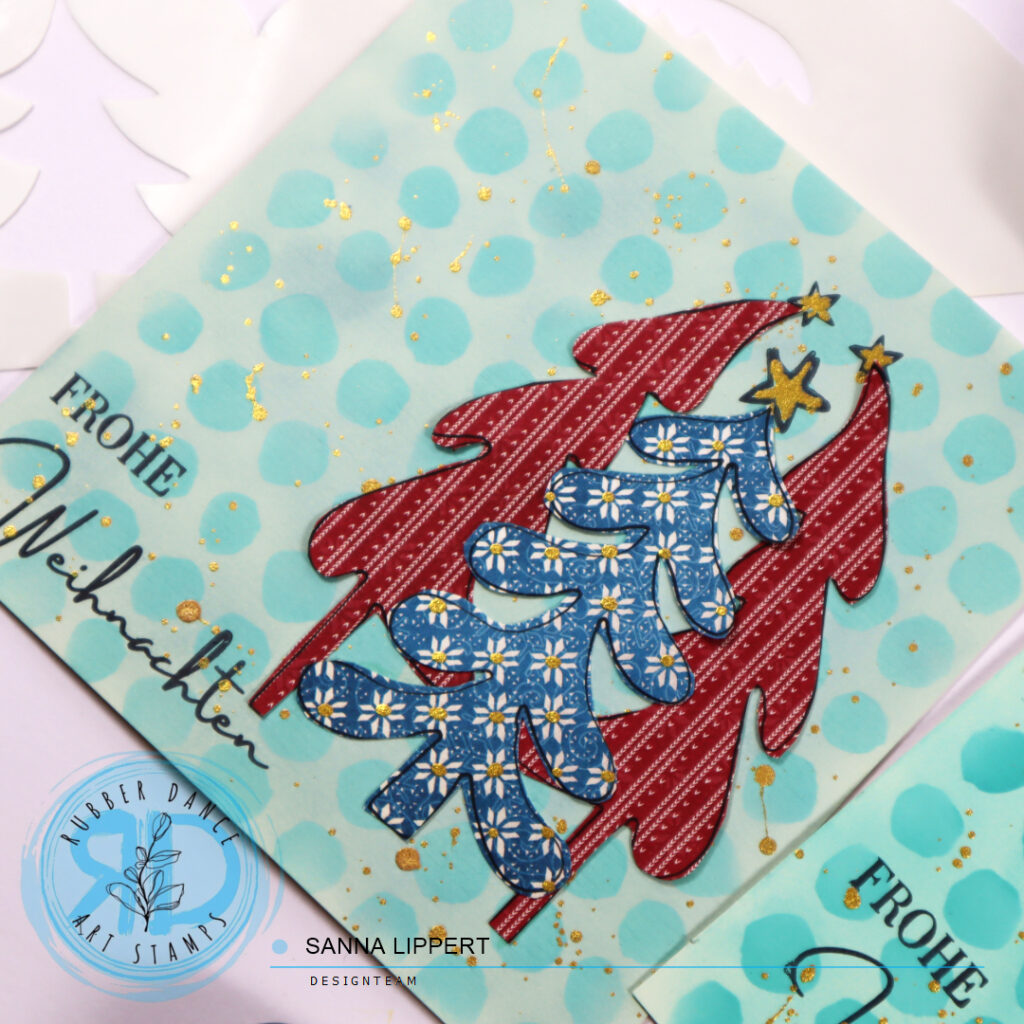
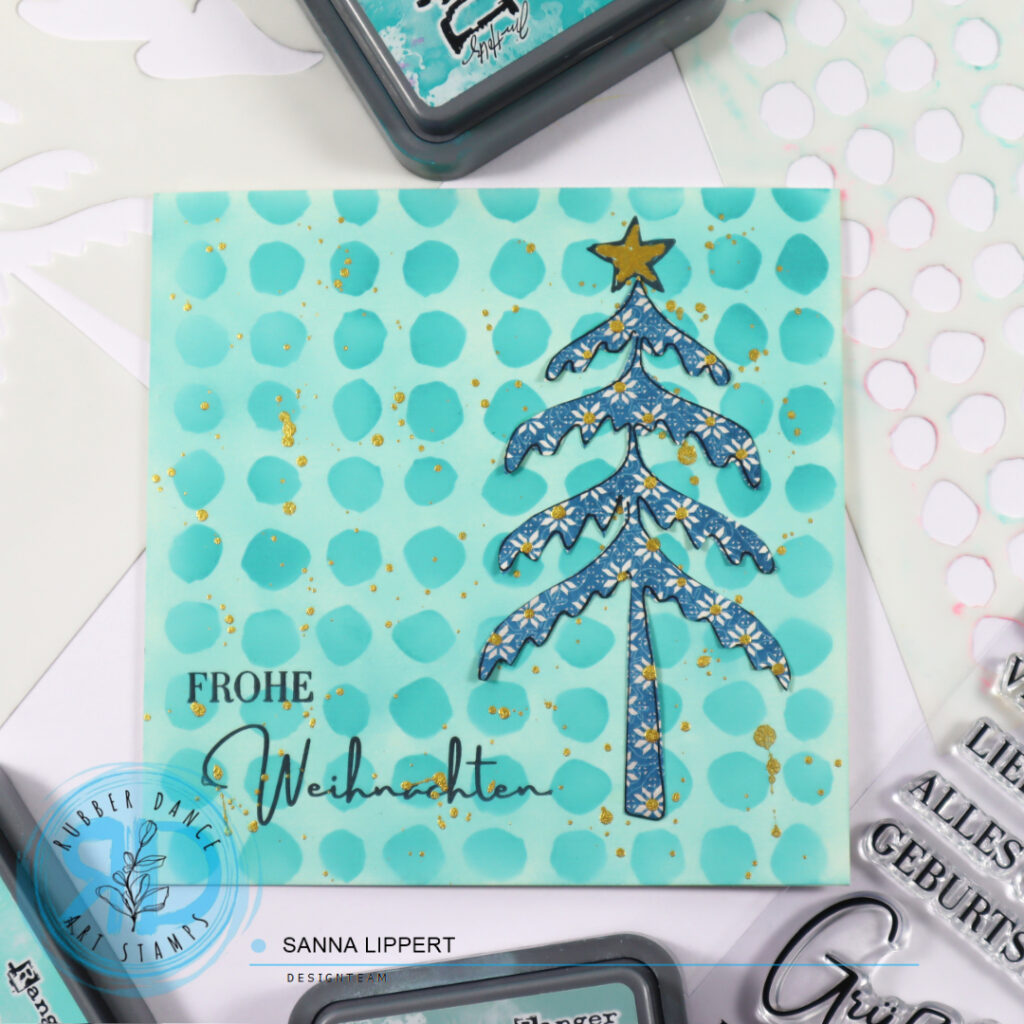
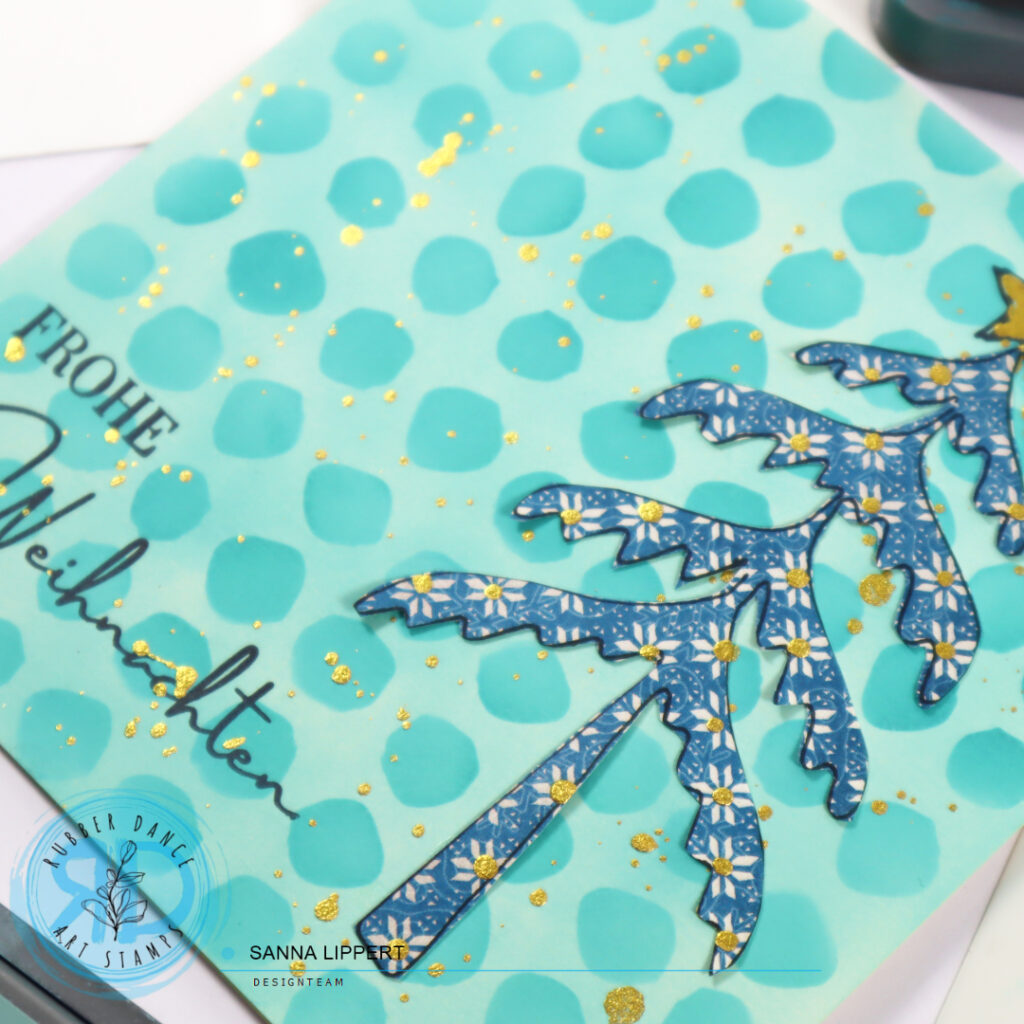
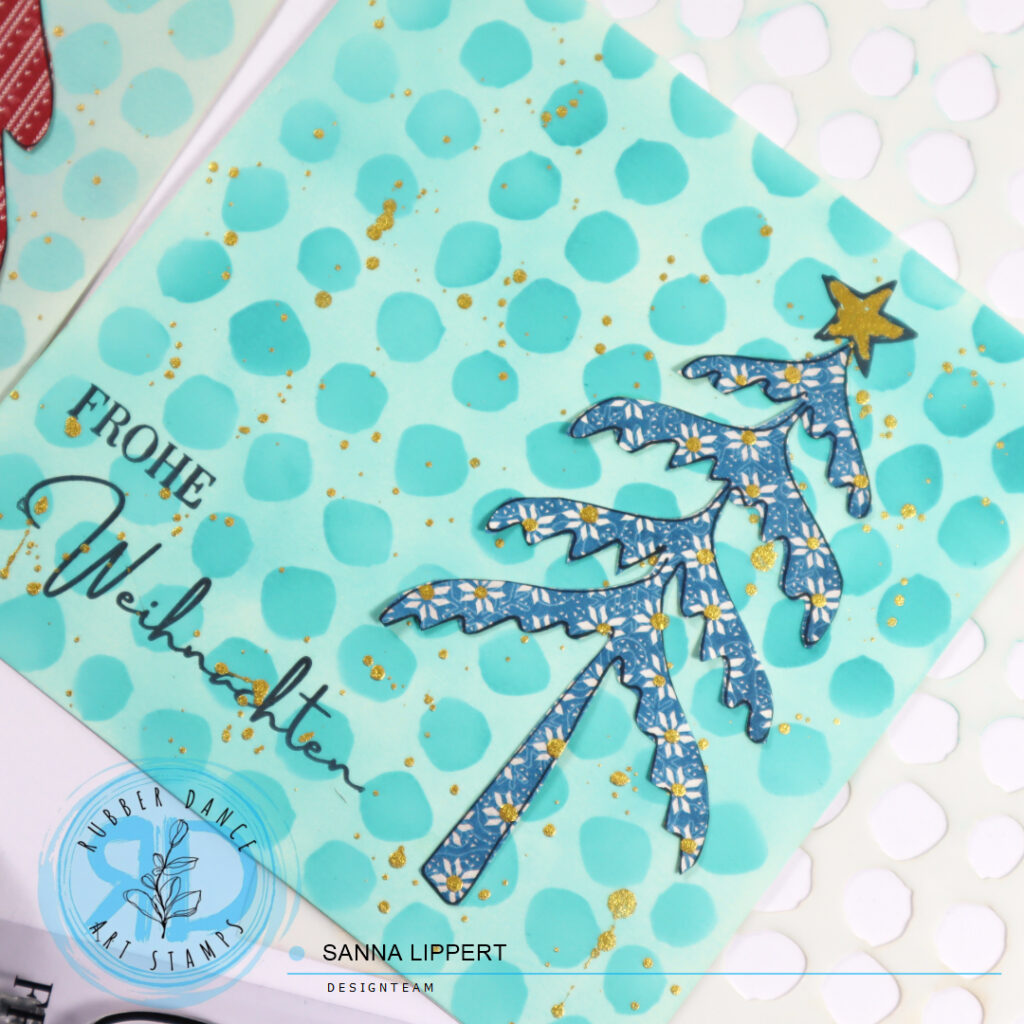
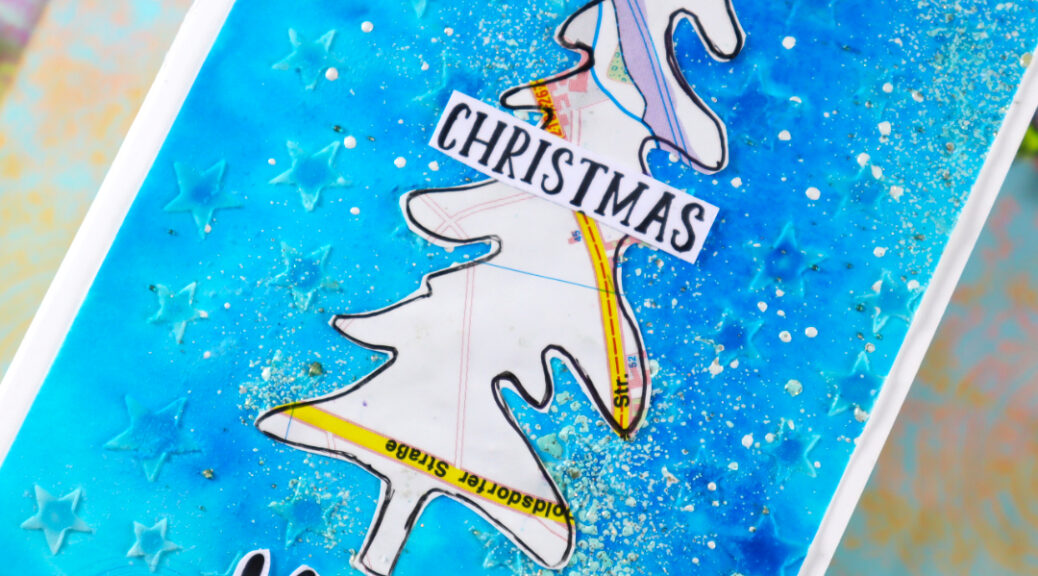
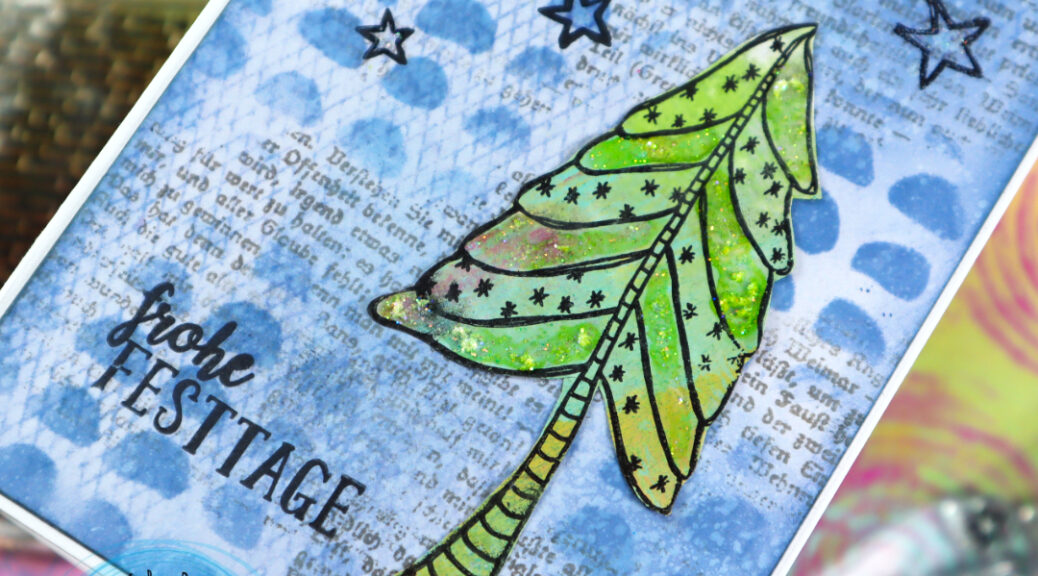
Hello, it´s my turn today again again at the Rubber Dance blog and I am up with another set of Christmas cards. This time with a strong blue background. For the cards I again used the Textured Xmas Trees 2 stamp set and the Stars 1 stencil.
I created quite a big piece of background paper at once, so I could create a big batch of cards. Here is how I made the background:
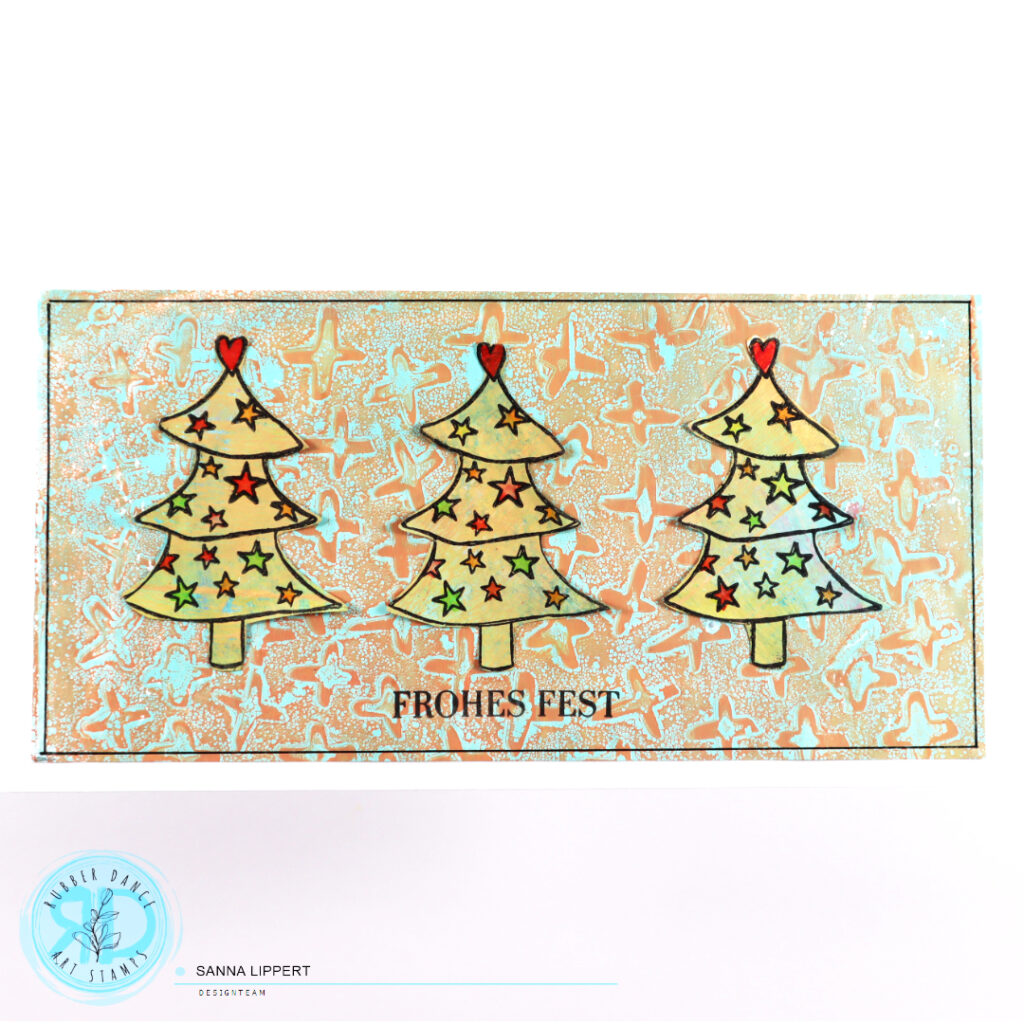
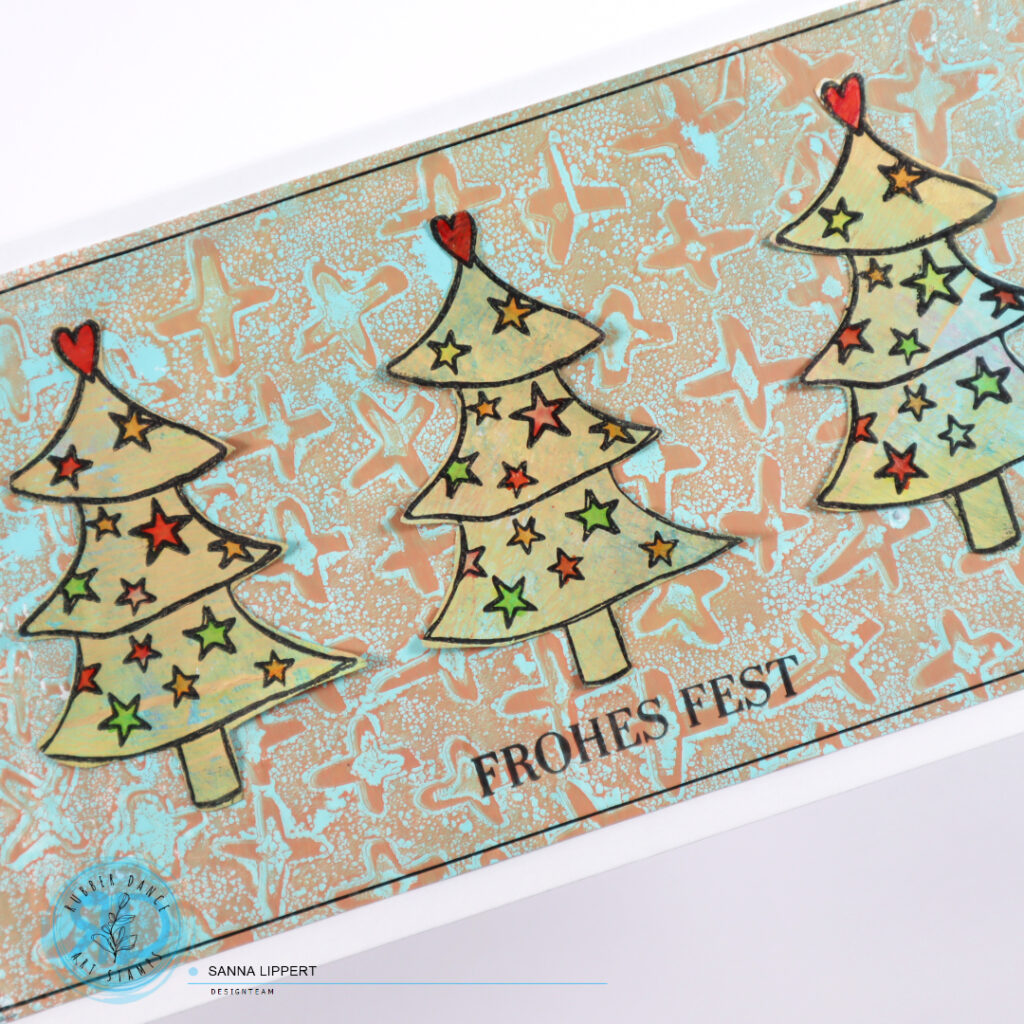
First I took the Stars 1 stencil and transparent texture paste. I applied the paste with a palette knife onto the surface thru the stencil. Some areas are fully covered with stars, some only have bits here and there. Next I took out a white mixed media paper (a thicker one that takes wet medium well), applied water onto it and then dabbed some white and turquoise Brusho powder onto the wet paper. Then I just let the powder do it´s magic on the wet surface. If needed, I added some more blue / white on top to make sure all areas got treated.
After the surface was dry, I sprinkled some speckled embossing powder onto the surface and heated it first from under the paper (this prevents the powder from flying away/moving) and then applied heat from the top, until the powder had melted. Now all I needed to do, was to cut the paper into right size for my white card bases and I had several card backgrounds ready.
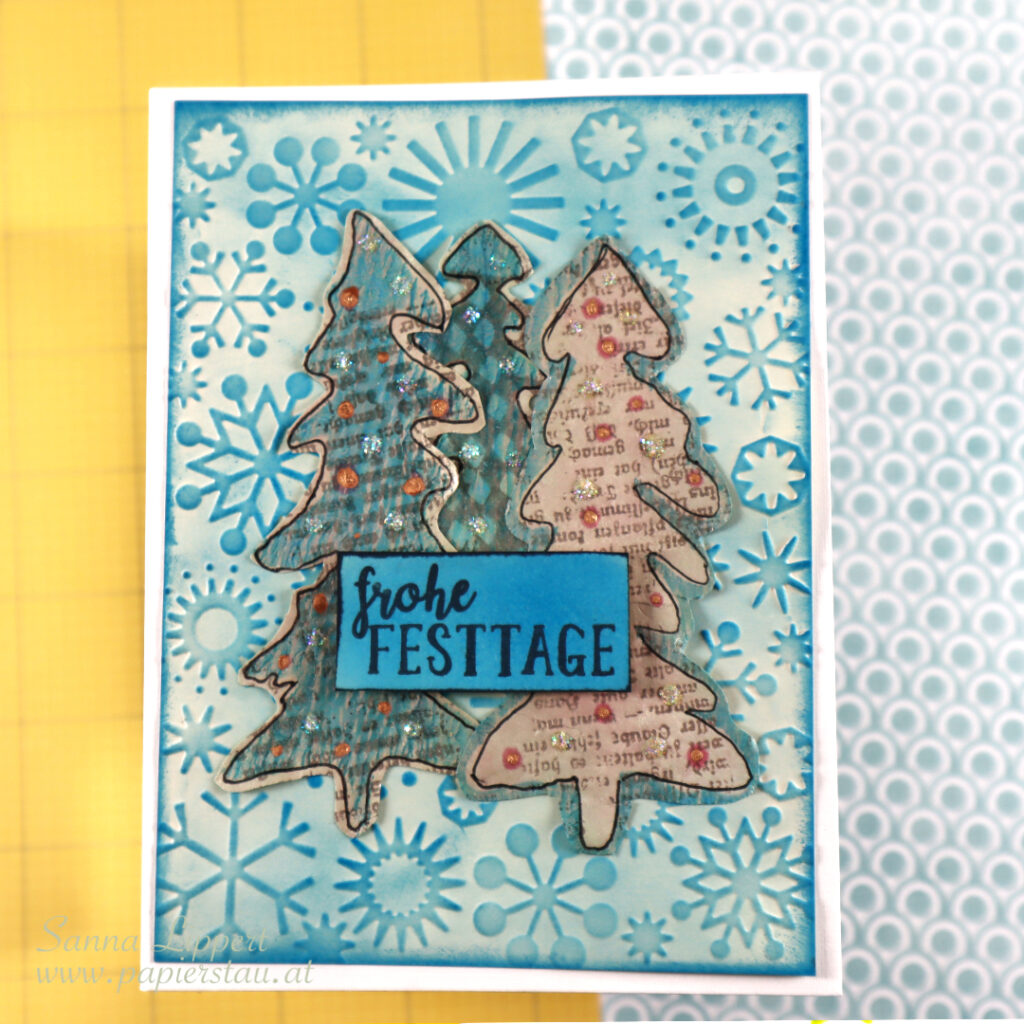
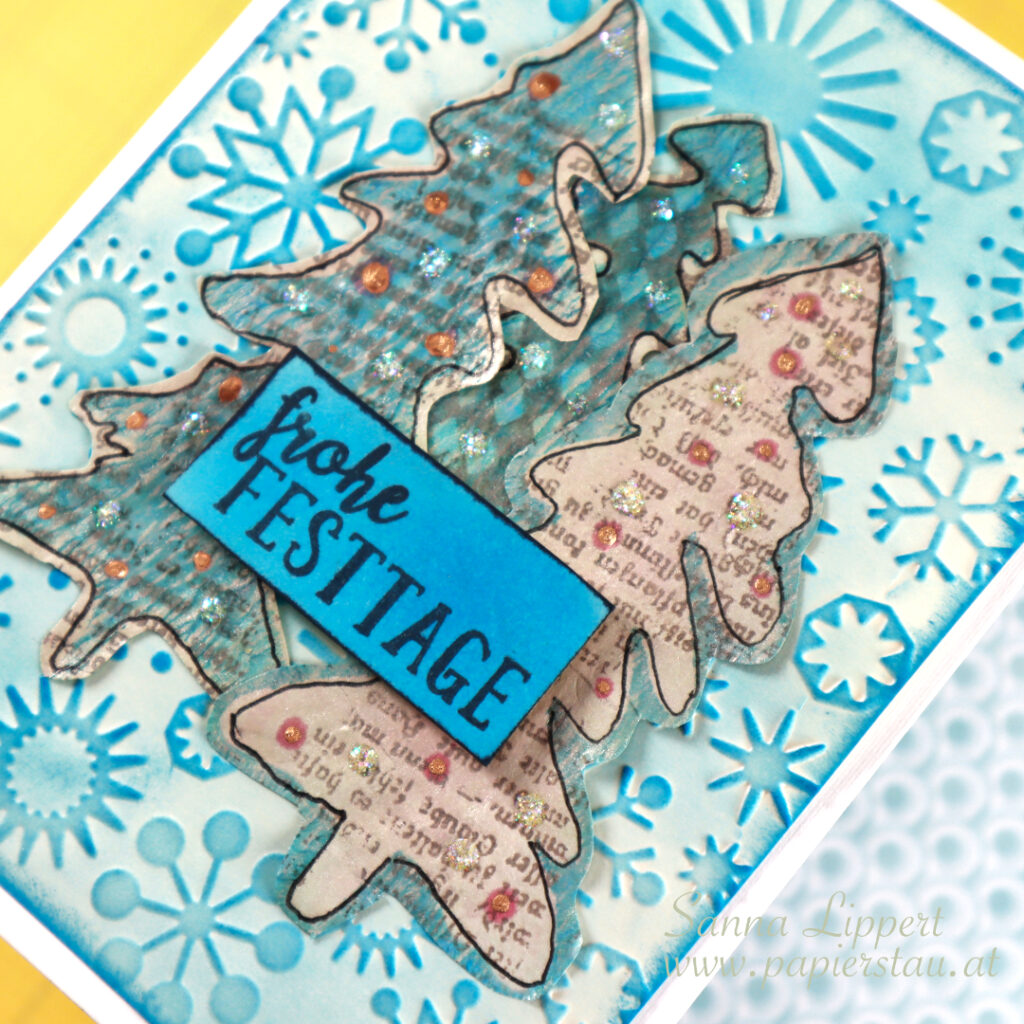
To these cards I added the stenciled and inked Xmas Trees 1 stencil outlined trees. Before outlining and fussy cutting the images, I treated the paper with Distress Oxide Inks and stamped patterns with Mix It Up 5 stamp set on top. then I only added a stamped and fussy cut sentiment (from Textured Xmas Trees 2 set) onto the card.
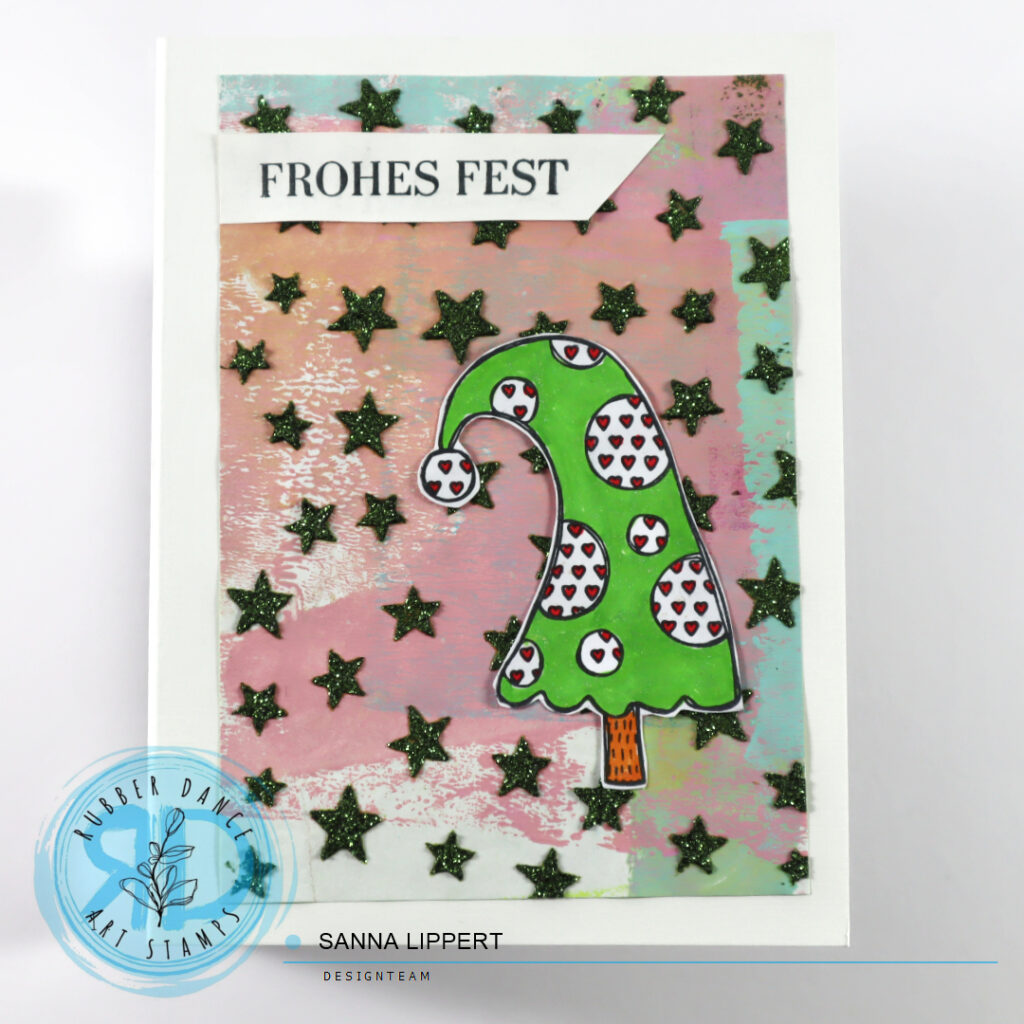
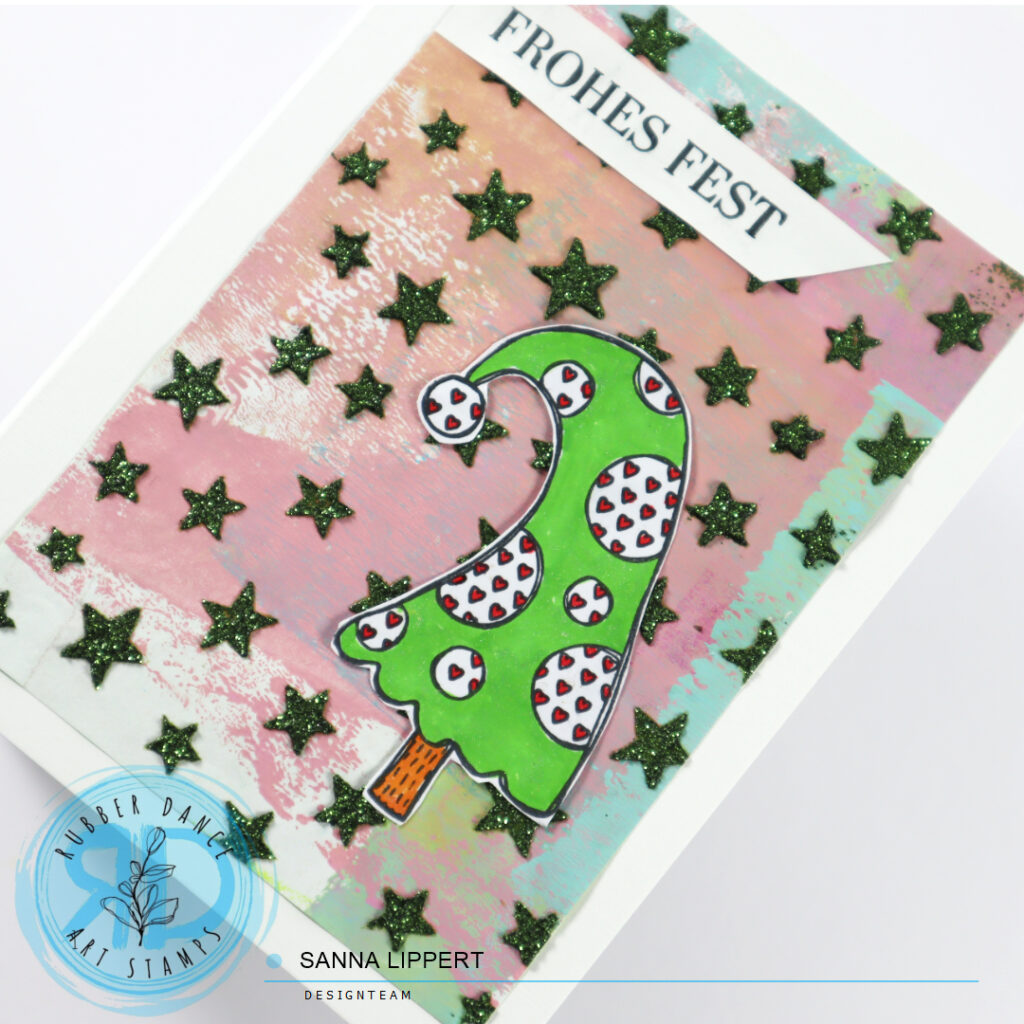
On this card I used the same stencil and stamps, but this time, outlined a piece of an old map book page to create a fun Christmas tree centerpiece. Also the first card is done in the same manner.
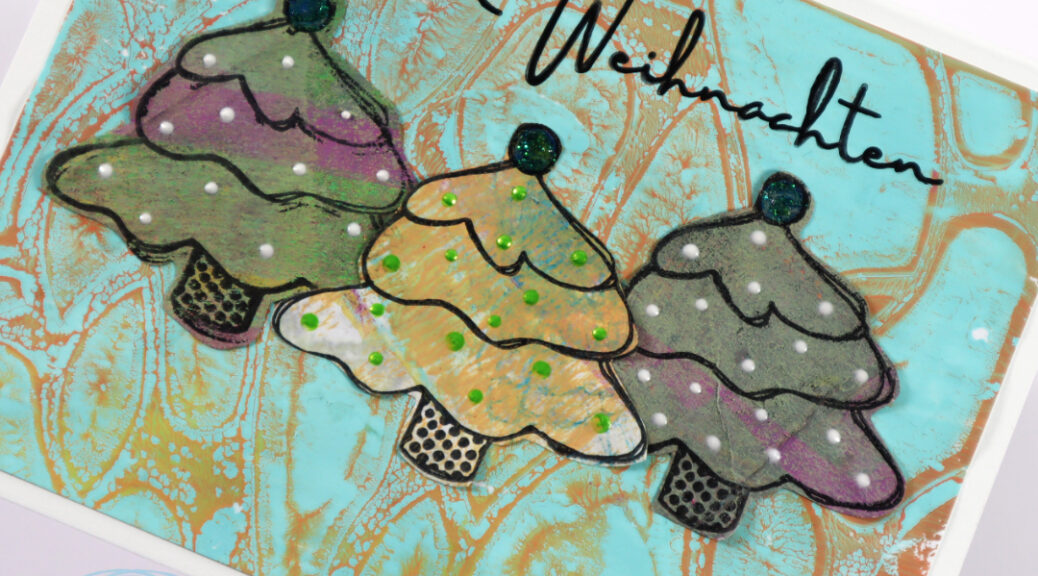
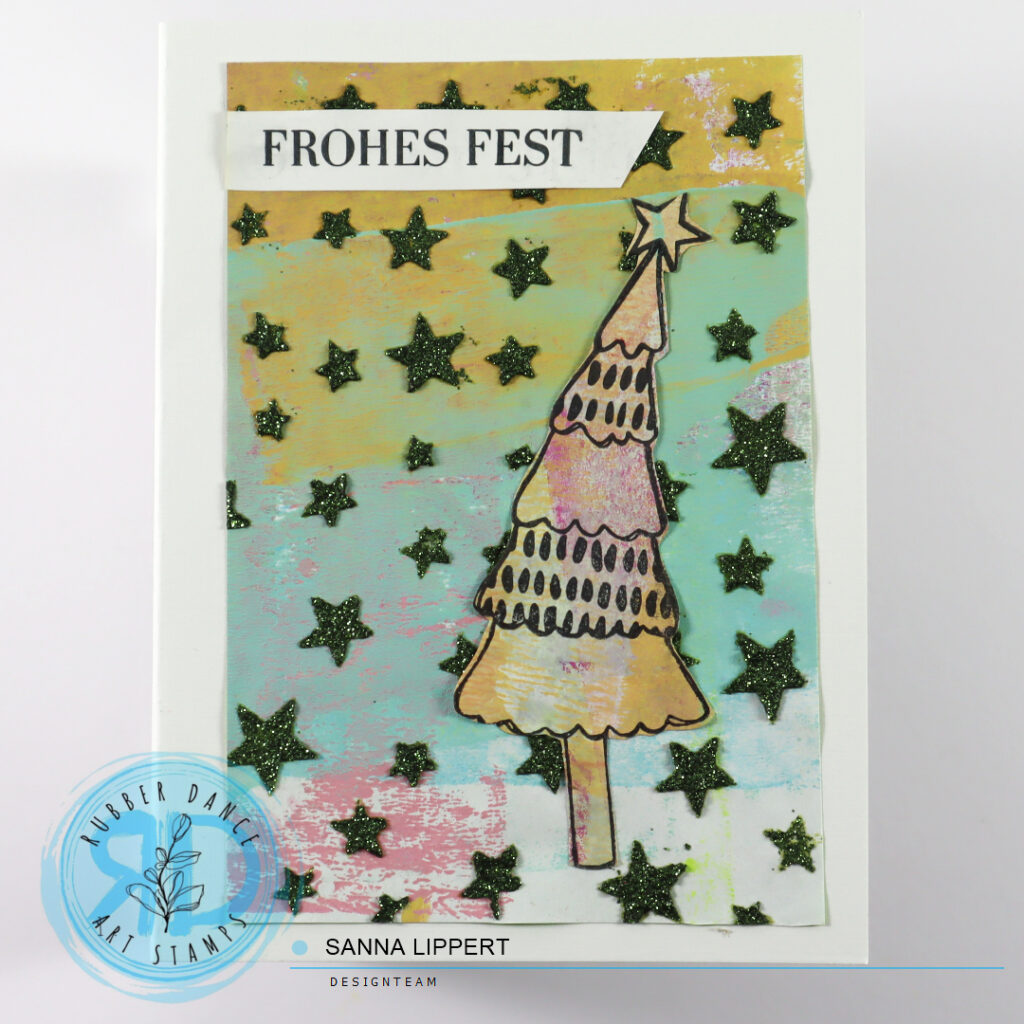
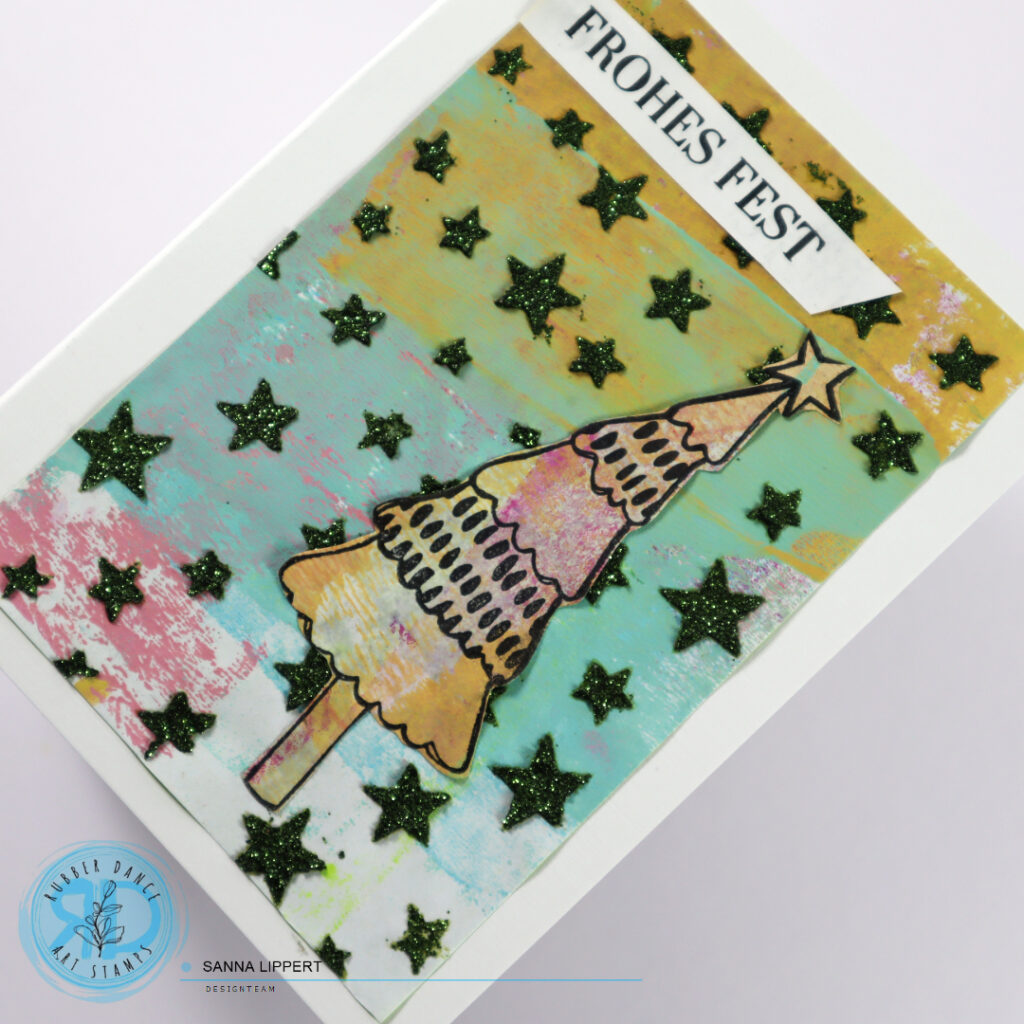
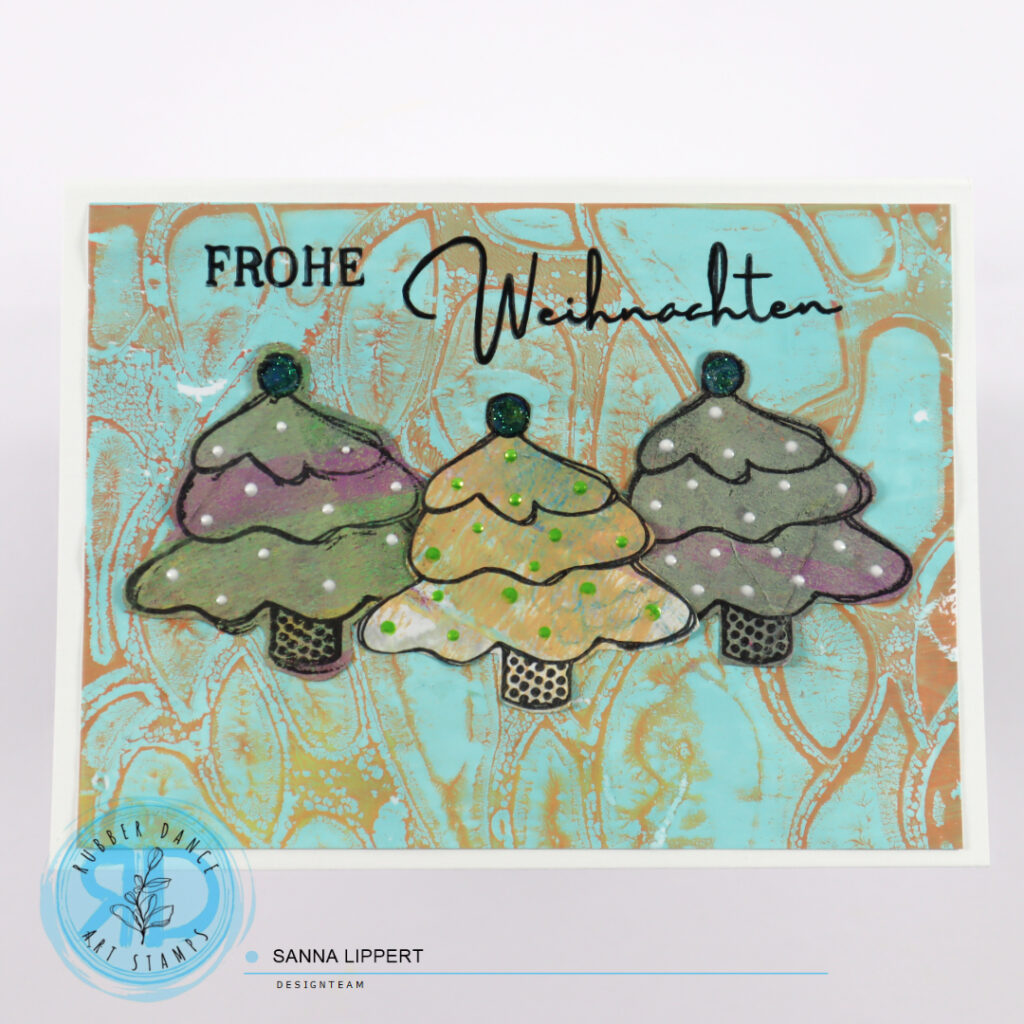
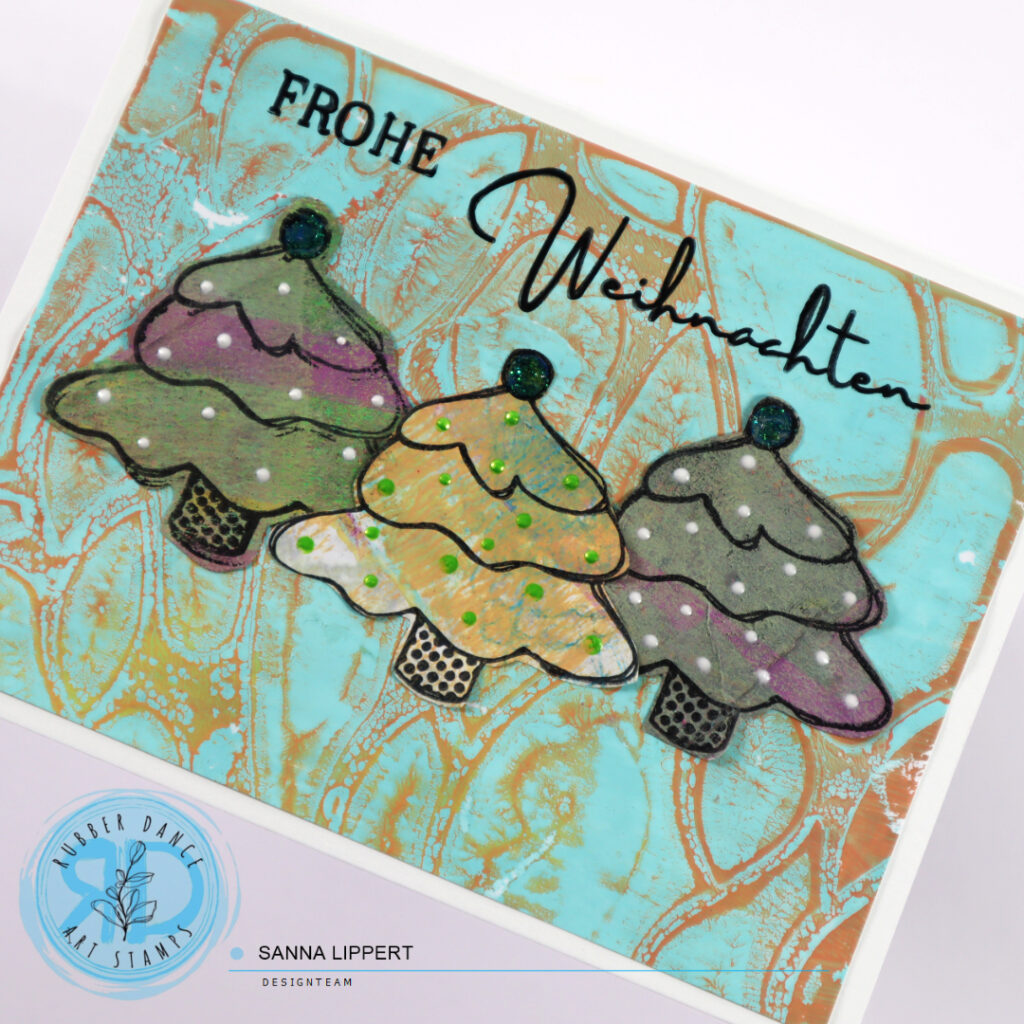
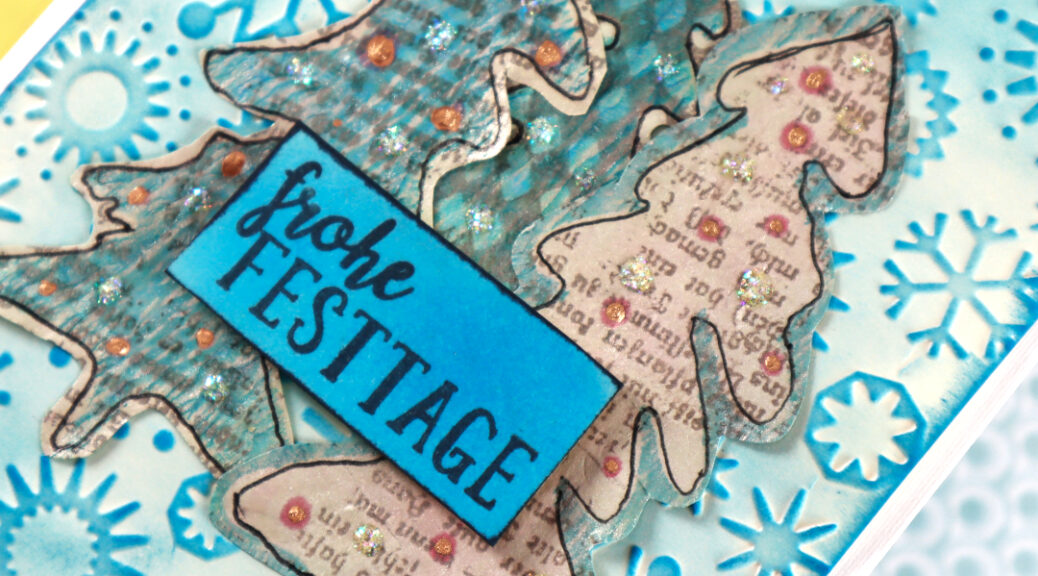
On this card the centerpiece is again stamped with the Textured Xmas Trees 2 stamp set, but onto a piece of paper I brayered paint that was left over from a gelli printing session. The random stripes of color make the trees look really interesting.
On this card I´ve used the same basic idea, but the tree is stamped onto a gelli printed paper and then fussy cut.
This card is also done with the same basic idea, but mixing both gelli printed and brayered papers together for the centerpiece trees.
I love how the blue background is so strong in color and the embossing powder creates an illusion of falling snow. I hope my idea inspired you. Wishing you a lovely holiday season and many happy creative hours!
xxx, Sanna
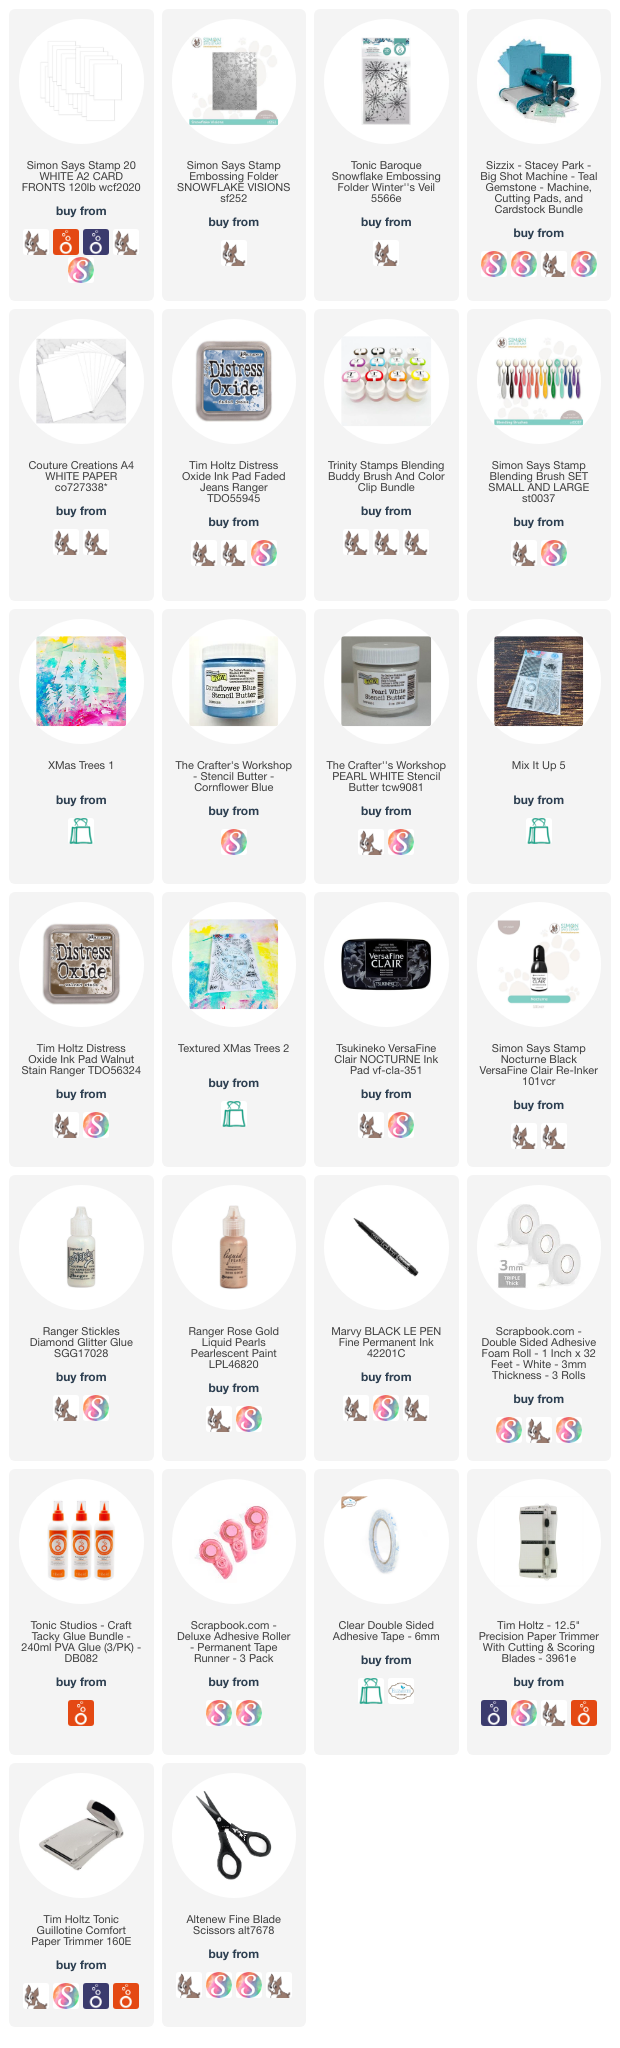
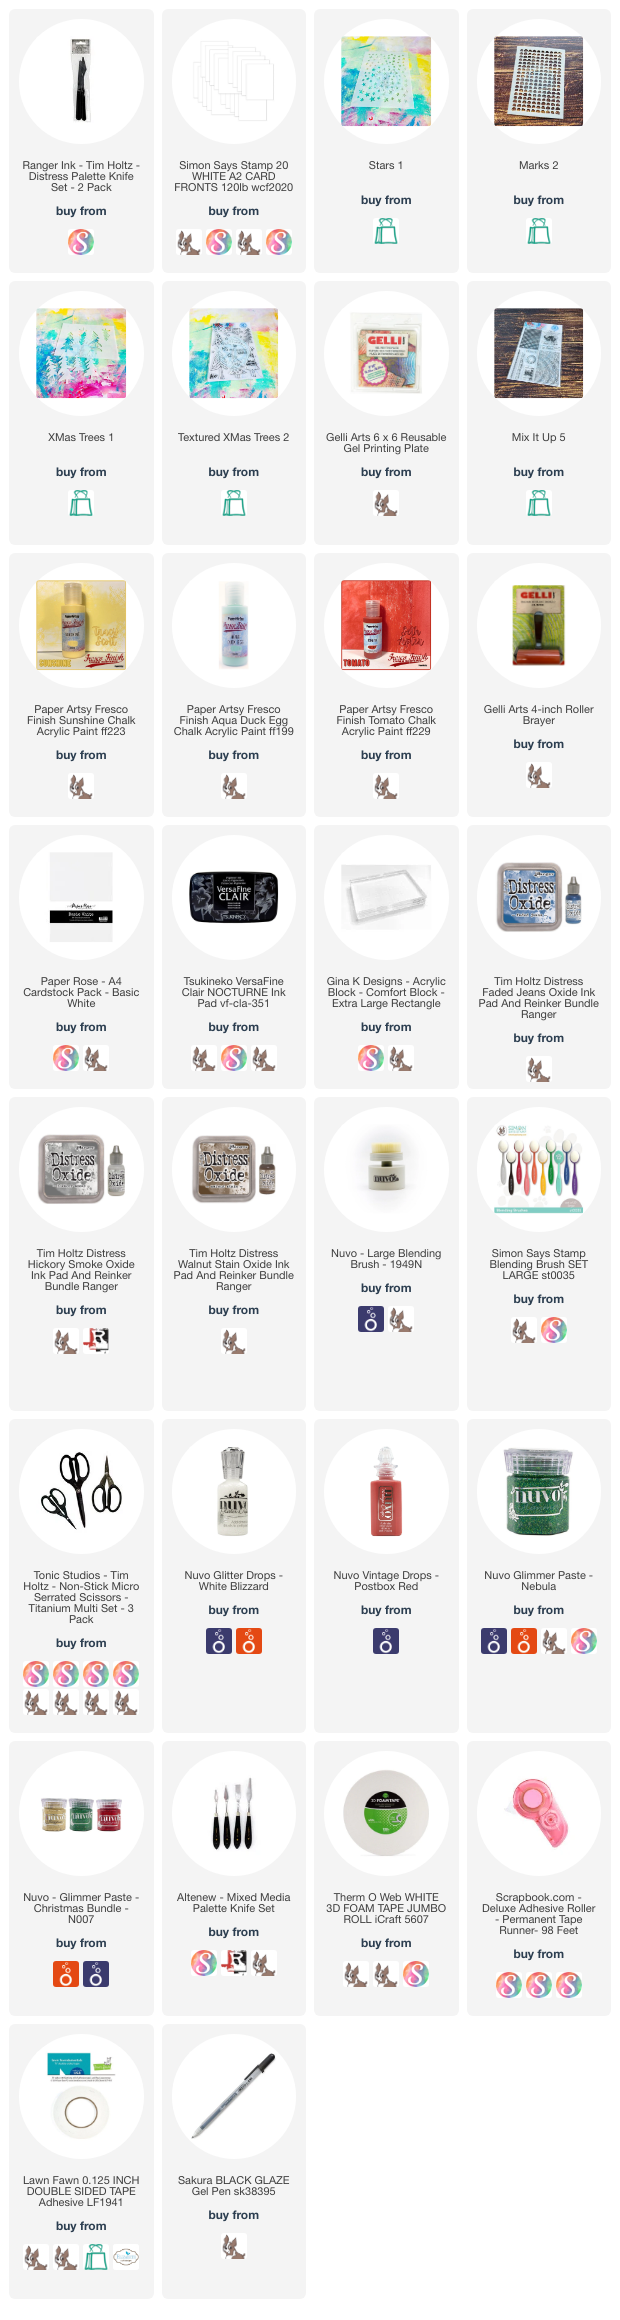
Supplies: