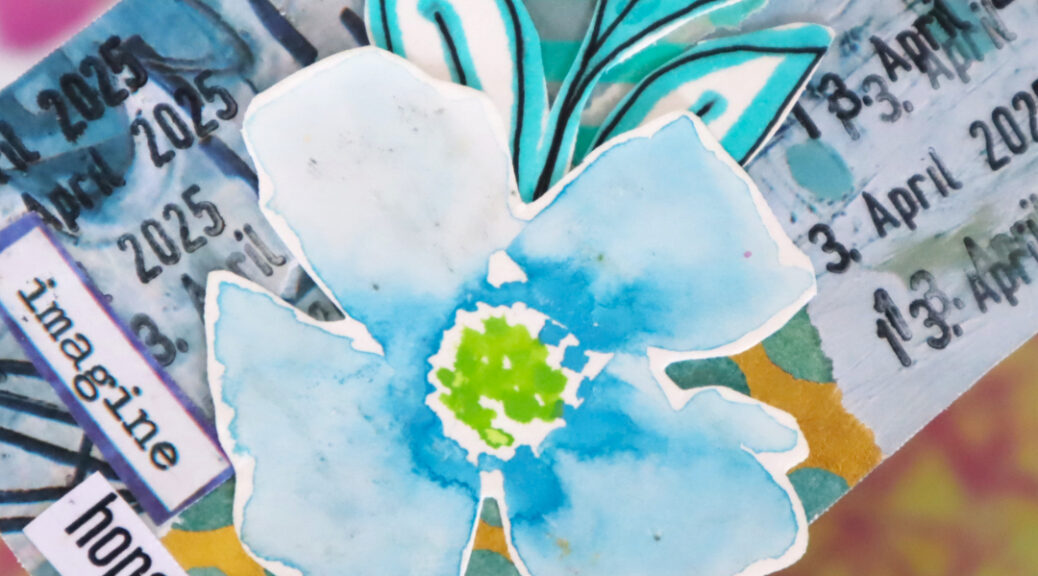
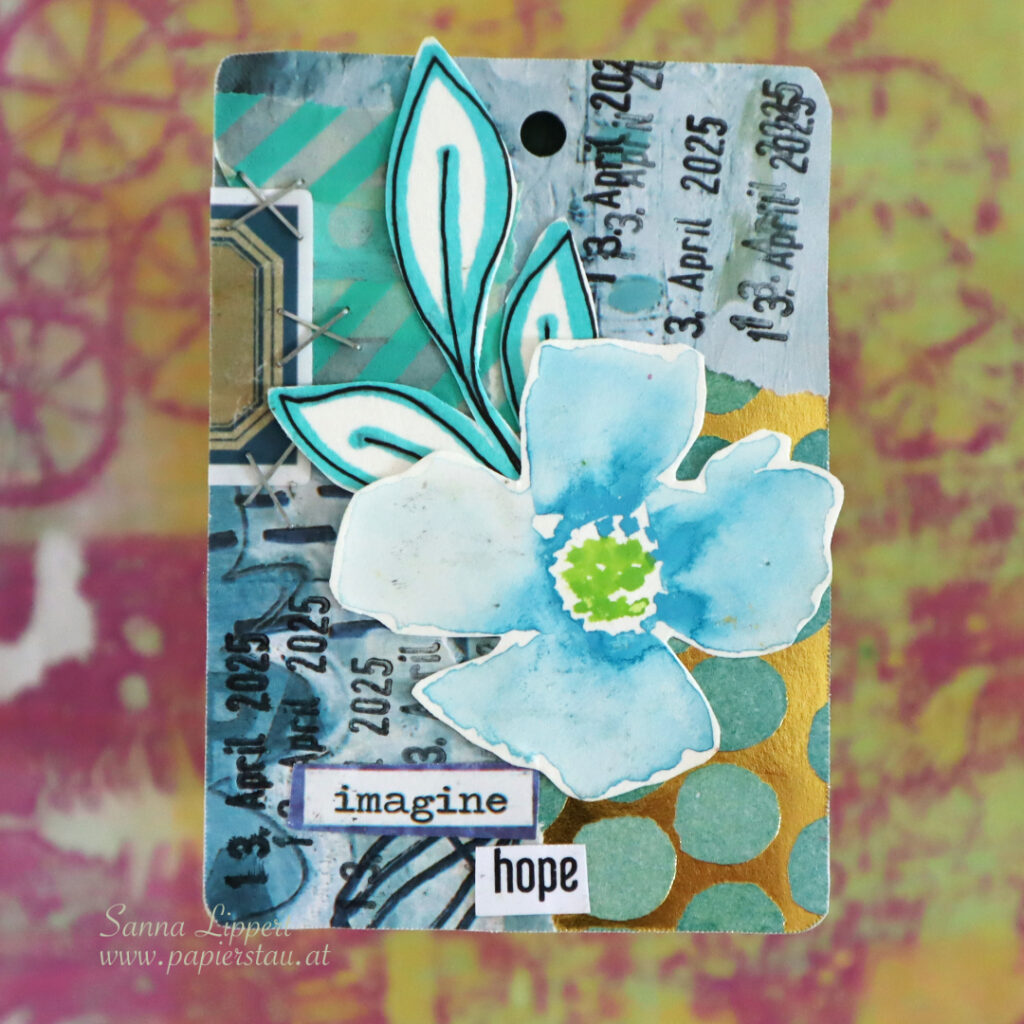
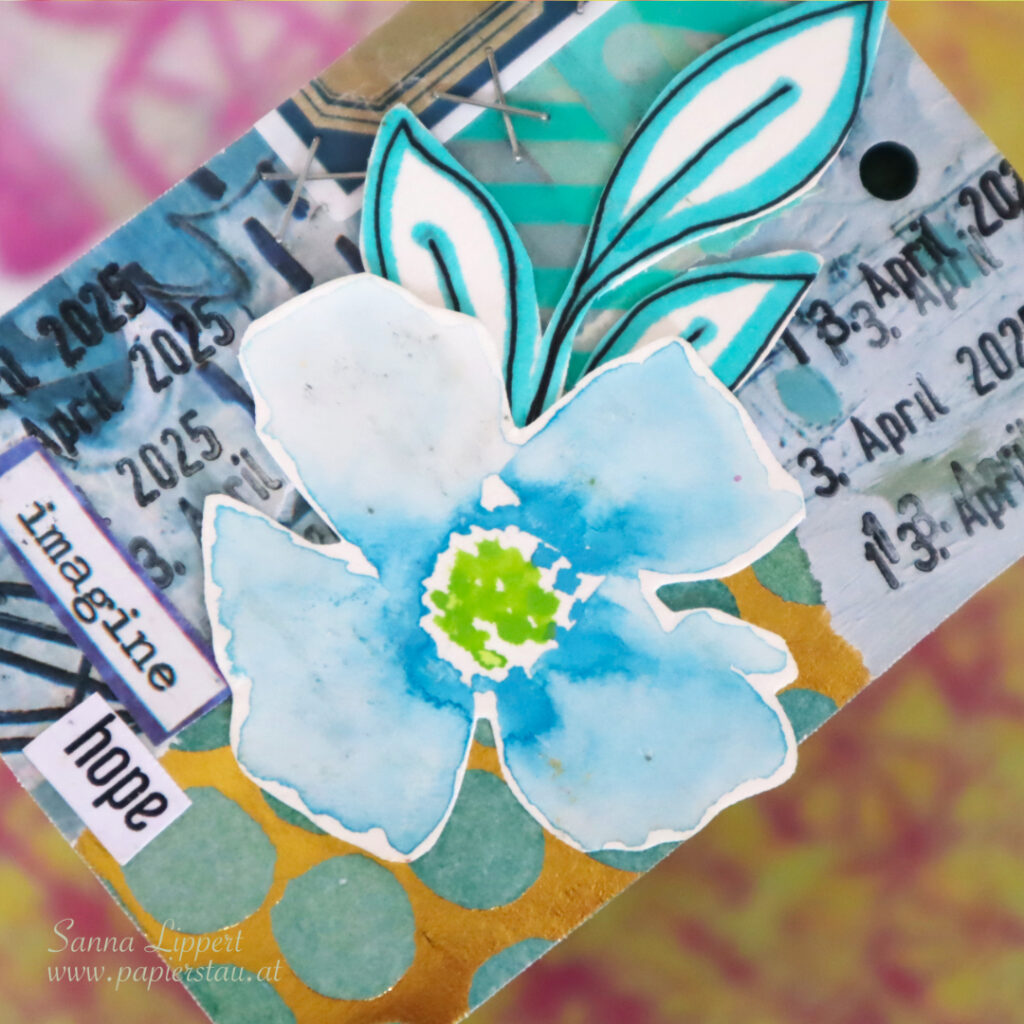
Hello and happy Wednesday! Here is my take on the ShanoukiArt “Full Deck Challenge”, week 14. The theme was turquise and stapler.
I used bits from my 2023 Artist Almanac and a piece of golden paper with turquoise dots. Next I added some washi tape, my constant; the date stamp and a label sticker (a kind of carry-over from my previous deck cards). On top some stapler details. On top of it all a fussy cut word with a Rubber Dance stamped one and some hand painted ephemera (from my 100 day challenge from last year).
As a contrast to last weeks one, this deck card turned out much more calm and harmonious :). And here is the video:
https://youtu.be/yPzwIJgSfSE
I hope you join the challenge, if you have not yet done so. It´s great fun and not so time consuming, as you only make one a week.
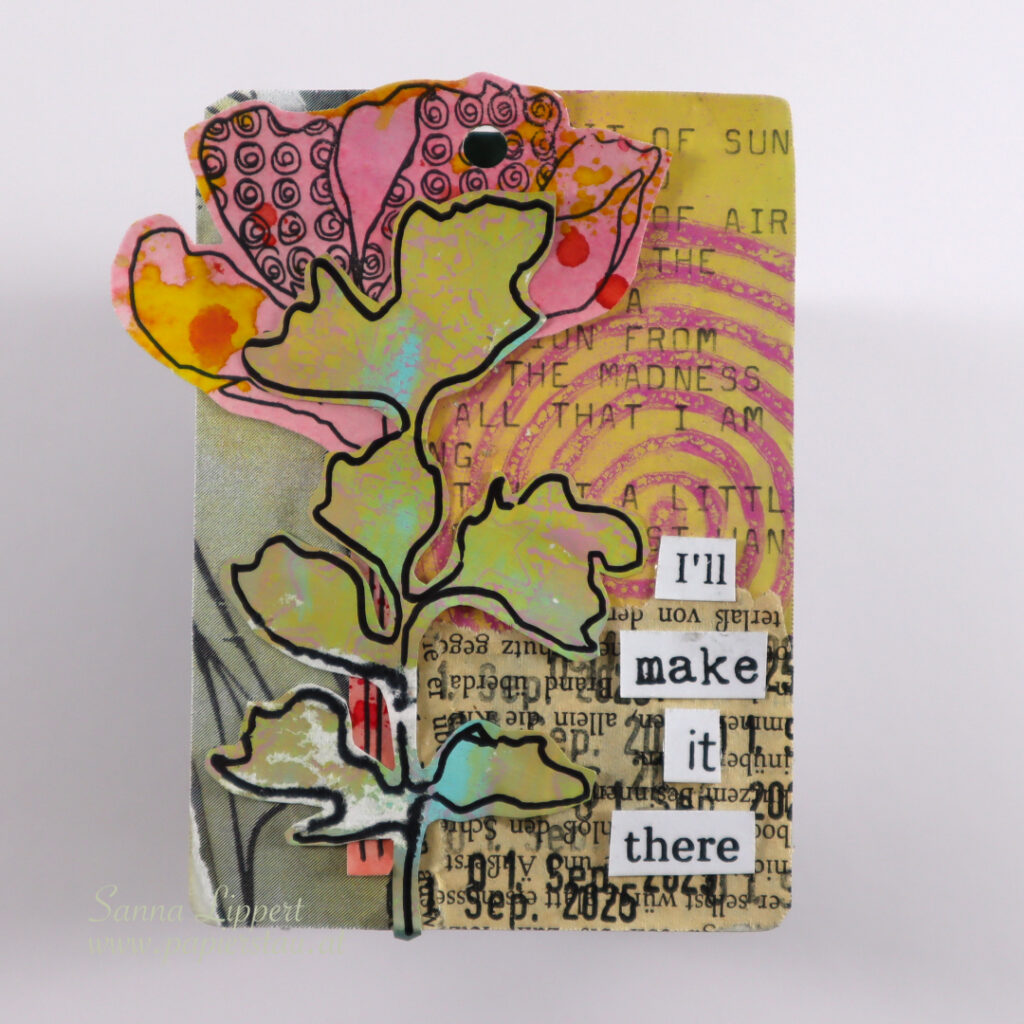
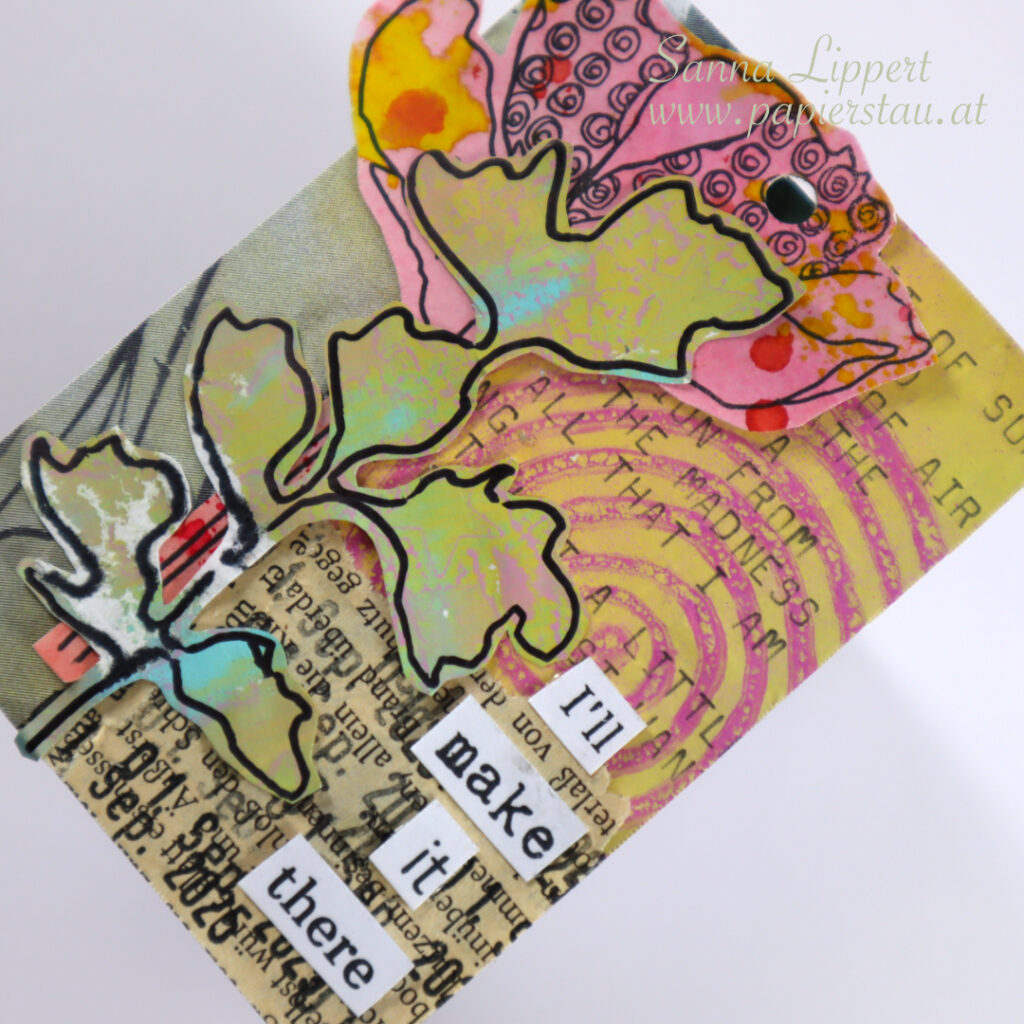
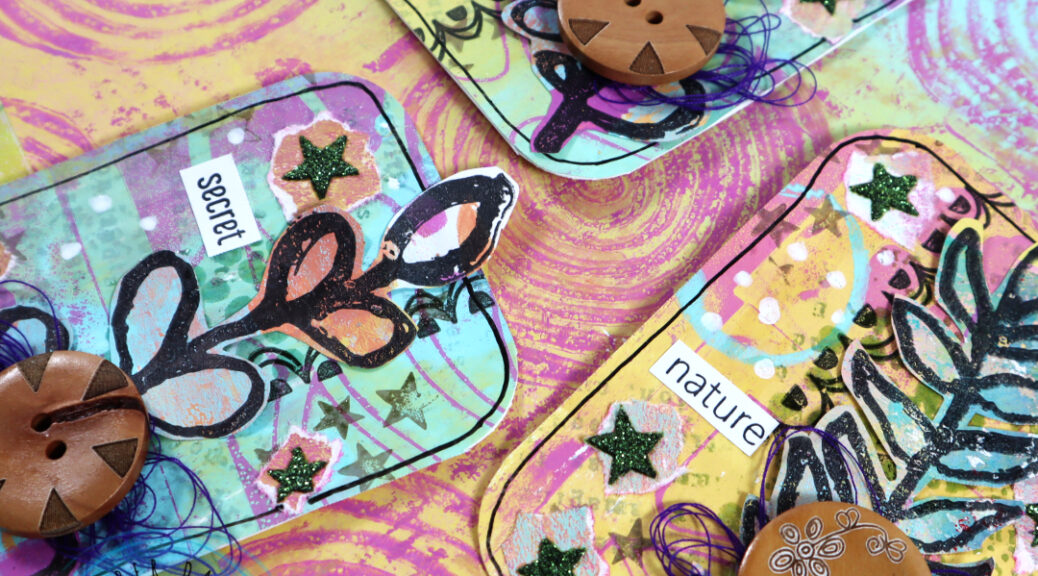
Hello, I am again up over at Rubber Dance blog with another project share. This time I have a set of stamped Artist Trading Cards with a video tutorial for your inspiration. For this set I used a gelli printed background paper, where I used the Marks 2 and Organic 3 stencils with acrylic paints to create the paper. The following layers were done using Pencil Marks 8 and Mix It Up 4 stamp sets and the Stars 1 stencil.
I started by stamping first with Mix It Up 4 stamp set and brown and grey shadow inks onto the paper. Next I stamped some circles with Pencil Marks 8 stamp set and applied Distress embossing glaze (weathered wood) with a heat tool on top.
Next I grabbed the scallop border stamp from the Mix It Up 4 stamp set and stamped with black ink onto the paper. After that I took some pre-made paper that had stenciled glitter paste on it (thru Stars 1 stencil). I wripped some stars from the paper and adhered them randomly onto the background. Next I decorated the ATC´s with leaf collage fodder (see the reel for that here), some yarn and a wooden button. For finishing touches I added some black pen outlining, some white Posca dots and a stamped and fussy cut sentiment from the Mix a Sentiment 2023 stamp set.
Here is a start-to-finish video for you to watch. Hope you enjoy it!
See you again soon with another inspirational project. Happy crafting! xxx, Sanna
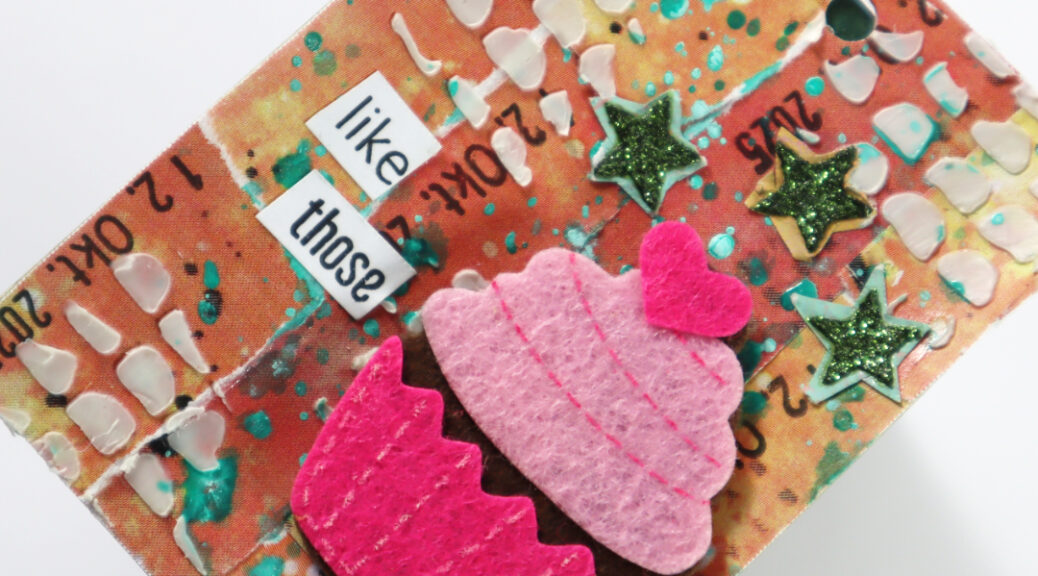
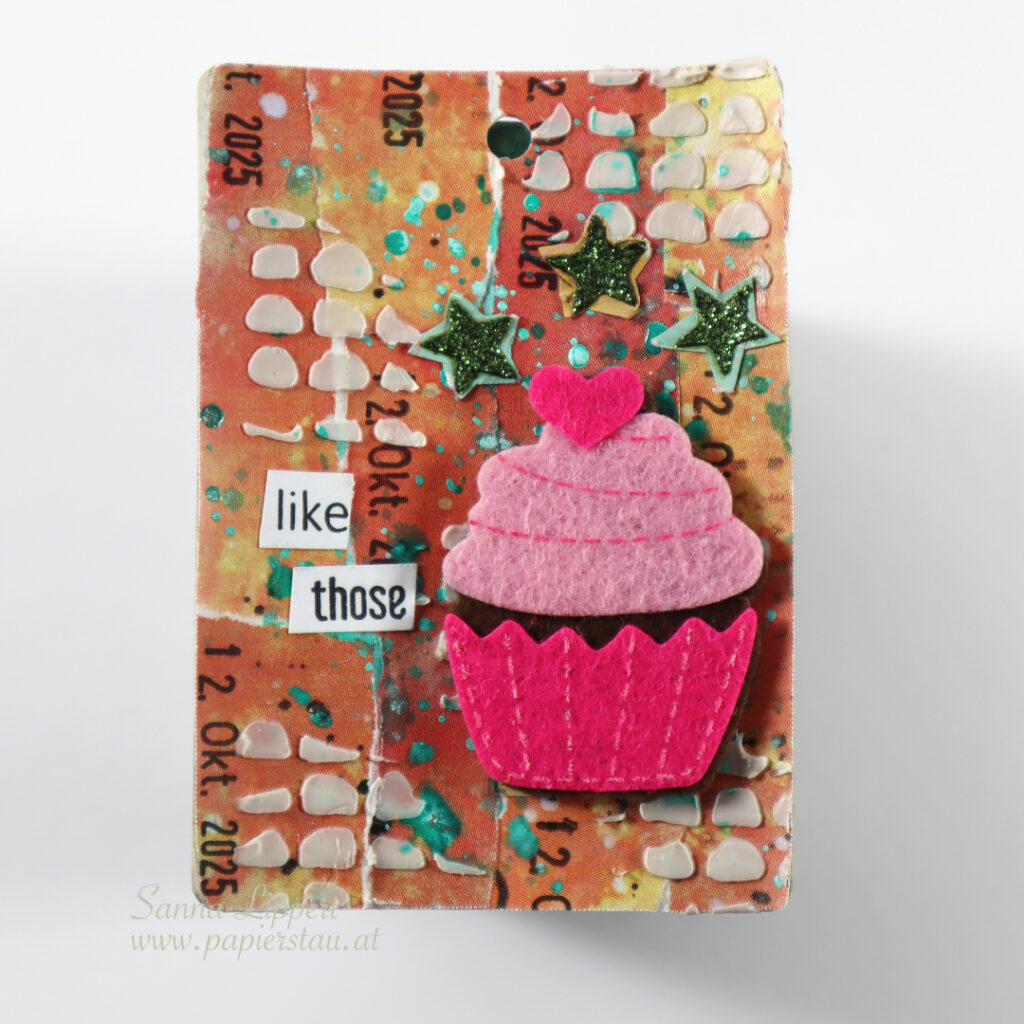
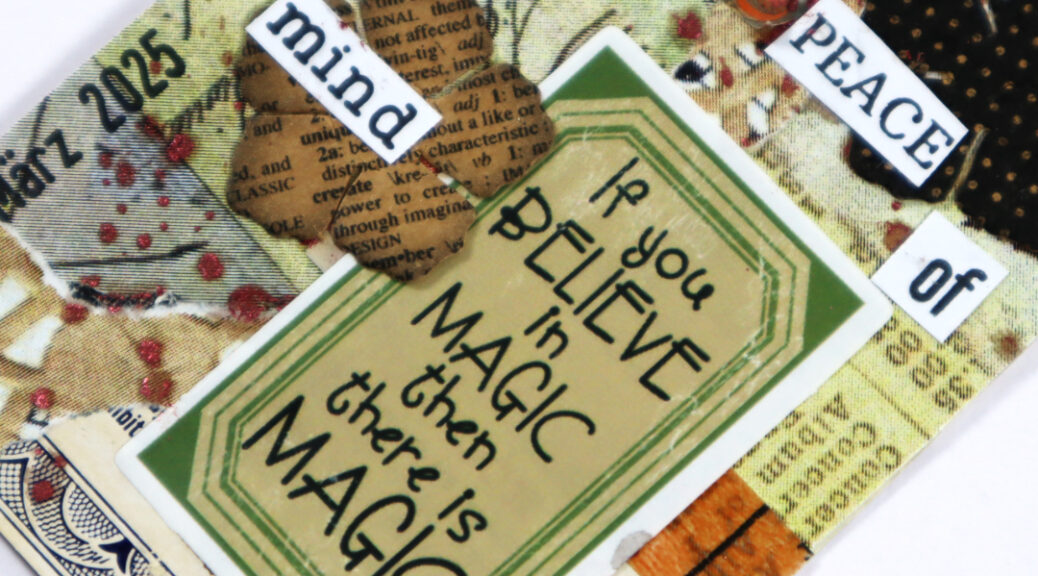
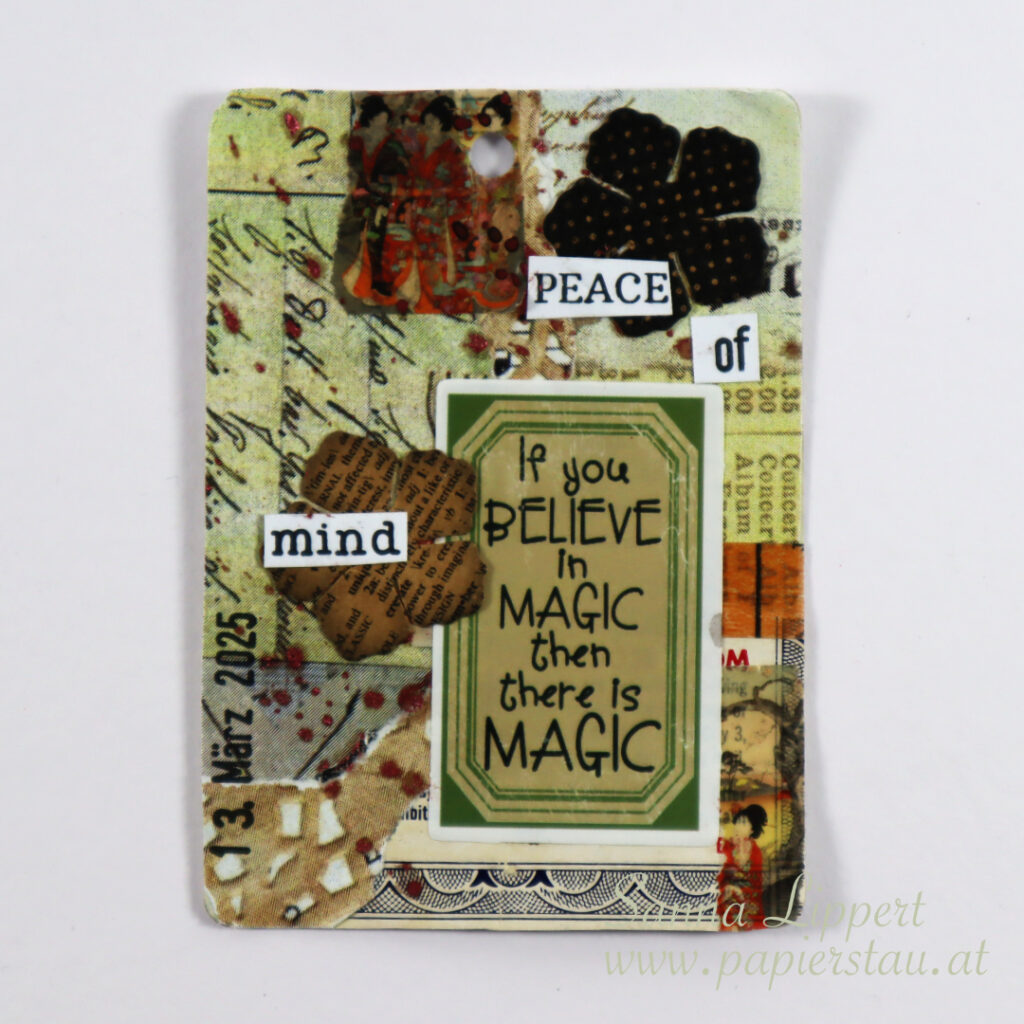
Hello again! Catching up with my FDC 2025 posts. I was a little sick and therefore was not able to keep up with posting there. But here is my take on “vintage with brown splatter”.
I again used the papers gifted to me by Yuna on the background collage. Also some very old (true) vintage label bits. Some old looking washi tape (my continous again). And old paper flowers by Graphic 45. The label sticker is a bold choice, but I liked the look of it. I also added some stamped words again (Rubber Dance).
The brown splatter is done using Tattered Angels Glimmer Mist which adds a nice shine to the deck card. Hope you also enjoy the short video! TFL! xxx, Sanna
Hello, it´s my turn to share a project over at the Rubber Dance blog and I am up with a fodder bouquet card set. I have made piles and piles of fodder and gelli prints recently and what for? For projects like this. I used the Mix It Up 5, Mixed Sentiments 1, Pencil Marks 8 and the Doodle Flowers 2 stamp set with the Wheels stencil on this project.
I love making leaf and flower fodder. Creating random colored backgrounds and stamping onto them and only when fussy cutting the images, to discover the beauty of every single piece on it´s own, is something very exciting.
So for these cards I used some recently made flower and butterfly fodder as well as gelli printed backgrounds. Have you tried making some yourself? It is a very inspiring process, so I truly recommend, you try it out.
Here is a video on how I built the cards together:
And I´ve prepared 2 different short videos on some fodder making, just for fun:
I hope you enjoy this card idea and the videos and that they inspire you to play with Rubber Dance products!! Have fun! xxx, Sanna
Hello there! I am a bit late posting this, as I was quite under the weather the past week or so. But better late than never, here is my take on the FDC challenge number 9 “pink with black splatter”.
For this one I gathered all kinds of paper bits and bobs (also vintage ones) and wripped them in smaller pieces to create the background collage.
On top of that I added my constant: a date stamp. And I again used washi tape as my continous – but different colors here. I hope you enjoy the start-to-finish video:
For finishing touches I added some older ephemera, a stamped and colored Rubber Dance flower and sentiment and some Stickles for sparkle. The black splatters are done with Neocolor II black and plenty of water.
I started by applying heavy body paint in “olive” with a palette knife onto the background. On top of that I used a foam brush to dab “sand” and “apricot” tones thru Big Ovals and Dotted 1 stencils. After that I outlined some of the dabbed paint “circles” with a black pen. Next I took a piece of a old dictionary book and wripped and glued strips of paper onto the background.
Next I wiped some “aloe” tone with my fingers onto the wripped dictionary page pieces to blend them into the background. I then added a layer of “tangelo” with a palette knife onto the page. Next I took the Cross It stencil out and added some white paint thru it onto the orange areas for contrast.
After that I took a black with glimmer mist misted tag out and again dabbed the “lemon” paint onto the tag thru the Wheels stencil. After that I put some “lime” toned paint onto the palette knife and wiped some of it onto the tag. The next layer was done using “stoked” tone and the Marks 2 stencil. I then added the last bits of “turquoise” paint with a palette knife thru the Stars 1 stencil onto the tag.
I sprinkled some Gloss Spray in “turquoise” for interest onto the art journal page. I then glued the stenclied black tag onto the art journal page. After that I added a misted doilie for decoration and created a cluster of leaves with “Doodle Flowers 2″ leaves next to it. There is a video at the end of this post on how I created the leaves.
I finished the page with a paper doll by Tim Holtz and some black and white alphabet stickers. Here is the start-to-finish video for further information:
And this is the video on how I made the leaves fodder:
I hope I could inspire you today. Happy creating! Sanna
For these cards I first created gelli printed background papers with Wheels and Leaves 2 stencils and acrylic paints. Next I took a more plaint gelli printed paper and stamped the Butterflies and Moths stamp images with black ink onto it and fussy cut the images. I then used these images as centerpiece on the cards. The sentiments on the cards are made with the Mixed Sentiments #1 stamp set.
For this card I used strips of the gelli printed paper with old book page strips.
This card has a full gelli printed Leaves 2 image as background and plenty of butterfly fodder as a centerpiece.
On this card I used a piece of a gelli print with a Wheels stencil image.
For the last card I used another piece of a Wheels gelli print image and added a longer sentiment to accompany the butterfly fodder.
Here is a video how I created the gelli prints and the on the end of the video you can see the piece I used for the butterfly fodder:
I hope you get inspired by this idea. I wanted to use bold colors on these prints, but if that is not your cup of tea, just change the paint colors to something else and have fun printing!!
Hello, it´s my turn over at the Rubber Dance blog again today and I am sharing a fall themed Artist Trading Card set, created with Textured Mushrooms 2, Mix It Up 6 and Mix a Sentiment 2023 stamp sets as well as the Lattice stencil. As my starting point I again used the Gloss Spray mushrooms from my post back on the 20th of October. I made plenty of them at once and now have fun material to play with.
For this set I started with a red patterned paper piece that I fussy cut into right size. Next I took Dina Wakley paints in tones Mineral and Sage and applied those thru the Lattice stencil onto the papers very randomly. After the paint was dry, I added stamping with the Mit It Up 6 stamp set stamps and brown stamp ink.
For additional interest I added some Gloss Spray splatters in Cheddar and Fuchsia and let the layer dry before attaching some screen prints to the cards with a stapler. Now all I needed to do, was to arrange the Gloss Spray mushrooms onto the cards and adhere them on place. For finishing touches I added some Mix a Sentiment 2023 words to the ATC´s as well as added details to the mushrooms with Posca pens. Finally, to add more depth to the cards, I inked the edges with a brown Distress Oxide ink.
And here is the video start-to-finish for further details and steps – hope you like it and get inspired!
Hello, it´s again my turn to share a create project over at Rubber Dance blog today and I´m up with another art journal page share. I made this one inspired by the beautiful watercolor pages Susanne makes, only I used Distress Crayons and stencils on the circles instead of watercolors. The products I used here are Weed Love stamps and Cross It, Marks 2, Marks 3 stencils, Grungy Butterflies and Mix a Sentiment 2023 stamps.
I started by applying various tones of Distress Crayons onto the page in circular motion. After that I misted the areas with a little water spray and then, when still wet, place a stencil over them and using a baby wipe wiped some of the wet crayon away.
After that I added some black details around the circles and stamped with Weed Love some images onto the page. I also added some blue crayon droplets and golden pigments in droplets for additional interest to the page. Next I wrote some asemic writing here and there and finally decorated the page with a Grungy Butterfly and created a sentiment with Mix a Sentiment stamp set.
Here is a start-to-finish video for all the steps:
I hope you get inspired by some of the techniques and/or ideas and grab your art journal and start to create! Have fun! xxx, Sanna
I started by creating the DIY paper featured in the die cut circles. I always take a spare paper to add my brayer paint residues onto, when I am gelli printing. So I took one of those papers stamped the Mixed Sentiments with a brown Distress Oxide Ink repeatedly in a random order onto the paper.
Next I inked the Marks 3 stencil with 3 tones of blue Distress Oxide inks and misted the layer with a water spray bottle. Then I pressed the stencil onto a piece of white paper to create the pattern. You can use the same inked stencil at least twice, just add water mist and press again onto another paper. There will be variations on pattern and color strength, but that makes the backgrounds even more interesting. No of them will be the same.
After creating both the background and the DIY collage paper, I die cut the collage paper one with circle and flag die cut dies. Then I adhered the stenciled background paper onto white card bases, added the die cut pieces on top and decorated the cards with fussy cut Sketchy Leaves and a bunch of Mix a Sentiment 2023 words. There are lots of layers, but still all of the cards are very flat, so they will be easy to mail.
Here are a few step-by-step videos for more details. This one is on how to make the collage paper yourself:
On this one I show how the cards come together:
And this one I´ve shared earlier, but here is how I did the leaf images:
I hope I could inspire you a little with this card set idea. Have fun stamping and stenciling!! xxx, Sanna