Tag Archives: Tim Holtz

Cards with fodder clusters and oval backgrounds – Rubber Dance

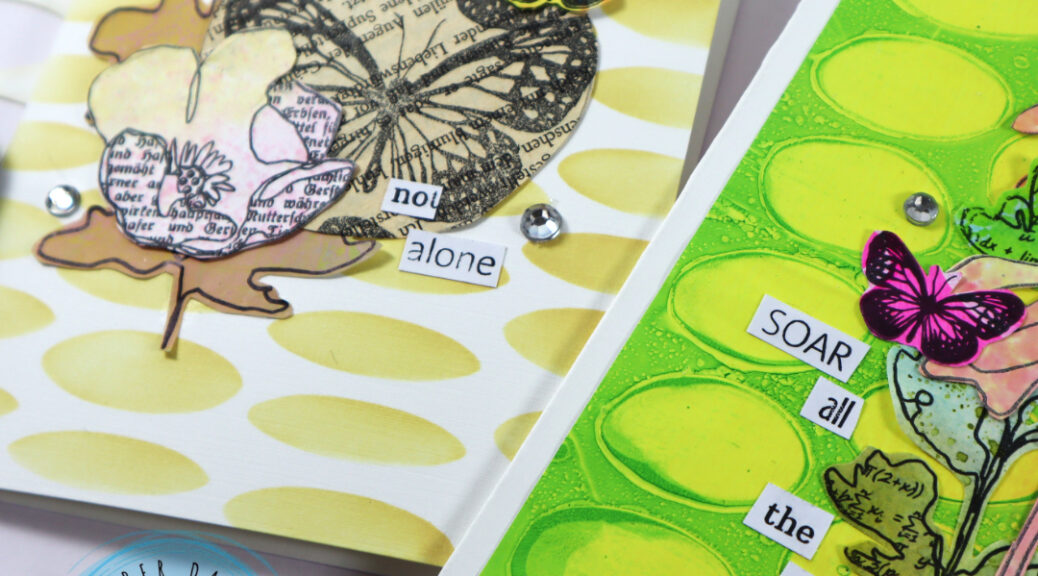
Hello, it´s my turn to share a project over at Rubber Dance blog today. I love the Rubber Dance ovals stencil line! So I played around with them (Big Ovals and Stacked Ovals) and created fun oval background cards with a big collage fodder cluster as a focal point.

For the bright colored card I used a gelli print created earlier this year. It creates a beautiful, happy and bright backdrop for the cluster of flowers, leaves and butterflies. I also added some rhinstones and a fussy cut sentiment to the card for finishing touches.

I always create collage fodder in bulk, so that I have plenty of options to add to my cards and other projects along the way. The tutorials to these fodder pieces can be found here, here and here.

For the second card in more muted colors. I used the new Stacked Ovals stencil directly on the background with “scattered straw” Distress Ink.

I again attached the stencil to the card and my working surface with washi tape. You can also use painters tape. This way the stencil will stay put while applying ink. I like washi, because it´s very easy and safe to remove afterwords – nothing tears while removing it.

For this cluster I again used collage fodder I had previously made in bulk. Except for the old book paper circle. That I created using the Butterflies and Moths stamp set and black ink just for this card. It adds a nice vintage feel to the cluster.

I really like using stencils on my cards. They can add so much to a project. Just imagine these fodder clusters without the backgrounds.

Hope you get inspired!
xx, Sanna

Supplies:

Bold card backgrounds with Distress Inks and Rubber Dance stamps

Hello, it´s my time to share a project over at Rubber Dance blog again. This time with a photo step-by-step card tutorial. For this one I used the brand new Carved Collection 6 stamp set with Distress Inks and black stamp ink.

And here is how I created the colorful background:

My starting point was a piece of white cardstock, the Carved Collection 6 stamp set and pink, yellow and orange toned Distress Inks. You also need an acrylic block and a water spray bottle.

I took all 4 triangle stamp images from the set and chose a color for each (mustard seed, picked raspberry, spiced marmalade and kitsch flamingo). I inked the image with the chosen stamp ink and lightly sprayed the surface with water mist (for a watercolor type of style). I repeated this step throughout the whole paper, changing color and image in a repetitive way, until the paper was full.

This is what the finished first layer looked like. I left some white space between the images, so each image would stand out better.

Then I took a black stamp ink and a leaf branch from the same set and repeatedly stamped with it on top of the first layer. I then fussy cut the image into two same sized pieces, drew along the edges with a black marker and adhered the background to a white card base. Next I added a Tim Holtz chipboard sentiment and some silver rhinestones onto the cards and they were done.

It is so much fun to create DIY card background “papers” with a stamp set like this! I hope you give it a try!
Happy crafting,
xxx, Sanna

Supplies:

Stamped card background card set – Rubber Dance

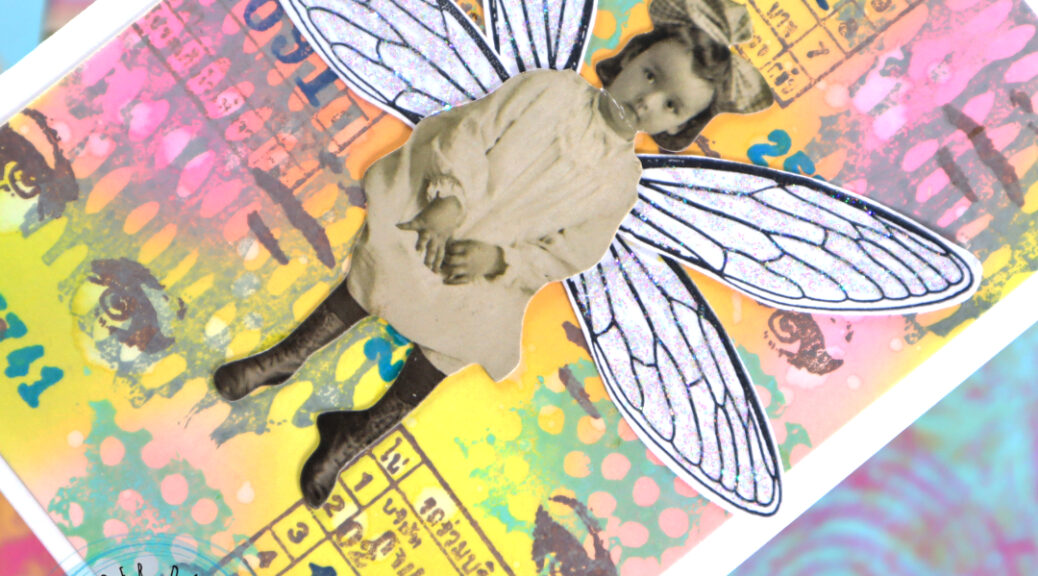
Hello, it´s my turn to hare some Rubber Dance inspiration today. I created another card set and tutorial share. For this card I used only one stamp set – the Mix It Up 7.

I started by applying Distress Oxide Inks in yellow, pink and light green tones with a blending brush onto a piece of white cardstock.

After that I chose stronger Distress Oxide Ink colors for my second layer (blues, greys, browns and greens). I randomly stamped with various images from the same stamp set onto the background. I also changed the ink color every time I changed to another stamp image.

Next I took the wings and flowers from the same stamp set and stamped with black stamp ink onto a piece of white cardstock. Then I fussy cut the images.

Finally I glued everything onto a white card base. The black and white images formed the focal point. For finishing touches I also added some Stickles to glimmer, like seen on this photo.

Here is a video on the full process for you to watch:

I had so much fun making these card backgrounds. I hope I could inspire you to grab a stamp set and make some fun backgrounds! Have fun!
xx, Sanna

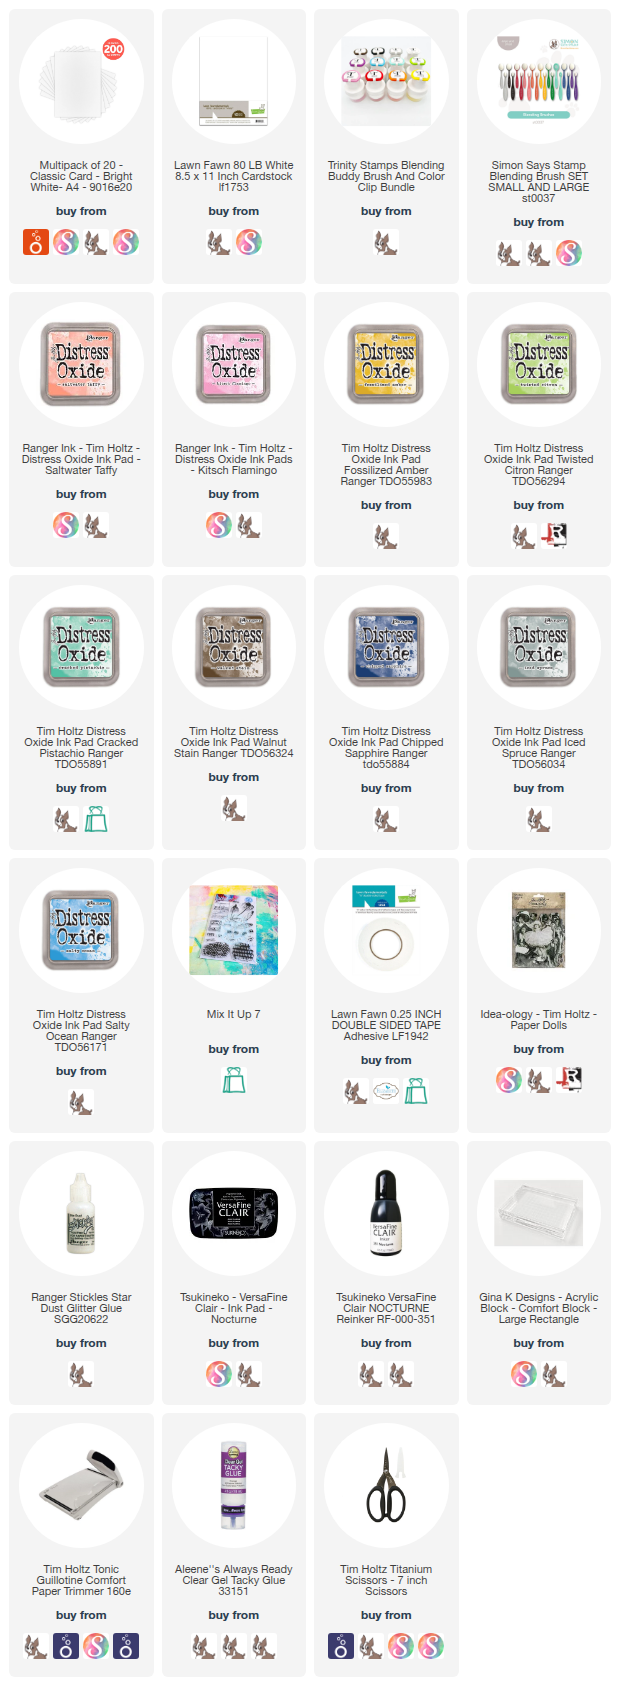
Supplies:

Full Deck Challenge 17/2025 – blending

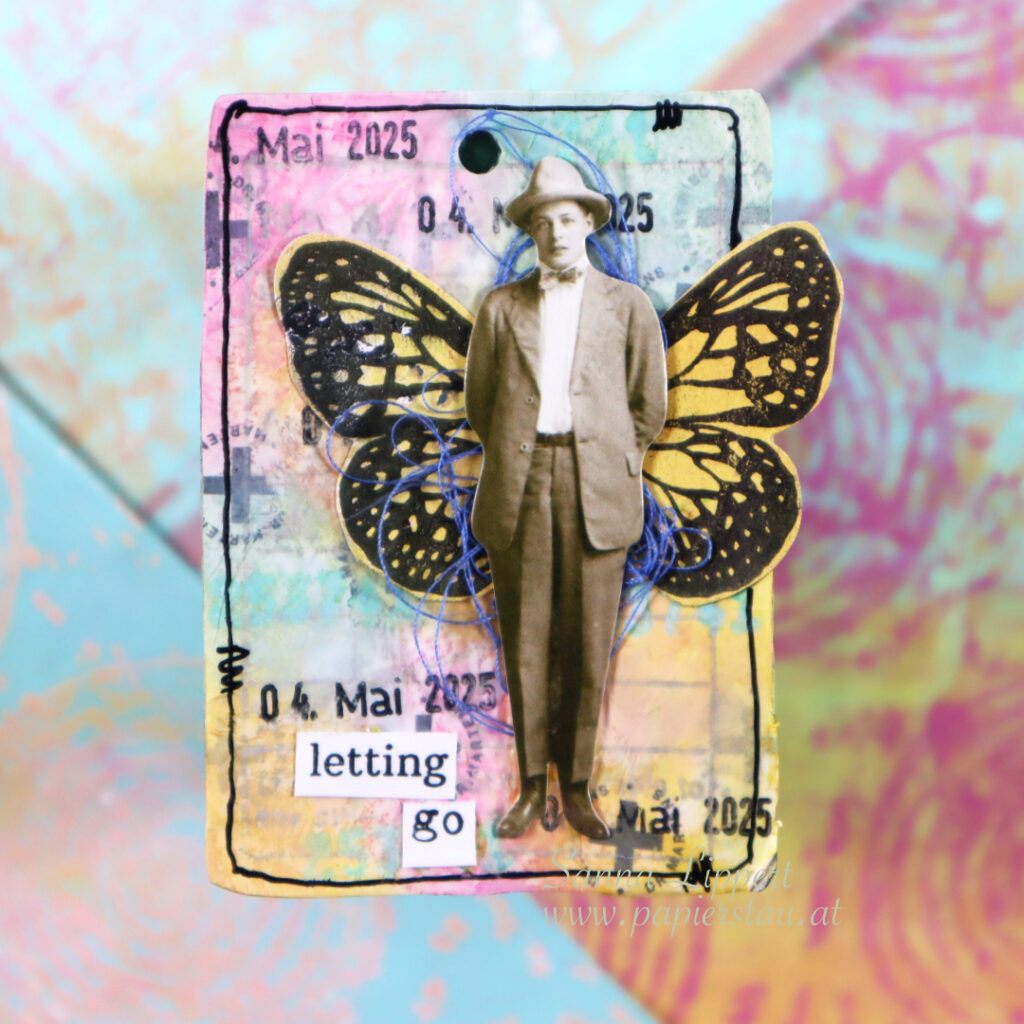
Hello and happy Thursday! Here is my take o the ShanoukiArt “Full Deck Challenge” number 17. This challenge was all about blending.

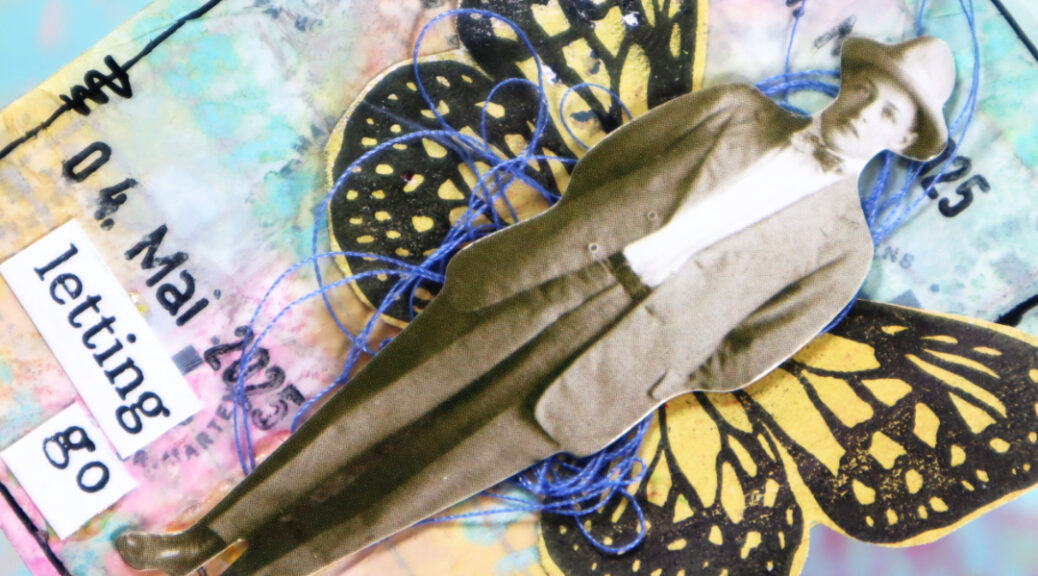
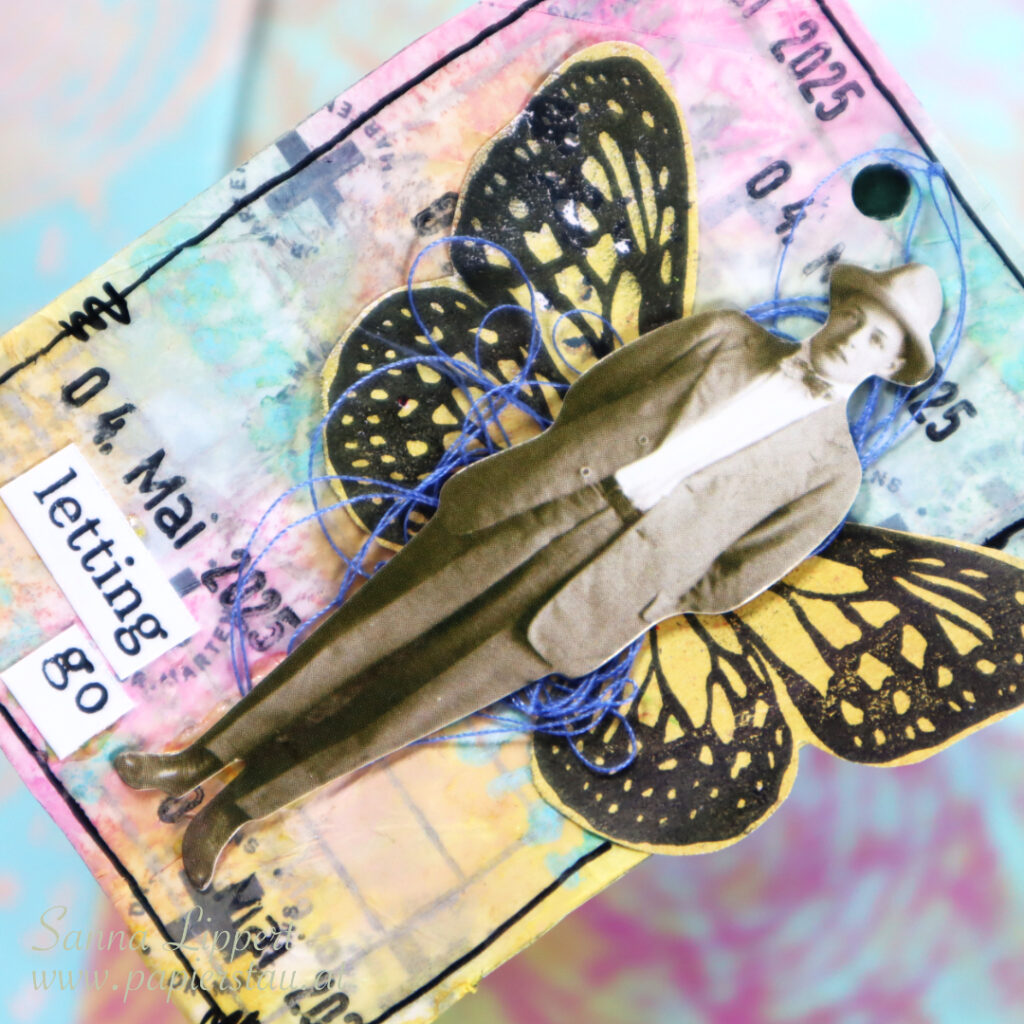
I used a piece of patterned tissue paper on the background, then added some matt medium on top. On that layer I used Distress Oxide inks (blended) in pink, yellow and light grey. After that I added my constant, a date stamp and a Rubber Dance stamp image, stamped with grey Distress Oxide ink.

My carry over item from the last deck card is a stamped butterfly (Rubber Dance). And on top of that I added a Tim Holtz paper doll with some garn and a stamped words for journaling. I also outlined the deck card with a black pen.

And here is the full star-to-finish video:

Thanks for stopping by and see you next week with another FDC take!
xxx, Sanna

Supplies:

Full Deck Challenge 16/2025 – sewing

Hello everyone and happy Friday! I´m a bit late with sharing these, but the weather has been so nice lately and gardening has taken some of my time.

However, here is the ShanoukiArt Full Deck Challenge Nr. 16. The theme was “sewing”. Which I did with my sewing machine. You must know I am not “friends with” my sewing machine, so this is always an accomplishment, when I manage to sew.

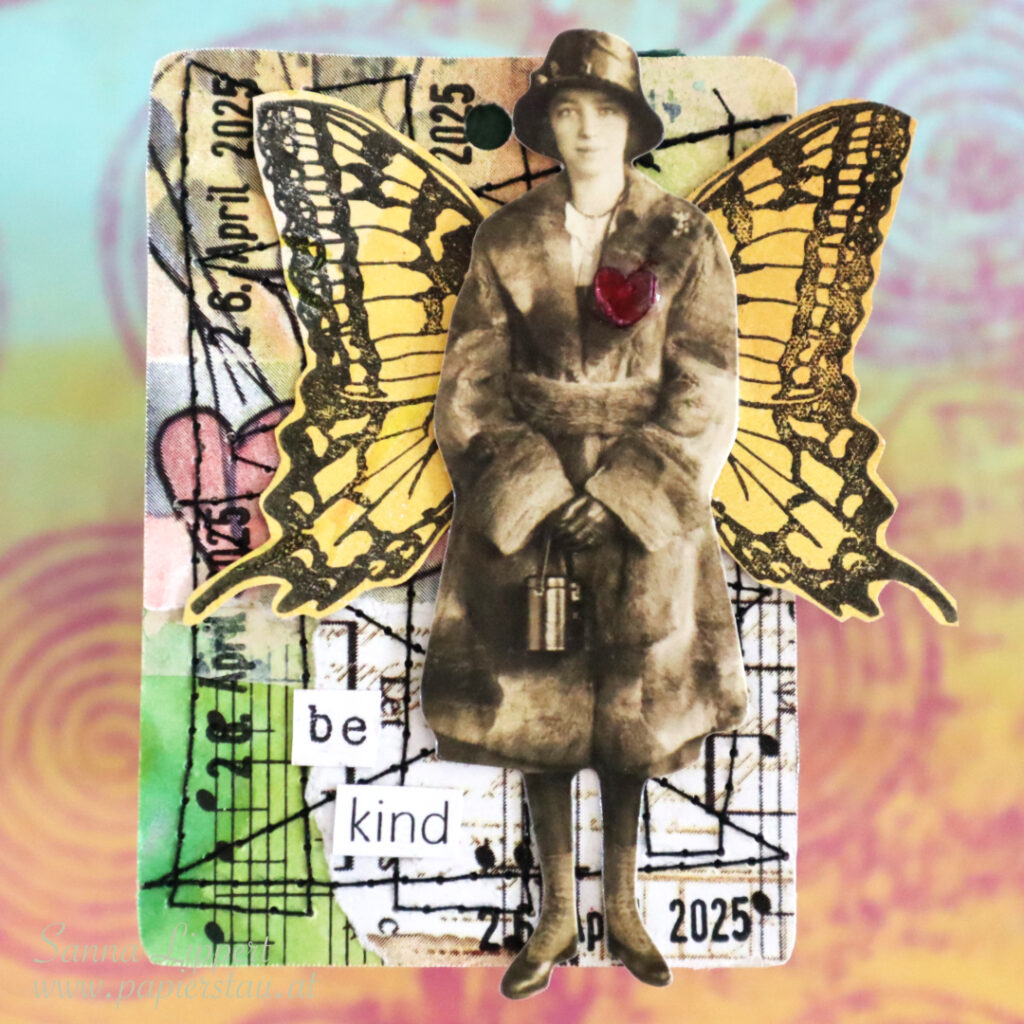
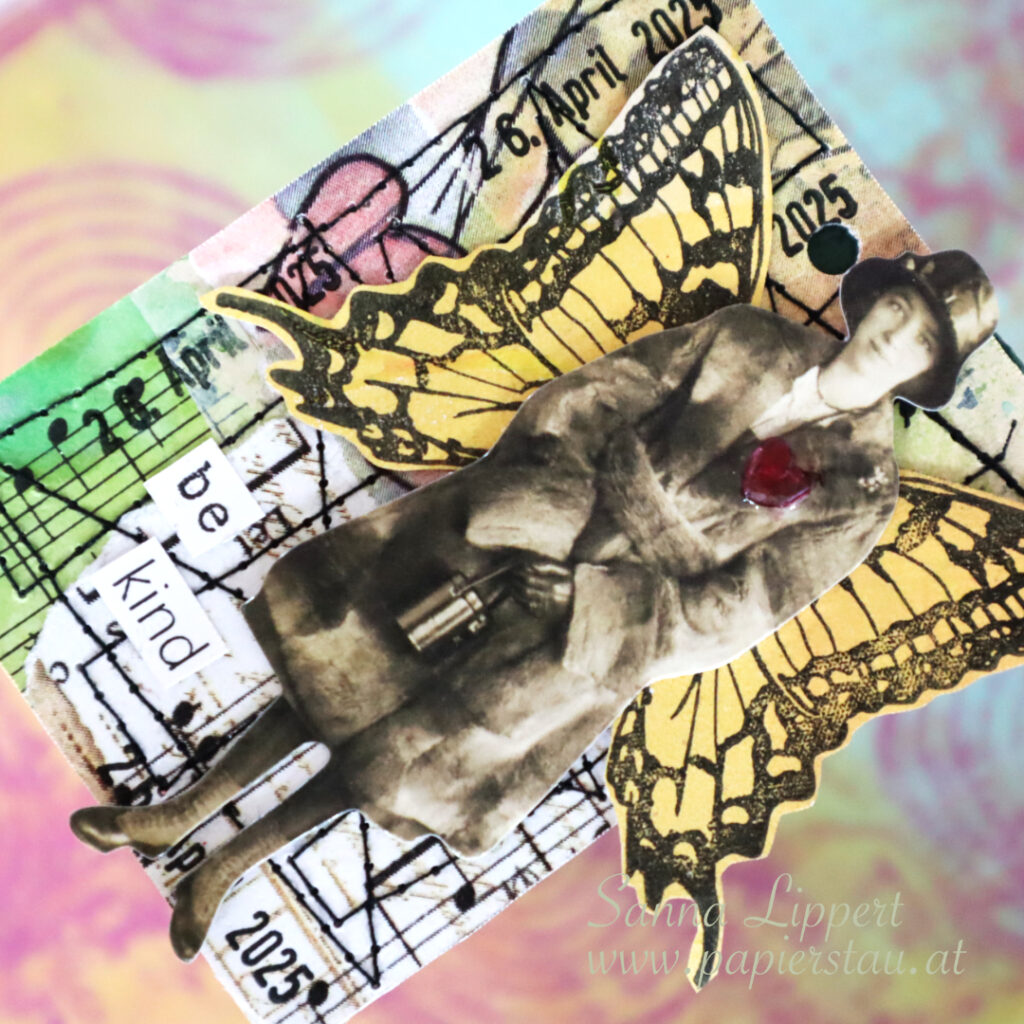
For this deck card I again used collage papers gifted to me by Yuna on the background. I also added a small piece of a music paper that had some misting on it. Then on top some sewing and random date stamping (my constant). On top of that a paper doll by Tim Holtz with wings. The wings are done with a Rubber Dance stamp (Butterflies and Moths) on a gelli paper. The rhinestone heart got some Copic marker on it (to change the color).

And here is the star-to-finish video:

Next one will be “blending”. I still need to figure out what I am going to do for that ;-). See you next week!
xxx, Sanna

Supplies:

Stenciled Art Journal Page – Rubber Dance

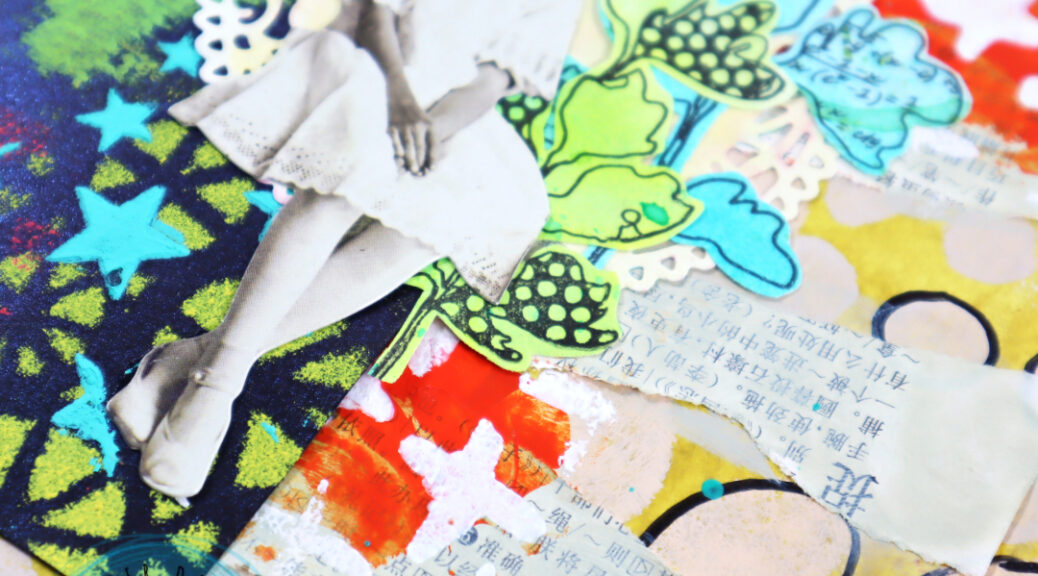
Hello! It´s my turn today over at Rubber Dance blog and I am up with a heavily layered, stenciled art journal page share today. For this page I used the Dotted 1, Big Ovals, Cross It, Wheels, Stars 1 and Marks 2 stencils. There are also some details added with the Doodle Flowers 2 stamp set.

I started by applying heavy body paint in “olive” with a palette knife onto the background. On top of that I used a foam brush to dab “sand” and “apricot” tones thru Big Ovals and Dotted 1 stencils. After that I outlined some of the dabbed paint “circles” with a black pen. Next I took a piece of a old dictionary book and wripped and glued strips of paper onto the background.

Next I wiped some “aloe” tone with my fingers onto the wripped dictionary page pieces to blend them into the background. I then added a layer of “tangelo” with a palette knife onto the page. Next I took the Cross It stencil out and added some white paint thru it onto the orange areas for contrast.

After that I took a black with glimmer mist misted tag out and again dabbed the “lemon” paint onto the tag thru the Wheels stencil. After that I put some “lime” toned paint onto the palette knife and wiped some of it onto the tag. The next layer was done using “stoked” tone and the Marks 2 stencil. I then added the last bits of “turquoise” paint with a palette knife thru the Stars 1 stencil onto the tag.

I sprinkled some Gloss Spray in “turquoise” for interest onto the art journal page. I then glued the stenclied black tag onto the art journal page. After that I added a misted doilie for decoration and created a cluster of leaves with “Doodle Flowers 2″ leaves next to it. There is a video at the end of this post on how I created the leaves.

I finished the page with a paper doll by Tim Holtz and some black and white alphabet stickers. Here is the start-to-finish video for further information:

And this is the video on how I made the leaves fodder:

I hope I could inspire you today. Happy creating!
Sanna

Supplies:

Butterfly fodder card – Rubber Dance

Happy Wednesday! Here is another card share, again created using Rubber Dance stamps. For this one I used the Butterflies and Moths fodder and the Mix It Up 4 stamp set.

I stamped the background pattern with Iced Spruce Distress Oxide ink and the Mix It Up 4 stamp set repeatedly. After that I grabbed the butterfly fodder I had previously created using a gelli printed paper and with black ink stamped and fussy cut butterflies.

You can find the how-to reel for the butterfly fodder on my Instagram under reels.

I adhered the butterflies directly onto the stamped card base, then added a Tim Holtz label sentiment and some Dina Wakley Gloss Spray droplets to the butterfly wings.

Hope this card gives you some spring “feelz”!!! Happy crafting,
xxx, Sanna

Supplies:
From residue gelli prints to card focal points – Rubber Dance

Hello, it´s my turn again over at the Rubber Dance blog today and I am up sharing another take on residue gelli prints turned into card focal points. Like on my last post, I created another set of die cut focal points out of residue gelli printing papers. This time using different color combinations and stenciling the card backgrounds, instead of stamping.

I first die cut the residue gelli printing paper with die cut dies into different forms and sizes (banners, circles and squares). I then added some stamping with black stamp ink and some heat embossed details with red embossing ink and the Pencil Marks 8 stamp set.

After that I took the Ornament 1 stencil and added brown Distress Oxide Ink thru it onto the die cut pieces. Then I took the Mix It Up 4 stamp set and added some stamping with blue StazOn ink here and there onto the background.

Next I took out some premade Sketchy Leaves 5 stencil fodder and adhered them onto the die cut pieces. On top of those I added some yarn and a fodder butterfly, created with a gel plate and Butterflies and Moths stamp set.

I also wanted to add a stamped word onto the focal point elements and took out the Mixed Sentiments 1 stamp set. I just used one word from each sentiment, instead of the whole quote.

Instead of adding a stamped background, I chose to stencil Distress Oxide Inks thru the Ornament 1, Dotted 1 and Organic 4 stencils onto the card bases and then adhered the die cut pieces with fodder onto the cards.

I also wanted to add a stamped sentiment to every card, so I used an older German birthday sentiment stamp set from my own stash for stamping them.

After finishing the cards, I added some Gloss Spray droplets to the butterflies wings here and there for additional color and interest.

Here is a video on how I created the Sketchy Leaves 5 stencil fodder that I used on some of the focal point elements:

And here is a short video on the focal point elements and how I put the cards together:

I hope I could inspire you to play with your Rubber Dance stamps and stencils and create colorful cards.

Happy crafting
xxx, Sanna

Supplies:

Residue gelli printing paper as card focal point – Rubber Dance

Hello, it´s my turn for a project share over at Rubber Dance blog today. I am up with a fun card project, created using residue gelli printing paper that I turned into card focal points. For this project I used the Dotted 1 and Organic 4 stencils and Mix It Up 4 as well as Butterflies and Moths stamp sets.

When gelli printing, I always take a sheet or two of paper to brayer the residue paint and/or lift paint from the gel plate on to. So sometimes these paper sheets are full of paint layers and I figured, I could upcycle them and make something fun of them.

I first took some die cut dies out and die cut the paper sheets into smaller pieces (circles, banners etc.). Next I took out the Dotted 1 and Organic 4 stencils and added some white and golden heat embossing powder areas to the die cut papers. Next I mixed white modeling paste with magenta acrylic paint together and applied the paste thru the Dotted 1 stencil onto the die cut pieces.

After that I took the Mix It Up 4 stamp set and added stamped details with black and light grey stamping ink to the pieces. After that ink and tinted modeling paste was dry, I added some Gloss Spray details in yellow, turquoise and fuchsia on top.

Now all I needed to do, was to stamp some details to the white card bases with Distress Oxide Inks and the Mix It Up 4 stamp set. I chose lighter colors as a contrast to the bold focal point pieces here. I then adhered the die cut focal point pieces with 3D foam tape onto the card bases, added some Butterflies and Moths fodder to go with them and chose a sticker sentiment to each card. For finishing touches I added a few Gloss Spray droplets alongside the card sentiments for additional interest.

Here is a video on the creating process for you to watch. I hope you get inspired by it!

Happy crafting,
xxx, Sanna

Supplies:
Layered and Distress Ink stenciled butterfly card – Rubber Dance

Hello everyone, it´s again my turn to share a project over at Rubber Dance blog today and I am up with a video tutorial to a heavily stenciled and lightly layered butterfly card. For this card I used the Stars 1 and Lattice stencils as well as the Mix It Up 5 stamp set. I also used the Butterflies and Moths fodder I had created for my last share.

I used a gelli printed background paper on the card. I created that one using the Mix It Up 4 stamp set with my gel plate. You can find videos around gelli prints with Rubber Dance stencils and stamps here.

I wanted to keep the colors on the card very light and matching. I therefore added stenciling with pumice stone & tumbled glas tones. They go very well with the background and don´t create a contrast too strong.

After stenciling, I added some stamping in same colors to the papers to create more interest and details. The edges of the paper are distressed and inked and the die cut flag is adhered to the paper with 3D foam for more depth.

I´ve also used Gloss Sprays to add splatters to the paper layers. I am a big fan of splatters. I think they add a fun element to projects. For finishing touches I added the gelli printed and stamped butterfly fodder (made using the Butterflies and Moths stamp set), a Tim Holtz sentiment sticker and some very old wood veneer stars. The black splatters are done with a wet brush and a watercolor crayon.

For more info, here is a full start-to-finish video for your to watch:

I also can not resist a little bit of glitter here and there sometimes. So the bodies of the butterflies got a little coat of Stickles in the end. I hope you like the idea and try it out yourself! Happy crafting,
xx, Sanna

Supplies: