Tag Archives: heavy body paint

Full Deck Challenge 12/2025 – holes and drippy paint

Hello and happy Wednesday! Here is my take on the ShanoukiArt “Full Deck Challenge” number 12: “holes and drippy paint”.

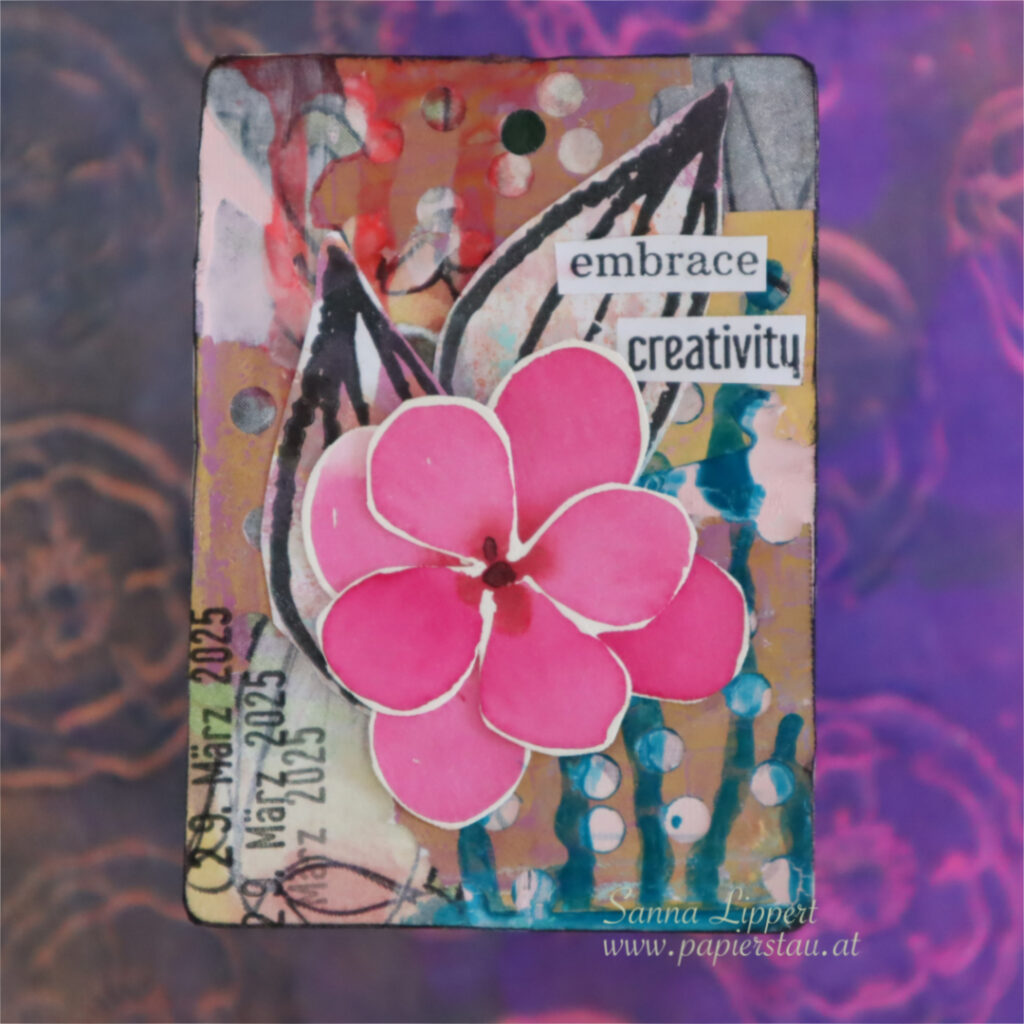
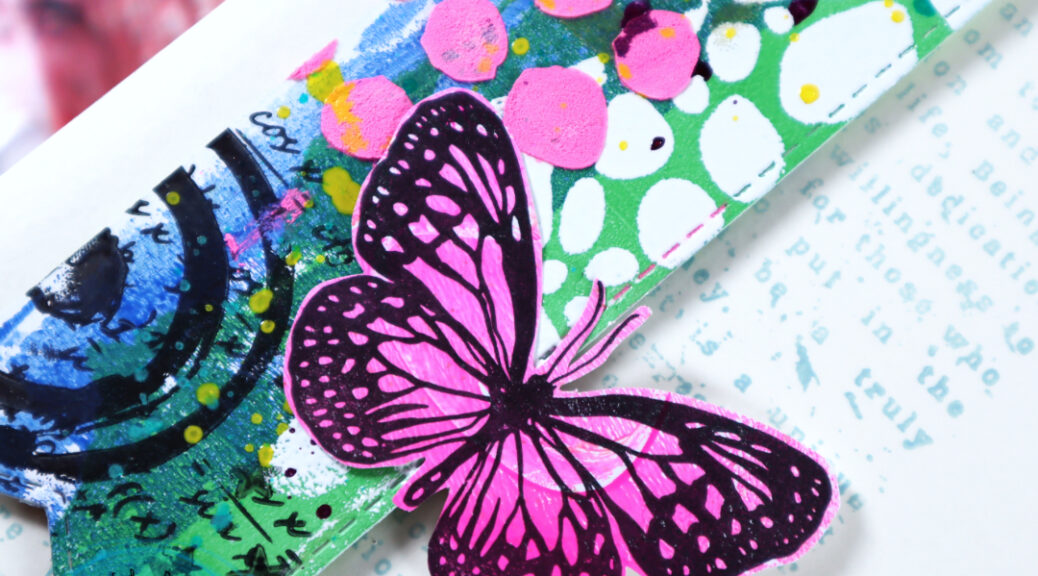
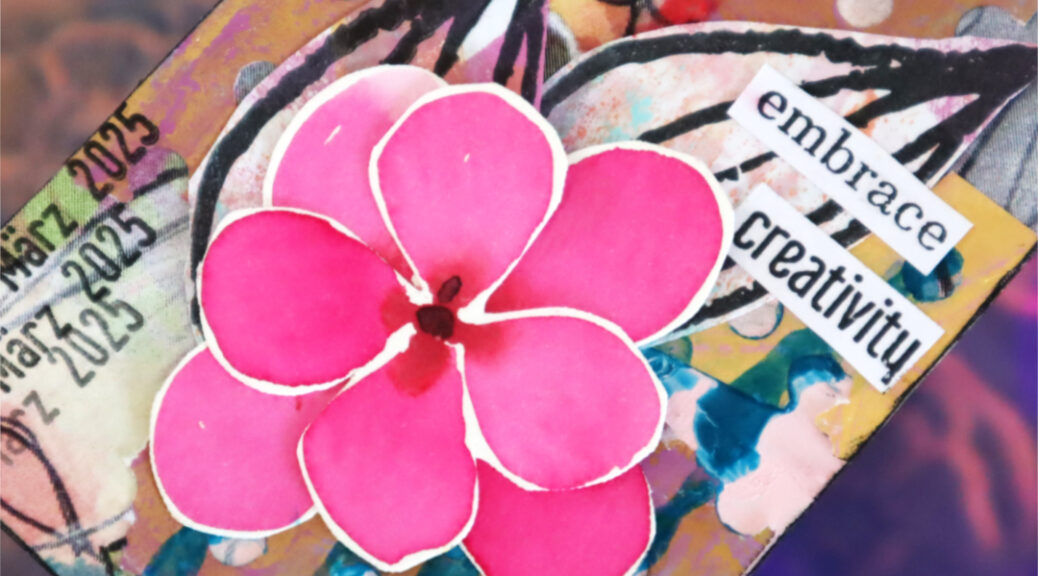
I love how this turned out! I started off with collage papers gifted to me by Yuna. Then I added some Dina Wakley heavy body paint in light pink into the open areas. On top of that I added some small bits of gelli printed paper leftover to which I made holes with my Drop-A-Dile.

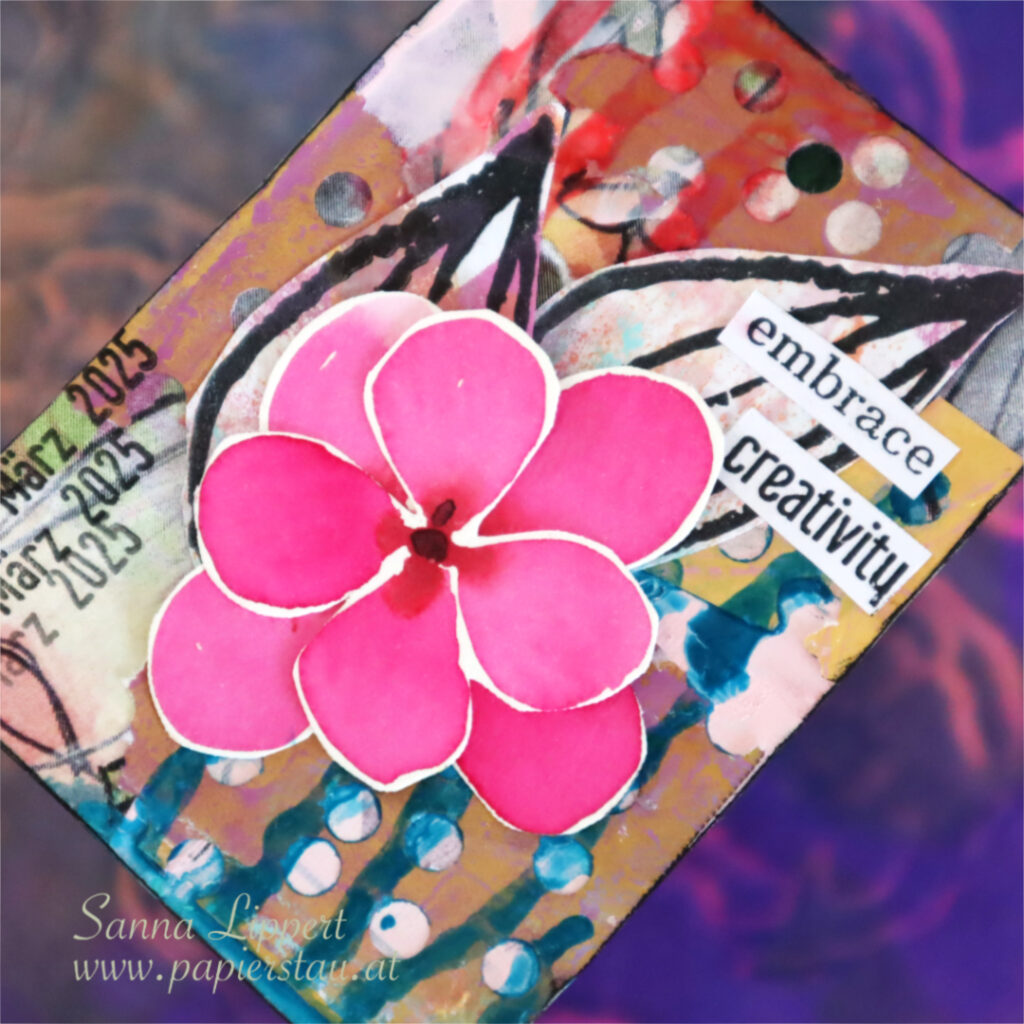
After adhering the papers with holes onto the background, I added Gloss Spray (in pink and blue) drippings. Next I added my constant (the date stamp) and after that I decorated the deck card with some Rubber Dance fodder and hand drawn flowers. The leaves are from the set “Pencil Marks 8” and the flowers are from my last years “the100daychallenge” project. For finishing touches I added again some stamped words (Rubber Dance stamp). I love how this deck card turned out!!!

Here is the video for you to watch:

See you next week with another deck challenge take! Happy crafting,
xxx, Sanna

Supplies:

Residue gelli printing paper as card focal point – Rubber Dance

Hello, it´s my turn for a project share over at Rubber Dance blog today. I am up with a fun card project, created using residue gelli printing paper that I turned into card focal points. For this project I used the Dotted 1 and Organic 4 stencils and Mix It Up 4 as well as Butterflies and Moths stamp sets.

When gelli printing, I always take a sheet or two of paper to brayer the residue paint and/or lift paint from the gel plate on to. So sometimes these paper sheets are full of paint layers and I figured, I could upcycle them and make something fun of them.

I first took some die cut dies out and die cut the paper sheets into smaller pieces (circles, banners etc.). Next I took out the Dotted 1 and Organic 4 stencils and added some white and golden heat embossing powder areas to the die cut papers. Next I mixed white modeling paste with magenta acrylic paint together and applied the paste thru the Dotted 1 stencil onto the die cut pieces.

After that I took the Mix It Up 4 stamp set and added stamped details with black and light grey stamping ink to the pieces. After that ink and tinted modeling paste was dry, I added some Gloss Spray details in yellow, turquoise and fuchsia on top.

Now all I needed to do, was to stamp some details to the white card bases with Distress Oxide Inks and the Mix It Up 4 stamp set. I chose lighter colors as a contrast to the bold focal point pieces here. I then adhered the die cut focal point pieces with 3D foam tape onto the card bases, added some Butterflies and Moths fodder to go with them and chose a sticker sentiment to each card. For finishing touches I added a few Gloss Spray droplets alongside the card sentiments for additional interest.

Here is a video on the creating process for you to watch. I hope you get inspired by it!

Happy crafting,
xxx, Sanna

Supplies:

5 minutes Valentine´s card

Hi there! If you had just so much time in your hands and had to make a card, what would you do?

I grabbed my Dina Wakley paints and a palette knife and randomly created a blackground pattern with them. Then I fussy cut an image from the Dina Wakley collage collective book and adhered that on place. The sentiment is a stamp I bought years and years ago somewhere, but cannot remember where.

So I added the stamping next. After that I took some Simple Stories stickers and added them to the card with some rhinestones and outlined with a black pen. And all done – probably took me about 5 minutes! And still it´s a fun card with gorgeous colour to make someone happy.

Have a great day!
xxx, Sanna

Supplies: