Hello and welcome to the STAMPlorations 13th birthday celebration week!! Let´s get the party started with DAY 1!!

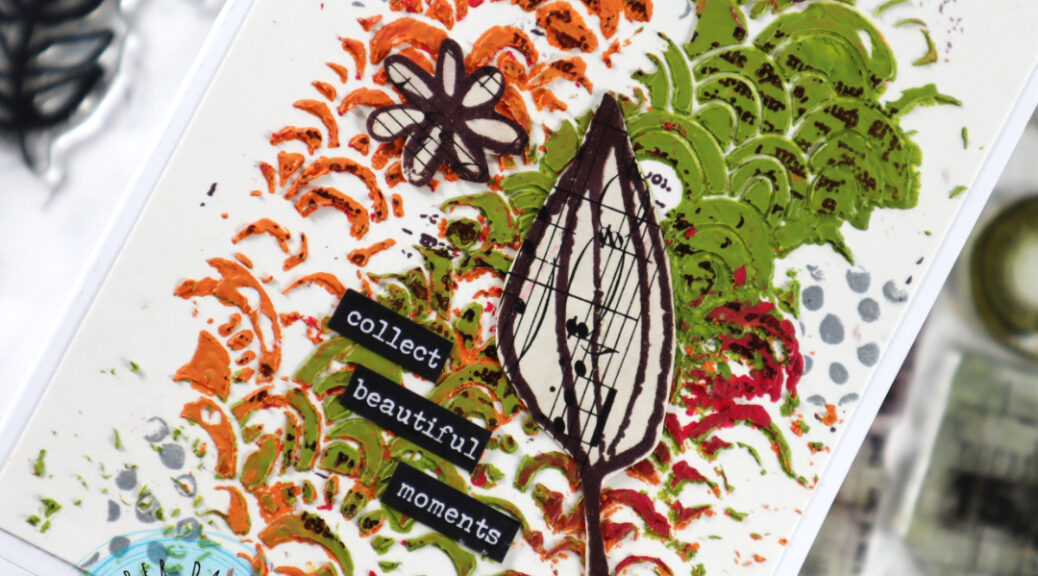
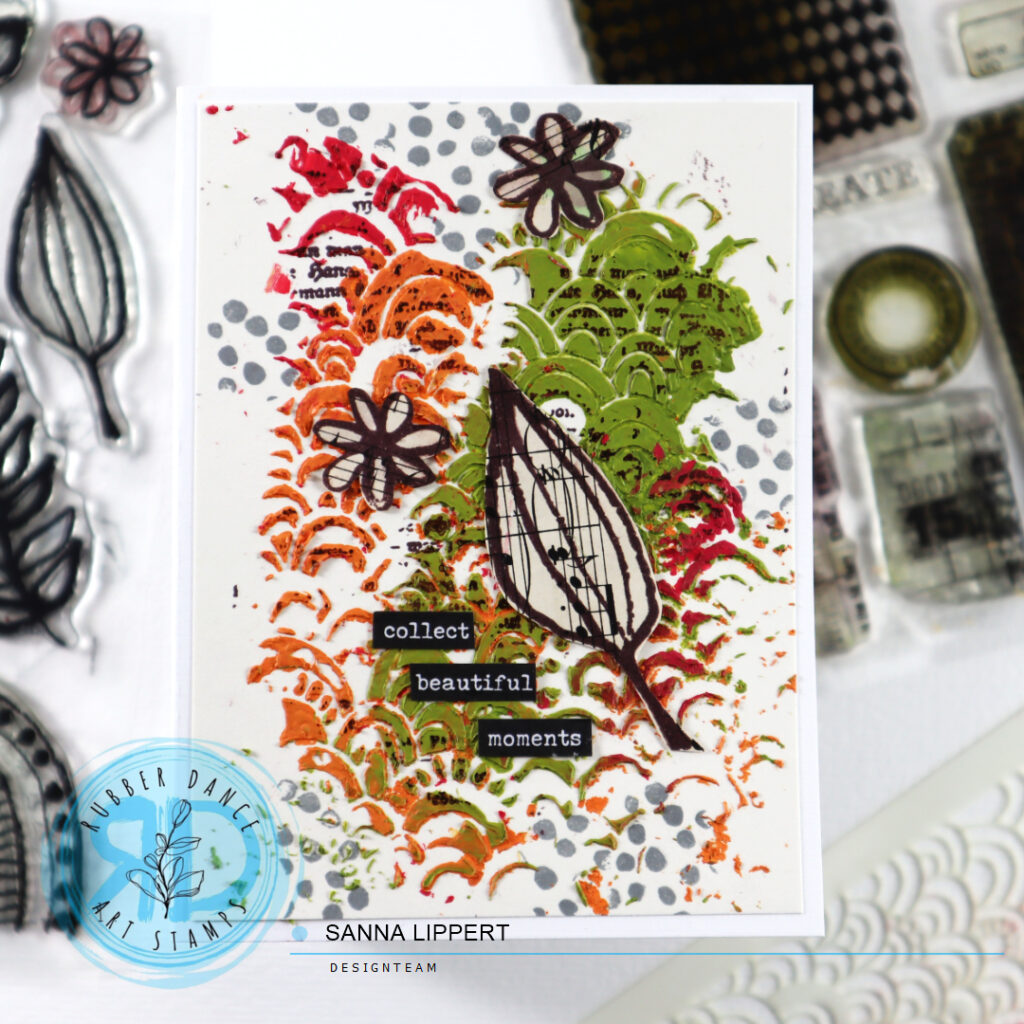
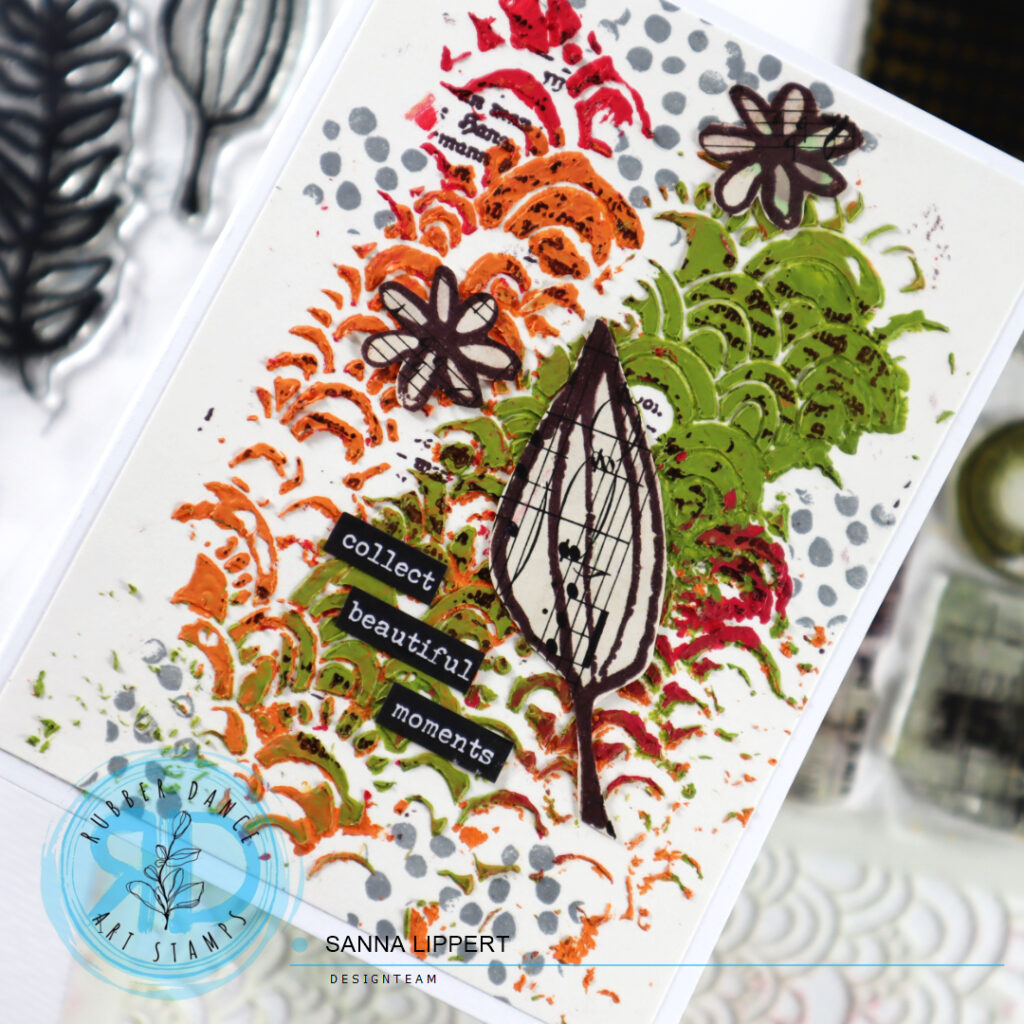
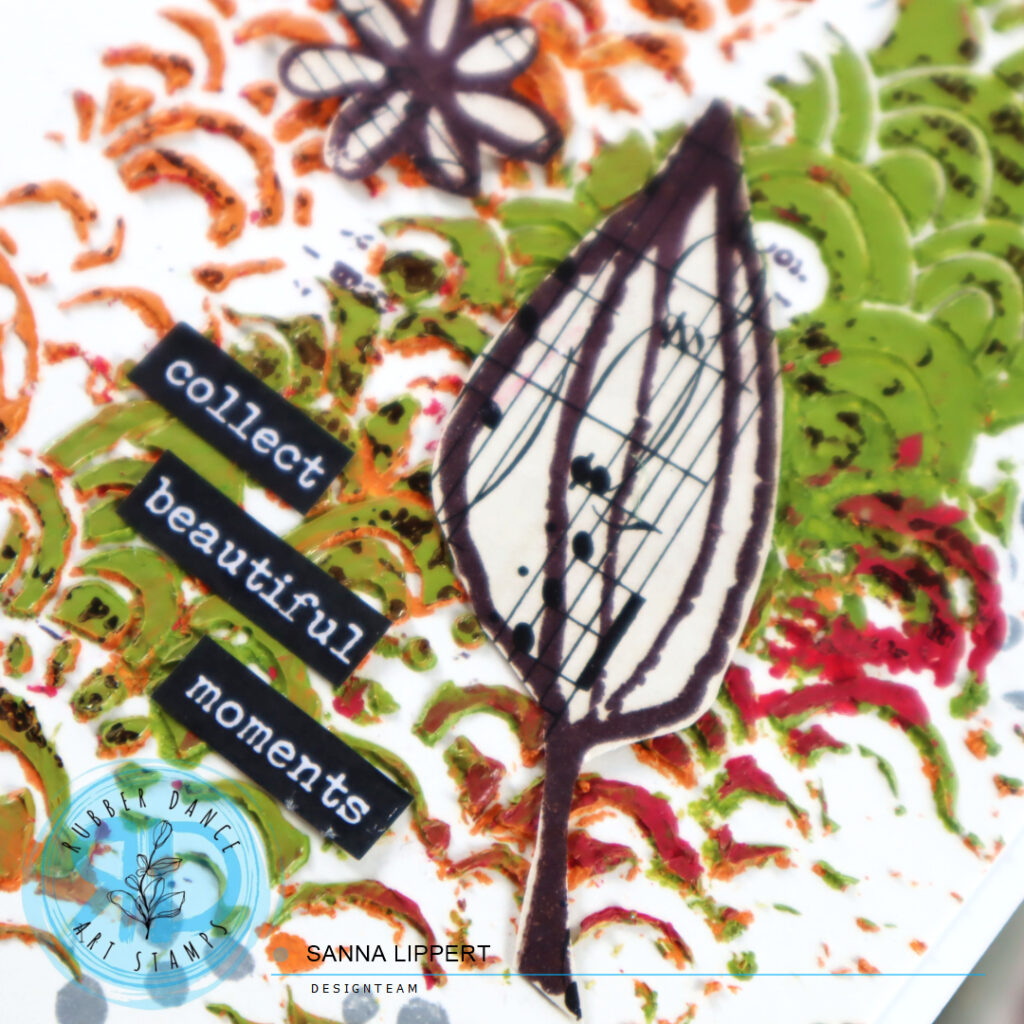
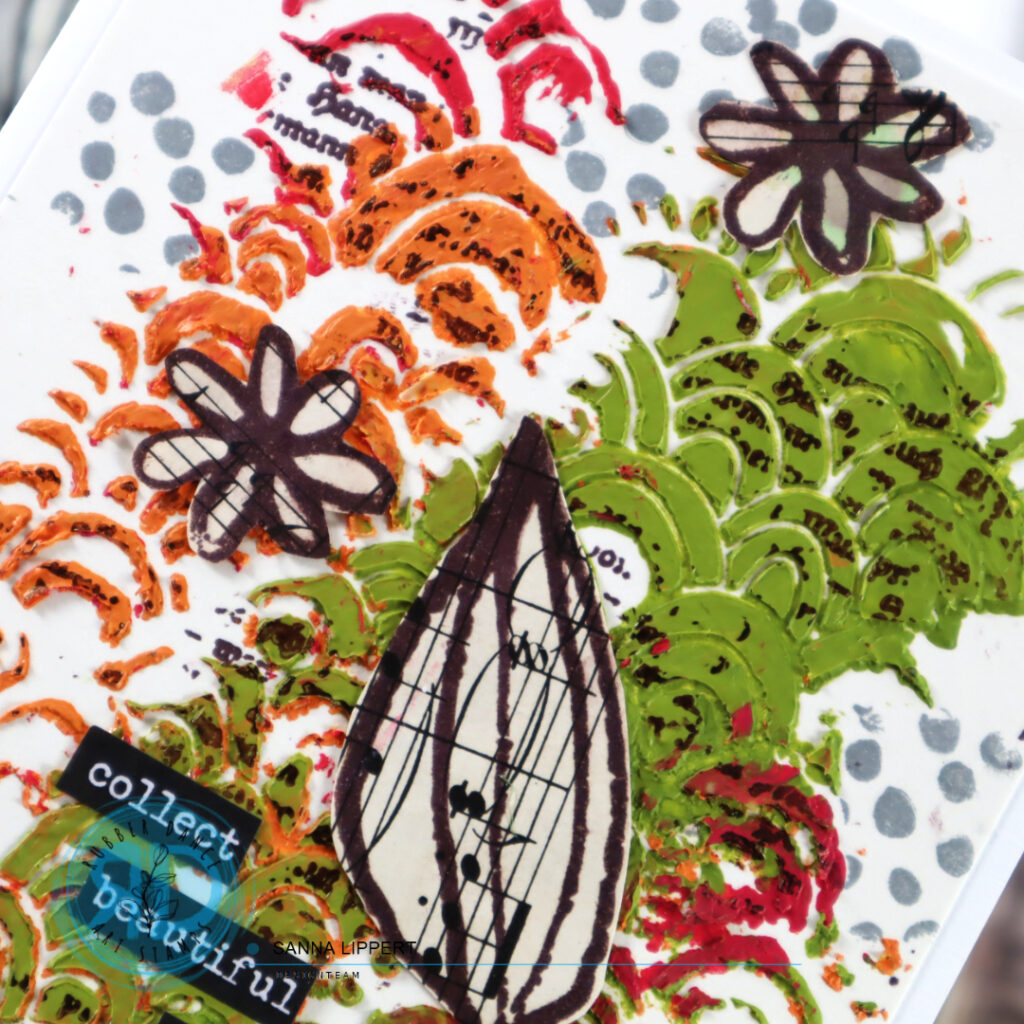
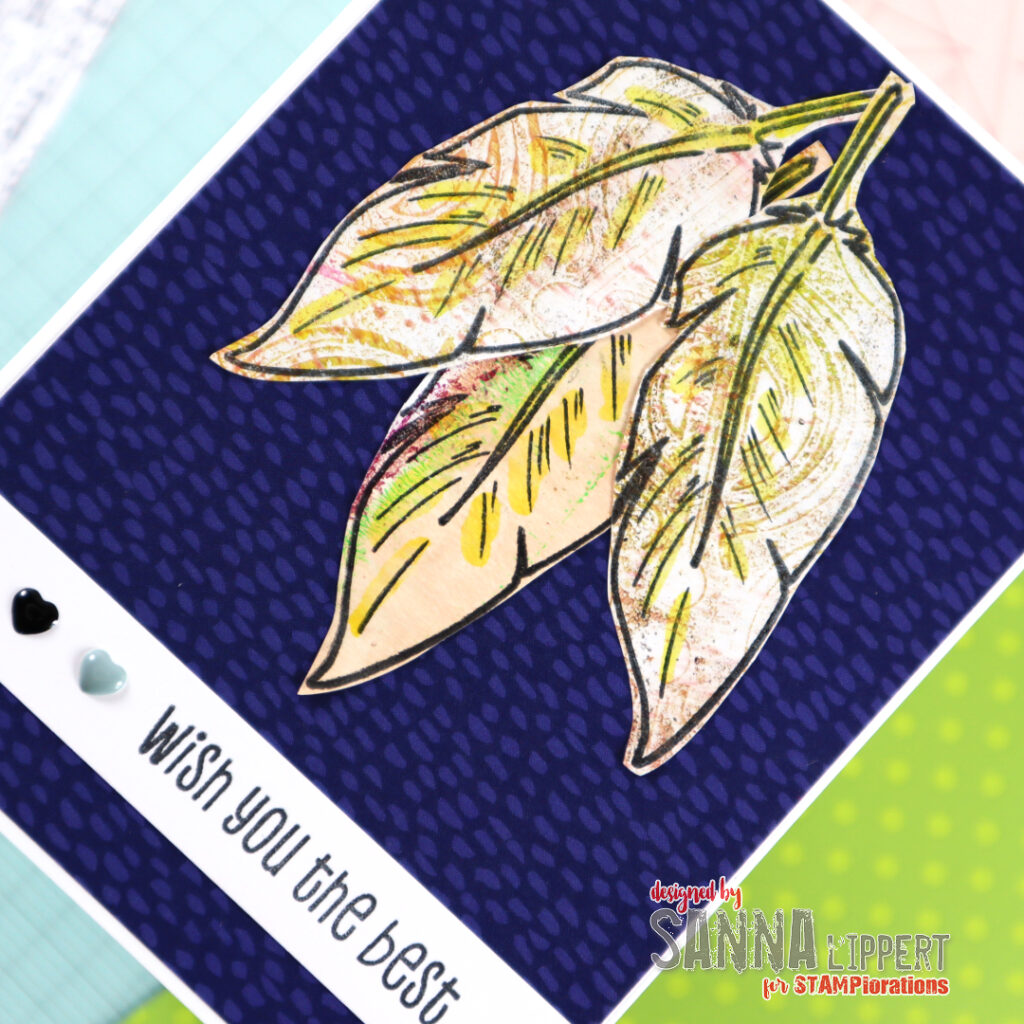
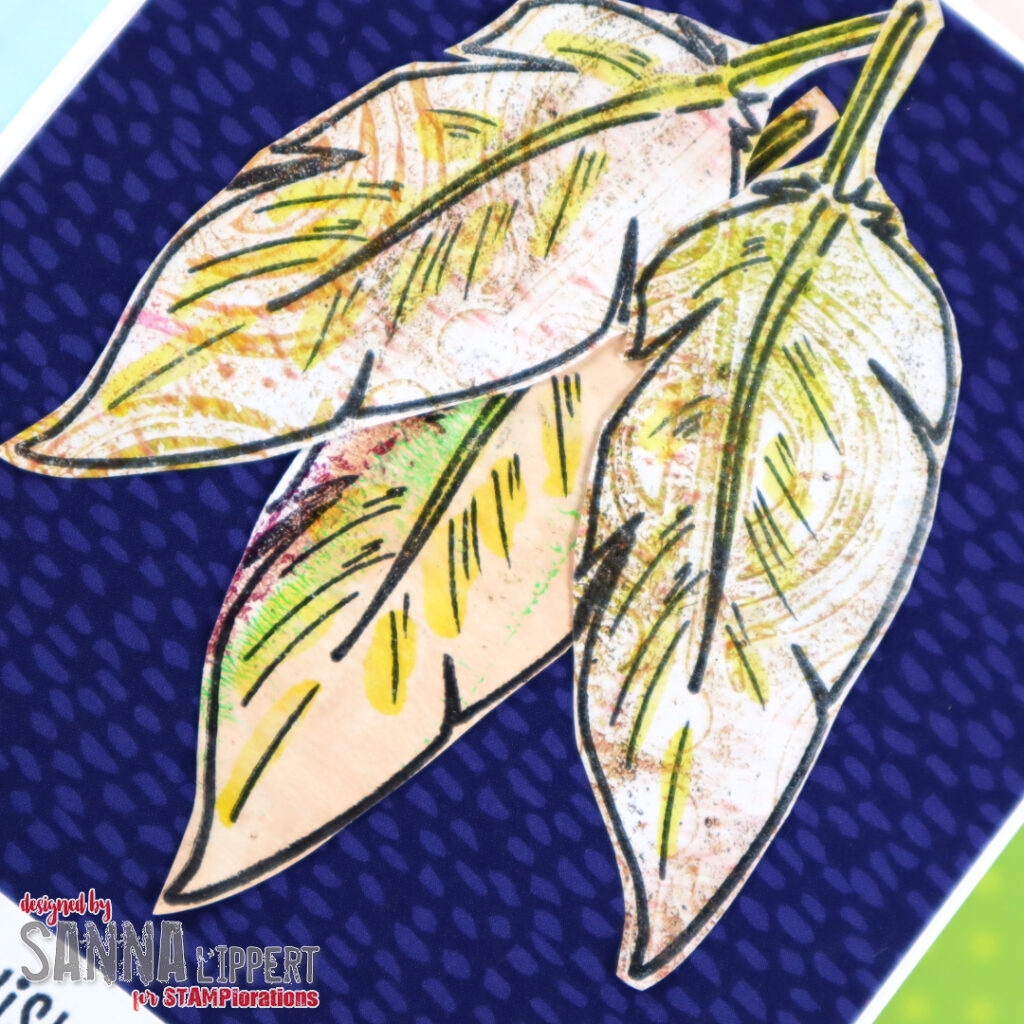
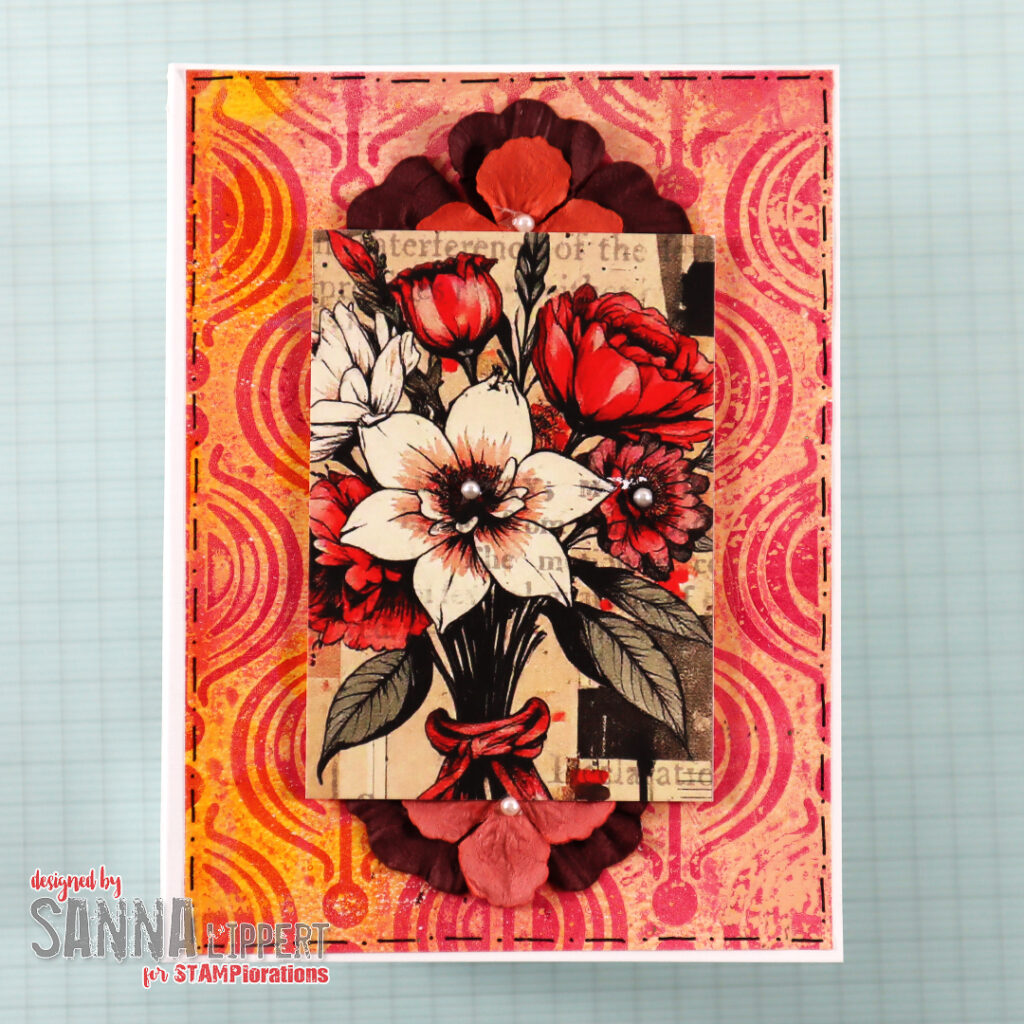
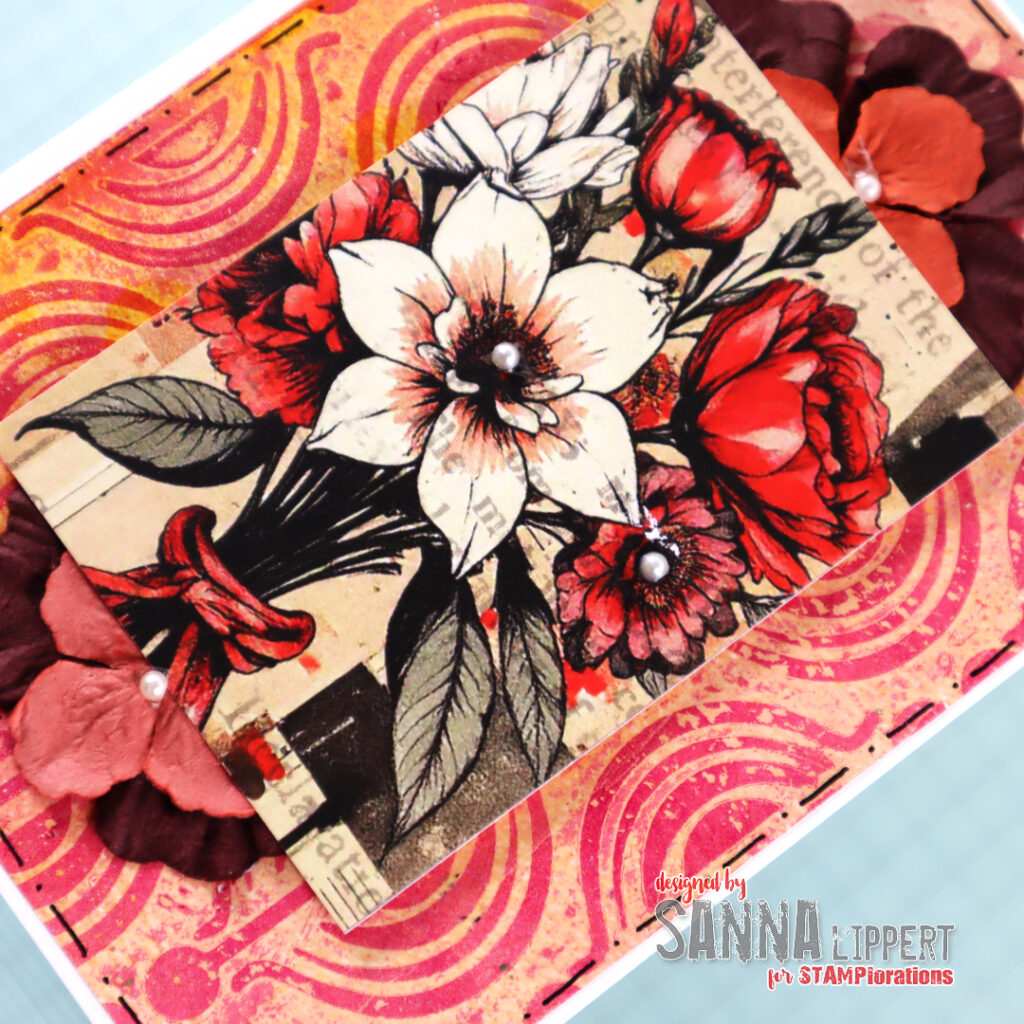
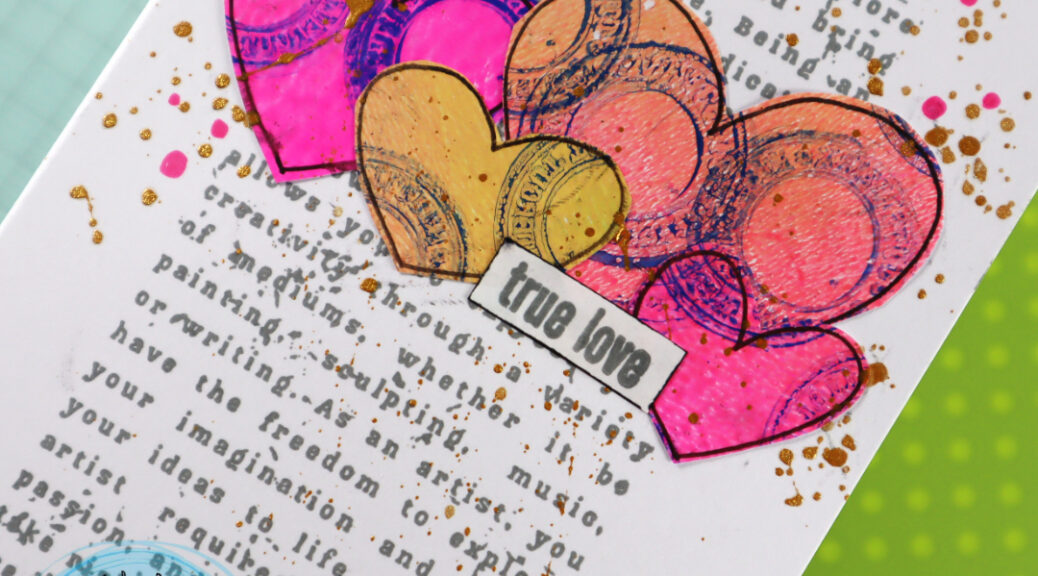
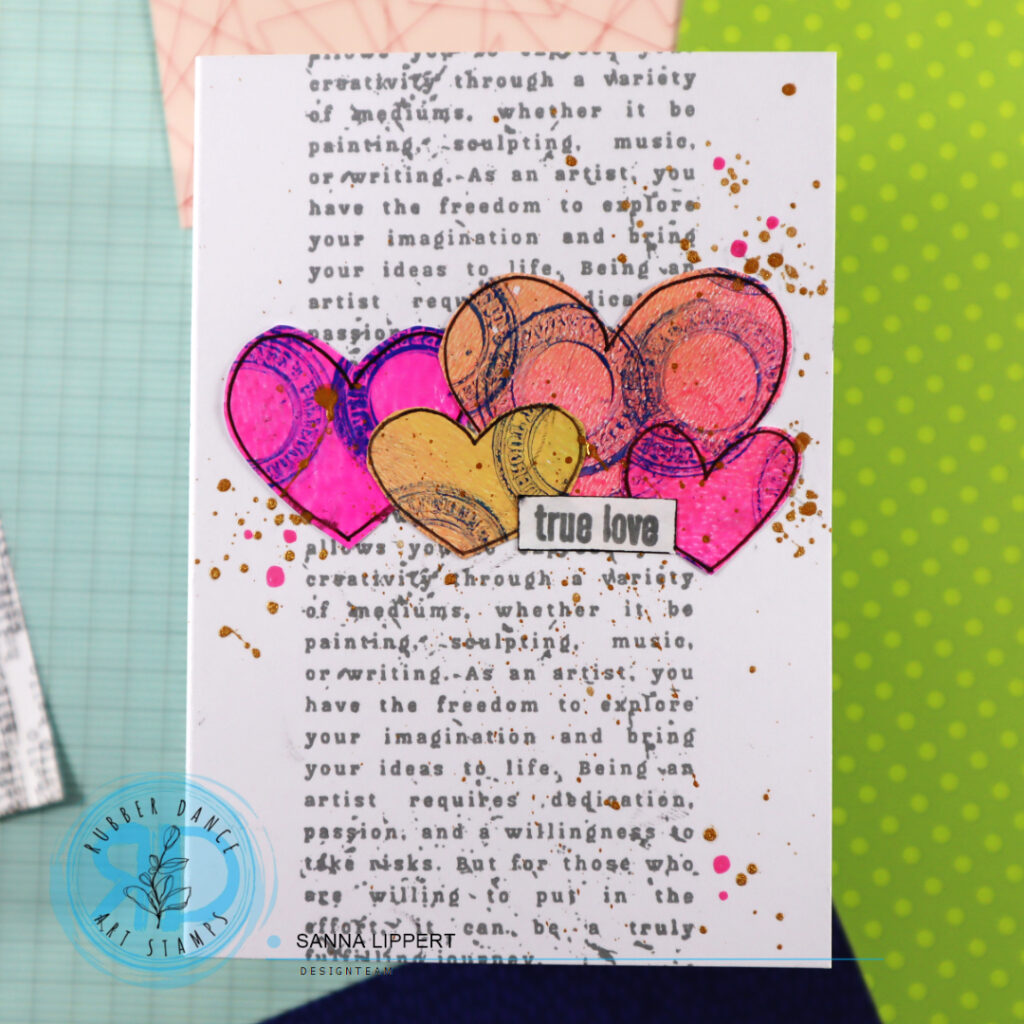
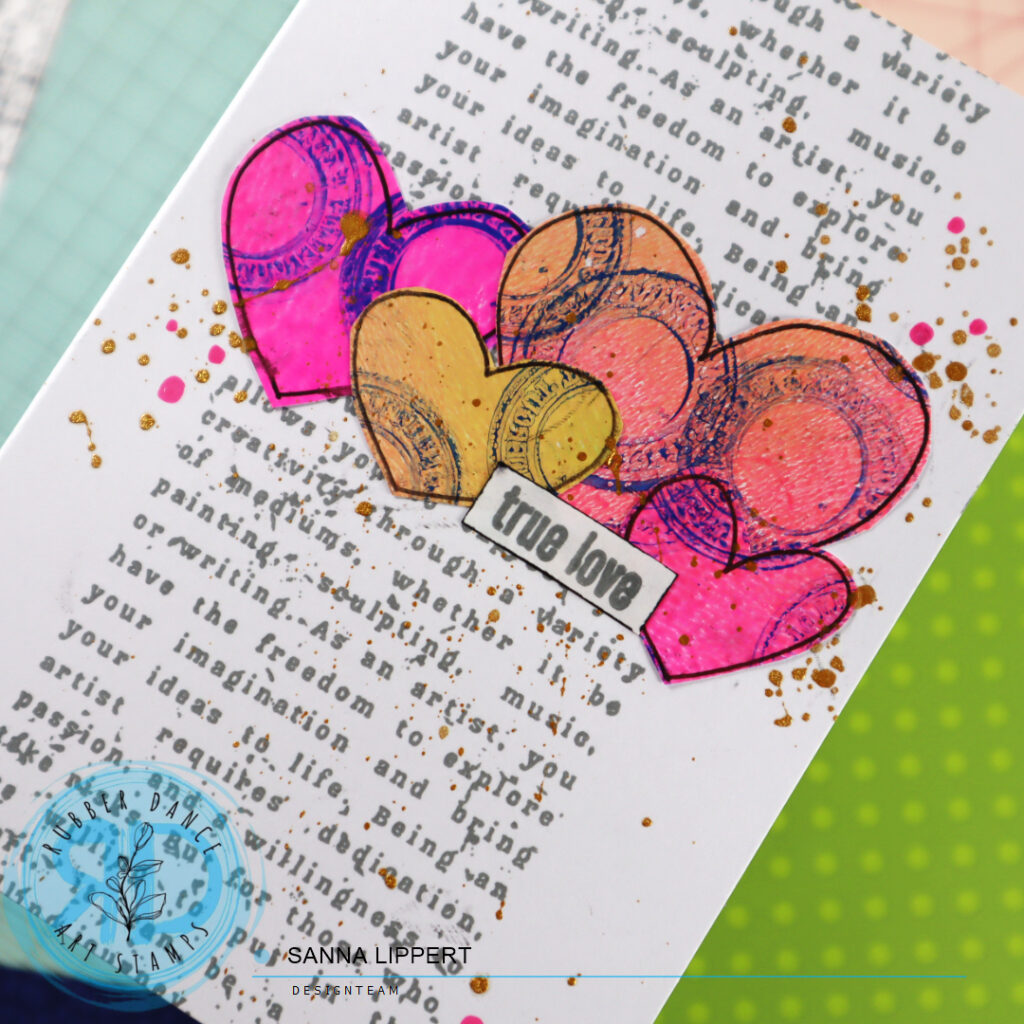
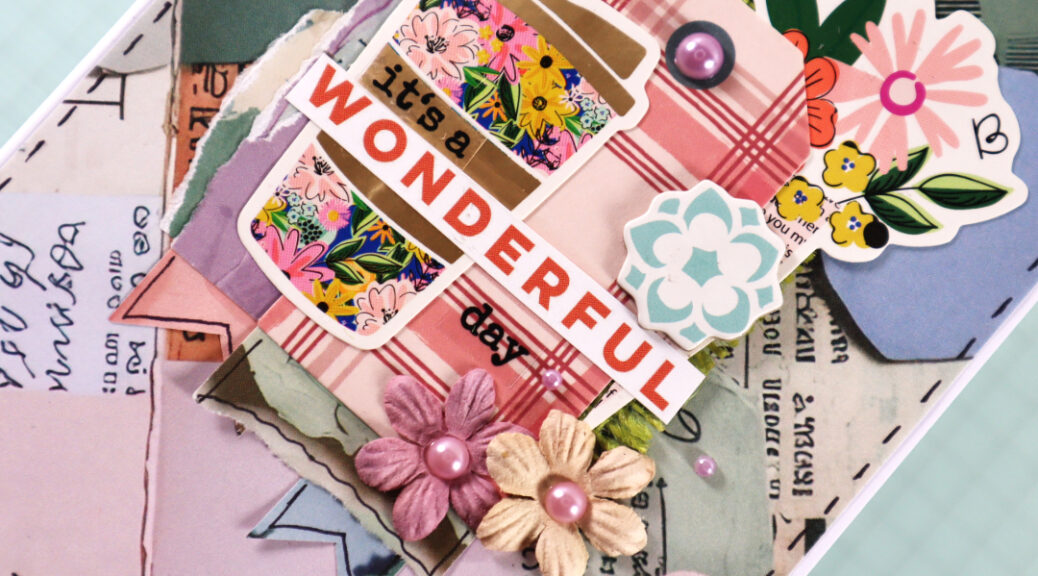
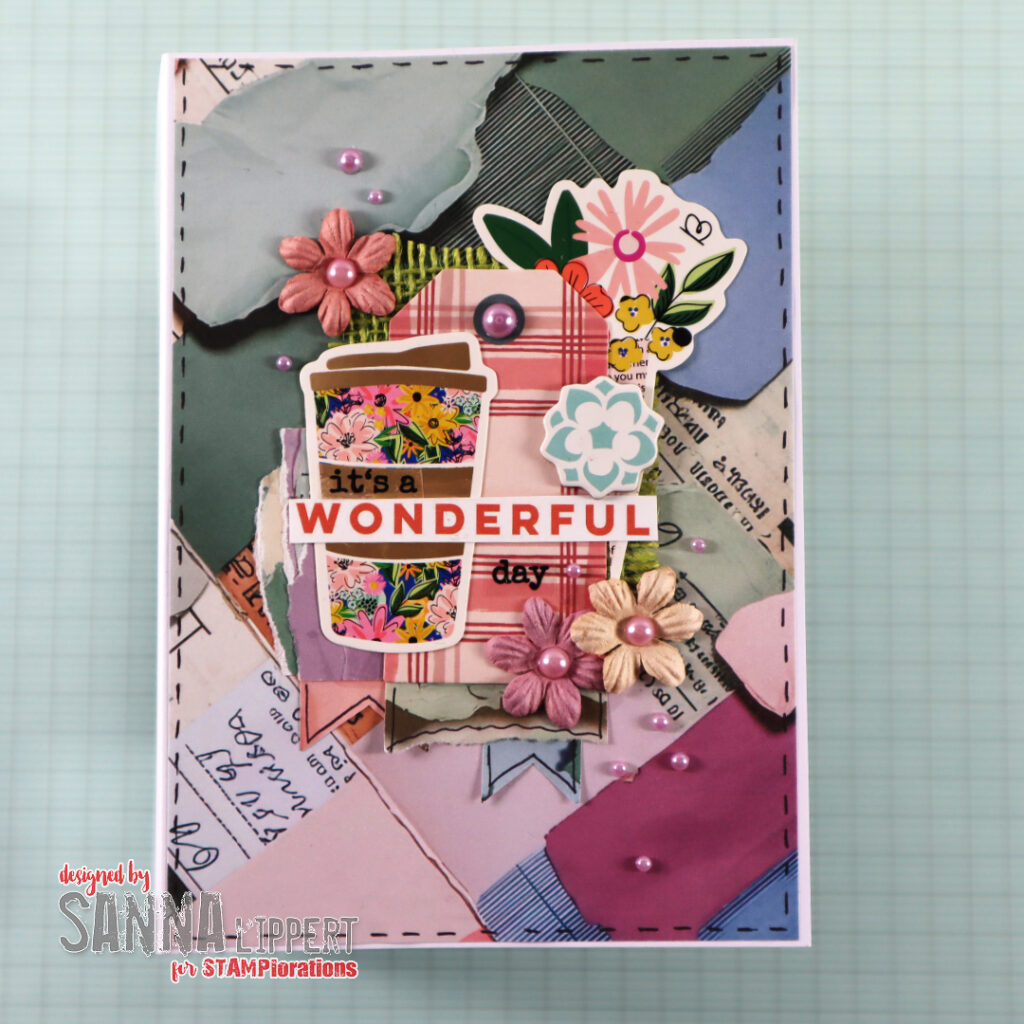
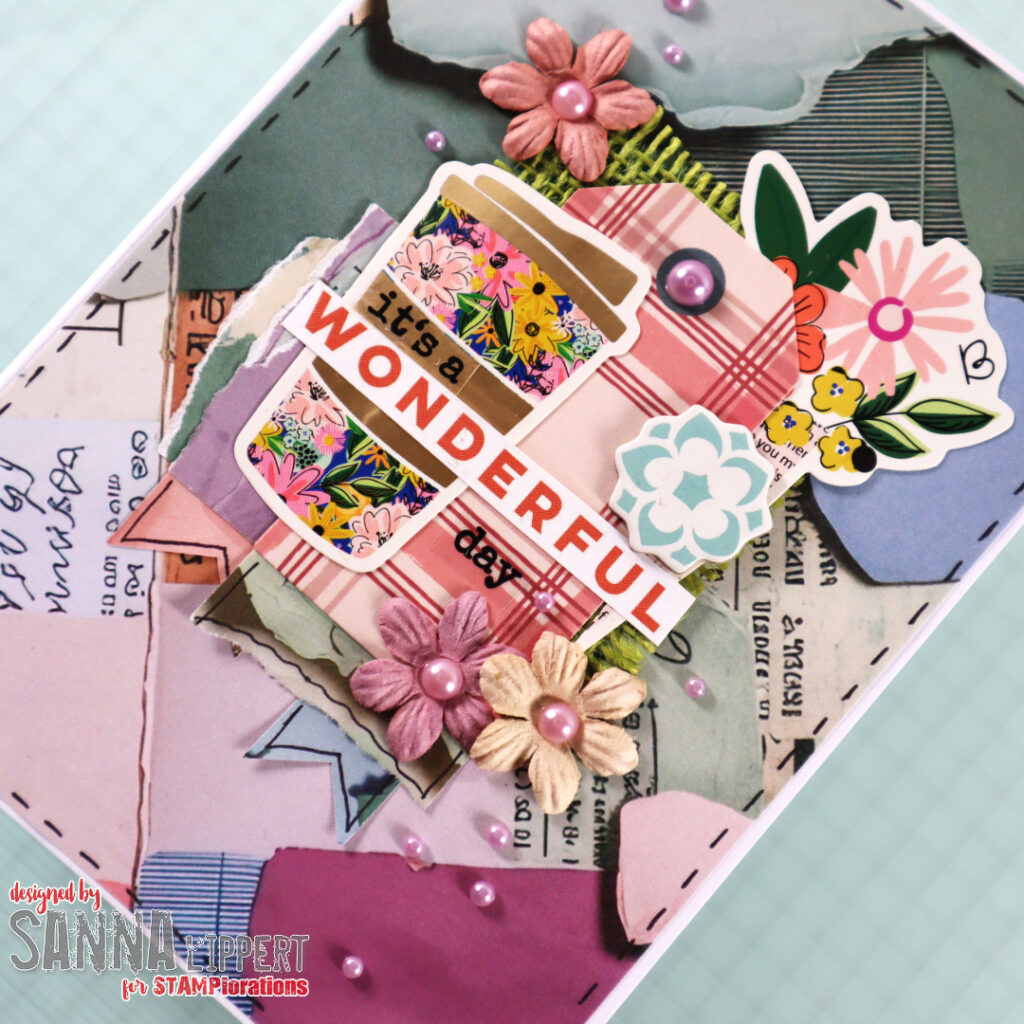
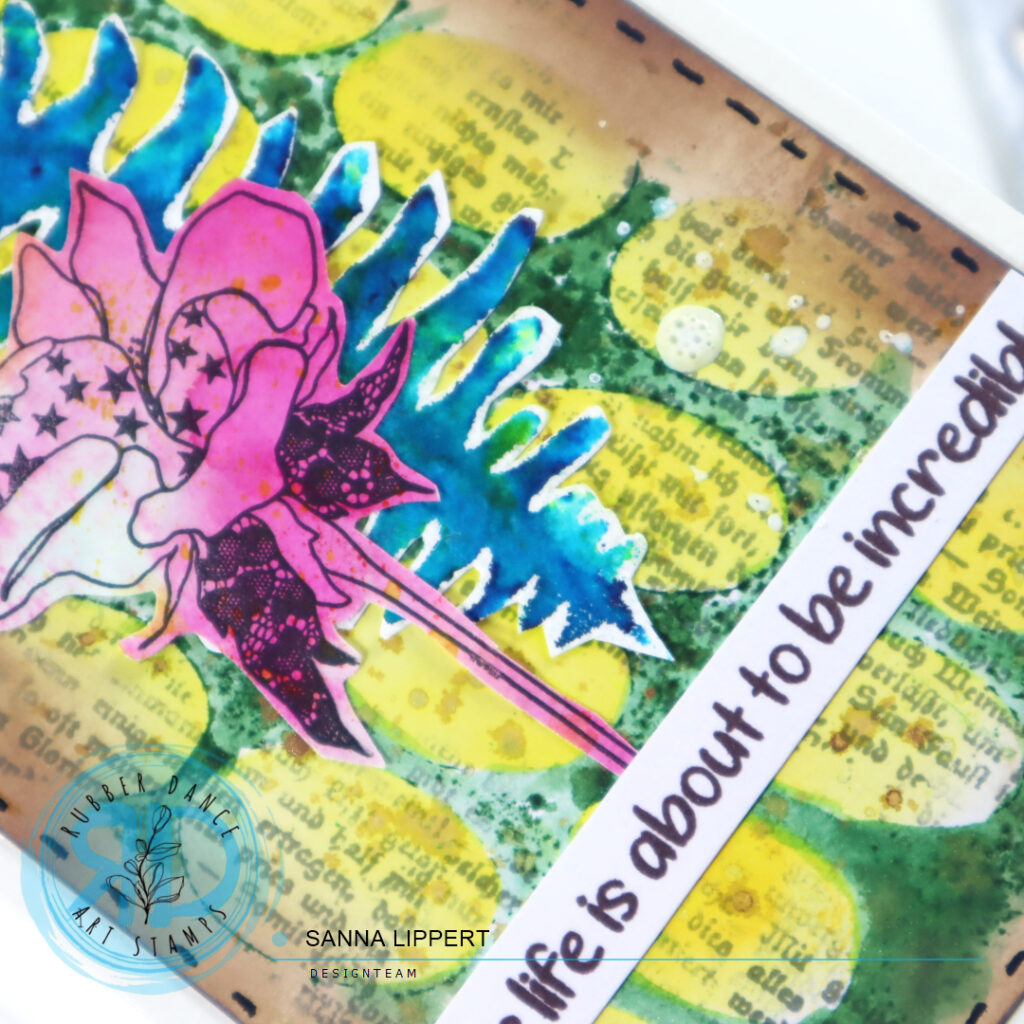
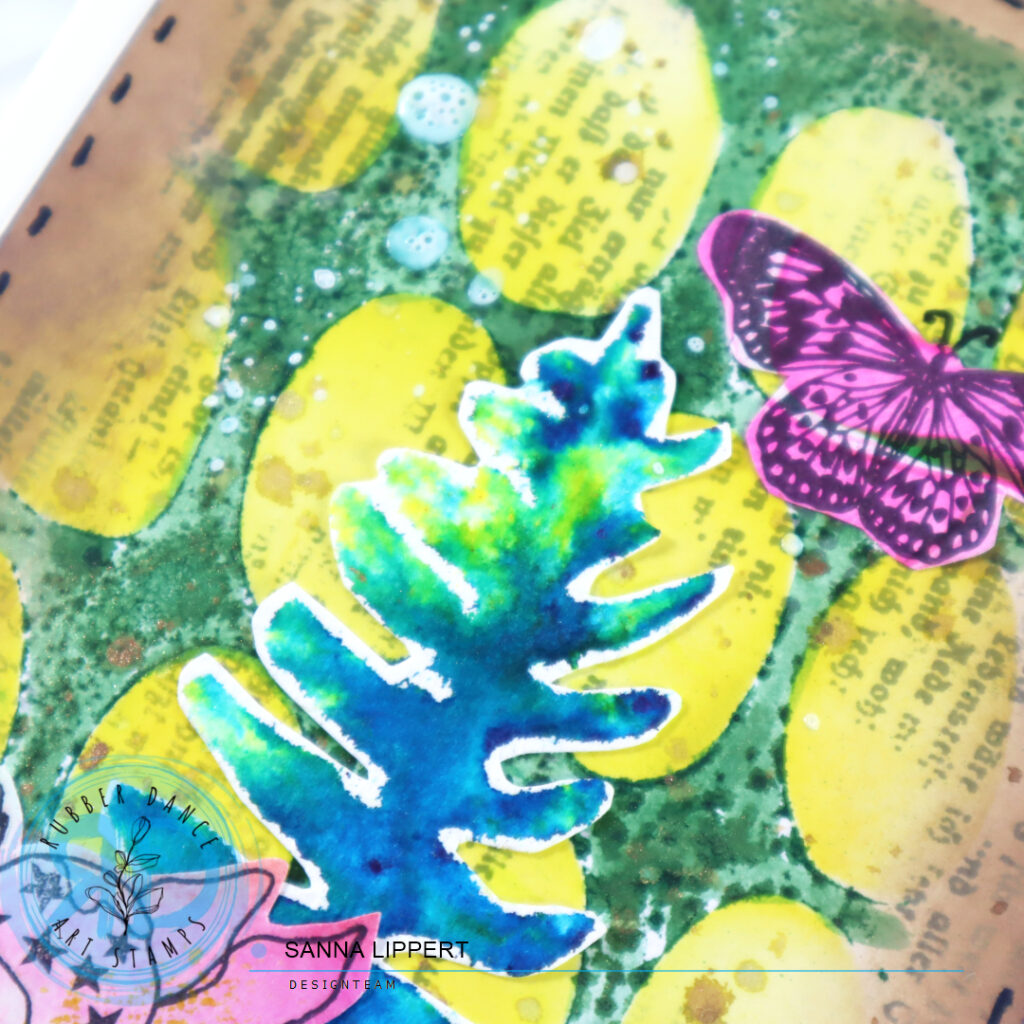
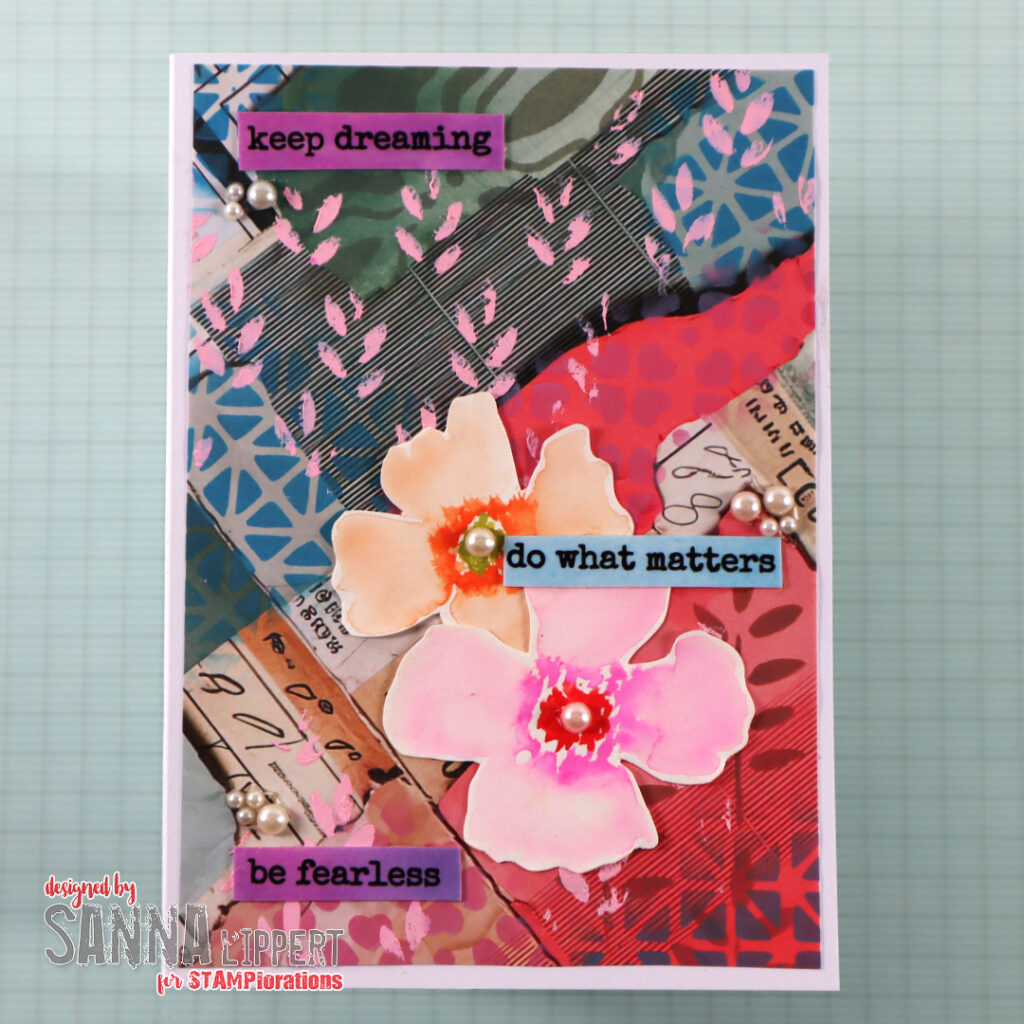
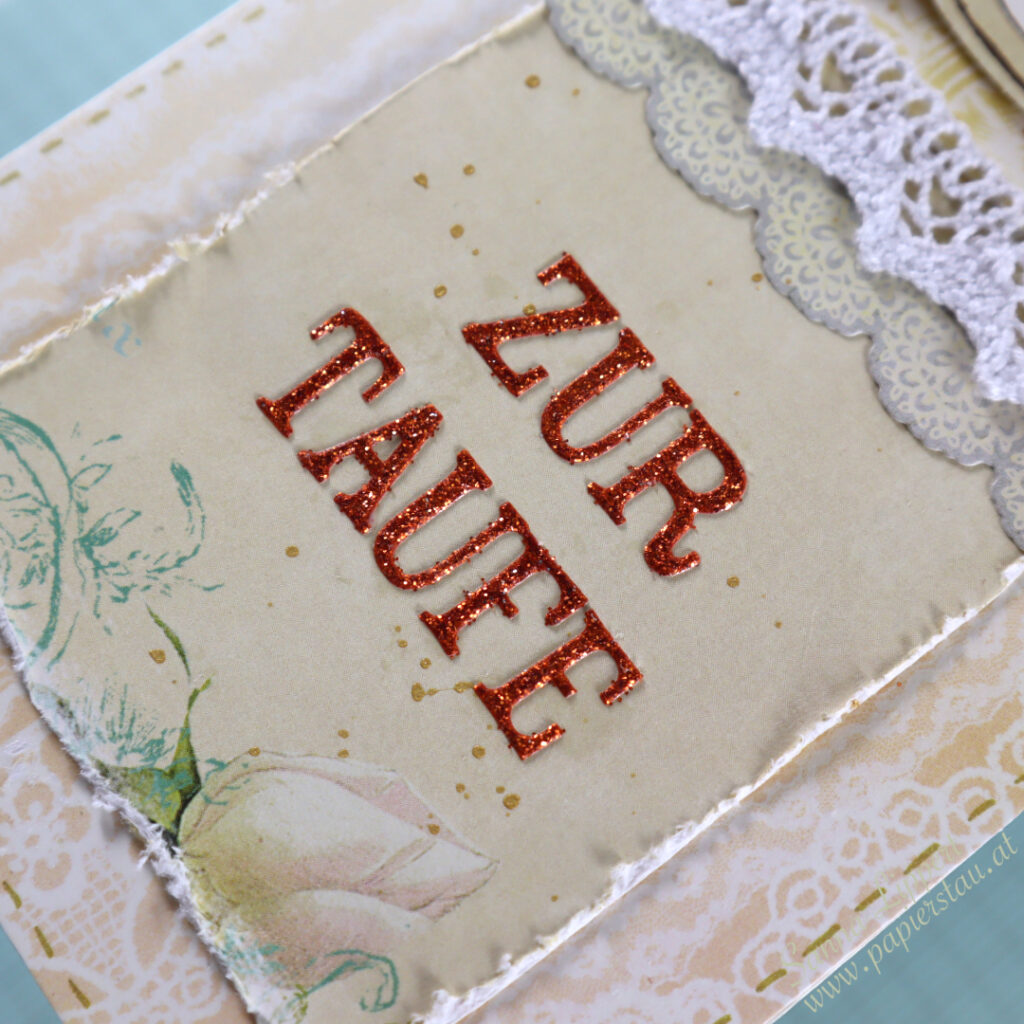
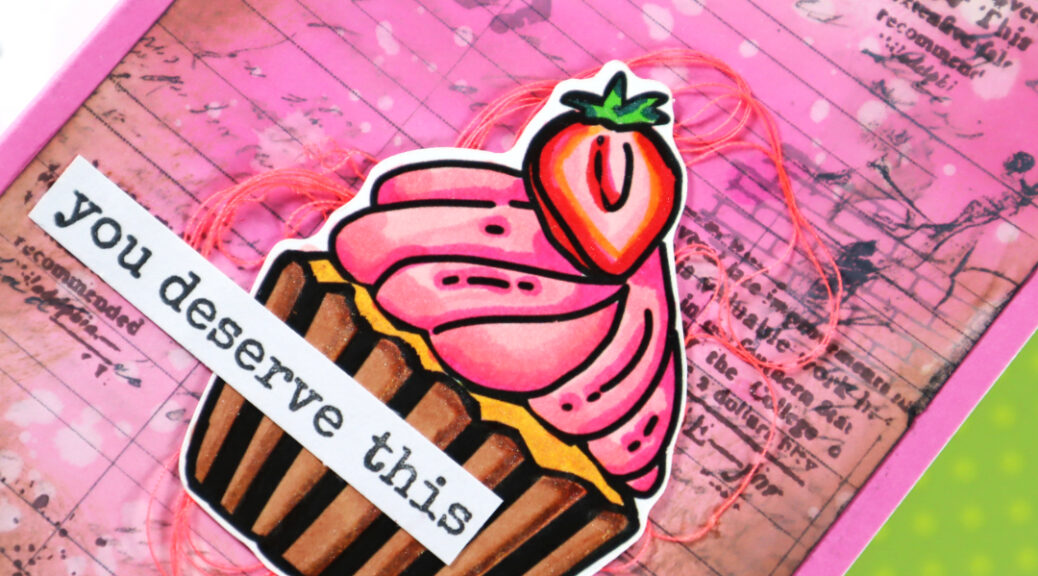
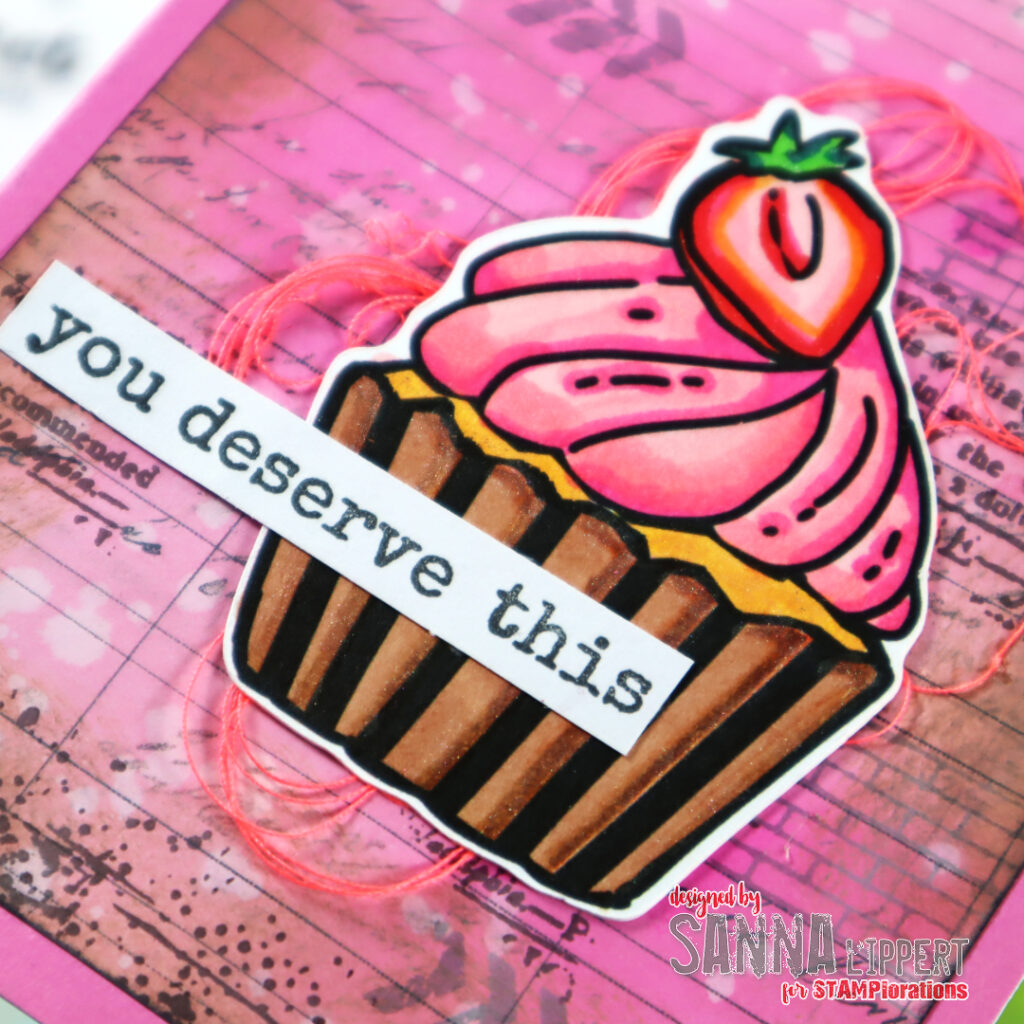
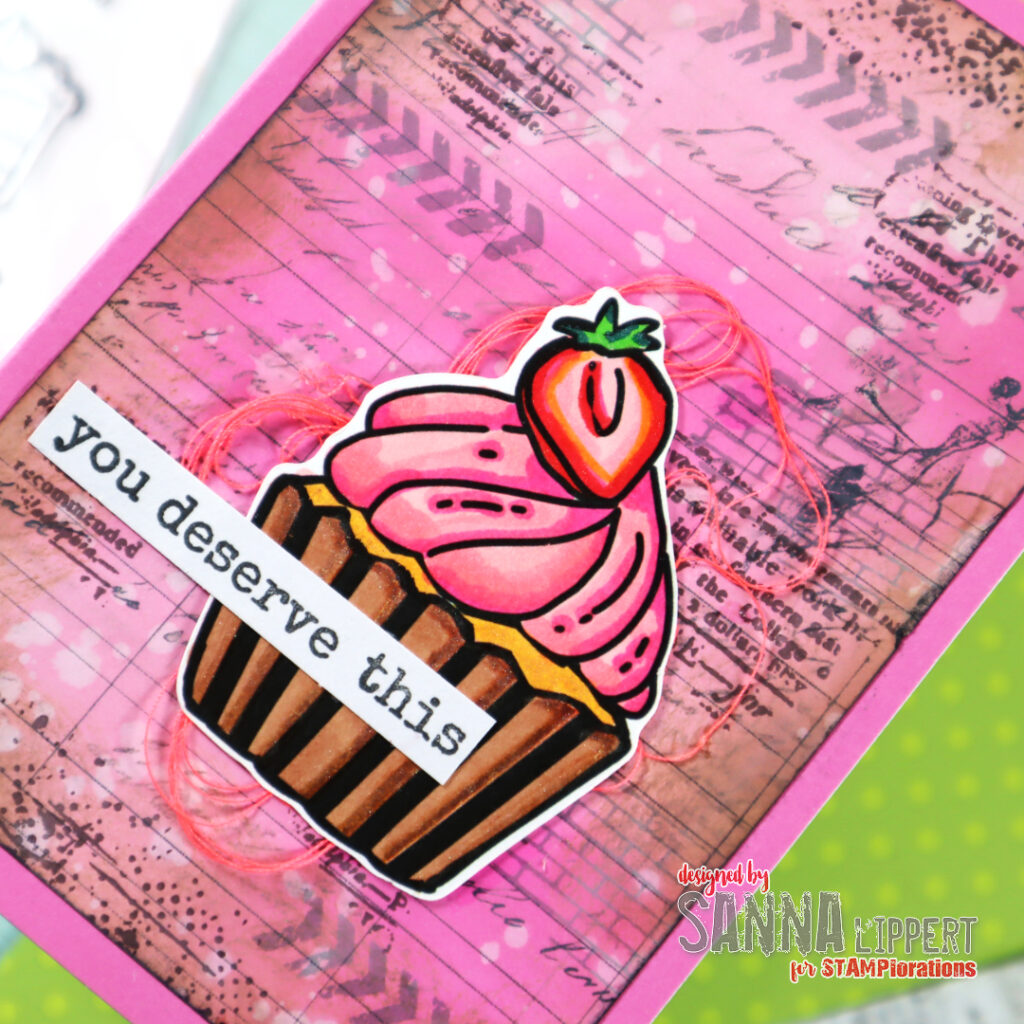
This is my take for the first day. A very pink toned card featuring Big Cupcakes Colorables and the Old Letters Pocket Backdrops paper from the NEW PRODUCTS and also used the Mixed Media Grunge stamp set and the Sweet Cravings stamp set.

I first inked the Old Letters Pocket Backdrop paper with two different pink tones of Distress Oxide inks. Then I added some stamping on top with Mixed Media Grunge stamps. After that I inked the edges with brown Distress Oxide Ink for depth. The paper is mounted on a pink card base. I then colored the cupcake image with alcohol markes and stamped the sentiment with Sweet Cravings stamp set. I mounted the image and the sentiment on place and added some garn underneath and that was it.
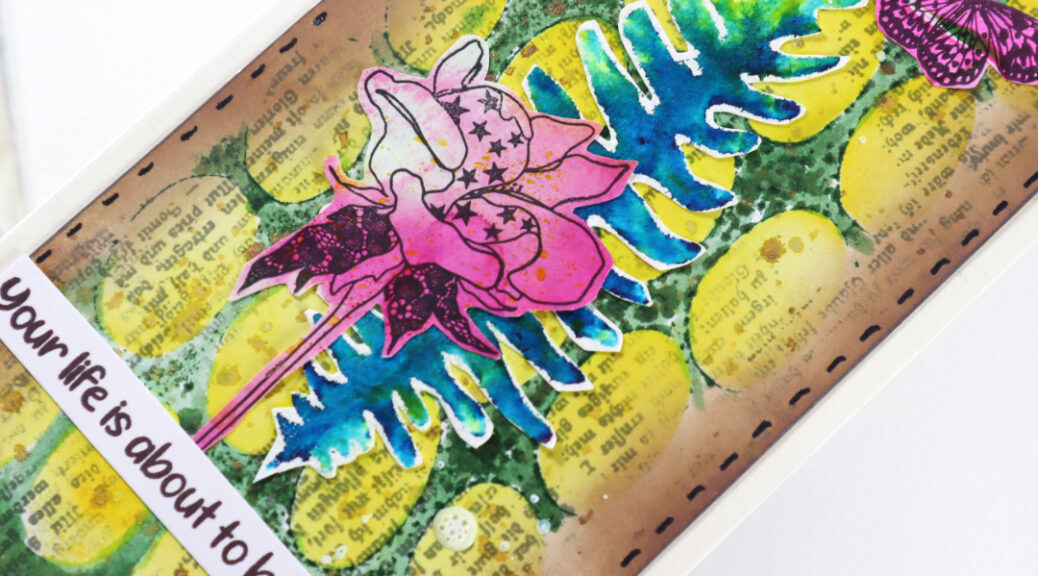
Here is peek into some new products available at STAMPlorations:
and
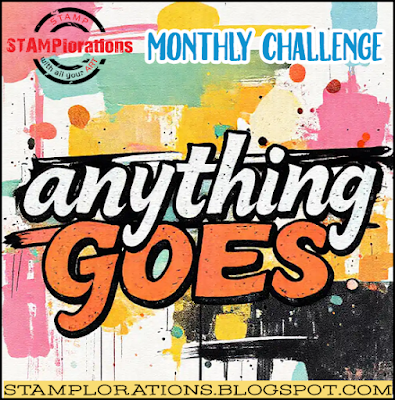
How to celebrate with us:
- DAILY GIVEAWAY: you can enter this one by commenting on the STAMPlorations blog DAY 1 celebration post with your absolute favorite new product featured one of the projects of that day. One winner will be drawn from the daily post and will win the specific product of your choice.
- SHOPPING PERK: For US participants there will be free shipping on orders of 25 USD or more, valid thru the celebration week only. Plus a freebie of the moth for orders.
The birthday celebration will go until 3rd of July. This will also be the day when the Wishlist party will officially close. The winners will be announced on Monday, the 6th of July.
Hope you will join in with us and celebrate 13 years of STAMPlorations!!
xx, Sanna