Category Archives: TUTORIALS

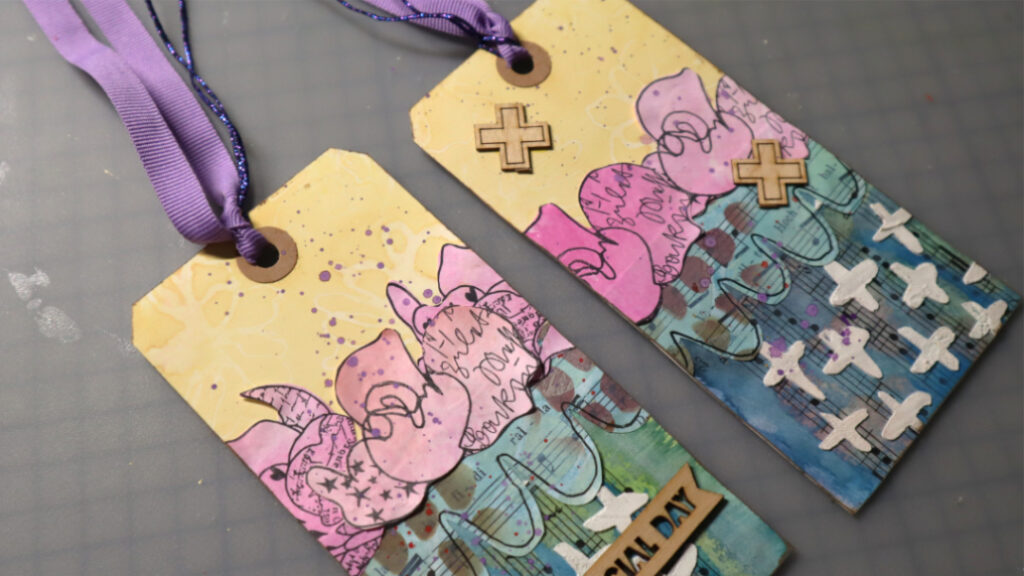
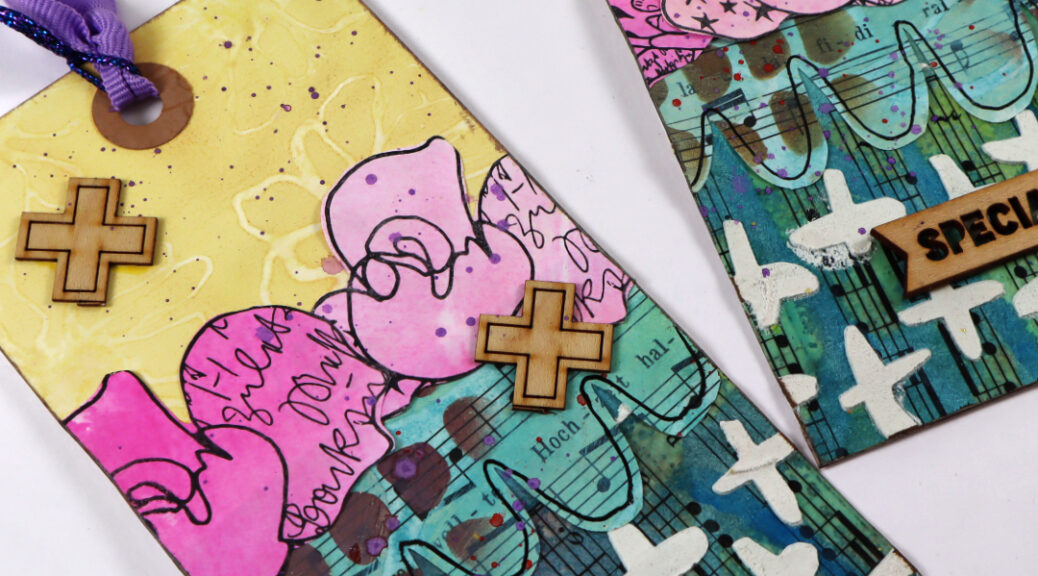
Mixed media tag set with water mist stamped flower background

Hello everyone, here is another Rubber Dance Art Stamp product inspiration post with a fun step-by-step tag tutorial for today. For these tags I used the “Sketchy Flowers 3” stamp set to create the fun background details and added all kinds of leftover bits from my previous projects to go with them.

Here is how I created the tags:
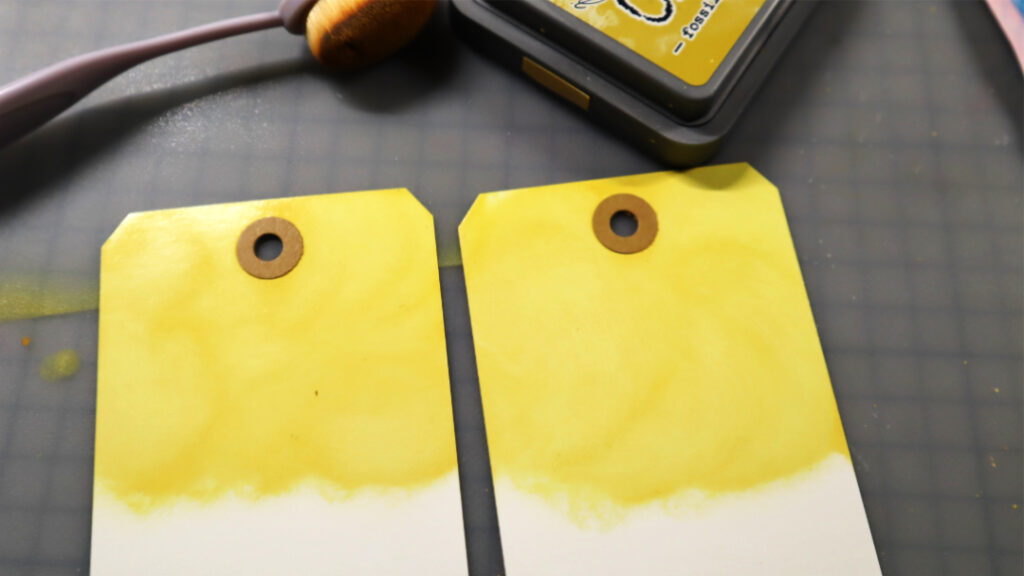
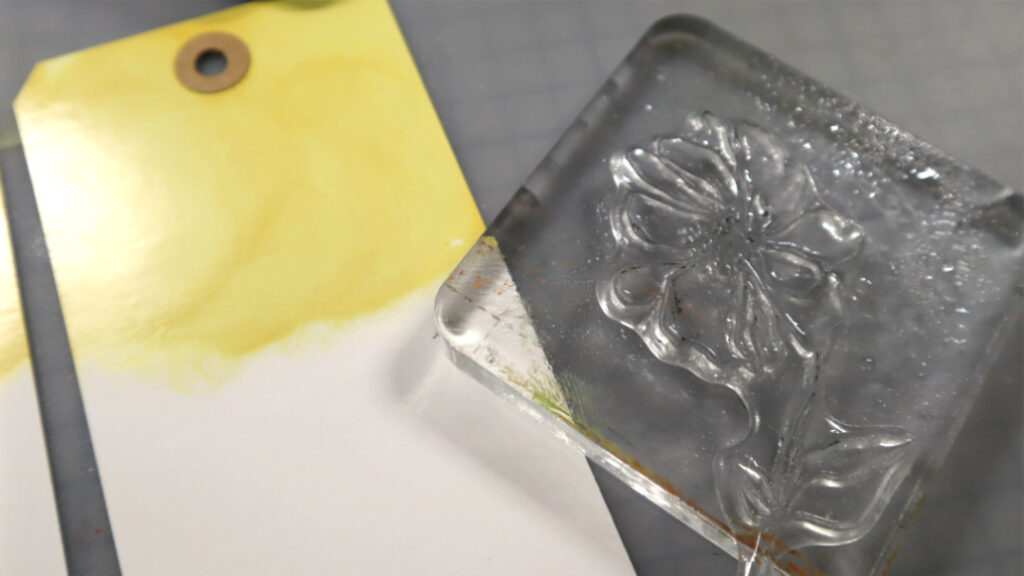
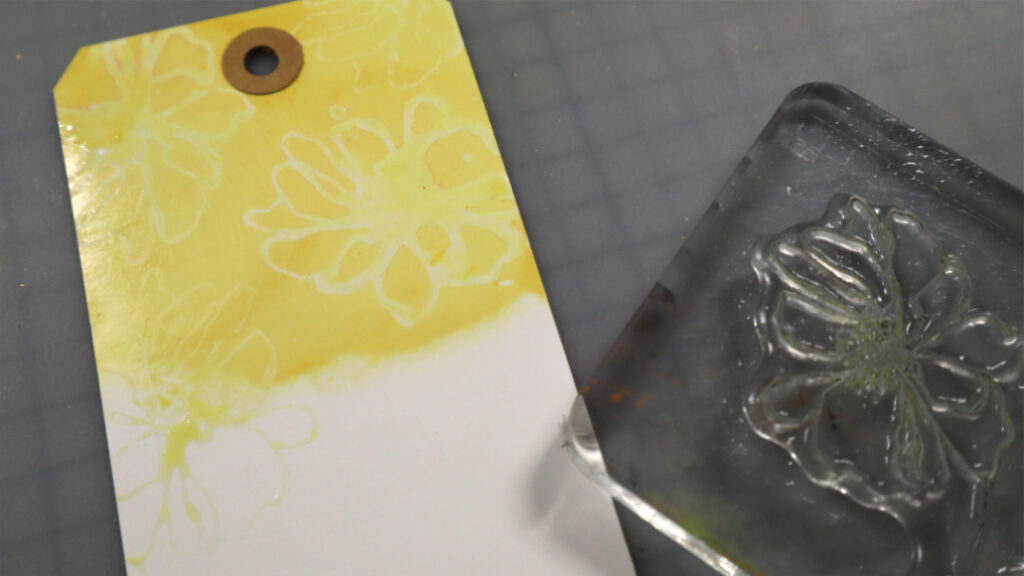
First I applied Distress Oxide Ink (fossilized amber) with a blending brush onto white tags. Next I attached a flower stamp from the “Sketchy Flowers 3” stamp set onto an acrylic block and gave it a light water mist. Then I pressed the stamp image into the inked areas and repeated the step until I had enough “water stamped images” on the background.
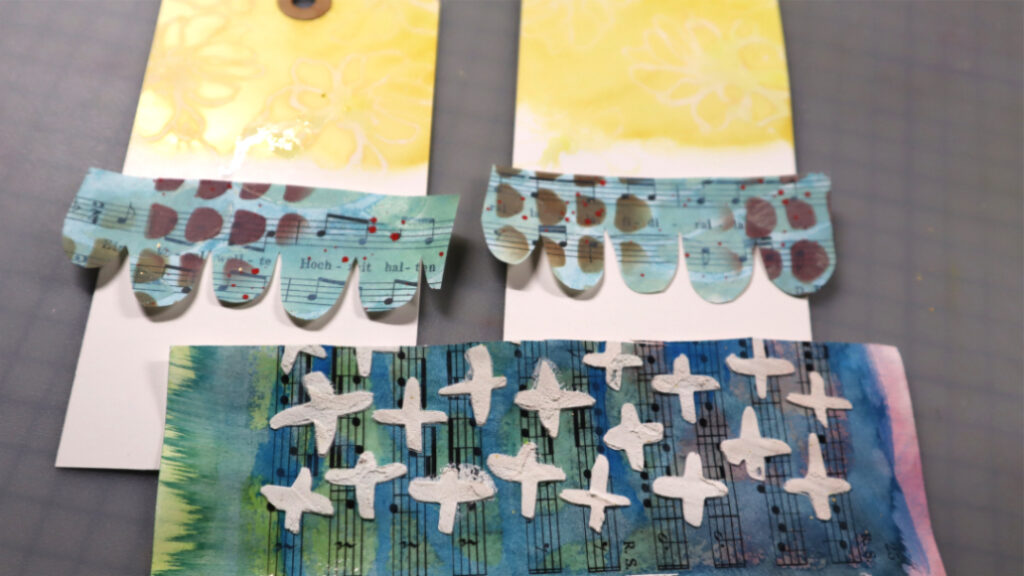
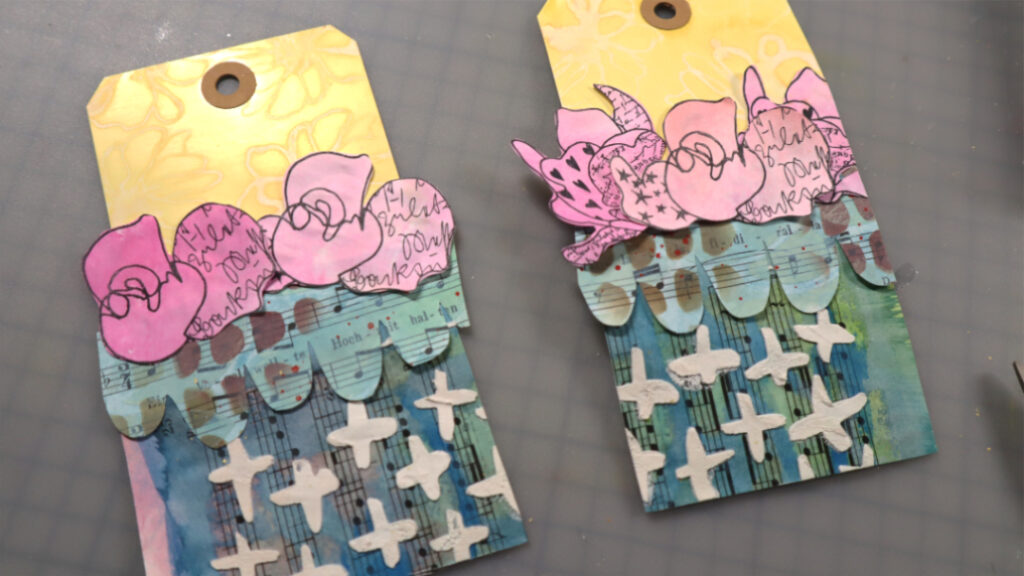
Next I took out some leftover papers (all from my previous projects shared here on the blog), plus a misted blue music note paper to which I had added some texture paste thru the “Marks 2” stencil. I first fussy cut those papers into size and preferred patterns, then added leftover “Doodle Flowers” on top and adhered the pieces on place. After that I added purple watercolor droplets onto the tags, chose matching ribbons and added some chipboard pieces to finish the tags.

I hope to have inspired you a little to use all leftover pieces for fun smaller projects, so nothing goes to waste! Have fun!
xxx, Sanna

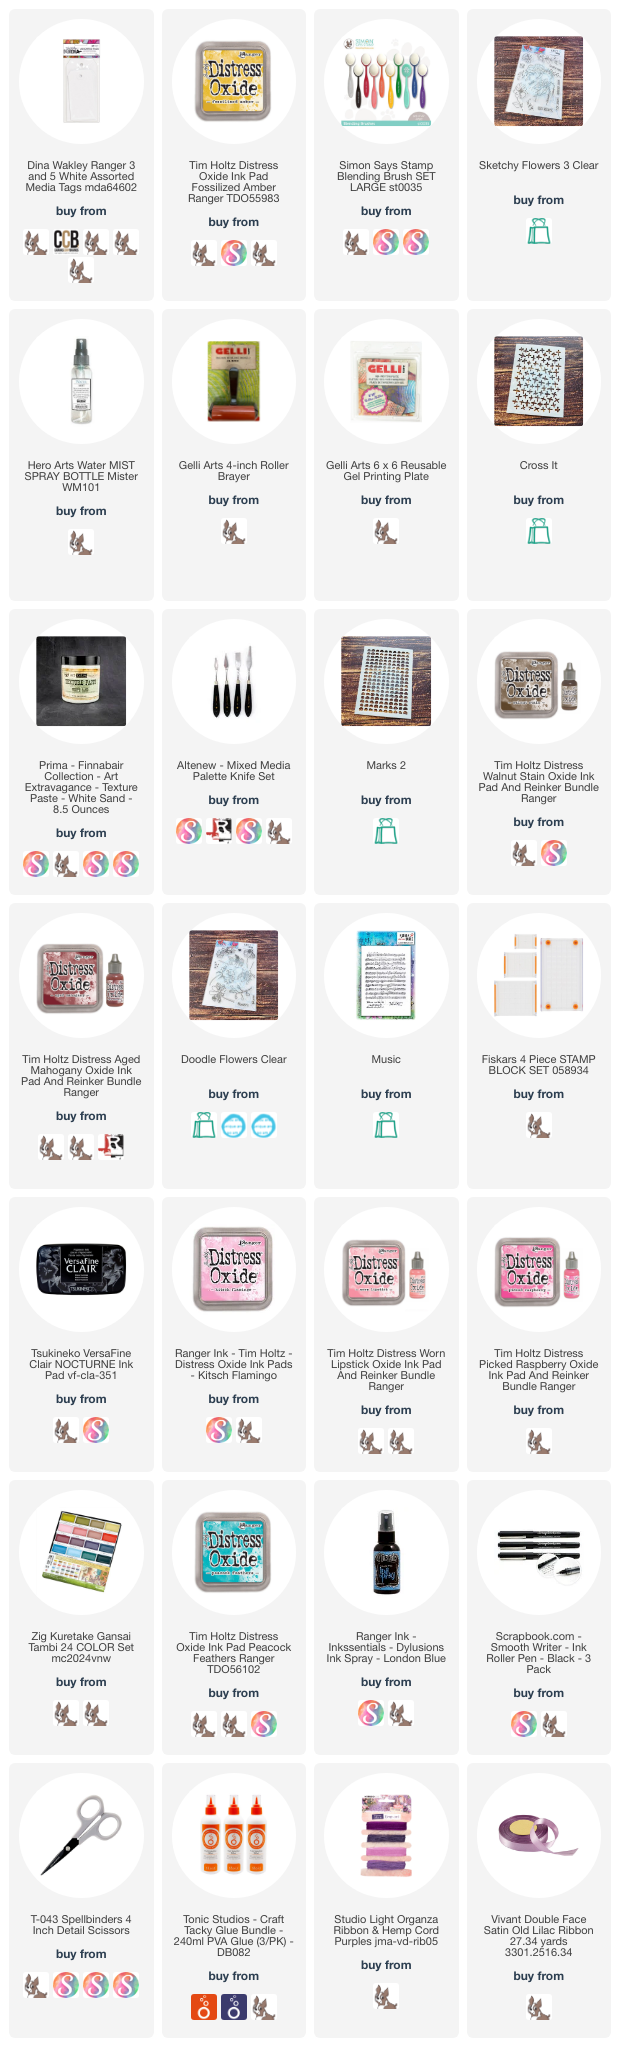
Supplies:
Grungy Butterfly ATC´s with stencils, stamps and Distress Inks – Rubber Dance

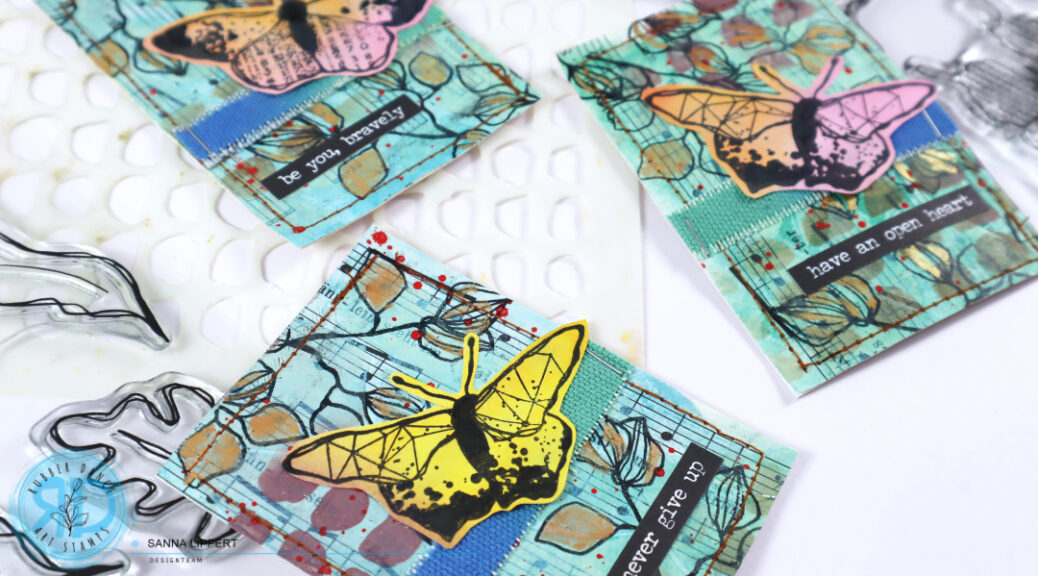
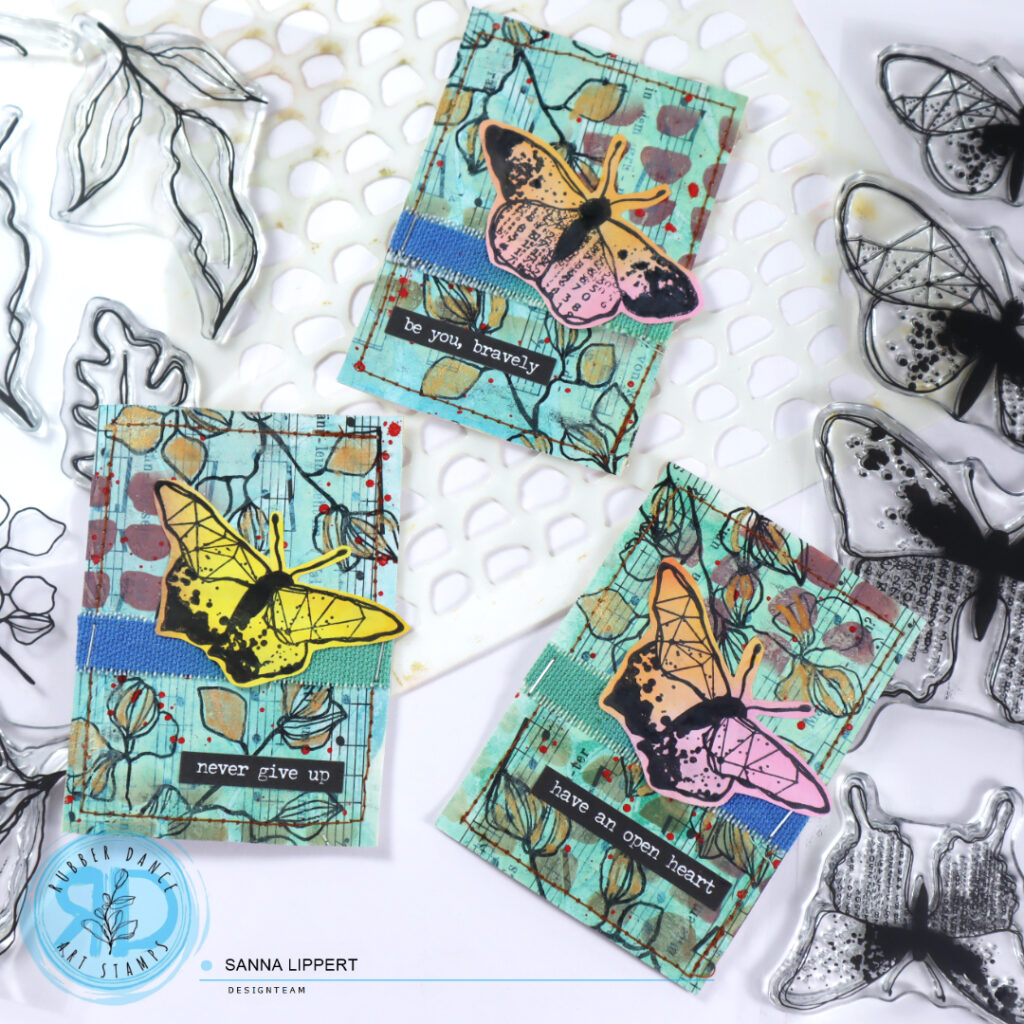
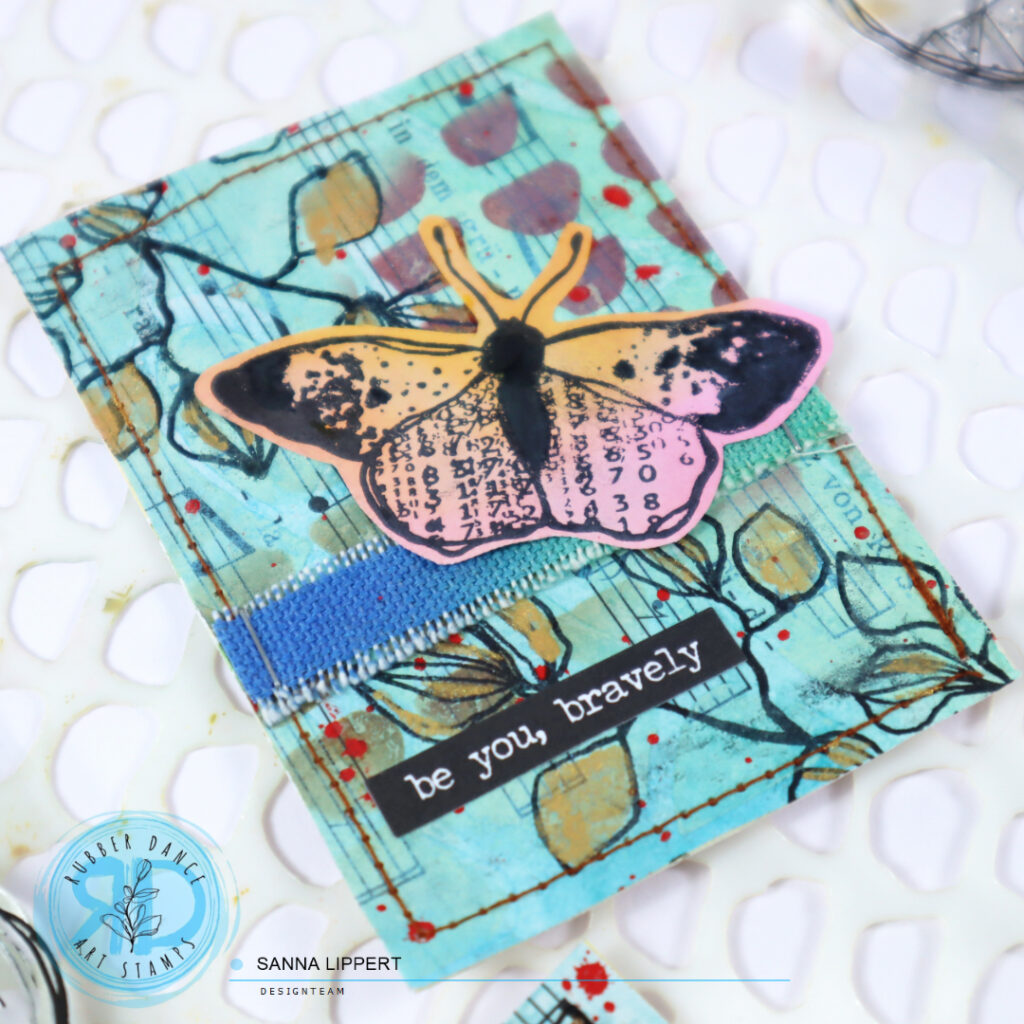
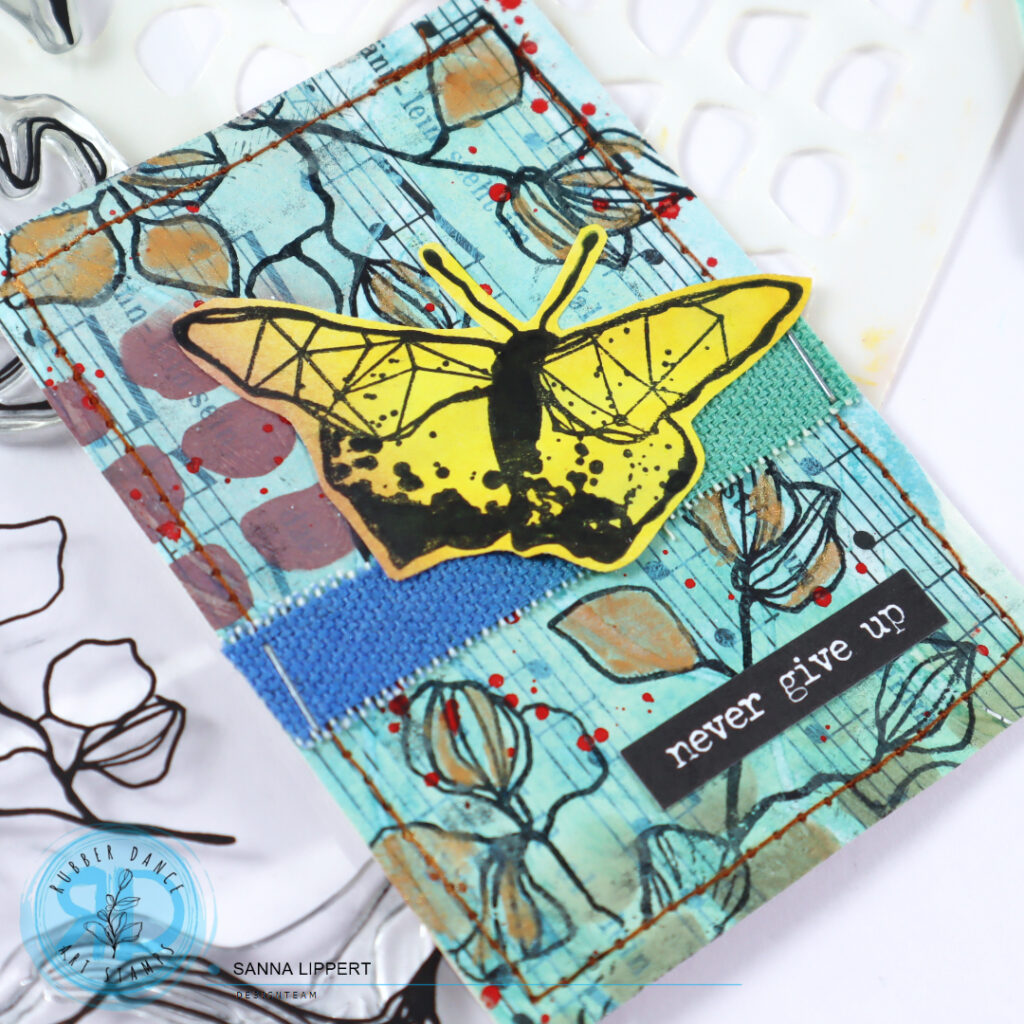
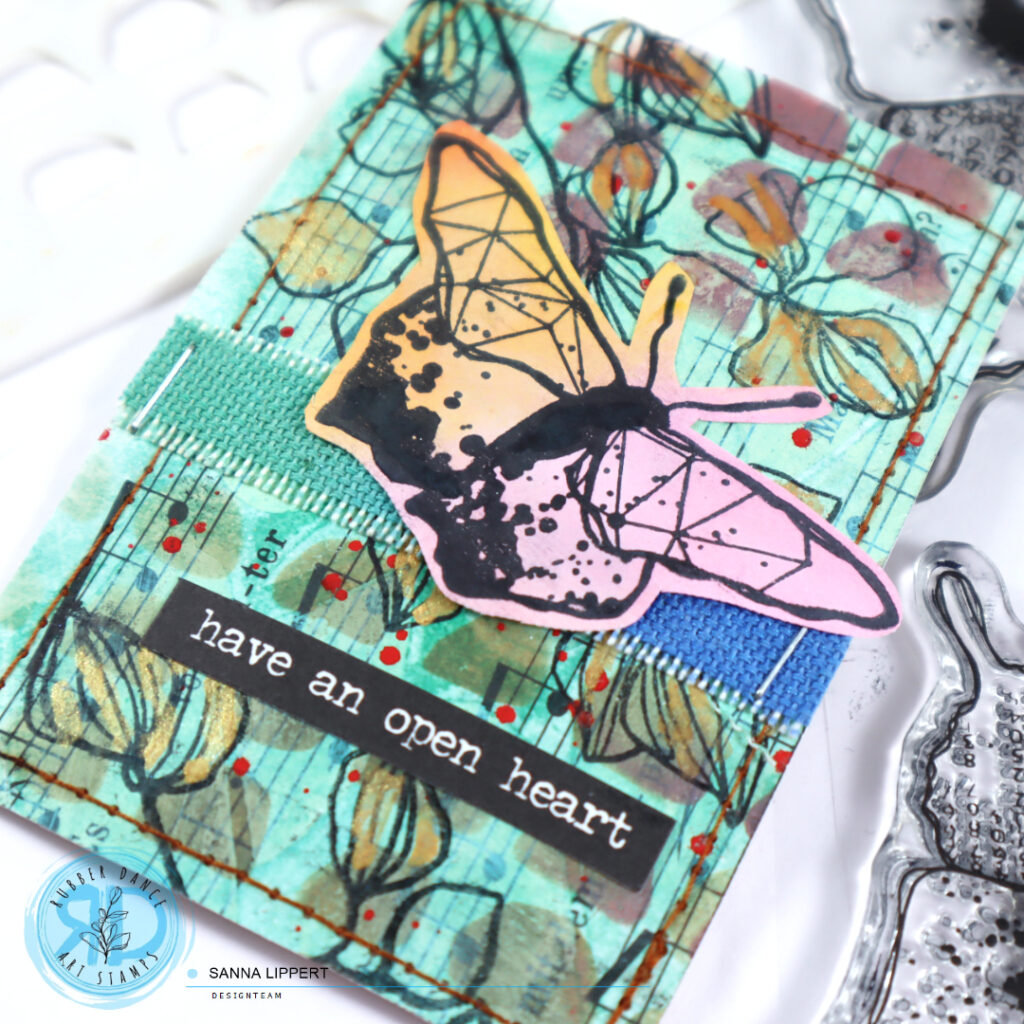
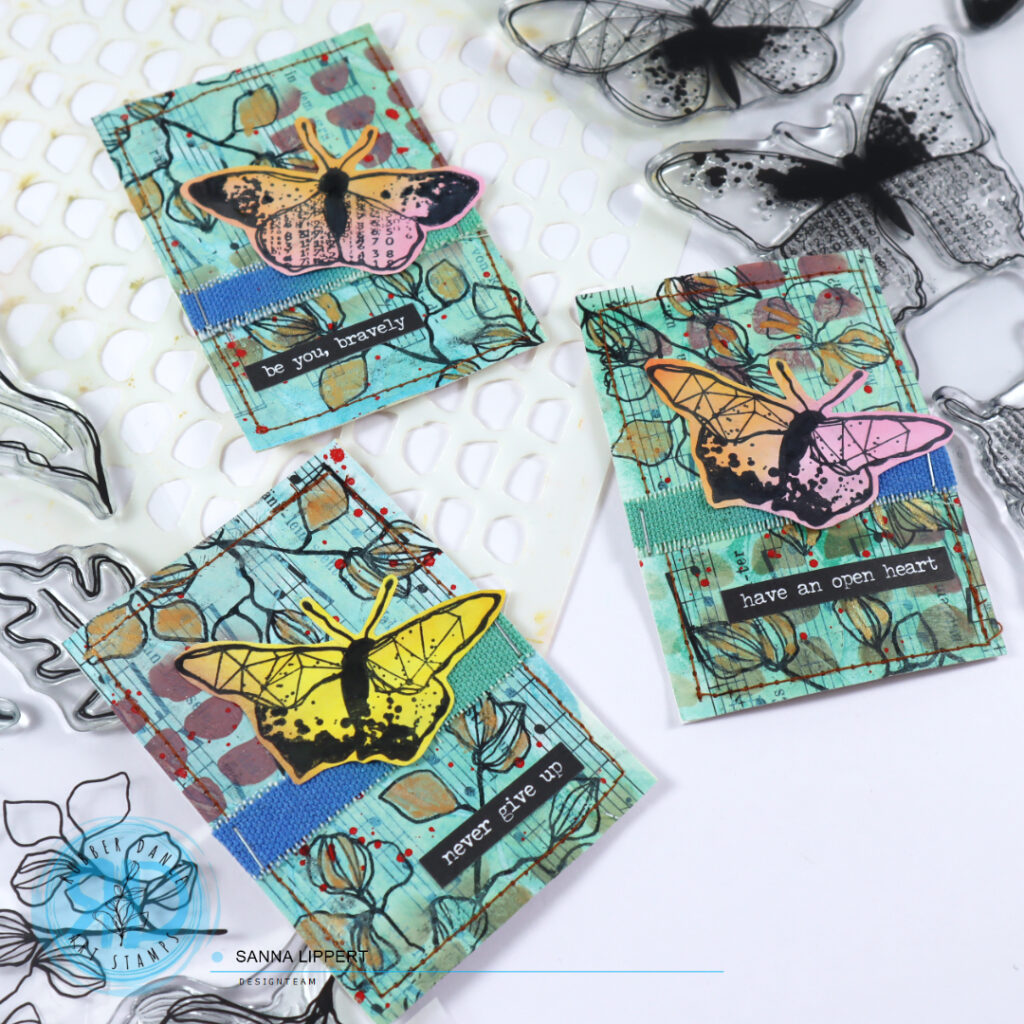
Hello, I am again up over at the Rubber Dance blog with an Artist Trading Card tutorial share. I created these ATC´s with various sets of Rubber Dance stamps and stencils.

For these Artist Trading Cards I used a music note paper (if you don´t have one, you can stamp your own using the Rubber Dance “Music” stamp) on the background. On that I applied Distress Paint thru the Organic #3 stencil and then added a slightly darker tone of watercolor on top. After that I took a brown and mahogany tone of Distress Oxide ink and applied those onto the background for additional detail thru the “Marks 2” stencil. I sewed the paper onto a sturdy background with my sewing machine and then stamped some images with black ink and the “Sketchy Leaves” on the papers.

After that I added some golden watercolor pigment details to the stamped leaves and some red watercolor splatters onto the background for additional detail. On top of that I used some of my previously made “Grungy Butterflies” fodder pieces and a piece of misted canvas and sentiment stickers to finish the ATC´s.

Here is the start-to-finish video on how I created the ATC´s:

and just in case, here is how I made the butterfly fodder:

I hope I could inspire you with my tutorials a little today.
Happy crafting,
xxx, Sanna

Supplies:

Fodder cards with a gelli print background and Sketchy Leaves

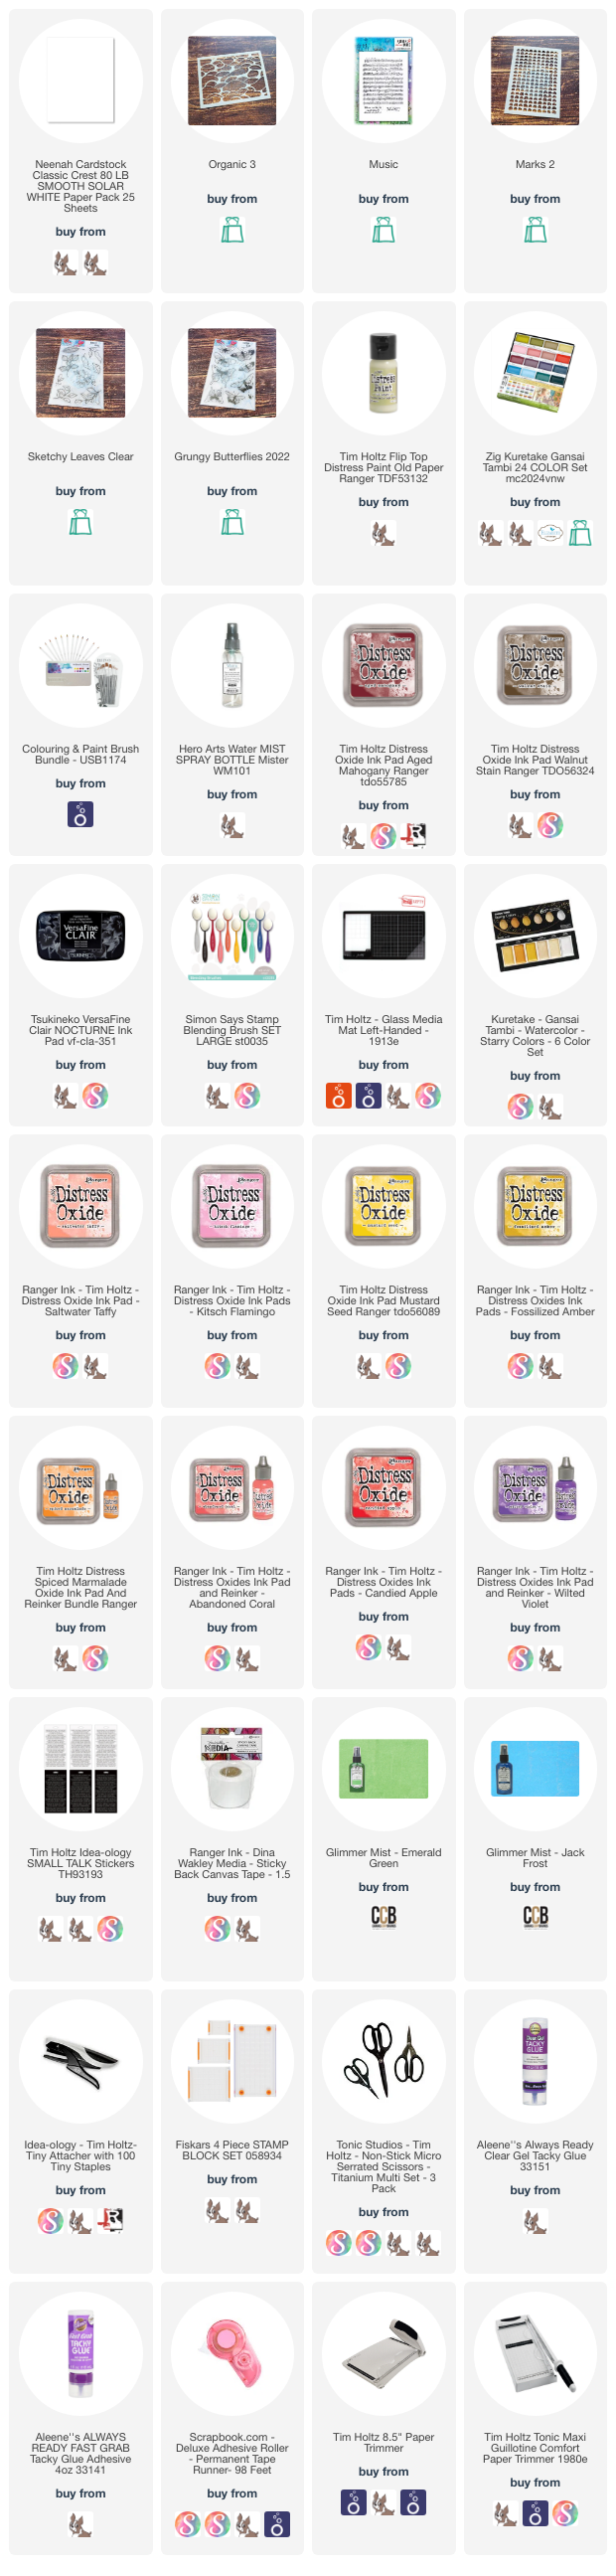
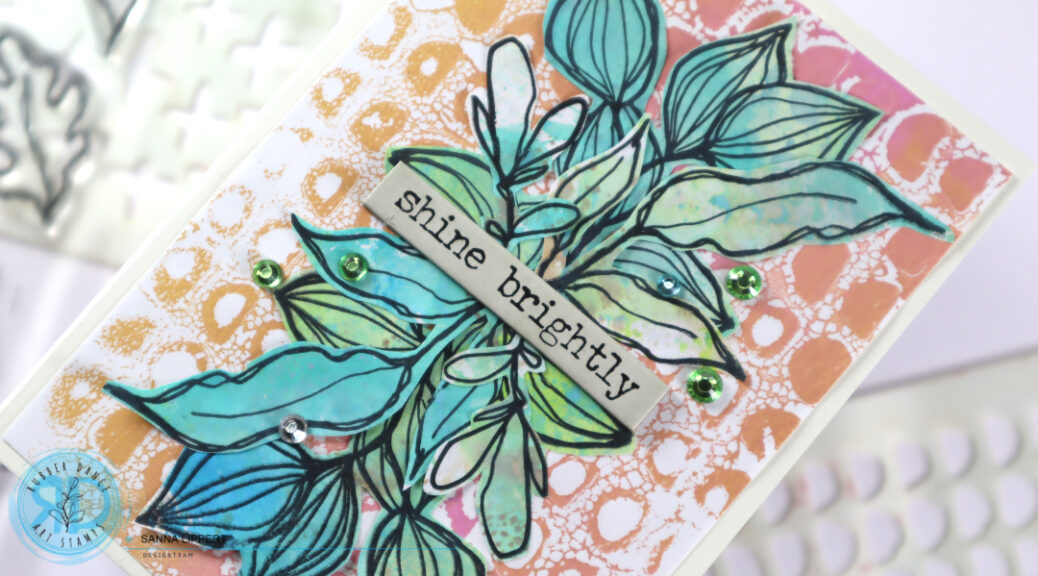
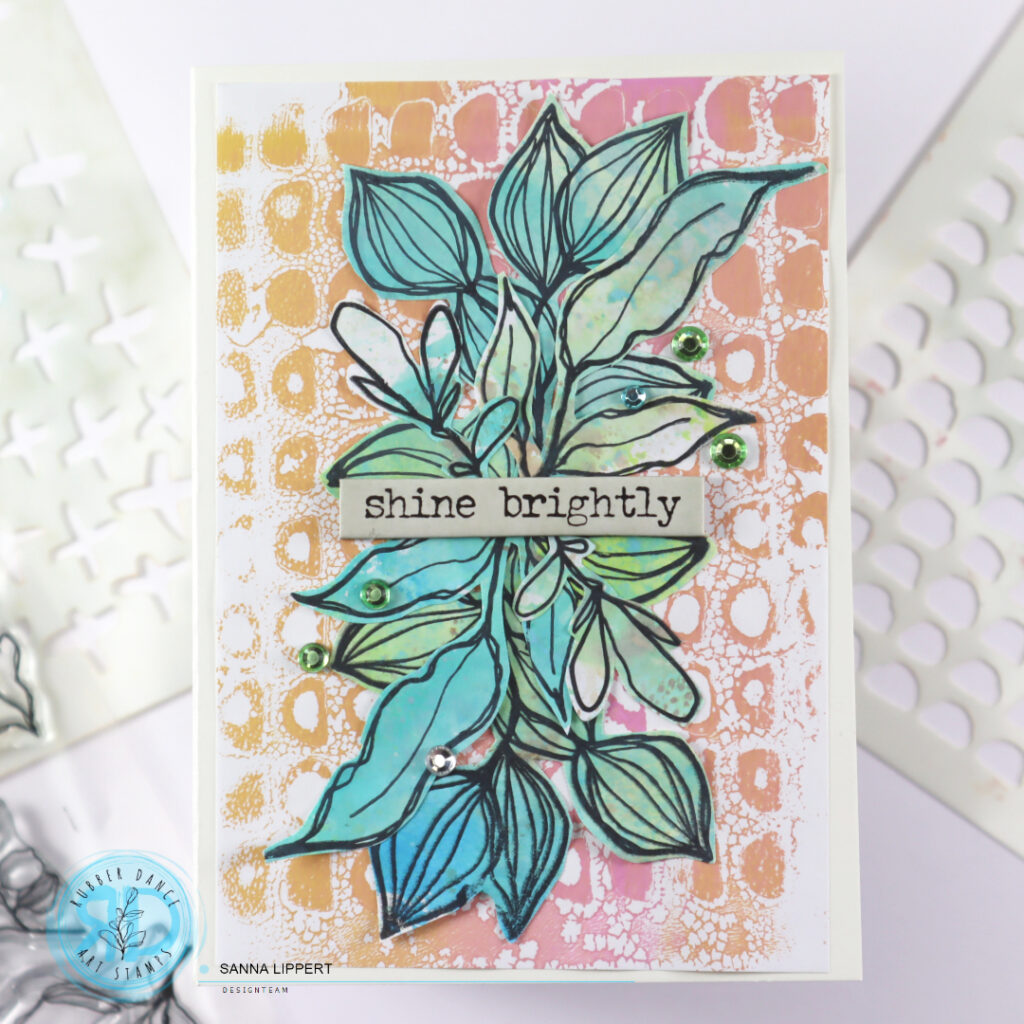
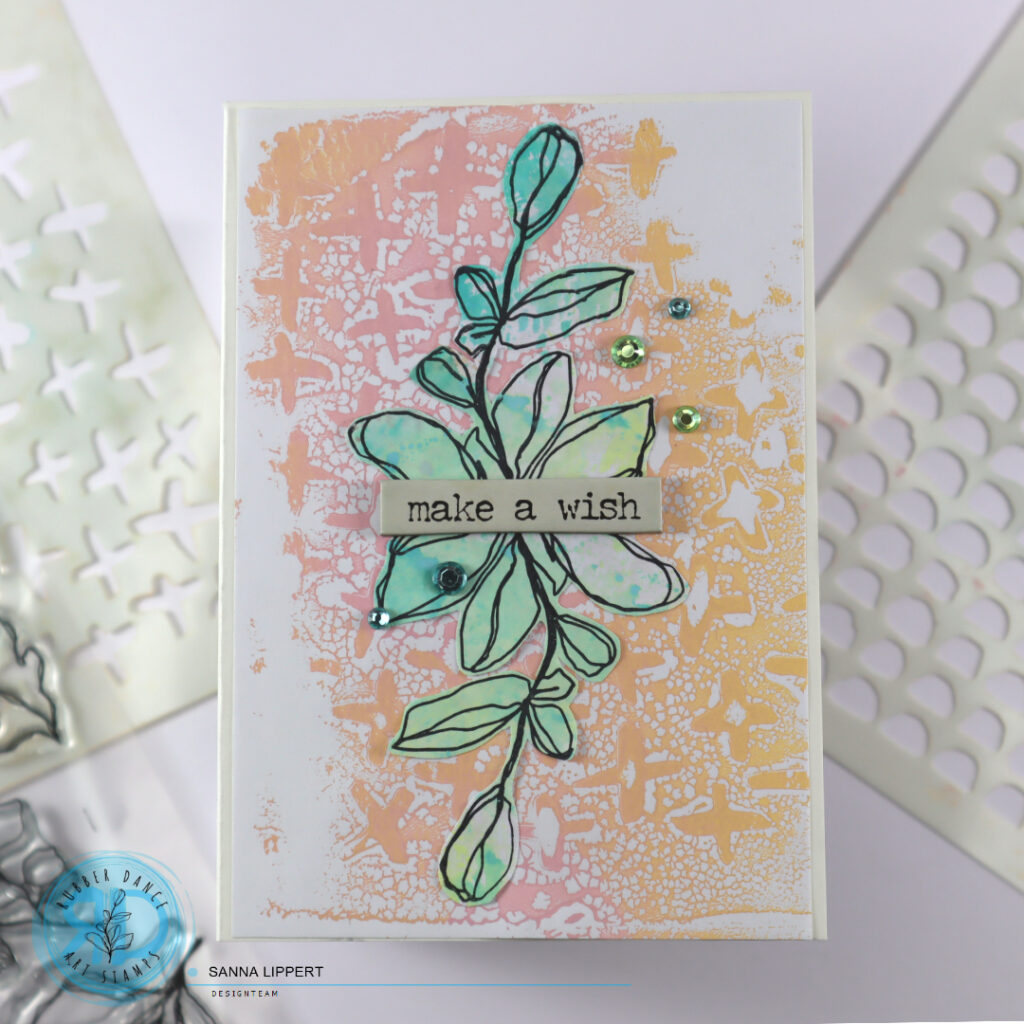
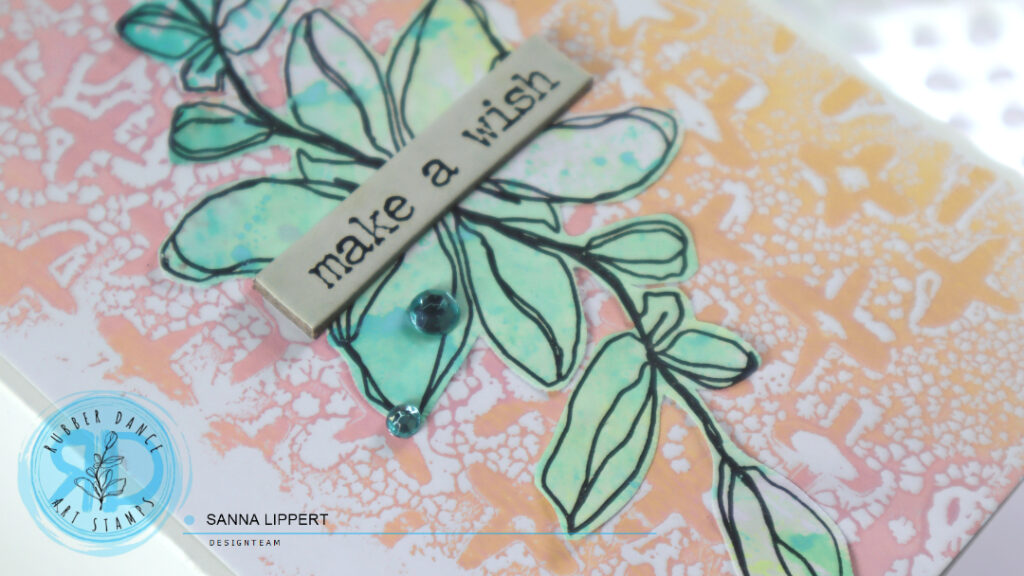
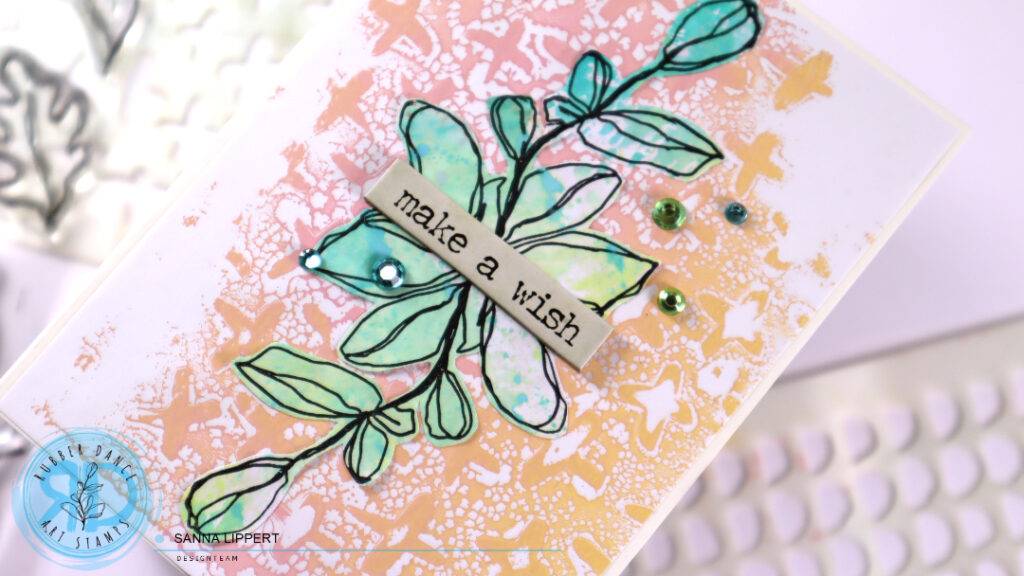
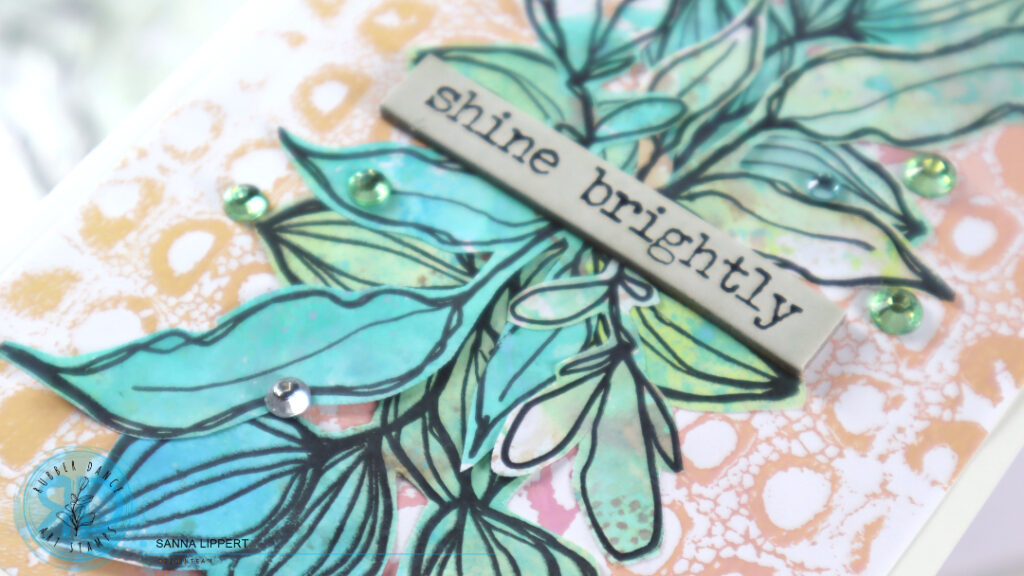
Hi, it´s again my turn to share a project over at the Rubber Dance blog with two Sketchy Leaves fodder cards. The backround on these cards is created with a gelli plate, acrylic paints and “Marks 2” as well as “Cross it” stencils in pastel tones. I created a few different gelli printed papers at once and used the one with some white space on it as a background for these cards. In my opinion, this adds lots of interest to the card, when the background is irregular in pattern.

I also created plenty of fodder with the Sketchy Leaves stamp and Distess Oxide inks at once and used some of them on these cards as a focal point. There are videos on the gelli printing, the fodder making and the step-by-step of the card creating process at the end of this post.

On the gelli printing video I am also using the “Organic #3″ stencil and I make several prints at once, because I will be using these prints on my future projects, too. Some prints are not perfect, but I don´t mind that. I am just going to pick the parts I like and use those later.

After creating the background papers with the stencils I then created plenty of fodder with Distress Oxide inks and the “Sketchy Leaves” stamp set. Here is a video on how I did that:

Finally, after the previous two steps, I put the cards together. Here is a sept-by-step video about the process:

I hope I could inspire you today to make fun gelli prints and create some cards with them and fodder. And while you are at it, be sure to create plenty of variations of both in different colors, so you have material for many projects ready, when inspiration hits.

Happy crafting,
xxx, Sanna

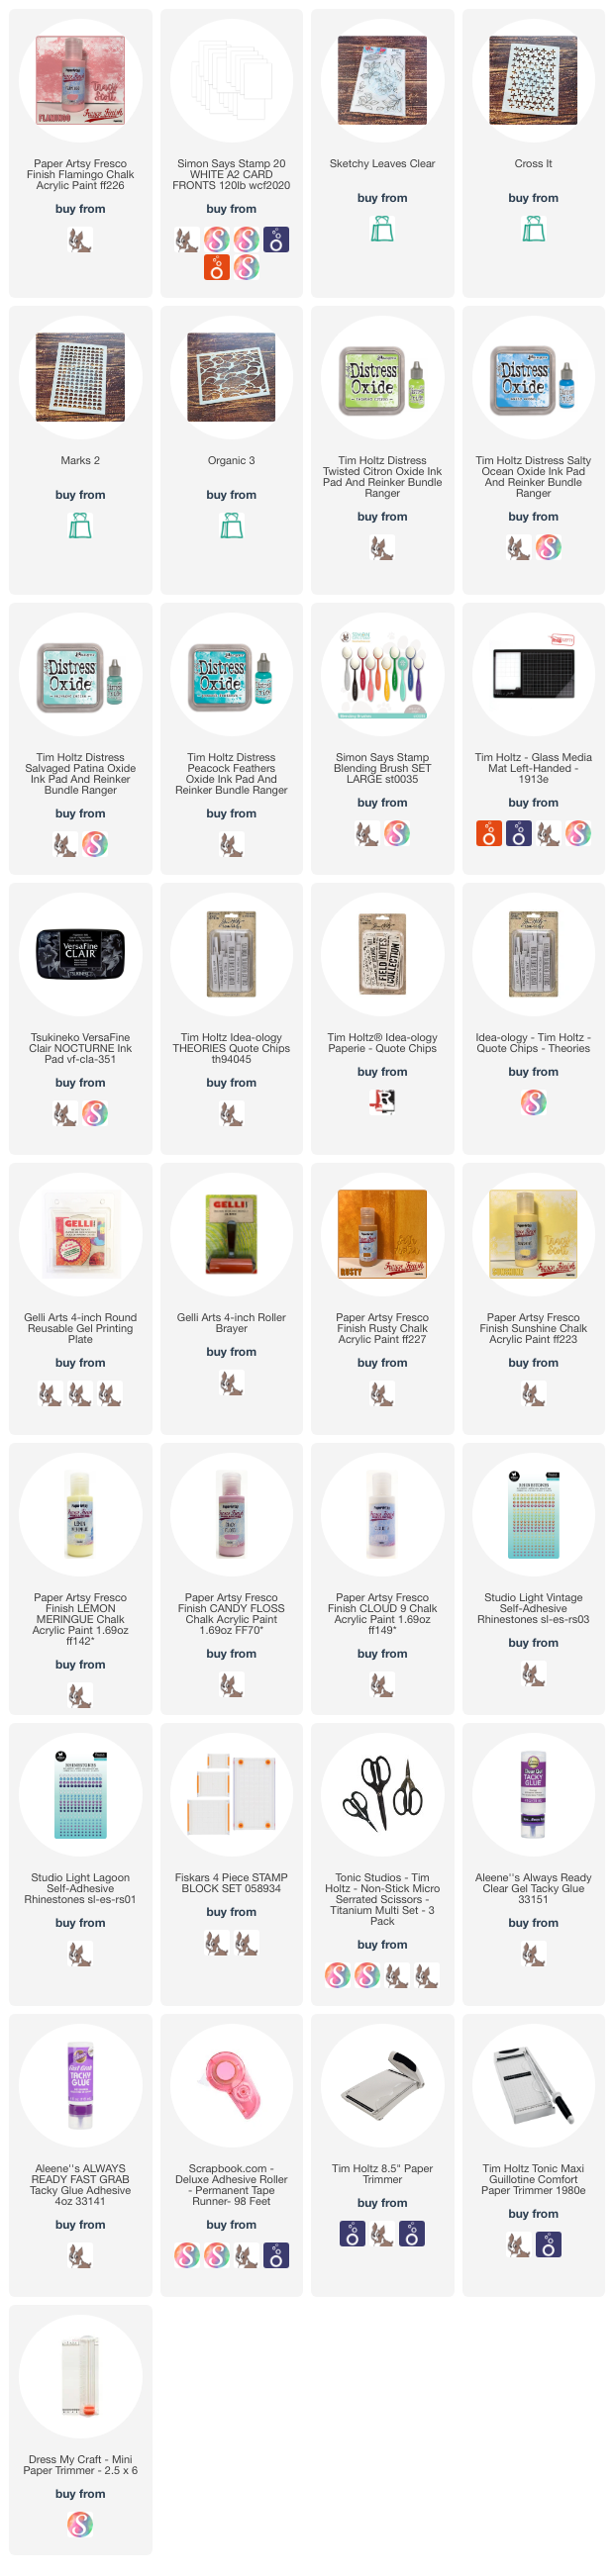
Used products:

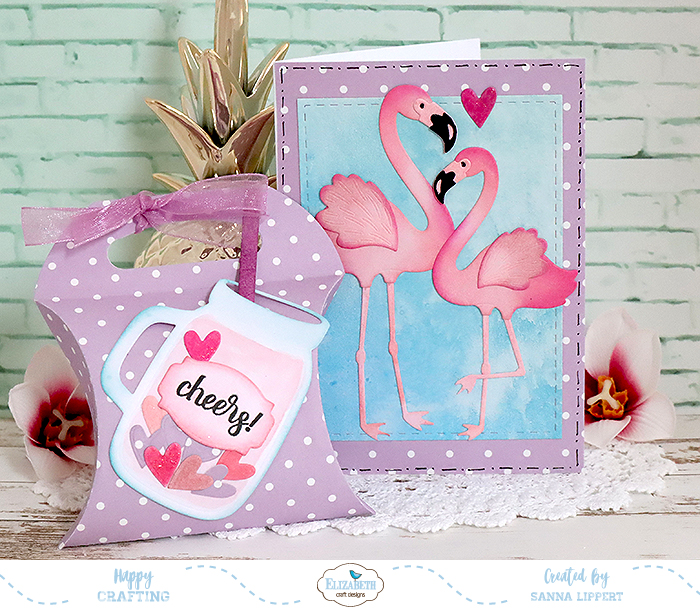
Love themed present set – Elizabeth Craft Designs

Hello, here is another “lost forever” post from my old blog that I re-created for the parts, that still exist. It makes me so sad that so much content with tutorials and post is forever gone. Thus, I will re-upload things I still have access to for your inspiration.

Here is a video of a love themed present set I created for Elizabeth Craft Designs a few years back. For inspiration, here is the video to watch:

I hope the video gives you some insight to the project and maybe also inspires you to create a love-themed project yourself!

Happy crafting,
xxx, Sanna