Hello and welcome to the DAY 5 of STAMPlorations 13th birthday celebration. Today I have a few more cards to share with you.

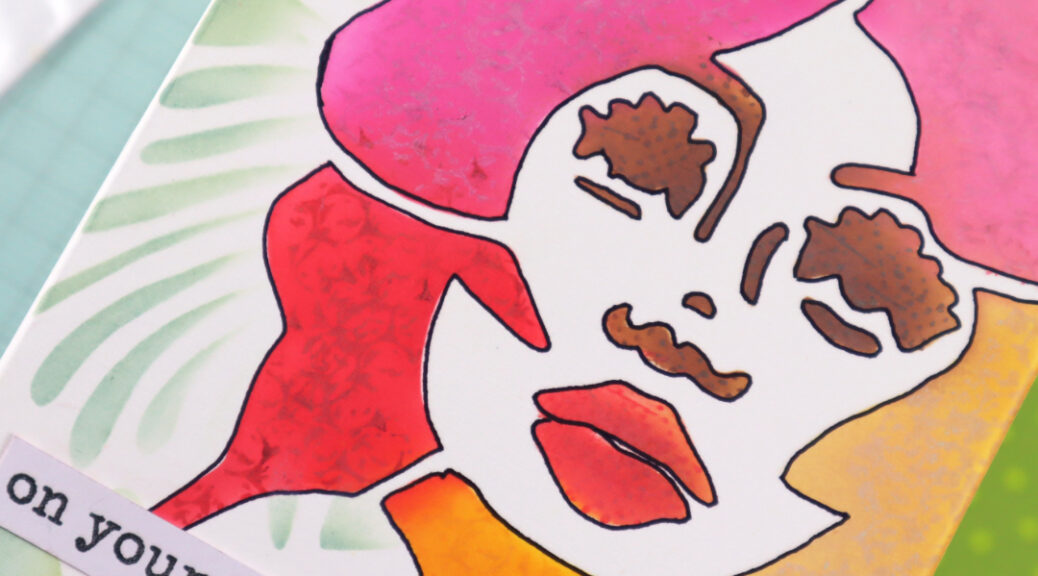
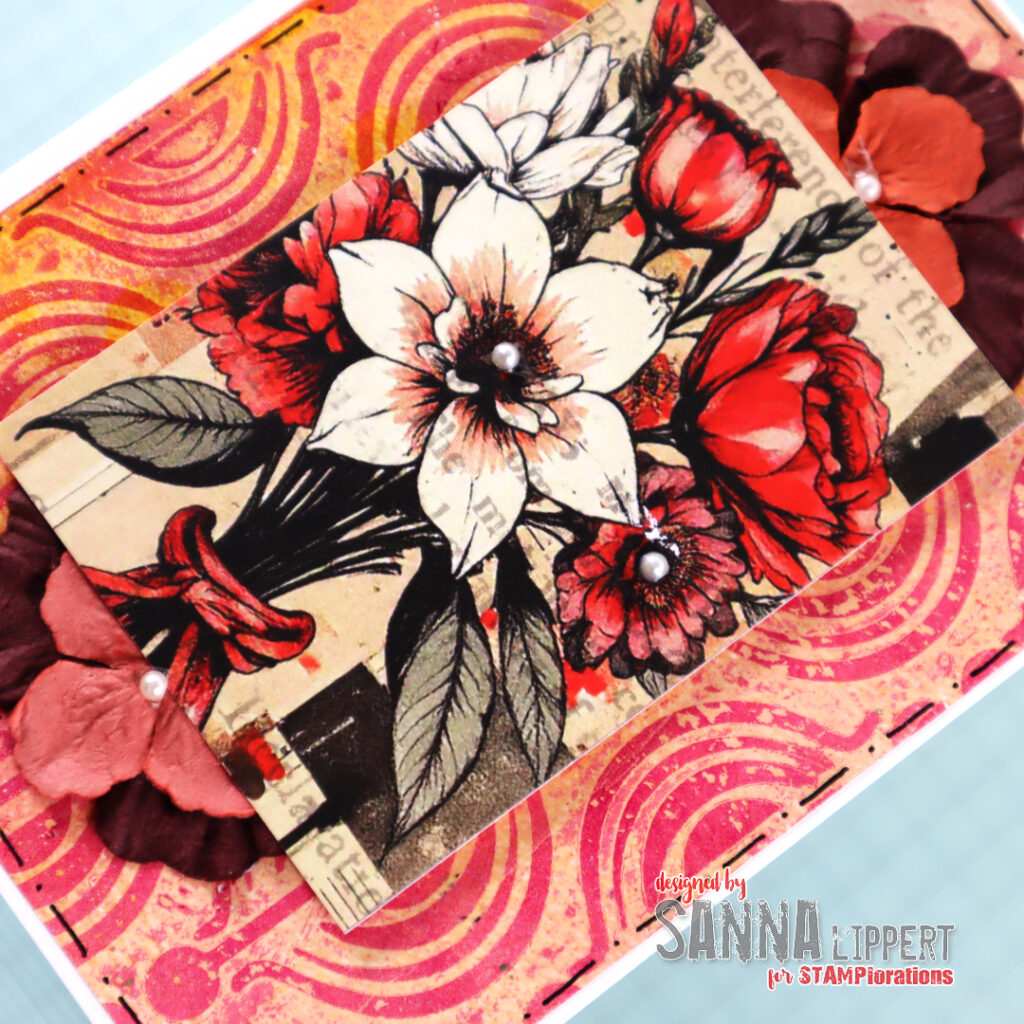
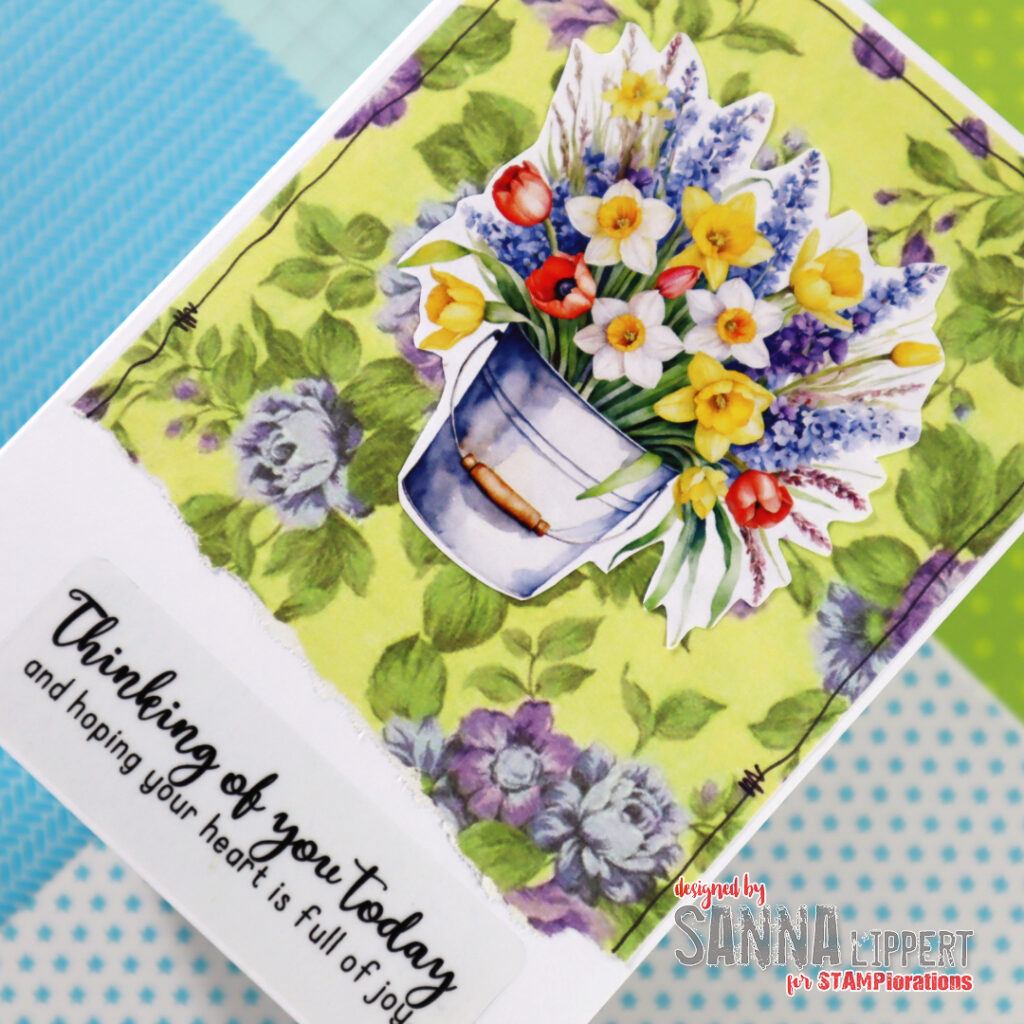
For the first card I used following NEW PRODUCT: Floral Parade Ephemera Cut-Outs and Floral Magic Clear Stickers. The background paper is from my own stash.
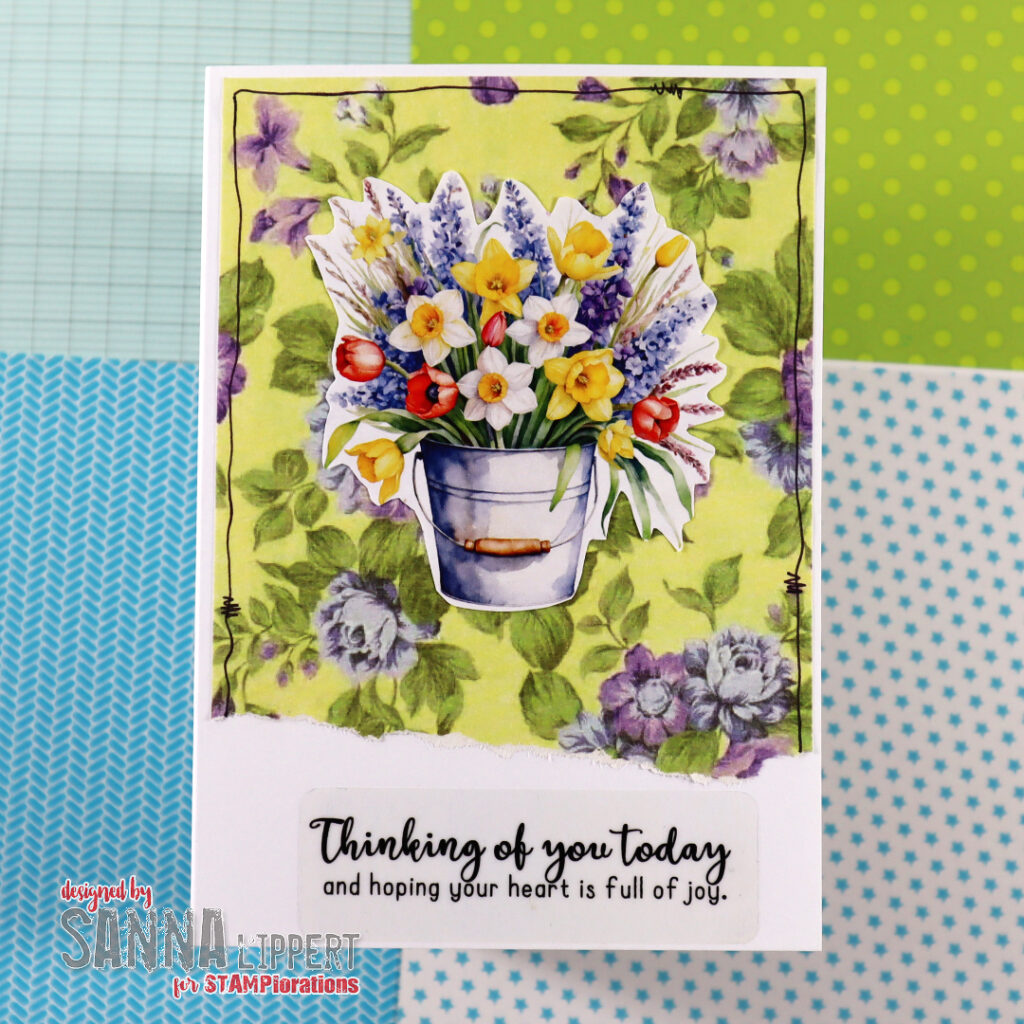
I stared by wripping the floral background paper quite randomly and adhering it to the card base. That way I had some white space left to adhere the Floral Magic clear sticker to the white space underneath. I then fussy cut and adhered the Floral Parade Ephemera Cut-Out on place and added some outlining with a black marker.
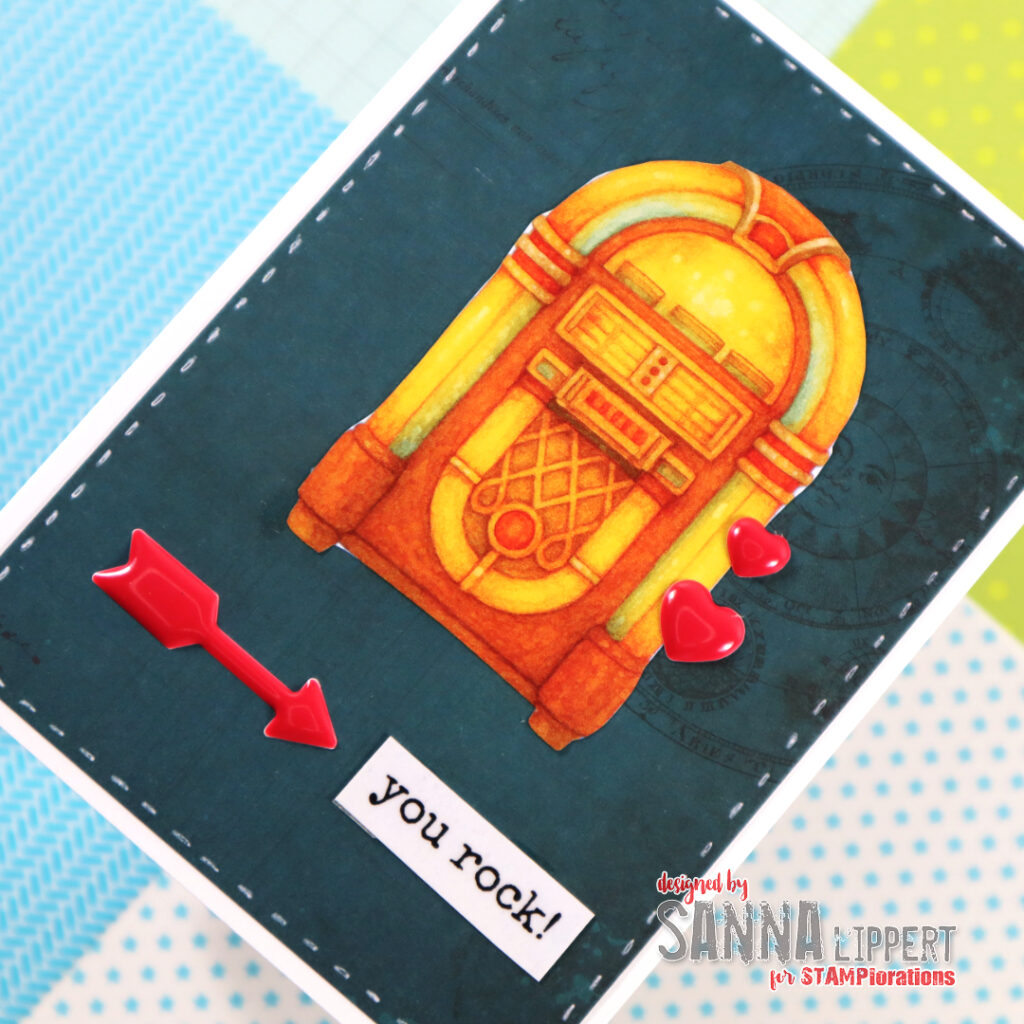
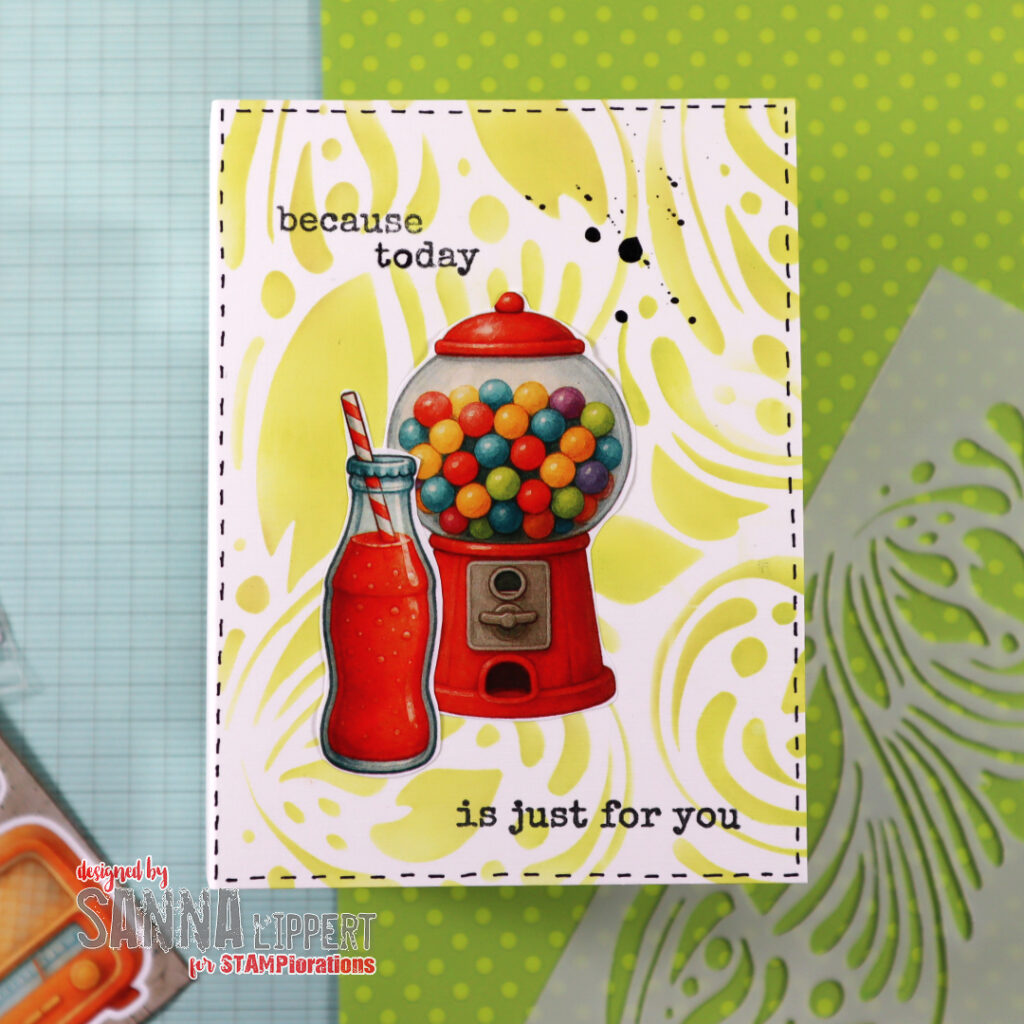
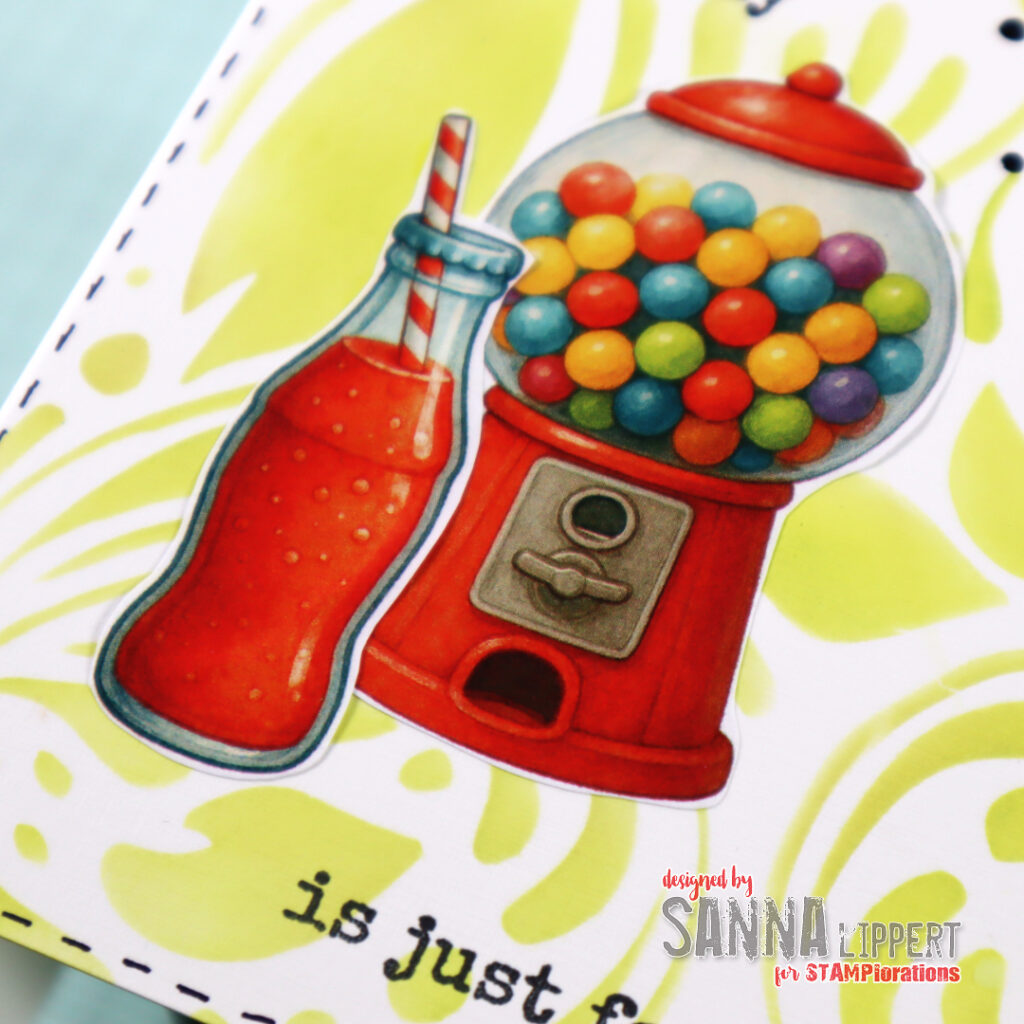
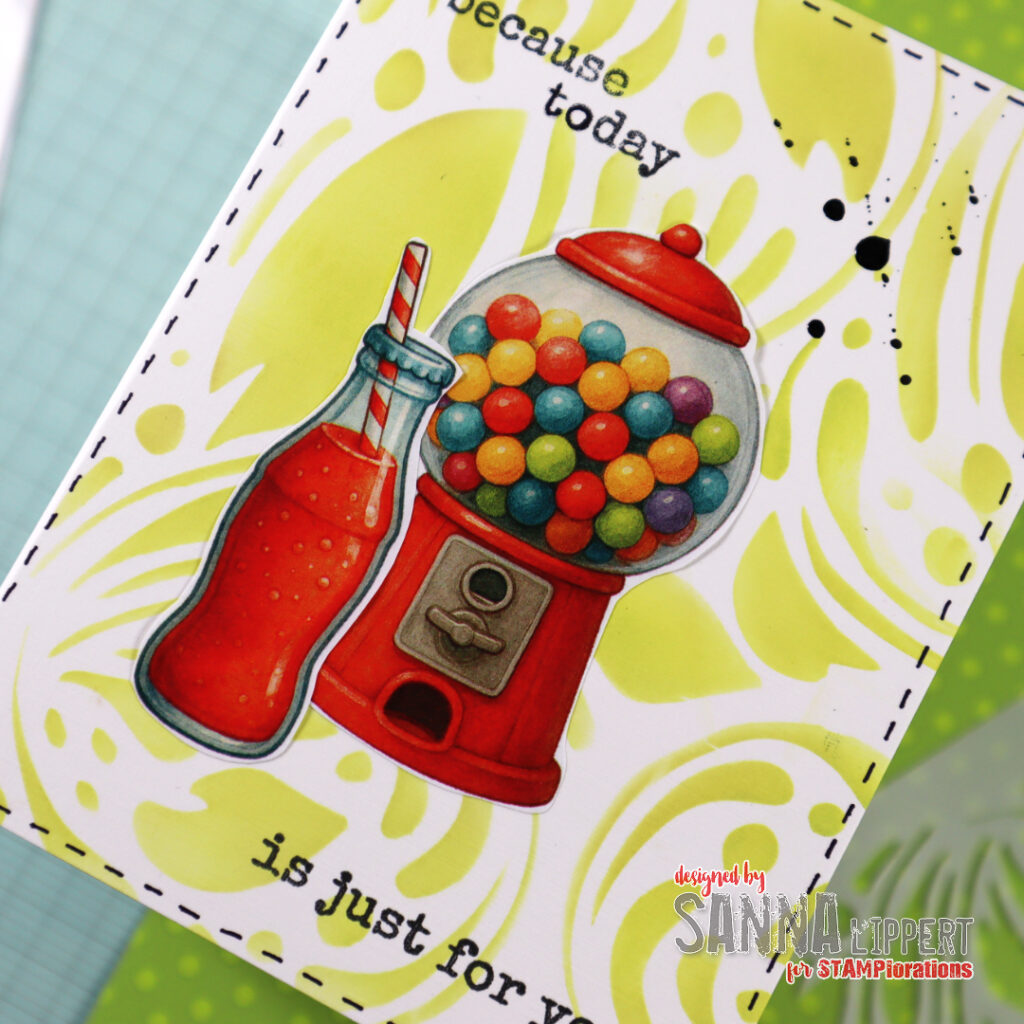
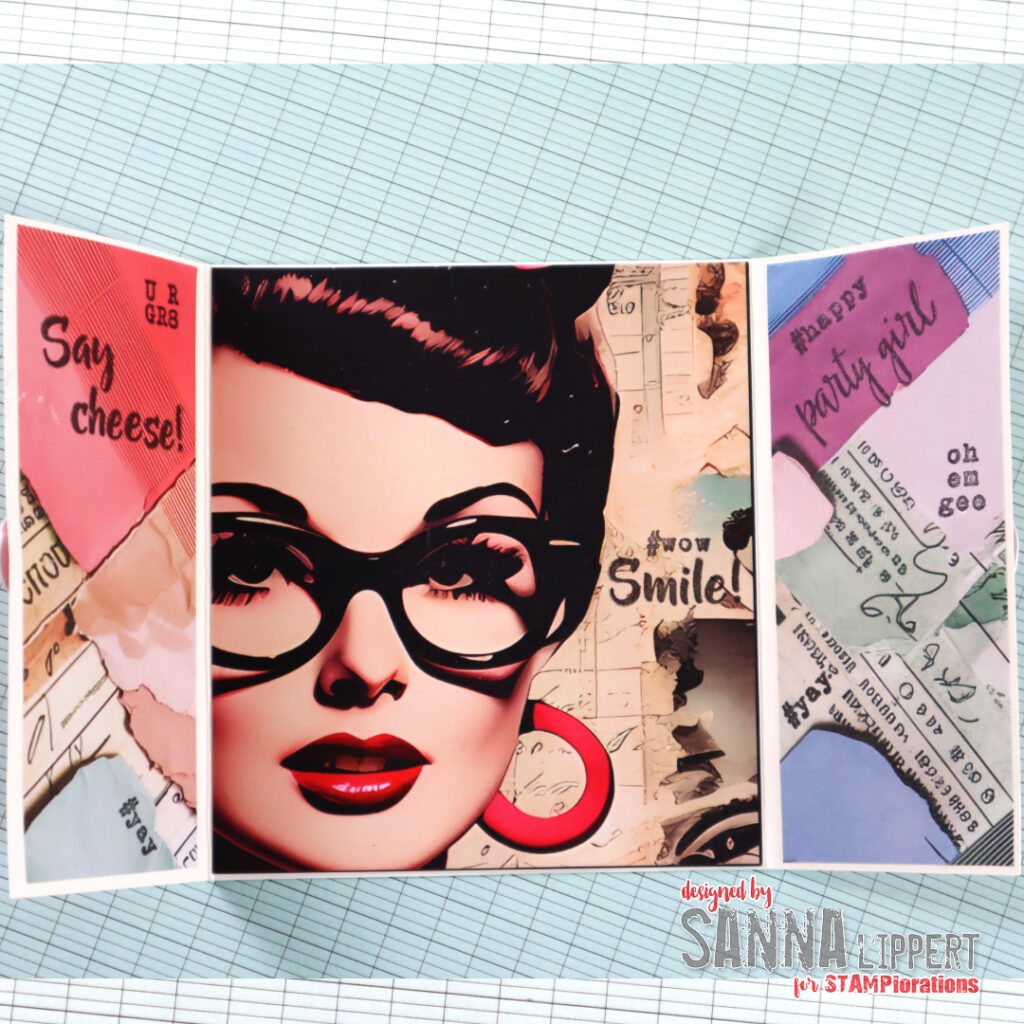
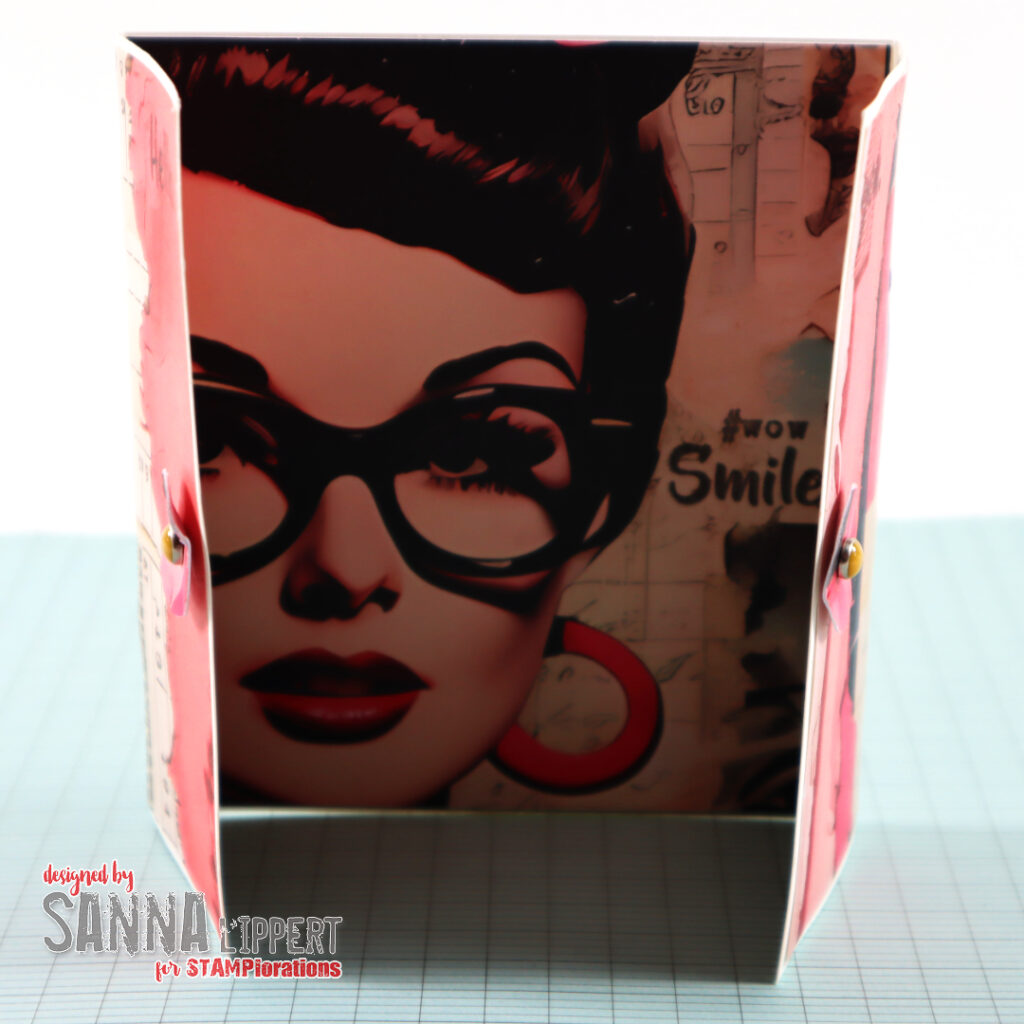
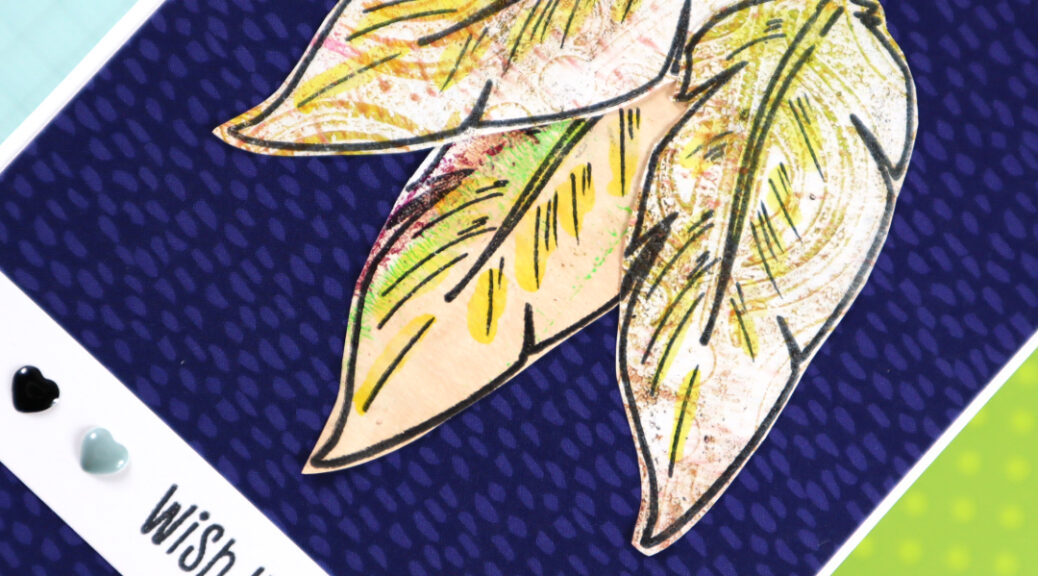
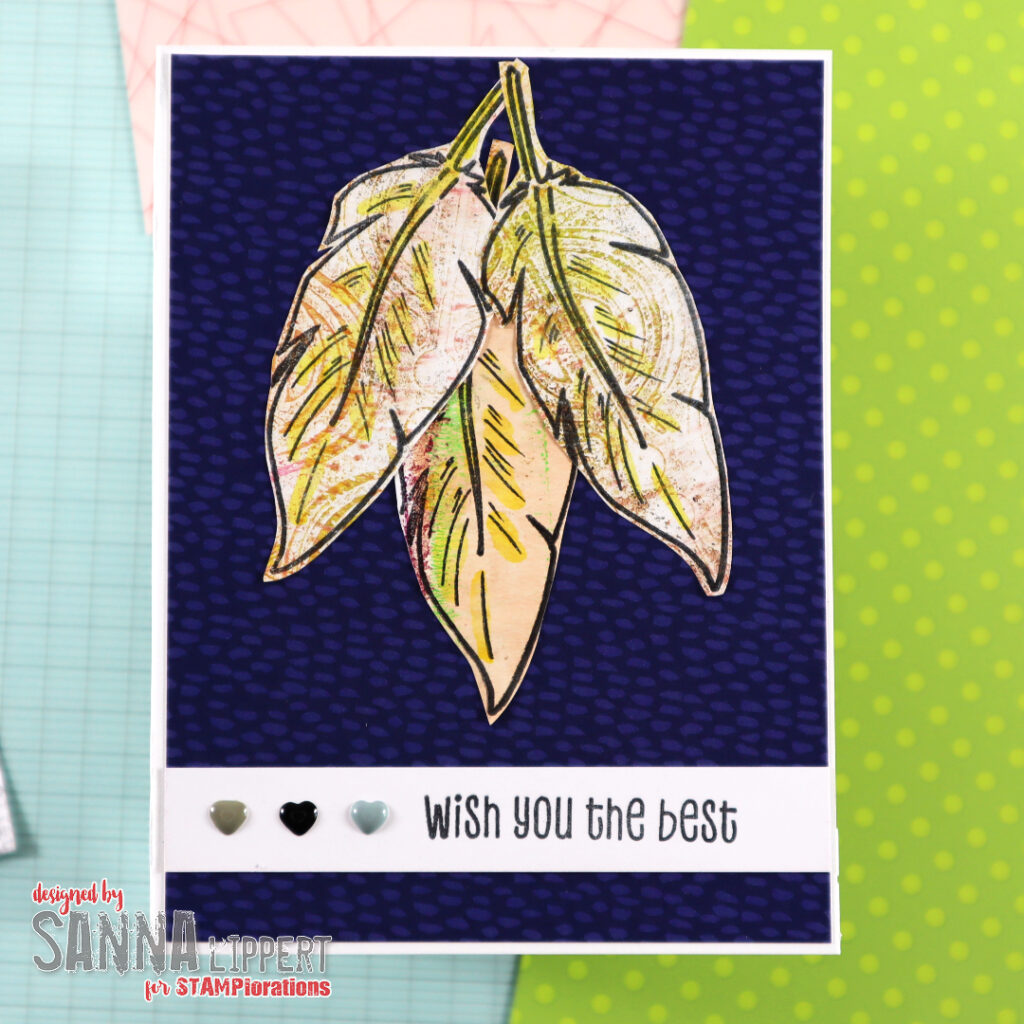
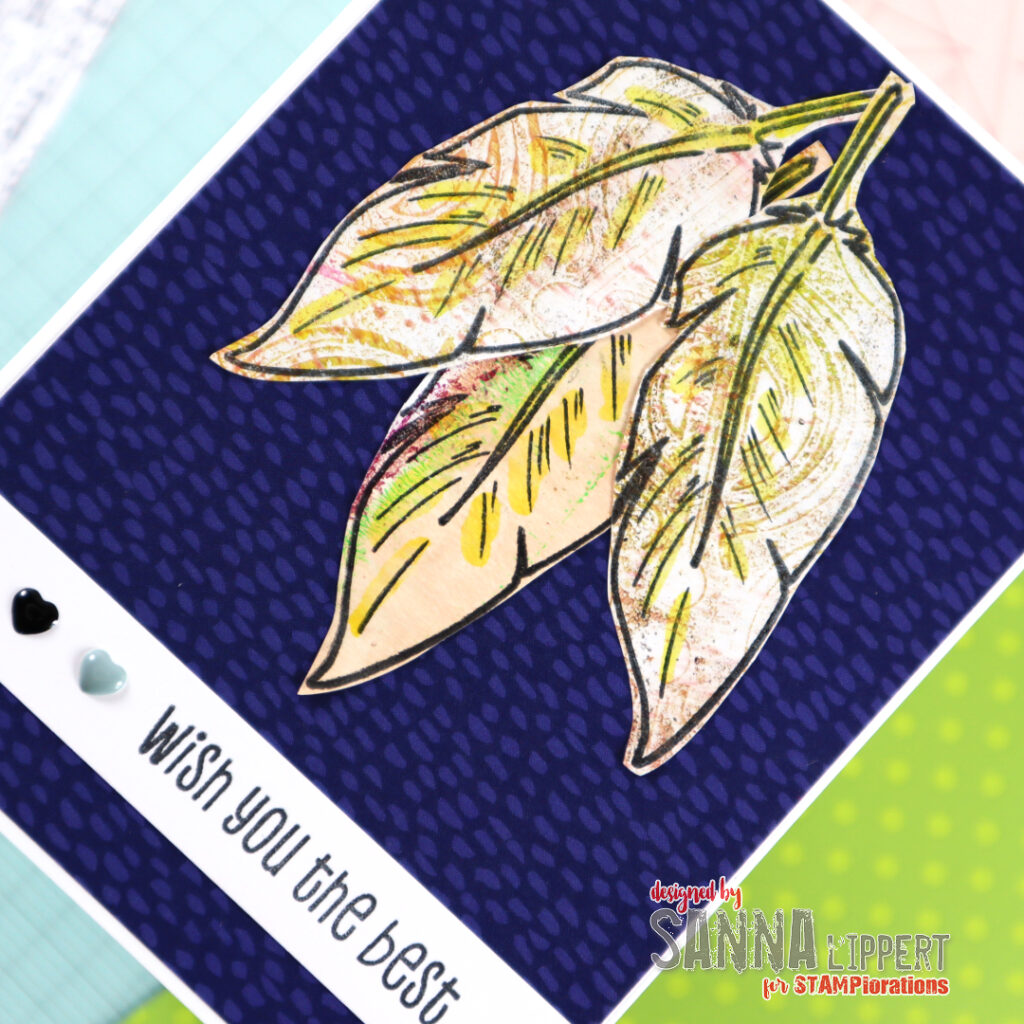
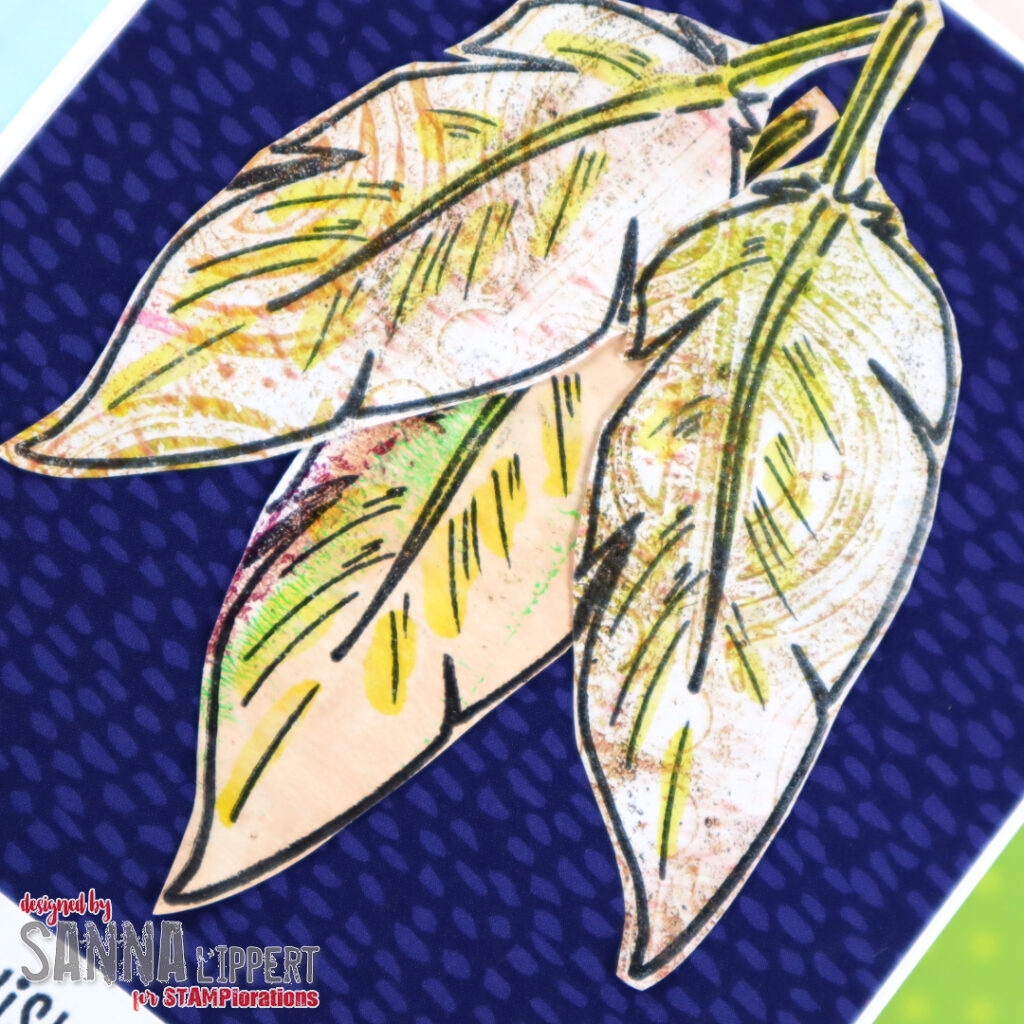
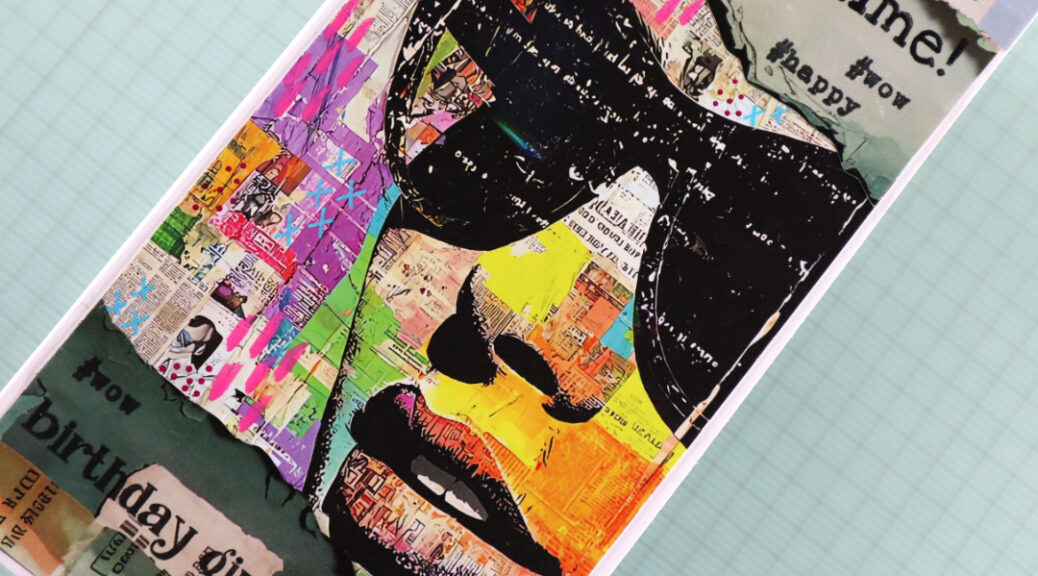
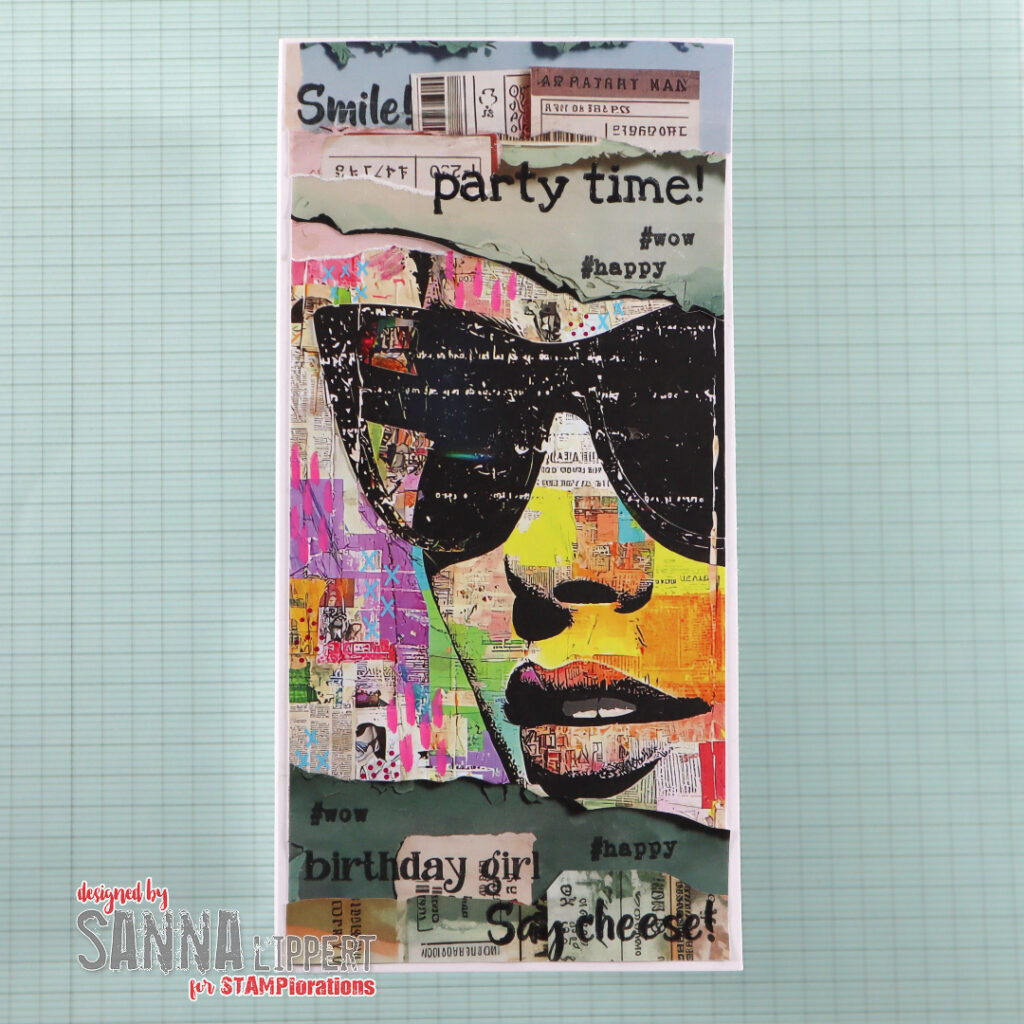
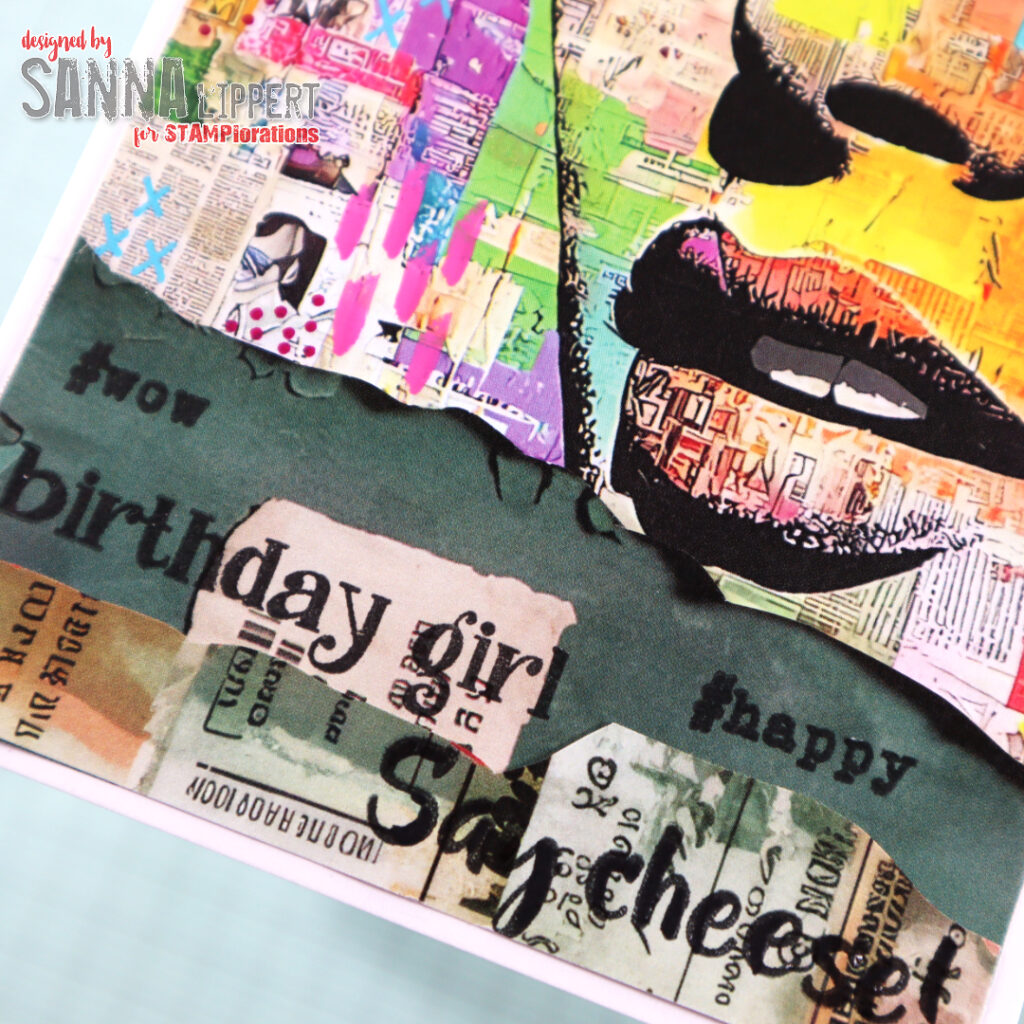
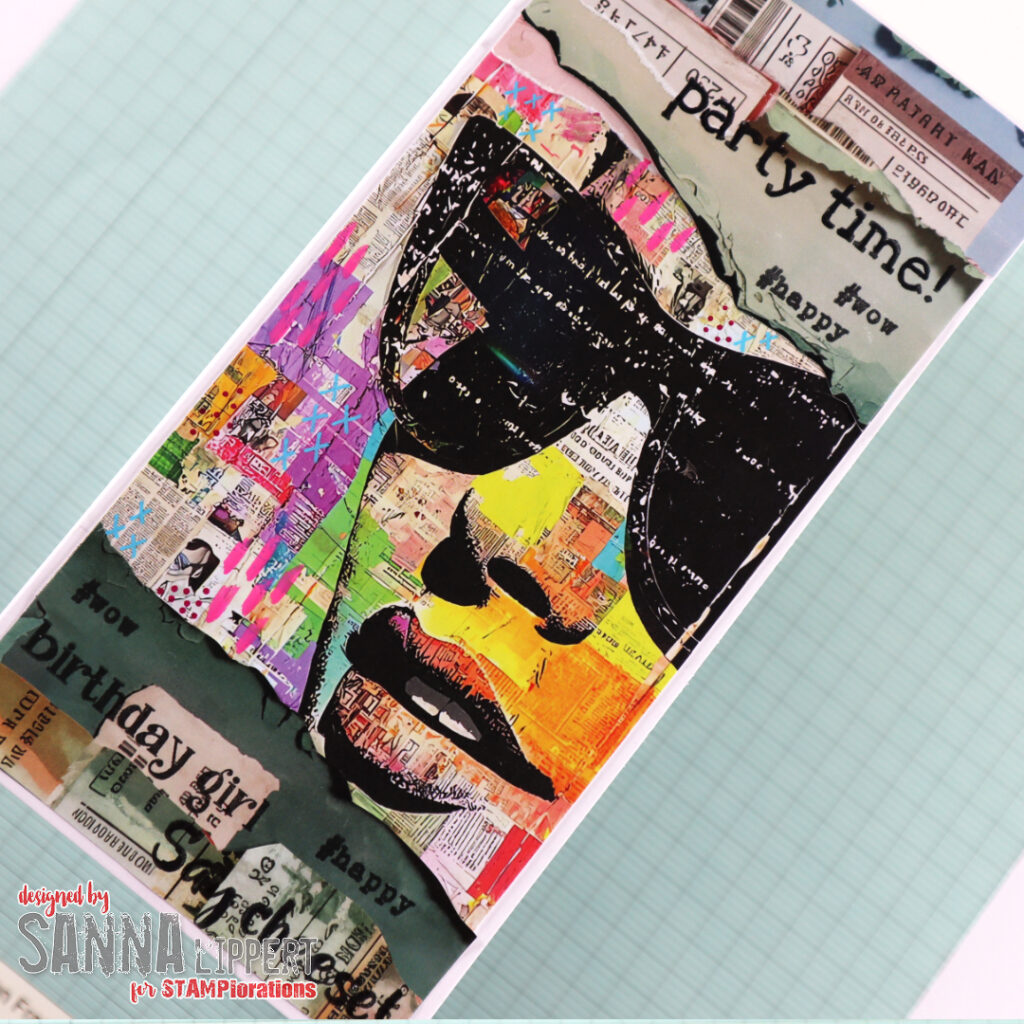
For the second card I used a dark green patterned paper as my background (own stash). And added some NEW STAMPlorations product to it: The Nostalgia #1 Ephemera Cut-Outs and the Nostalgic #1 clear stickers.
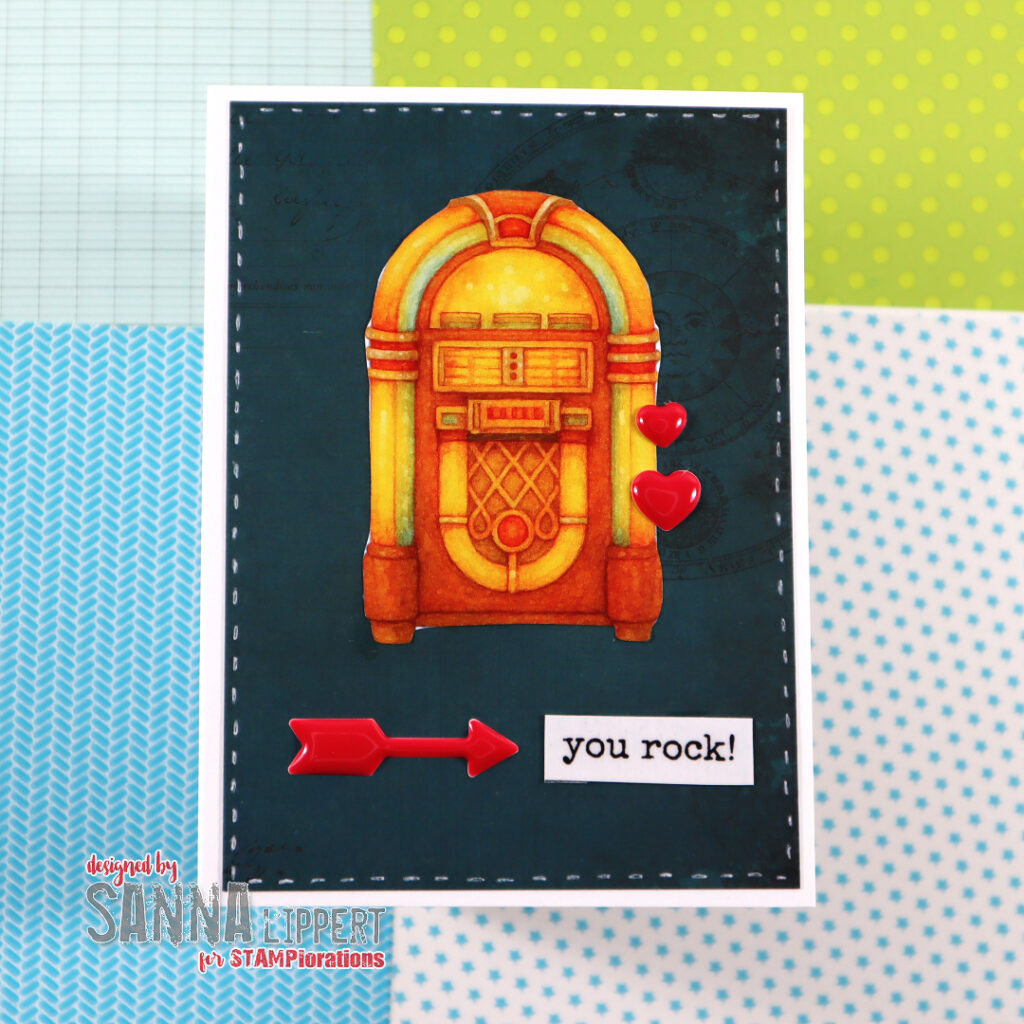
I first cut the dark green paper into size, then adhered it on place. After that I fussy cut and adhered the Nostalgia #1 Ephemera Cut-Out as a centerpiece. I then adhered the Nostalgic #1 clear sticker onto white cardstock, then cut that into size and adhered it onto the card base. I then decorated the card with a few enamel elements (arrow and hearts) and added faux stitching around the edges with a white gel pen.
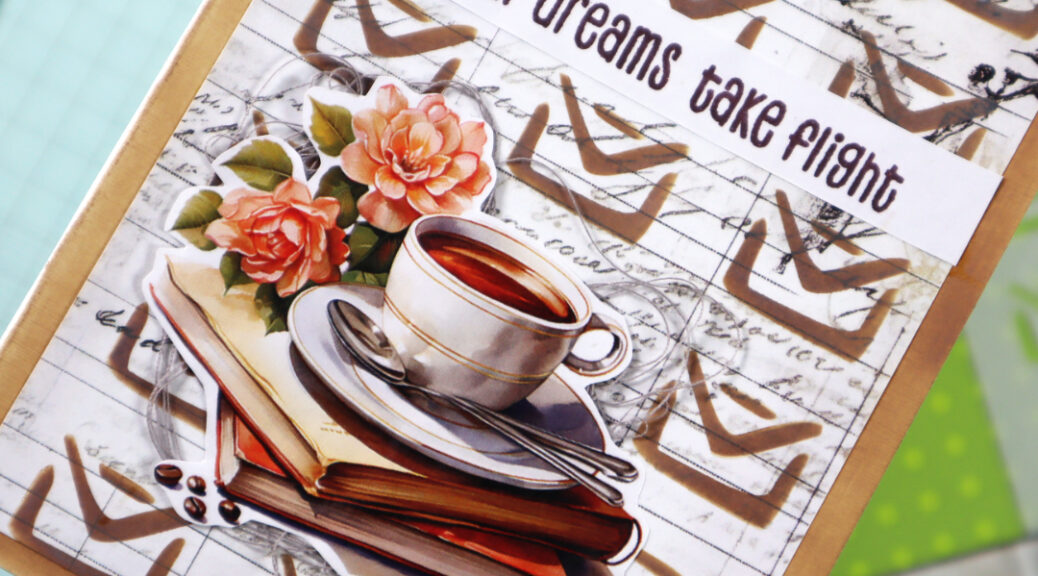
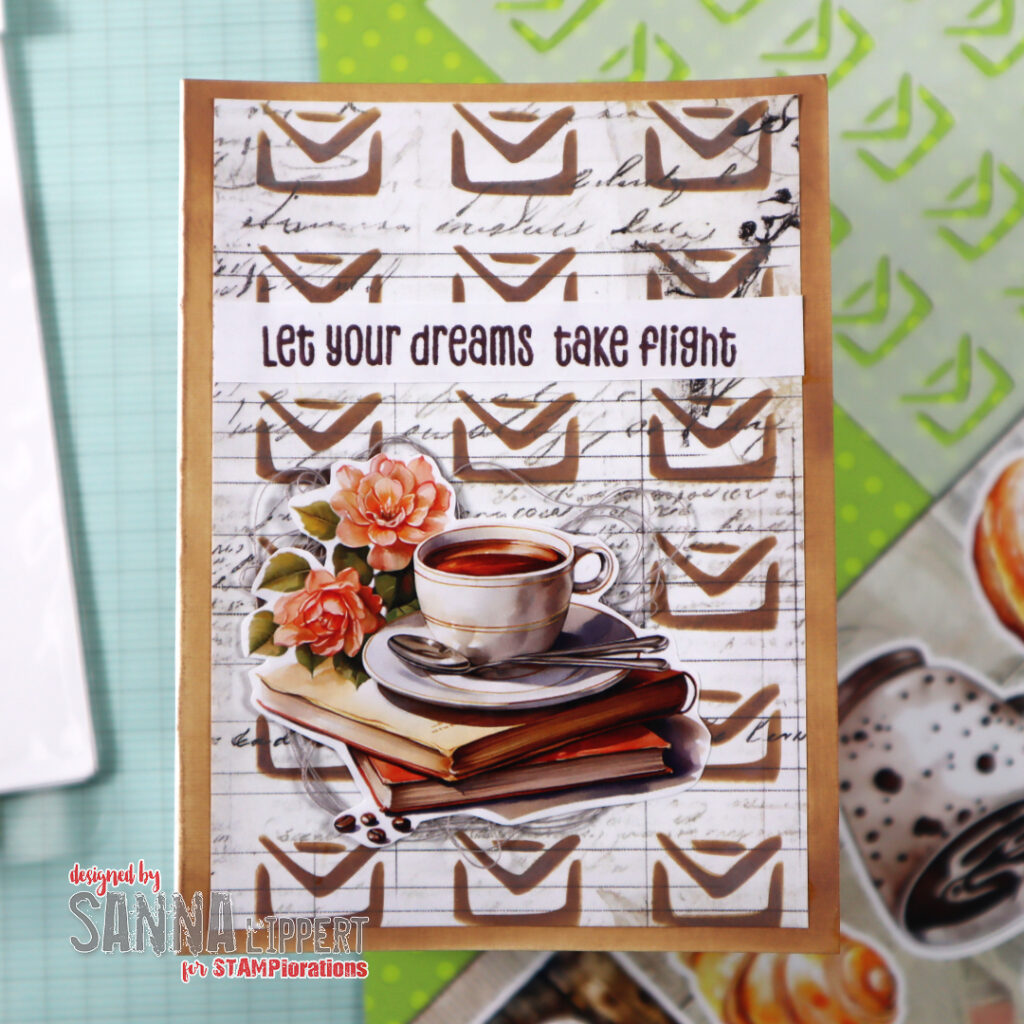
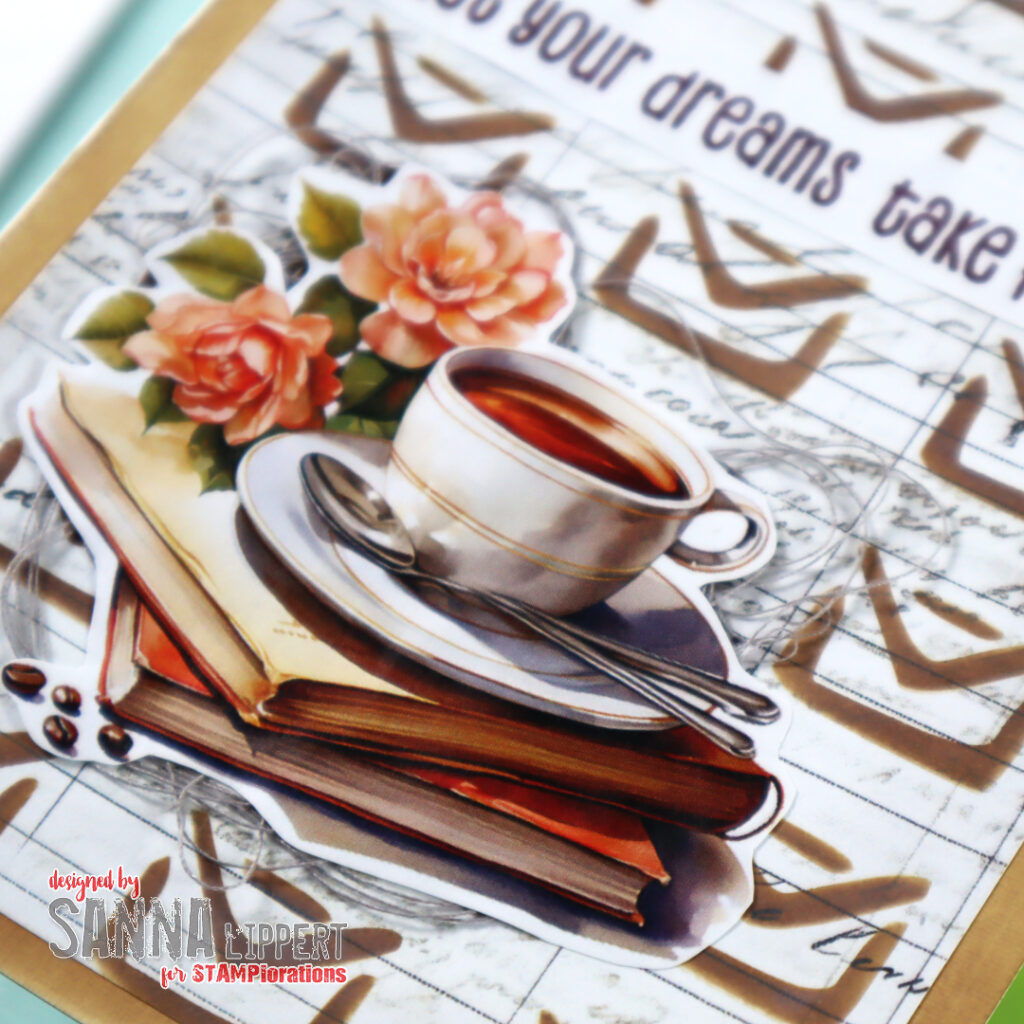
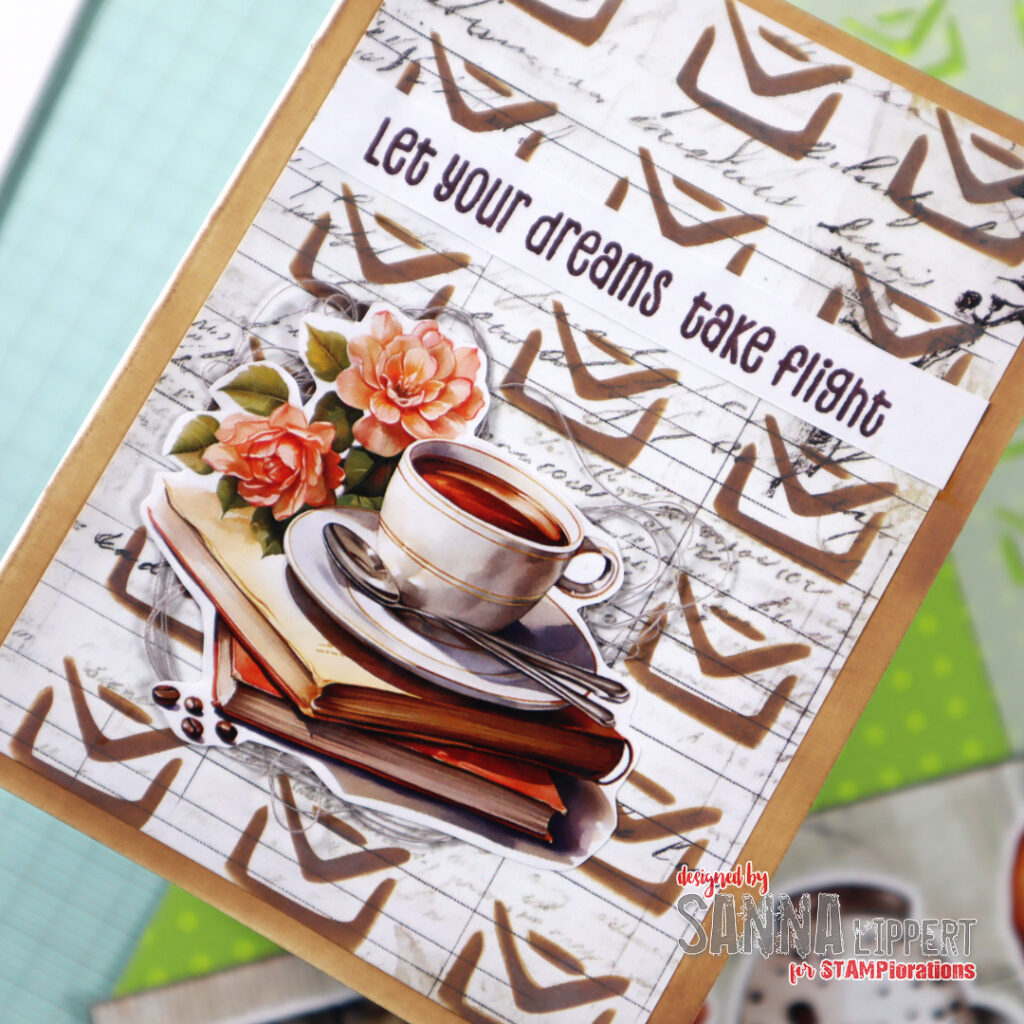
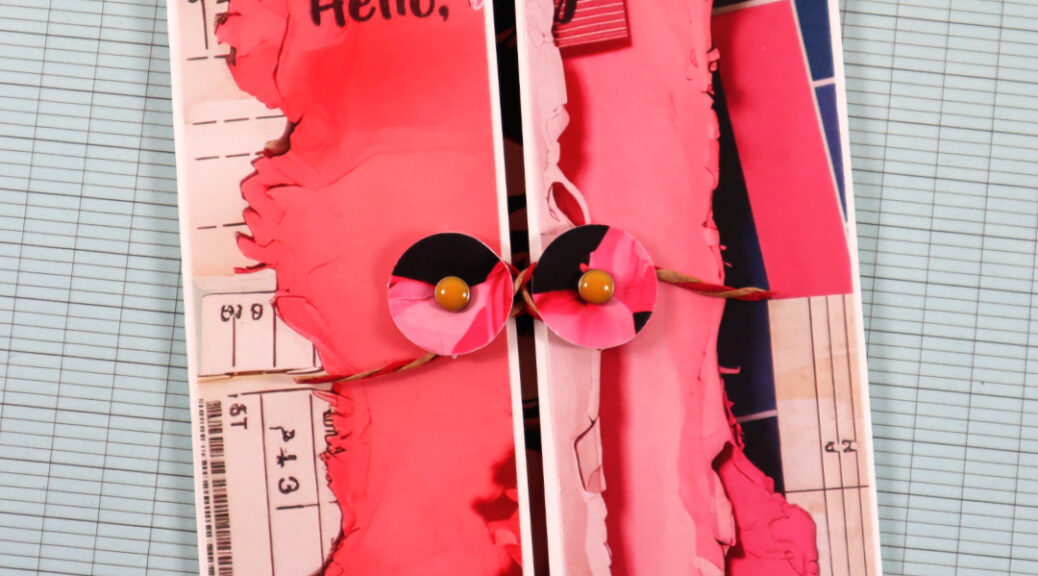
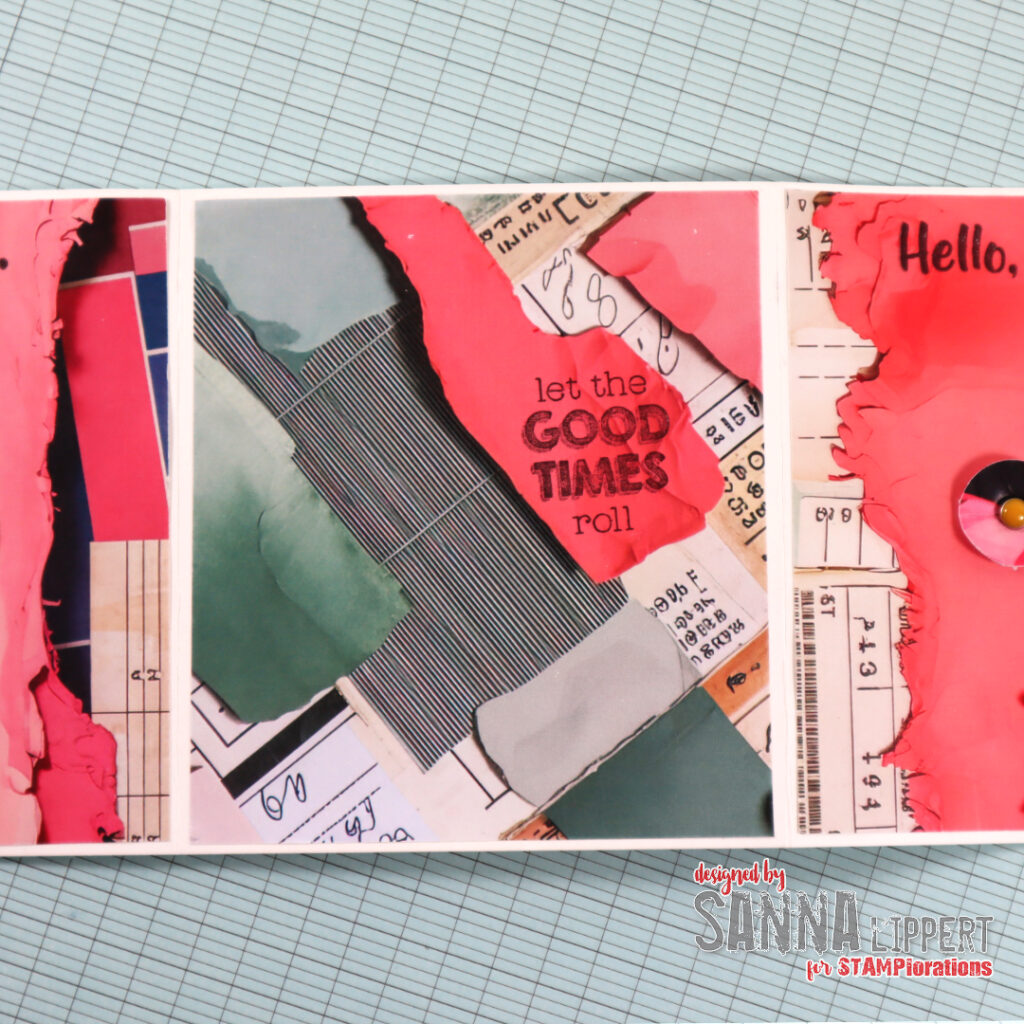
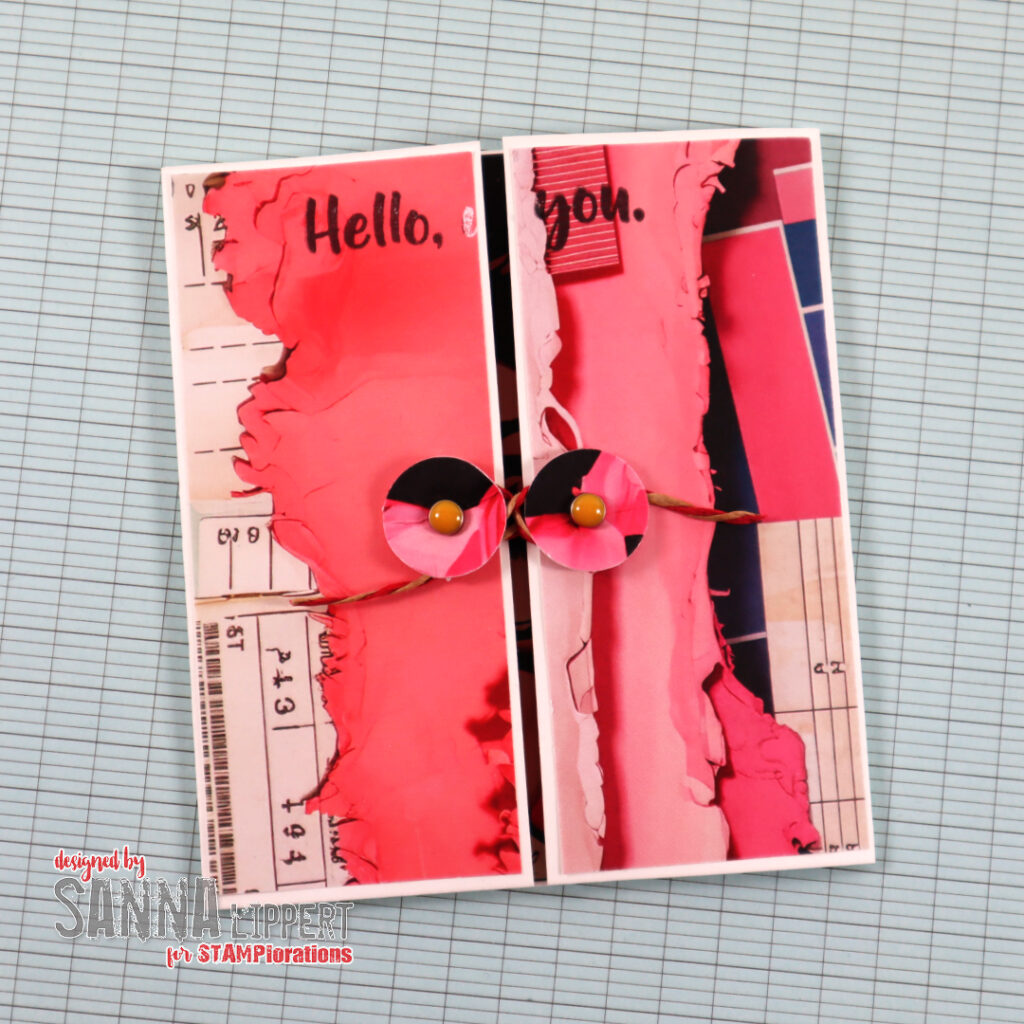
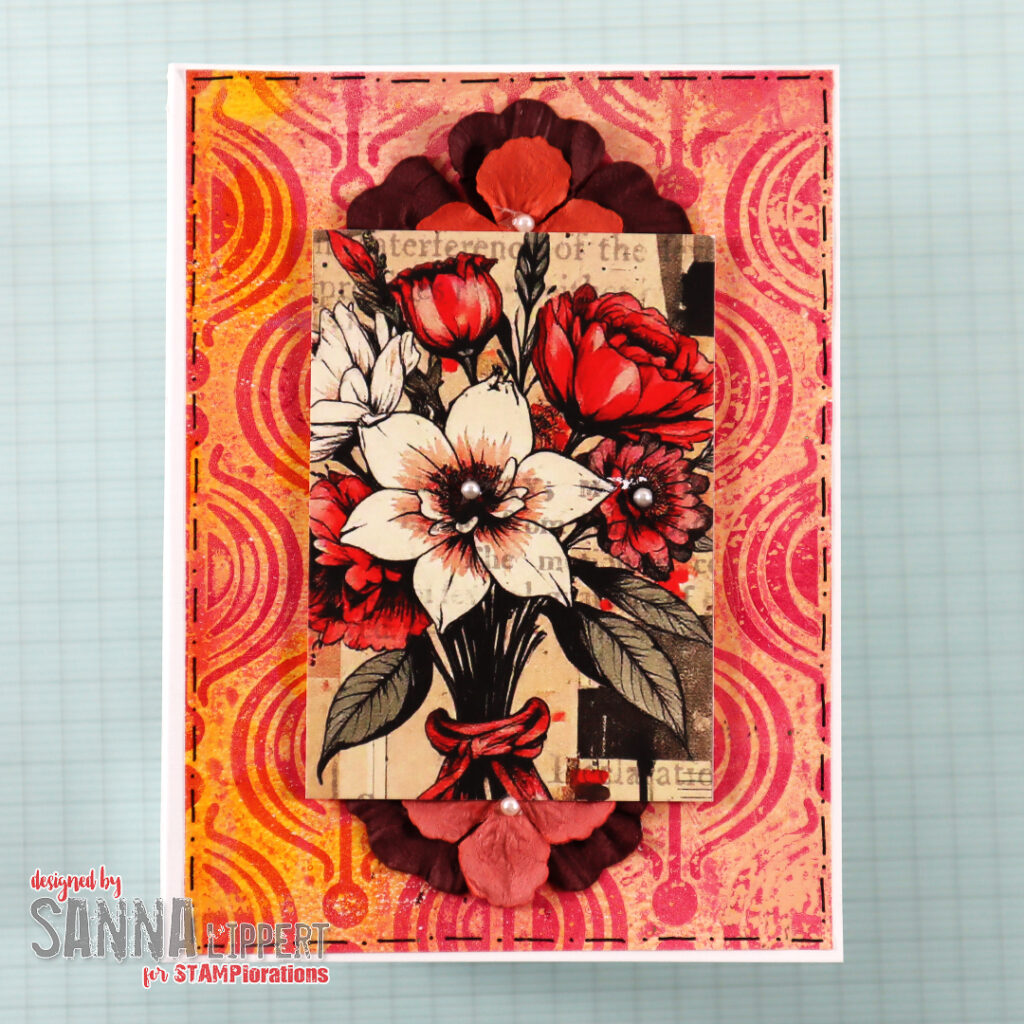
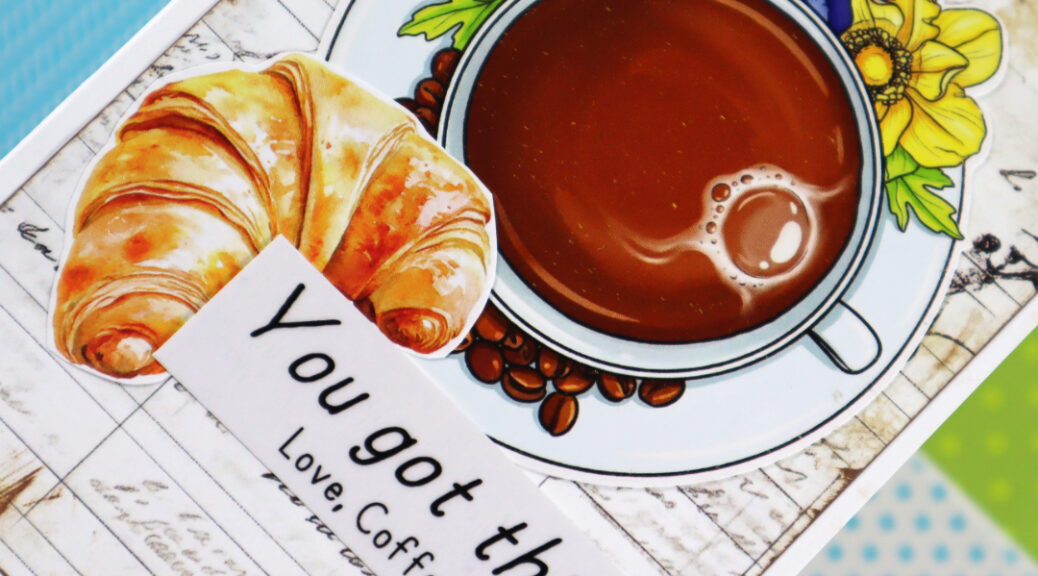
For the last card of the day I use following NEW PRODUCT: Old Letters Pocket Backdrops, Flowers and Coffee Focal Fronts, All Things Coffee Ephemera Cut-Outs and the All Things Coffee clear stickers.
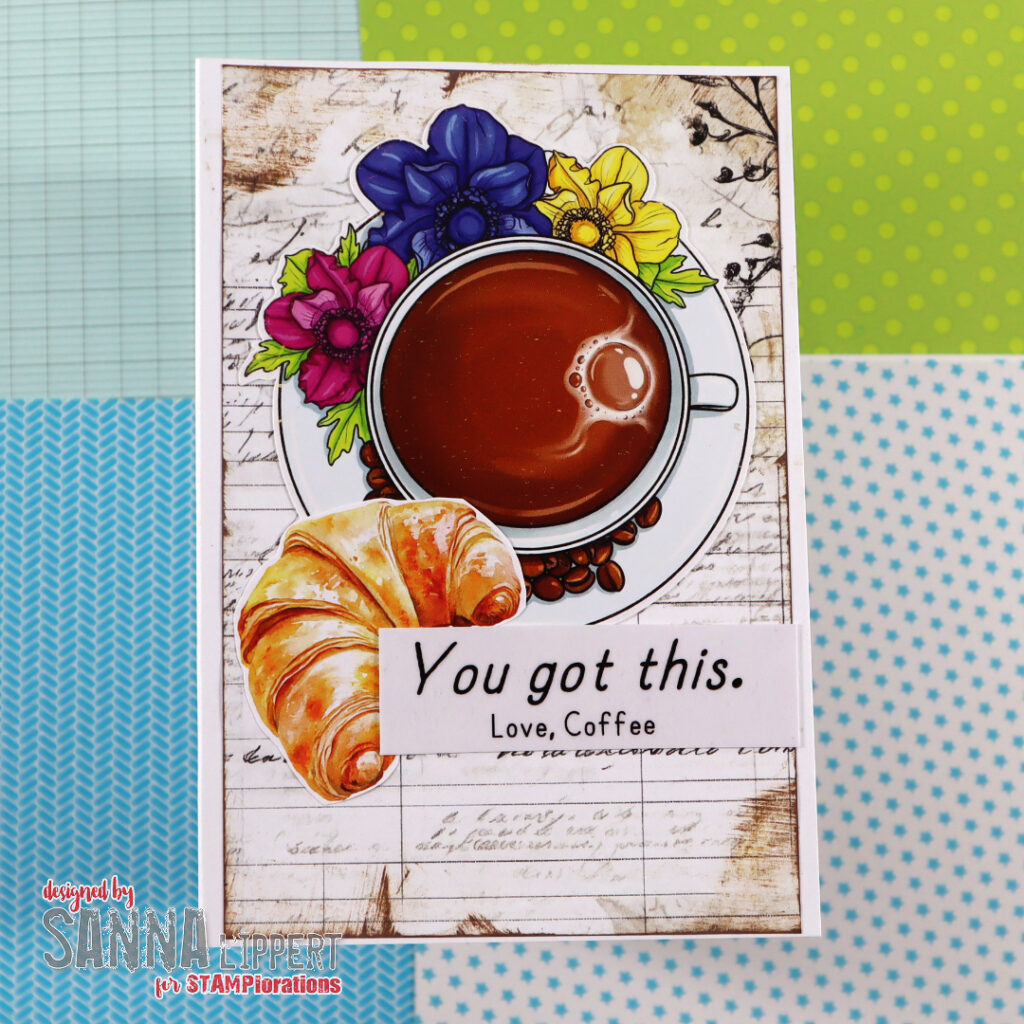
For this card I just adhered the Old Letters Pocket Backdrops paper onto the card base, then added the Flowers and Coffee Focal Front element. After that I fussy cut the croissant from the All Things Coffee Ephemera sheet and adhered it next to the coffee cup. The clear sticker is adhered on white cardstock, then cut into size and adhered to the card. The only “old” product added to this card is the brown Distress Oxide Ink around the edges of the paper.
Here is a quick peek into Flowers + Coffee Focal Fronts:
How to celebrate with us:
- DAILY GIVEAWAY: you can enter this one by commenting on the STAMPlorations blog DAY 5 celebration post with your absolute favorite new product featured one of the projects of that day. One winner will be drawn from the daily post and will win the specific product of your choice.
- SHOPPING PERK: For US participants there will be free shipping on orders of 25 USD or more, valid thru the celebration week only. Plus a freebie of the moth for orders.
The birthday celebration will go until 3rd of July. This will also be the day when the Wishlist party will officially close. The winners will be announced on Monday, the 6th of July.
Hope you will join in with us and celebrate 13 years of STAMPlorations!!
xx, Sanna