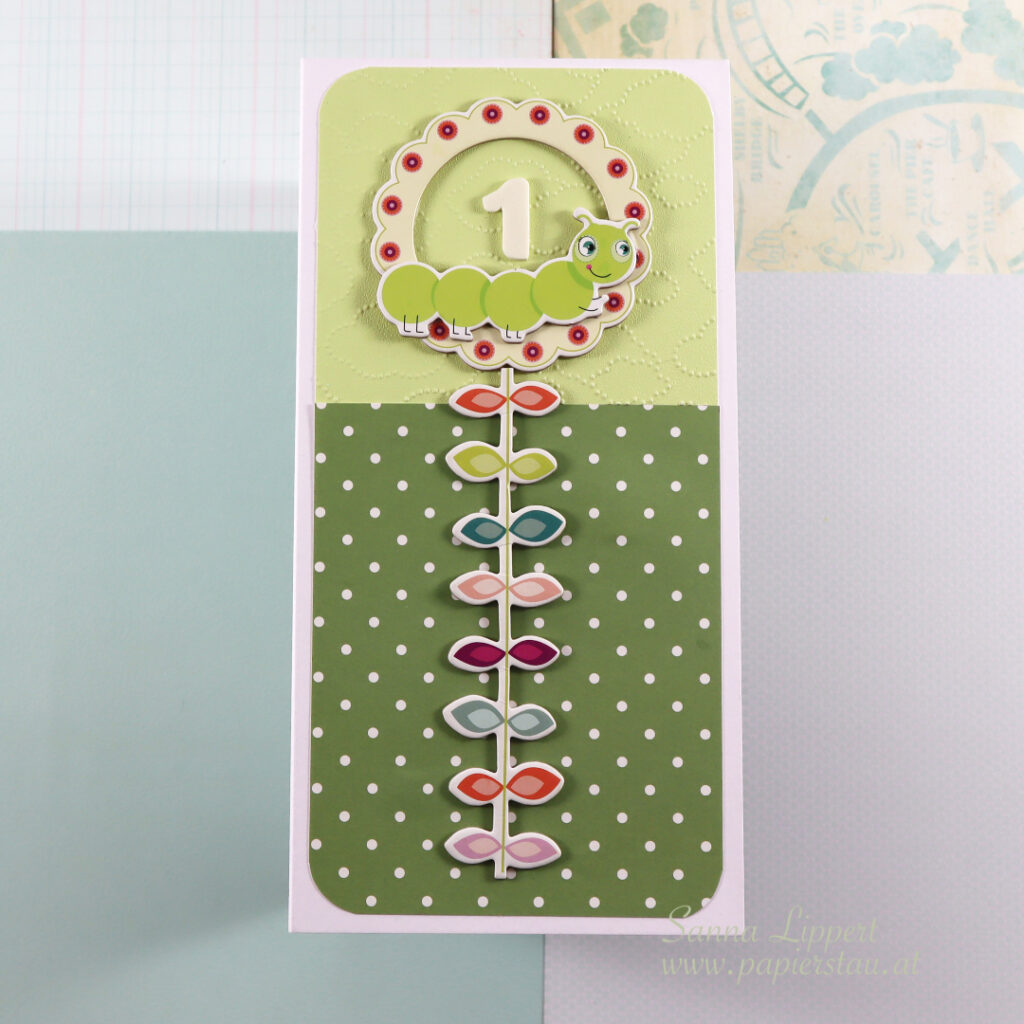
Hello everyone! Here is a quick card idea share for a 1st birthday.
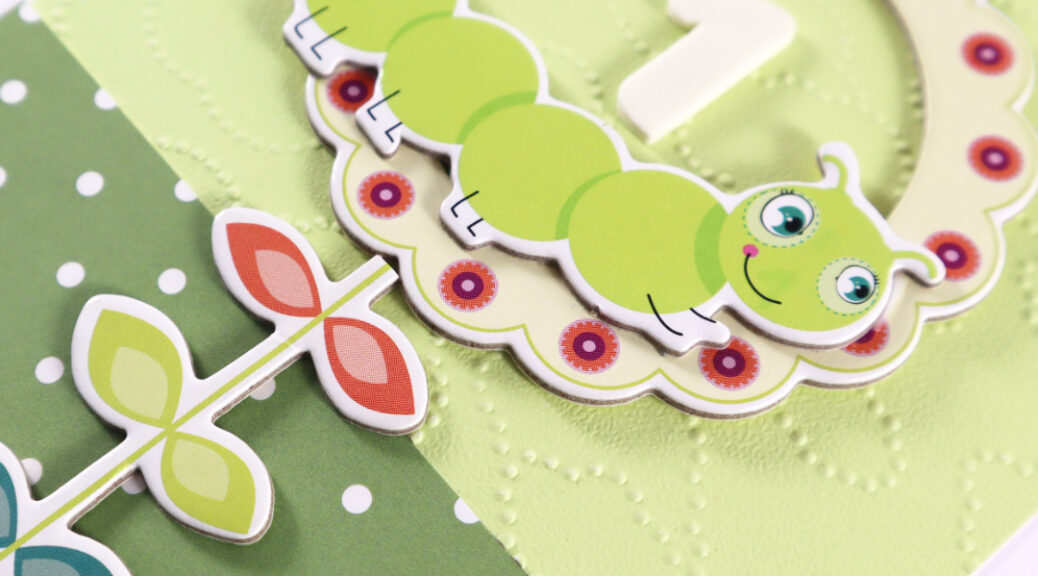
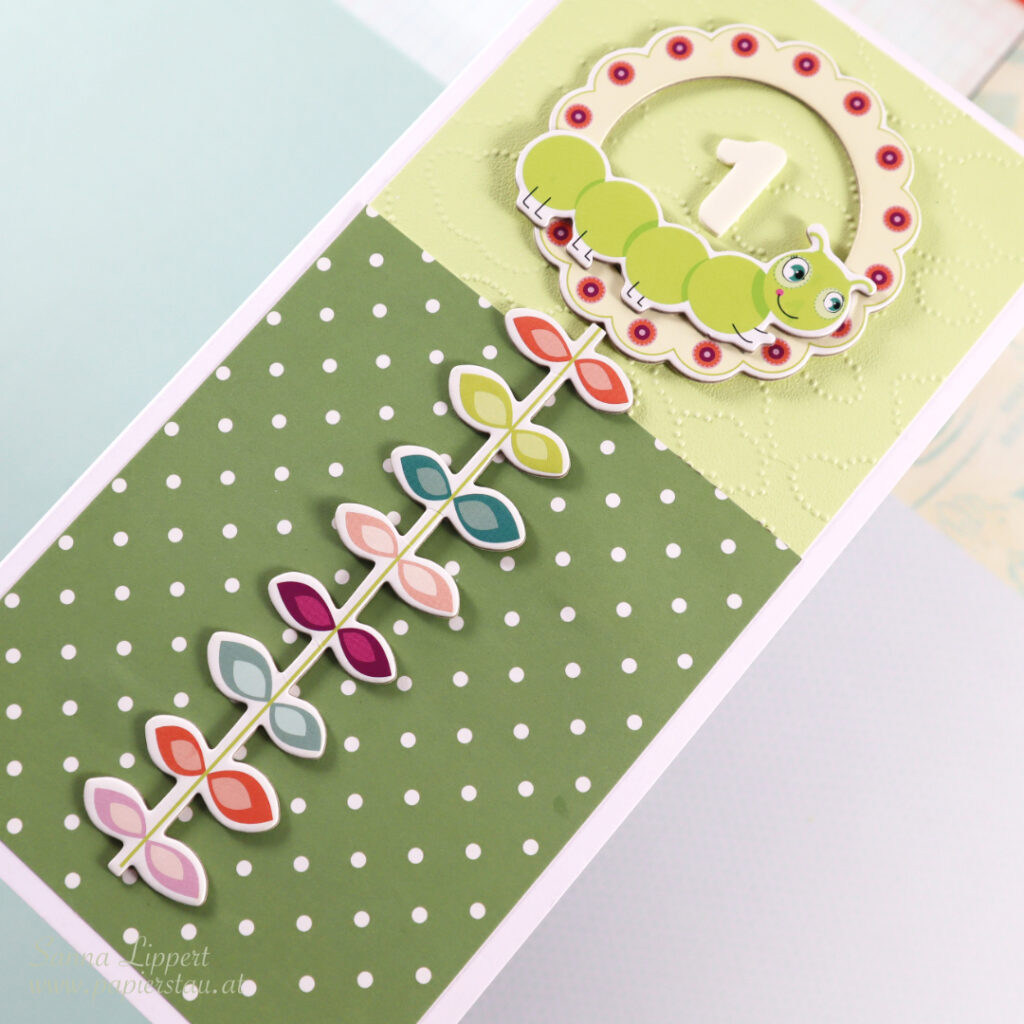
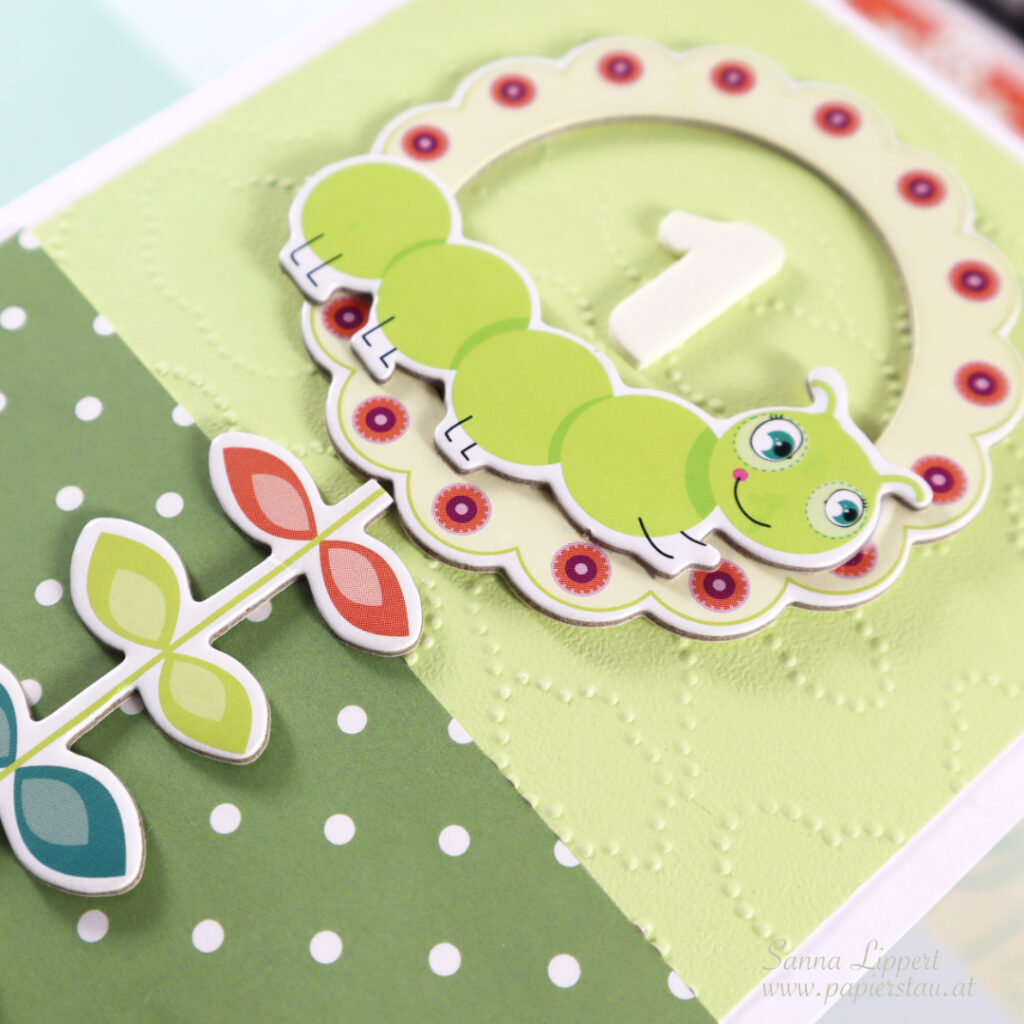
I used a white card base and papers by Elizabeth Craft Designs. The polka dot paper is cut into size and the edges are rounded with a corner chomper. For the light green cardstock I used a Stampin´Up dry embossing folder “clouds” (here is an alternative) and also rounded the edges to macht the polka dot paper.
After adhering the papers on place I added some chipboard embellishments from my stash to form a flower. I decorated the flower with a chipboard catepillar and added a Thickers foam sticker number inside the “flower bud”. I left the card without a sentiment this time.
I hope you enjoyed the inspiration. Happy crafting, xxx, Sanna
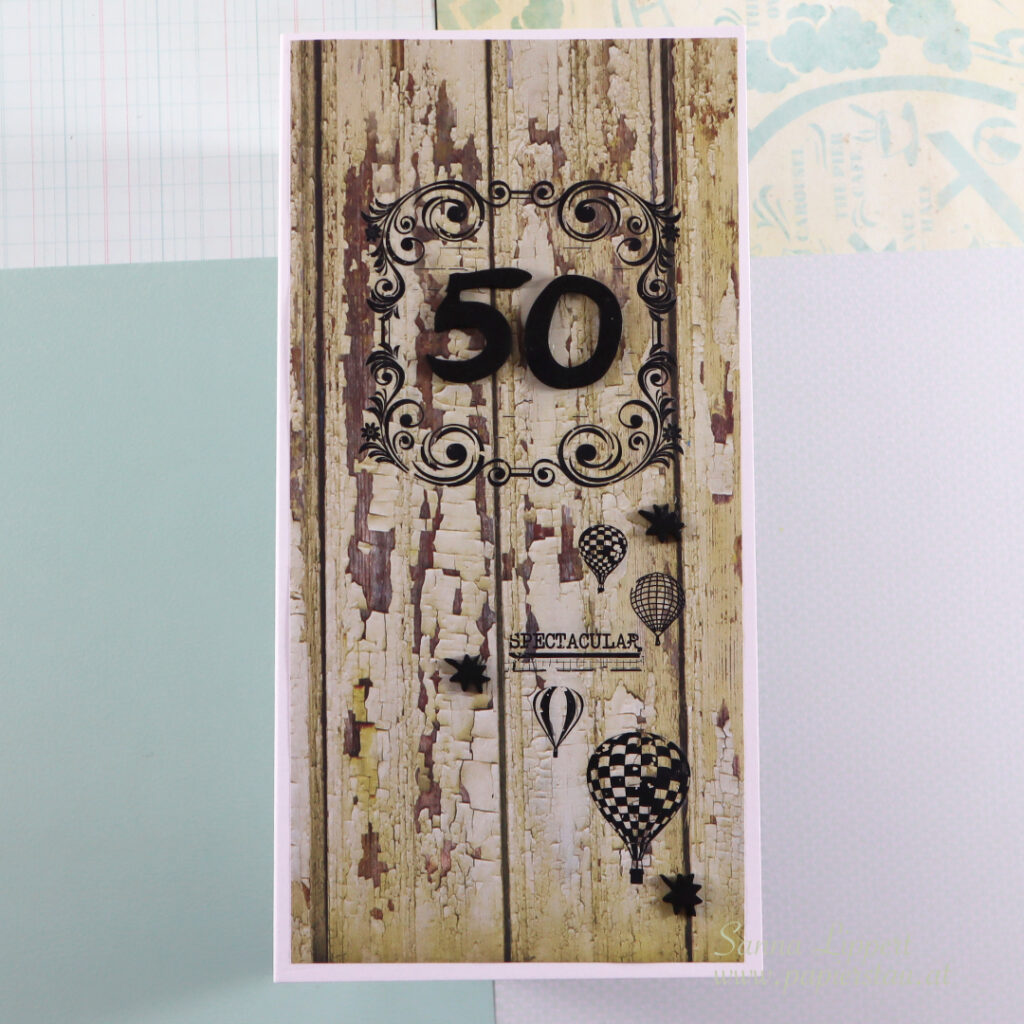
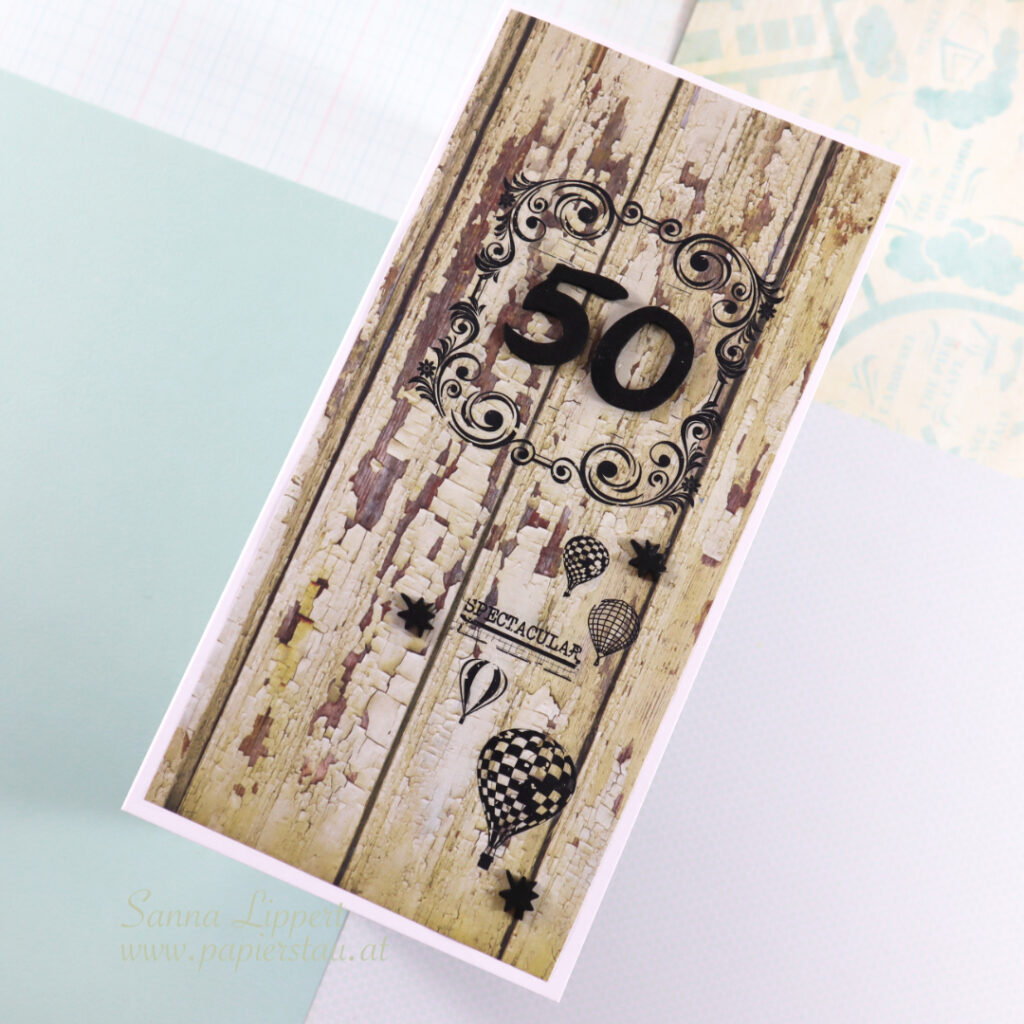
Hello everyone! This is a masculine birthday card idea share for a 50th birthday card.
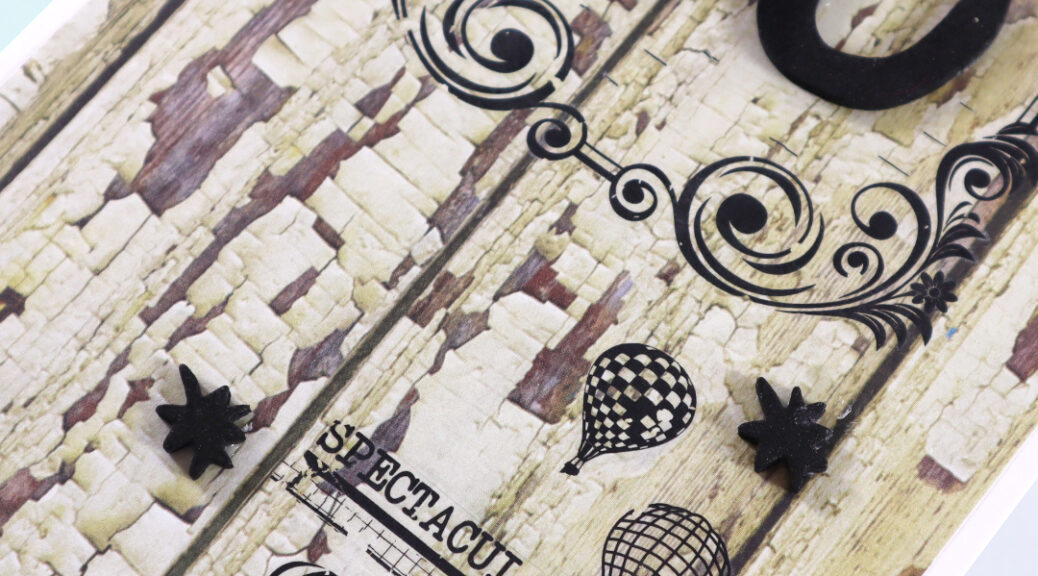
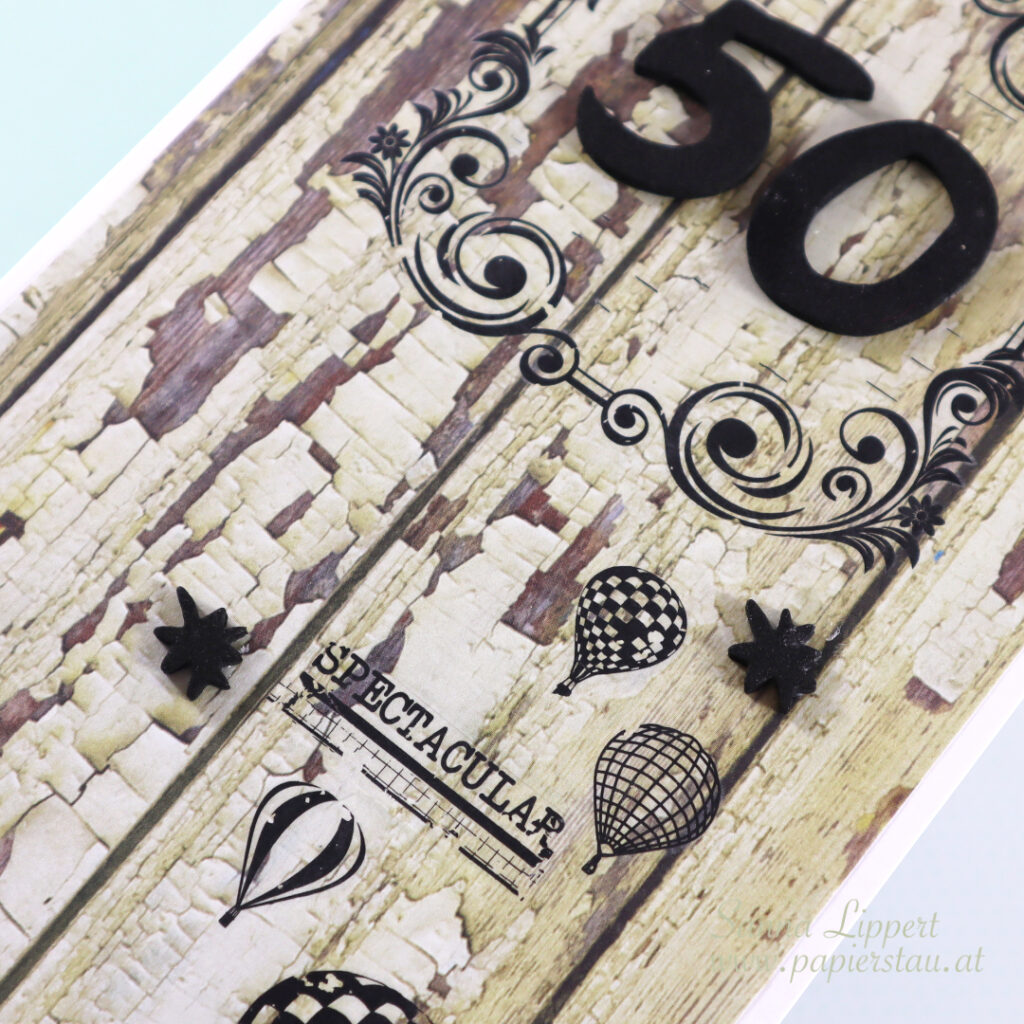
I used a woodgrain patterned paper on the background (trying to keep everything very masculine). On top I added some black rub-ons from my older stash (Kaisercraft) and as a centerpiece Thickers foam sticker numbers.
For additional decor I sneaked some golden ink droplets here and there. The card is very simple in design and has almost no decor. I hope the recipient finds it suitable for the occation.
I really like woodgrain papers an love to use them almost as they are. The paper on it´s own makes the card special and it doesn´t need much more decor.
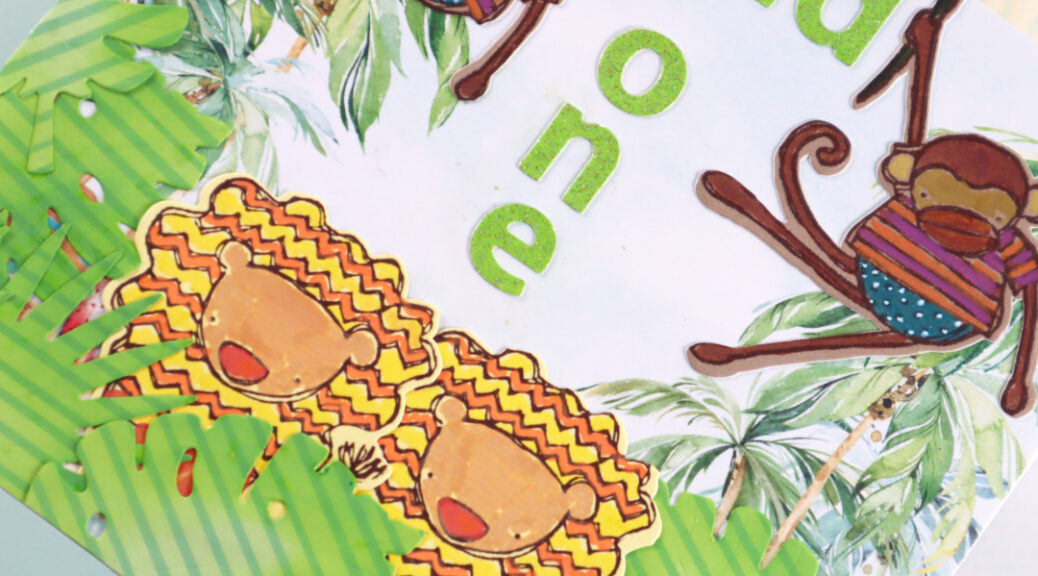
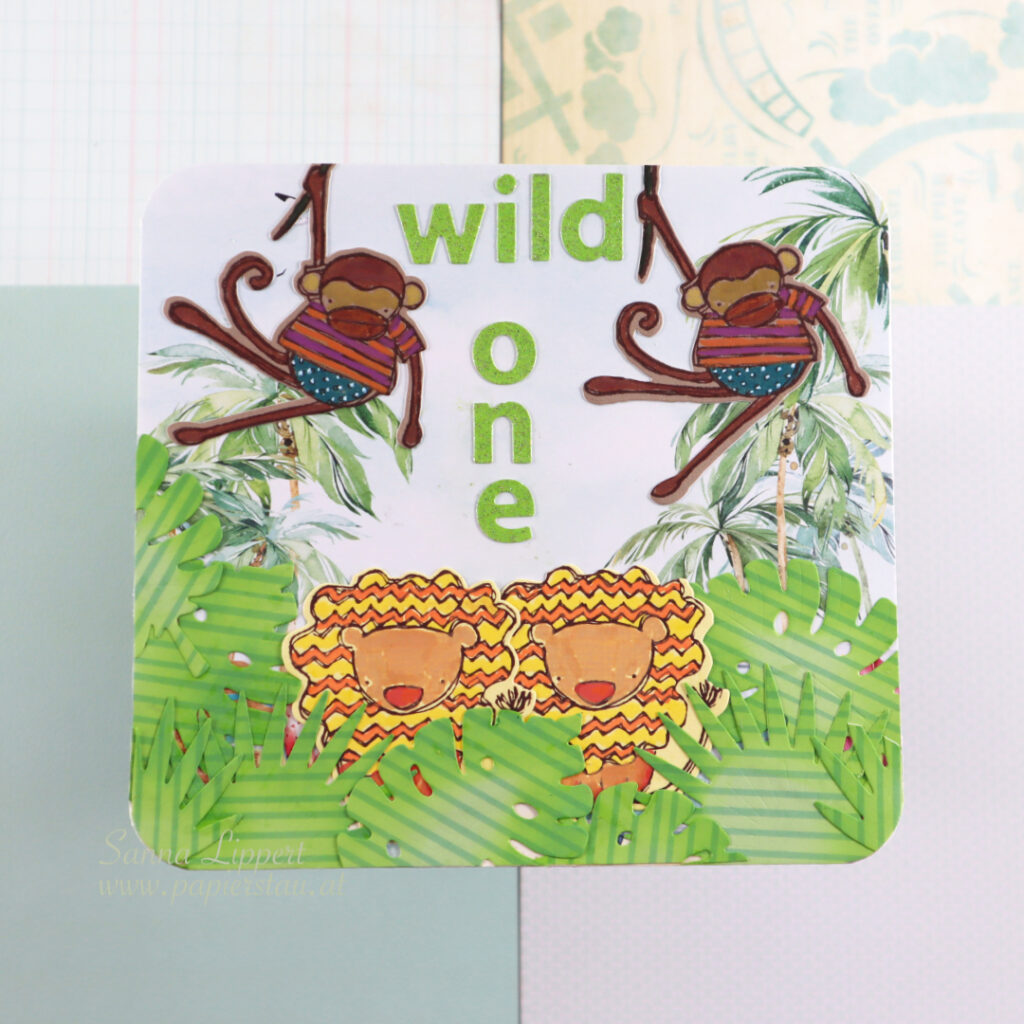
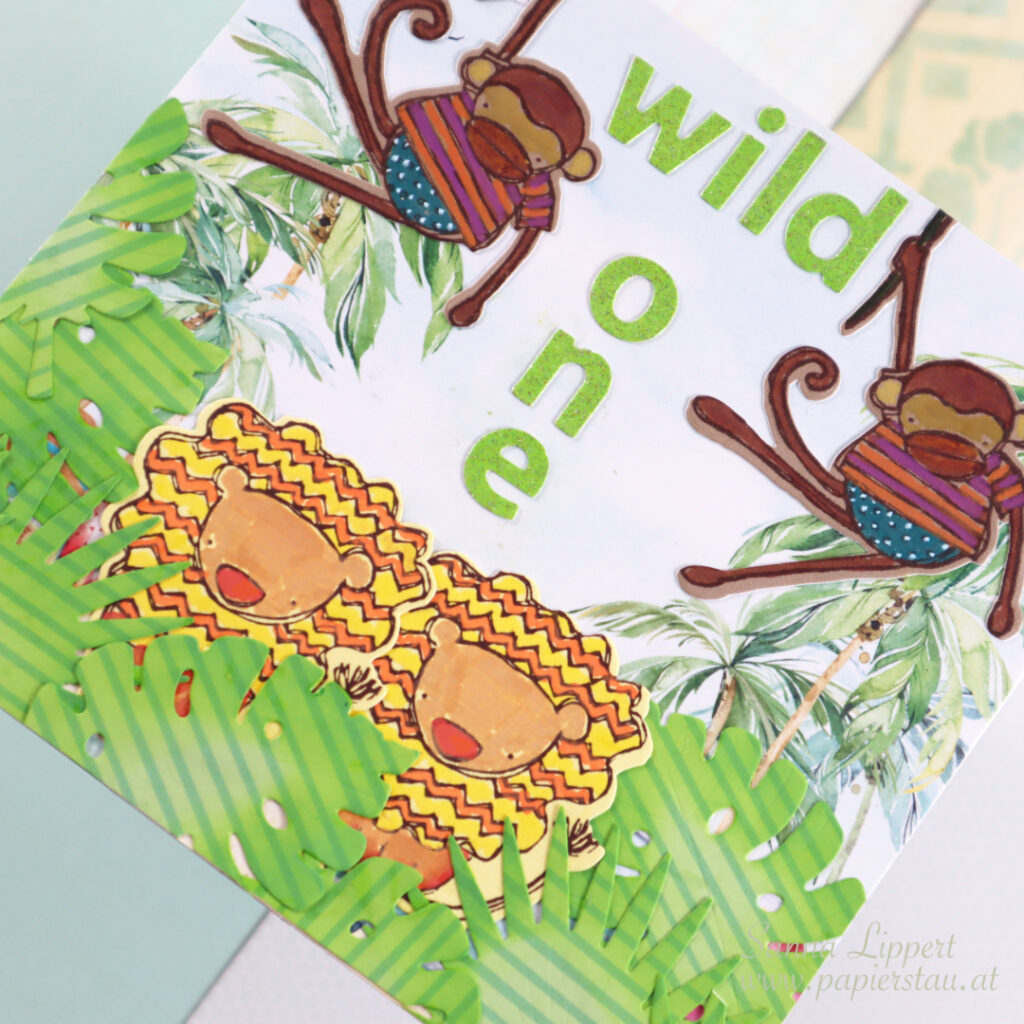
Hello everyone! Today I´m stopping by to share a card I created for a 1st birthday.
I started off with a palm tree paper on the background. Next I stamped and die cut the lions and the monkeys from yellow and light brown cardstocks. The die cut dies and the matching stamps are by Elizabeth Craft Designs (from their older collection). Next I colored the stamped and die cut images with acrylic markers.
After that I die cut some tropical leaves from a striped green toned paper. I then added some Distress Oxide Ink in green around the edges of the leaves for more depth. Next I arranged all the pieces onto the palm tree patterned paper and glued them on place. For finishing touches I added some glitter alpha stickers for a sentiment.
I really liked coloring the jungle animals for this card. I hope the birthday boy´s parents also like the card.
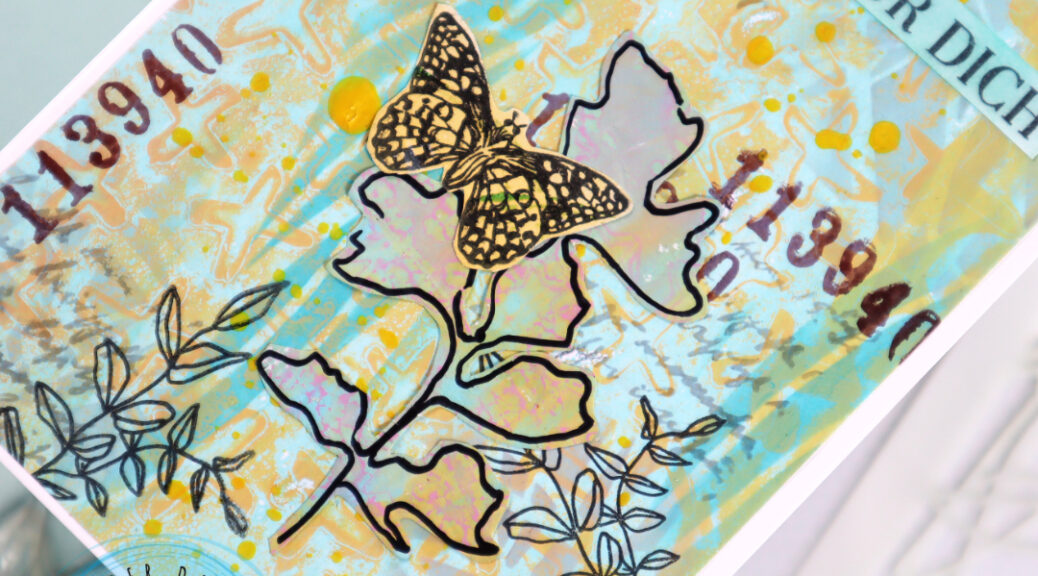
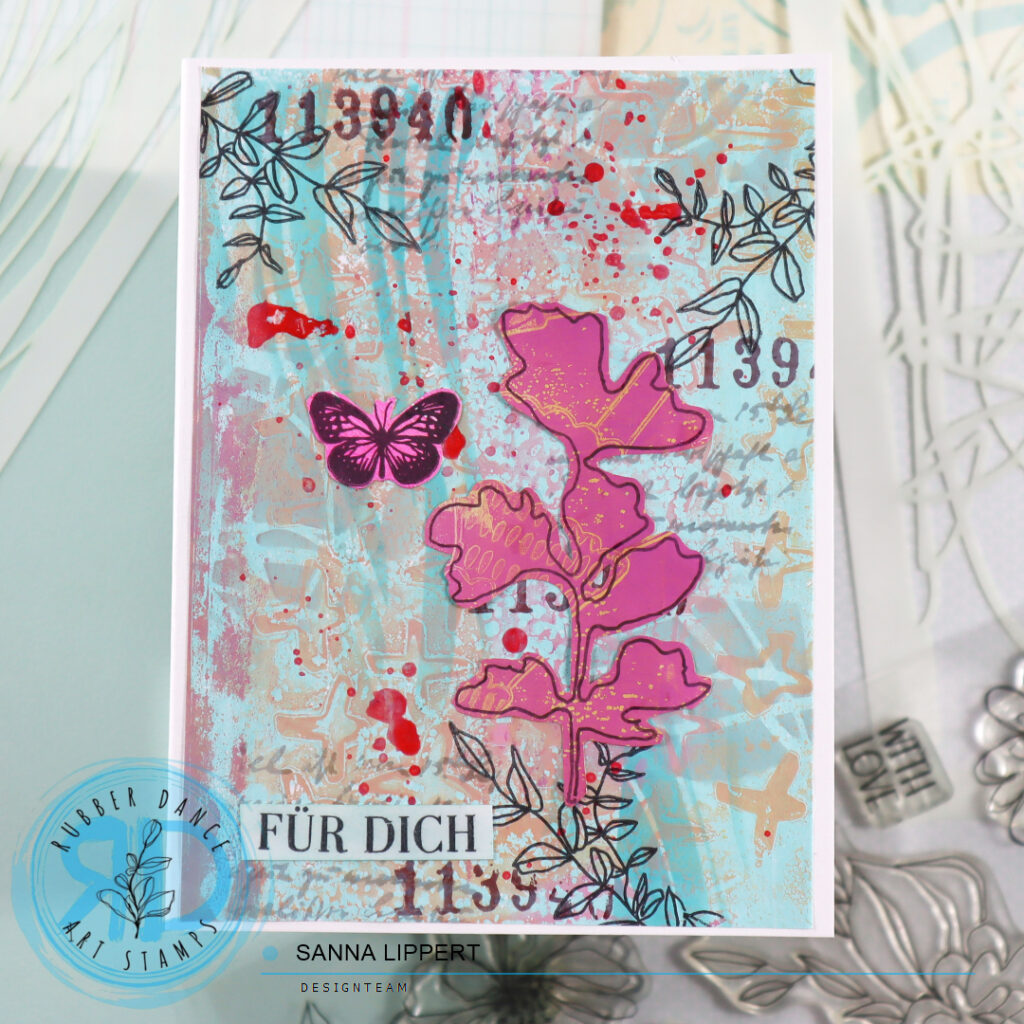
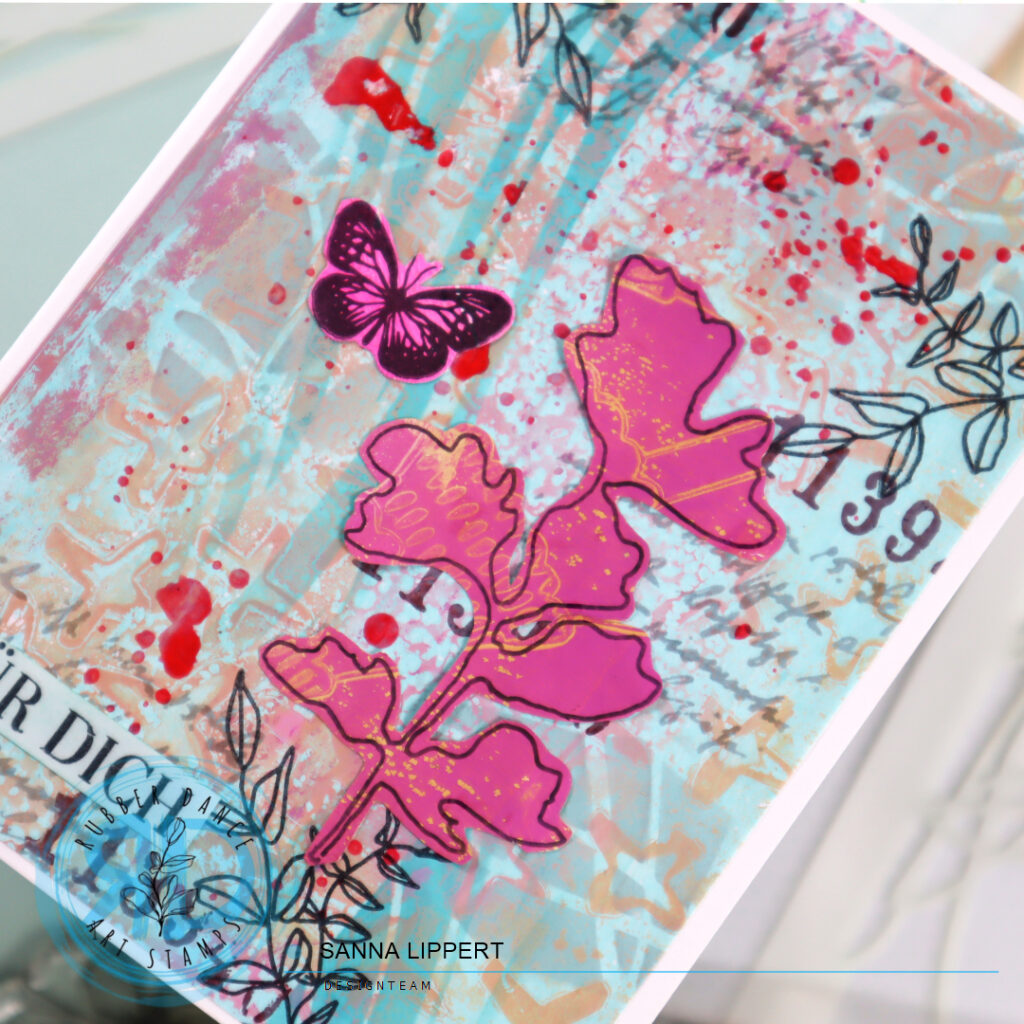
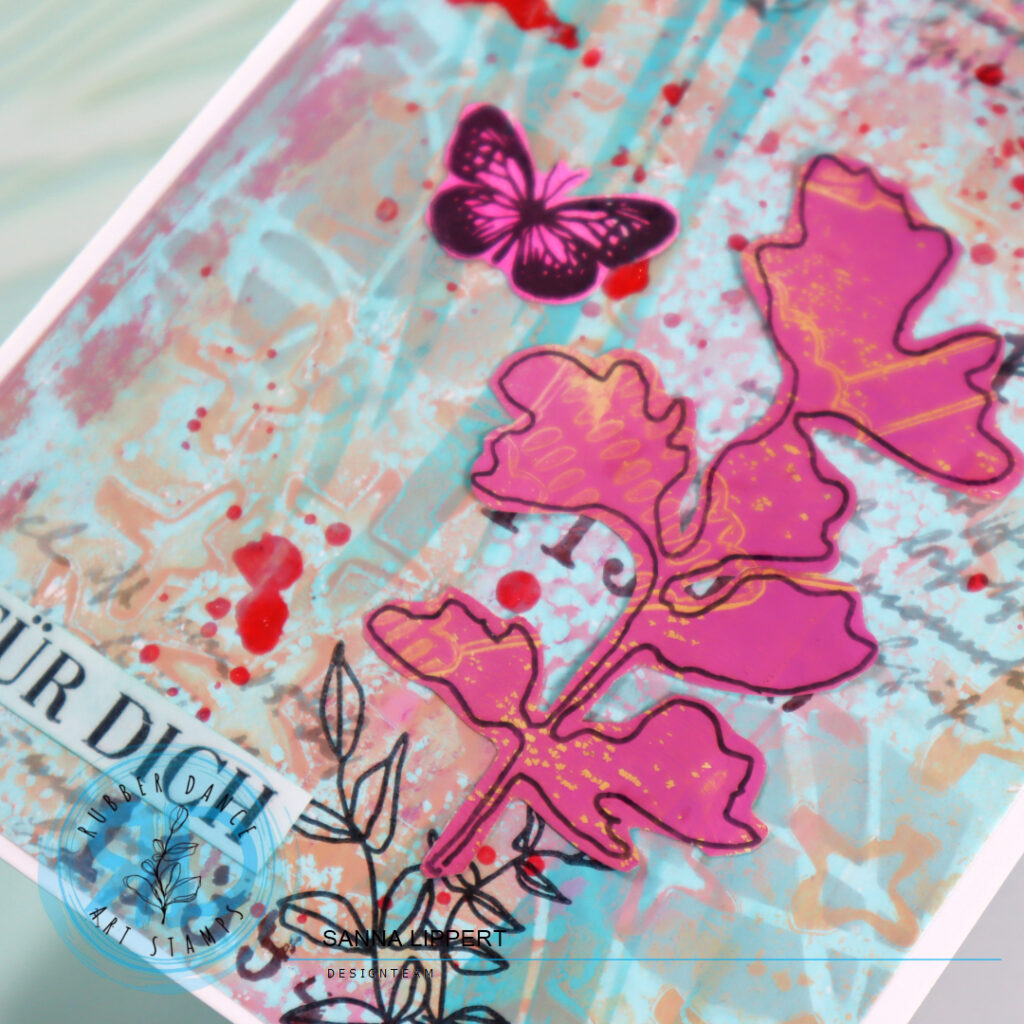
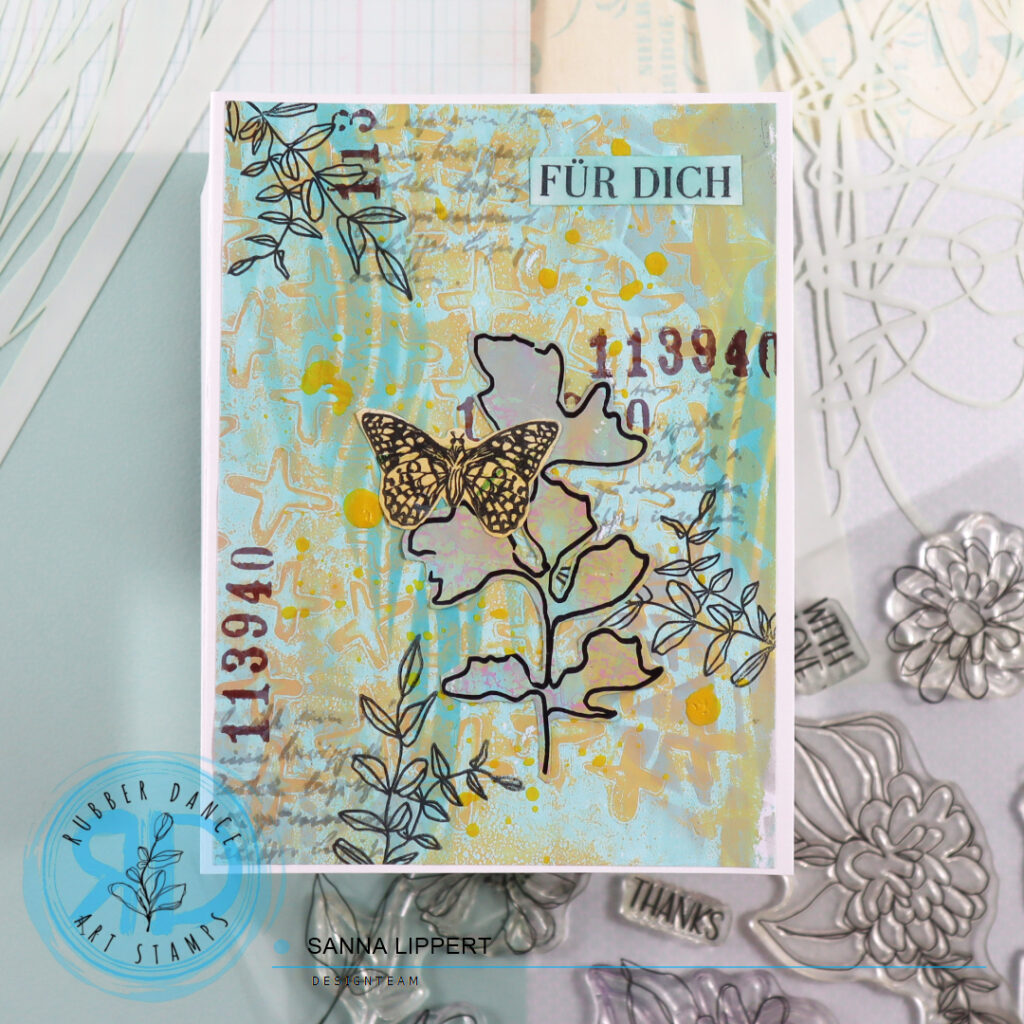
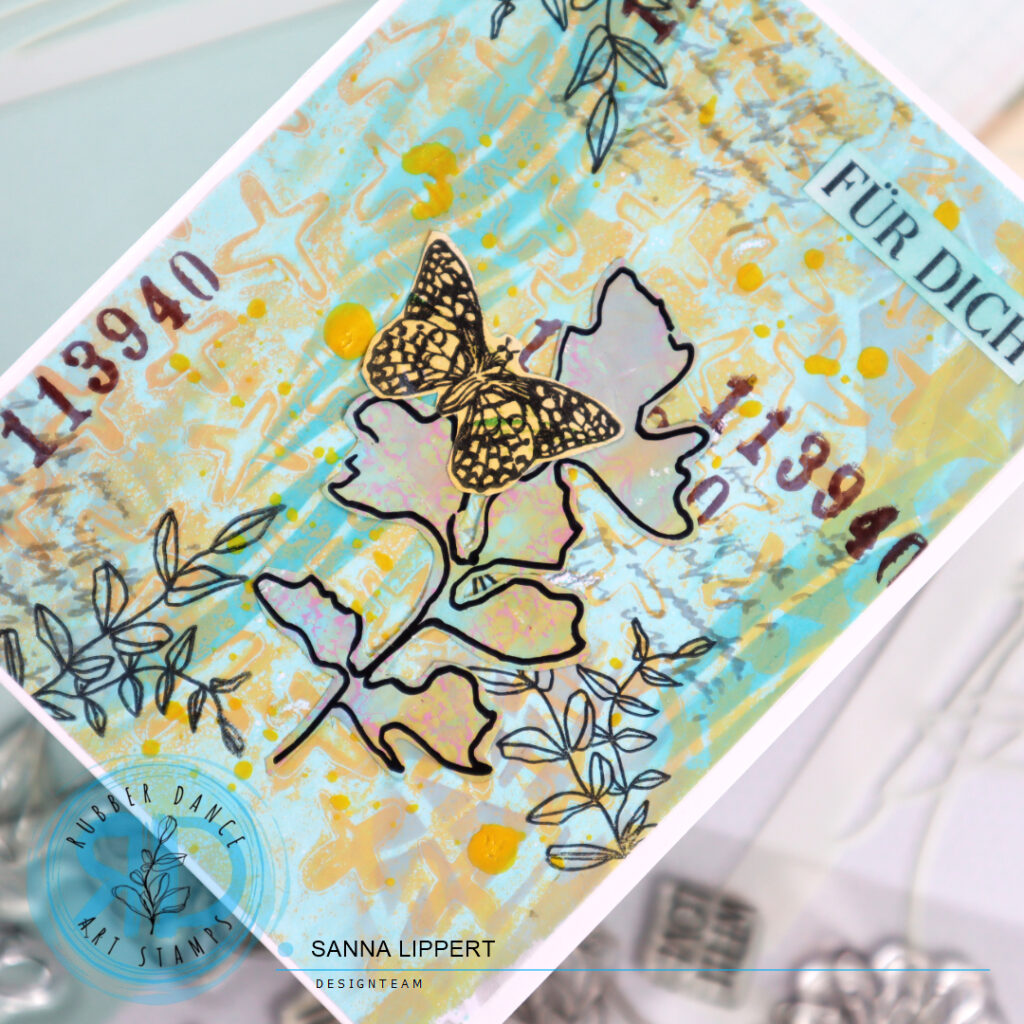
I started off with collage papers I had made using the Cross It stencil with my gelli plate and acrylic paints. I first cut the paper into a size to fit the card bases. After that I took Distress Oxide Inks in two grey tones as well as a turquoise tone and applied ink thru the Scribbles and Organic stencil patterns onto the collage papers. I didn´t fill the whole paper with these patterns, instead I applied bits here and there. That way the original pattern also still shows thru.
Next I stamped with grey VersaFine ink and the Mix It Up 6 text stamp some patterns to both pieces of paper. I then took the number stamp from the same set and stamped with dark brown ink (also VersaFine ink) next to the previous stamped areas. As the next layer I took the Sketchy Flowers #3 stamp set and stamped only the tiny leaf images with black stamp ink – again next to the previously stamped areas.
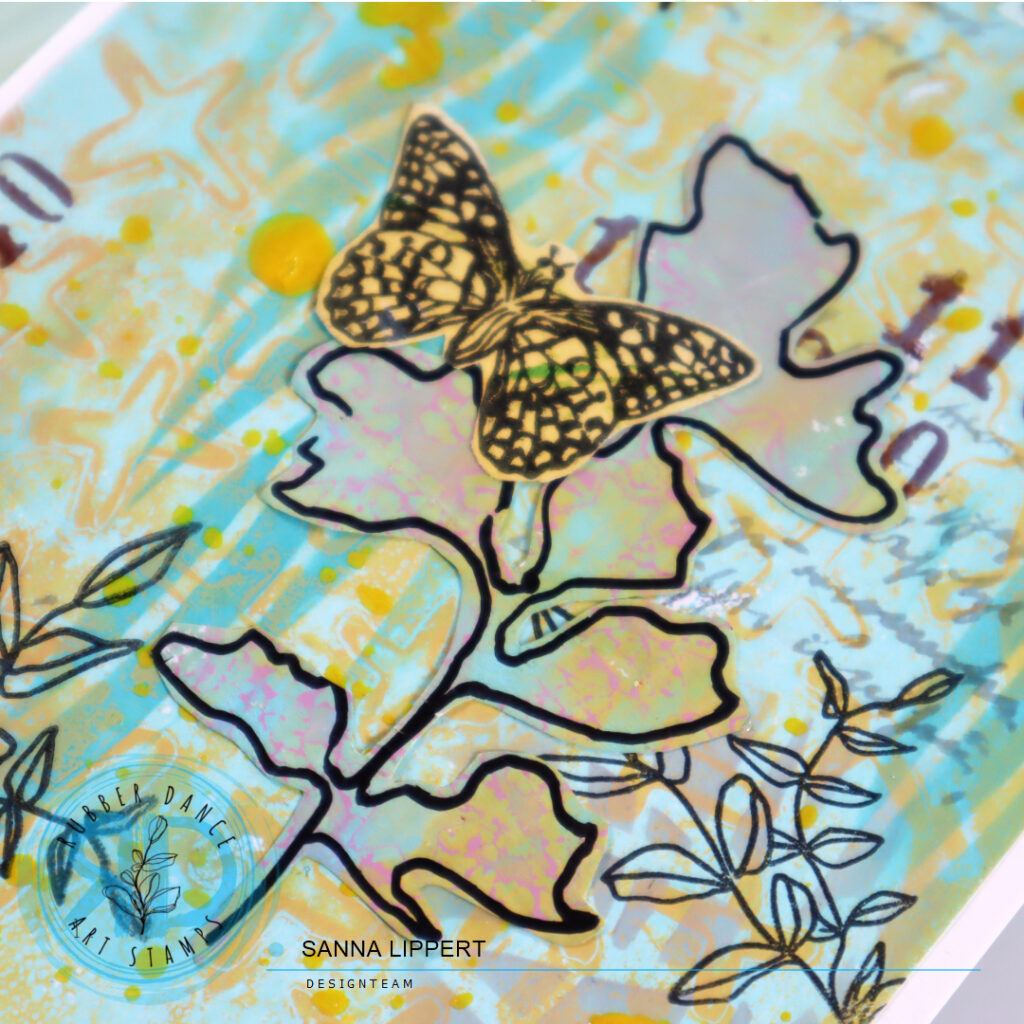
My next layer on the background was Gloss Spray droplets in “lemon” and “blushing”. At this point I let the paper dry a while until adding the focal point elements.
As a focal point I used some collage fodder I had made with the Sketchy Leaves 5 stencil from gelli printed collage papers (see video here). I also added some butterflies (Butterflies and Moths set) that I had created the same way. Finally I stamped a sentiment for each card using the Kartengrüße stamp set. I stamped on white paper first and then wiped light blue ink onto the paper to have a matching color with the card backgrounds.
I also recorded a step-by-step video – hope it inspires you!
I like creating this type of layered cards – what about you? I hope this inspires you to play with your Rubber Dance products!! xxx, Sanna
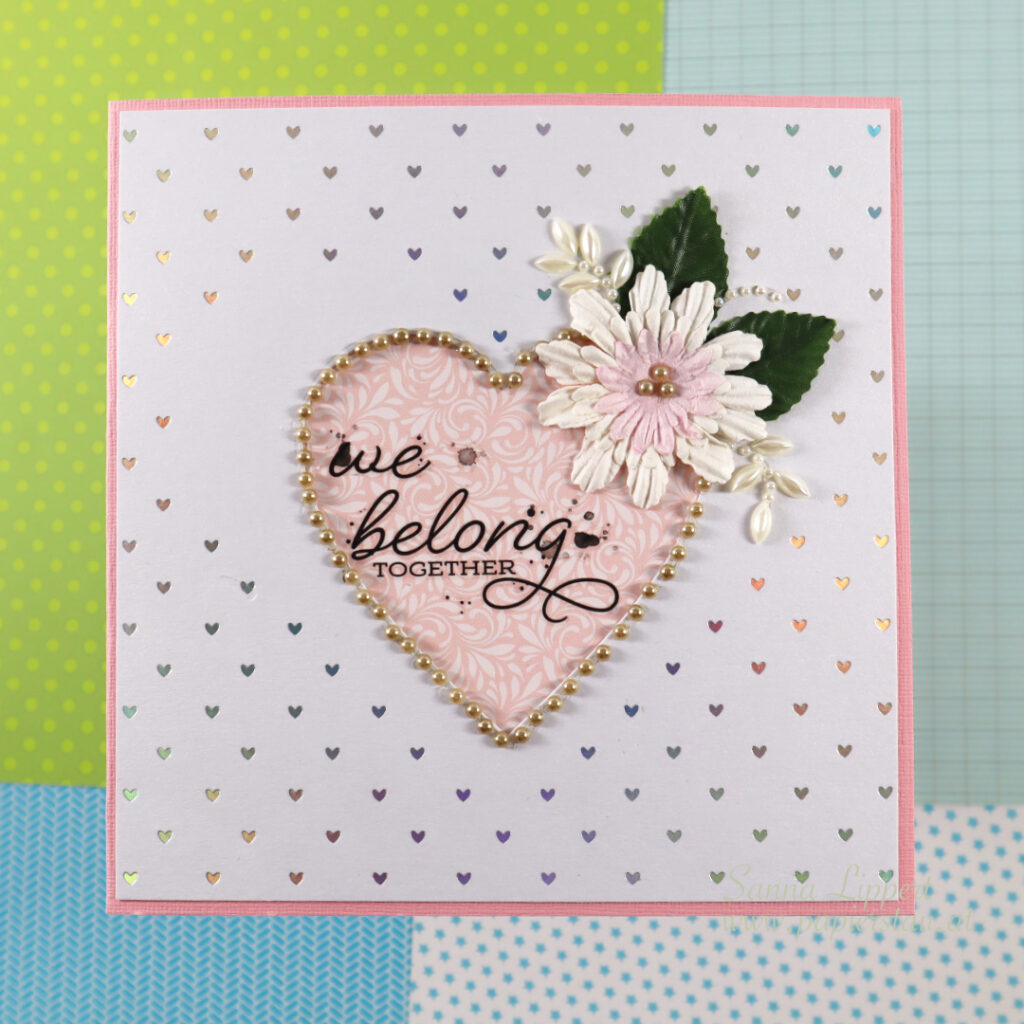
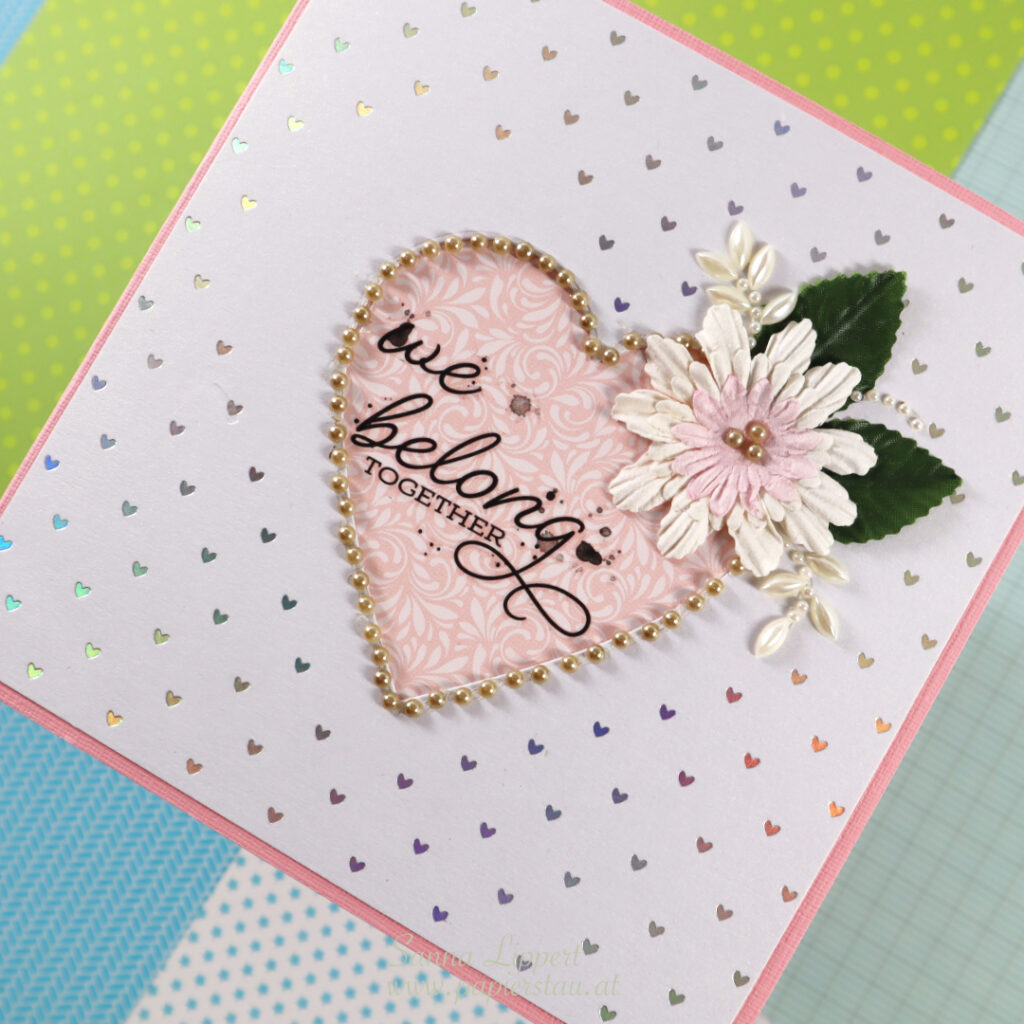
Hello everyone and happy Monday! I have a clean and simple wedding card share up for you today.
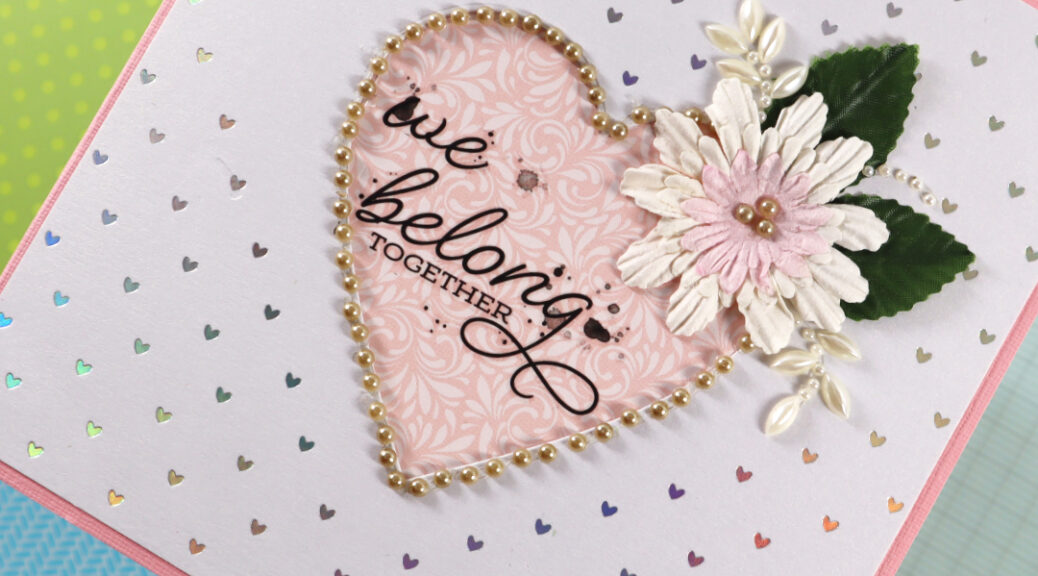
I mounted the heart foiled white cardstock piece onto a pink toned card base. But before doing that, I mounted a pink patterned paper behind the die cut heart area. I then added a 49andMarket rub-on sentiment to the pink heart area. Next I decorated the heart with half pearls and paper flowers in one corner. I also added some pearly leaves next to the paper flower for decor.
I really like the effect the foiled heart paper creates. And the focal point without any other details around makes the card look more elegant.
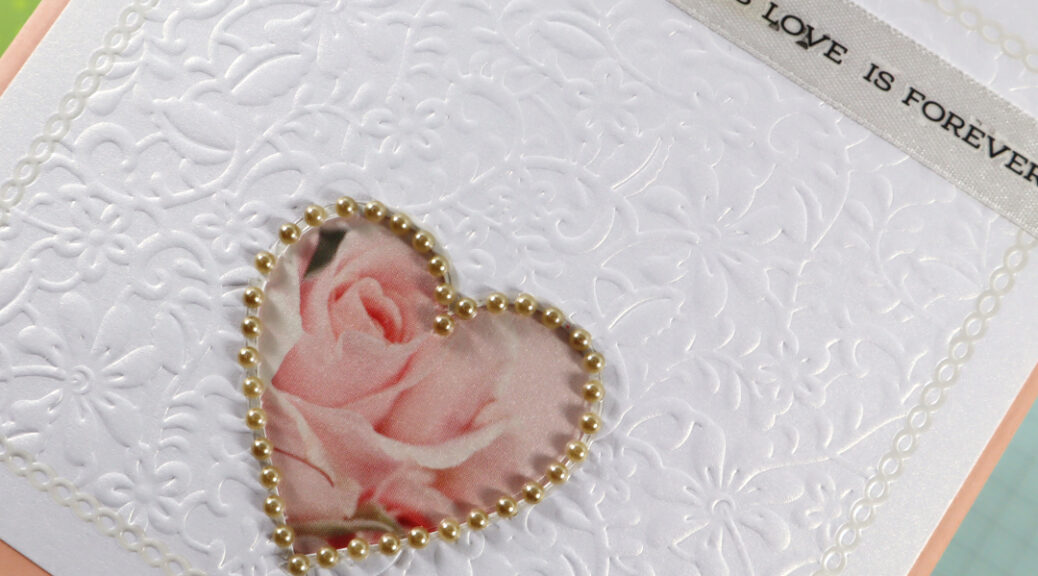
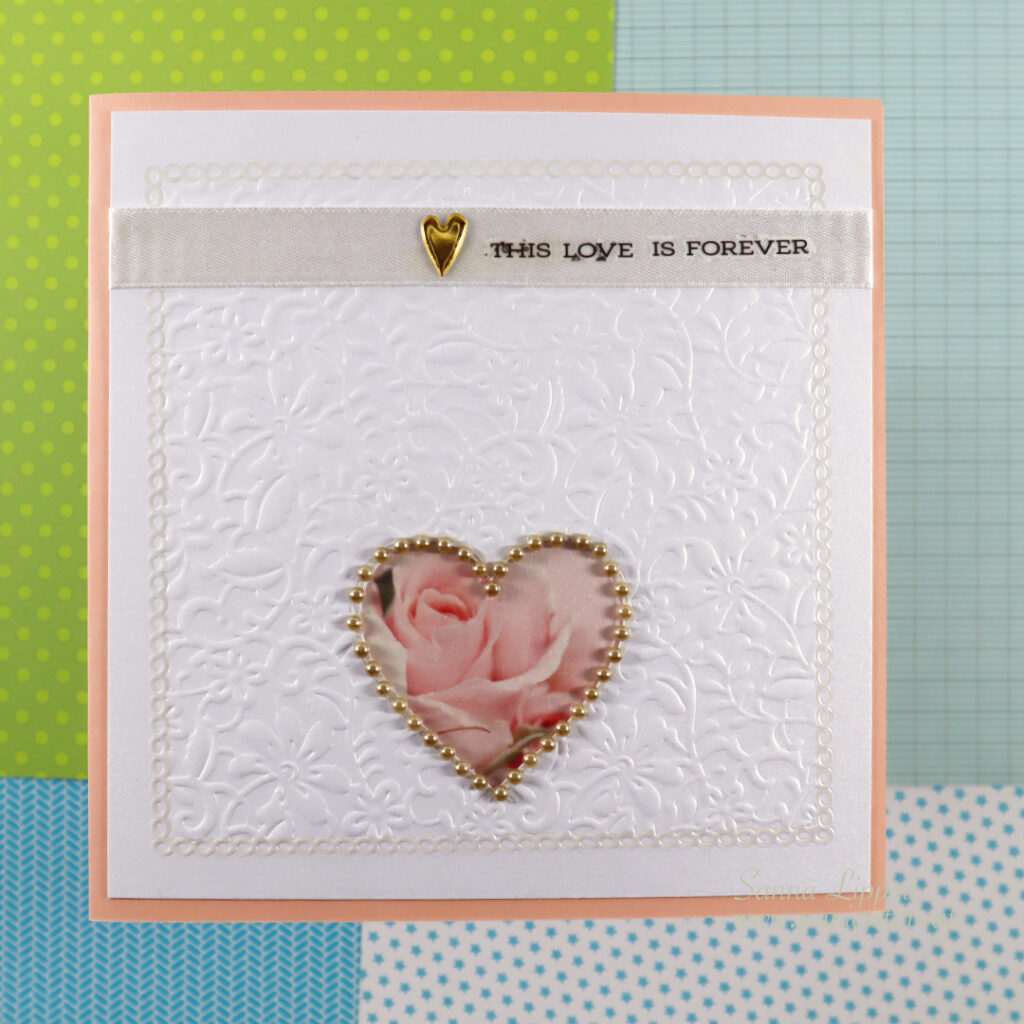
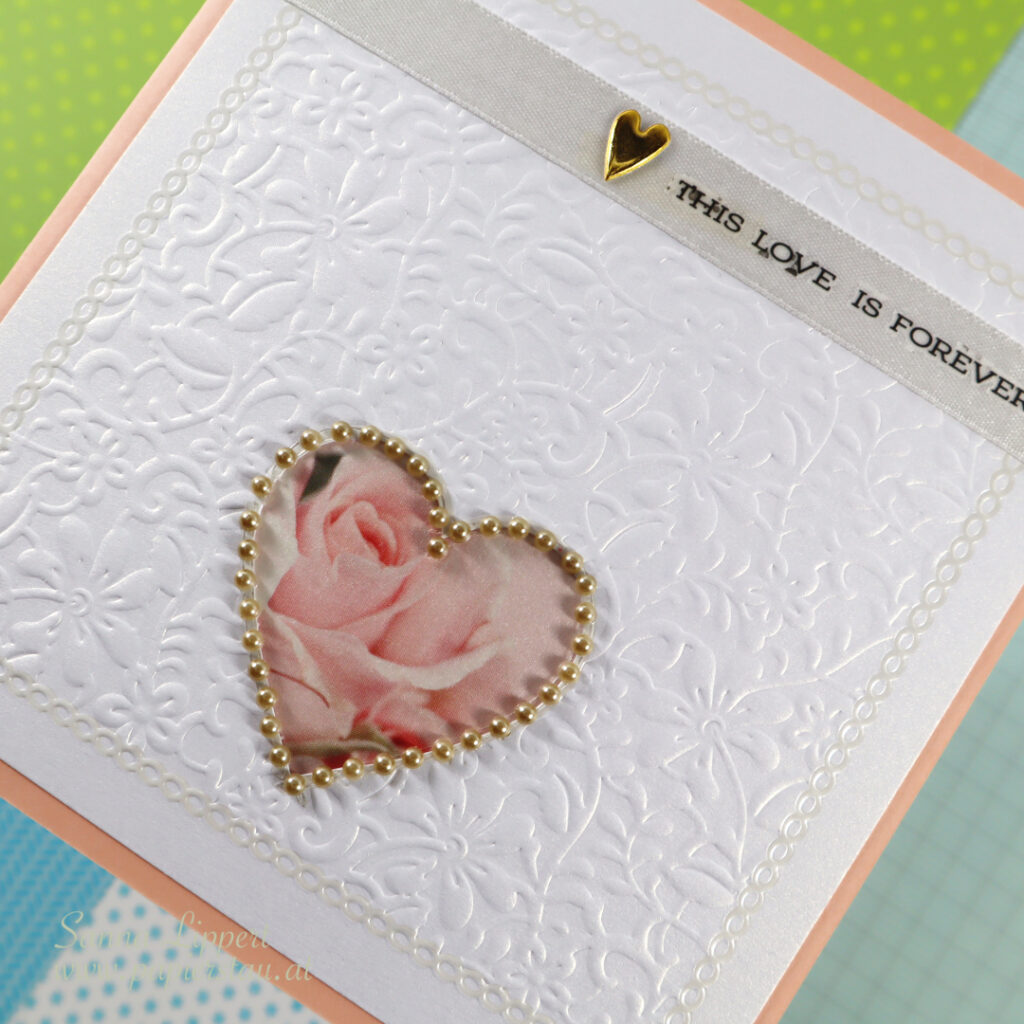
Hello everyone and happy Friday! I have a clean and simple wedding card share up for you today.
I mounted the dry embossed, glossy/shiny white paper onto a piece of peach toned cardstock. But before that, I mounted a rose image behind the die cut heart area. Before adhering the paper on place I took a piece of white ribbon and added a 49andMarket rub-on sentiment to the ribbon. I then decorated it with a golden enamel heart. To add some more golden details, I added some half pearls around the die cut area.
The card is very simple in design and has plenty of white space in it. I love how elegant the shimmery dry embossed paper makes the card look.
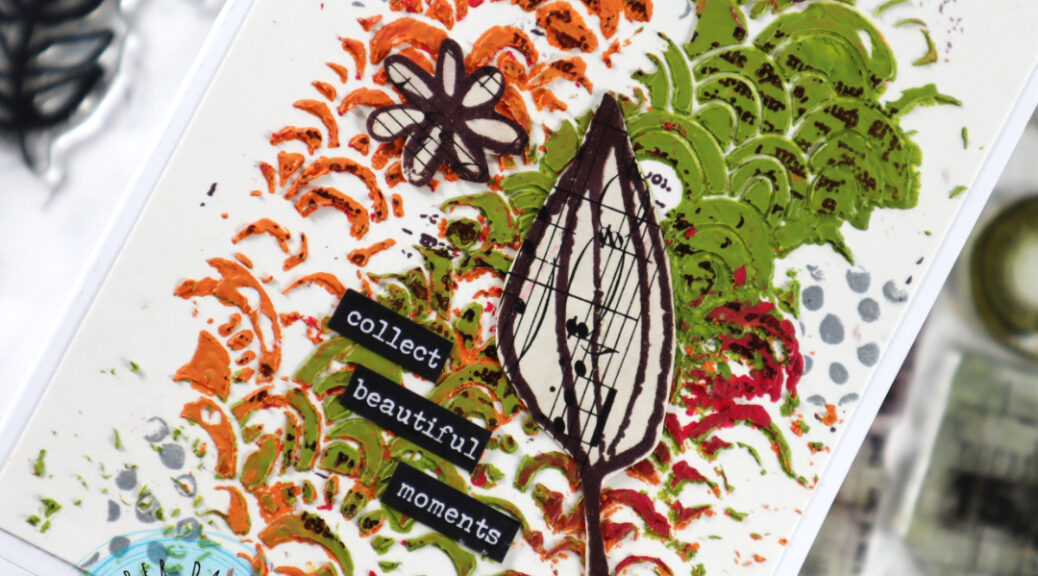
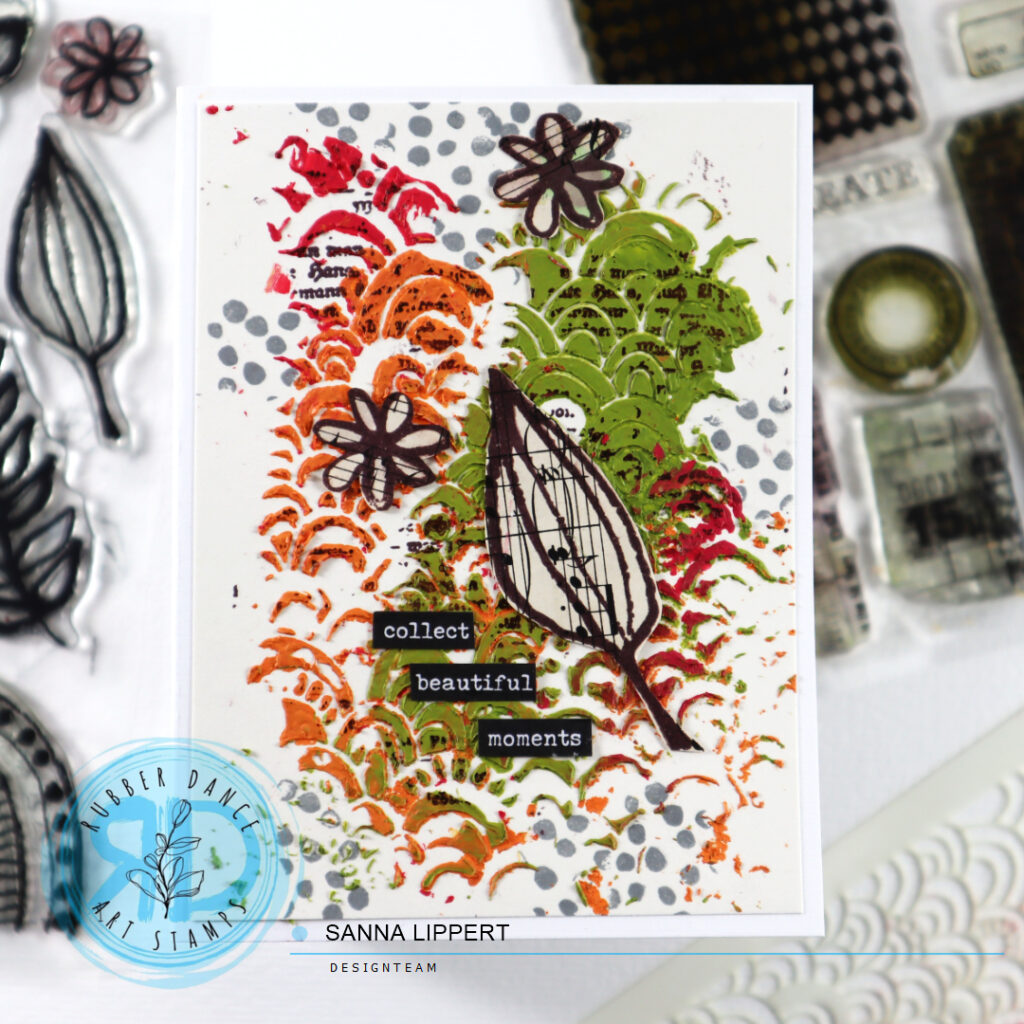
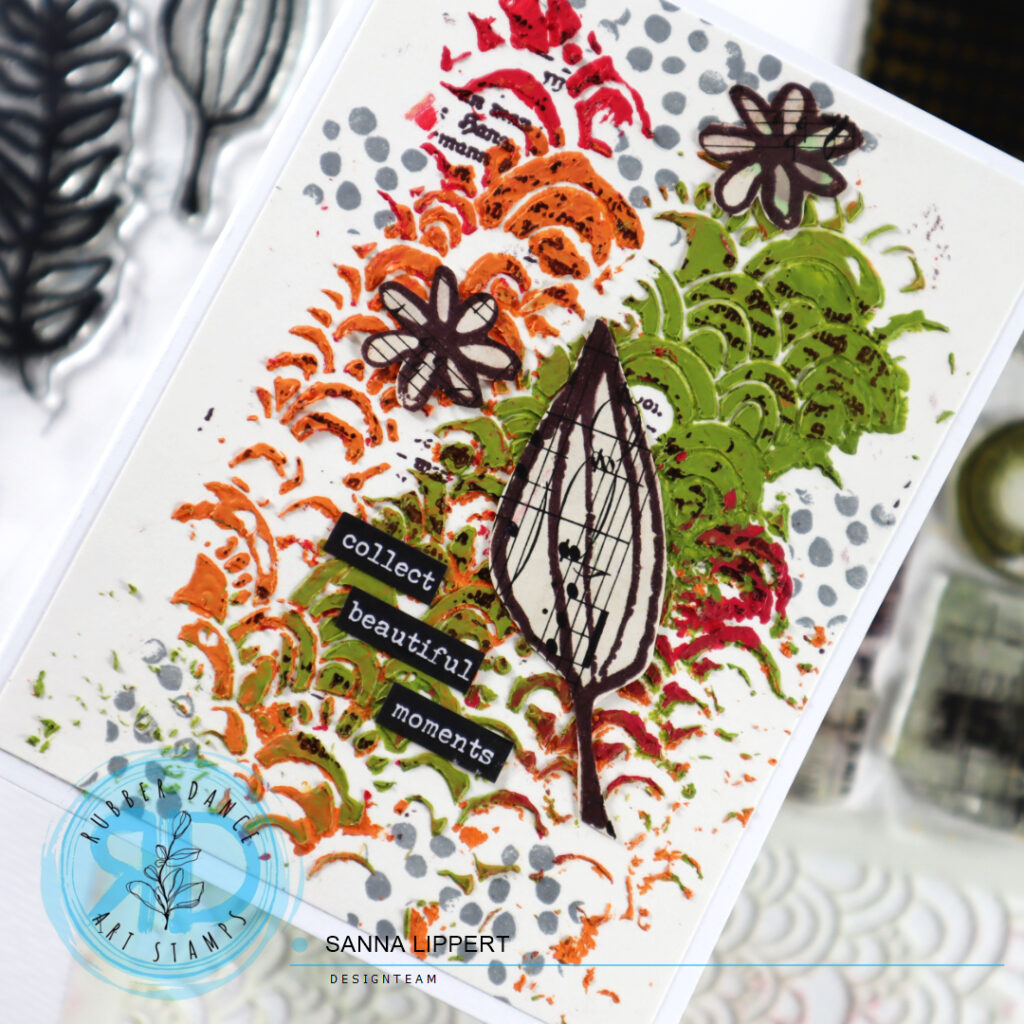
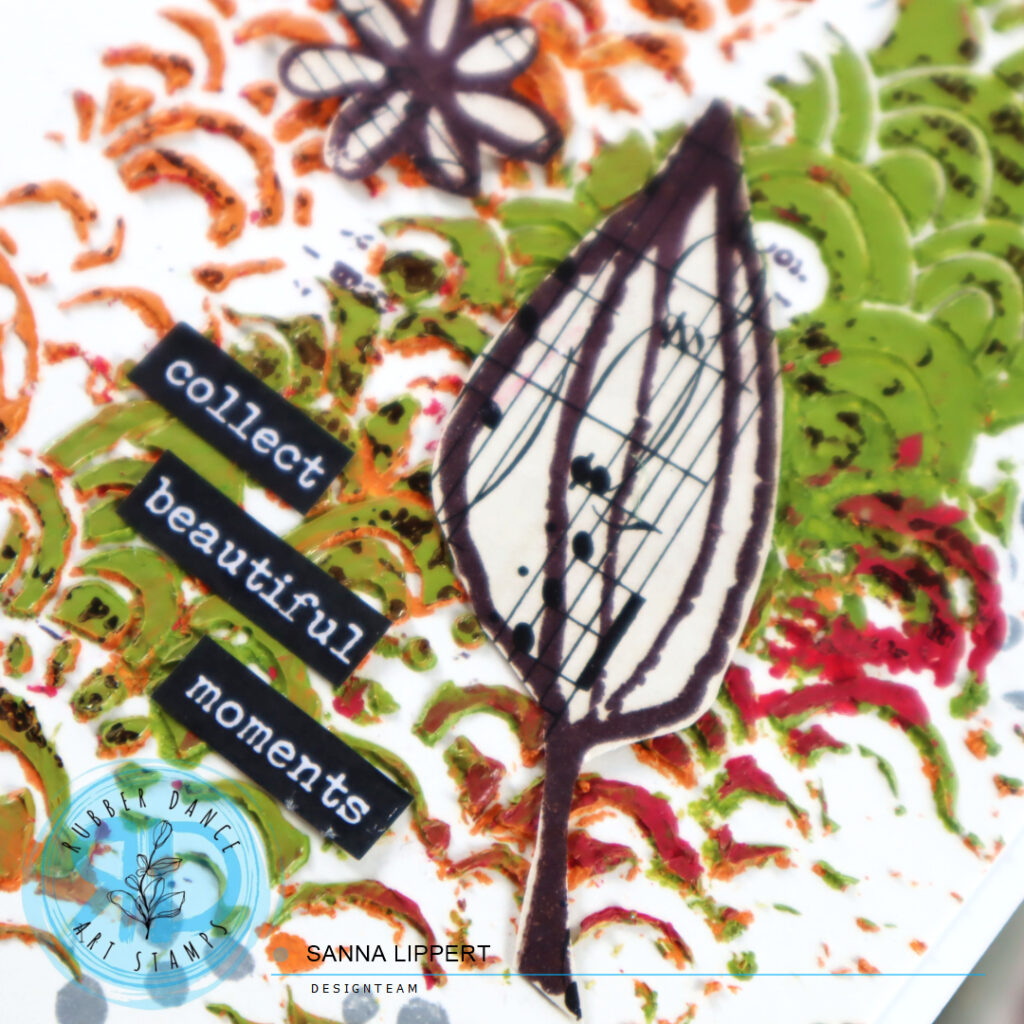
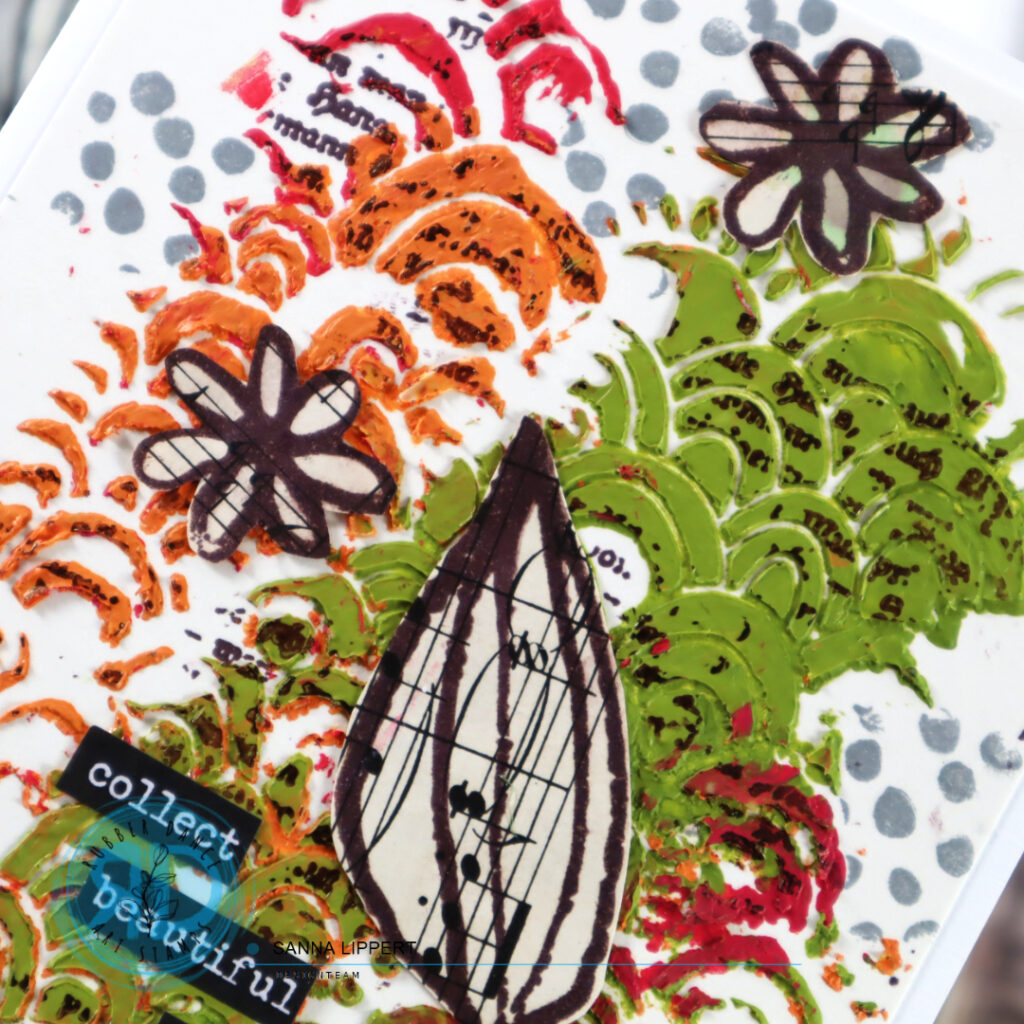
Like on my art journal page (see details here) I used the tinted paste residues from that project for this card background. I placed the Rainbows 2 stencil onto a piece of white paper and wiped the tinted pastes thru it onto the paper very randomly. I then let the pastes dry and added some stamping with the Pencil Marks 8 stamp and a grey stamp ink.
On top of the paste I stamped with the Mix It Up 5 stamp set and the text stamp with brown ink. It adds an interesting detail to the stenciled surface. I finished the card off with a sticker sentiment and stamped flower and leaf images from the Pencil Marks 8 stamp set. I stamped onto a piece of music paper here too, to add more interest to the images.
This is a great way to use up any leftover pastes and to create interesting looking starting points for cards. I hope you like the idea and grab some pastes to make fun card backgrounds of your own.
Hello everyone and welcome to the STAMPlorations Never-ending Anything Goes Challenge! We are changing things up abit at STAMPlorations challenges and this is a new format.
This challenge will start on June 5th and will not end. A new winner will be drawn every time 50 challenge entries are reached and it will go on no-stop from there (read more here).
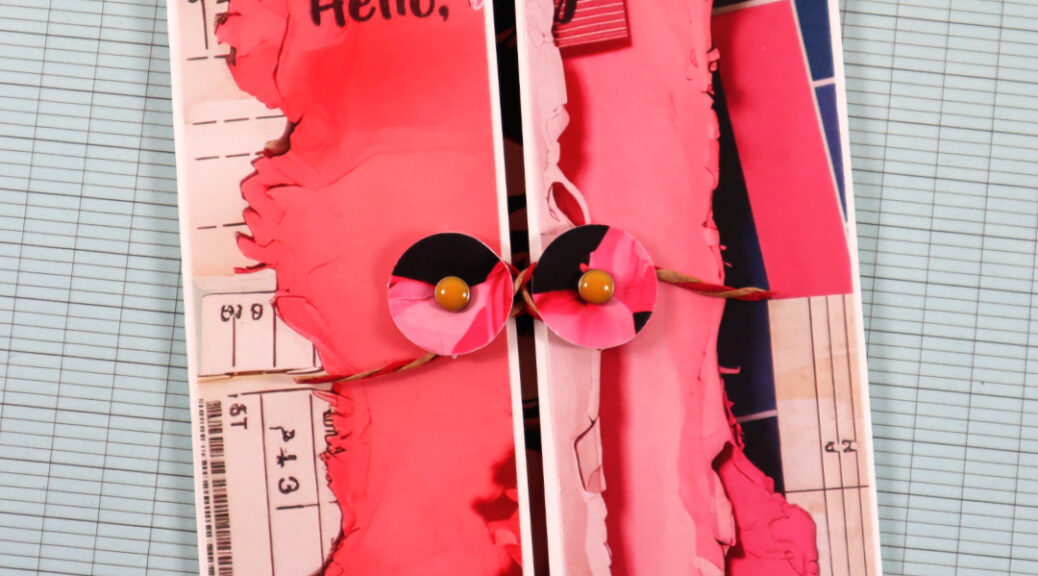
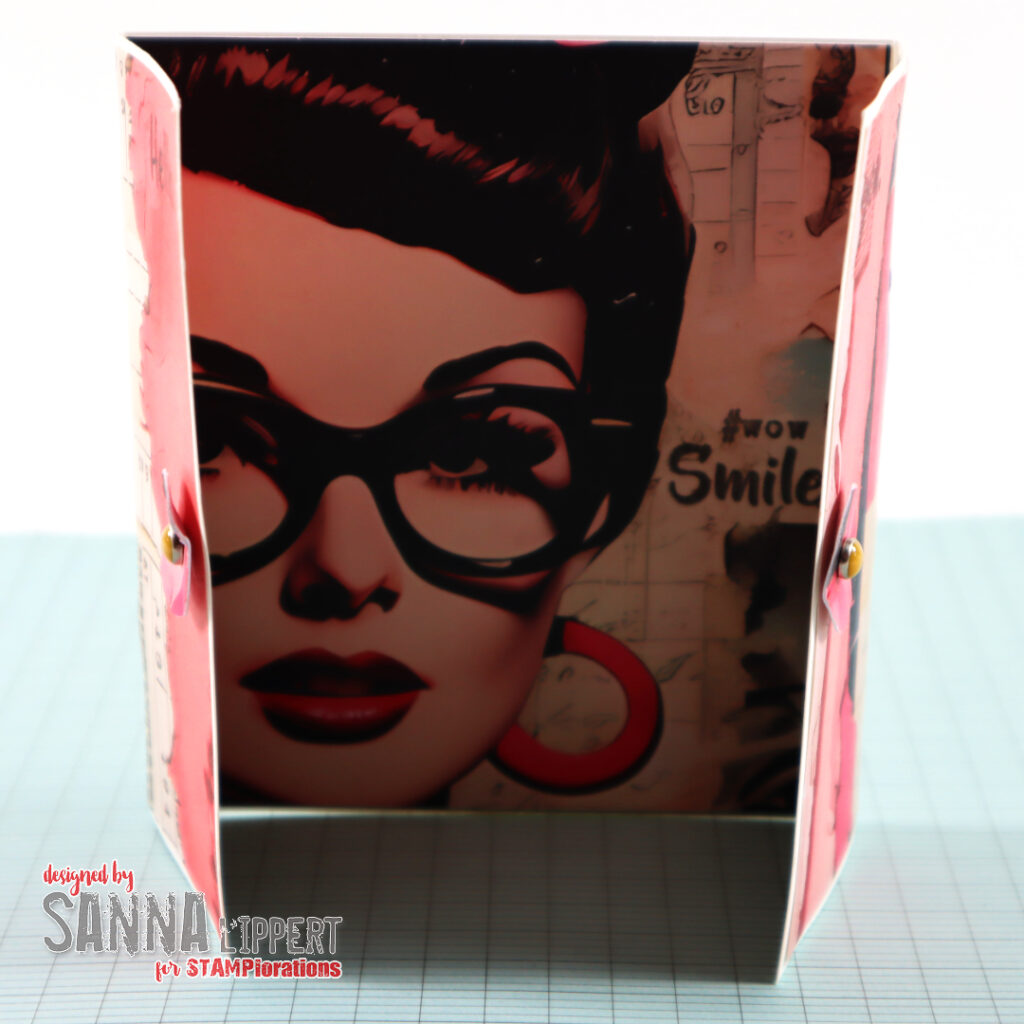
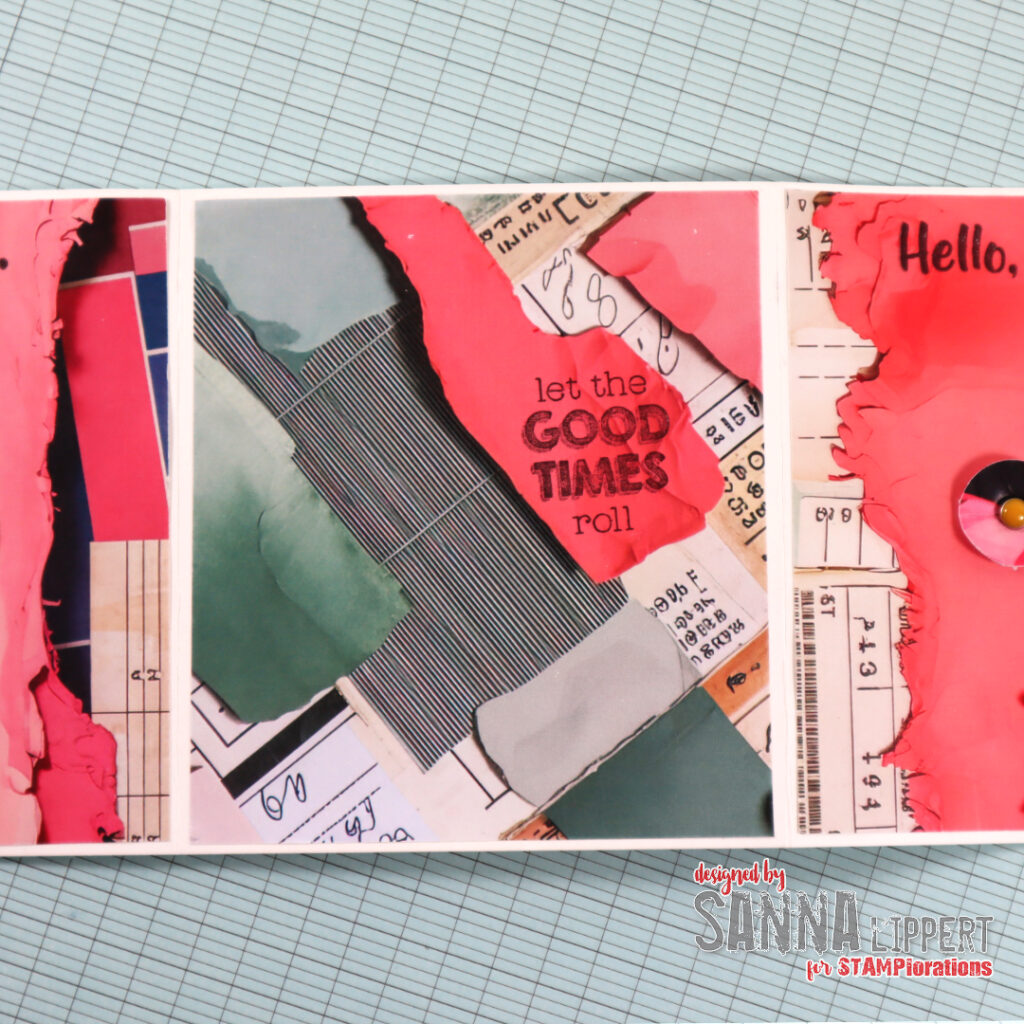
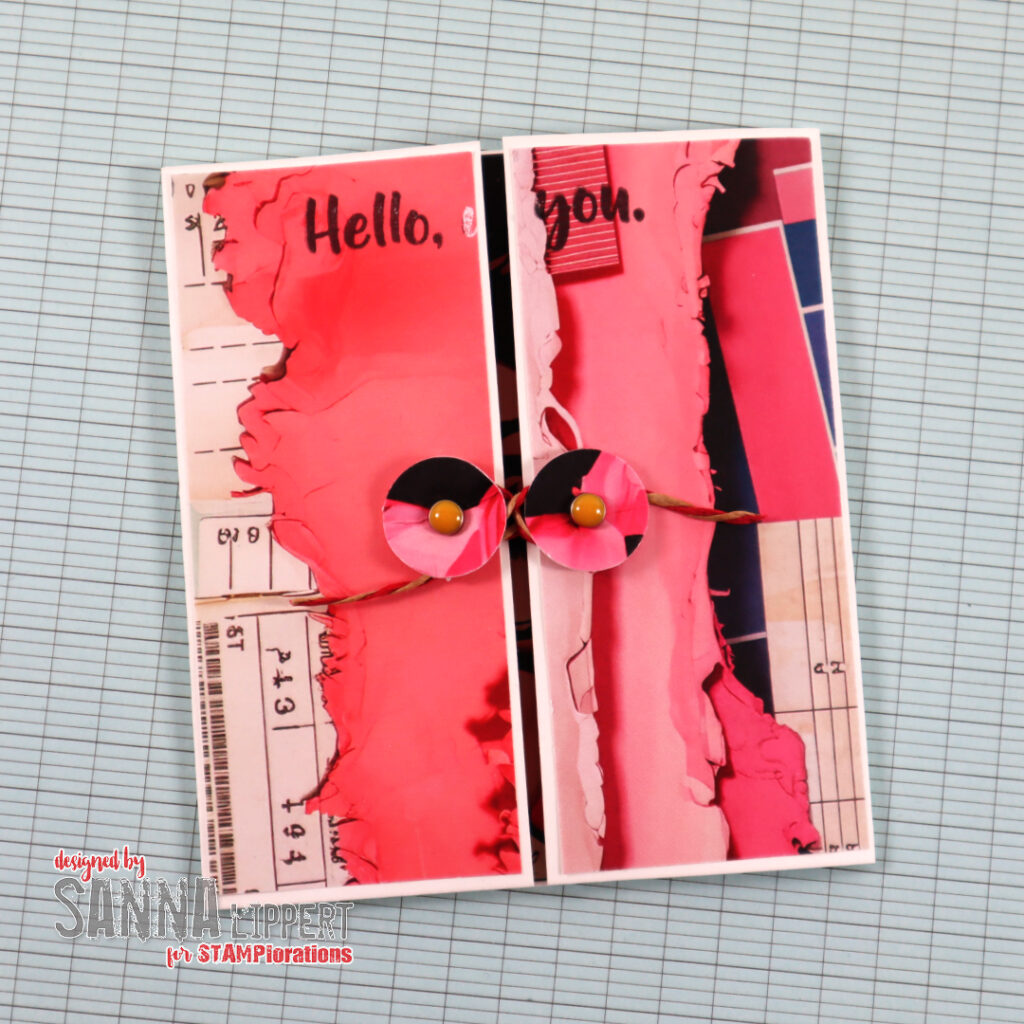
It´s a folded card, decorated on all sides and closes with a twine and some brads. I hope you get inspired by it and join in on the STAMPlorations challenge!!! Hope to see many of you there! And also, don´t forget to check out the various subscription packages, Shery has on offer and be sure to check out the blowout sale too! As new products are coming in, she is offering other stock with reduced prizes. So if you considered doing some shopping, now is a perfect time to do so :).
Hello everyone & Happy 6th of May!!! This means it´s again time to share the STAMPlorations “Anything Goes” May challenge with you. The challenge starts today and goes until May 31st.
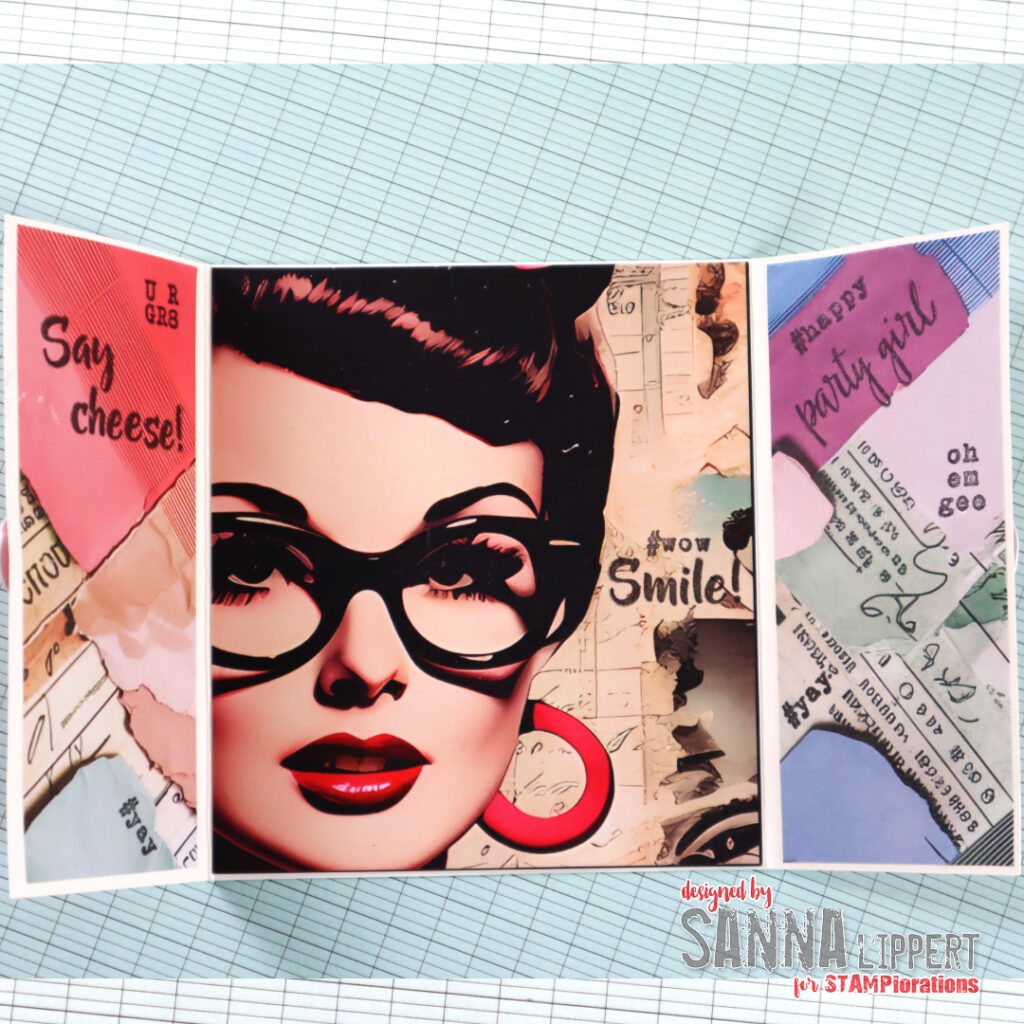
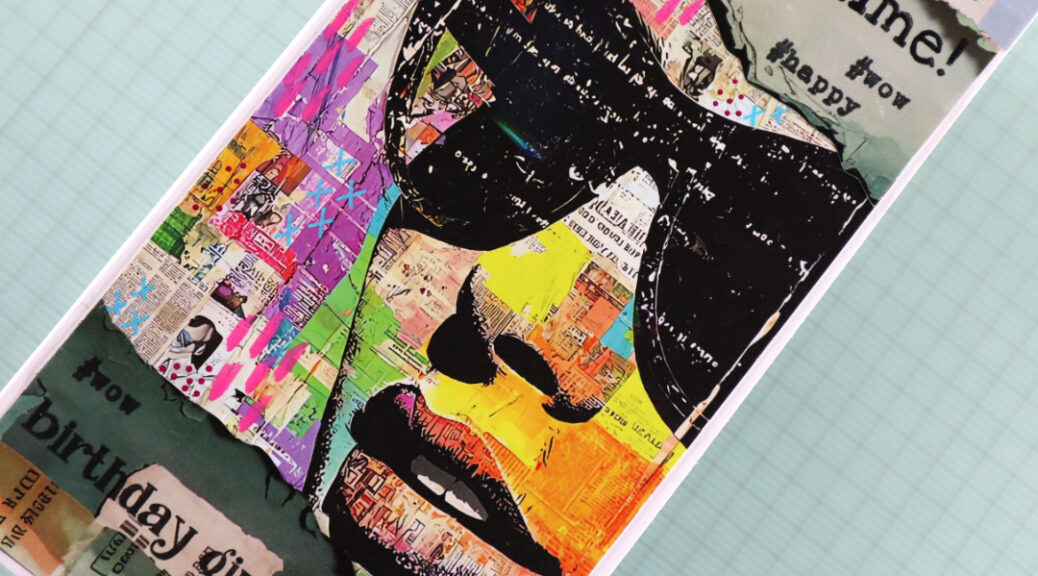
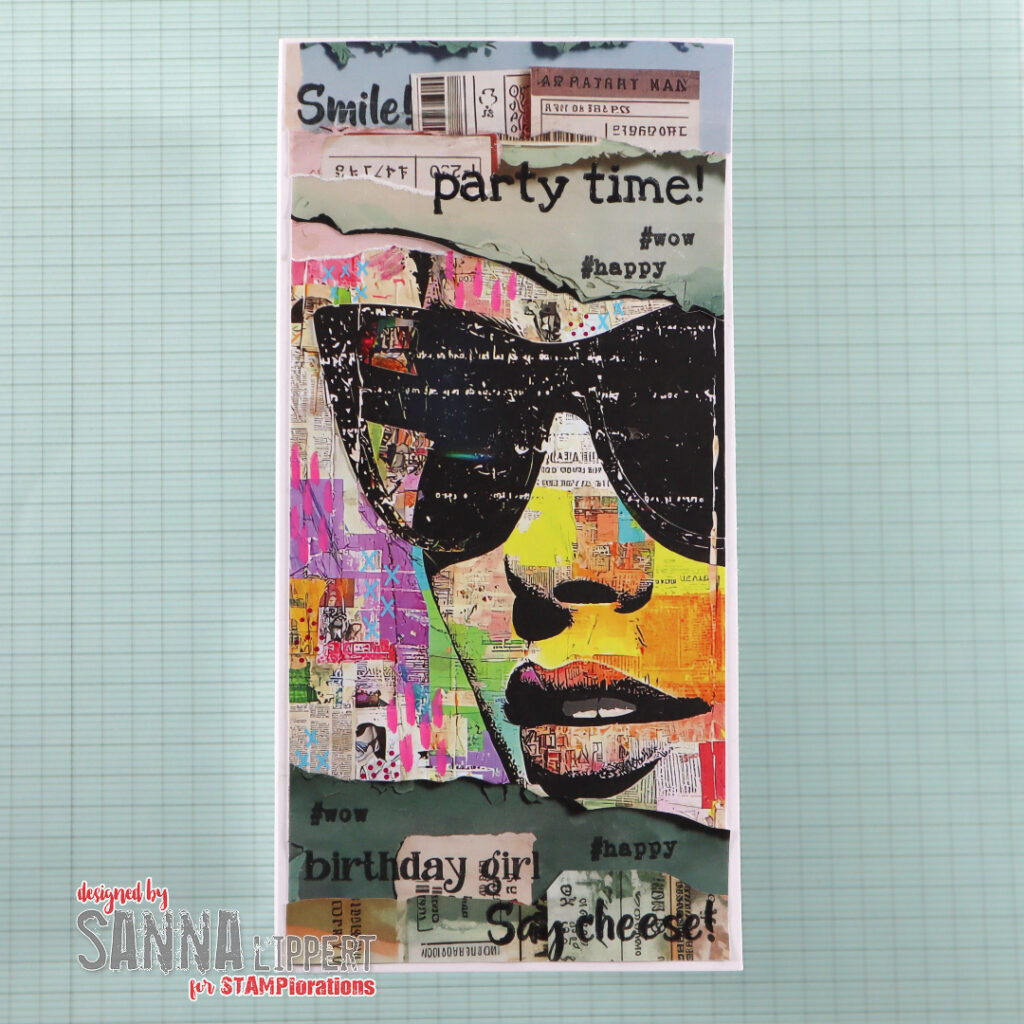
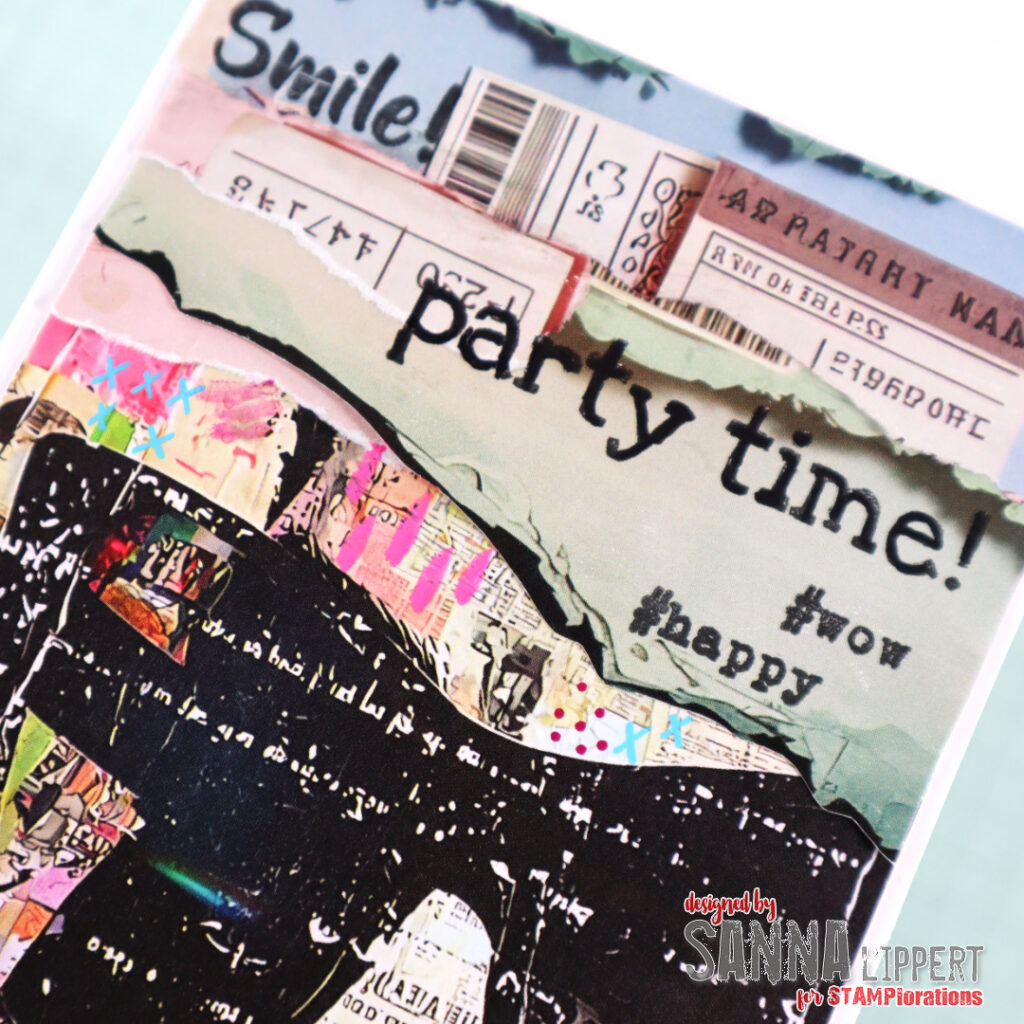
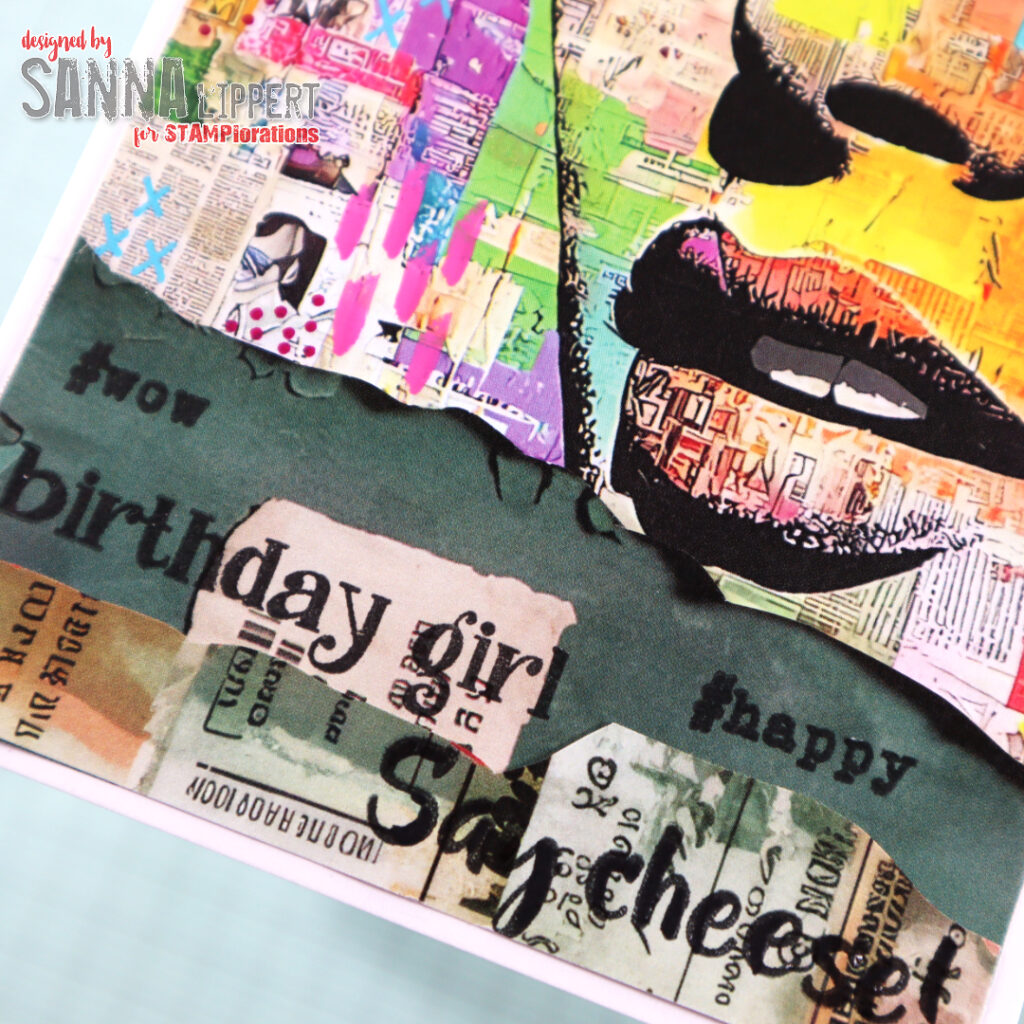
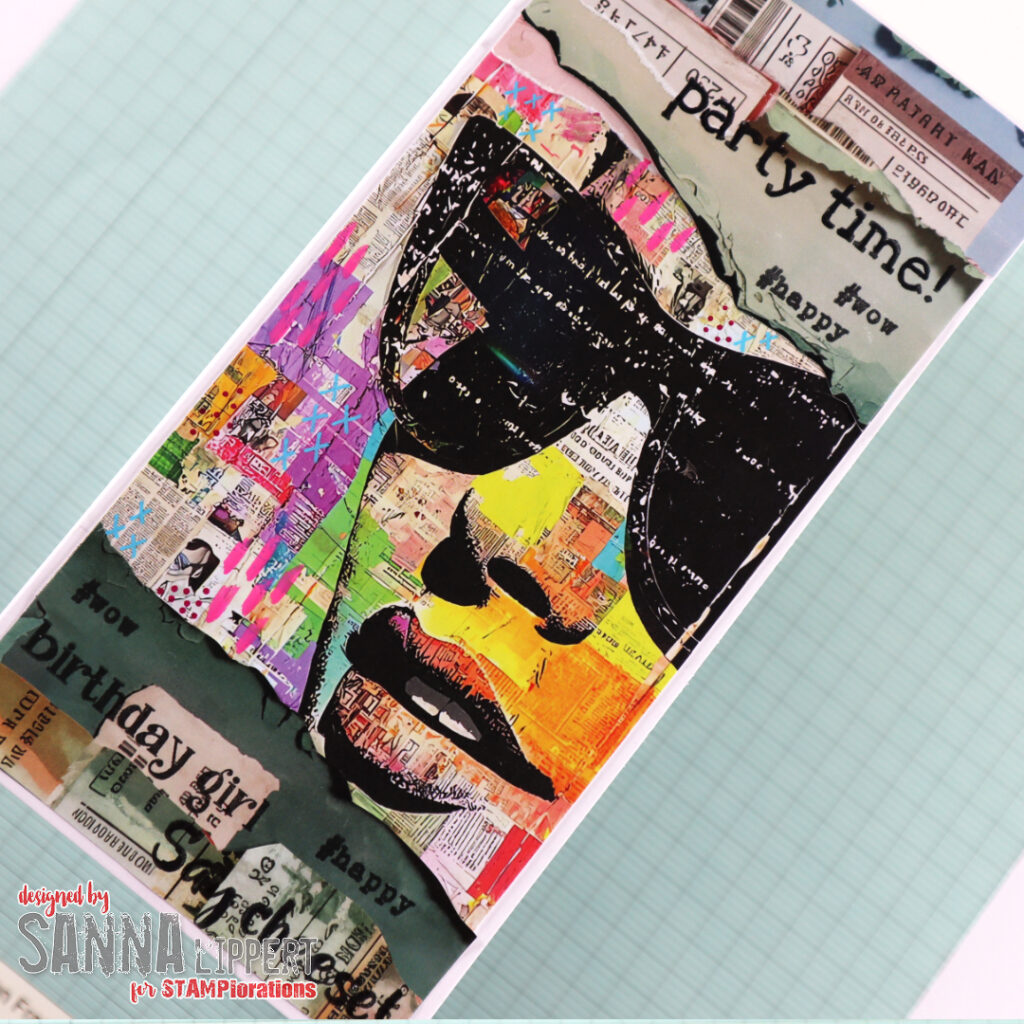
This is my take for the challenge reveal. A slimline card in pop art style. I used the Pop Art Faces paper goods from STAMPlorations as a focal point and added some Ephemeral Edges collage paper bits to the top and the bottom of the card.
Next I added some stamped words using the Hello You stamp set – also by STAMPlorations.
I hope I could inspire you to create some cards with the cool STAMPlorations paper goods and stamps. Also hoping to see you join the May challenge on their blog. Remember, to be eligible for prizes, you need to play by the rules (read them here).
If you are interested on any of the used products, check out the store and feel free to use my discount code upon check-out:
Hope to see you join us at STAMPlorations challenges!!! xxx, Sanna
Here is an inspirational card share to get your creative ideas going:
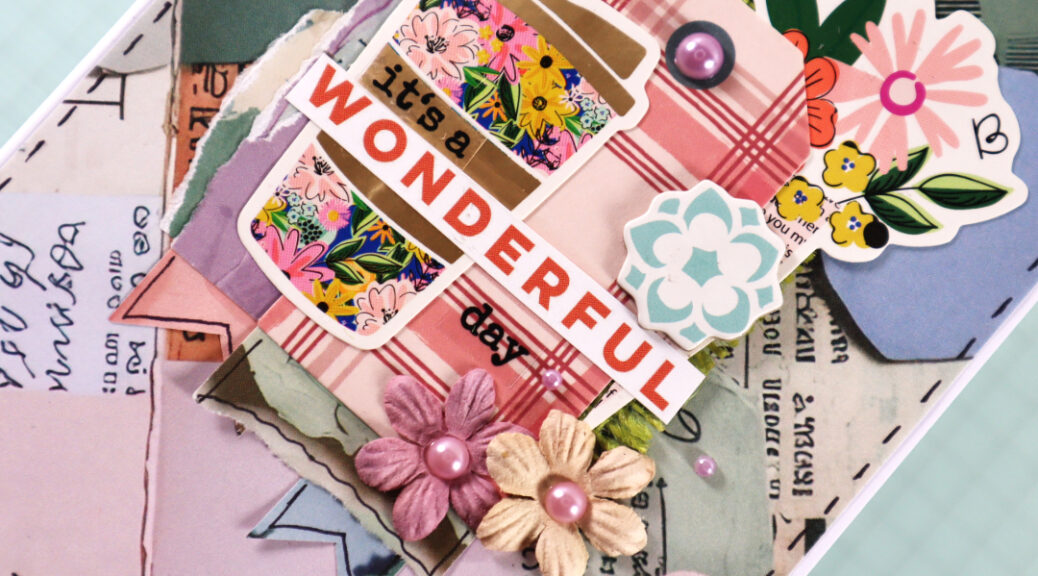
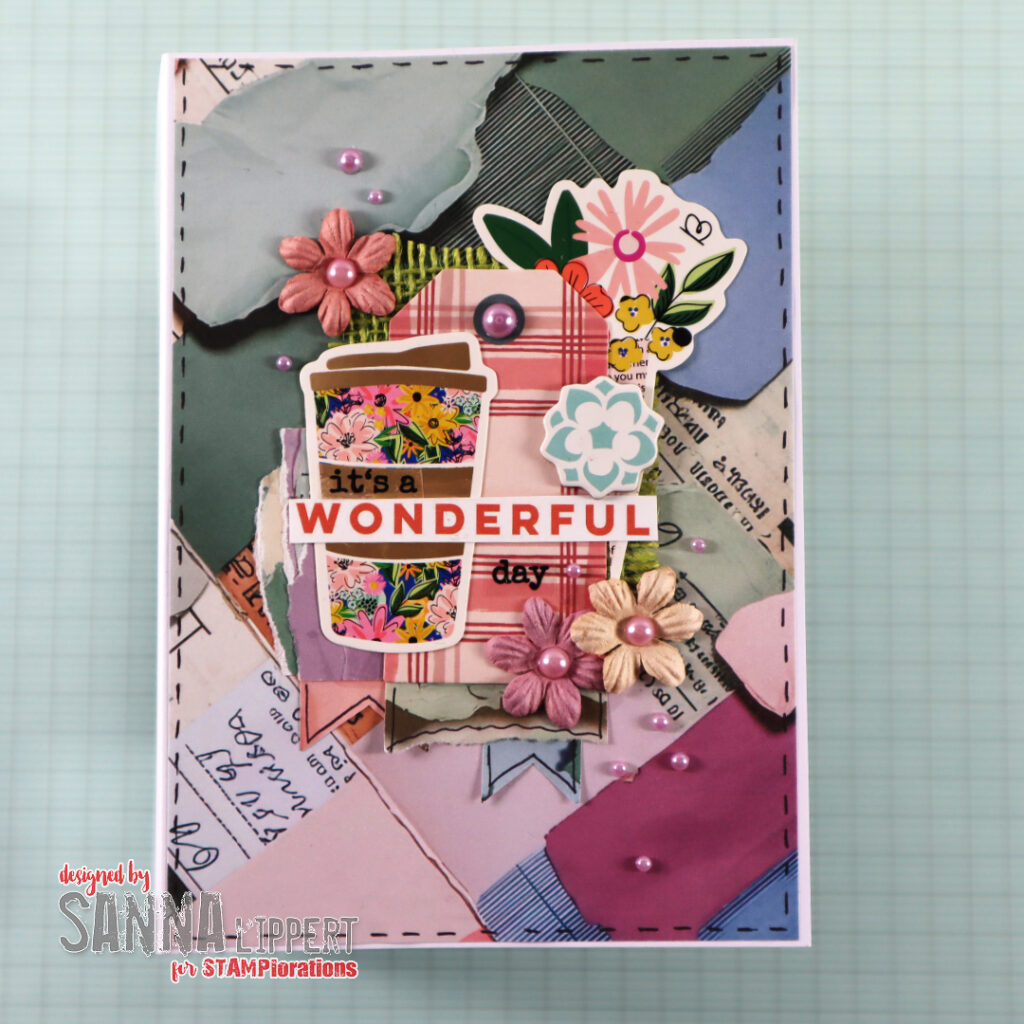
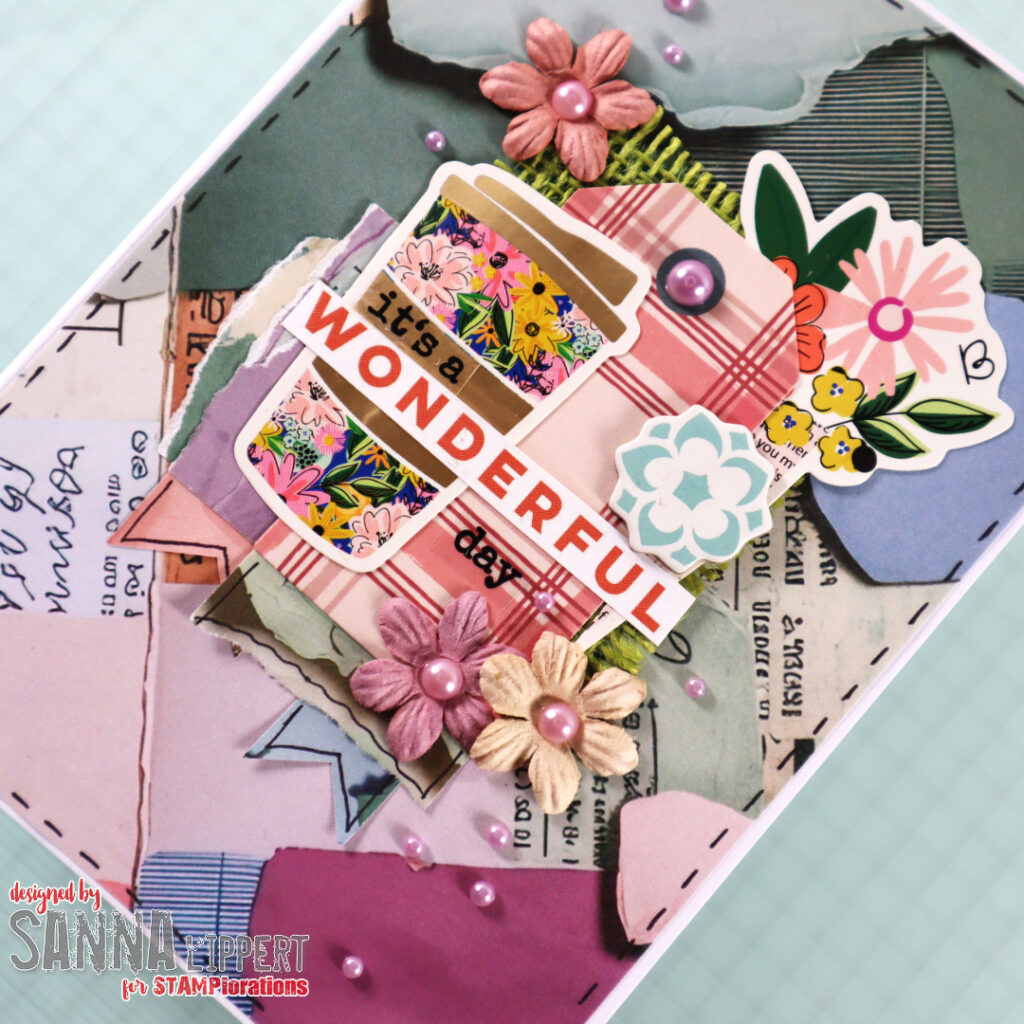
I used the Ephemeral Edges collage paper as my card background and then created a cluster of embellishments into the middle as a focal point. For that I used the STAMPlorations New Day clear stickers, some more Ephemeral Edges collage paper and green burlap, stickers, paper flowers and chipboard embellishments as well as some half pearls in different sizes. I also drew some faux stitching around the edges with a black pen.
The Ephemeral Edges paper is really great – it works as card backgrounds, for ATCs, in journals and tags. I just love this design!
Just in case you want to order some paper goods, here is a discount code for you to use: