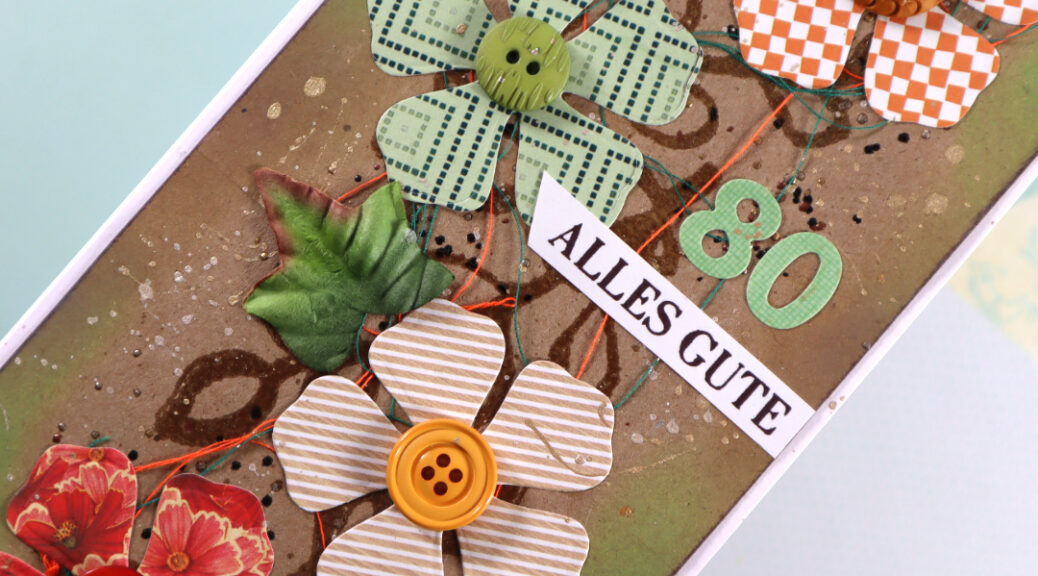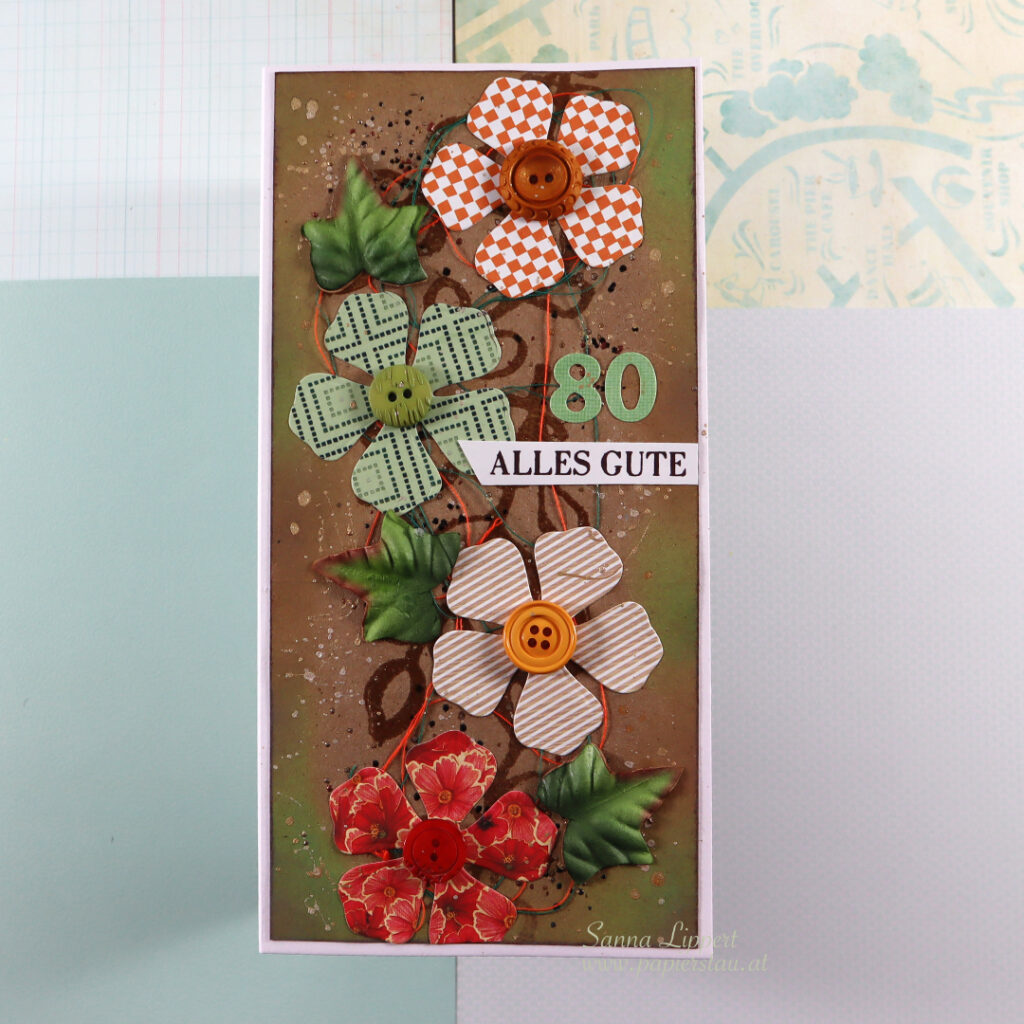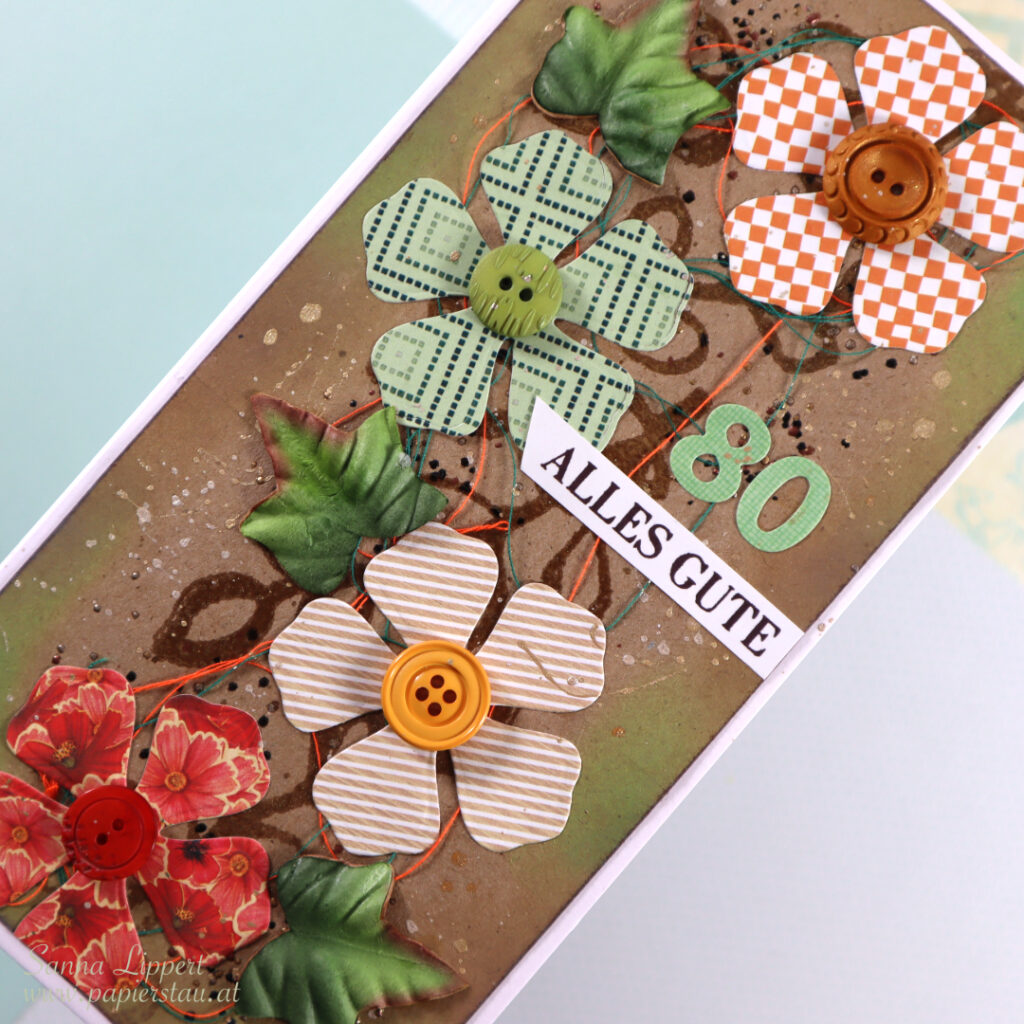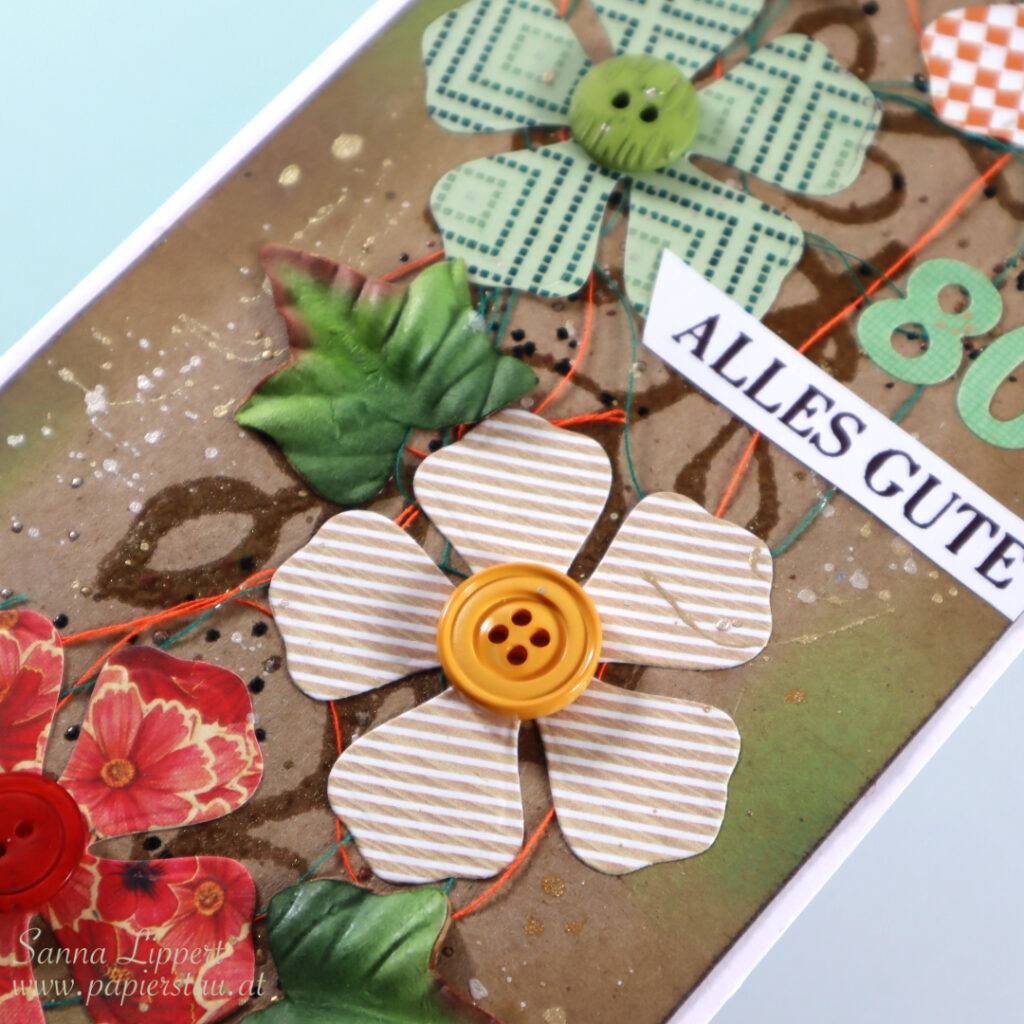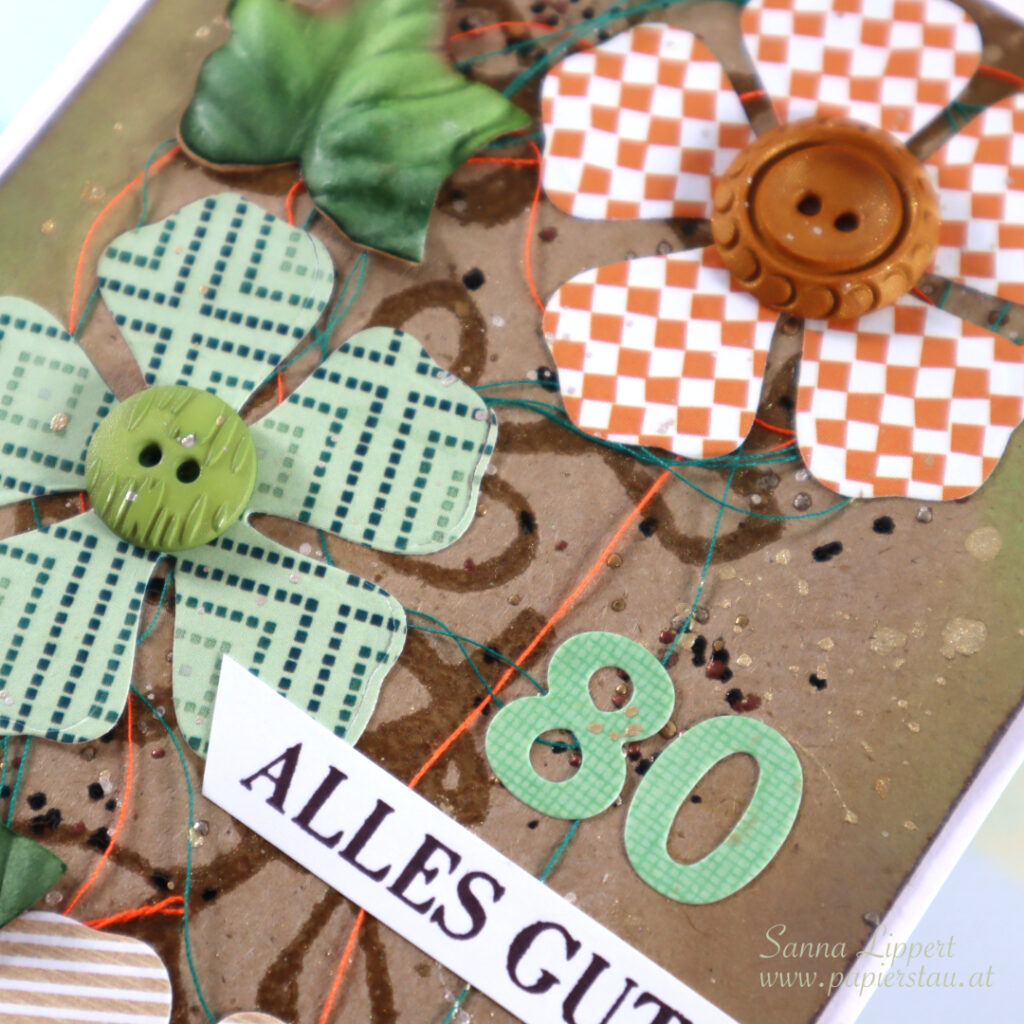
Hello everyone! Today I am stopping by to share a slimline card for an 80th birthday celebration.
This cards was supposed to be in red, orange, green and brown tones. Therefore I started with a kraft cardstock on the back to add a light brown touch. I also used a slimline card base, because it looks more festive in my opinion.
I chose green, brown, red and orange toned paper and die cut the flowers with a retired Elizabeth Craft Designs die cut die. After that I stamped some leaf branches onto the kraft cardstock, applied embossing ink in gold on top and heat embossed the images. The stamp is by Rubber Dance. After that I added some embossing enamel to the background (chunky metallic seasonings) and heat set it. I also added some golden pigment splatters here and there, inked the edges of the kraft cardstock with green adn brown Distress Oxide inks.
Before adhering the die cut flowers on place, I placed some yellow and orange sewing thread onto the card and then adhered the flowers on top. The flowers keep the thread from moving and the thread adds interest to the card.
I decorated the flowers with buttons (adhered with glue dots) and added some paper leaves to go with everything. I finished the card off with green sticker numbers and the stamped “all the best” sentiment (by Rubber Dance).
I hope the recipient likes the card and that it makes her smile. xxx, Sanna
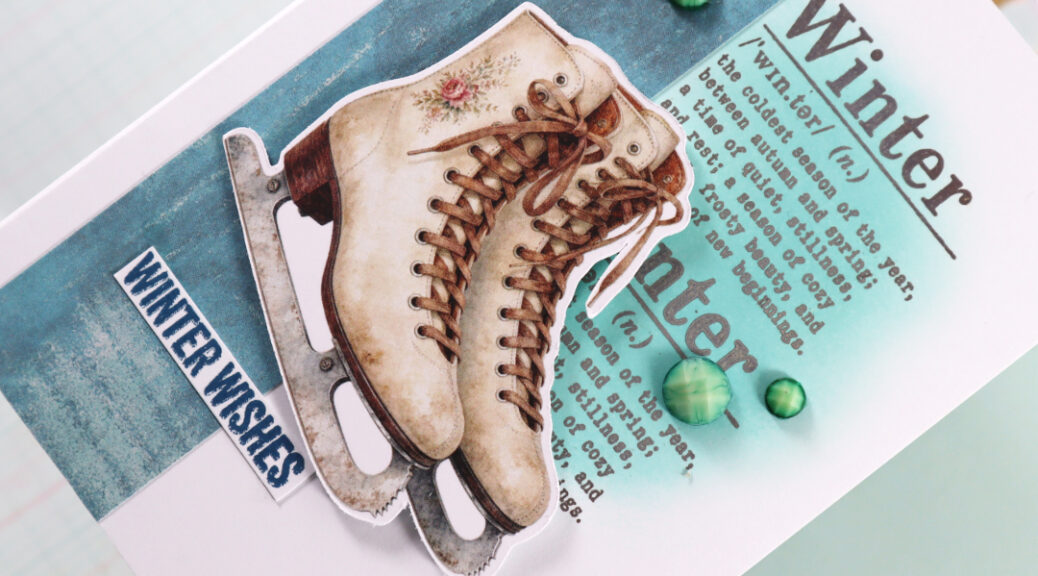
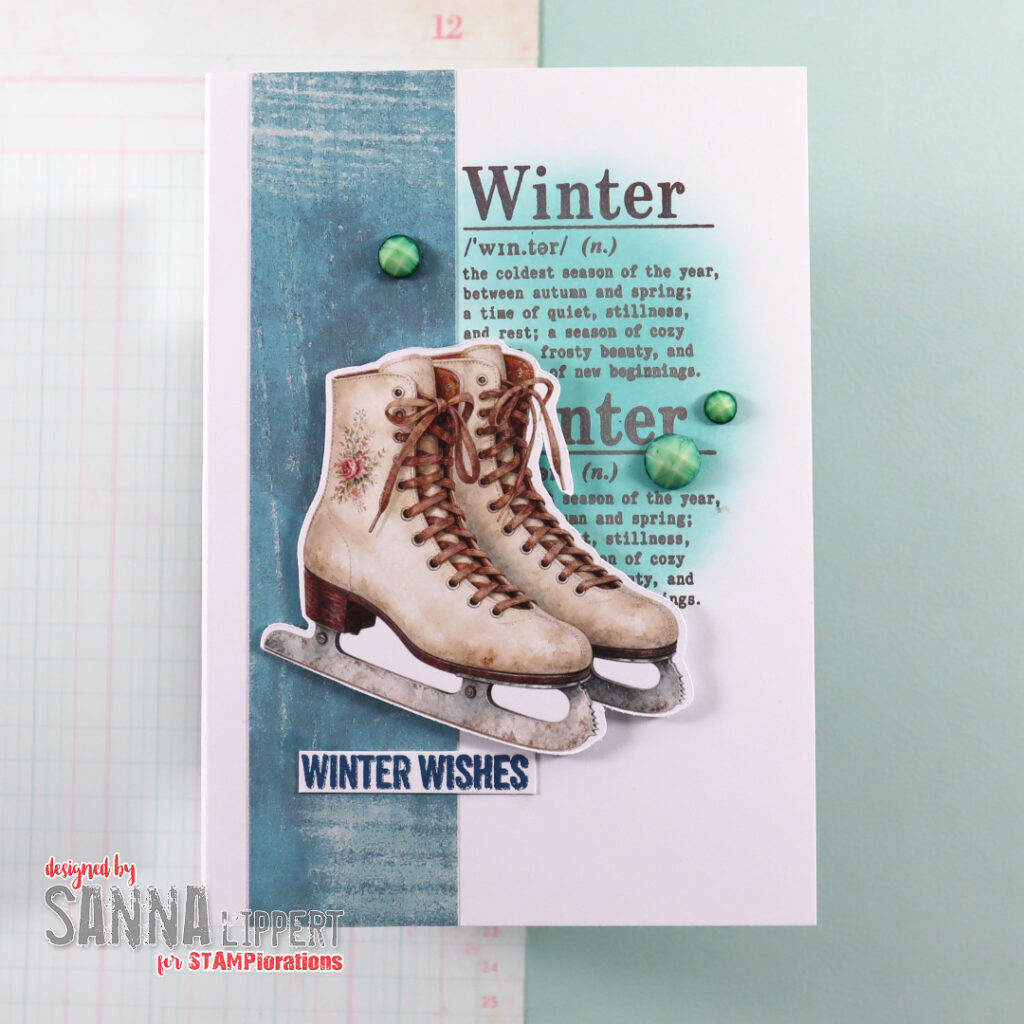
Hello everyone! I´m back with another new STAMPlorations Perfect Pairs set called Serene Winter. I really love these Perfect Pairs sets!! They are so much fun to create with.
For these cards I´ve just used 3D-foam adhesive, inks and the Perfect Pairs set.
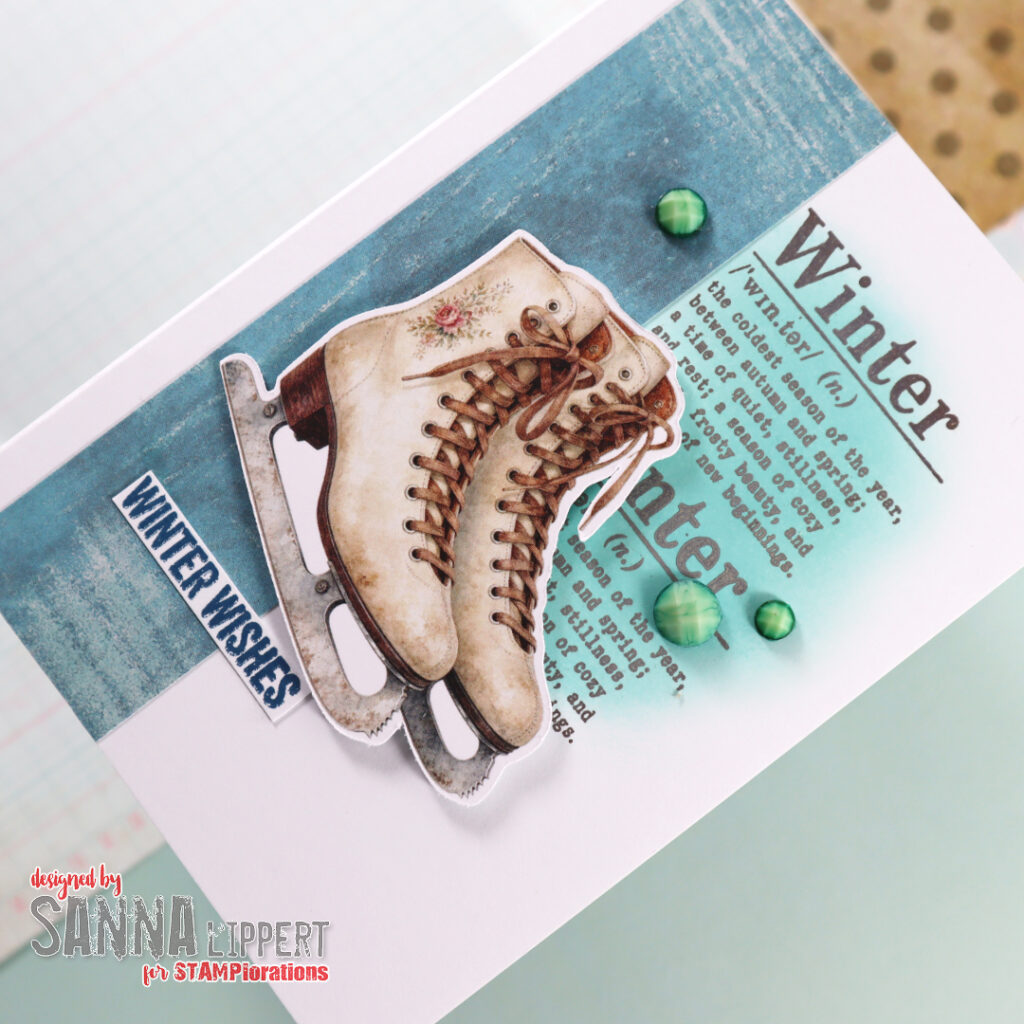
For the above card I started off by inking the “Winter” stamp with fossilized amber, spiced marmalade and ground espresso Distress Oxide inks. I started with the lightest ink on top and ended with the darkest.
I created a repeated “stripe” down the middle of the white card base as background for the ephemera piece that I adhered with a 3D-foam piece.
Next I took a orange spray ink, misted a piece of paper and stamped the sentiment with dark brown ink on it. After that I fussy cut the piece to size (and only used the winter wishes part of it) & adhered it onto the card. Very easy and fun!
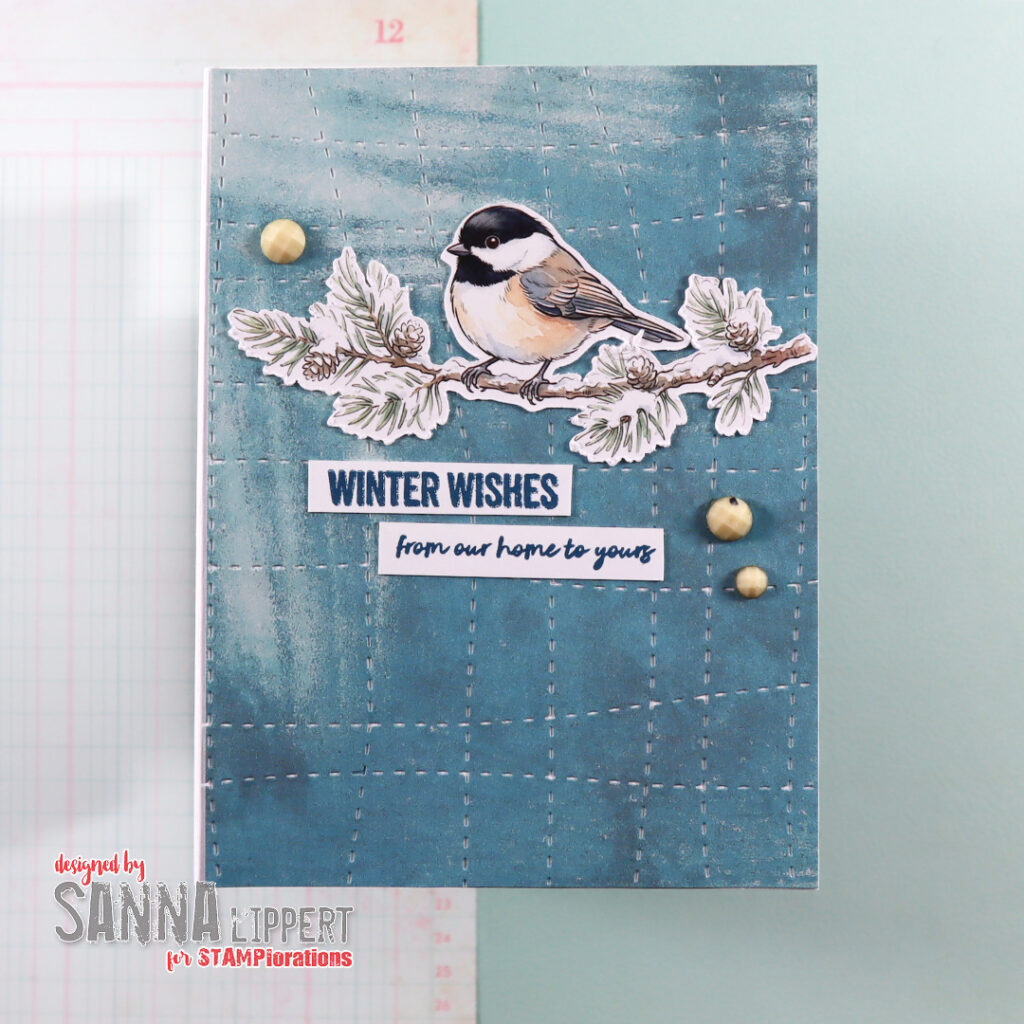
For the second card I started off by stamping the “Winter” sentiment with hickory smoke Distresss Oxide ink 4 times onto the white card base, but always tilting the stamp image 90 degrees for the next stamp image. That way I had created a fun background image with just one stamp. After that I added ink splatters all around the card base.
Next I adhered the emphemera image with 3D-foam on top of the stamped images and finished the card off with dark brown “winter wishes” stamped sentiment.
I had really a great time creating these cards. The set works so well together and is fun to play with. I hope you get inspired by these cards. Be sure to check out the STAMPlorations blog for more inspiration!!
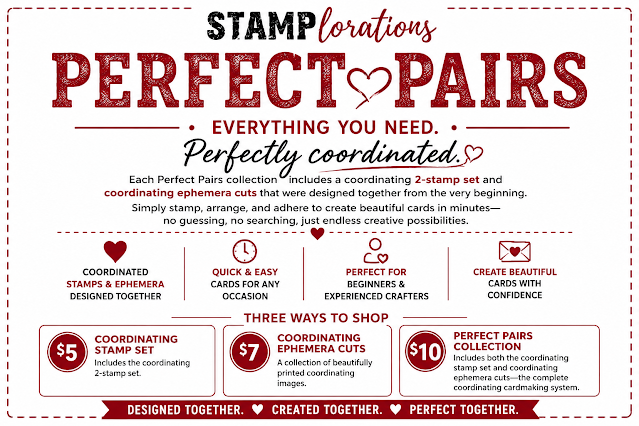
Hello! I´m here today to share a new STAMPlorations product release with you. The sets are called Perfect Pairs – containing of a stamp set of 2 and an emphemera cuts set that go together as pair. You buy this set and it´s all you need to create lovely cards in no time!
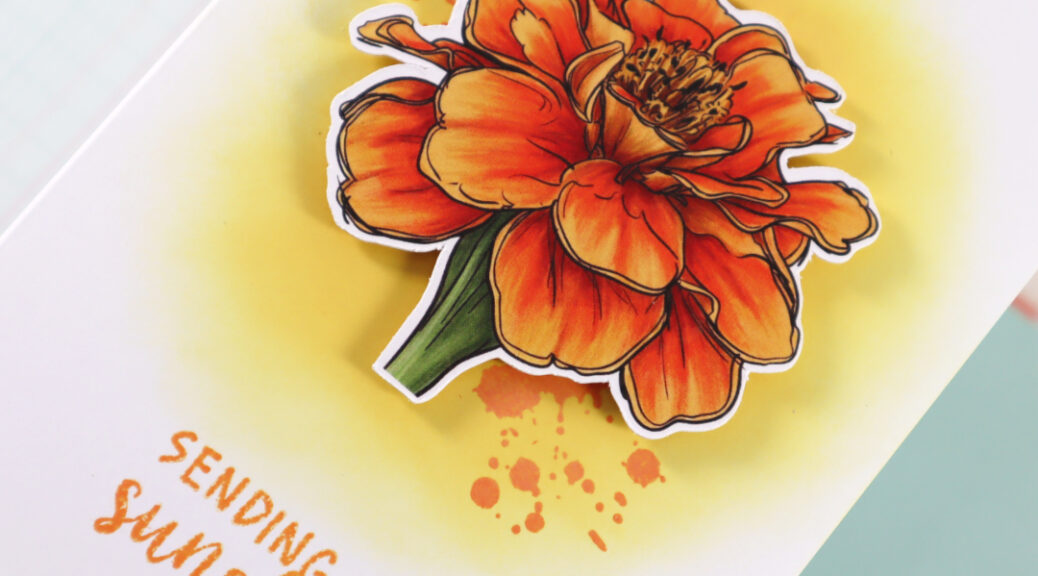
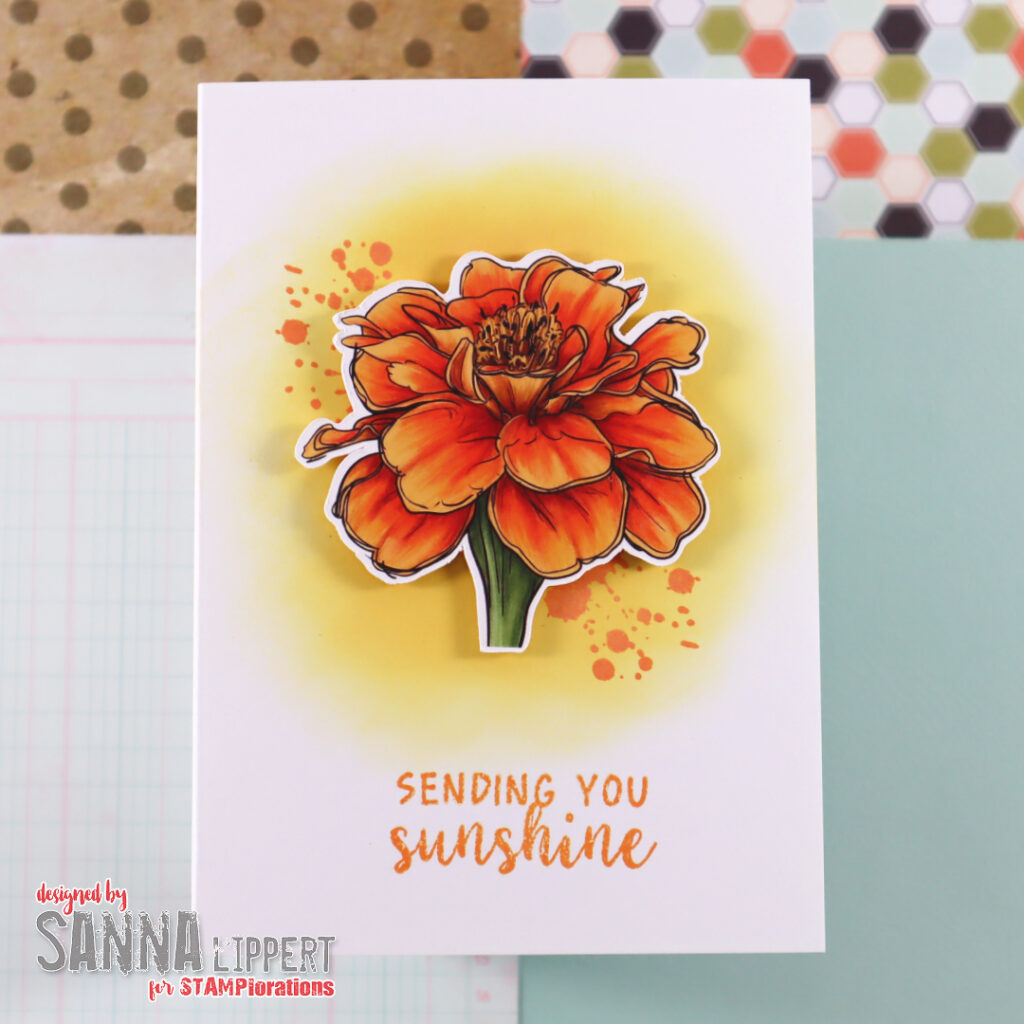
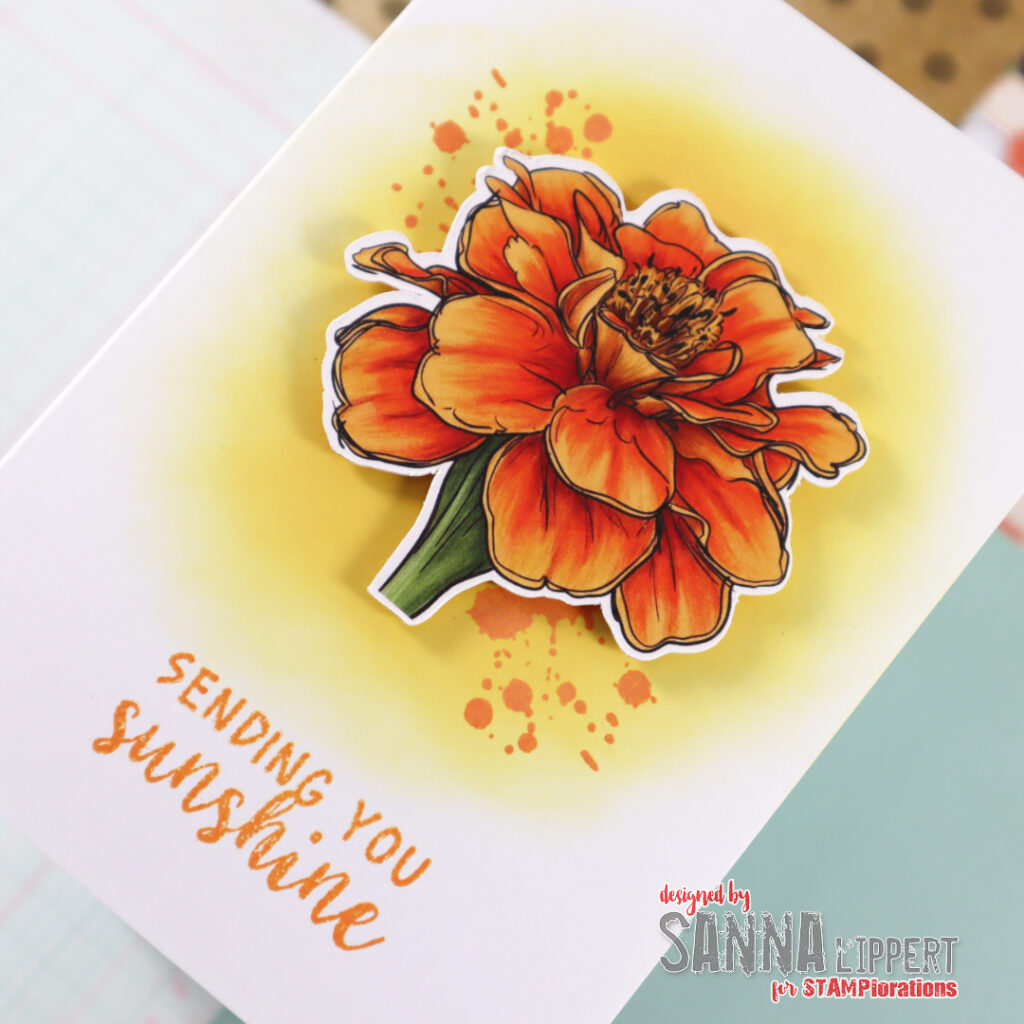
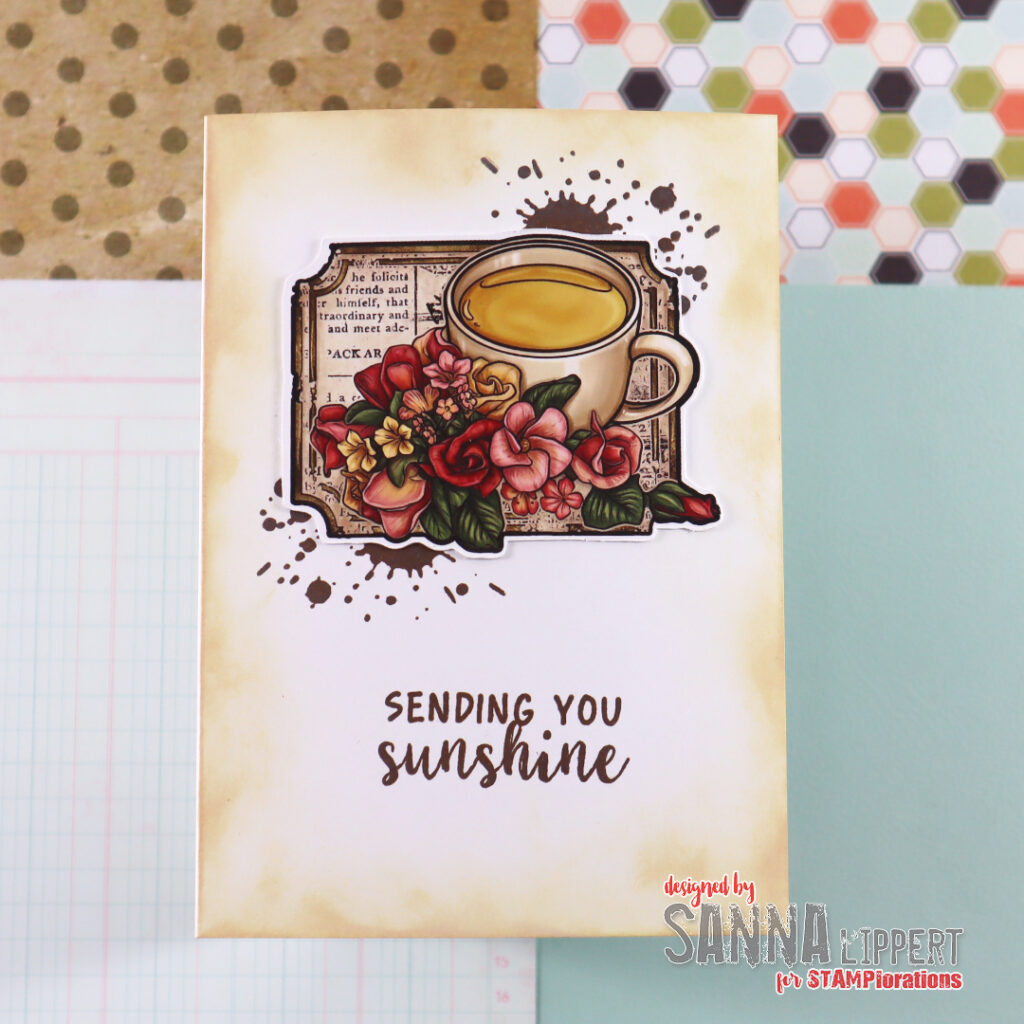
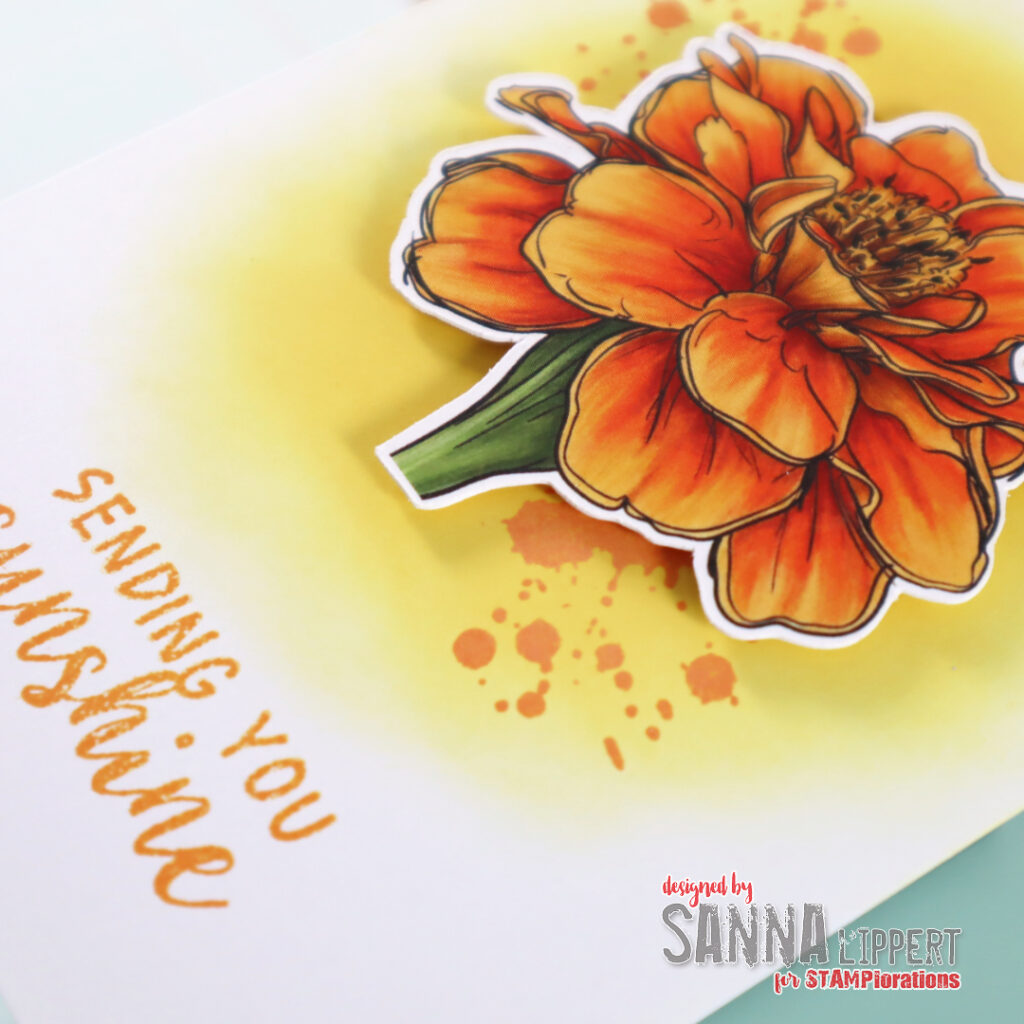
I´ve created these two cards using the set called Blooms & Sunshine. The set consists of a lovely arrangement of flower ephemera and a stamp set that matches the flower theme perfectly. For these two cards I´ve used only the set and some inks. That way you can see how easy it is to create cute cards with just a few materials.
For the above card I did the following steps:
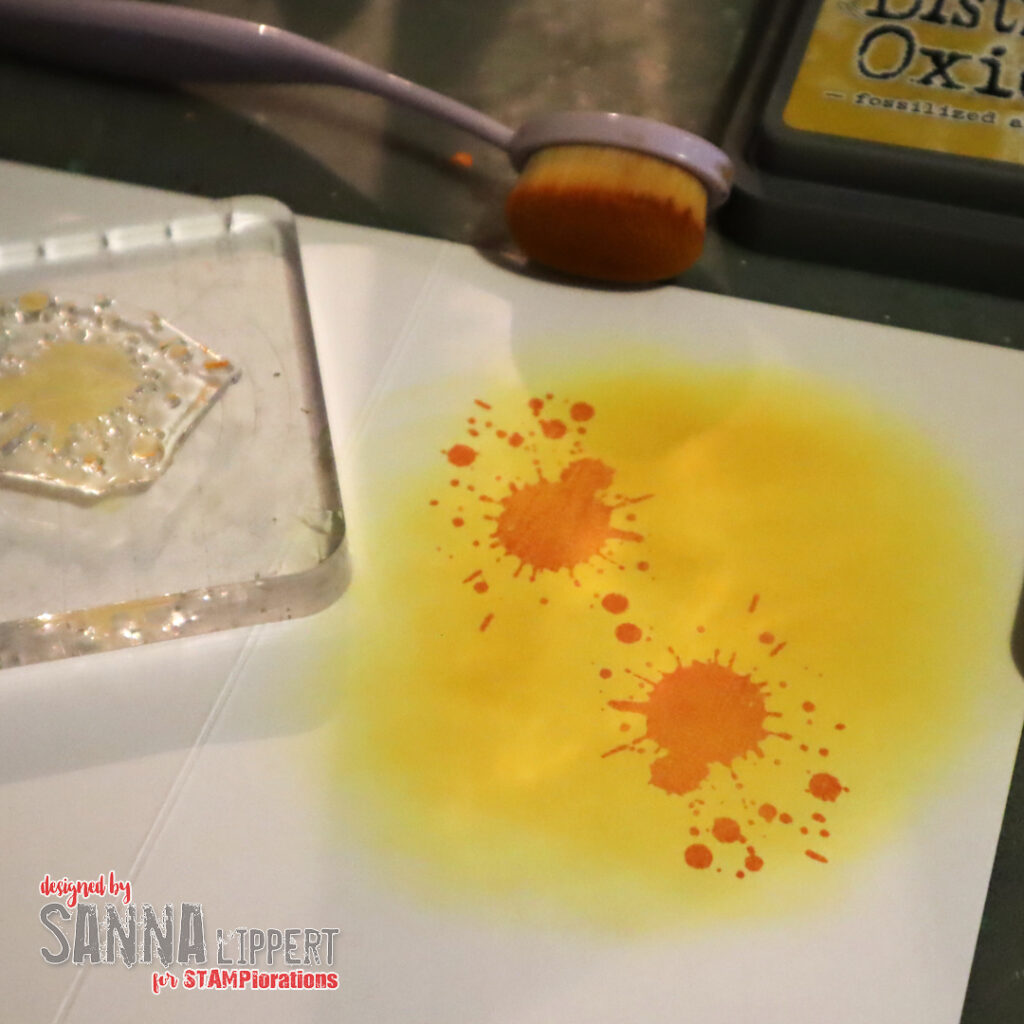
I first brushed a circle with fossilized amber Distress Oxide ink onto the white card base, then took a spiced marmalade Distress Oxide ink and stamped the splatters with it.
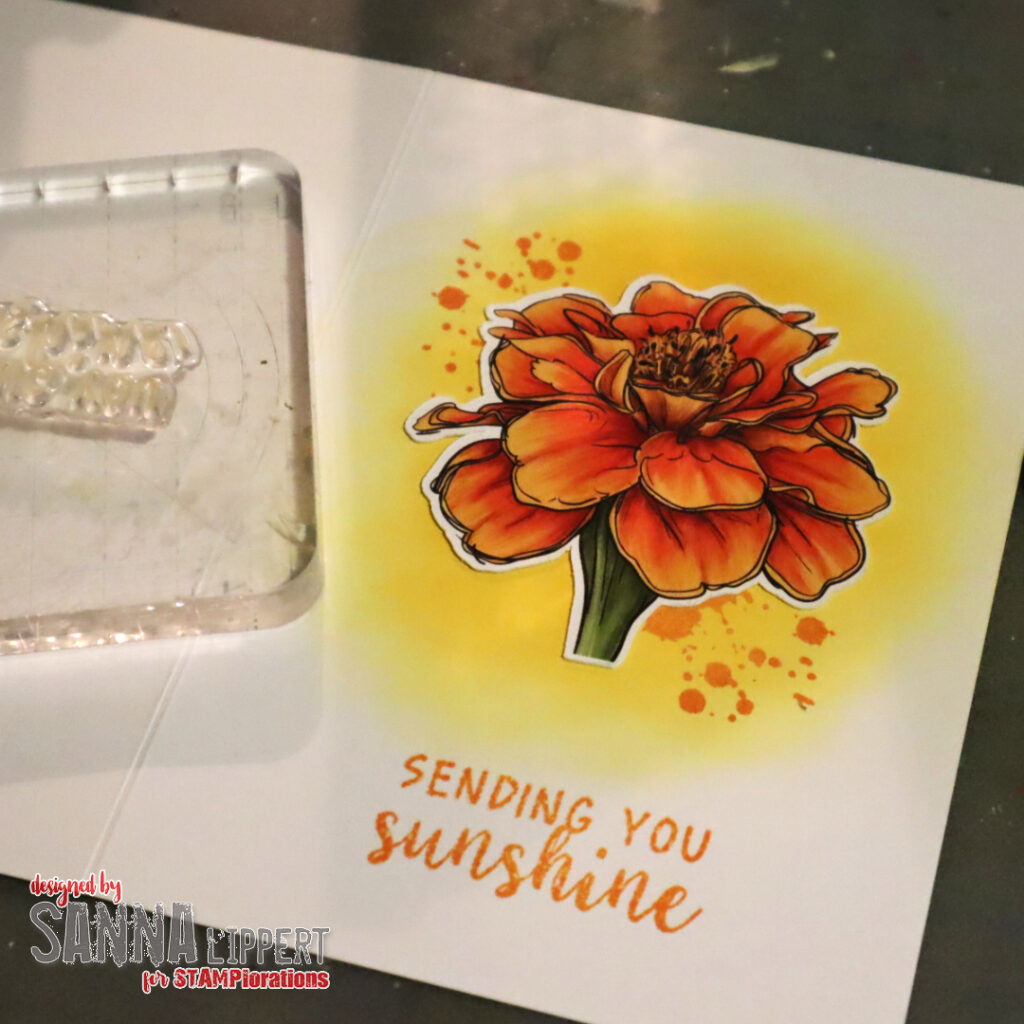
Next I adhered the flower on top using 3D-foam pads and stamped the sentiment underneath using the same orange ink tone, like on the splatters. The card was done in no time! You need very little time and very little supplies with this set! And still can create lovely handmade cards with them.
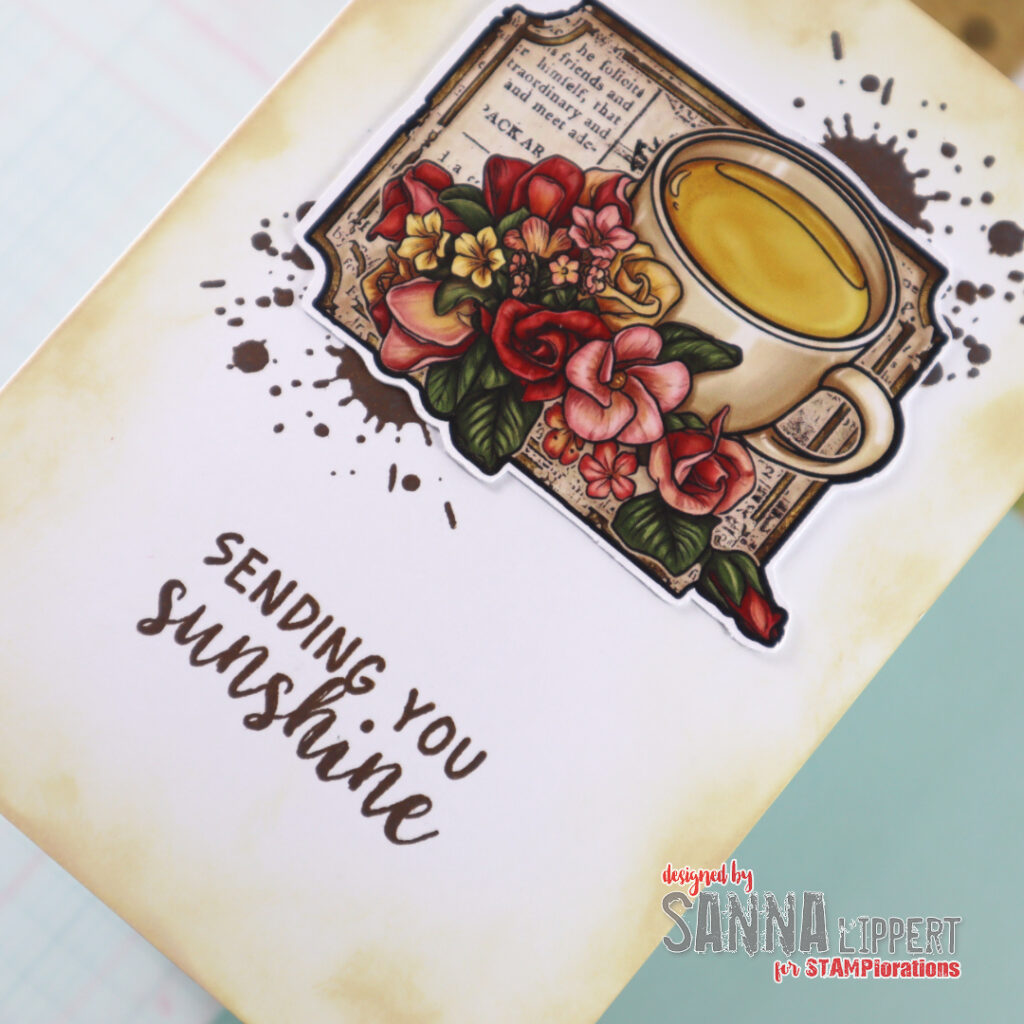
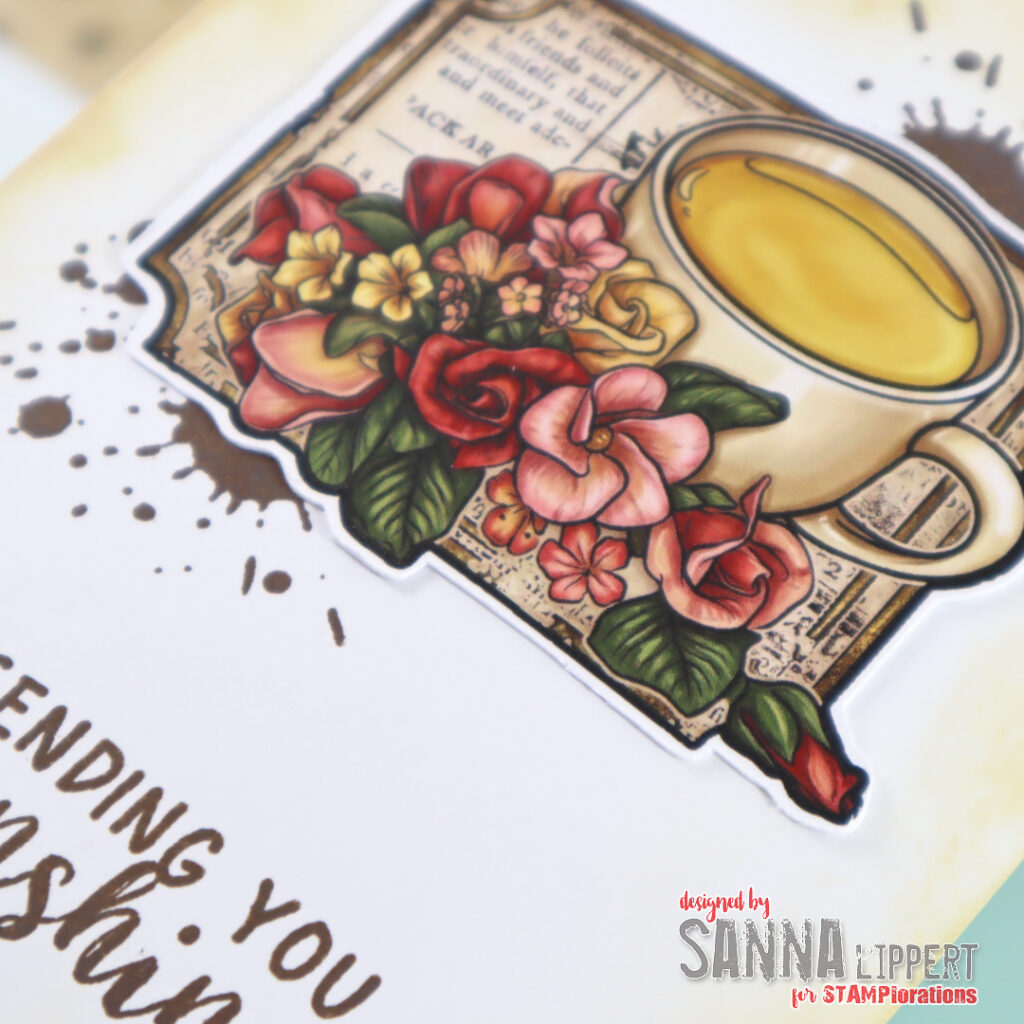
For the second card I first inked the white card base edges using old paper Distress Oxide ink.
Then I used the ground espresso Distress Oxide Ink for stamping the sentiment and the splatters. After that I adhered the ephemera piece on place and the card was done.
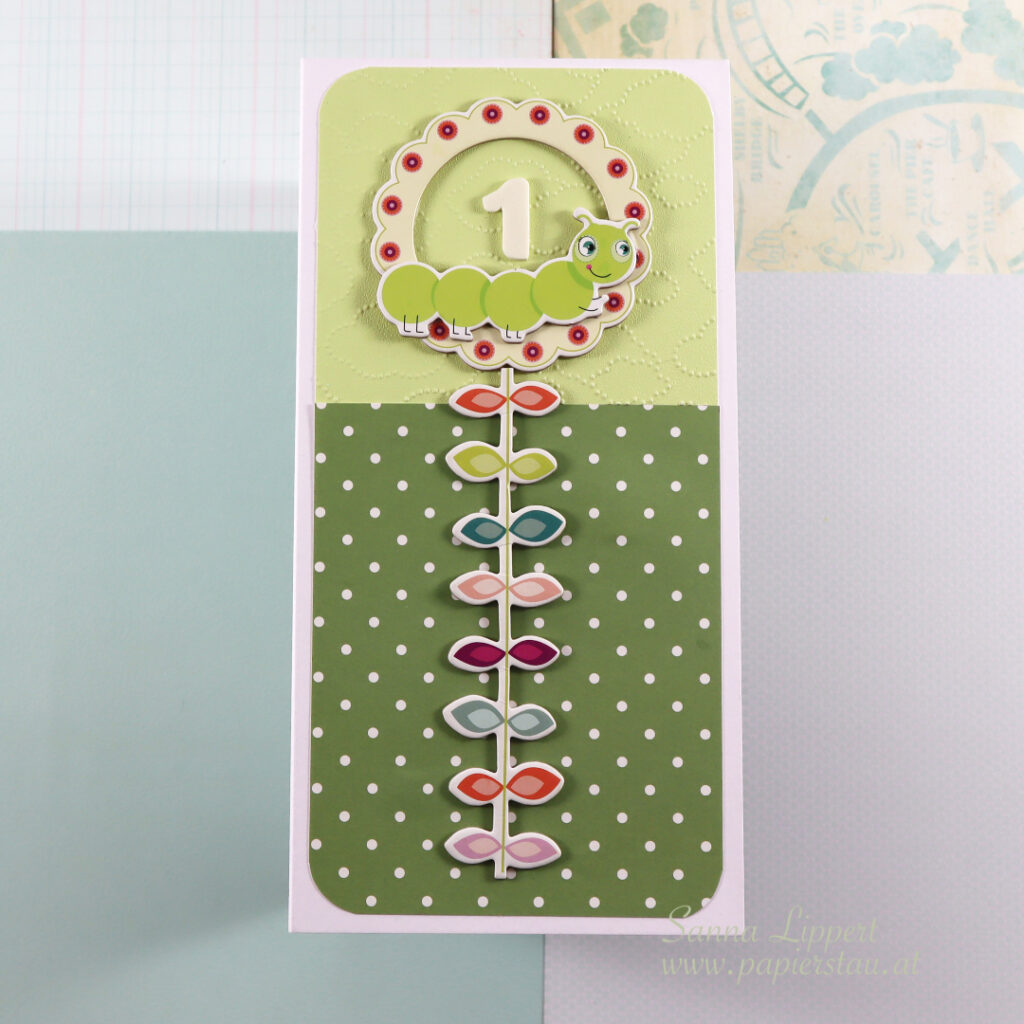
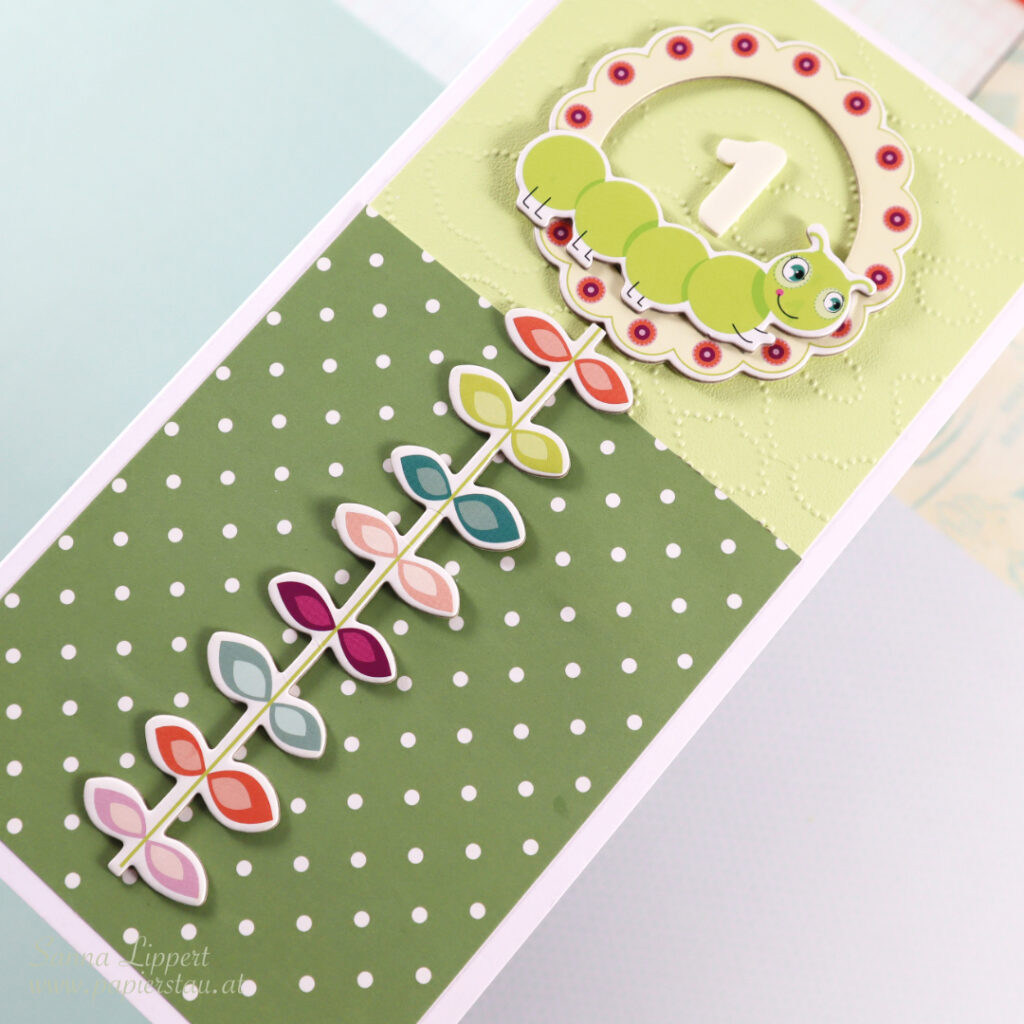
Hello everyone! Here is a quick card idea share for a 1st birthday.
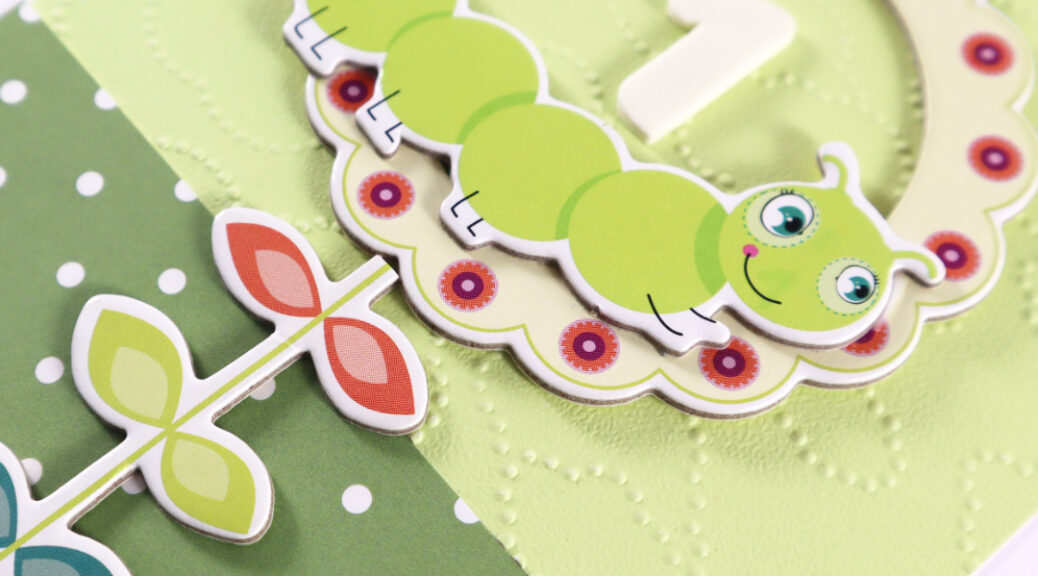
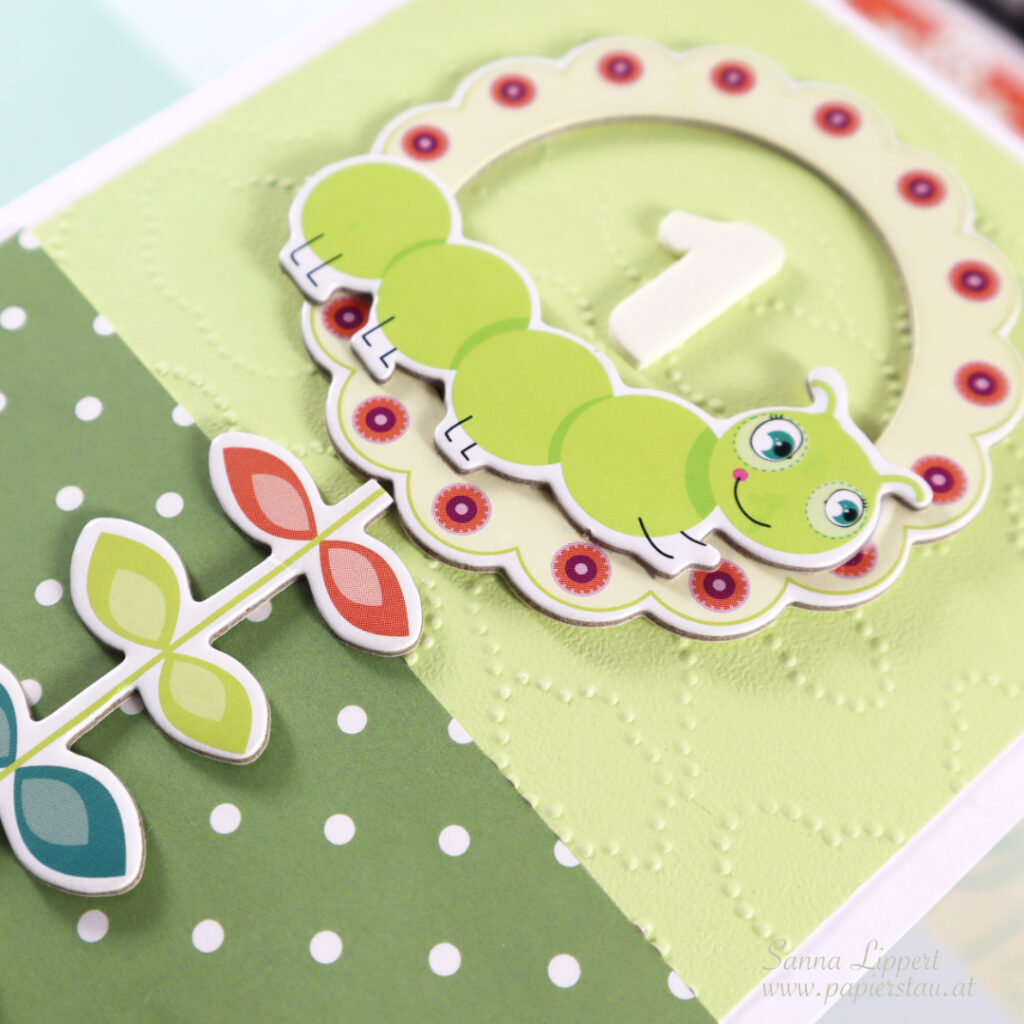
I used a white card base and papers by Elizabeth Craft Designs. The polka dot paper is cut into size and the edges are rounded with a corner chomper. For the light green cardstock I used a Stampin´Up dry embossing folder “clouds” (here is an alternative) and also rounded the edges to macht the polka dot paper.
After adhering the papers on place I added some chipboard embellishments from my stash to form a flower. I decorated the flower with a chipboard catepillar and added a Thickers foam sticker number inside the “flower bud”. I left the card without a sentiment this time.
I hope you enjoyed the inspiration. Happy crafting, xxx, Sanna
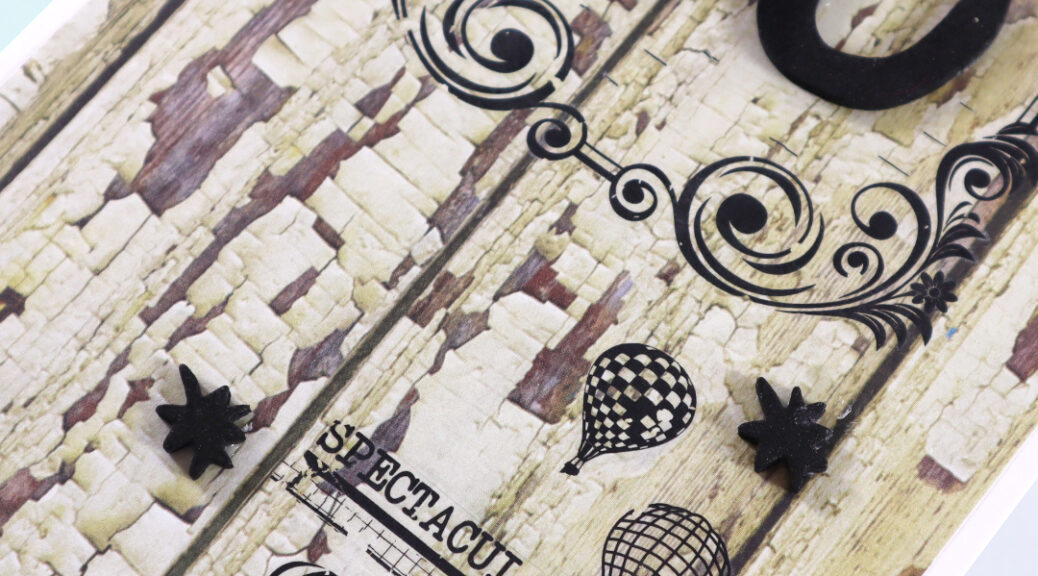
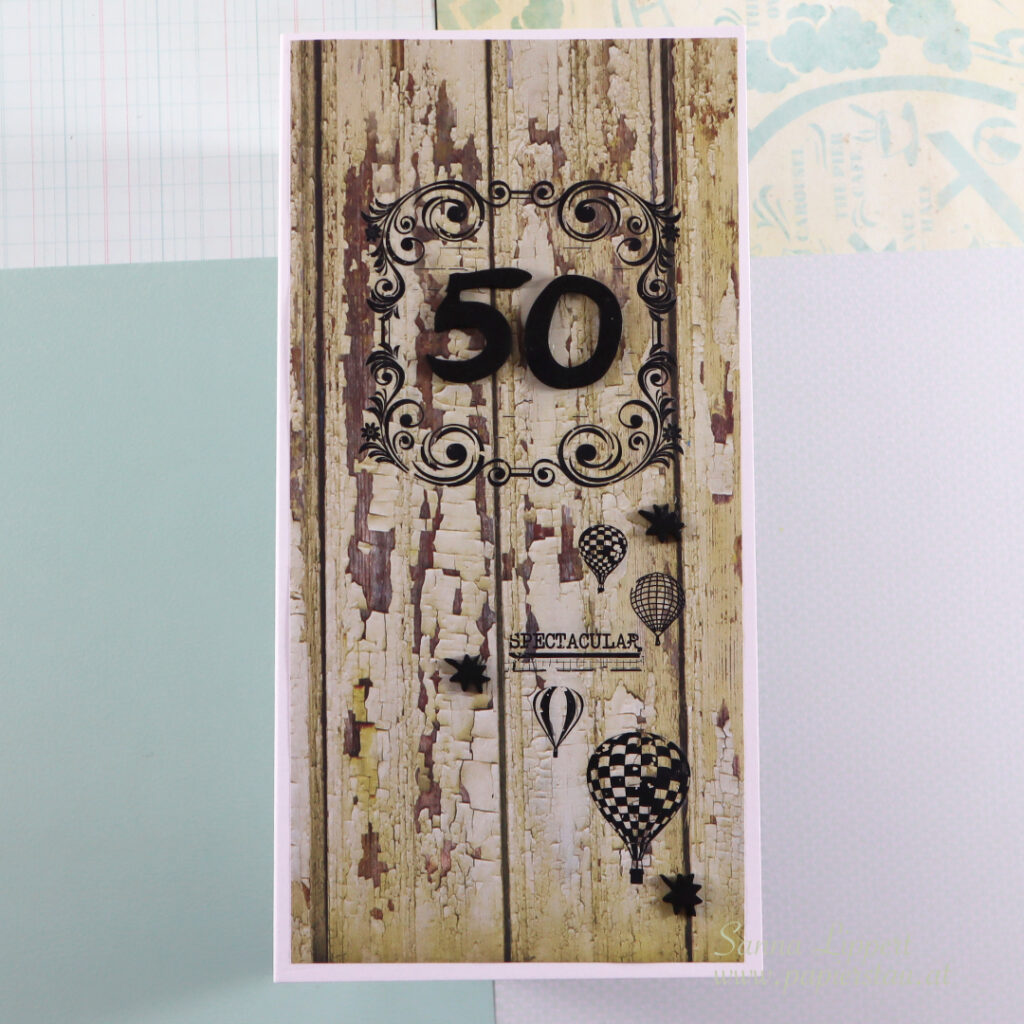
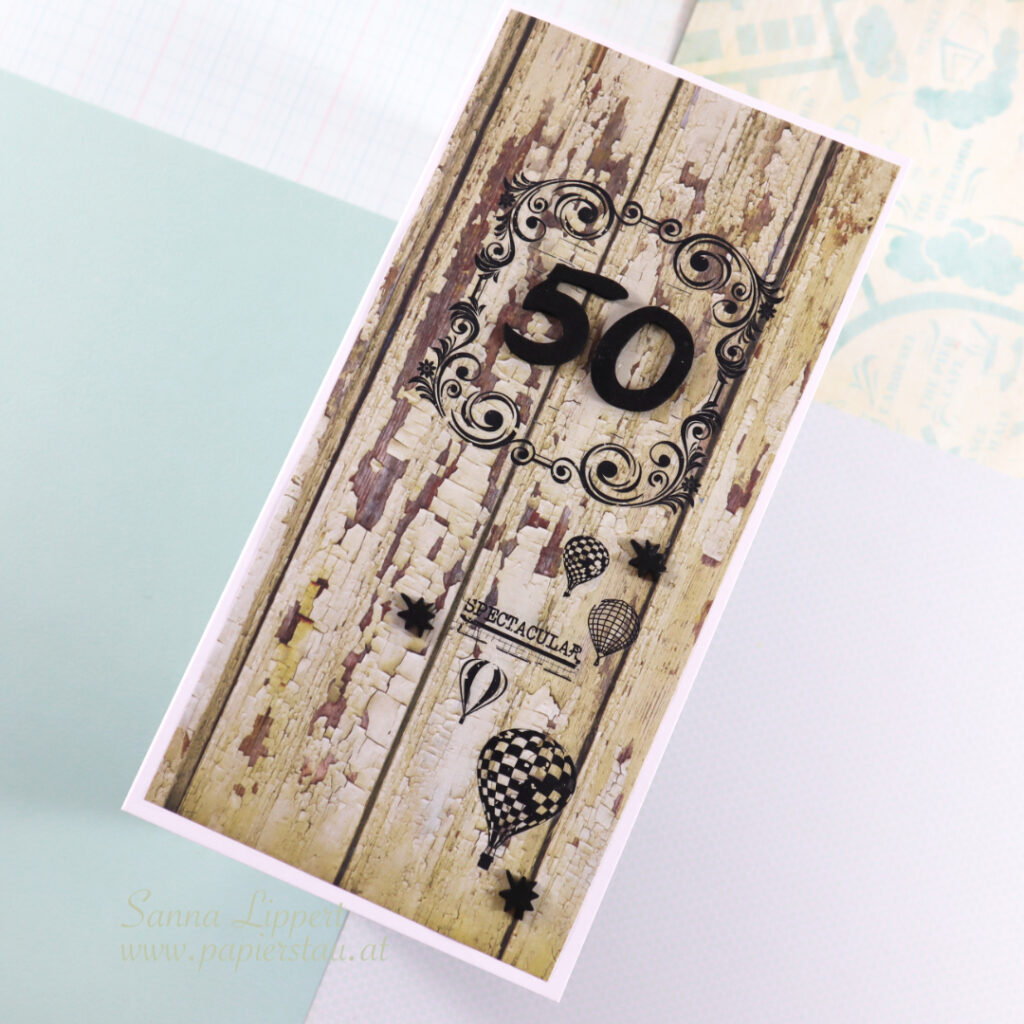
Hello everyone! This is a masculine birthday card idea share for a 50th birthday card.
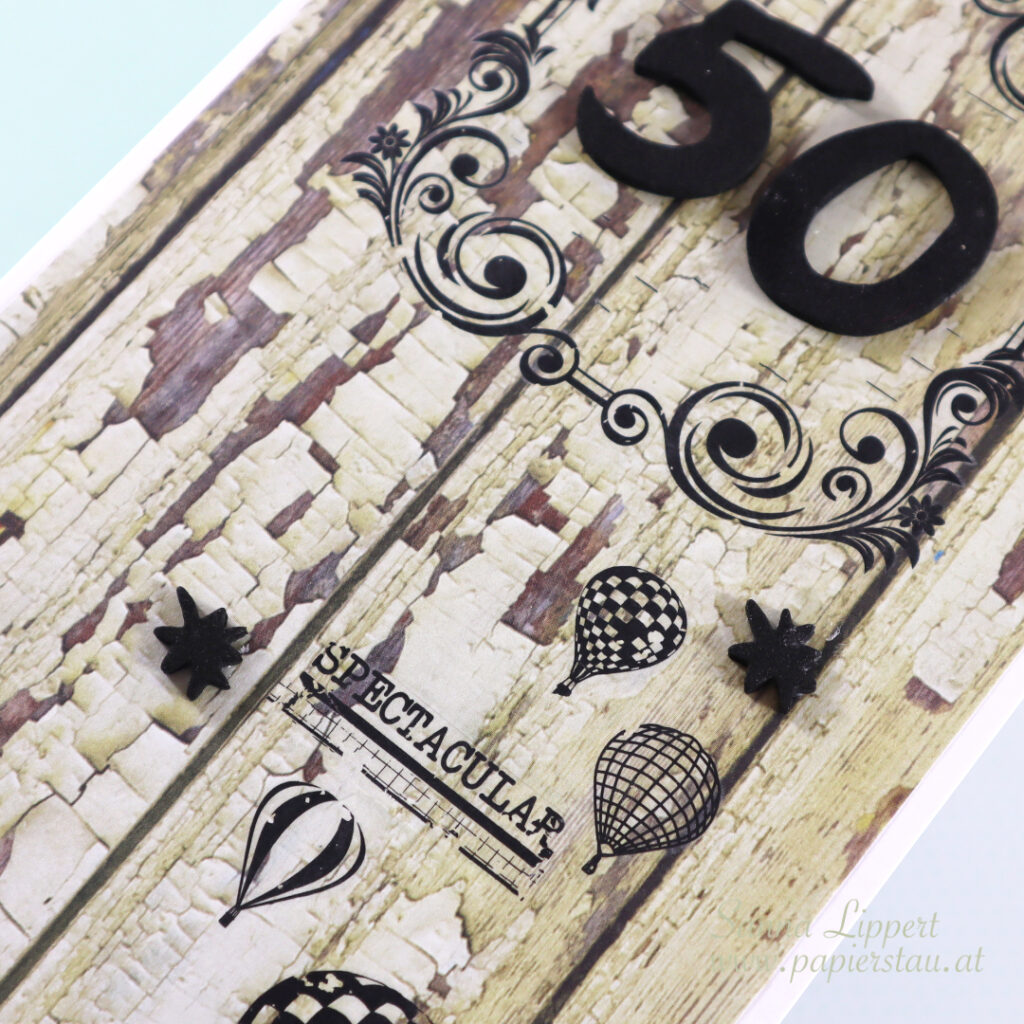
I used a woodgrain patterned paper on the background (trying to keep everything very masculine). On top I added some black rub-ons from my older stash (Kaisercraft) and as a centerpiece Thickers foam sticker numbers.
For additional decor I sneaked some golden ink droplets here and there. The card is very simple in design and has almost no decor. I hope the recipient finds it suitable for the occation.
I really like woodgrain papers an love to use them almost as they are. The paper on it´s own makes the card special and it doesn´t need much more decor.
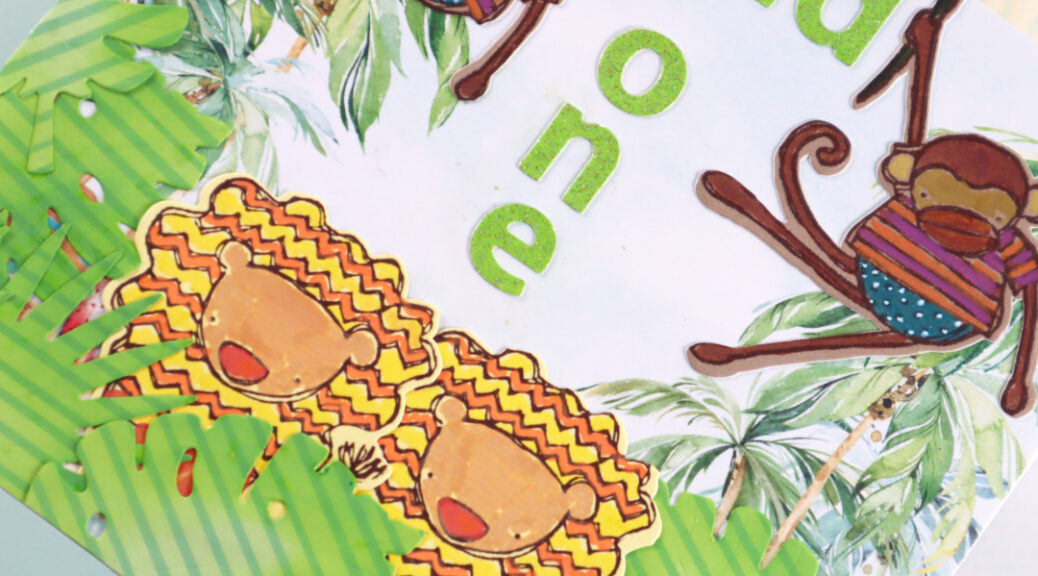
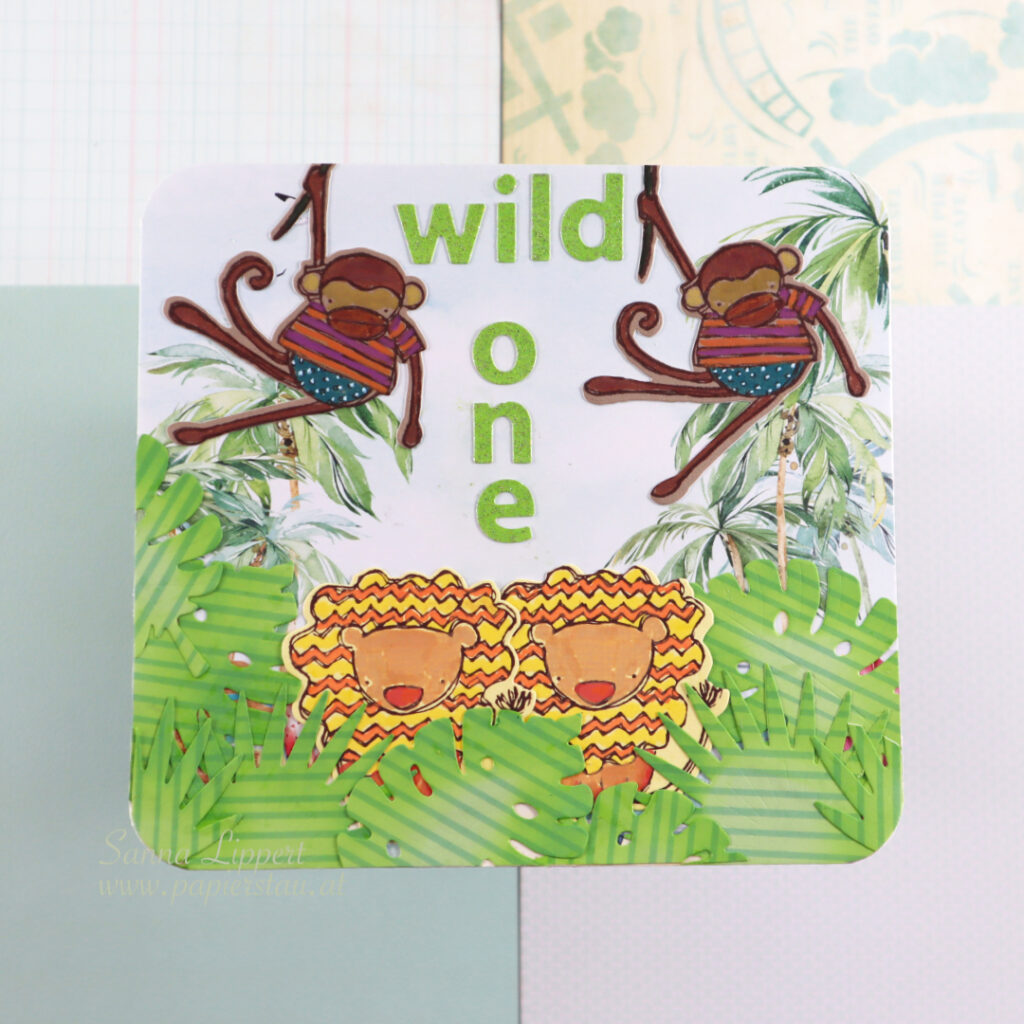
Hello everyone! Today I´m stopping by to share a card I created for a 1st birthday.
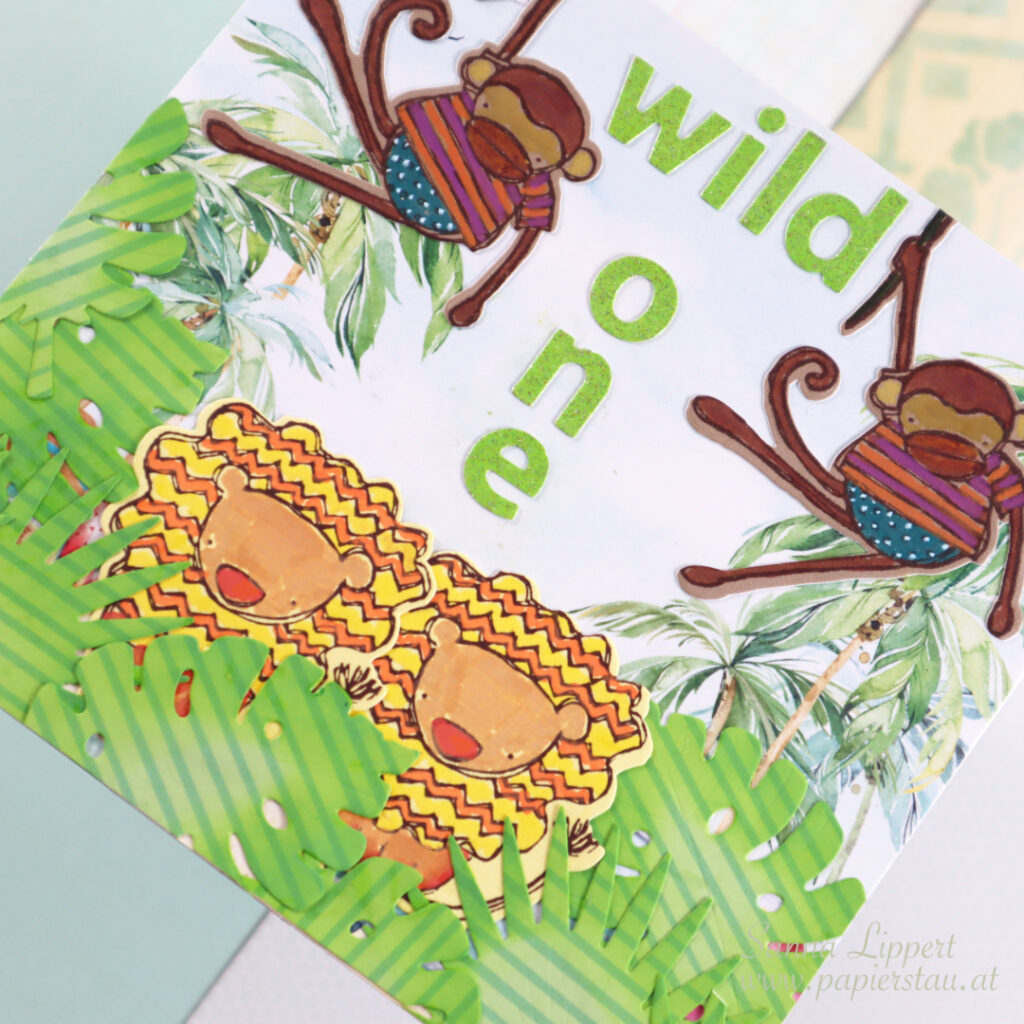
I started off with a palm tree paper on the background. Next I stamped and die cut the lions and the monkeys from yellow and light brown cardstocks. The die cut dies and the matching stamps are by Elizabeth Craft Designs (from their older collection). Next I colored the stamped and die cut images with acrylic markers.
After that I die cut some tropical leaves from a striped green toned paper. I then added some Distress Oxide Ink in green around the edges of the leaves for more depth. Next I arranged all the pieces onto the palm tree patterned paper and glued them on place. For finishing touches I added some glitter alpha stickers for a sentiment.
I really liked coloring the jungle animals for this card. I hope the birthday boy´s parents also like the card.
Hello there! I´ve got a stenciled card share up for you today. This is made using STAMPlorations products with some bits and bobs from my older stash.
For this card I first made a collage paper with a gel plate and the Evolution stencil. I then cut the piece to match the card size. Before adhering this piece on place I stenciled in red and orange toned Distress Ink tones and the Henna Pattern stencil below the area where I wanted to attach the collage paper piece. I also outlined the Henna Pattern with a dark brown marker to make it stand out from the background even more. After that I adhered the collage paper piece on place.
For the sentiment I used a Rubber Dance stamp set called “Feathery”. I stamped again using brown ink to keep the colors similar. After that I added some golden pigment droplets here and there on the white space and a row of two different ribbons as well as layered paper flowers and a brad to finish the card off.
I recently went thru my stash and noticed that I have quite an amount of ribbon collected over the years. Thus, I will try and incorporate some ribbon to my cards in the future.
I hope I could inspire you to use some stencils in your cardmaking projects. Also hop over to the STAMPlorations blog to see more inspiration and join the never ending challenge. And like always, here is your discount code for the STAMPlorations store purchaces:
Hello everyone! I´ve been playing with STAMPlorations products again. This time I´ve used some very old rub-ons and flowers from my stash and combines those with new STAMPlorations products.
For this card I took a peach toned cardstock as a base, then added some older white rub-ons on top. I wanted to add a very light stenciling on top with the Henna Pattern stencil and light pink Distress Ink. I like how you need to take a second look on the card to really see the second background layer. It makes the card so much interesting.
Next I arranged 3 flowers on top of each other. Two paper and one fabric flower – these are all older product from my stash.
I then mounted the piece onto a white card base and added a sticker sentiment. This is from the new STAMPlorations Floral Magic clear sticker set. I love the softness of this card and the fact that I could incorporate some old with the new.
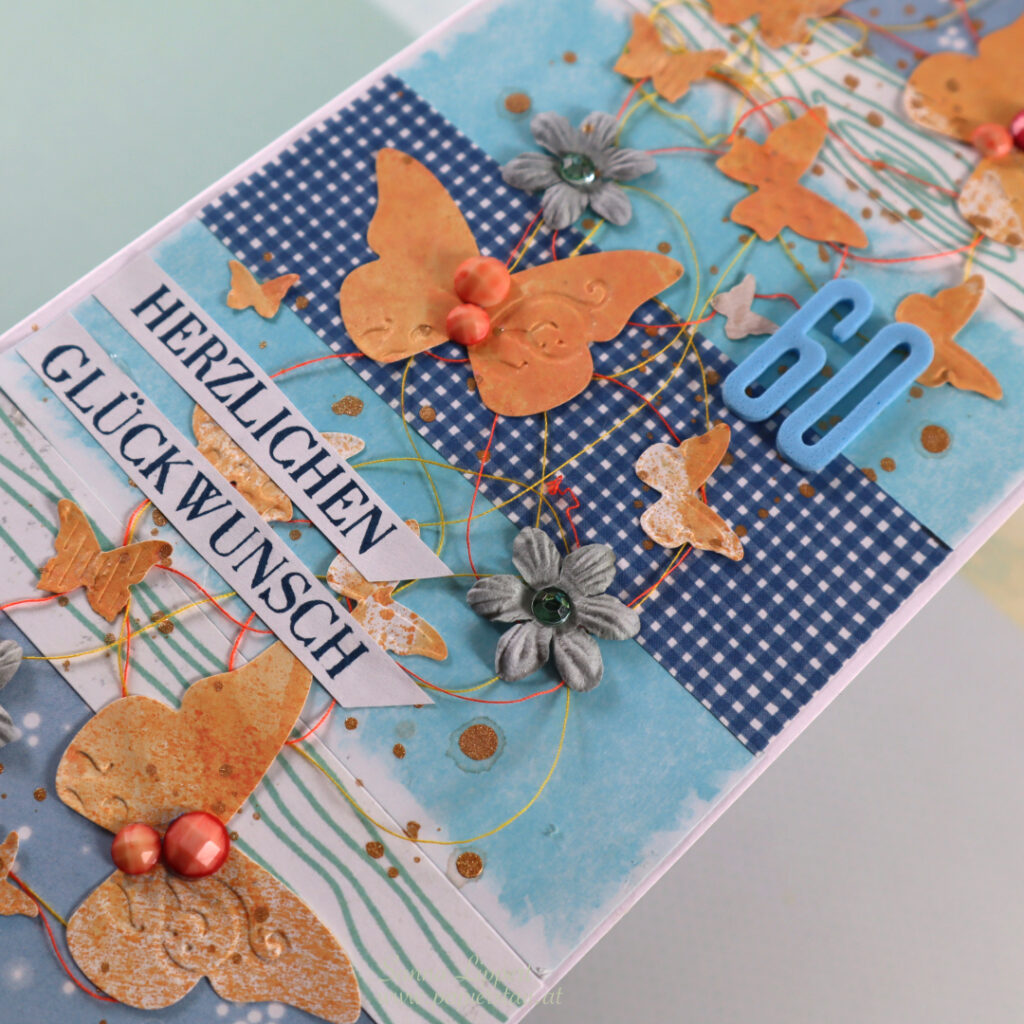
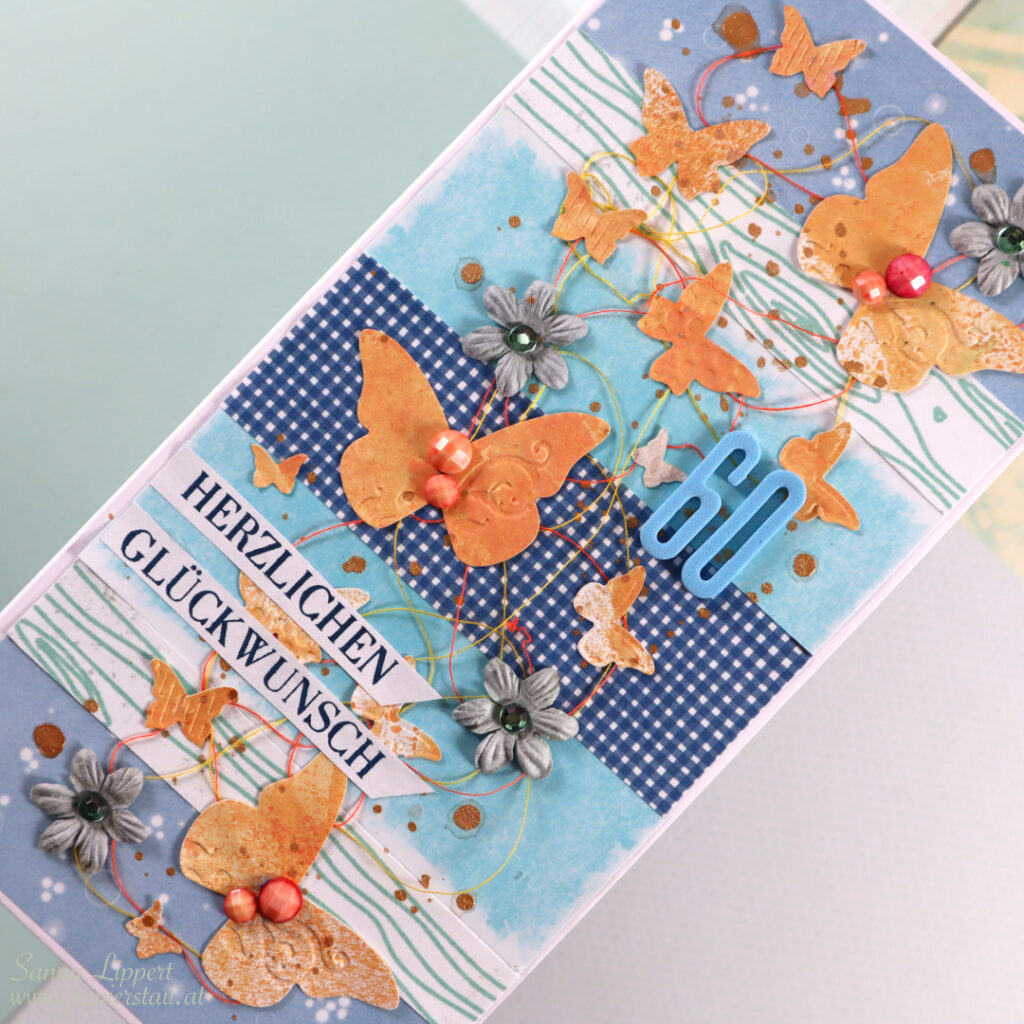
Hello and happy Saturday! Here is a slimline card I created for a 60th birthday.
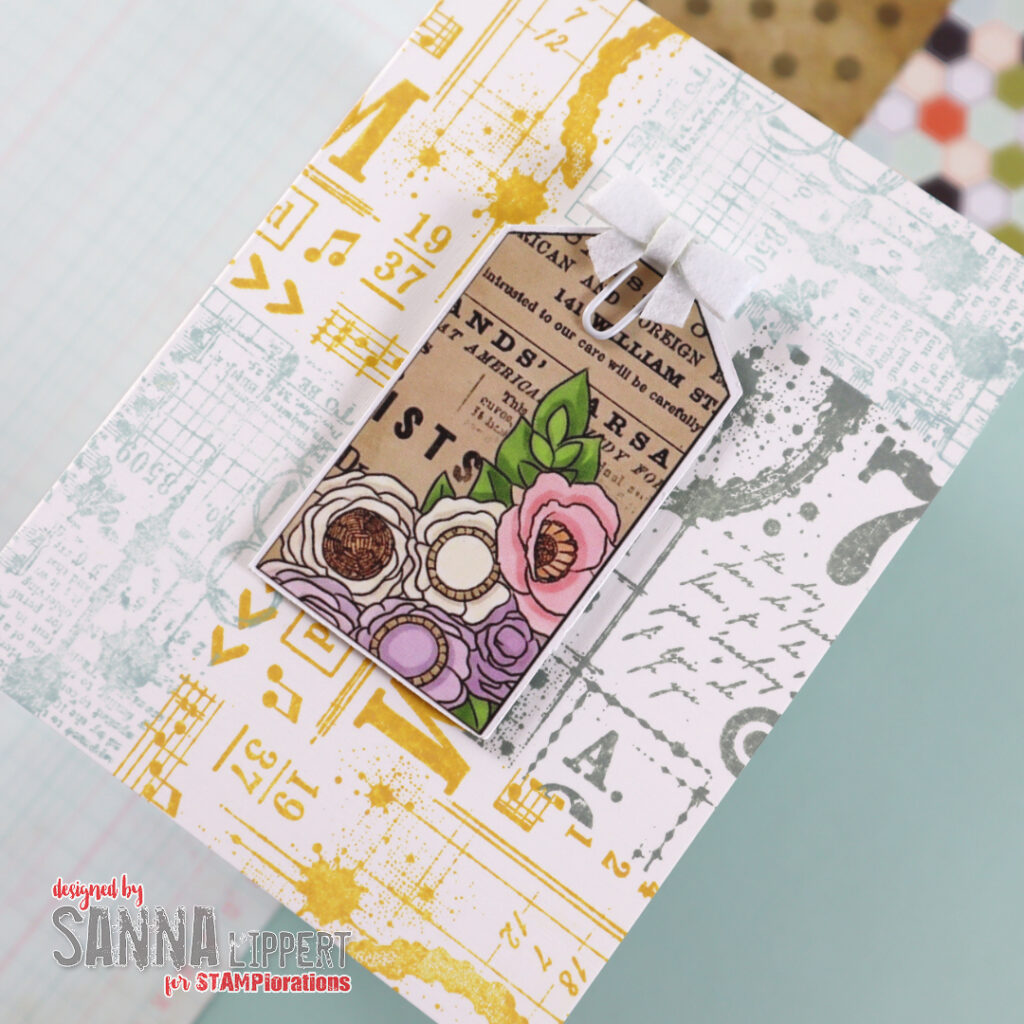
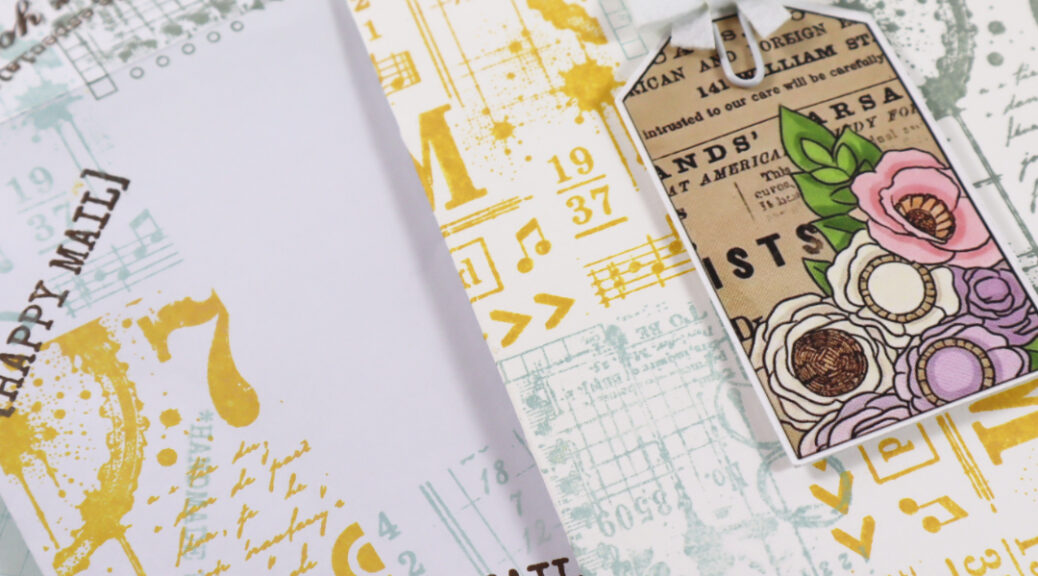
I´ve used patterned paper from my older stash with some older white rub-ons (still work fine!) from my stash. I then added a yellow die cut patterned paper tag onto the base. After that I added two fabric flowers and a chipboard ephemera as a centerpiece. I decorated it with several paper flowers, some half pearl swirls and a chipboard birdie. The card sentiment is stamped with a happy birthday sentiment by Rubber Dance (this set) and tiny golden sticker numbers.
I love the flower patterned paper on the background and have been saving it in my stash for years now :). I found that this was the perfect space to use it. Pink and yellow also make for a great color combination for a summer birthday, in my opinion.
Hello everyone! STAMPlorations has a new stamp series out called “Simple Expressions“. These stamps aren’t just regular sentiments to add at the end of a project. They are designed to become part of the artwork itself, inviting us to tell a story through both words and creativity.
I got to play with the new “Happiness” set. Some words have a special meaning to us and lets us reflect and this word certainly is one of them. Everybody understands the word and defines it a little different. It´s versatile and can be used for all kinds of purposes – ATC´s, journal pages, cards, even with shrink foil as key chain decor.
For my first card I combined the vintage looking Retro-Femme ATC image and the gorgeous Analog Grunge paper with the Happiness Simple Expressions stamp. They work together so very well! I used Distress Oxide ink in “old paper” for the solid stamp image. then added black stamping with the outline stamp on top and in the process, also stamped the hand written sentiment. I also added some Edding glitter brush pen in silver and purple to the ribbon on the lady´s hat. Only when you tilt the card, it will show.
For the second card I used the Old Letter Pocket Backdrops paper as a background. Then i added the sweet and eerie Retro-Femme ATC image directly on top. I also fussy cut flowers from the Floral Parade Ephemera Cut-Outs and added those and another pink flower from the Old Letter Pocket paper to the ATC. I love how it creates a romantic head piece for her. For the Happiness stamp image I used Distress Oxide ink in pink and a black VersaFine ink. For some glitter details, again a silver Edding glitter brush pen.
This brown card turned out to be my favorite. The design is actually really simple to do. I first inked a piece of white cardstock with brown Distress Oxide ink, then used the solid Happiness stamp with VersaFine brown stamp ink to create the background pattern. After that I outlined the Retro-Femme ATC image with another inked paper and finished the card off with some glitter brush pen details. For me, the bold ATC image and the warm brown background just work perfectly together.
For my last take I used the same technique, like on the previous card. Except I started by stamping with solid Happiness words first with blue stamp ink. Next I blended some “old paper” Distress Oxide ink over the whole background. This created the softer look. Next I added the more unapproachable looking lady´s image from the Retro-Femme ATC set on top. The colder color choices work better with this image. I then simply stamped the Happiness stamp image on white cardstock with blue and black ink and mounted that onto the card base. And I again sneaked some Edding glitter brush pen details to the focal image for interest, too.
Happiness can mean so many things to us all. For me it´s spending time with my people, chatting and just enjoying each other´s company. It´s also creative time and travelling, smelling flowers, being happy with myself. Happiness is a good book, a cup of coffee. It´s all those things that come from the inside! I really like this sentiment ALOT!
When you purchase any Simple Expressions stamp set, you can add one Paper Goods pack to your order for 40% off. It’s a wonderful opportunity to discover just how effortlessly these collections work together – and perhaps even find your next favorite creative pairing.