
Tag Archives: serene winter perfect pairs

Perfect Pairs Serene Winter cards – STAMPlorations

Hello everyone! Today I´m again stopping by to share some more STAMPlorations Perfect Pairs Serere Winter card projets with you.
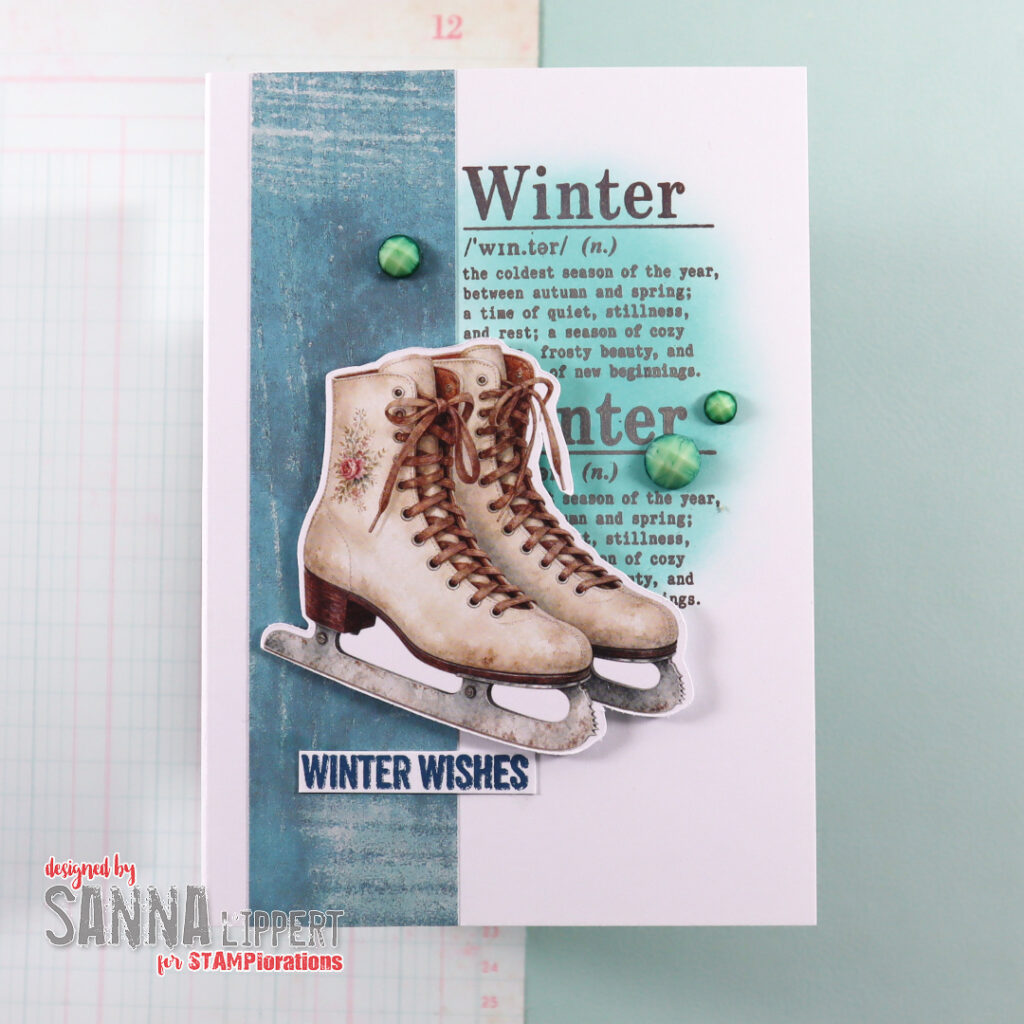
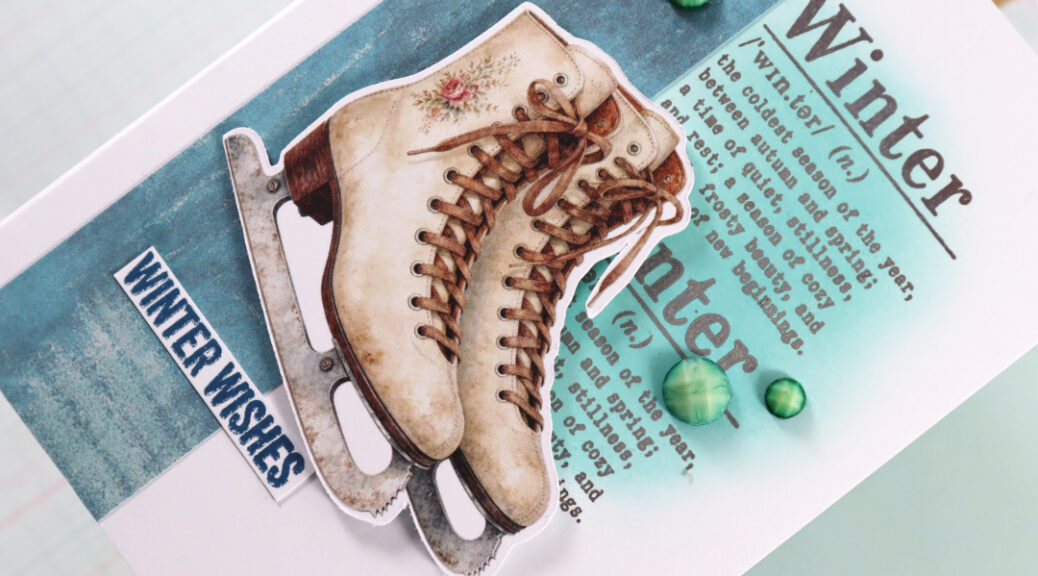
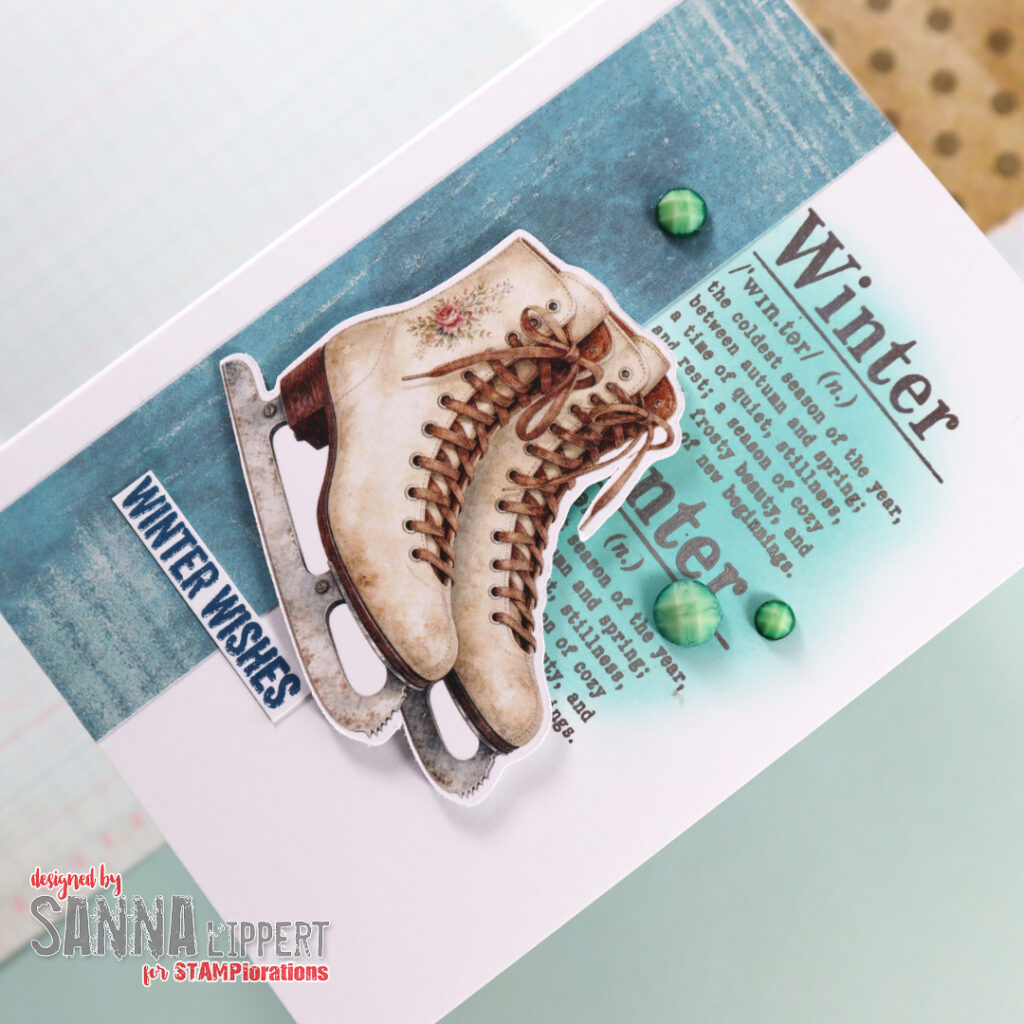
For this card I´ve used some blue patterned paper and a blue inked area directly on the card background. Onto it I stamped with dark brown ink and the “Winter” definiton stamp to add more pattern to the background. The ice skates emphemera piece is adhered on place with a piece of 3D-foam for depth and interest. The sentiment underneath is just a part of the winter wishes sentiment and inked with blue stamp ink. For decor I added some half pearls .
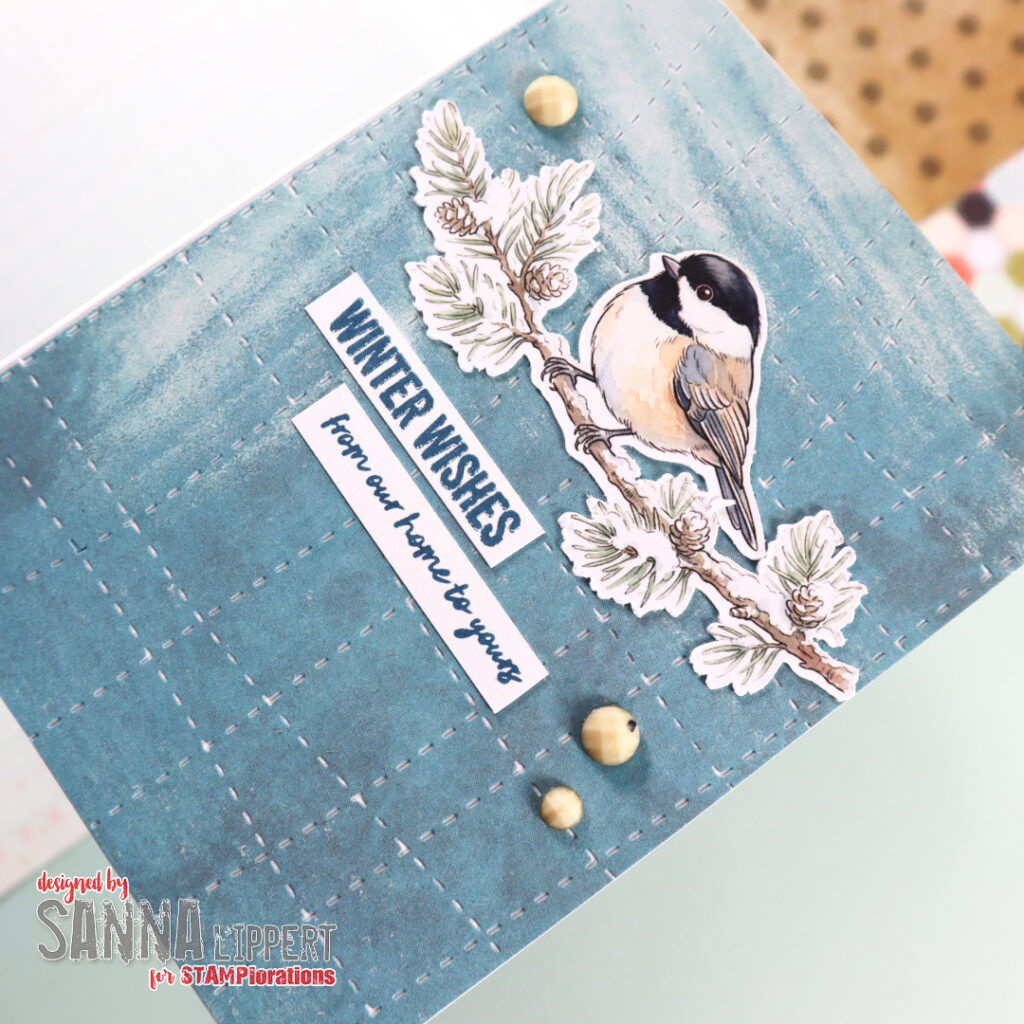
For the second card I used the same blue patterned paper, but added a die cut pattern with the Wonky Stitched Grid Texture Cover Plate to it.
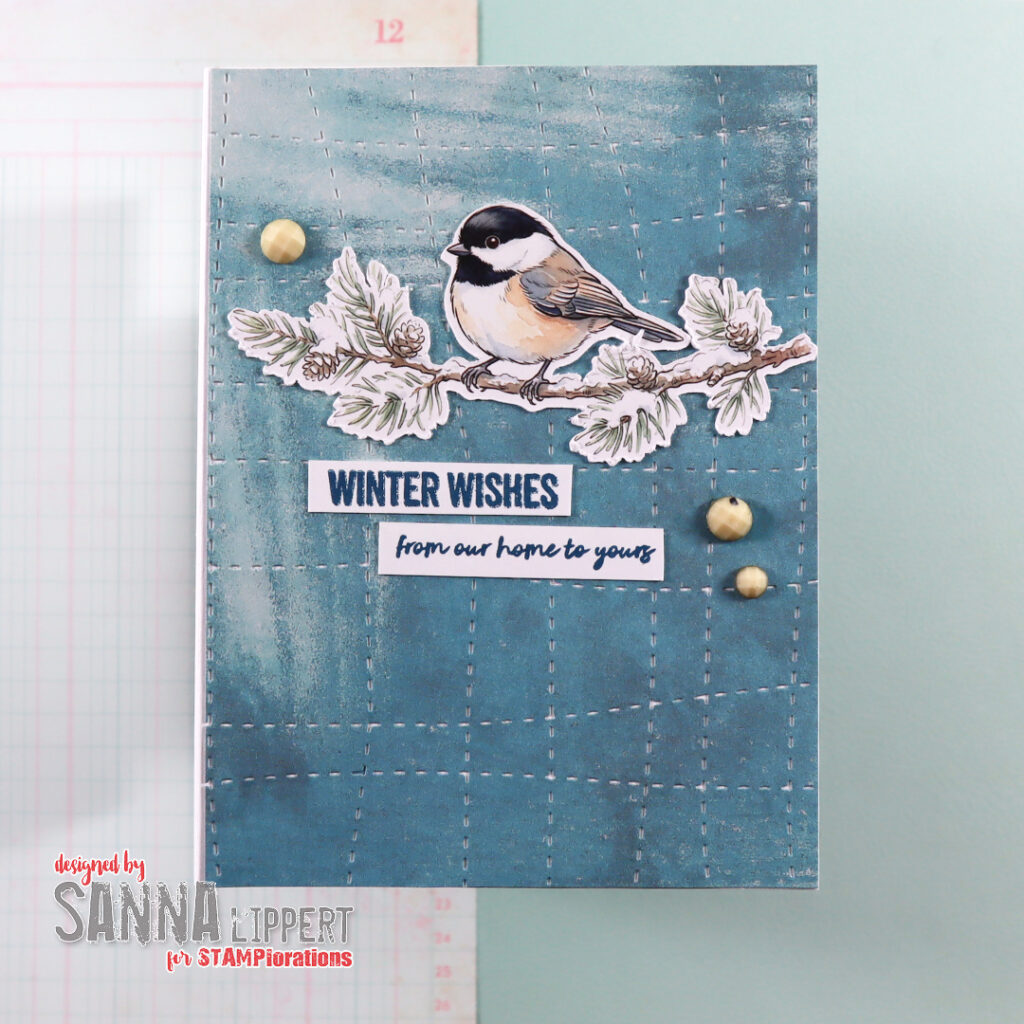
On top of that I added the bird on a branch emhemera piece and a Winter Wishes stamped sentiment (stamped with blue ink) – cut into two separete pieces. I then simply decorated the card with some half pearls.
I love how clean and simple these cards are. They are easy to make and with the stamps and ephemera you have all the necessary elements to create beautiful cards. Just add paper and/or ink and you are good to go.
I hope I could inspire you to create with Perfect Pairs!!
xxx, Sanna

STAMPlorations Perfect Pairs – Serene Winter

Hello everyone! I´m back with another new STAMPlorations Perfect Pairs set called Serene Winter. I really love these Perfect Pairs sets!! They are so much fun to create with.

For these cards I´ve just used 3D-foam adhesive, inks and the Perfect Pairs set.

For the above card I started off by inking the “Winter” stamp with fossilized amber, spiced marmalade and ground espresso Distress Oxide inks. I started with the lightest ink on top and ended with the darkest.

I created a repeated “stripe” down the middle of the white card base as background for the ephemera piece that I adhered with a 3D-foam piece.

Next I took a orange spray ink, misted a piece of paper and stamped the sentiment with dark brown ink on it. After that I fussy cut the piece to size (and only used the winter wishes part of it) & adhered it onto the card. Very easy and fun!

For the second card I started off by stamping the “Winter” sentiment with hickory smoke Distresss Oxide ink 4 times onto the white card base, but always tilting the stamp image 90 degrees for the next stamp image. That way I had created a fun background image with just one stamp. After that I added ink splatters all around the card base.

Next I adhered the emphemera image with 3D-foam on top of the stamped images and finished the card off with dark brown “winter wishes” stamped sentiment.

I had really a great time creating these cards. The set works so well together and is fun to play with. I hope you get inspired by these cards. Be sure to check out the STAMPlorations blog for more inspiration!!

Happy crafting,
xxx, Sanna