Tag Archives: Spray ink

Ephemeral Edges collage papers – STAMPlorations, Vol. 2

Hello everyone and happy Sunday! Here is another project I created using the new STAMPlorations collage papers – playing with Ephemeral Edges.

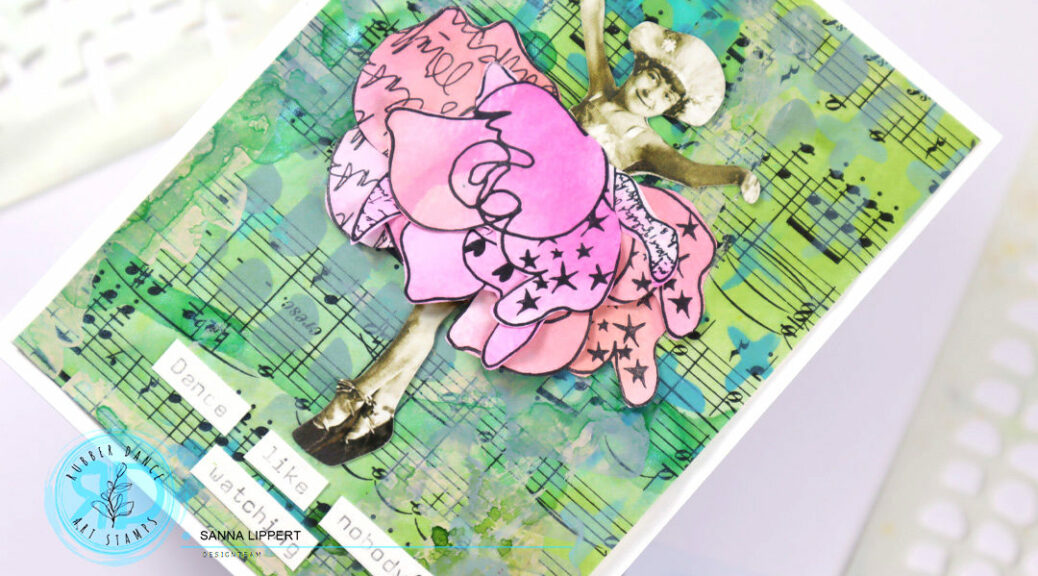
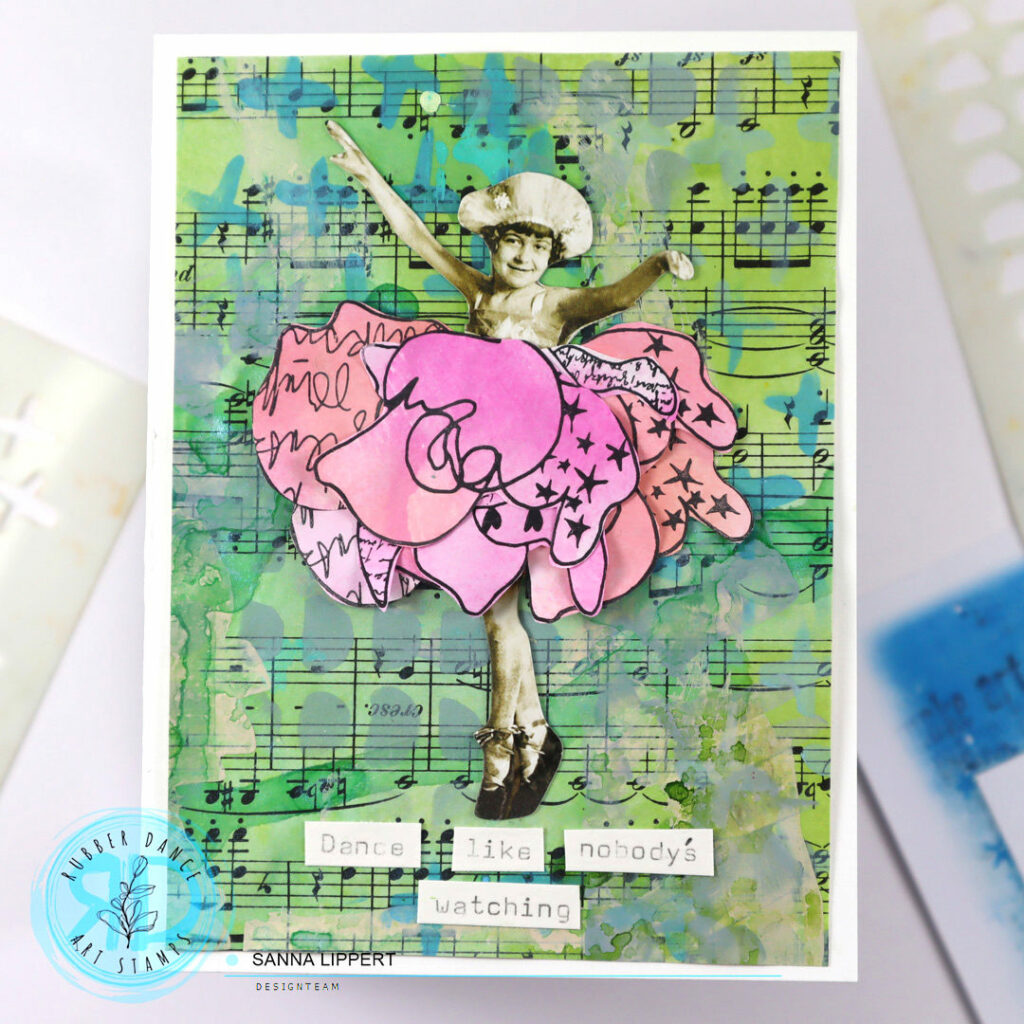
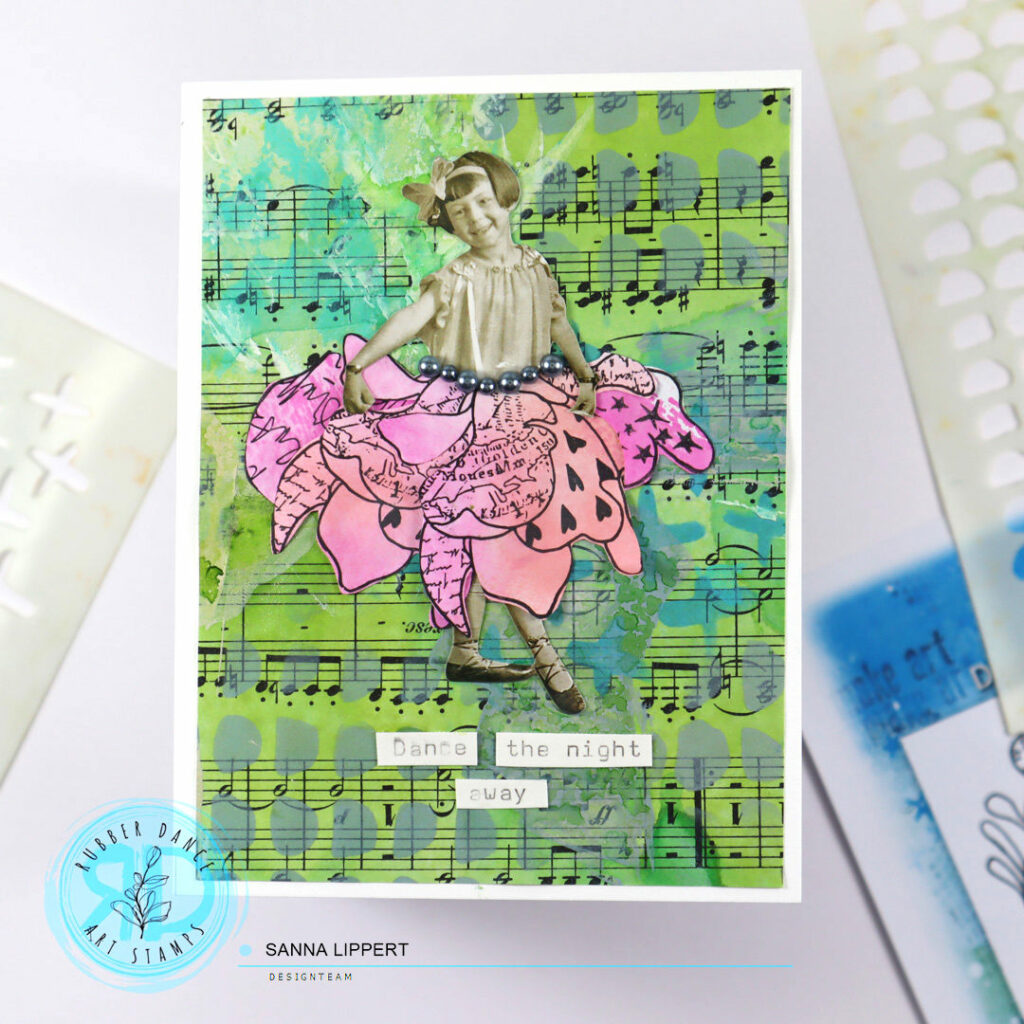
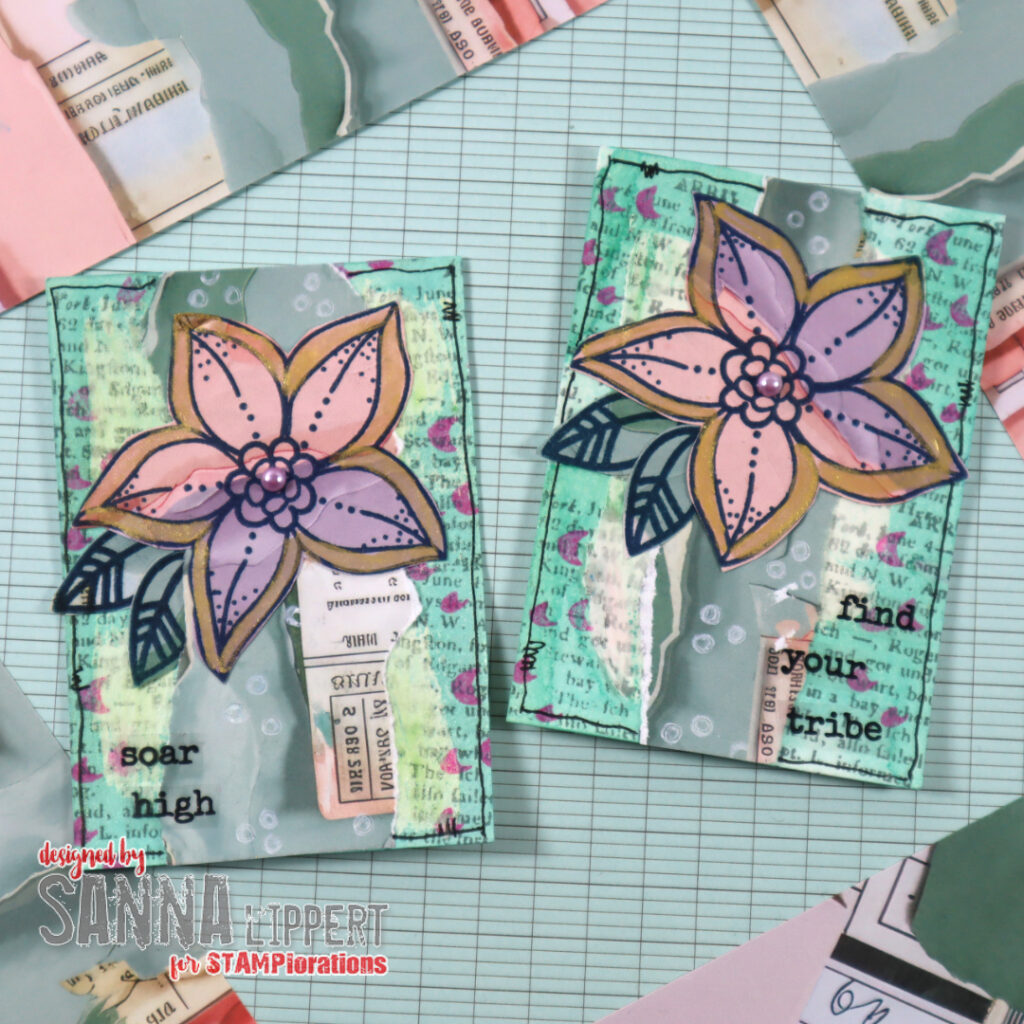
This time I created a set of Artist Trading Cards. I started by wiping some gesso and gel medium onto each of the bases. Let that layer dry and sprayed green spray ink on top. The areas treated with the medium made a little resist effect. On top I stamped with Distress Oxide Inks and Art Marks 3 stamp set.

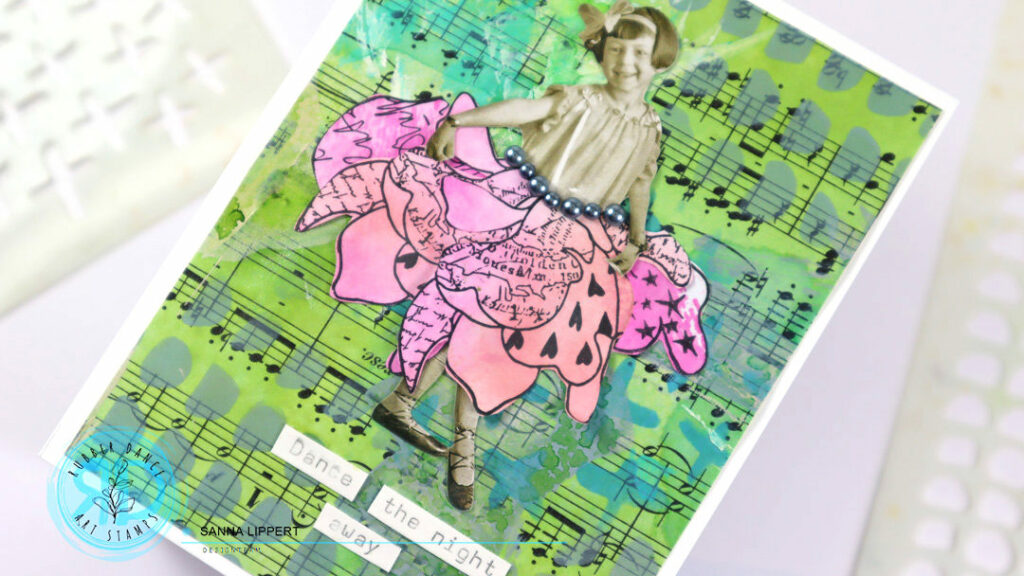
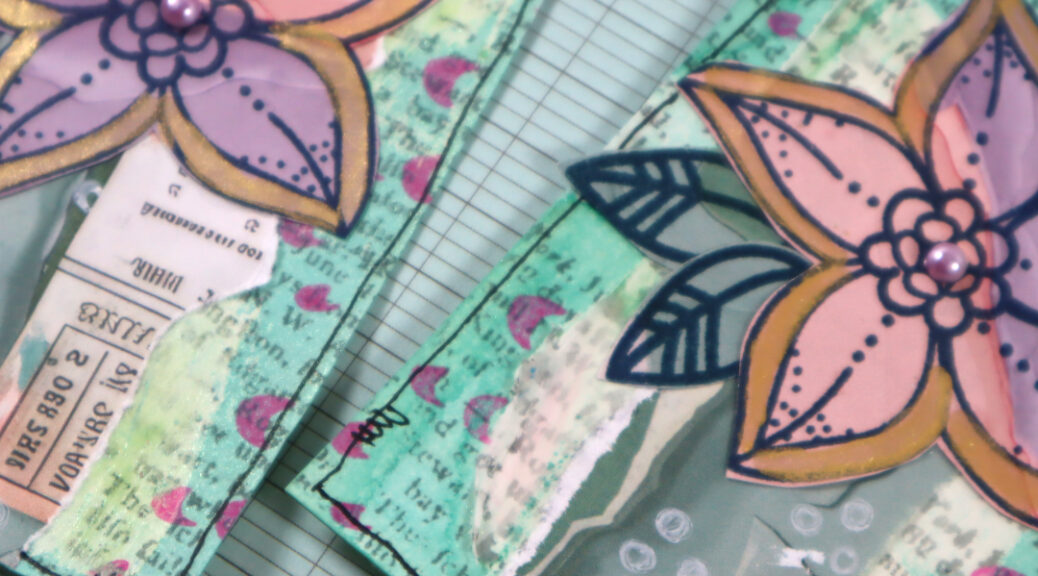
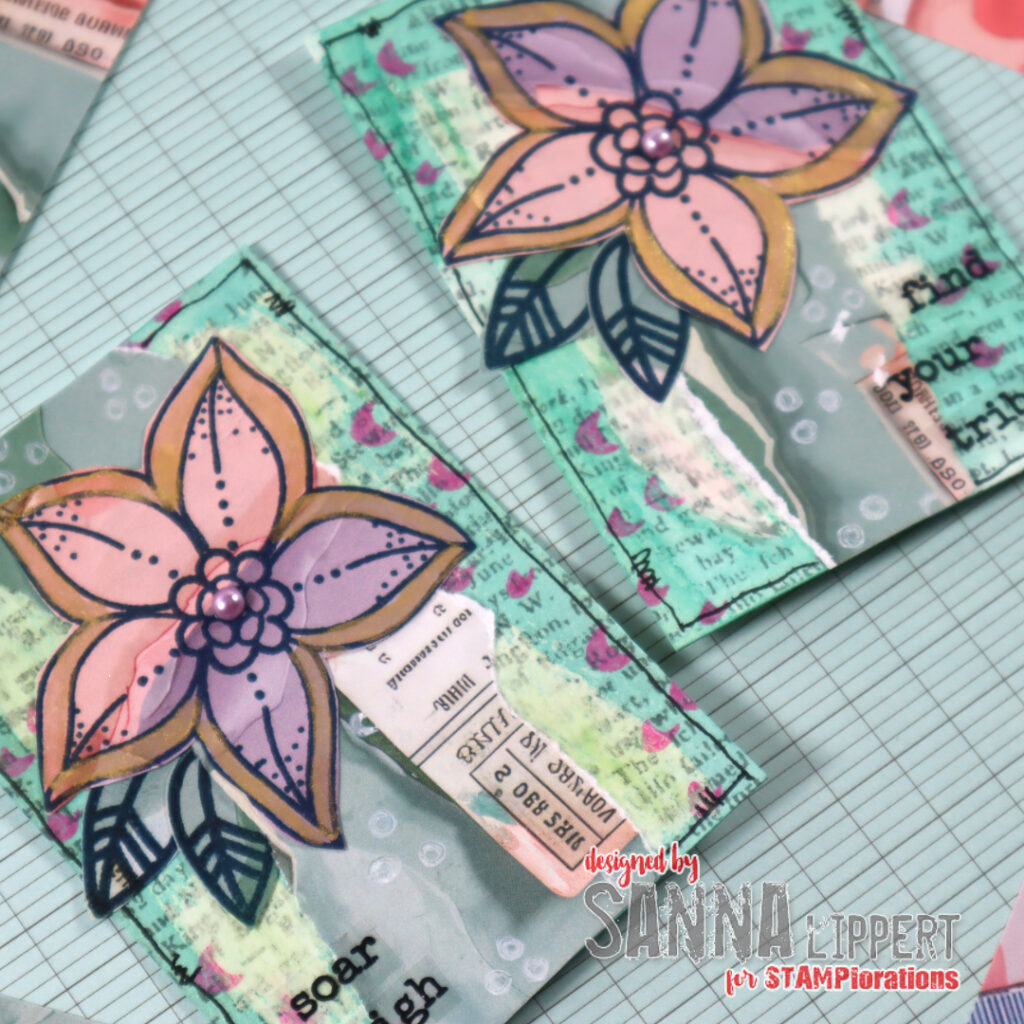
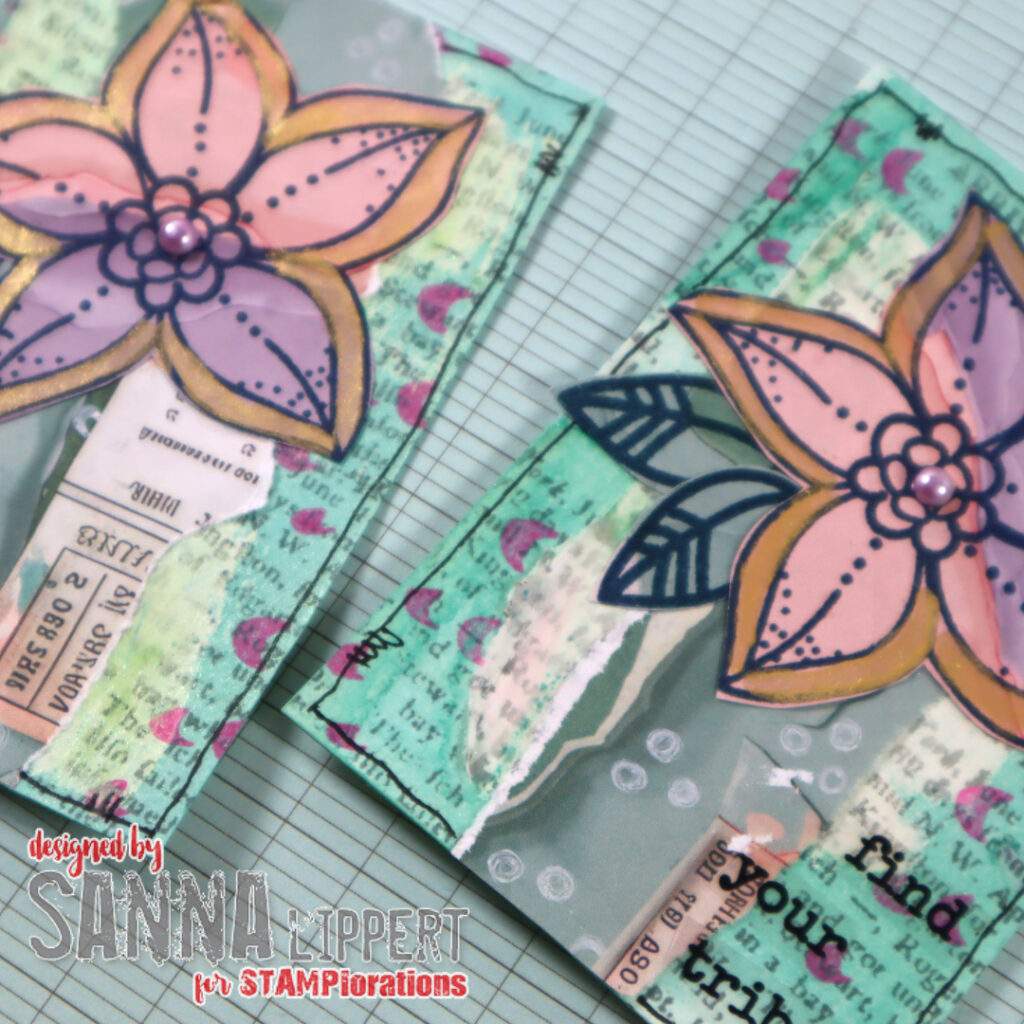
Next I layered a strip of the collage paper into the middle of each card. On top some white gel paint details. Then I stamped with the Bloom Doodles stamp set onto the pink and purple areas of the collage paper to create the flowers. The leaves are done the same way, just on green paper areas. I fussy cut the elements and added some golden pigment to the flowers and a half pearl. For finishing touches I used some clear stickers (New Day) for sentiments.

I love the versatility of these papers. You can use them for whatever projects you prefer. Cards, tags, journals, altered art, pockets, scrapbooking, making DIY embellishments etc.

There are 9 different designs of these papers available at the STAMPlorations store. And they are now also on offer as sets or bundles. But you can also buy them as single packs, starting from March 15th. Check out the store and blog for more details.

Happy crafting,
xx, Sanna

Simple one stencil Easter card idea – Rubber Dance

Hello everyone, I am up over at the Rubber Dance blog today again. This time with a really simple, but awesome, stenciled Easter card tutorial. You will need the Big Ovals stencil (one of my faves!), two tones of blue Distress Inks, a brown spray ink of some sort, washi tape and a white card base.

This was the kind of idea that when it hit me, I just immediately had to run to my craft room and try it out. And it worked out so great! I have this simple stenciled egg background for my Easter card and it is so easy to make.

First you need a slimline card base in white. Next take two tones of blue Distress Inks (I used tumbled glass and broken china). Start by adhering the card base with washi tape onto your working surface, next adhere the stencil on top and cover all unnecessary circle areas with washi too.

Now apply the lighter blue tone with a blending brush, then go over the lower circle areas with a darker blue tone. After that leave the stencil as is and splatter brown spray ink thru the stencil. Let shortly dry and carefully remove the stencil and the washi tape. Decorate with a “Happy Easter” sentiment, created with golden glitter alpha stickers. How´s that for a fast and easy-to-do Easter card idea with “Robins eggs!? Here is a video for you to watch – hope you like this idea.

You could also make yellow, light pink or light brown eggs. Whatever colors you prefer. I am going to make a few more in different colors for sure.

Happy crafting,
xx, Sanna

Supplies:

Cards with Doodle Flowers with a twist – Rubber Dance

Hello lovelies! I am up over at the Rubber Dance blog today with two mixed media cards using the Doodle Flowers stamps with a little twist. This is one of my first Rubber Dance stamp sets that I absolutely fell in love with. I wanted to use the flowers in a different way and created pink toned “skirts” for the paper dolls with them. For these cards I used the Doodle Flowers stamps with pink toned Distress Inks and Marks 2 and Cross It stencils with Distress Oxide Inks. You will find a video tutorial at the bottom of this post.

Unfortunately the Doodle Flowers in the Clear Version are almost sold out, but they are still be available as a rubber stamp set. It’s linked at the bottom of this post. And I’m sure they will be a follow-up clear stamps set in the future, with some brand new flowers 😉 !!!

Here is how I created the cards: I first added two pink Distress Ink tones onto a craft sheet and sprayed them with water. Then I wiped the paper onto the wet ink. After the paper was dry I stamped several images of Doodle Flowers onto the paper and fussy cut them (only the flower buds). Next I took an old music note sheet (if you don’t have music paper you can also use the Rubber Dance music stamp to make some on your own), misted it with light blue and green spray ink and after that added stencil marks with grey, green and blue toned Distress Oxide Inks and a blending brush onto the music sheet.

Next I cut the stenciled backgroud paper into a right size, adhered it onto a card base and then took a paper doll and added that as a centerpiece to the card with a skirt arranged from the fussy cut Doodle Flowers stamp images. Finally, I typed a sentiment with my old typewriter and adhered it onto each card. If you don’t own a typerwriter, you might like the Rubber Dance Mix A Sentiment stamp set!

Here is a start-to-finish video of how I created the cards:

I hope you liked this little card inspiration!
Happy crafting,
xxx, Sanna

Used products:

Time flies – card

Hello and happy Monday! Here is another white space card with some stenciling and leftover bits and bobs combined to Tim Holtz ephemera.

The stenciling is done using a Tim Holtz stencil with Distress Oxide ink on the background. The green circles are leftover bits from my Christmas bauble cards and the strong blue strip is a leftover from an older Bruscho card project.

In addition to everything else I added some Tim Holtz emphemera on top of everything and finished the card off with green rhinestones and Tim Holtz small talk stickers.

Wishing you all a great start into the new week!
xxx, Sanna

Supplies: