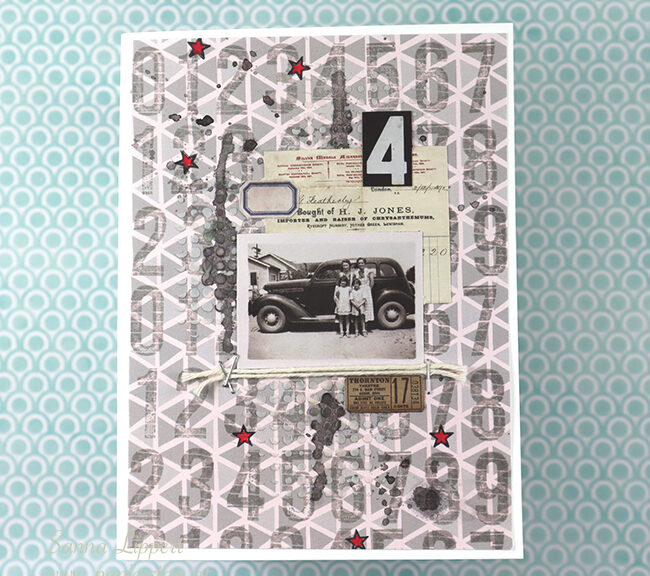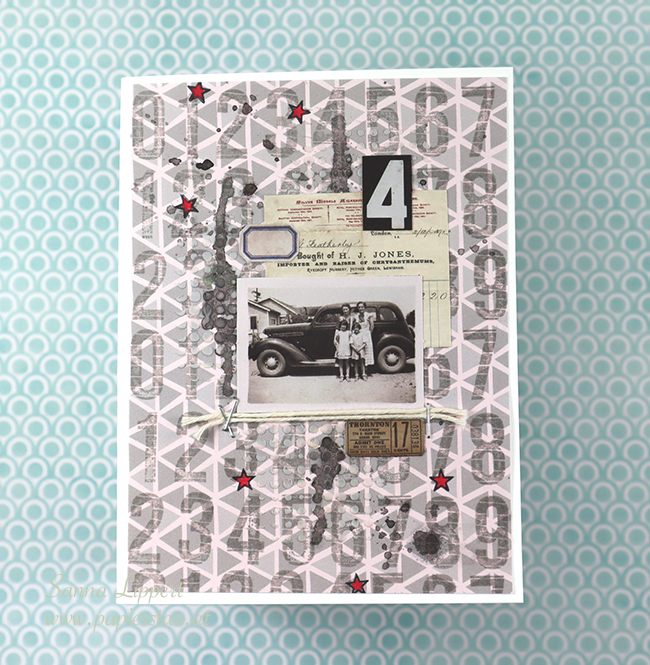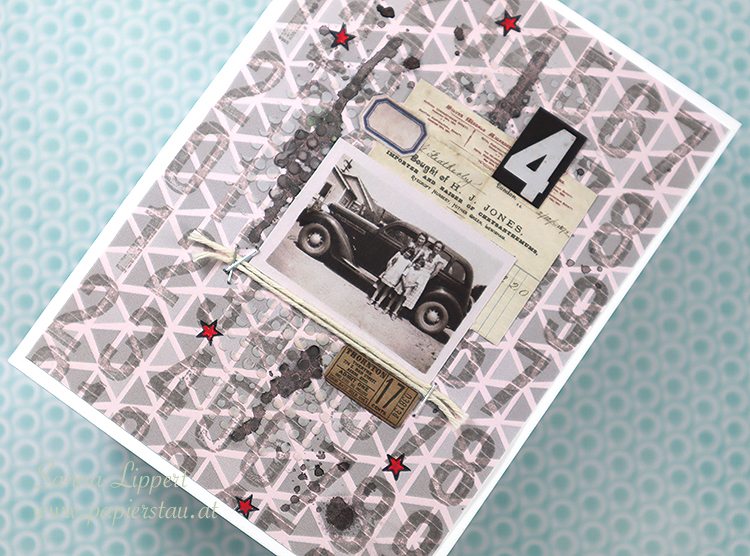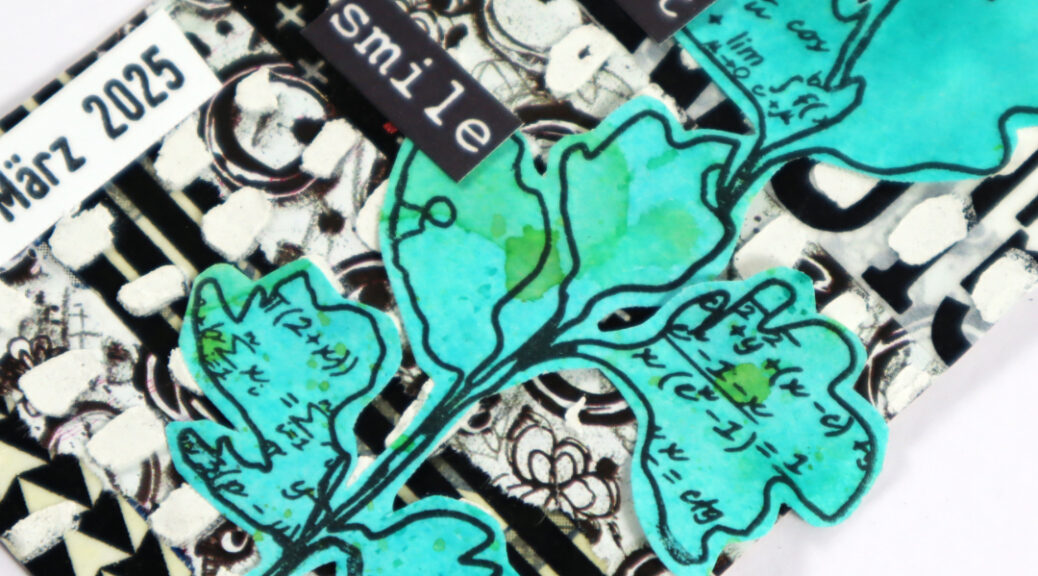
Hello there, here is my take on the FDC number 11/2025. It was about black and white and some stenciling, plus one bold/strong color.
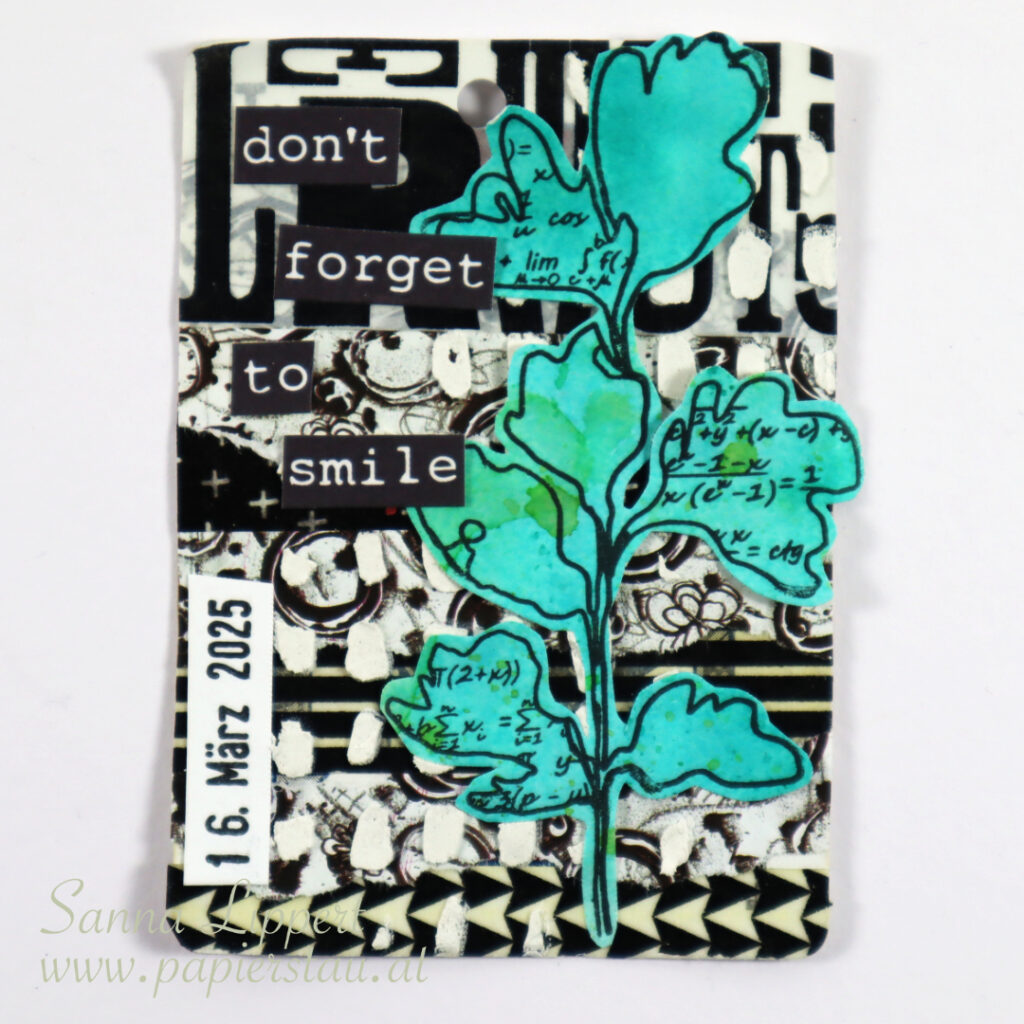
I think this was my favorite so far to make. I used black and white washi tapes with an Artist Almanac page (also black and white colored), added some white texture paste thru a Rubber Dance stencil on top and then my continous, the date stamp.

On top of that I added a Rubber Dance leaf collage fodder element in turquoise and a sticker sentiment. I love how this turned out. Here is the start-to-finish video – hope you enjoy it:
and here is a video on how I created the collage fodder:
See you soon with the next FDC take!
Happy crafting,
xxx, Sanna
Supplies: