March Trifecta Cardmaking – STAMPlorations

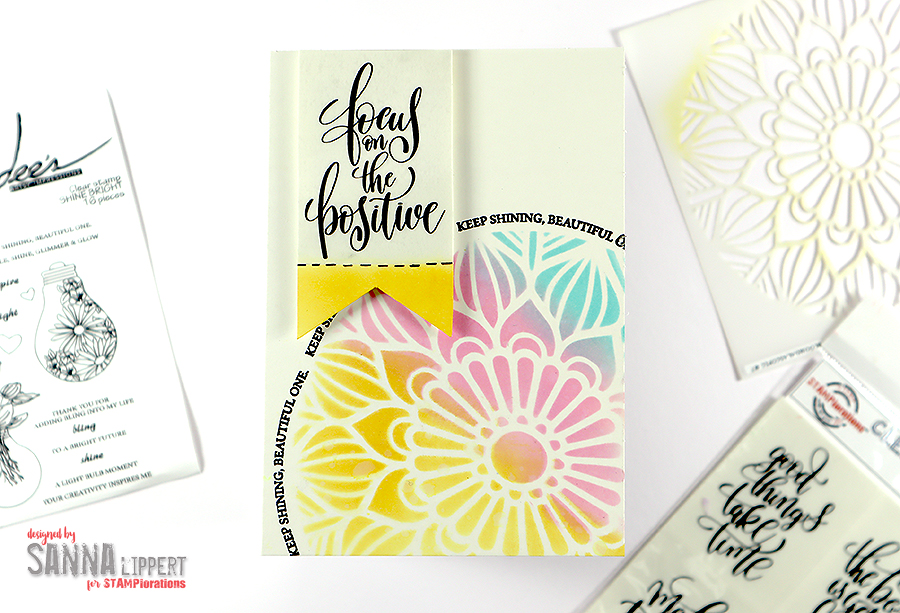
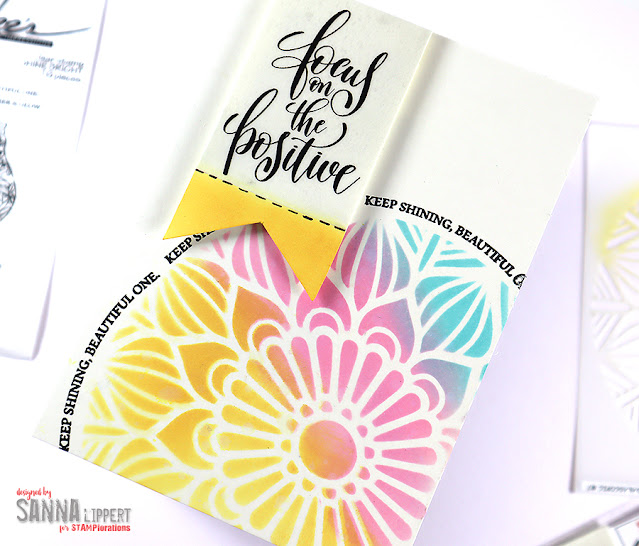
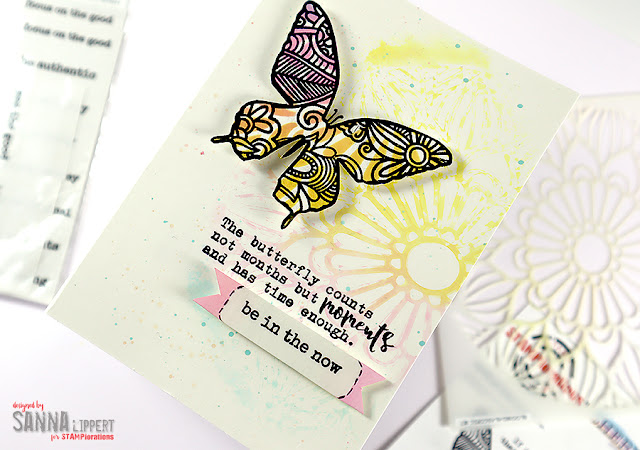
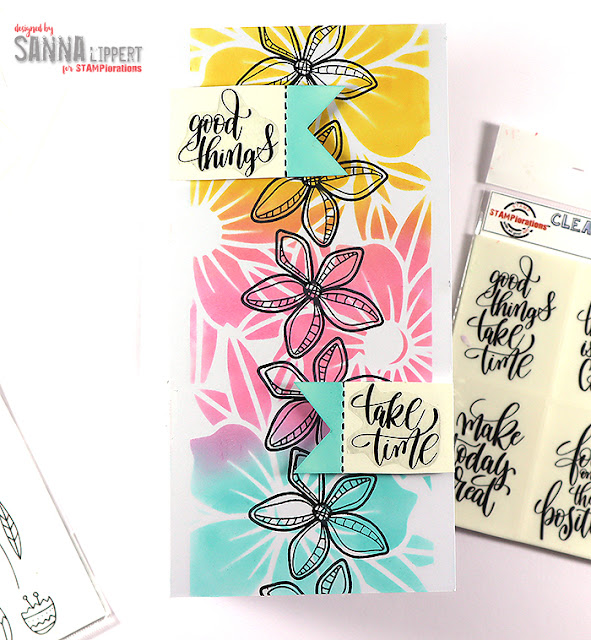
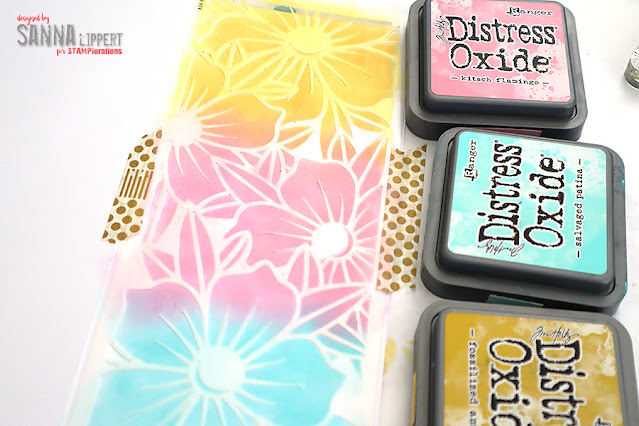
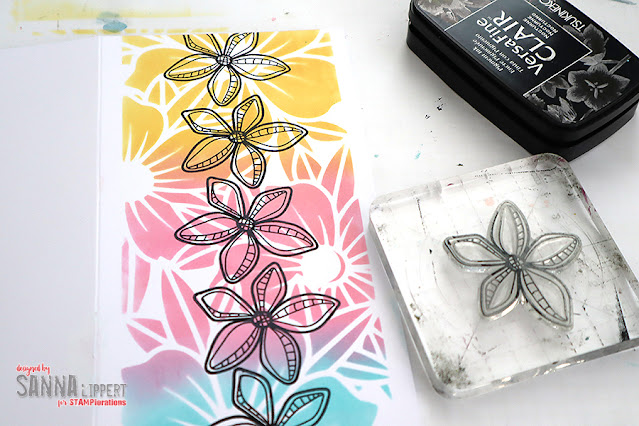
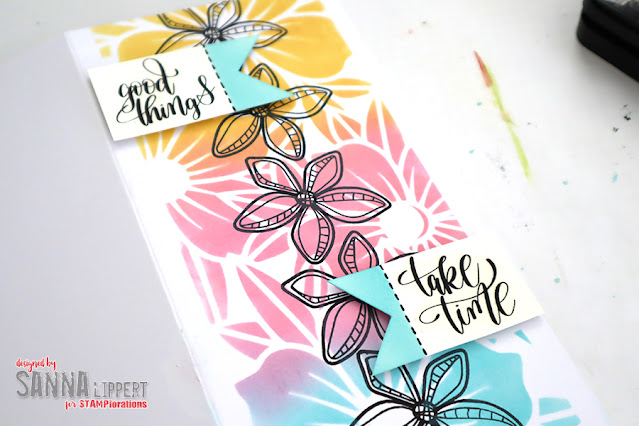
Hello and happy Sunday! Today I am sharing another Trifecta cardmaking card set with you. As usual I am using STAMPlorations Stencils, Stickers and Stamps for creating these cards.

This is what I did this month:

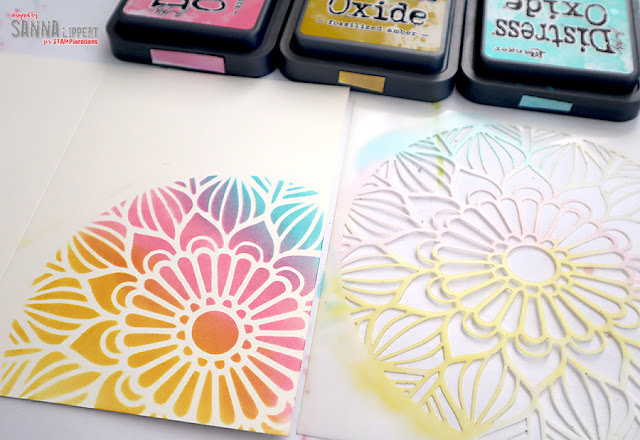
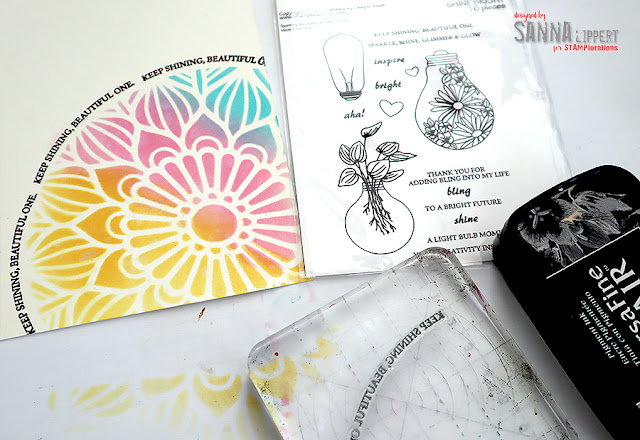
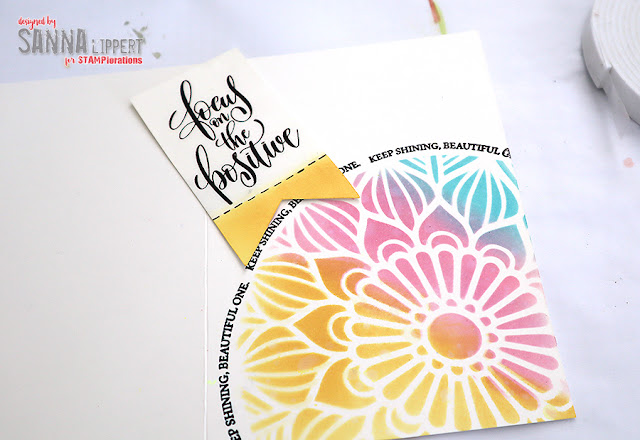
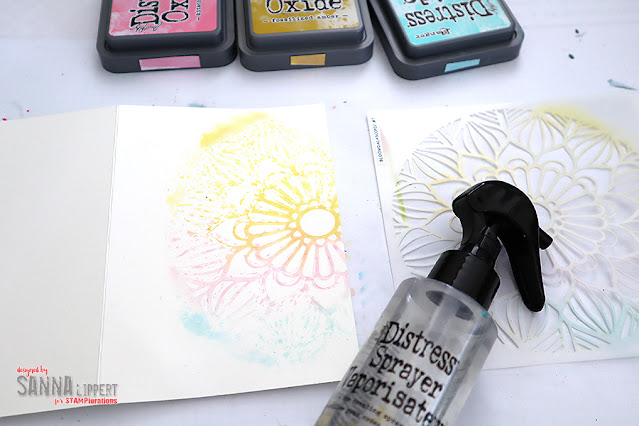
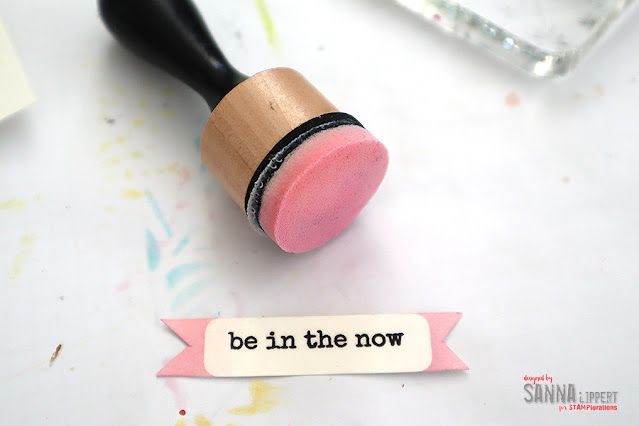
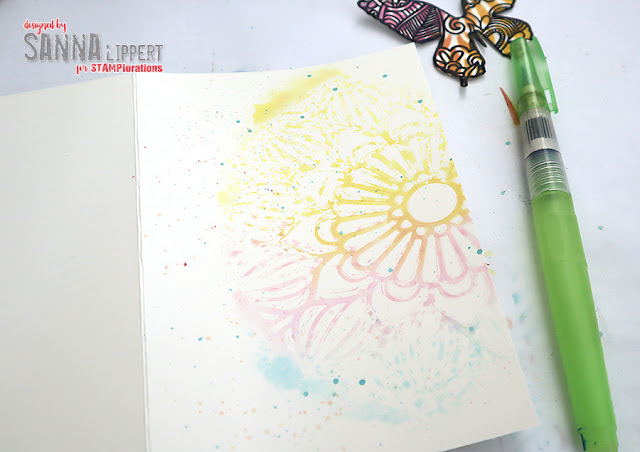
When I create, I keep a white paper underneath my working surface where I usually wipe off residue paints, pastes and inks. These papers usually turn out quite fun in time, so I wanted to use them as my starting point for this months Trifecta cards. Have you ever tried creating this type of cards? It´ s fun and if you feat starting with a blanc paper, this might help you too!

For the steps thist time, I recorded a video:

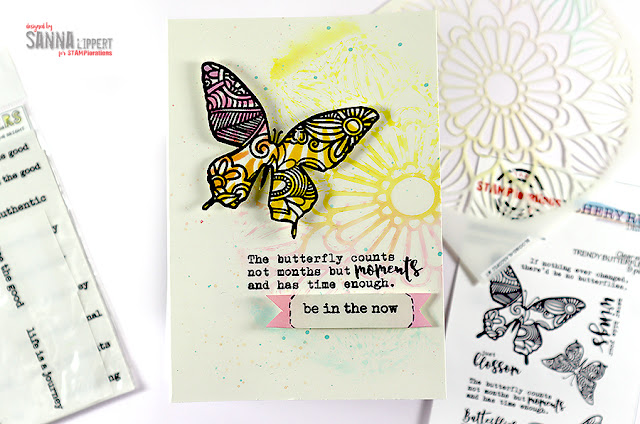
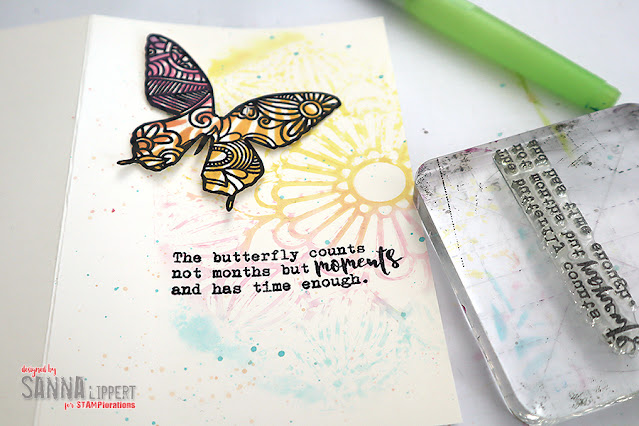
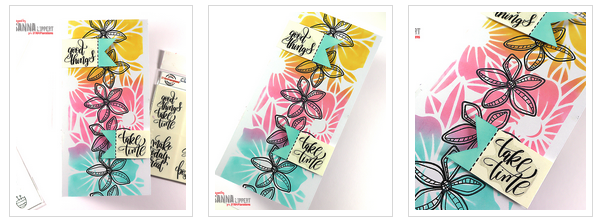
And here is card number two:

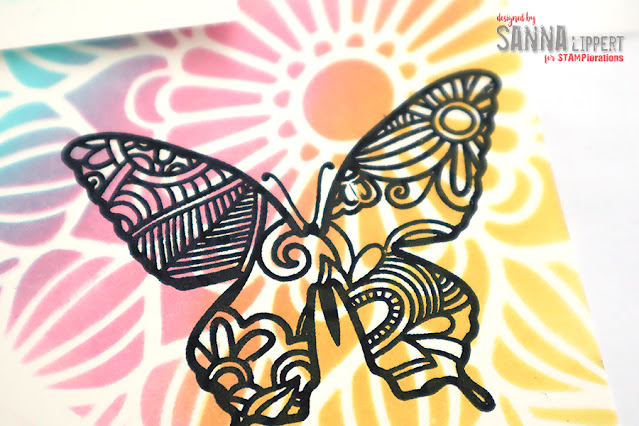
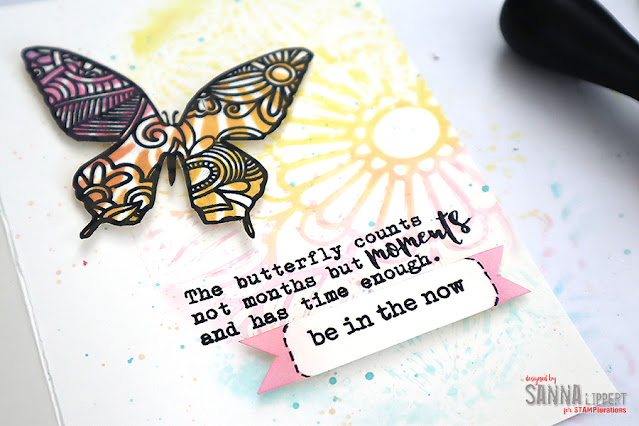
Finally, here is card number 3:

I hope I could inspire you to try out this idea and work your way to a card background from there. If you get inspired by today´ s post, do come back and share a link to your social media site, so that I can come over and see what you did. I´ d love to see how your cards turned out!!

See you guys next month again with another fun set of cards!!
Until then, take care!
xxx, Sanna

Supplies:

Travel more – Studio Tekturek

Hello everyone and happy Friday! Today it´s time to share my January Studio Tekturek design team project with you all. I am still totally in love with the Strawberry Shake summer 2020 collection and did a travel themed layout – and a video – with it.

I just love these colours and patterns so much! If you haven´t already, do check out their website for more and support a small, family owned company. Times like these are not easy on any of use – imagine building a business during a pandemic!! Here is the website link and here you can do some direct shopping (or ask your trusted store to order some of their papers).

I´ve used a white cardstock as my starting point and added some spray ink to the background (yellow and blue tones). Next I added a stamped pattern with a map and a light grey stamp ink tone for more interest. After that I drew and fussy cut the alphas and the hearts from the Strawberry Shake collection papers.

So you don´t even need a Cameo/Cricut or similar machine to create this layout. Just simple tool work! After that I fussy cut one journaling card (it had a nice sun on it) and cut the rays “loose” from the background to make them stand out from the paper. After that I outlined the alphas and hearts with a black pen to give them a little more contrast. Then I just arranged everything and adhered them on place. For additional decor there are some Spiegelmom Scraps sequins as well as a Bramblefox acrylic decor piece on the page. And plenty of Studio Tekturek stickers from the summer collection. I finished the page off with a few black ink splatters and hand written journaling. That´s it!

Here is the step-by-step video – hope you like it, I´m sorry if it´s not perfect, but I just changed the version of my video editing programm and it´s a bit of a learning curve again…Next video will be better again.. sigh!

Wishing you a wonderful weekend!!
xxx, Sanna

Supplies:

Party! card

Hello lovelies! I am still on my stash busting journey and I made this easy-to-do card with some older product from my stash. I combined two of my faves – Sassafras product and stenciling.

So here is a fun card for a birthday party and/or invitation. This one is really very simple to do. Just place a stencil onto the card base, add two tones of Distress Ink thru it and then decorate with stickers, buttons and sticker alphas! And you can even add some Nuvo Drops for additional fun, if you want. That´s it!

I have piles and piles of stickers I still want to use up – also pleeeenty of buttons in my stash. So it´s good to use one or two here and there! And that monster is perfect for a childrens party theme, right?

That´s it for today. Come back on Friday to see another card that I am sharing here.

See you,
xxx, Sanna

Supplies:

The Wild Hare Kits September Wrap-Up

Hi, it´s that time of the month again, so today I´ll be sharing my last September The Wild Hare Kits project with you and include a wrap-up video of all this months projects, created with this kit. Also, in the video I´ll be sharing what´s left of my kit after finishing all the layouts/cards etc.

So here is my last September project – a set of cards again.

I adored the Shimelle Sparkle City stickers that were in my kit, but didn´t find a perfect sport for the cars and the cute pigeons, soooo I used them on cards instead. I love, love, love my purple and pink toned and water color look kit to pieces!!! If you can´t remember, my kit consisted of “Just A Little Lovely” collection and Shimelle´s Sparkle City collection. Also a Carta Bella stencil called “Garden Geometric Stencil” came with my kit.

So what I´ve done is I first added some stenciling onto every card base using Distress Inks with a blending brush. Next I fussy cut some papers to create a background/cluster to the card. Then I added the stickers on top. Some are adhered directly to the paper, others I adhered using 3D foam pads.

For additional interest I added either black ink splatters or stamping with black stamp ink (using roller sentiment stamps mainly – those are from my own stash) or I combined both :). I know I´m repeating myself, but I love the pastellic colours and the purple and the watercolor look of my kit so VERY much!!! Thanks Allison, for this amazing kit! It´s kinda scary how well she “gets” me already..

And now for the wrap-up video – I hope you enjoy it:

I really enjoyed my September kit! It was perfect in every way! I know I said I´m going to do a journal with the 6×8 papers, but that is how it goes sometimes, eh? First you have an idea when unboxing the kit and in the end you end up creating totally different kind of projects with the stuff :).

So for next month I´m planning a mini.. let´s see what happens :-). See you soon (on the 2nd of October!) with the October unboxing video!!! Excited to see what kind of kit is waiting for me in October.

Happy scrapping and crafting,
xxx, Sanna

Supplies:

16th Birthday Card for a boy

Helllo everyone, I shared a teen boy birthday card two days ago and while I was at it, I made a second card in a similar style.

This one is a little bigger in size, measuring 5,5 x 5,5 inches. For this card I´ve again used the Lattice stencil from my STAMPlorations stencil line, but this time applying the blue and green colour in a more random way and also fading the color towards the edges of the card.

Fior decoration I again used some older stash stickers to create the focal point and some banners on the upper right corner. I stamped the sentiment using hashtag stamps by Tim Holtz and added the number 16 (Thickers) into the middle. For additional decor there are again some Glimmer Glaze splatters as well as Nuvo Confetti Stars here and there.

I really enjoyed creating these simple cards a lot – haven´t been doing any masculine cards for a while..

Wishing you a lovely day and happy crafting,
xxx, Sanna

Supplies: