Tag Archives: tutorial

DIY vintage tickets with stamps and Distress Inks – Rubber Dance

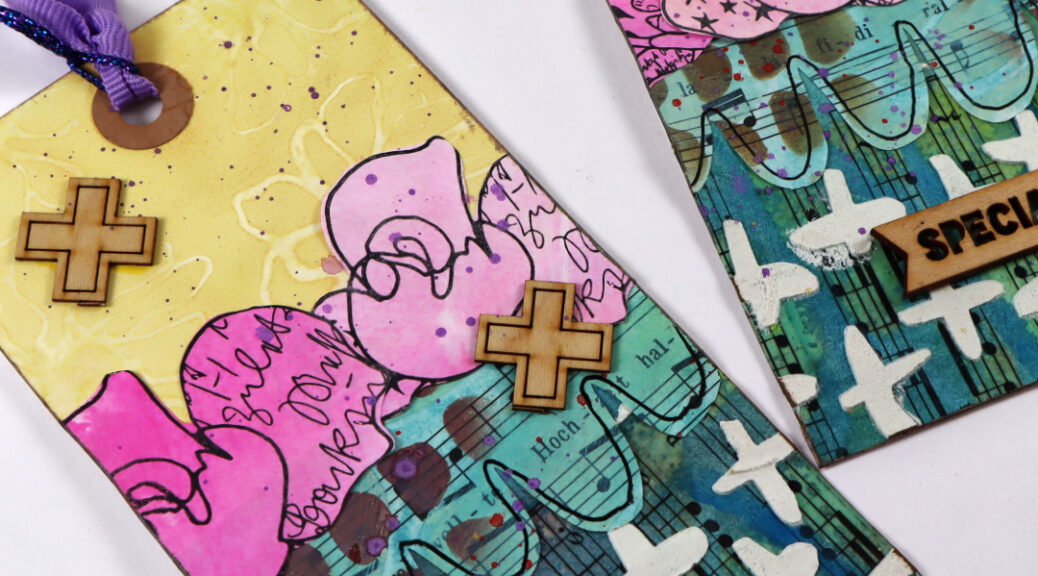
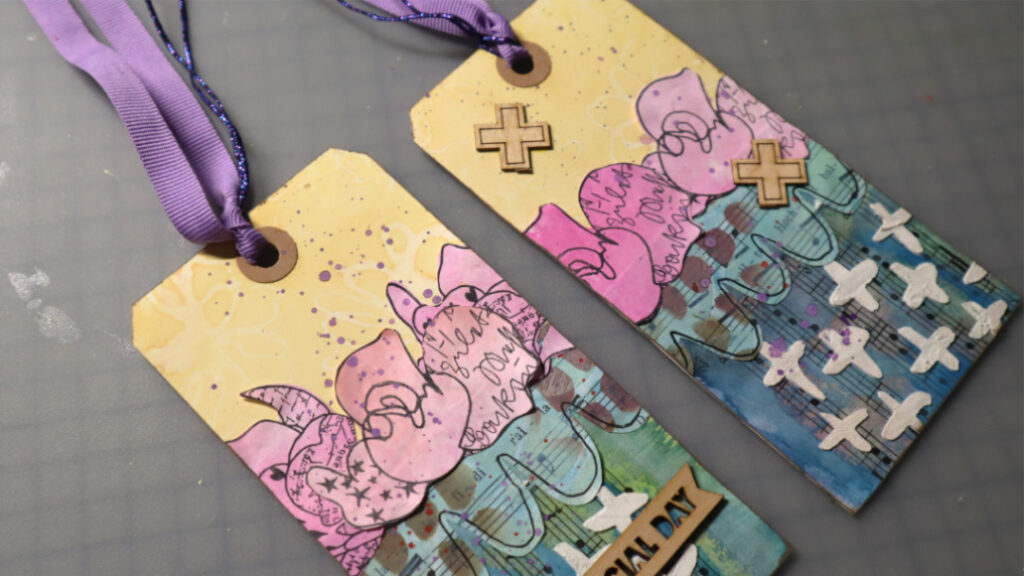
Hello, I am up over at Rubber Dance with another project. I have a DIY ticket tutorial up for grabs this time. I used the “Mix It Up 4″, “Mix It Up 5” and “Mix It Up 7” stamp sets to create the tickets.

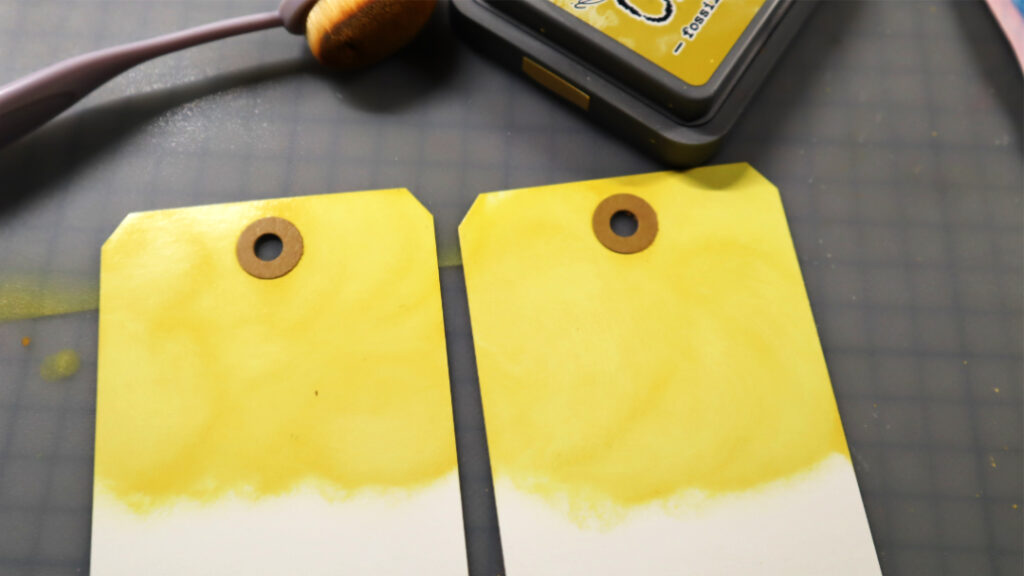
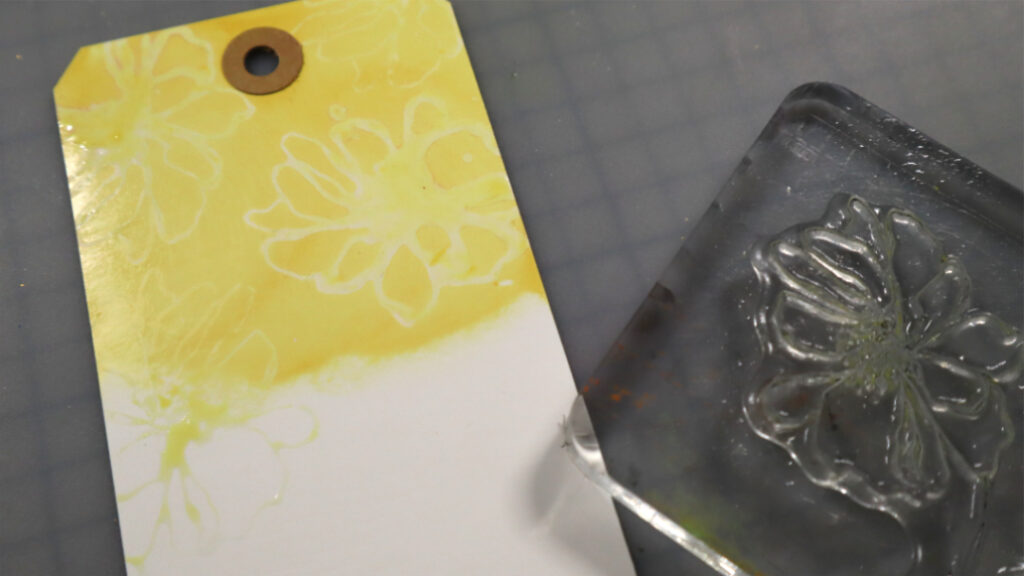
I started by applying 3 different Distress Ink brown tones (vintage photo, tea dye & gathered twigs) with a blending brush onto a white, smooth, mixed media paper. This blending result does not have to be meticulous. The more random and irregular it turns out, the better! You can even add lines and leave areas almost white during this step. This only adds to the vintage/used feel of the end result.

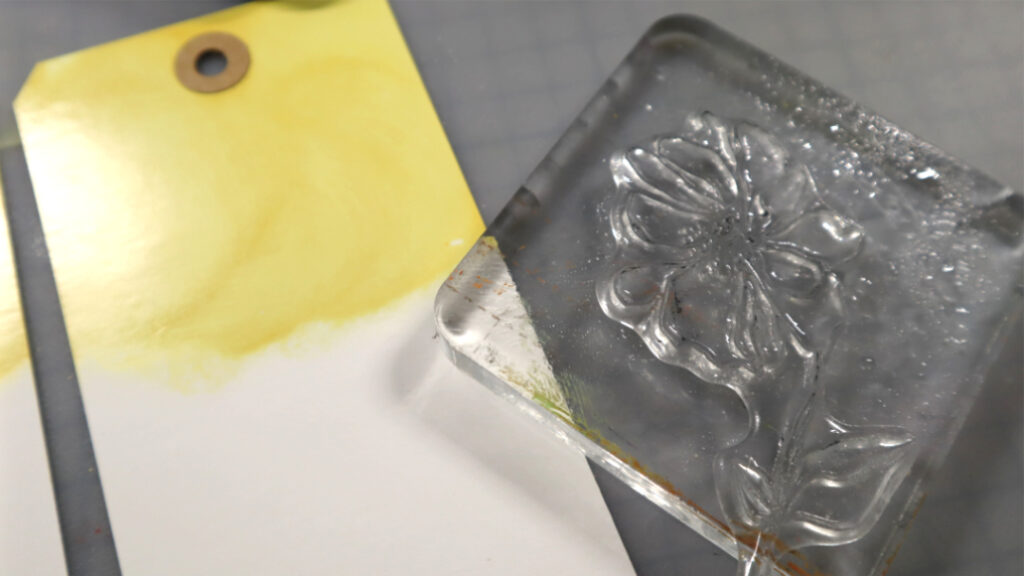
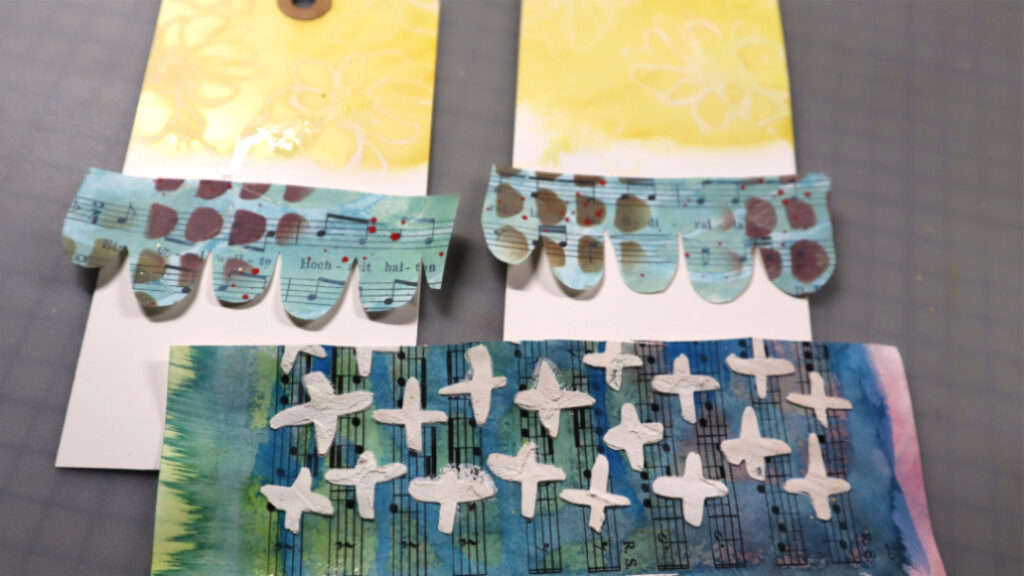
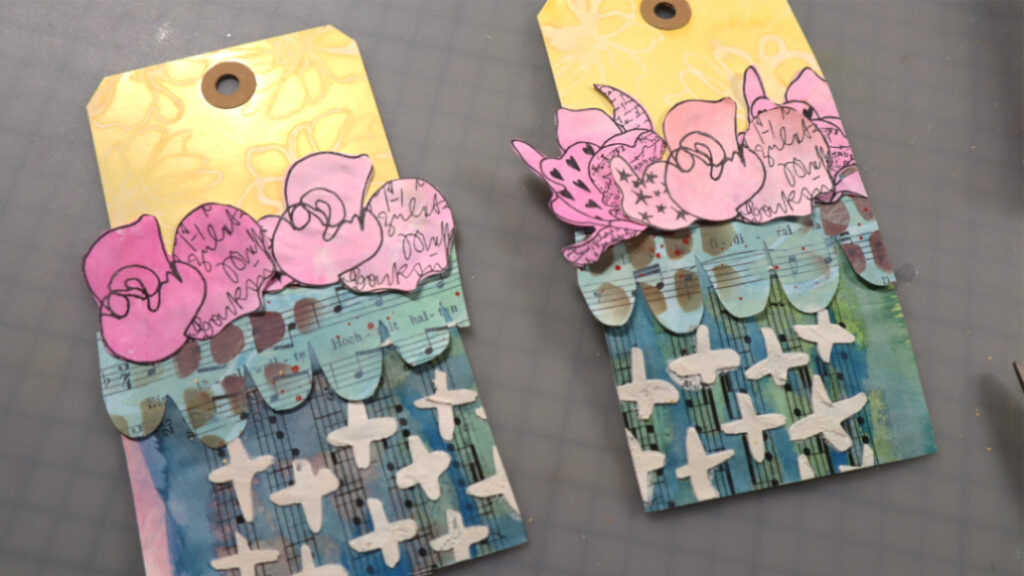
Next add water splatters onto the inked paper. Let sit for a while and dab any residue water off with a cloth or a paper towel. Then take all the ticket looking stamps from the stamp sets out and stamp onto paper repeatedly. After that cut into size with a paper trimmer / scissors. For finishing touches, go around the edges of each ticket with brown ink. Now you have yourself a pile of cool tickets you can use in future projects.

Here is a video of the ticket making process:

I hope you get inspired by this idea and make some tickets of your own with Rubber Dance stamps and Distress Inks! Have fun!
xx, Sanna

Supplies:

Mixed media tag set with water mist stamped flower background

Hello everyone, here is another Rubber Dance Art Stamp product inspiration post with a fun step-by-step tag tutorial for today. For these tags I used the “Sketchy Flowers 3” stamp set to create the fun background details and added all kinds of leftover bits from my previous projects to go with them.

Here is how I created the tags:

First I applied Distress Oxide Ink (fossilized amber) with a blending brush onto white tags. Next I attached a flower stamp from the “Sketchy Flowers 3” stamp set onto an acrylic block and gave it a light water mist. Then I pressed the stamp image into the inked areas and repeated the step until I had enough “water stamped images” on the background.

Next I took out some leftover papers (all from my previous projects shared here on the blog), plus a misted blue music note paper to which I had added some texture paste thru the “Marks 2” stencil. I first fussy cut those papers into size and preferred patterns, then added leftover “Doodle Flowers” on top and adhered the pieces on place. After that I added purple watercolor droplets onto the tags, chose matching ribbons and added some chipboard pieces to finish the tags.

I hope to have inspired you a little to use all leftover pieces for fun smaller projects, so nothing goes to waste! Have fun!
xxx, Sanna

Supplies: