March Trifecta Cardmaking – STAMPlorations

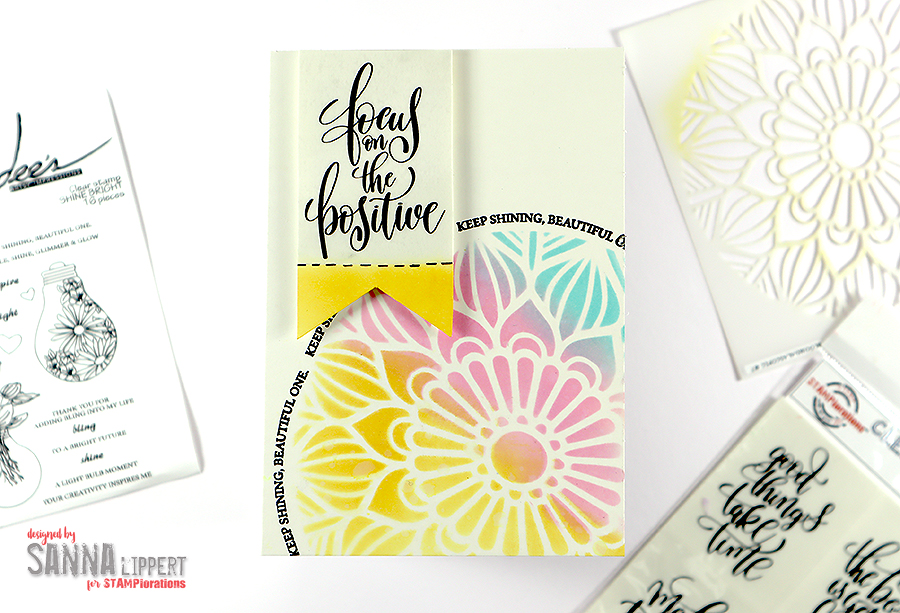
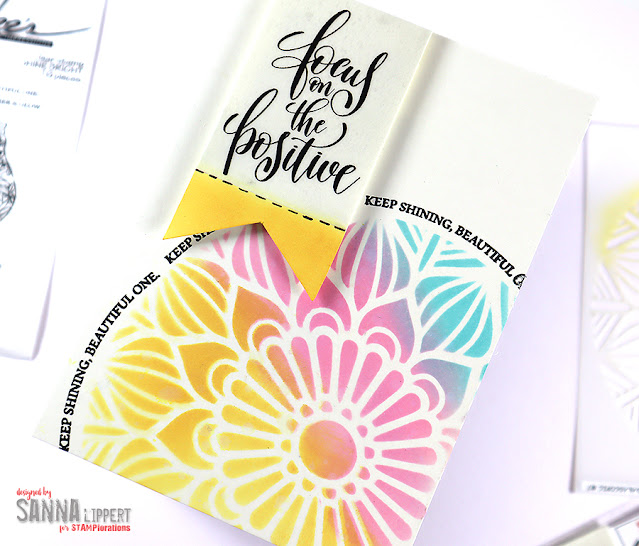
Hello and happy Sunday! Today I am sharing another Trifecta cardmaking card set with you. As usual I am using STAMPlorations Stencils, Stickers and Stamps for creating these cards.

This is what I did this month:

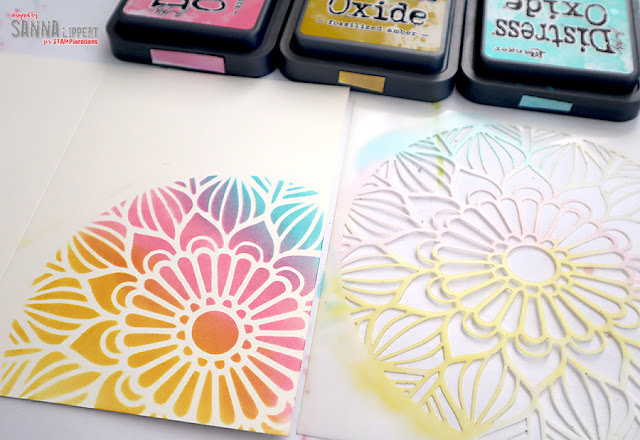
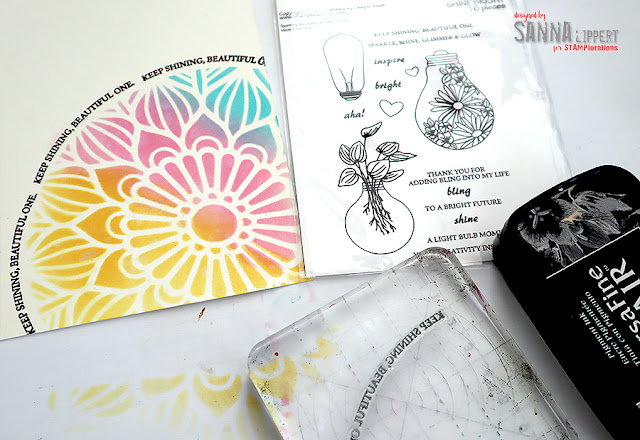
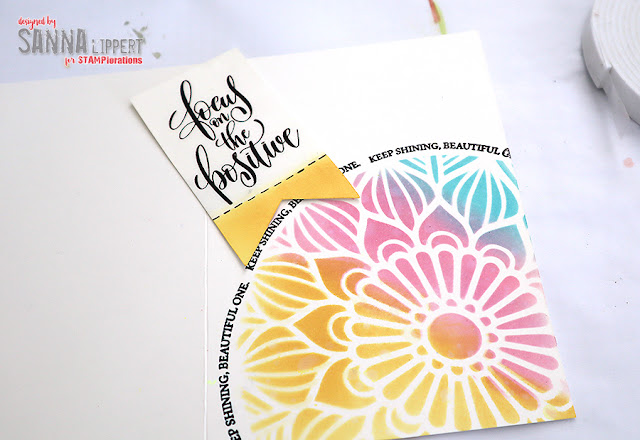
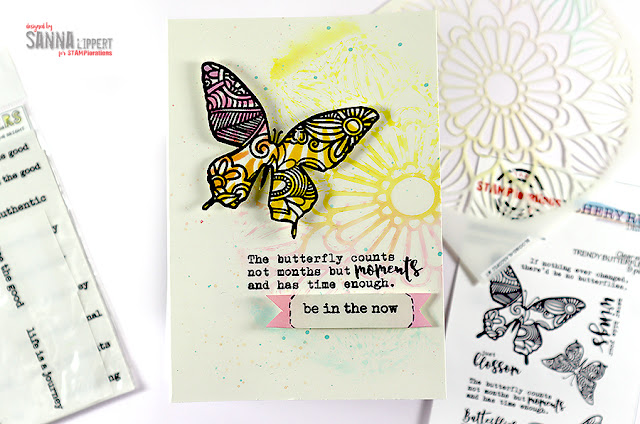
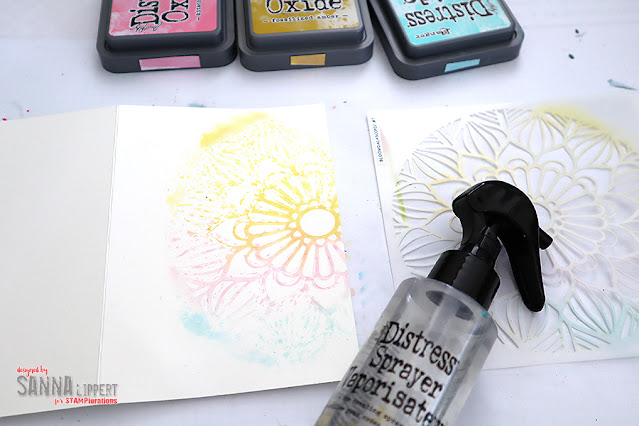
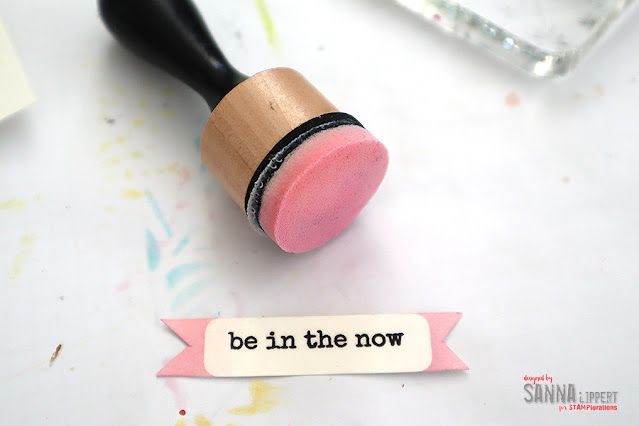
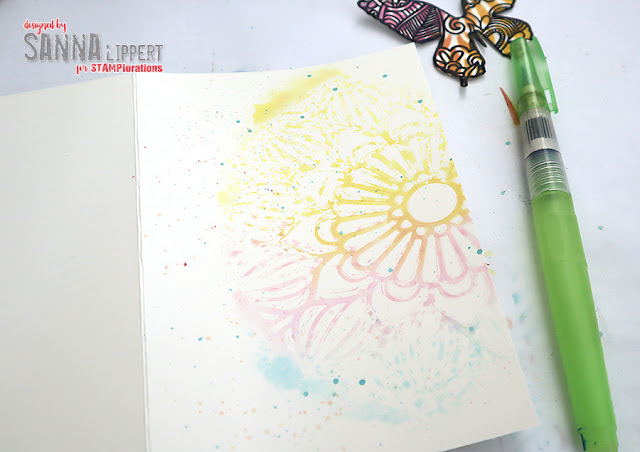
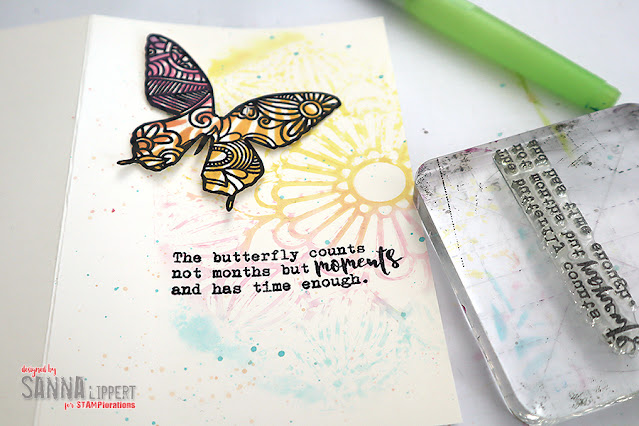
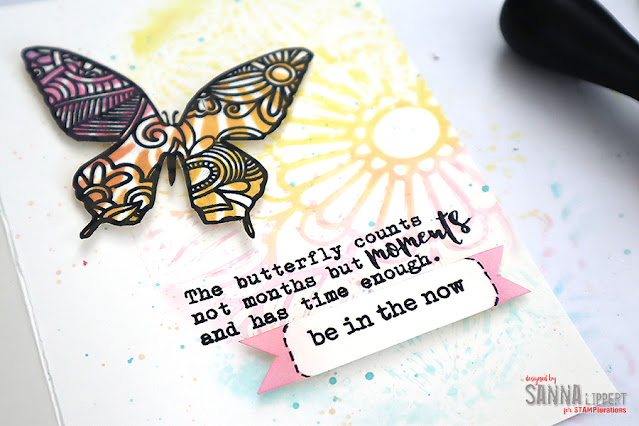
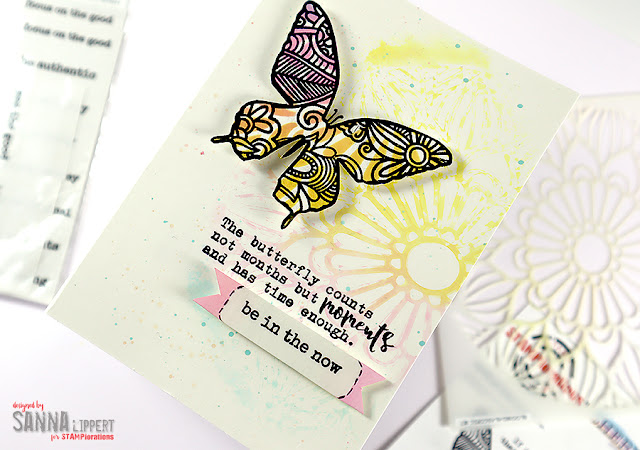
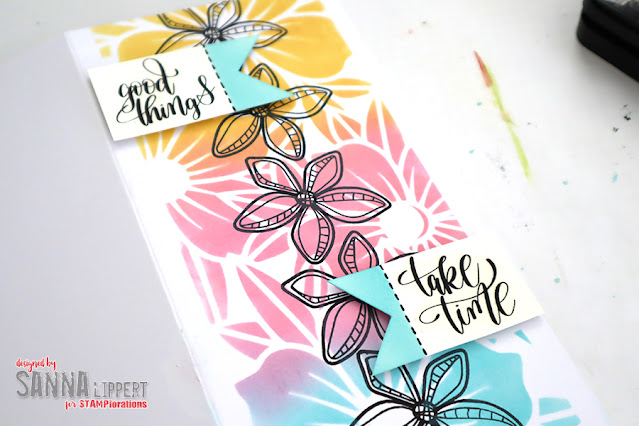
When I create, I keep a white paper underneath my working surface where I usually wipe off residue paints, pastes and inks. These papers usually turn out quite fun in time, so I wanted to use them as my starting point for this months Trifecta cards. Have you ever tried creating this type of cards? It´ s fun and if you feat starting with a blanc paper, this might help you too!

For the steps thist time, I recorded a video:

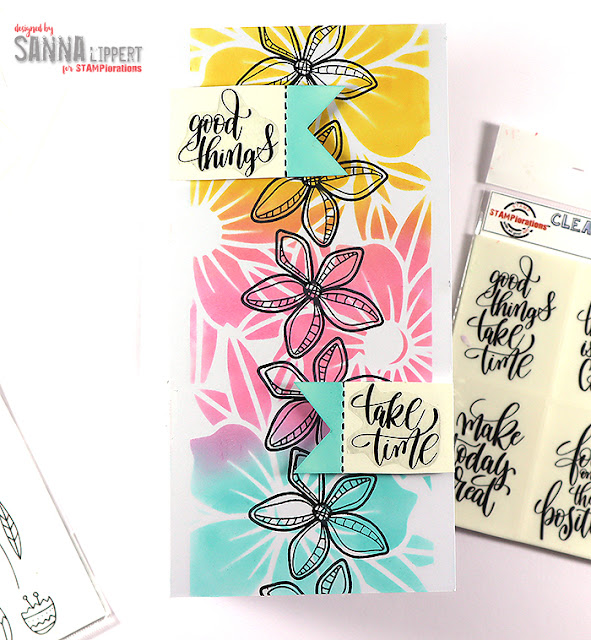
And here is card number two:

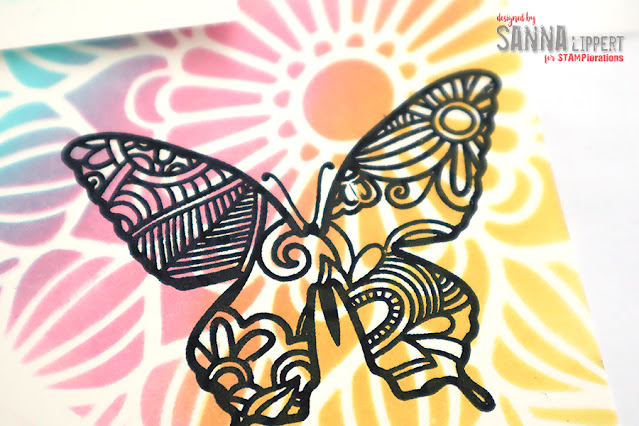
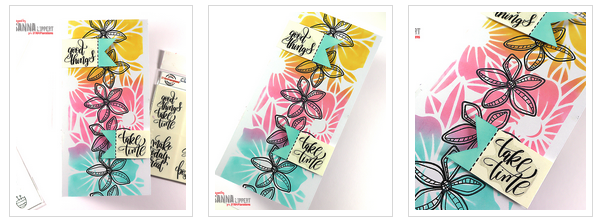
Finally, here is card number 3:

I hope I could inspire you to try out this idea and work your way to a card background from there. If you get inspired by today´ s post, do come back and share a link to your social media site, so that I can come over and see what you did. I´ d love to see how your cards turned out!!

See you guys next month again with another fun set of cards!!
Until then, take care!
xxx, Sanna

Supplies:

Trifecta Cardmaking – January 2022

Hello lovelies and welcome to another Trifecta Cardmaking share with STAMPlorations products. Today I share a set of cards, done in a bit different designs, but the starting point was always the same basic technique/end product.

This is the first card I made:

and here are some detail photos:

For the second card I again used the same idea: a gelli printed paper I had created with STAMPlorations stencils on old music notes. Here is the second card:

On the first card the bold background covers the whole card base, that way the end result looks totally different. Here the overall look is more clean and simple due to the white space and only a small gelli circle as a focal point. Here are some detail photos:

And now to the 3rd card:

On this one again as my starting point I used a gelli printed and stenciled paper. This time I took a leaf stamp and stamped with it onto the paper and then fussy cut the pieces. That way I have multi-colored and multi-patterned leaves on a plain background and it is still the same basic idea. On all cards I this way again have stencils, stamps and stickers used – but in a different way on each one. The clear stickers make great sentiments for the cards. And now to the steps. This time round I recorded a step-by-step video for you to watch so you can get a better idea. Hope you like it!

I hope you enjoyed this months Trifecta cards and ideas! If you want to know how to do the stenciled papers, there are plenty of tutorials on YouTube (or check out Birgit Koopsen´ s Instagram Account – there are plenty of ideas up there!). I also made a similar technique with foam stamps and paints, but you could use stencils instead. That video is HERE. Oh, and here are some detail photos of the last card:

See you again in March with another Trifecta tutorial. STAMPlorations is taking a break in February from regular posts.

Happy crafting,
xxx, Sanna

Supplies:

Trifecta December cards – STAMPlorations

Hello everyone!! It is again time to share some Trifecta cardmaking fun with you. I have a set of Christmas cards created with stamps, stencils & stsickers (=Trifecta) for you today:

For my December Trifecta card share I chose to do a seasonal card set, featuring the Christmas Tree 1 and the Snowflakes stencils, Art Marks 2, Sketchy Yule Trees, Yuletide Deer stamps, Merry and Simple Christmas clear stickers. 

For the first card I used the Snowflakes stencil with white embossing ink to create resist areas. Next I applied Brusho´s onto the paper in blue and purple tones. Since the surface was very damp, I quickly pressed a second paper on top of the inked area to lift the ink off for my second card. This way I could create two backgrounds with one step. All the lift-ink paper residues served as my deer and sentiment background for this card too. I simply adhered the clear sticker sentiment onto the inked lift-ink paper piece as well as fussy cut a small piece as a background for the deer.

The deer image is stamped and heat embossed with silver embossing ink, then fussy cut and adhered on top of a layer of yarn. This adds a nice texture to the card. I finished the deer off with a craft drop red nose. For a funny card I could even have applied wobbly eyes on the deer, but for this one, I didn´t. This image is so versatile, because it is so simple in design. That way it can be altered for whatever look you need. 

For my second card I used the “lift-off” ink background that resulted from my first card, then applied a DIY glitter paste thru the Snowflakes stencil on top. You can create the glitter paste from loose glitter and transparent texture paste really easy. Next I fussy cut a background paper piece to from a banner for the card and adhered the clear sticker onto it. Now to stamp and heat emboss a Sketchy Yule Tree for a focal point of the card and decorate with craft drops. This card has more texture due to the DIY glitter paste, but is still flat enough for easy postage. 

For the third card I created another Brusho background. This time in green, red and purple tones and applied white gesso on top thru the Christmas Tree 1 stencil. I could not resist adding a die cut winter scenery to the card, so I used the Stitched Winter Landscape die an a wintery patterned paper for this purpose. For stamped detais I used the Art Marks 2 stamp set. If you look closely, you can see the darker blue dots on the trees, outlined with a white gel pen. That is done with one of the stamp in the stsamp set. 

For the sentiment I chose the Merry clear sticker set, but cut the sentiment in half and used only the upper part of it. I also decorated the card with wood veneer stars and some glitter glue for additional detail. These are true mixed media Christmas cards this time. It was so much fun creating these and playing with colour, stamps, stencils and stickers! I hope this will inspire you to get your stash out and play a little yourself! If you do, please share with us at STAMPlorations, so we can come and admire your work. 

Wishing you all a wonderful day,
xxx, Sanna

Supplies:

Trifecta cards – November

Hello everyone and happy Sunday!!! It´ s time for the STAMPlorations November Trifecta card share today and I have some fall colored cards to share with you – again with a step-by-step photo tutorial. Hope you enjoy!

Card 1:

Here is how I did the first card:

I started with the Radial Slimline Stencil on a piece of white cardstock and first applied yellow Distress Ink onto the background and then applied the red ink thru the stencil onto the paper. 

After that I took orange Distress Ink and applied it thru the stencil to the lower areas of the rays. 

And finally I used strong pink Distress Ink tone to apply to the upper areas. Now I was done with stenciling.

Next I stamped the Bloom Border #1 stamp and heat embossed the image with white embossing powder. After that I used watercolour pencils to color the image.

After coloring the image I applied white pearl-tinted watercolor splatters both on to the background as well as on to the colored flower border. Then I fussy cut the flower image with precision scissors.

For finishing touches I added some very tiny fabric flowers to go with the Inspirational #1 and Hey Sunshine Clear Stickers. I also added some Nuvo Drops for decor here and there.

Card 2: 


Here is how I did this card:

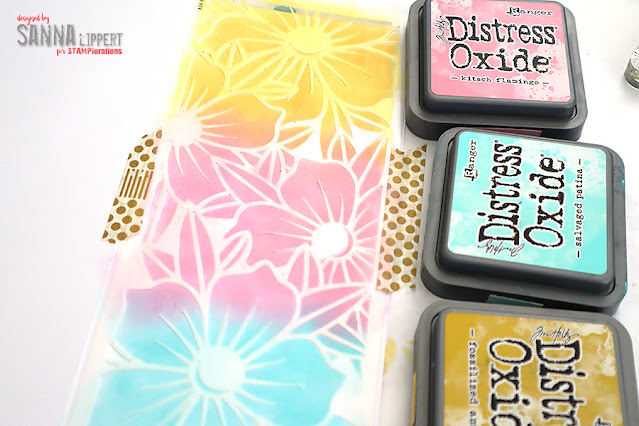
I started by using the same Radial Slimline Stencil, like on my first card, but in a different way. I applied “rays” in red, pink, orange and yellow Distress Ink tones to create an “ombre” look onto a slimline sized white cardstock piece.

Next I used the pearl-tinted watercolors to add highlights to the rays with a water tank brush.

After that I used the Hello You stamp set to add some stamping to the background with grey stamp ink.

Next I took a dark grey watercolour pencil and added droplets to the background for additional decor.

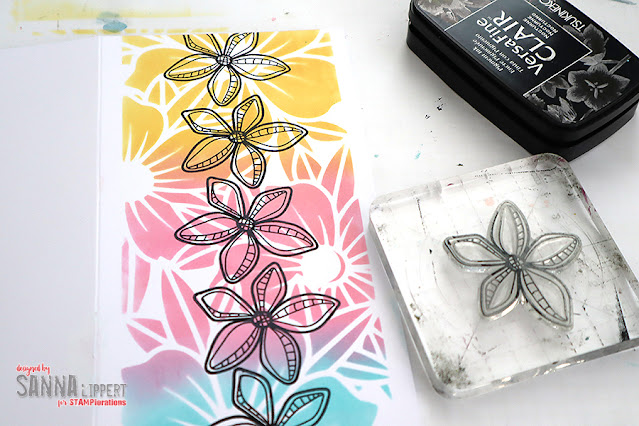
After that I stamped some Bloom Border #1 images onto white cardstock and fussy cut the images.

After adhering the stamped flower images on place I cut a a Good Things clear sticker sentiment into sections and adhred them next to the flower images onto the card.

Card 3:

This is how I created this card: 

I started by inking a white cardstock piece with light yellow Distress Ink.

Next I took an orange toned Distress Ink color and used the Radial slimline stencil to apply ink thru it onto the background. Note how I turned the rays to face each other on this card.

After that I inked a small residue piece of cardstock with the same light yellow tone as the background previously and added a Inspirational #1 clear sticker sentiment onto it and fussy cut it into a banner. I also used one leftover Bloom Border #1 image and fussy cut tiny bits of it to add next to the banner on the finished card.

Before adhering everything on place I added some stamping to the background using in red and grey tones using the Art Marks 2 stamp set. 
As you can see, these cards were all done using the exact same stencil and they still look very different, because I tilted and/or used the stencil in various ways. This way you can get the most out of a single stencil, by finding new ways to use it. I hope I could inspire you a little to use the 3 S´s  (stamps, stencils and stickers) in your next projects! They are the perfect match and you can use these same ideas not only on cards! Try the same techniques in your art journal, on artist trading cards, wall art projects and even scrapbook layouts. 


See you again next month with another Trifecta share! Have a great day and hope you can sneak in some creative time to make fun Trifecta cards!
Sanna

Supplies:

Trifecta cardmaking in monochromatic style – STAMPlorations

Hello and happy Sunday! Starting this October, you will see me create cards with step-by-step and/or video tutorials using the STAMPlorations 3S-products. What is that, you ask? It´ s Stamps, Stencils and Stickers -> 3 S´ s – also known as Trifecta cards. Today is my first share and I am sooo excited! See, these are the things I really, really like to use! You know by now that I love to use stencils – always have and always will. And stamping, well, there is hardly any piece I make that I don´ t add stamping onto. And clear stickers are just a perfect addition to my design style. I hope you will enjoy my Trifecta posts throught this design team year!

For my first feature post I´ ve decided to use just one of each products and create 3 different cards with the exact same products. Slight modifications in color and placement result in different kind of cards. And still they all are easy to do and even make multiples of, while you are at it anyway.

On my first card I used the Discs stencil with transparent gloss texture paste mixed together with Mustard Seed Distress Paint to create the texture to the card background that I had previously misted with yellow spray ink. Next I added stamping into the open area of the background using the Hello You stamp set and Fossilized Amber Distress Oxide. After that I took a piece of yellow patterned paper and stamped and fussy cut the camera images and arranged them onto the card background. The stamp set used here was again the Hello You set. For finishing touches I added a Shine Bright Clear Sticker sentiment that I had matted with the same patterned paper I used on the camera images. After finishing all the steps I adhered the paper onto a slimline sized card base and outlined the edges with a black pen for more contrast. 

On my second card I used the same Discs stencil with transparent gloss texture paste mixed together with Peeled Paint Distress Paint to create the texture to the card background that I had previously misted with kiwi-toned spray ink. Next I added some stamping into the open areas of the background using the Hello You stamp set and Mowed Lawn Distress Oxide.  However, I didn´t like the look of it, so I changed my plan and just added more stamp ink with a water tank brush over the stamped areas (good thing, this ink is water reactive, so you can correct as you go!) to create different toned green areas to the background. I also did some paint splatters on top of it all with the Distress Paint tone I used with the paste previously. That adds nice contrast to the background and pleased my eye more than the randomly stamped sentiments! After that I took a piece of yellow patterned paper and stamped and fussy cut the camera images and arranged them onto the card background. The stamp set used here was again the Hello You set. For finishing touches I added a Shine Bright Clear Sticker sentiment that I had matted with the same patterned paper I used on the camera images. After finishing all the steps I adhered the paper onto a slimline sized card base and outlined the edges with a black pen for more contrast. 

On my third card I used the same Discs stencil with transparent gloss texture paste mixed together with Pcked Raspberry Distress Paint to create the texture to the card background that I had previously misted with light pink-toned spray ink. Next I added some stamping into the open areas of the background using the Hello You stamp set and Bubble Gum mid-tone shadow ink.  After that I took a piece of pink patterned paper and stamped and fussy cut the camera images and arranged them onto the card background. The stamp set used here was again the Hello You set. For finishing touches I added a Shine Bright Clear Sticker sentiment that I had matted with the same patterned paper I used on the camera images. After finishing all the steps I adhered the paper onto a slimline sized card base and outlined the edges with a black pen for more contrast. 
Here is a quick photo step-by-step for deteails: 

Step 1: Add spray ink in green, pink and yellow tones to slimline size cut white cardstock.

Step 2: Mix Distress paint in Mustard Seed, Picked Raspberry and Peeled Paint with Transparent Texture Paste and apply thru the Discs-stentil onto the backgrounds. Notice how everything is tone-in-tone for a more homogenous look. Also if you add the stencilng only partially, you can create a totally different backgorund look!

Step 3: Now add stamping with the Hello You stamp set to the background using stamp inks in similar tones. I used Distress Oxide Fossilized Amber, Bubble Gum Shadow Ink and Moved Lawn Distress Oxide to add to the monochromatic look of the background.

Step 4: Stamp camera images on matching toned patterned papers and fussy cut them. Then arrange onto the card and adhere on place. Finish the pieces off with Shine Bright Clear Sticker sentiments and adhere the finished pieces onto card bases. 

You now have yourself three monochromatic slimline cards created with Stamps, Stencils and Stickers (Trifecta magic!) and even though we used the exact same products on all three cards, the results are still very different due to used colorus and placement.

And pssst… if you now want to stock up on your STAMPlorations stash, here is a nice discount code for you to use:

Thanks for stopping by today – I hope I could inspire you to try out the 3S-combination yourself!! Have fun!

Supplies: